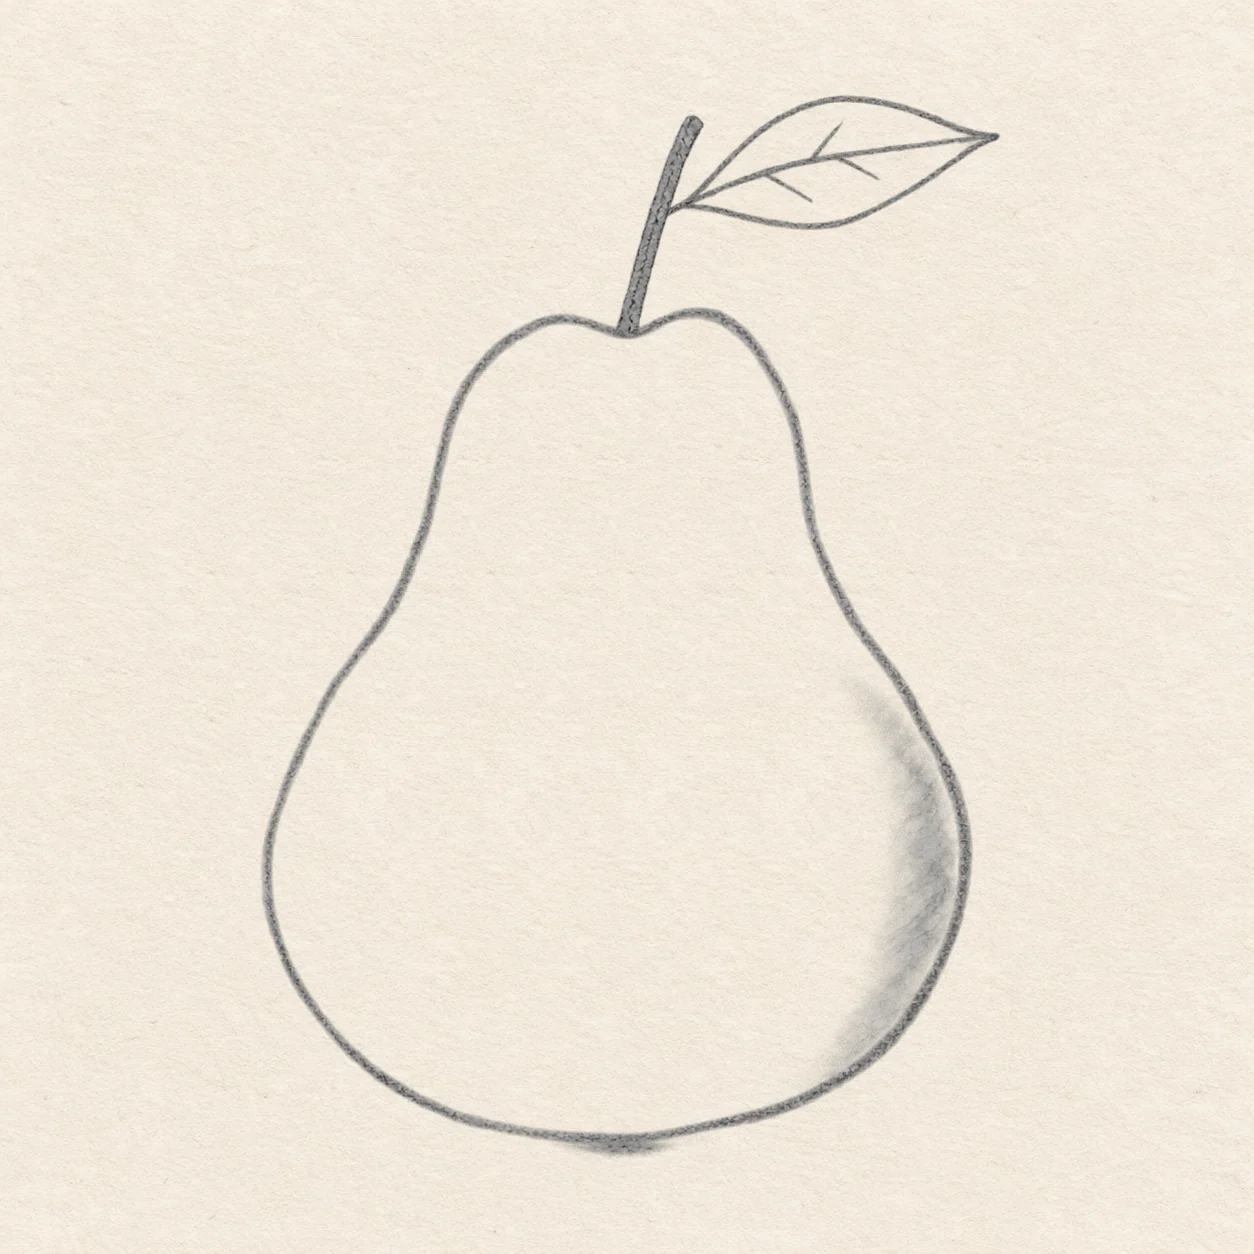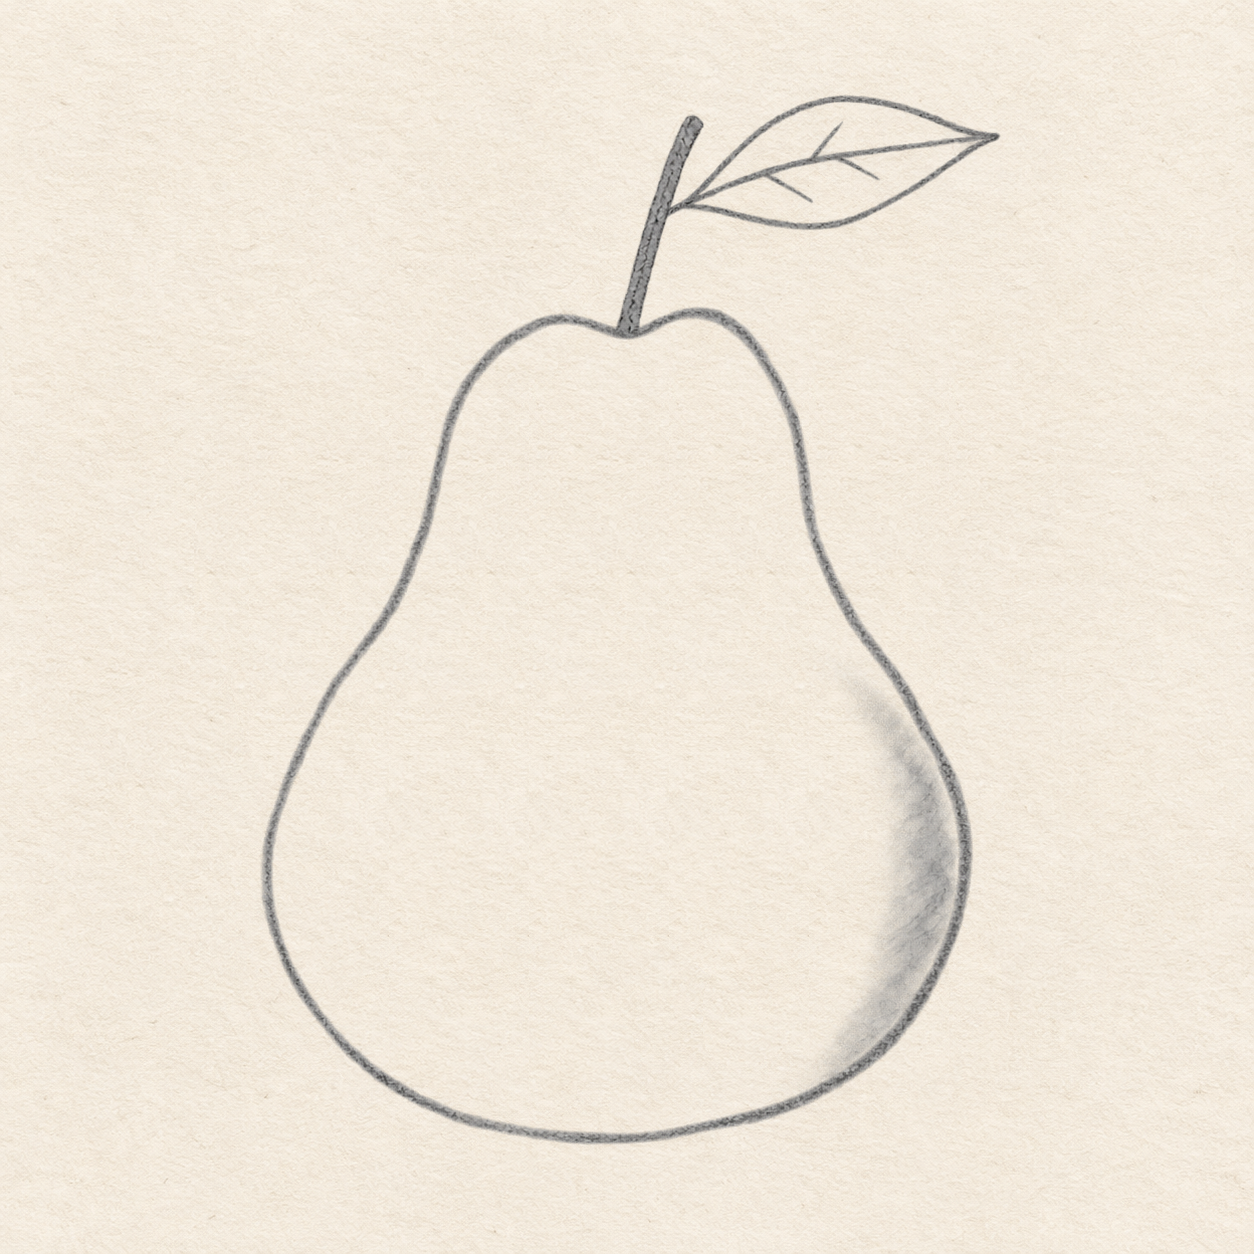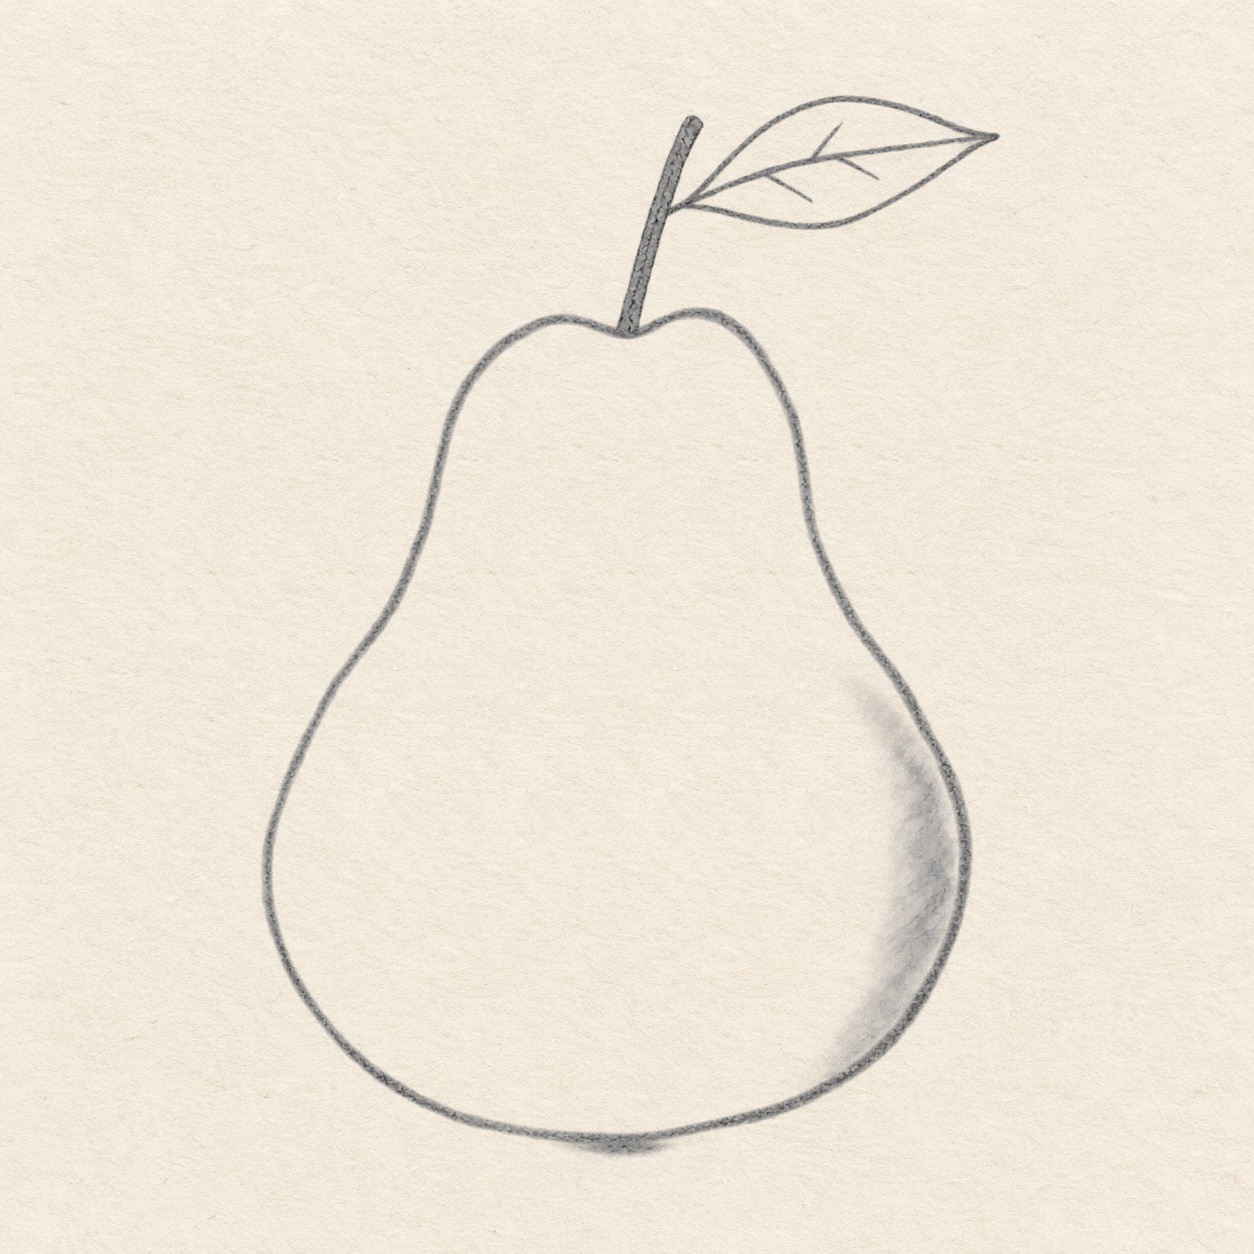
Pencil sketch of a pear with one pointed leaf, a shaded stem, soft graphite on the right side and a small contact shadow beneath the base.
Drawing referenceAbout reference use

Pear with one pointed leaf

A simple pencil pear with a narrow neck, broad rounded body and one pointed leaf. Soft graphite on the right side leaves most of the fruit pale.

Food & drinkEasyPencilReference practice: about 20 min
Save reference

Follow the drawing tutorial

Use two light oval guides to shape a broad pear, then add its stem, one pointed leaf and restrained graphite shading.

Start the 5-step tutorial

A small thing to tryKeep the broad center of the pear and most of the leaf unshaded; build the right-side tone with light pressure.

Draw it, one step at a time

Draw a pear with one leaf

Use two light oval guides to shape a broad pear, then add its stem, one pointed leaf and restrained graphite shading.

5 steps · 9 progress drawings Full tutorial: about 30 minutes, at your pace

What you’ll need

  • HB pencil
  • Kneaded eraser
  • Ruler marked in centimetres and millimetres
  • Textured drawing paper with room for an approximately 8 cm wide, 11 cm high study and comfortable margins
  • Matching scrap paper

Before you start

Choose the study’s position on any sheet with enough room. The complete drawing is about 8 cm wide and 11 cm high. You can plan that space in the middle of your sheet or elsewhere. The first center mark belongs to the broad lower body, not the center of the whole study. Later measurements use your drawn center marks and features, not paper edges. Test the kneaded eraser on matching scrap pencil before cleaning the guides; keep most of the pear and leaf pale.

  1. Step 1 of 5 · Construction

    Build the two form guides

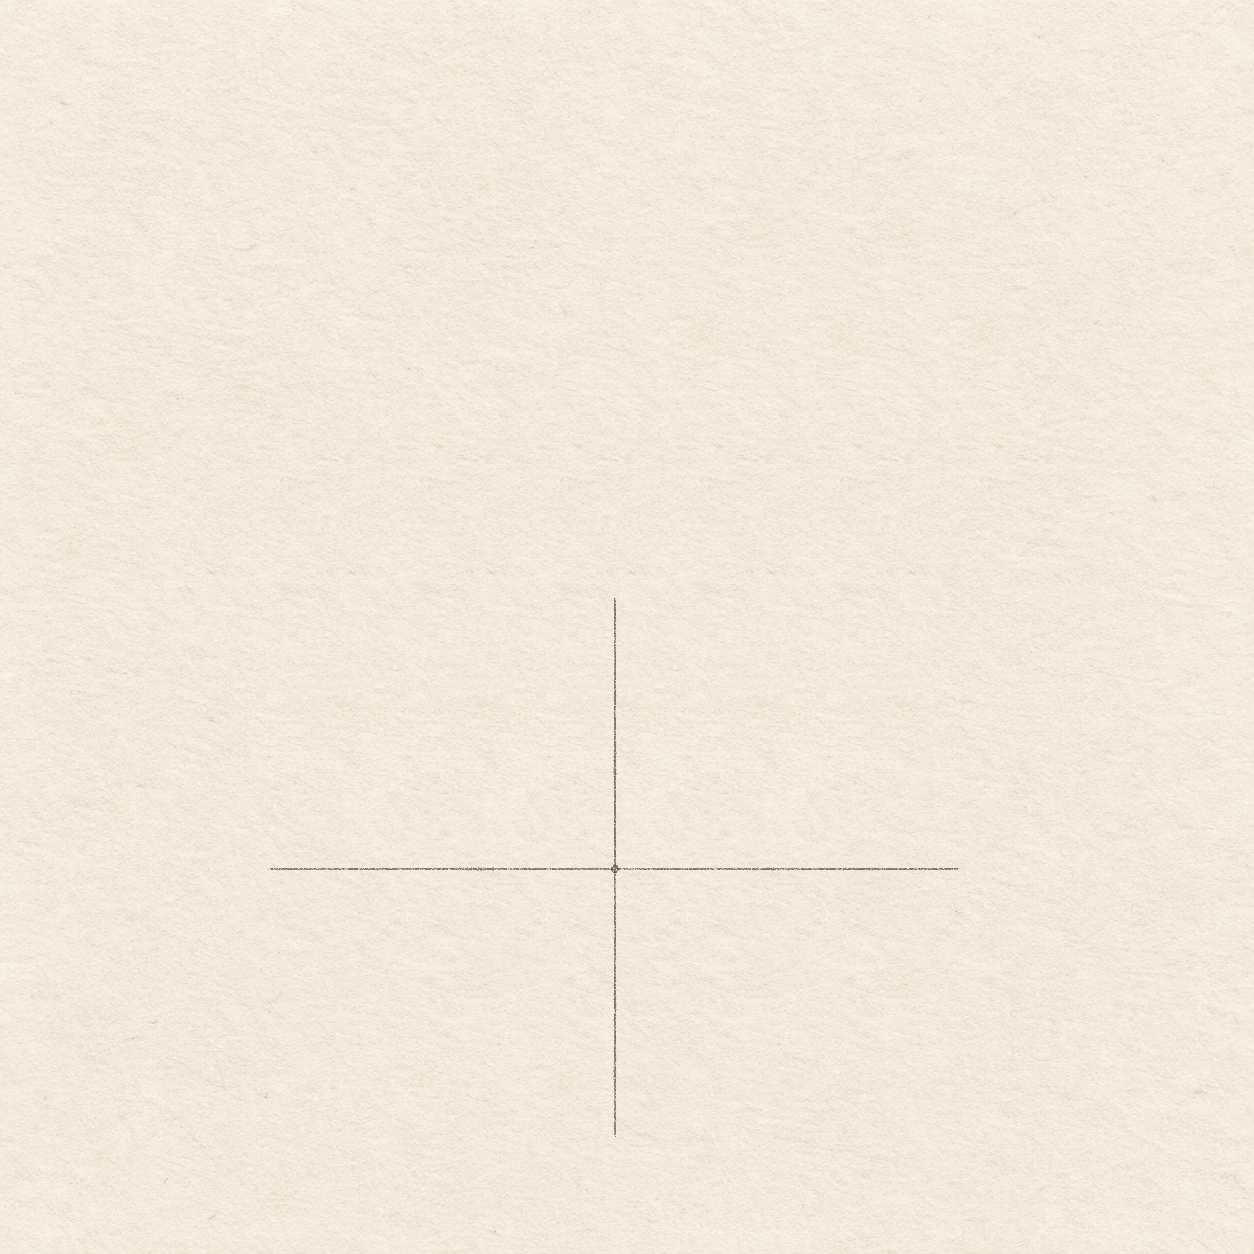
    One light pencil cross and a small center mark set the 7 cm width and 5.5 cm height of the future broad lower oval; no oval is drawn yet.
    Drawing 1A — Large oval crossView larger

    Instructions for Drawing 1A — Large oval cross
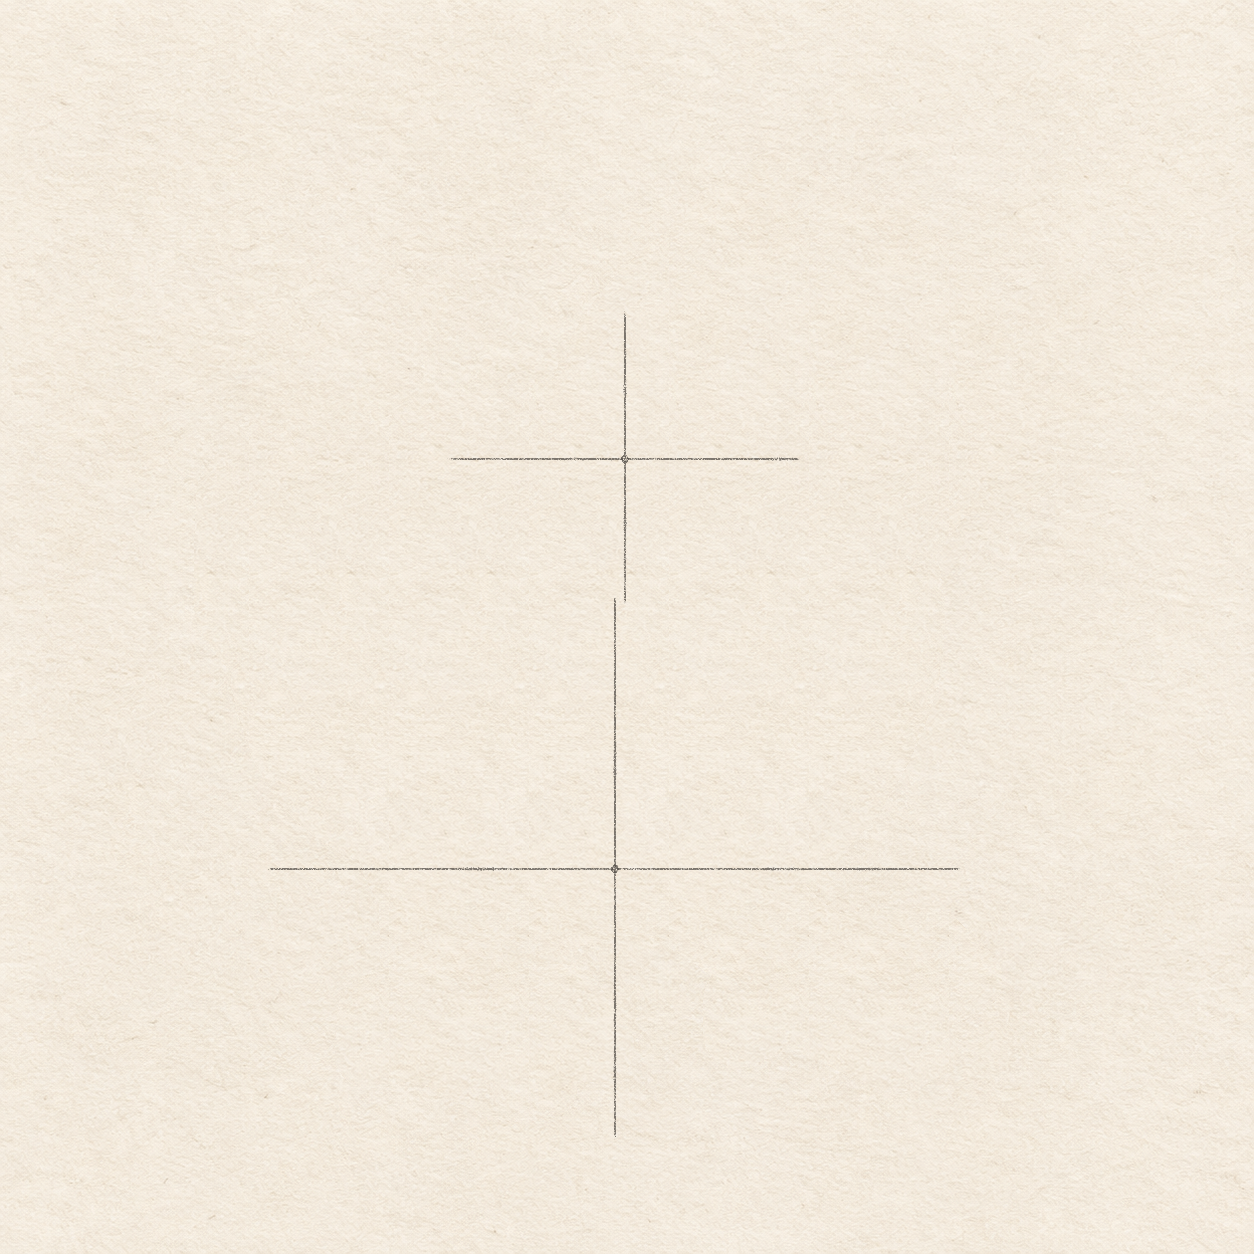
    1. Choose where the pear’s broad lower body will sit. Allow about 8 cm above its center, 3 cm below and 4 cm on either side for the complete study. Put a small pencil mark at that body center. Through it, draw a very light, level line 7 cm long, extending 3.5 cm to each side. This sets the large oval’s width.
    2. Through the same center mark, draw an upright line 5.5 cm long, with about 2.75 cm above and below the mark. Make it perpendicular to the level line, like a plus sign. Its ends set the large oval’s top and bottom; keep both lines light. See Drawing 1A — Large oval cross.
    Two light pencil crosses with small center marks set the widths and heights of the future pear ovals; no oval has been drawn yet.
    Drawing 1B — Small oval crossView larger

    Instructions for Drawing 1B — Small oval cross
    1. From the large cross’s center mark in Drawing 1A — Large oval cross, measure 4.1 cm straight up, then 1 mm to the right. Put a small pencil mark there for the smaller oval’s center. Through this new mark, draw a level line 3.6 cm long, extending 1.8 cm each way.
    2. Through the smaller cross’s center mark, draw an upright line 3 cm long, extending 1.5 cm above and below it. Keep it perpendicular to its level line. These four ends set the smaller oval’s width and height. Keep the large cross; see Drawing 1B — Small oval cross.
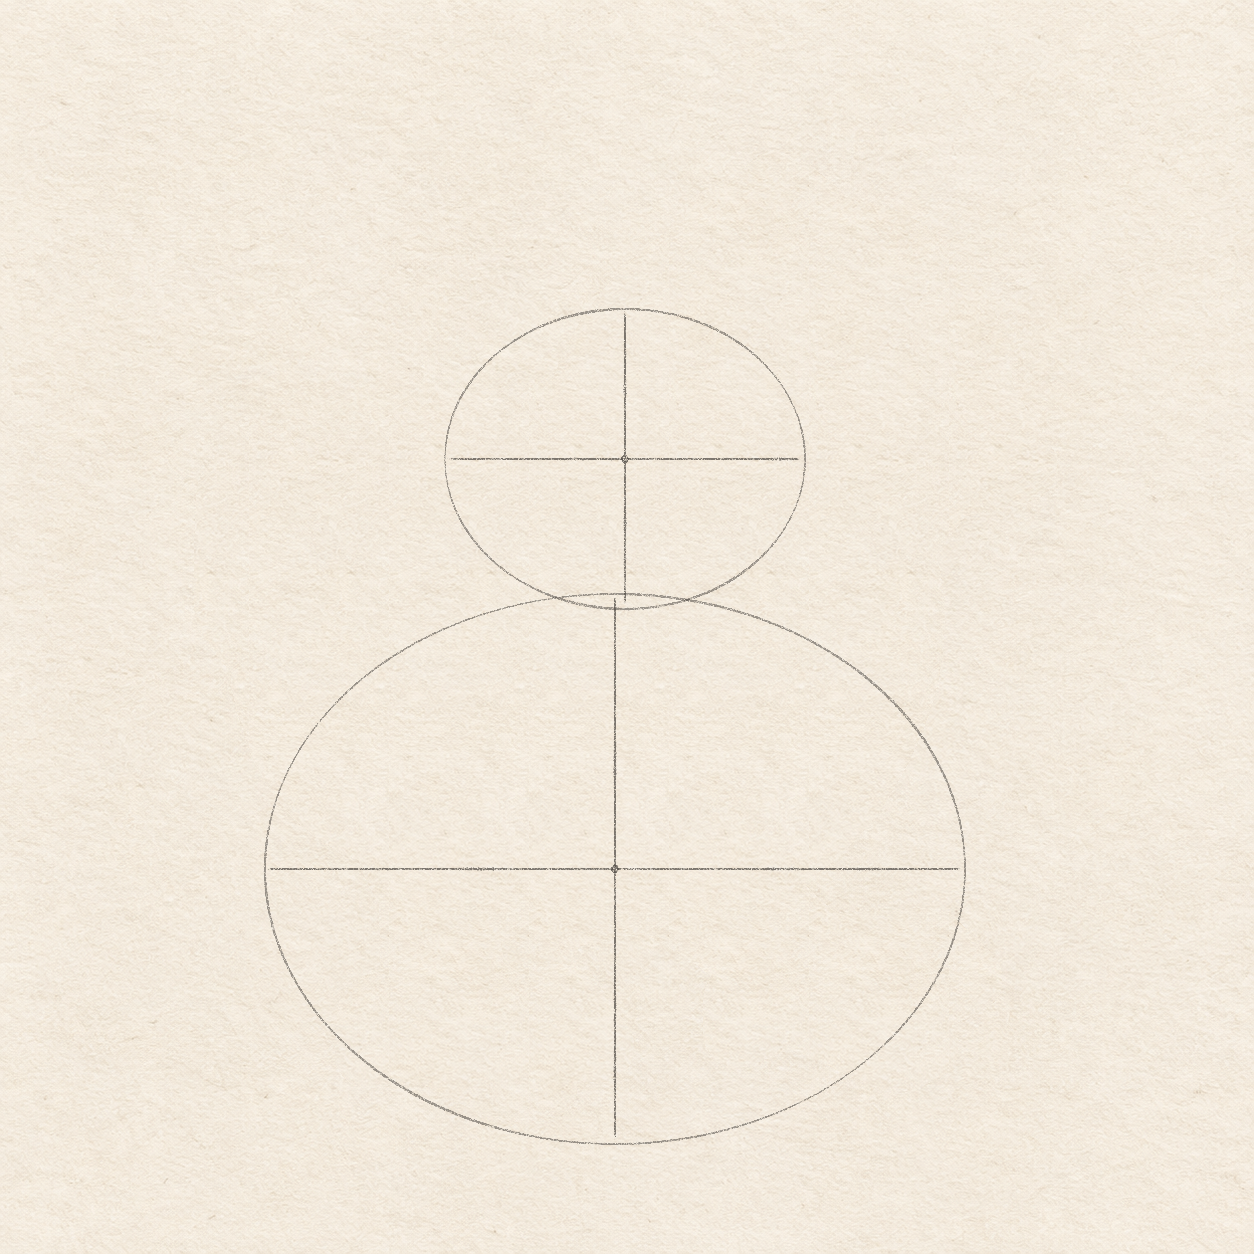
    Two rounded pear mass ovals pass through the measured ends of two retained light construction crosses and their center marks; no selected pear contour exists yet.
    Drawing 1C — Two form guidesView larger

    Instructions for Drawing 1C — Two form guides

    1. Using the large cross in Drawing 1B — Small oval cross, sketch a light oval through its left, top, right and bottom ends. Join those four ends with smooth rounded curves; do not follow the straight cross lines. Move your pencil just above the paper to rehearse the curve, then draw it freehand. Adjust any flat or pointed turn while the pencil is light.
    2. Curve a smaller oval through the four ends of the upper cross. Join those ends with smooth rounded curves, without tracing the straight cross lines. It is 3.6 cm wide and 3 cm high; its lower edge overlaps the broad oval’s top by about 1–2 mm. Keep both crosses and their center marks visible for now, and leave the oval interiors unshaded. Compare Drawing 1C — Two form guides.
    Next step — Choose the pear outline
  2. Step 2 of 5 · Contours

    Choose the pear outline

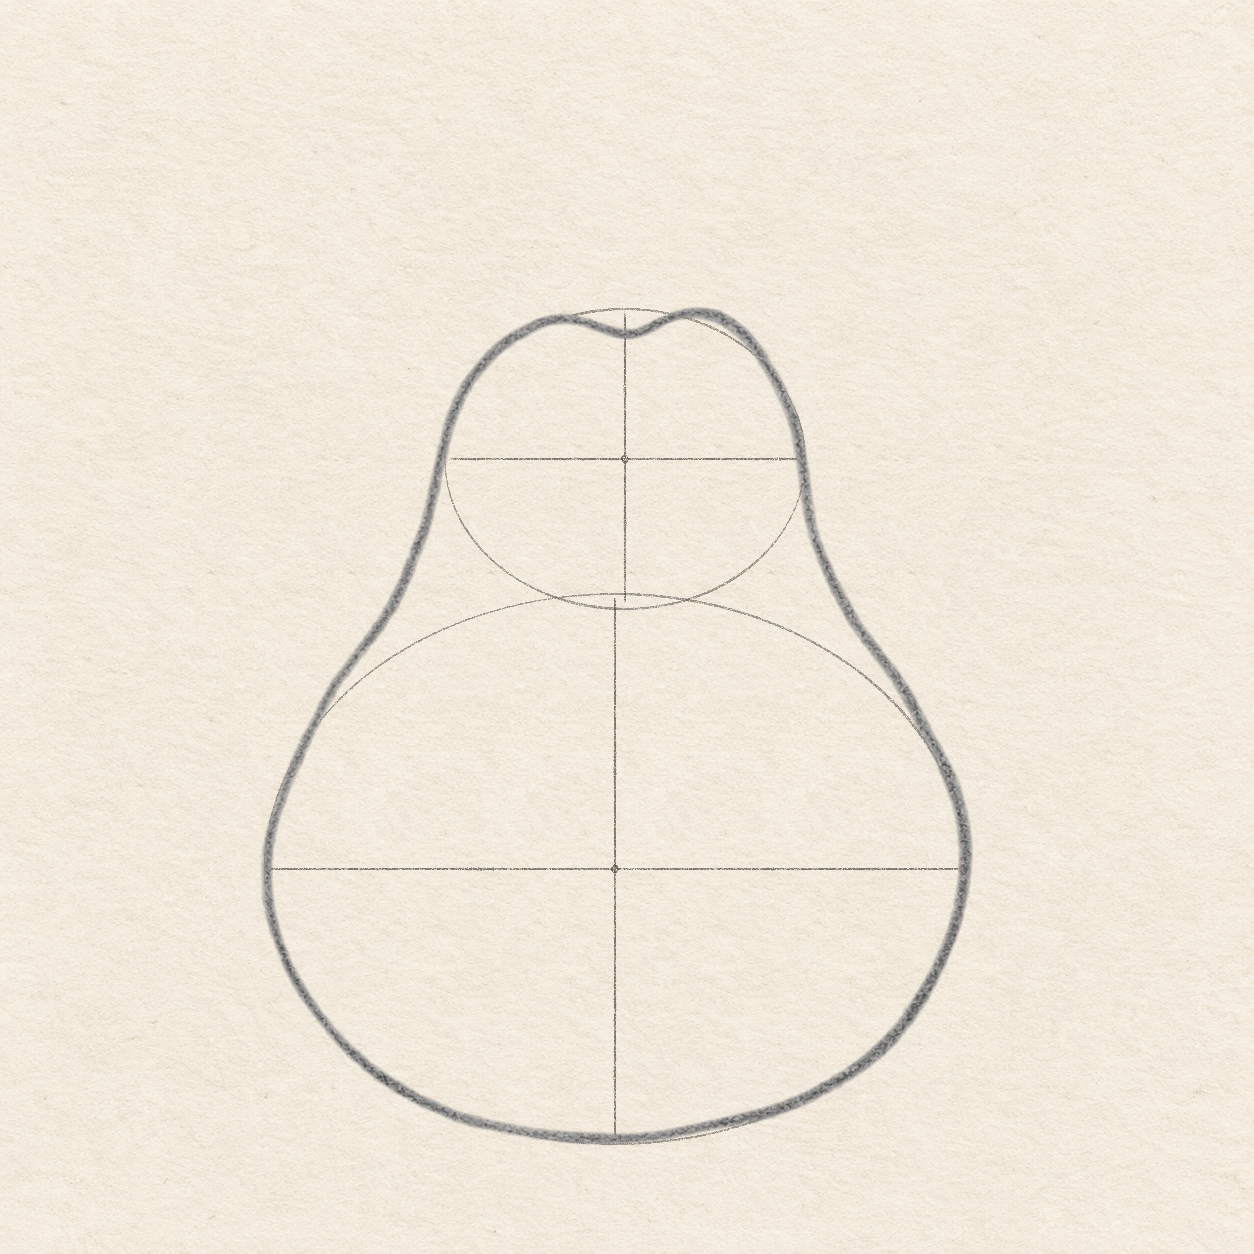
    The selected rounded pear outline sits over two retained light oval guides, measured crosses and center marks; the shallow top dip lies between two humps.
    Drawing 2A — Pear contourView larger
    Selected pear crown and shallow top dip against the light oval guide.
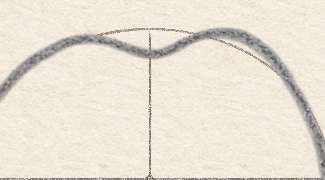
    Detail 2A.1 — Top dip and shouldersThe shallow dip sits below the upper guide’s top between two rounded humps.

    Instructions for Drawing 2A — Pear contour
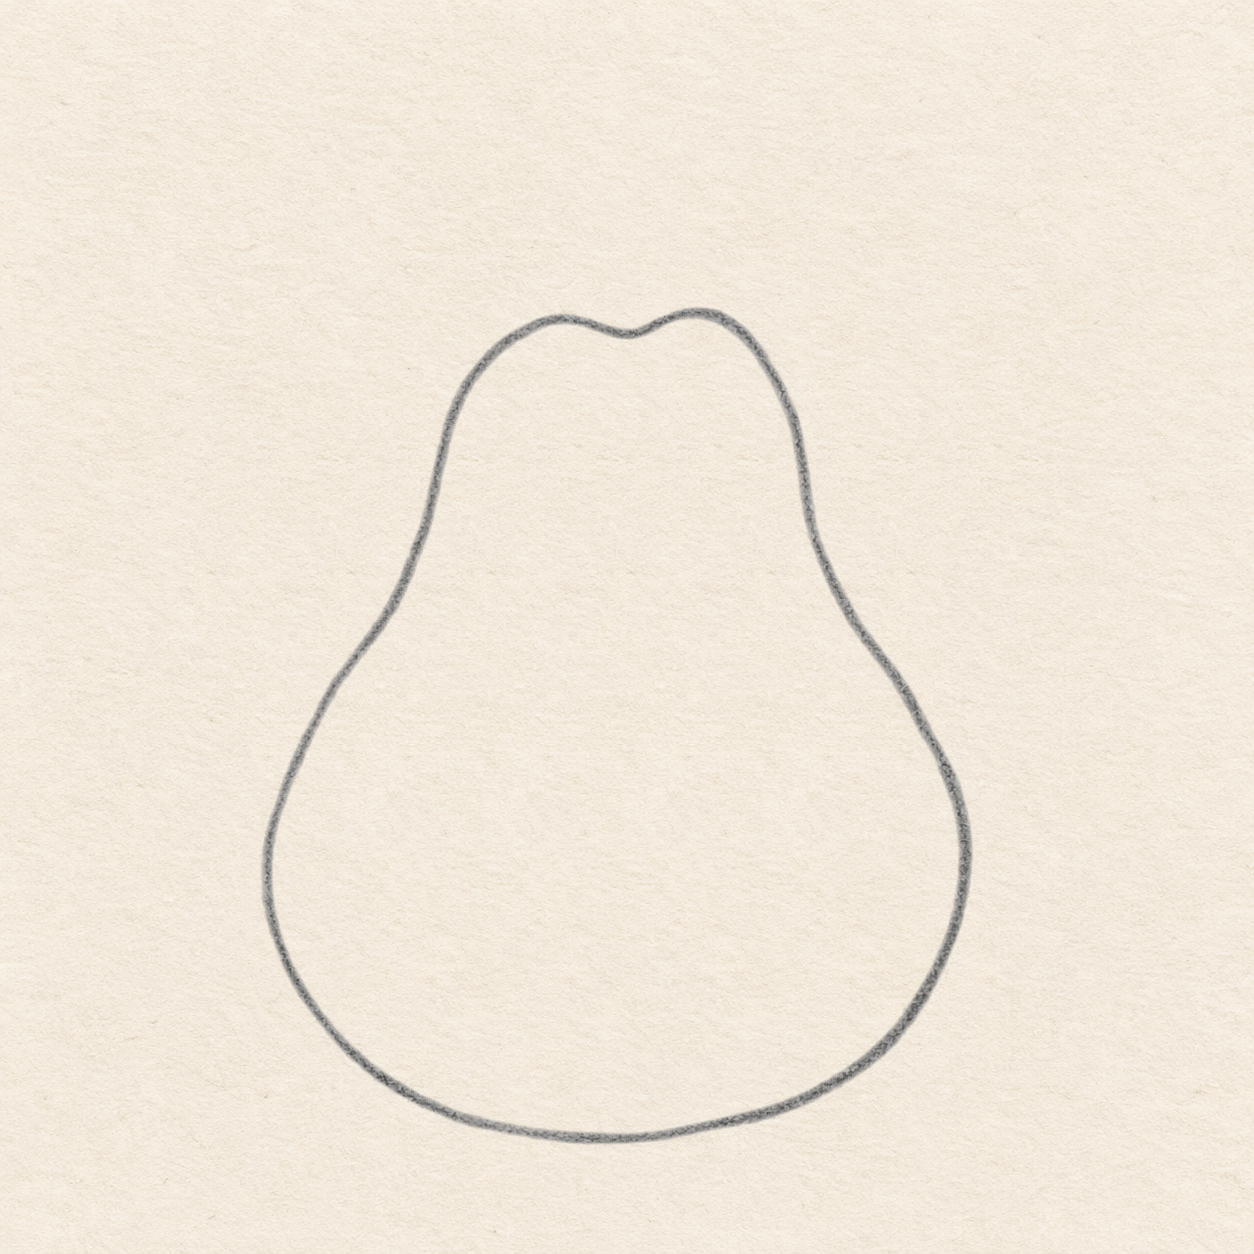
    1. Near the small oval’s top, shape two rounded humps about 1.4 cm apart, with a shallow dip between them about 3 mm below the oval’s highest point. From the left hump, follow the left neck to the small oval’s widest side. Sweep outward to the large oval’s left widest side, then round underneath to its bottom. Do not trace the buried oval arcs across the fruit; see Detail 2A.1 — Top dip and shoulders.
    2. From the right hump already drawn, take the right neck to the small oval’s right widest side. Sweep outward toward the large oval’s right widest side, then round the lower-right side to meet the base already drawn. Make the joins smooth and freehand rather than forcing perfect symmetry; compare Drawing 2A — Pear contour.
    A clean pencil pear outline with its shallow top dip and broad rounded base; both oval guides, crosses and center marks have been erased.
    Drawing 2B — Clean outlineView larger

    Instructions for Drawing 2B — Clean outline

    1. Use the tested kneaded eraser to lift both light ovals, both construction crosses and their two center marks in short sections, avoiding the selected pear outline. These guides have now done their job. Keep the pear’s shallow top dip and bottom curve clear in Drawing 2B — Clean outline.
    Next step — Complete the stem and leaf outline
  3. Step 3 of 5 · Contours

    Complete the stem and leaf outline

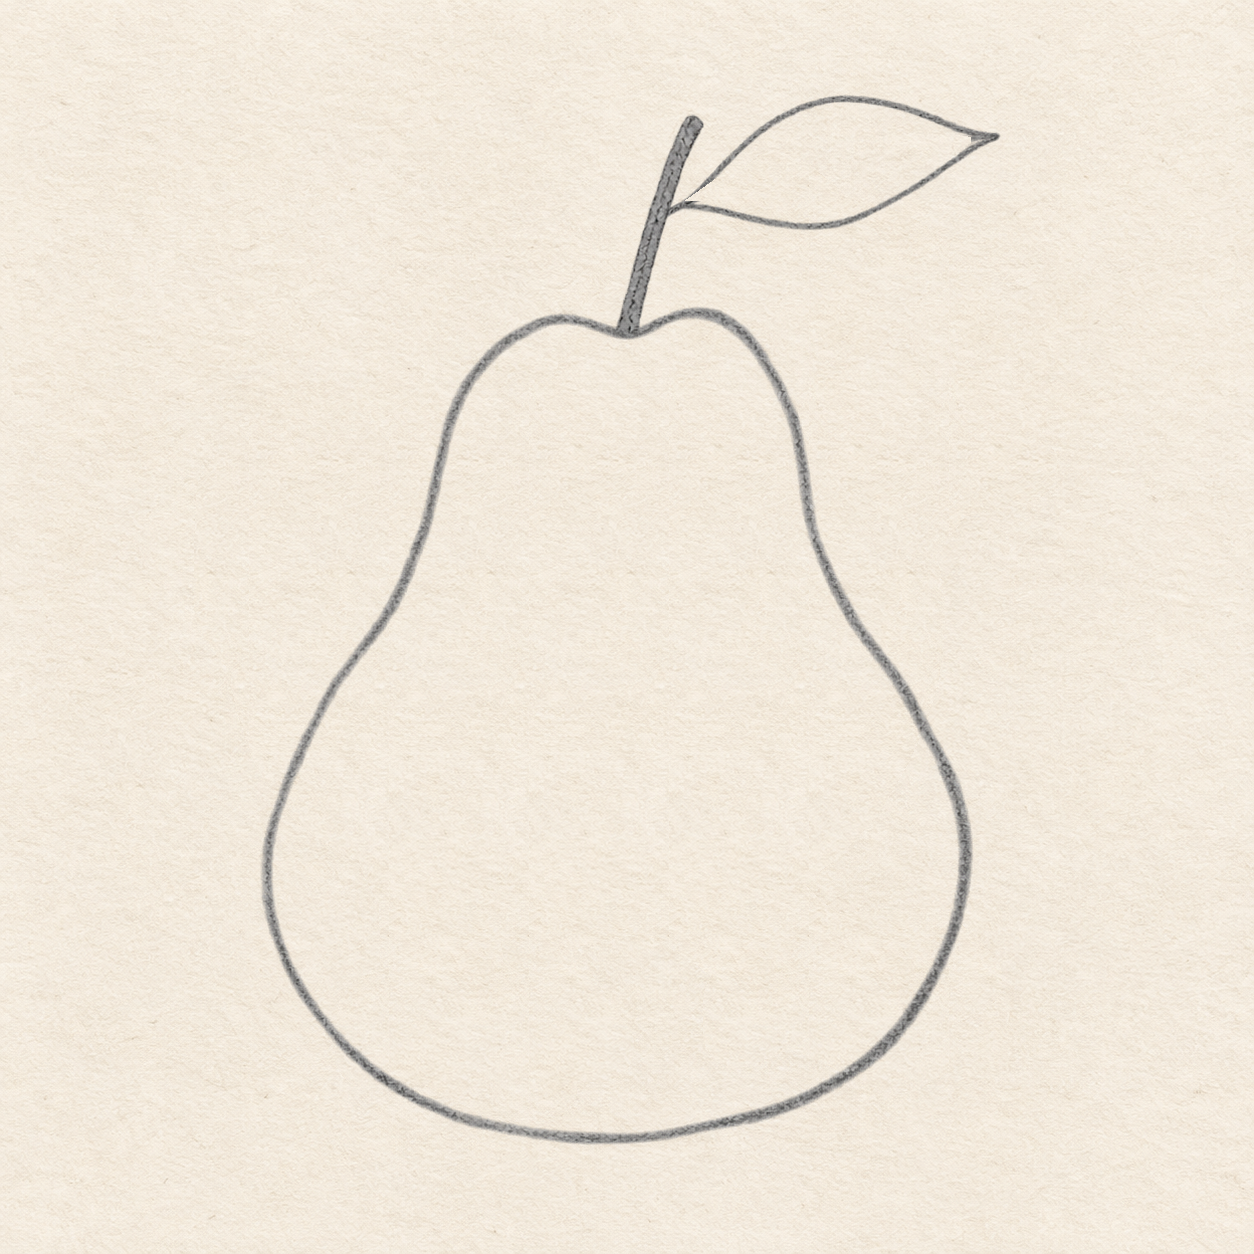
    A complete gray-filled stem with rounded cap joins one selected leaf outline; the leaf interior is still pale before its vein bands.
    Drawing 3A — Stem and leaf outlineView larger
    Gray-filled stem and complete one-leaf outer contour before the central and three side vein bands.
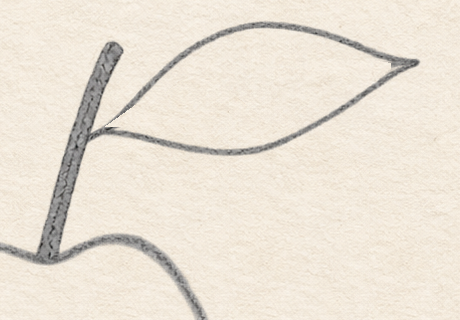
    Detail 3A.1 — Stem and leaf outlineThe stem has already been outlined and filled gray. The complete leaf outer contour exists, while its interior remains pale.

    Instructions for Drawing 3A — Stem and leaf outline

    1. Before outlining the stem, plan a 1–2 mm opening on its right side about 1.3 cm above the pear’s existing top dip; the leaf will join here. From that dip, outline a shaft curving upward and slightly right, leaving the opening clear. Its rounded tip is about 2.2 cm above and 7 mm right of the dip; keep the shaft about 2 mm wide. Fill it with short lengthwise pencil strokes, keeping the opening clear; see Detail 3A.1 — Stem and leaf outline.
    2. Start the leaf at the top of the stem opening. Curve its upper edge up and right, reaching about 1.6 cm right and 1.1 cm above the opening. Continue to a pointed tip about 3.3 cm right and 7 mm above the opening. Curve back to the opening’s lower end, letting the lower edge bow about 2 mm below the opening, about 1.4 cm to its right. Draw both curves freehand and leave the interior pale; see Drawing 3A — Stem and leaf outline.
    Next step — Add the leaf vein bands
  4. Step 4 of 5 · Detail

    Add the leaf vein bands

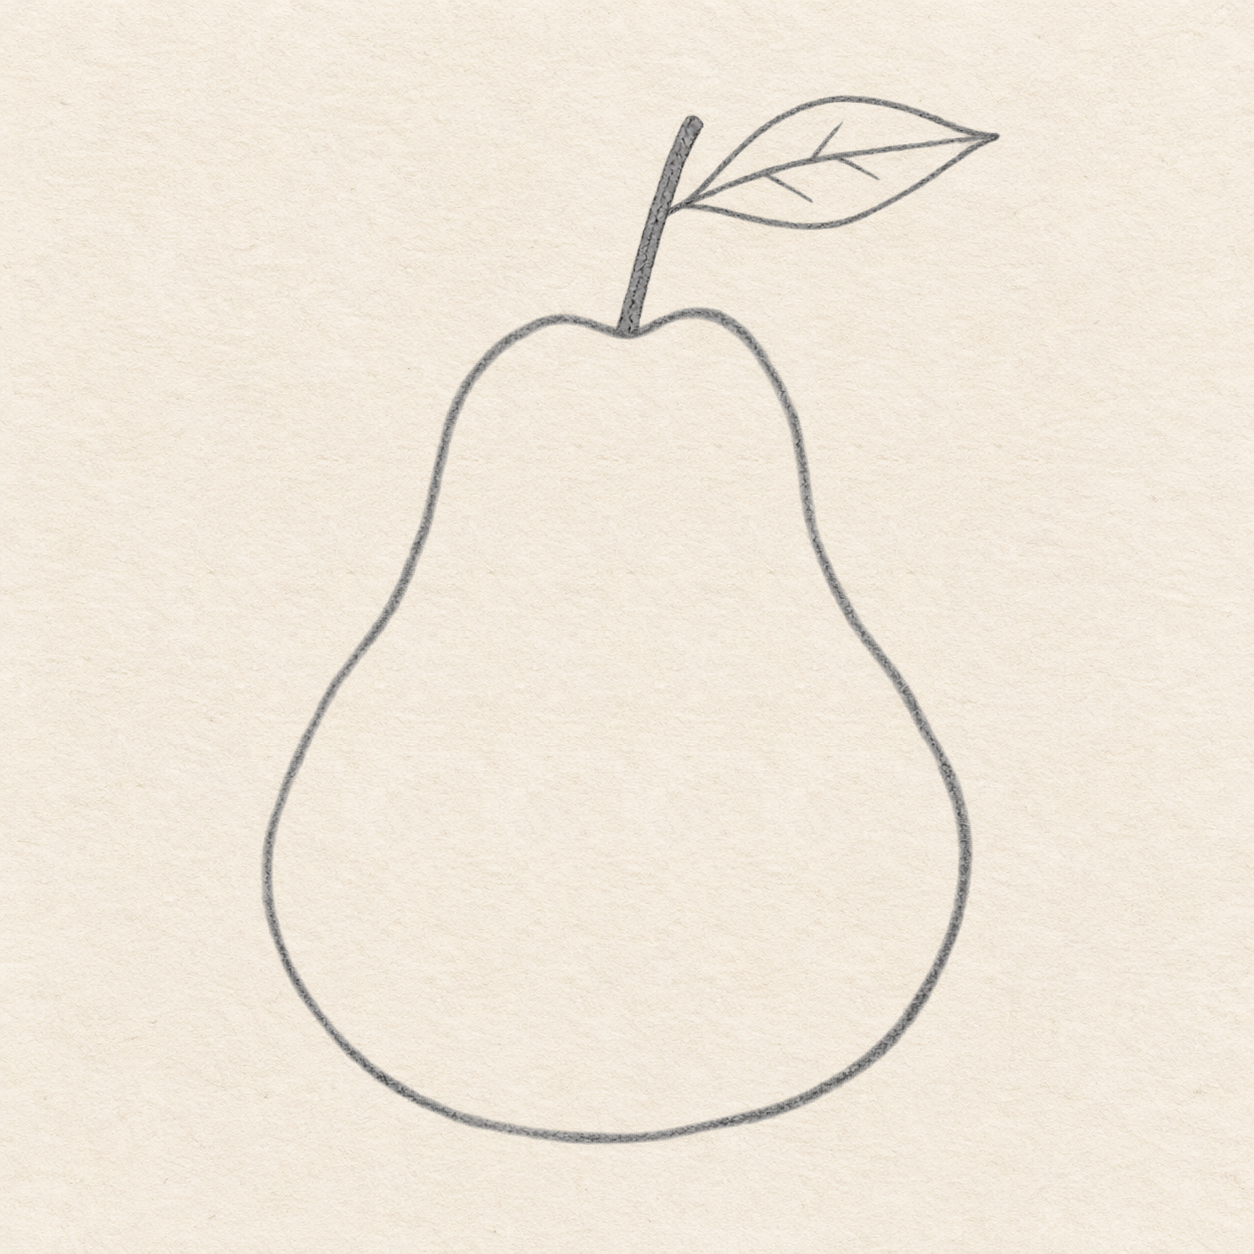
    One existing outlined leaf now contains a central graphite band meeting its tip and exactly three narrower side branches; the stem remains gray.
    Drawing 4A — Leaf vein bandsView larger
    Complete joined central and three side vein bands within the existing leaf outline, above an already gray-filled stem.
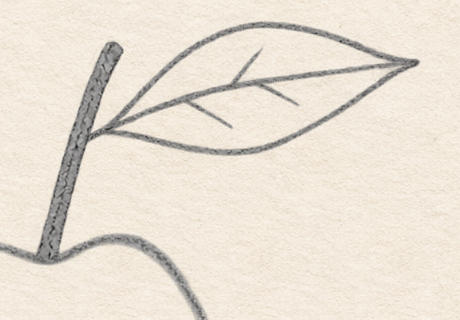
    Detail 4A.1 — Leaf vein bandsThe central band meets the pointed tip. One upper and two lower branches taper before the outer contour, leaving most of the leaf pale.

    Instructions for Drawing 4A — Leaf vein bands

    1. Inside the outlined leaf, take a gently curved central vein from its stem joint to its pointed tip; use short overlapping passes to make a band about 1 mm wide. Then add exactly three narrower branches from it: one curves up and right near the middle, and two curve down and right with roots on either side of that upper branch’s root. Choose their spacing and bends by eye inside the existing leaf; taper the three side-branch ends 1–3 mm before the outer edge, and keep most of the leaf pale. See Detail 4A.1 — Leaf vein bands.
    Next step — Add local graphite
  5. Step 5 of 5 · Tone

    Add local graphite

    A pear with its stem and veined leaf complete, light graphite along its right side, and a broad pale center; no ground shadow is present yet.
    Drawing 5A — Side shadingView larger
    Restrained graphite volume along the right side of the pear.
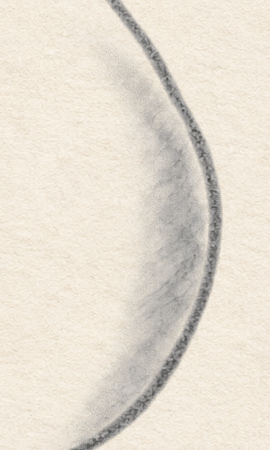
    Detail 5A.1 — Right-side graphiteThe soft local graphite fades toward the pear’s pale center.

    Instructions for Drawing 5A — Side shading
    1. On the pear’s broad lower body, add light graphite just inside the right outline, in a band up to about 1 cm wide. Start below the neck’s outward curve and stop about 5 mm above the pear’s lowest edge. Use the side of the HB lead for short overlapping strokes that follow the rounded body. Ease pressure toward the pale center and both ends; do not outline the shaded patch. See Detail 5A.1 — Right-side graphite.
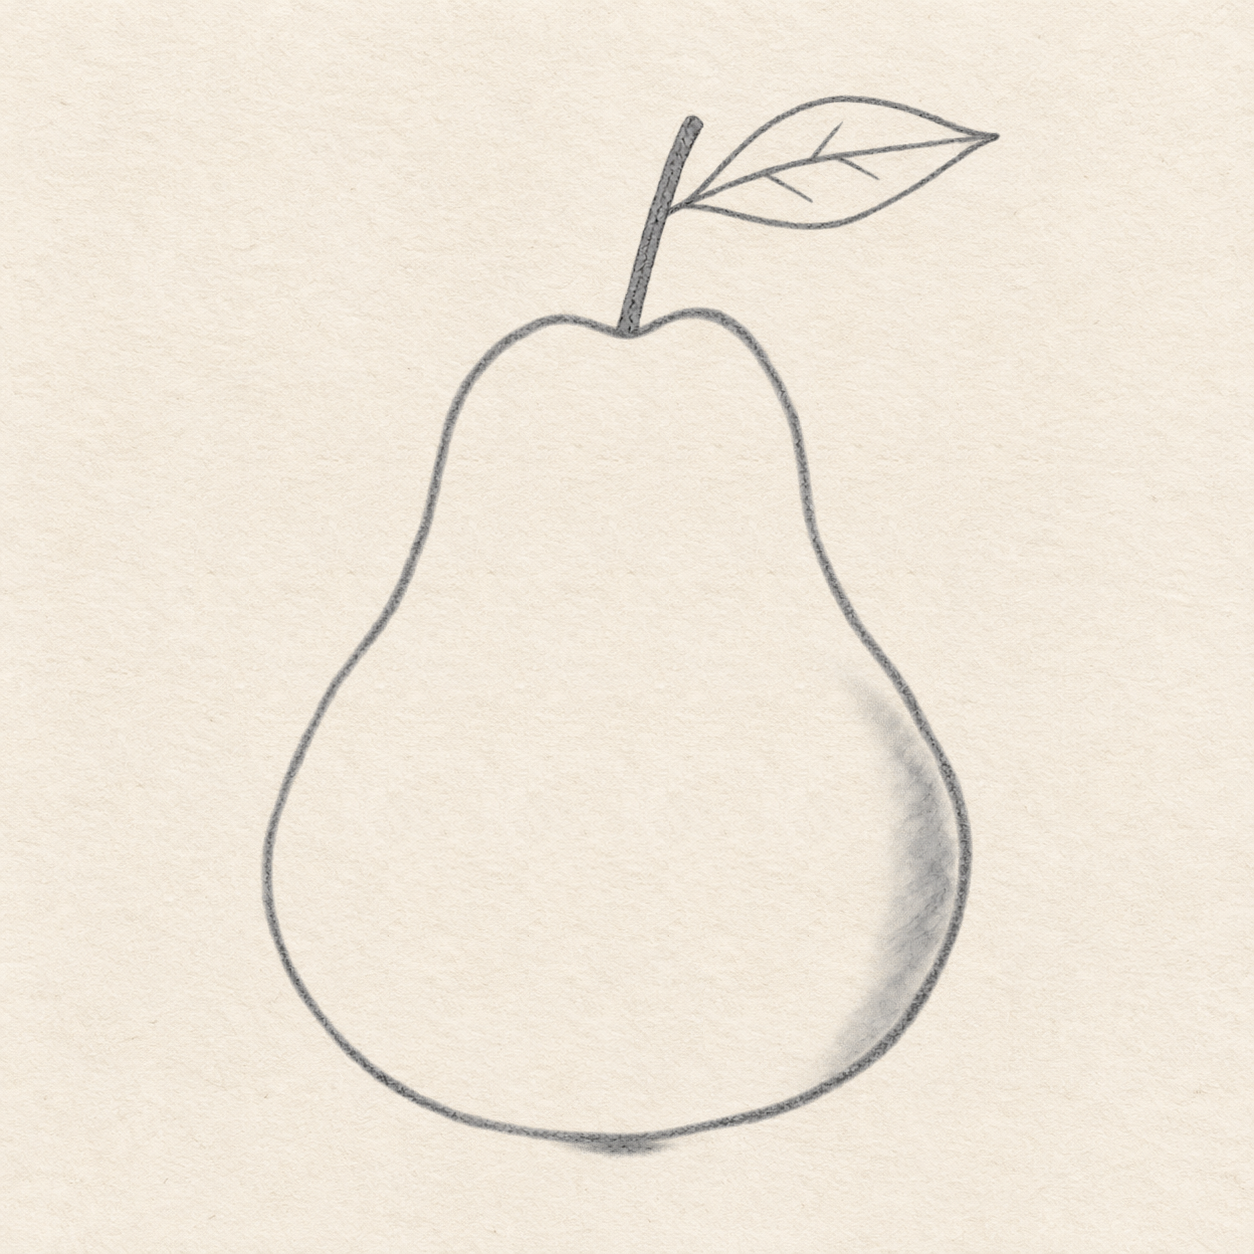
    The finished pencil pear with one pointed veined leaf, a gray stem, soft right-side shading and a compact contact shadow beneath its base.
    Drawing 5B — Finished pearView larger
    Compact graphite contact at the base of the completed pear.
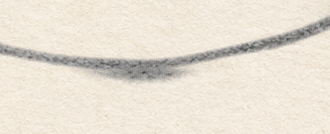
    Detail 5B.1 — Small basal contactA small soft contact touches the lowest pear edge and fades at its sides.

    Instructions for Drawing 5B — Finished pear

    1. At the pear’s lowest curve in Drawing 5A — Side shading, add a small soft contact about 1.5 cm wide and 2–3 mm deep, straddling that bottom edge. Center it under the broad body. Darken its middle gently and fade both ends; avoid a hard underline or a large shadow. Compare Detail 5B.1 — Small basal contact.
    Back to the tutorial

If something looks off

The pear looks like a bottle

Let the neck blend outward toward the large oval’s widest sides; keep the lower body broad and rounded rather than two straight sides.

The stem looks like two wires

After its outline is established, fill the narrow shaft with short lengthwise graphite strokes while retaining its outside edges.

The shading becomes a stripe

Overlap short strokes irregularly and ease pressure toward the center. Keep the graphite inside the selected side; do not outline the shaded patch.