FinelinerEasy

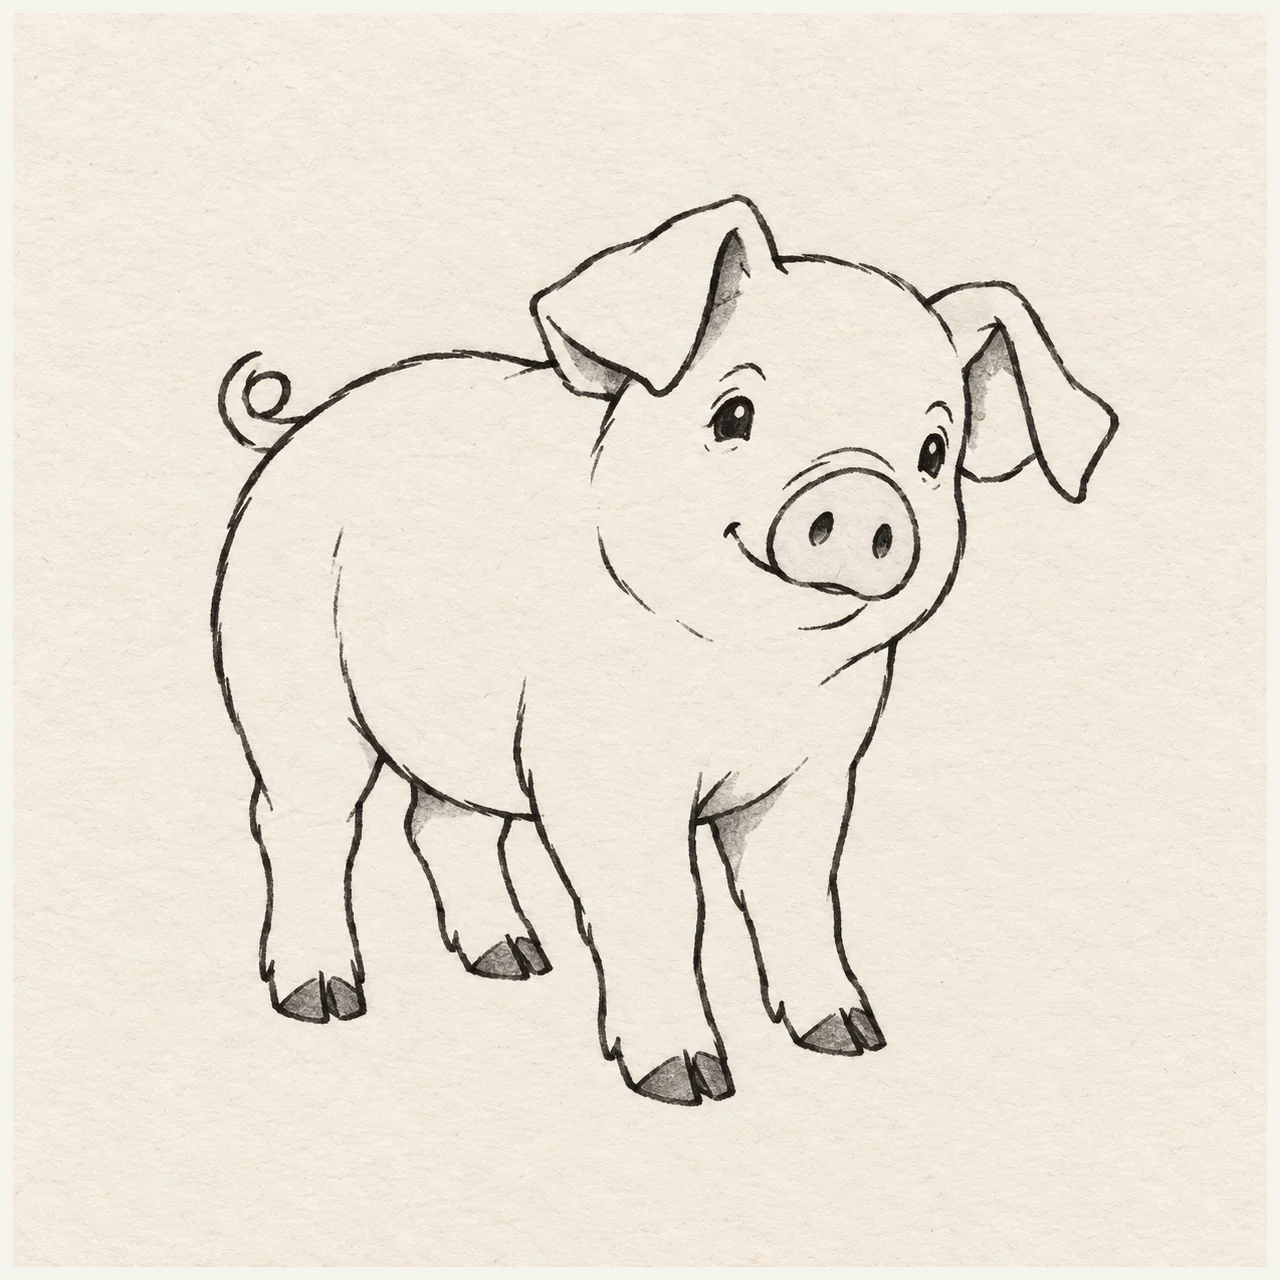
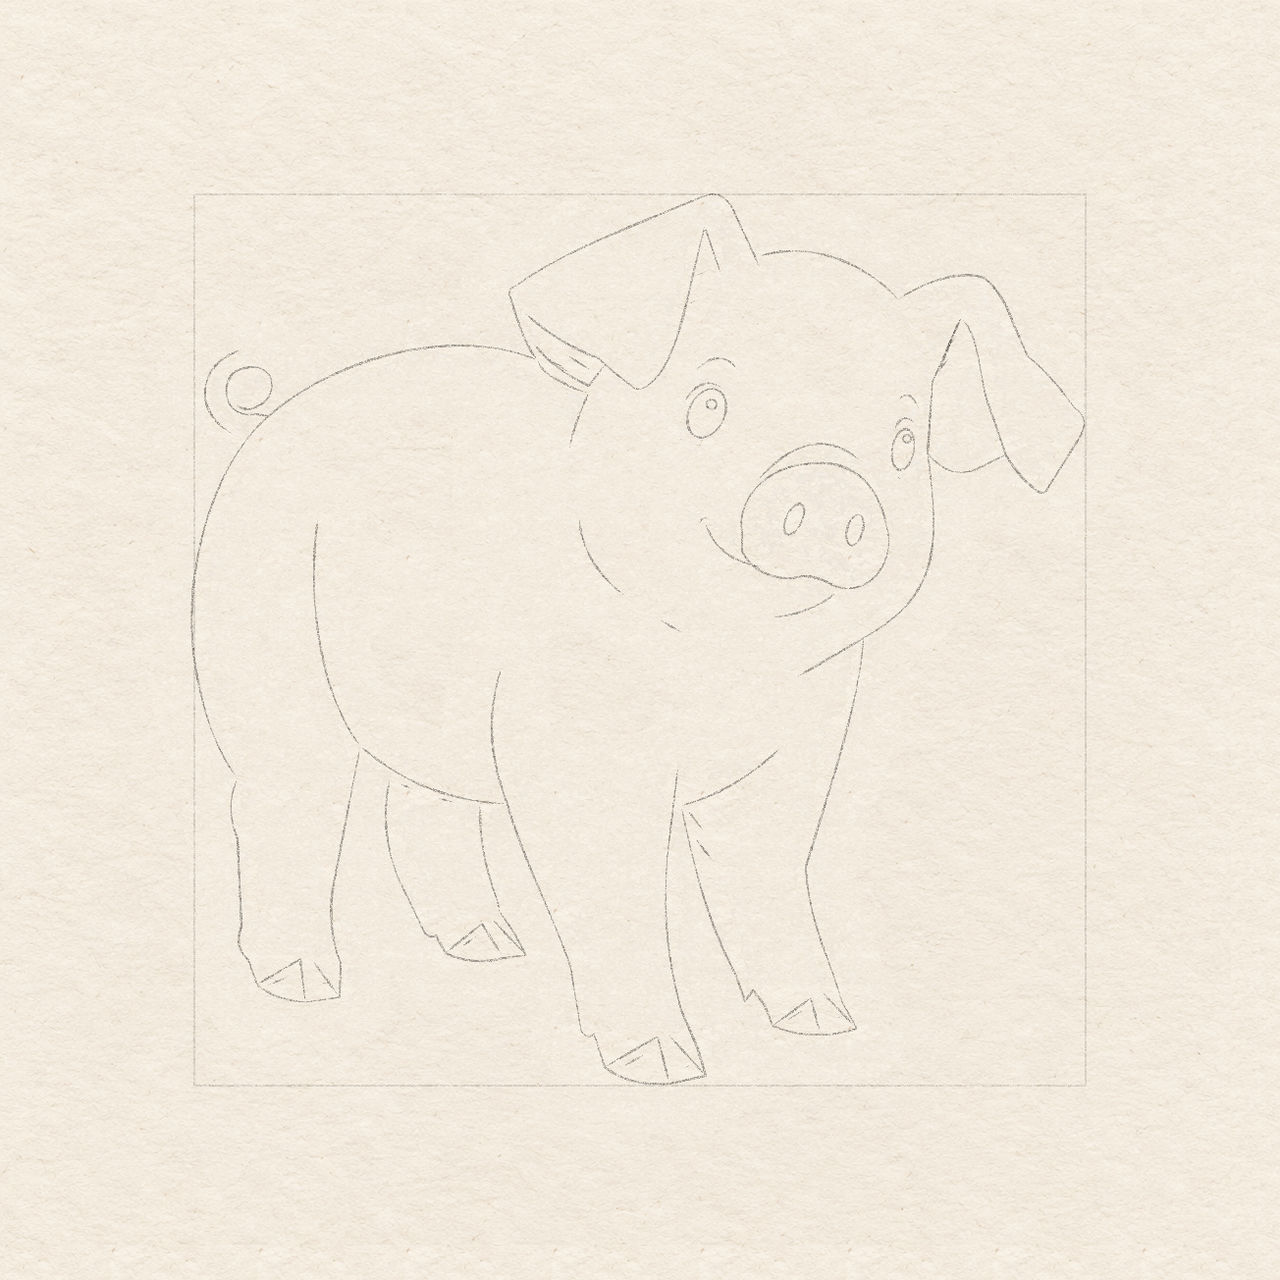
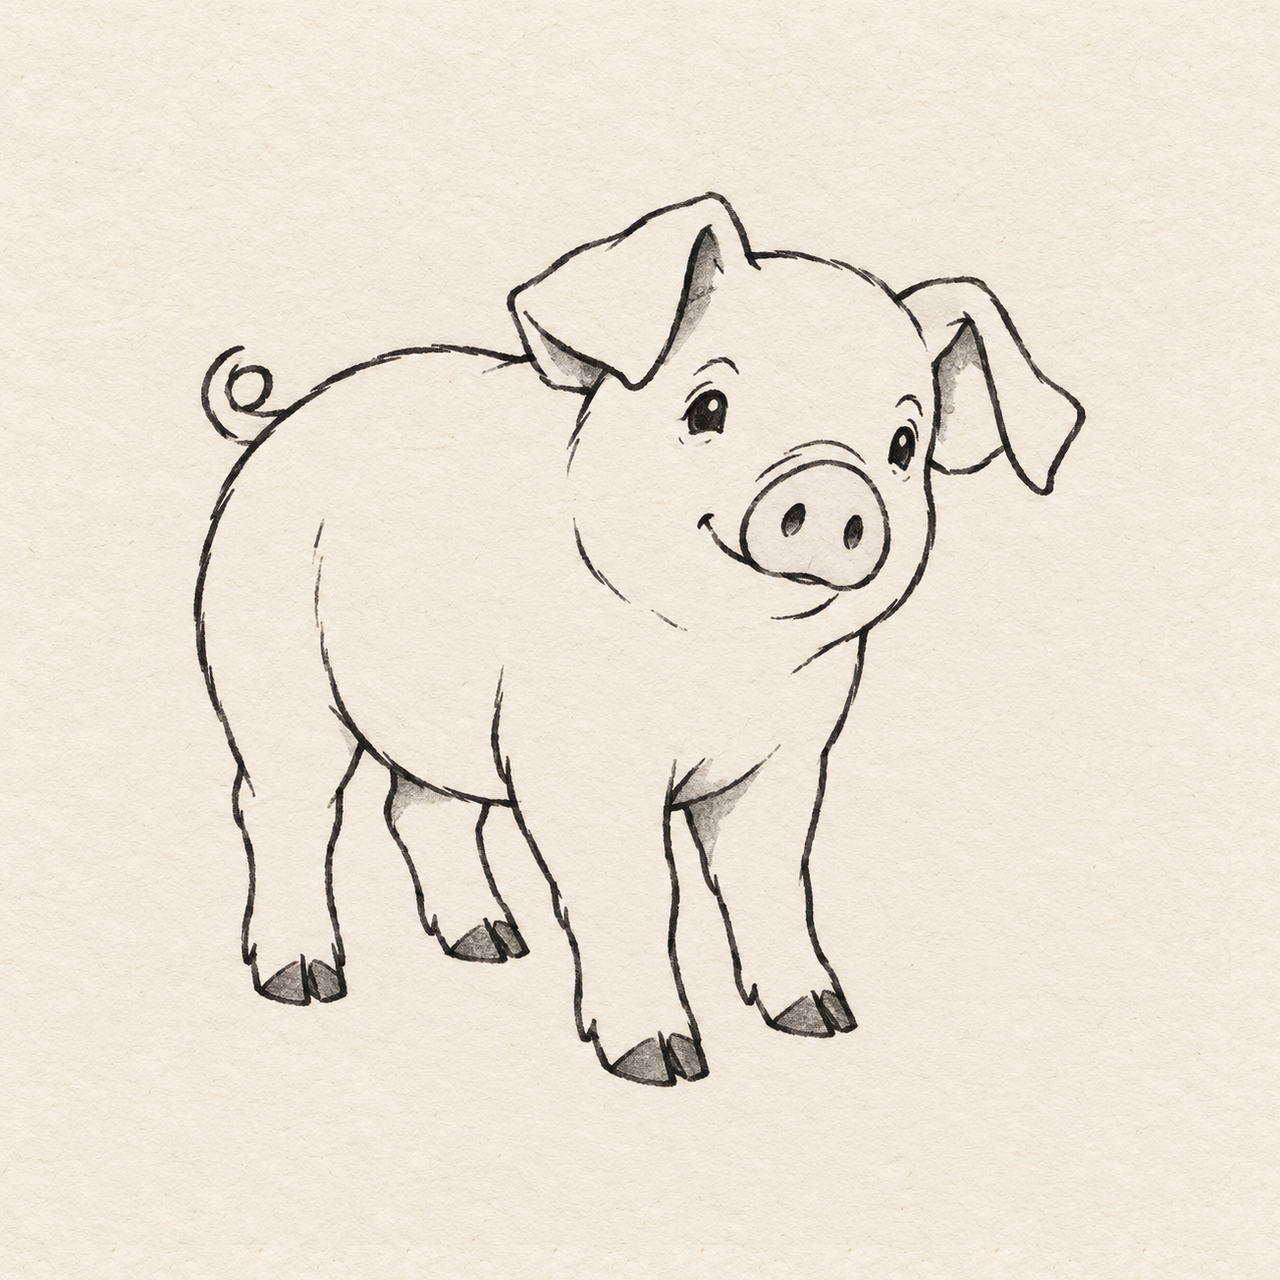
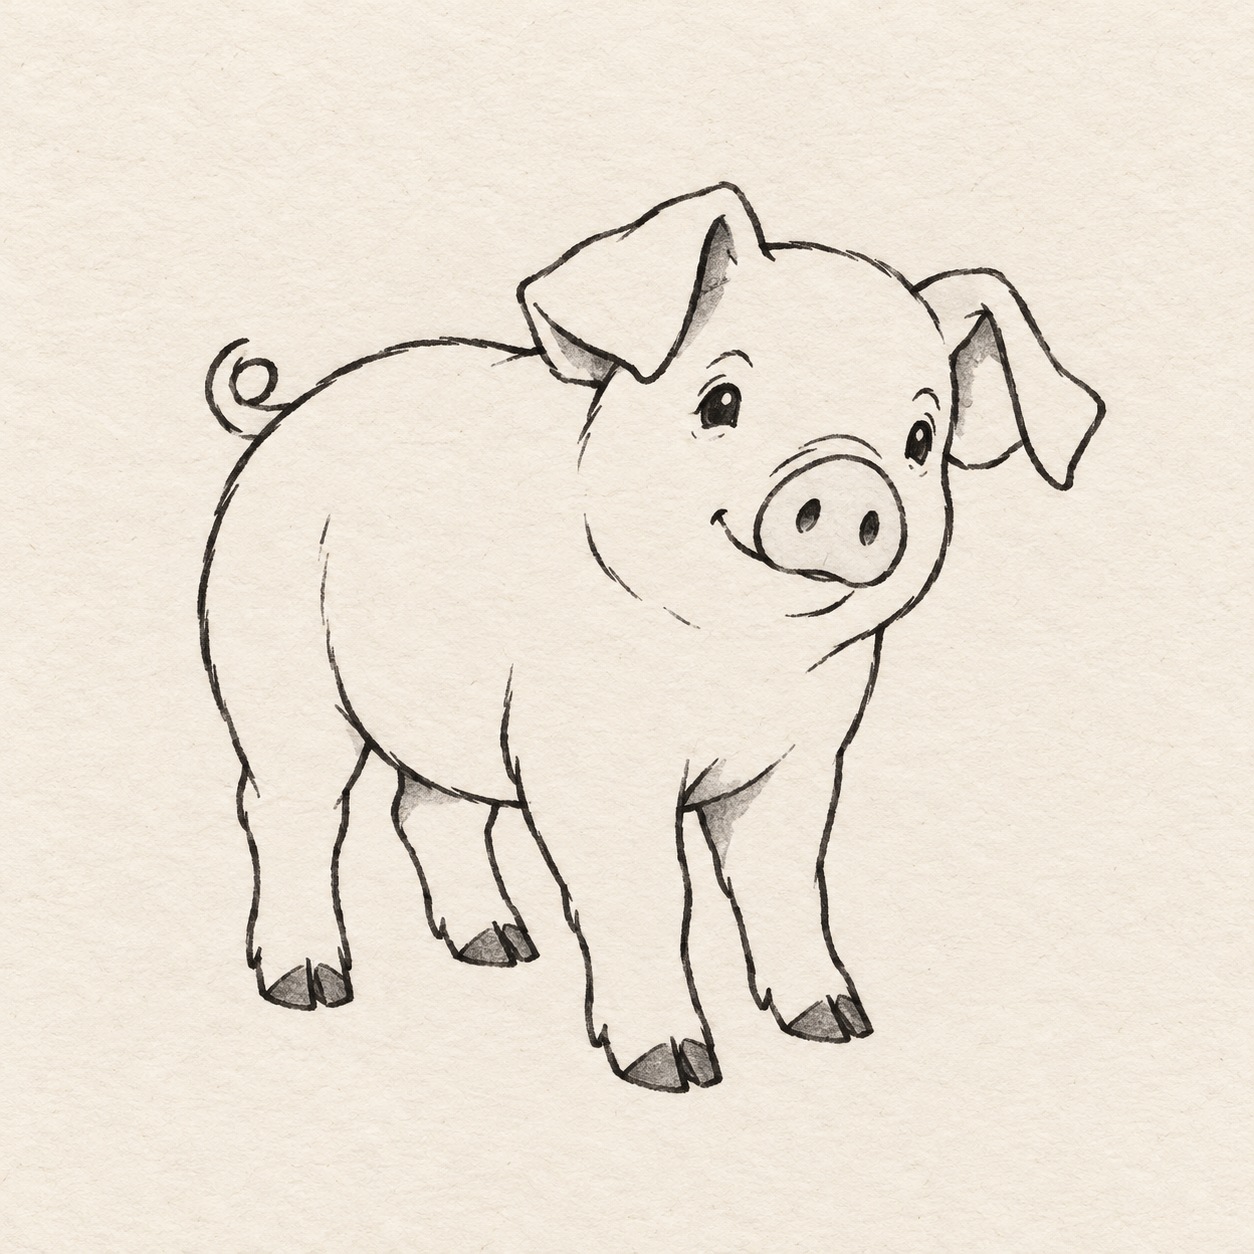
A piglet with a little curled tail
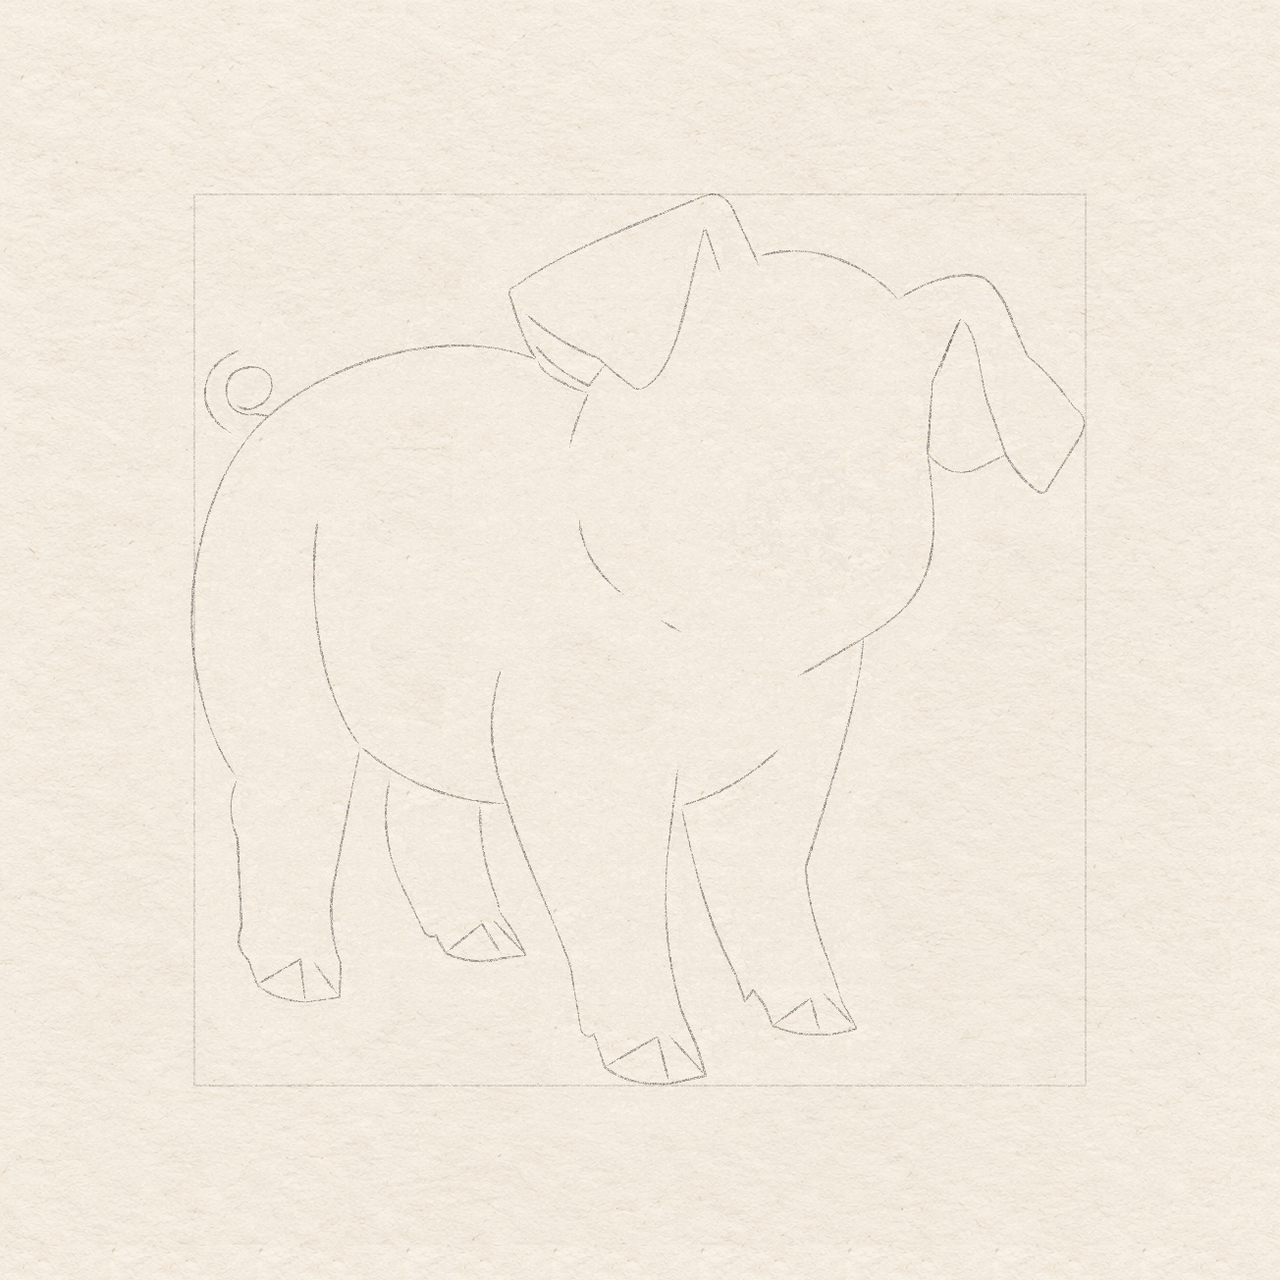
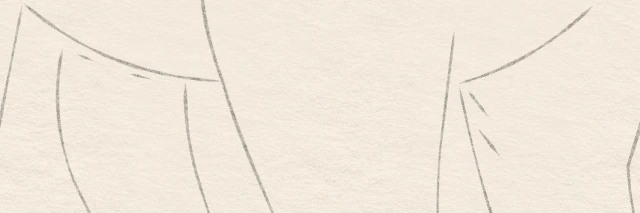
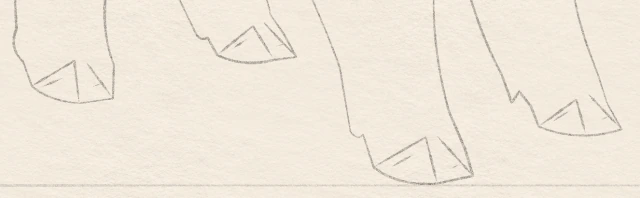
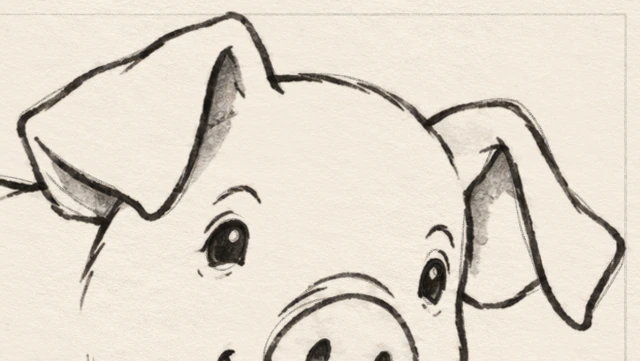
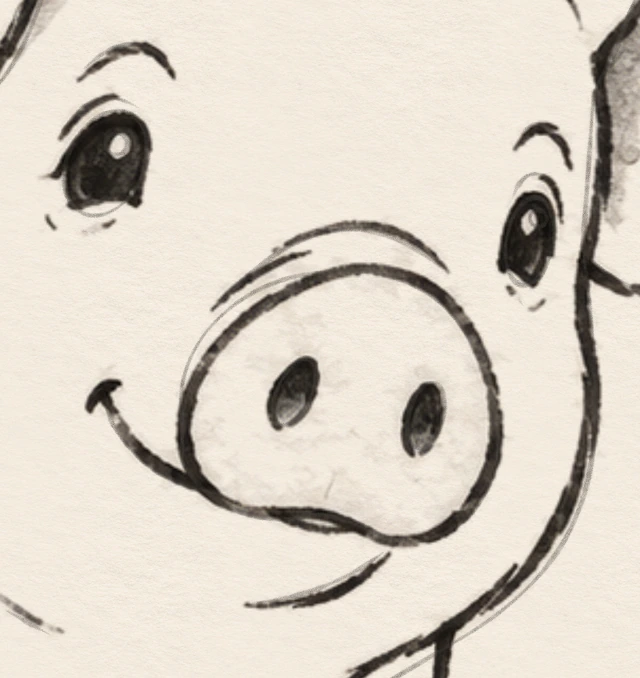
Practice a pig with clear forms and selected overlaps. Place the legs under the body and fold one ear forward. Keep the far legs partly hidden behind the near ones. Add the nostrils, simple hoof divisions and curled tail. Use gray sparingly beneath the folded ear.
Follow the drawing tutorial
Place the broad body and overlapping head, build four legs at their own heights, then select folded ears, a curled tail and small face details before marker.
Start the 9-step tutorialA small thing to tryKeep the snout on the head’s centerline so the face points in the same direction as the body.
Draw it, one step at a time
How to draw this standing pig
Place the broad body and overlapping head, build four legs at their own heights, then select folded ears, a curled tail and small face details before marker.
What you’ll need
- HB pencil
- Ruler marked in centimetres
- Fine black marker
- Light gray marker
- Soft eraser
- Sketchbook paper
- Scrap paper for drying tests
Before you start
Picture-left and picture-right mean the sides of your page. Across/down measurements begin at the top-left of the same light 10 cm square and are approximate. Use a ruler to locate points, then rehearse and draw curves by hand. The two construction ovals and leg direction guides locate volume and direction; they are explicitly removed before the face and are never permanent contours. Put this 10 cm working square where you want the pig, leaving clear paper around it; centring is optional.
Step 1 of 9 · Pencil
Place the body and head

Drawing 1A — Leave space for all four feetView larger Instructions for Drawing 1A — Leave space for all four feet
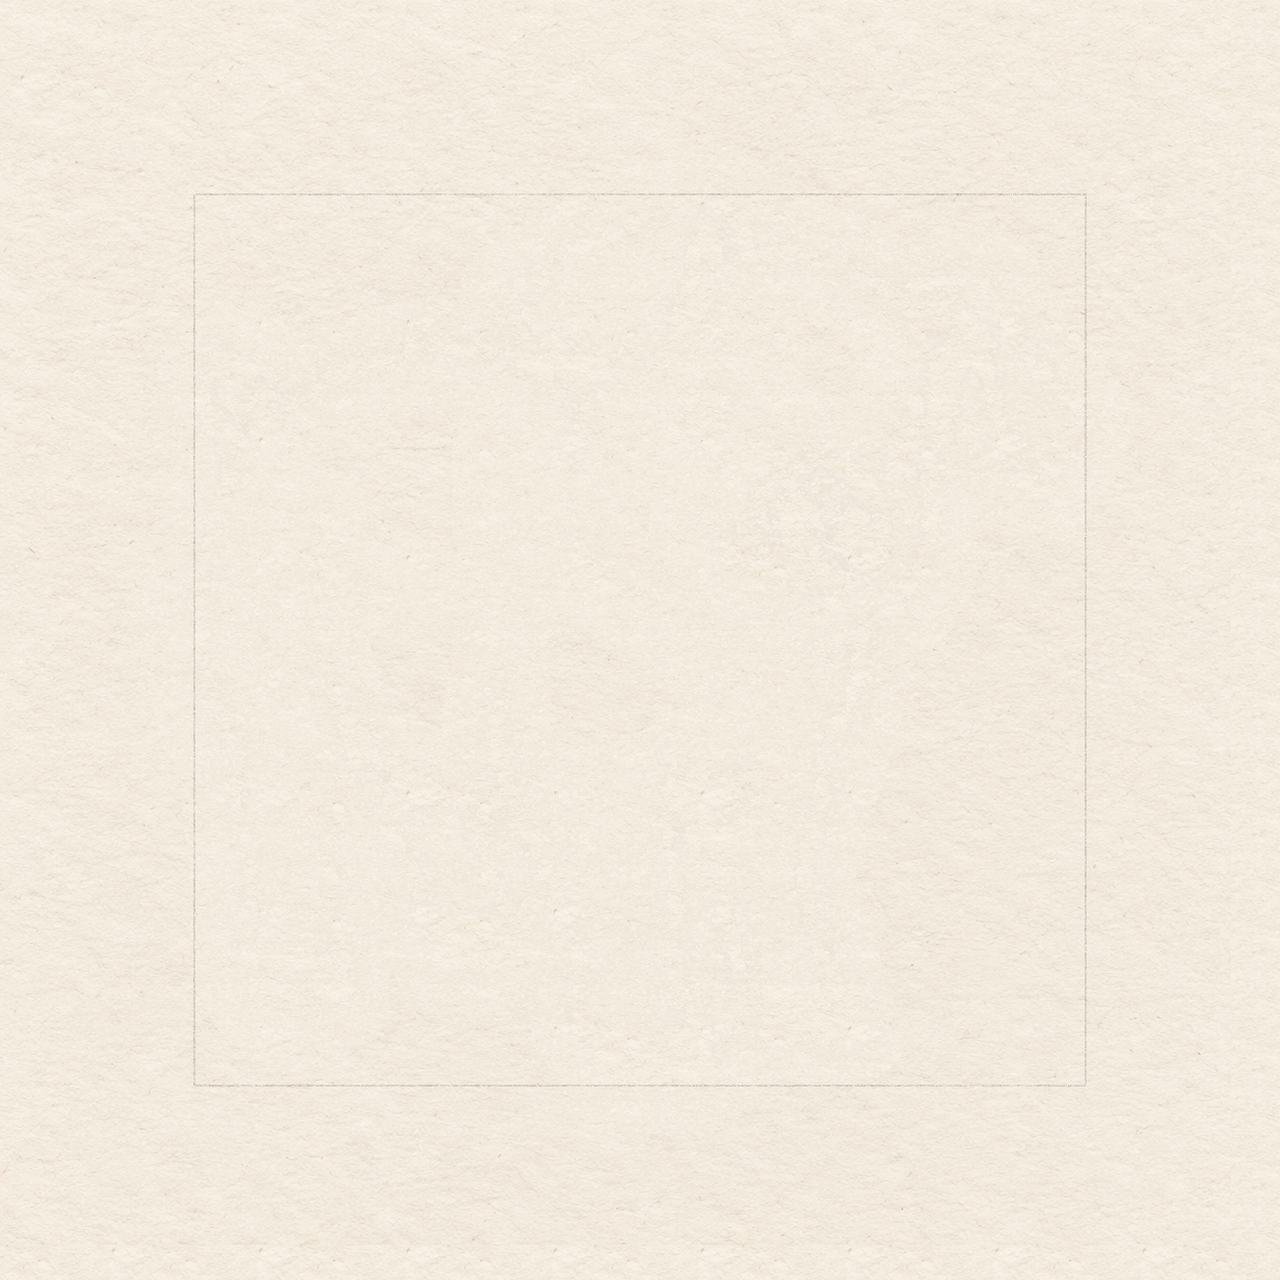
- Choose where you want the 10 cm working square, leaving clear paper on every side. With a ruler and light pencil, draw a 10 cm horizontal top edge. From each end, draw a 10 cm side straight down, then join their lower ends.
- All across/down locations begin at this square’s top-left. Use a ruler to place points, then draw the curves by hand.
- Check new points from the opposite edge too. Correct a misplaced point in pencil before joining it; a few millimetres of variation is fine.

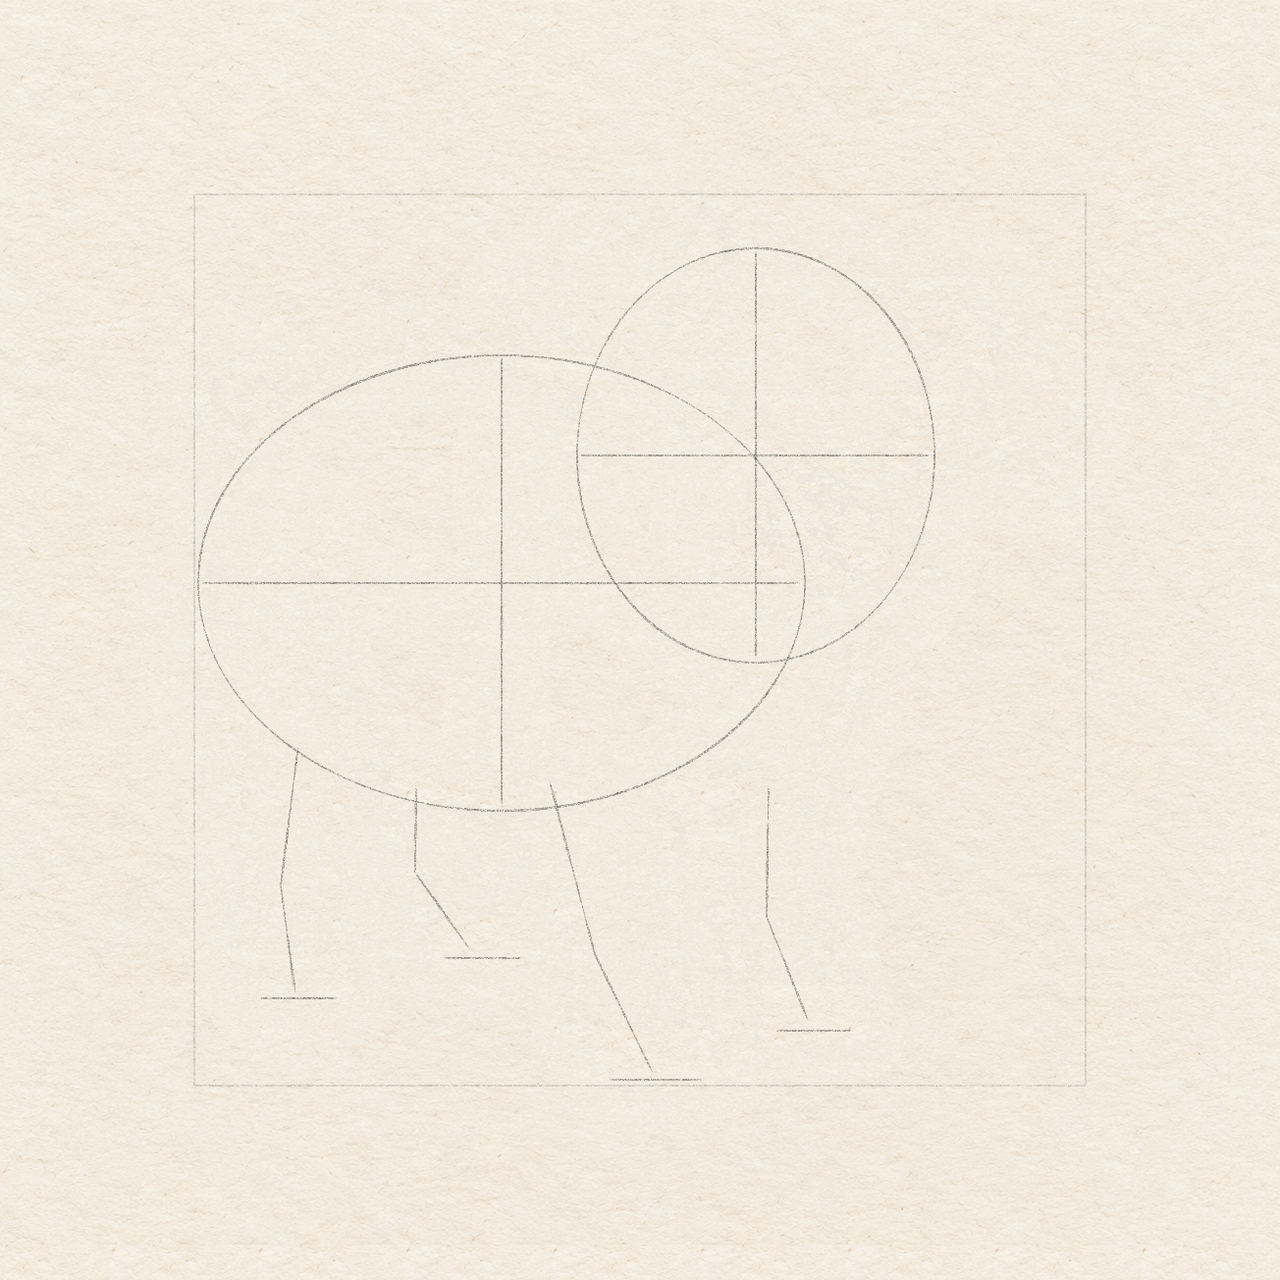
Drawing 1B — Place the broad bodyView larger Instructions for Drawing 1B — Place the broad body
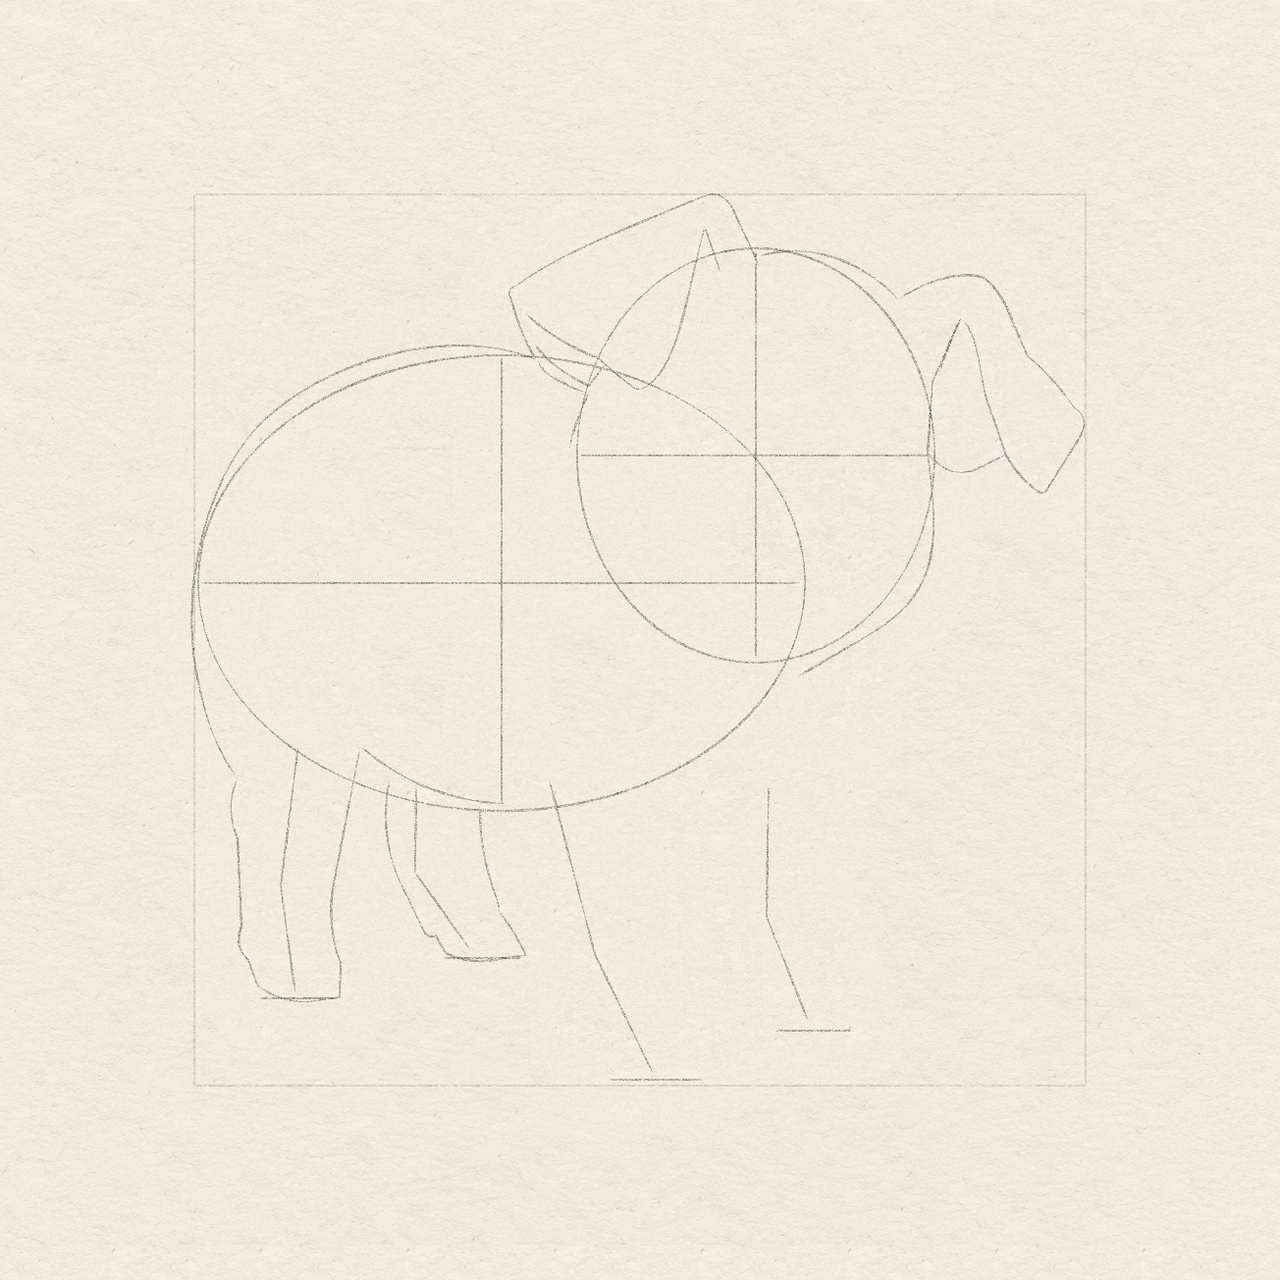
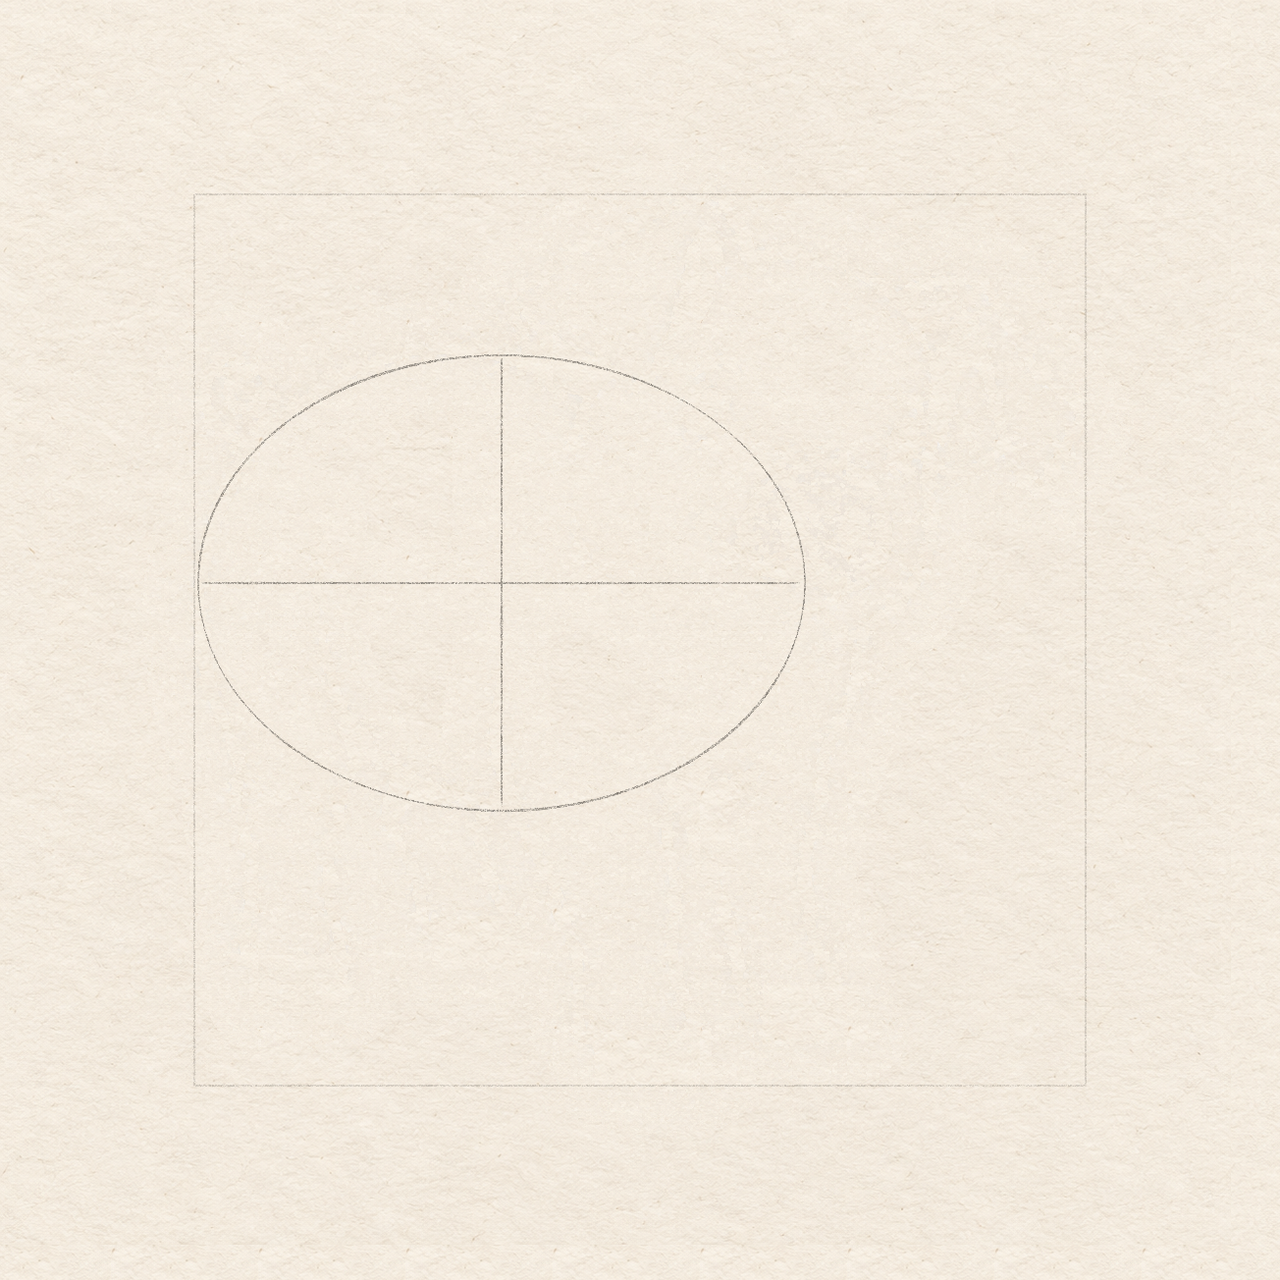
- To place the pig’s body, first mark its centre dot about 3.5 cm from the square’s left edge and 4.4 cm below its top edge.
- For the body’s width, draw a light horizontal guide through this dot. Start just inside the square’s left edge and stop about 6.8 cm from that same edge.
- For its height, draw a light vertical guide through the same dot. Put the top end 1.8 cm below the square’s top edge and the bottom end 6.9 cm below that edge.
- Now draw a broad oval freehand around the cross, touching all four guide ends. Curve between the ends; do not trace along the straight guides.
- Keep the oval light: it only locates the body’s bulk. If it looks too narrow or tall, erase and adjust the curve before adding the head.

Drawing 1C — Overlap the upright headView larger Instructions for Drawing 1C — Overlap the upright head
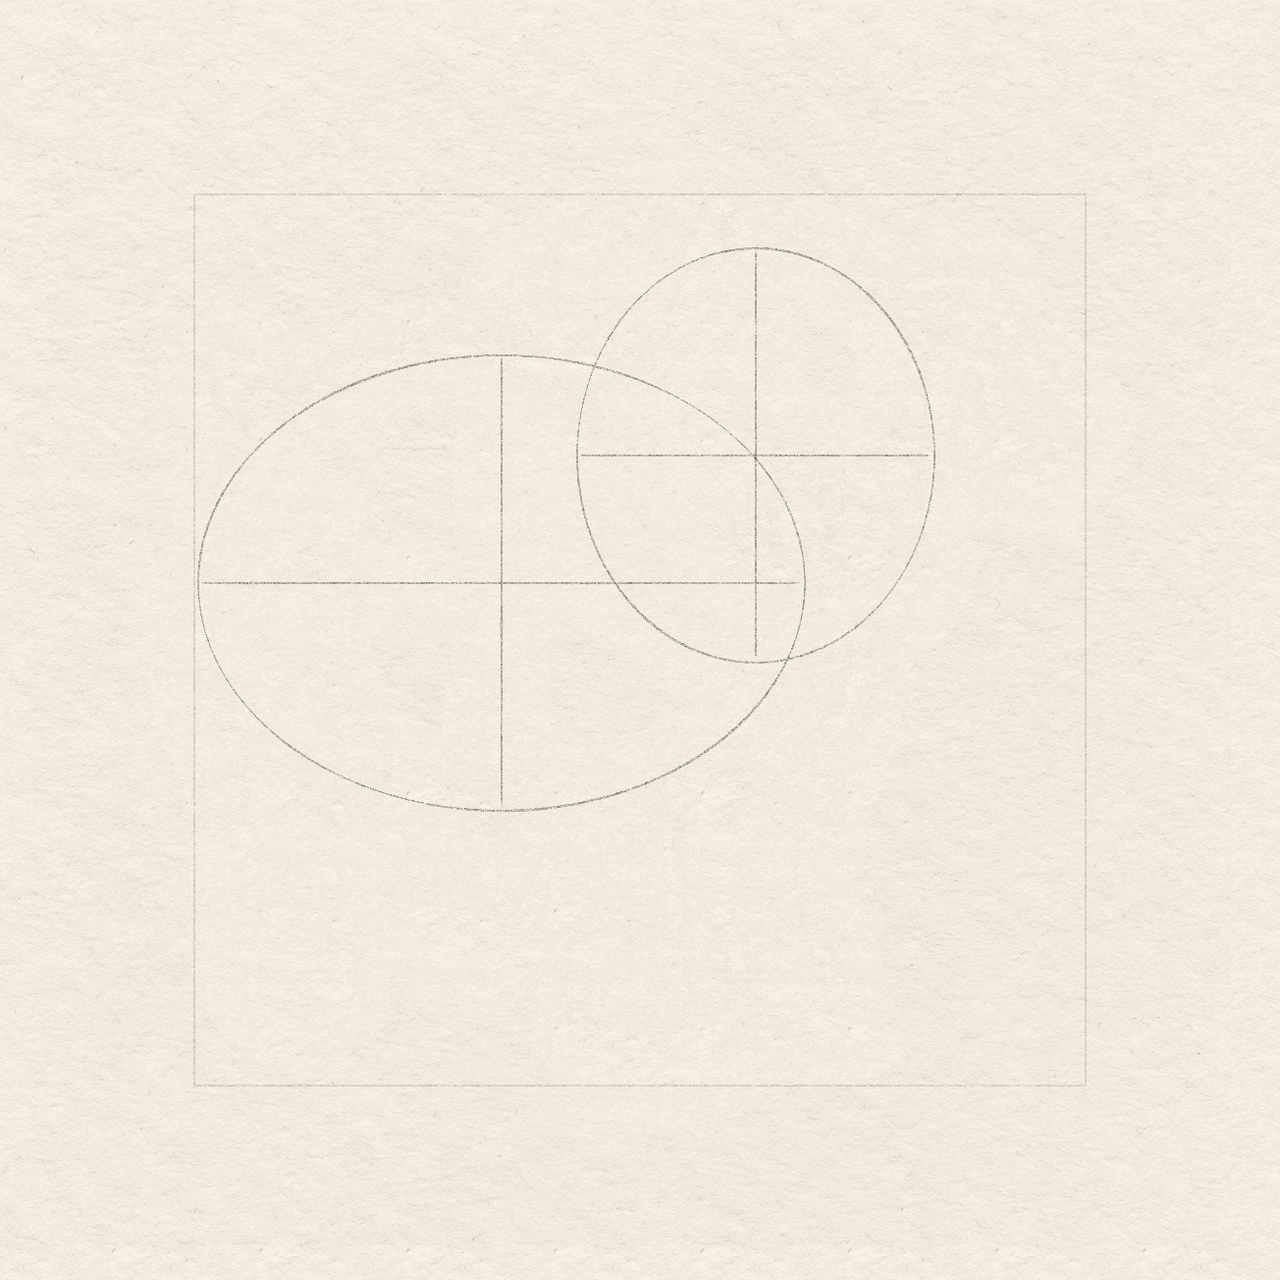
- Next place a separate upright oval for the head. Start with its centre dot about 6.3 cm from the square’s left edge and 2.9 cm below its top edge.
- Draw a light horizontal guide through this dot, from 4.3 cm to 8.3 cm across the square. It sets the head oval’s width.
- Draw a light vertical guide through the same dot, from 0.6 cm to 5.2 cm below the square’s top edge. It sets the oval’s height.
- Draw an upright oval freehand around this cross, touching its four ends. Let it overlap the body oval; keep both crosses and both ovals light for now.
- Compare the two ovals: the head is narrower and higher than the body. Correct its position in pencil before adding ears or legs.
Step 2 of 9 · Pencil
Locate the four legs

Drawing 2A — Set four separate foot positionsView larger Instructions for Drawing 2A — Set four separate foot positions
- First draw four faint bent centre lines, one down the middle of each future leg. These only set direction, not the outside edges. For the near back leg, join points about 1.2 cm across and 6.2 cm down, then 1 cm across and 7.8 cm down, then 1.1 cm across and 9 cm down.
- For the farther back leg’s guide, join points about 2.5 cm across and 6.6 cm down, then 2.5 cm across and 7.6 cm down, then 3.1 cm across and 8.5 cm down.
- For the nearer front leg’s guide, join points about 4 cm across and 6.5 cm down, then 4.5 cm across and 8.5 cm down, then 5.2 cm across and 9.9 cm down.
- For the farther front leg’s guide, join points about 6.4 cm across and 6.6 cm down, then 6.4 cm across and 8.1 cm down, then 6.9 cm across and 9.3 cm down.
- Across each guide’s lower endpoint, draw a short horizontal line about 1 cm wide, centred on that endpoint. These mark four separate foot levels. Keep the nearer front level lowest and the farther back level highest.
Step 3 of 9 · Pencil
Choose body, head and ears

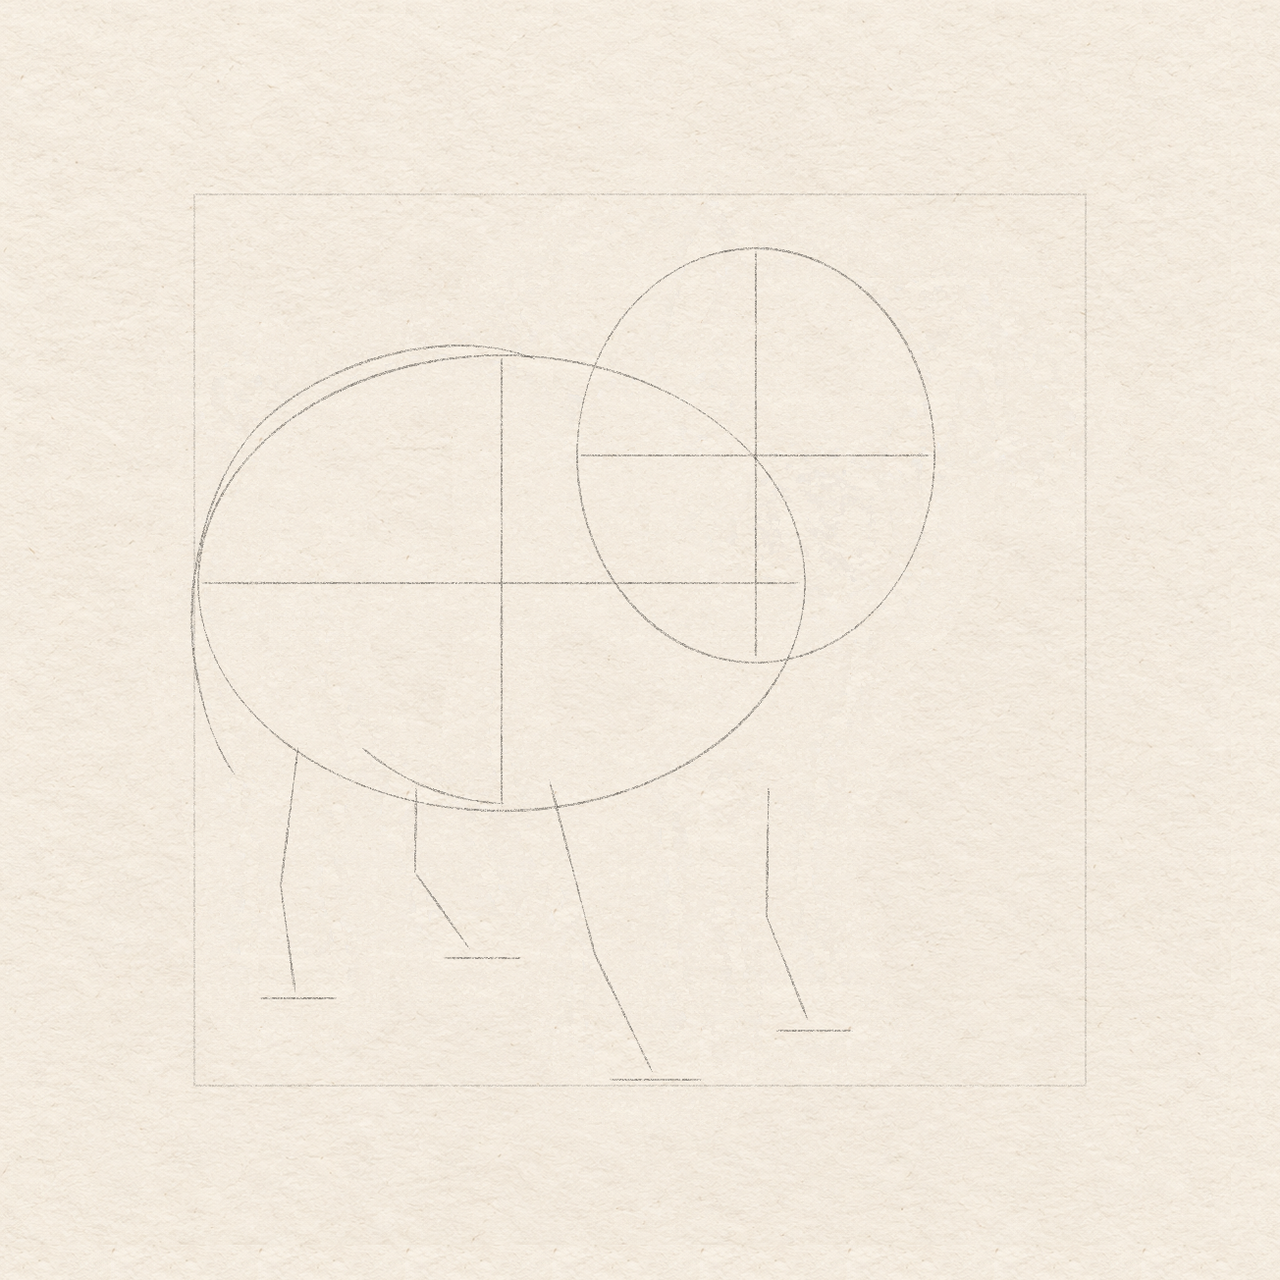
Drawing 3A — Choose the visible back and bellyView larger Instructions for Drawing 3A — Choose the visible back and belly
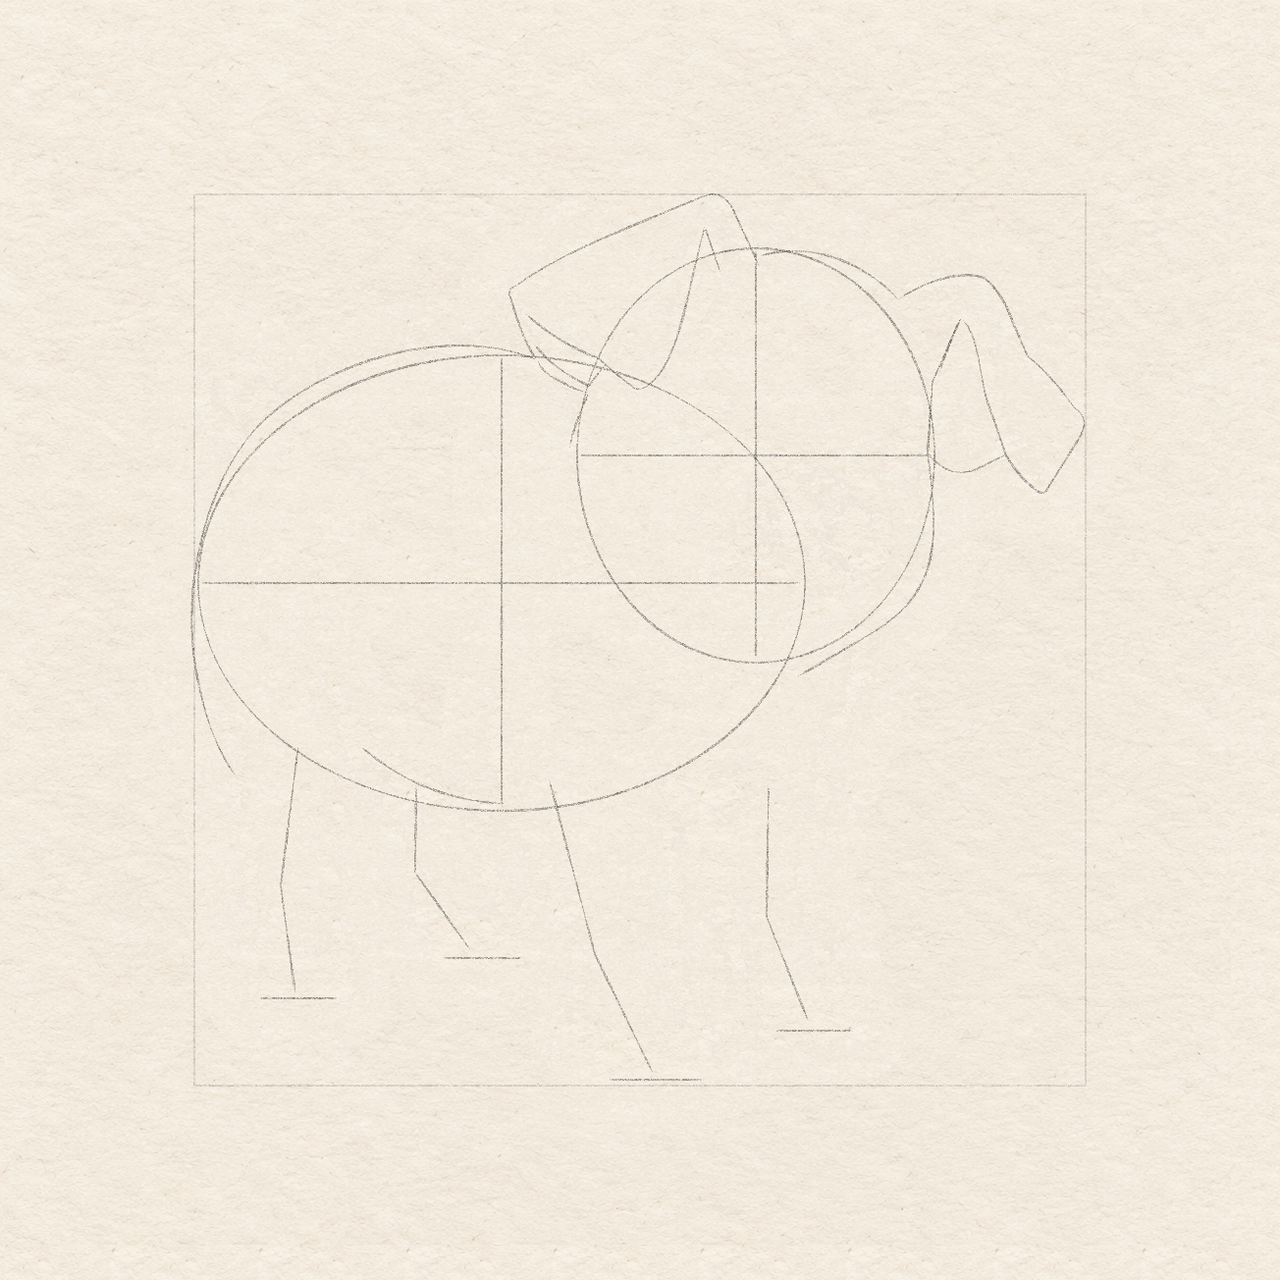
- Start the back about 3.85 cm across and 1.85 cm down. Curve left over the body oval, rising slightly above it, then round down the left side.
- Bring that side to about 0.5 cm across and 6.55 cm down, beside the first back-leg guide. Do not close the oval across the legs.
- For the short belly edge, start about 1.85 cm across and 6.2 cm down. Bow down-right to 3.5 cm across and 6.85 cm down.
- Leave the rest of the belly open for the front legs. These selected edges replace parts of the oval; keep the oval itself light and temporary.

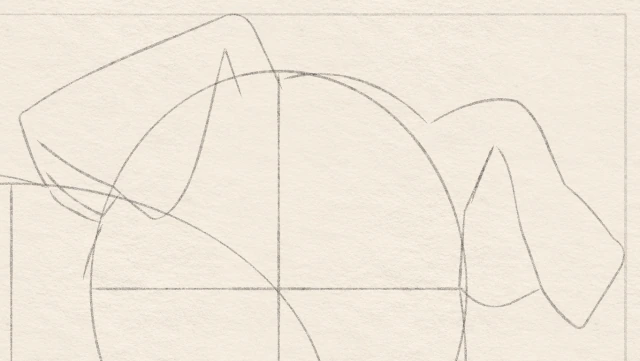
Drawing 3B — Shape the head and folded earsView larger 
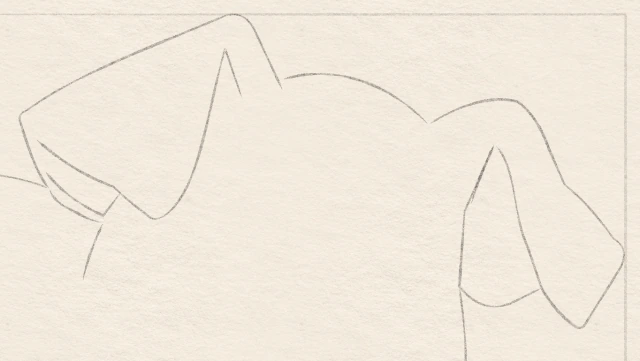
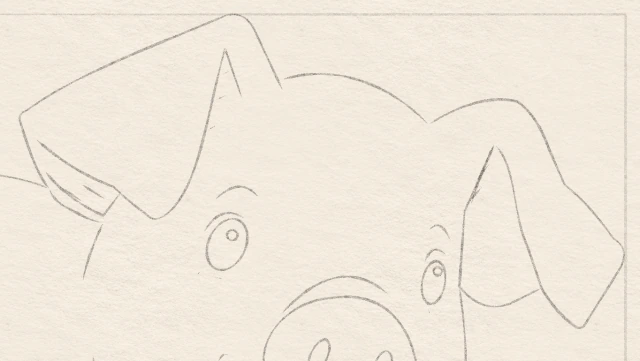
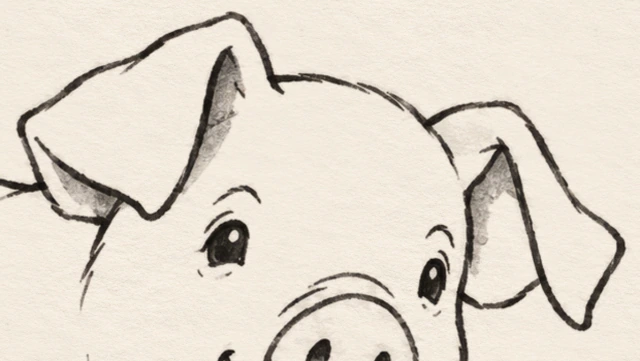
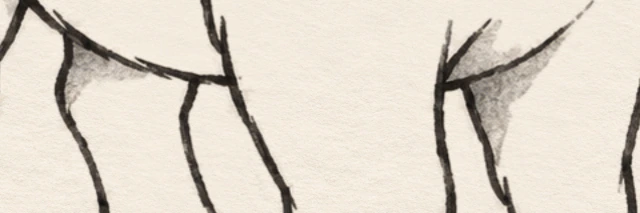
Detail 3B.1 — The two different ear foldsEnlarged from this same stage. Follow each visible return separately; keep the narrow inside strips distinct from the outer flaps. Instructions for Drawing 3B — Shape the head and folded ears
- Draw the crown from about 6.35 cm across and 0.7 cm down to 7.9 cm across and 1.2 cm down. Let it bow above the head oval.
- On the right, curve from 8.25 cm across and 2.9 cm down around the cheek to 6.75 cm across and 5.4 cm down. Add the short left side of the head from 4.45 cm across and 2.2 cm down to 4.2 cm across and 2.85 cm down.
- For the left ear, join the existing back start up-left to 3.55 cm across and 1.15 cm down, then up-right to 5.85 cm across at the square’s top. Round that high corner into the crown.
- Start about 2 mm down-right of the left ear’s upper-left bend, near 3.7 cm across and 1.3 cm down. Curve freehand down-right to 5 cm across and 2.1 cm down.
- Turn up-right to 5.7 cm across and 0.4 cm down. Finish with a short turn down-right to 5.9 cm across and 0.9 cm down.
- For the right ear, start at the crown’s right end. Bow up-right to 8.85 cm across and 0.95 cm down, then down-right to the square’s right edge about 2.5 cm down. Round into a hanging tip about 9.5 cm across and 3.35 cm down.
- From the hanging tip, turn the outside edge back up-left through about 9 cm across and 2.5 cm down to the high fold point at 8.6 cm across and 1.4 cm down.
- For the right inside ear curve, start at 8.6 cm across and 1.4 cm down. Curve freehand down-left to about 8.2 cm across and 2.9 cm down.
- Bow down-right, then back up to meet the hanging edge near 9.1 cm across and 2.9 cm down.
- Below the left ear, draw a short lower return from the existing back/ear join near 3.8 cm across and 1.9 cm down into the top of the left side of the head near 4.4 cm across and 2.2 cm down.
- Inside that small fold, start near 3.8 cm across and 1.7 cm down. Curve down-right to 4.4 cm across and 2.1 cm down, then turn up-right to 4.6 cm across and 1.9 cm down, meeting the existing inside fold. Keep this line separate from the lower return.
- Locate the right ear’s high fold point, 8.6 cm across and 1.4 cm down. Its inner curve runs down-left toward the head. The long outer edge returning from the hanging tip is a separate line.
- The gray strip beside that inner curve is only about 6 mm long and at most about 1 mm wide. From the high point, draw its short companion freehand down-left on the inner curve’s right side, so the gap opens gradually. Keep the long narrow strip beside the left fold too.
- Compare both ears with the picture: the left folds across the head, the right hangs beside it. Correct the joins in pencil; do not mirror them.
Step 4 of 9 · Pencil
Build the legs and hoof splits

Drawing 4A — Give the two back legs widthView larger Instructions for Drawing 4A — Give the two back legs width
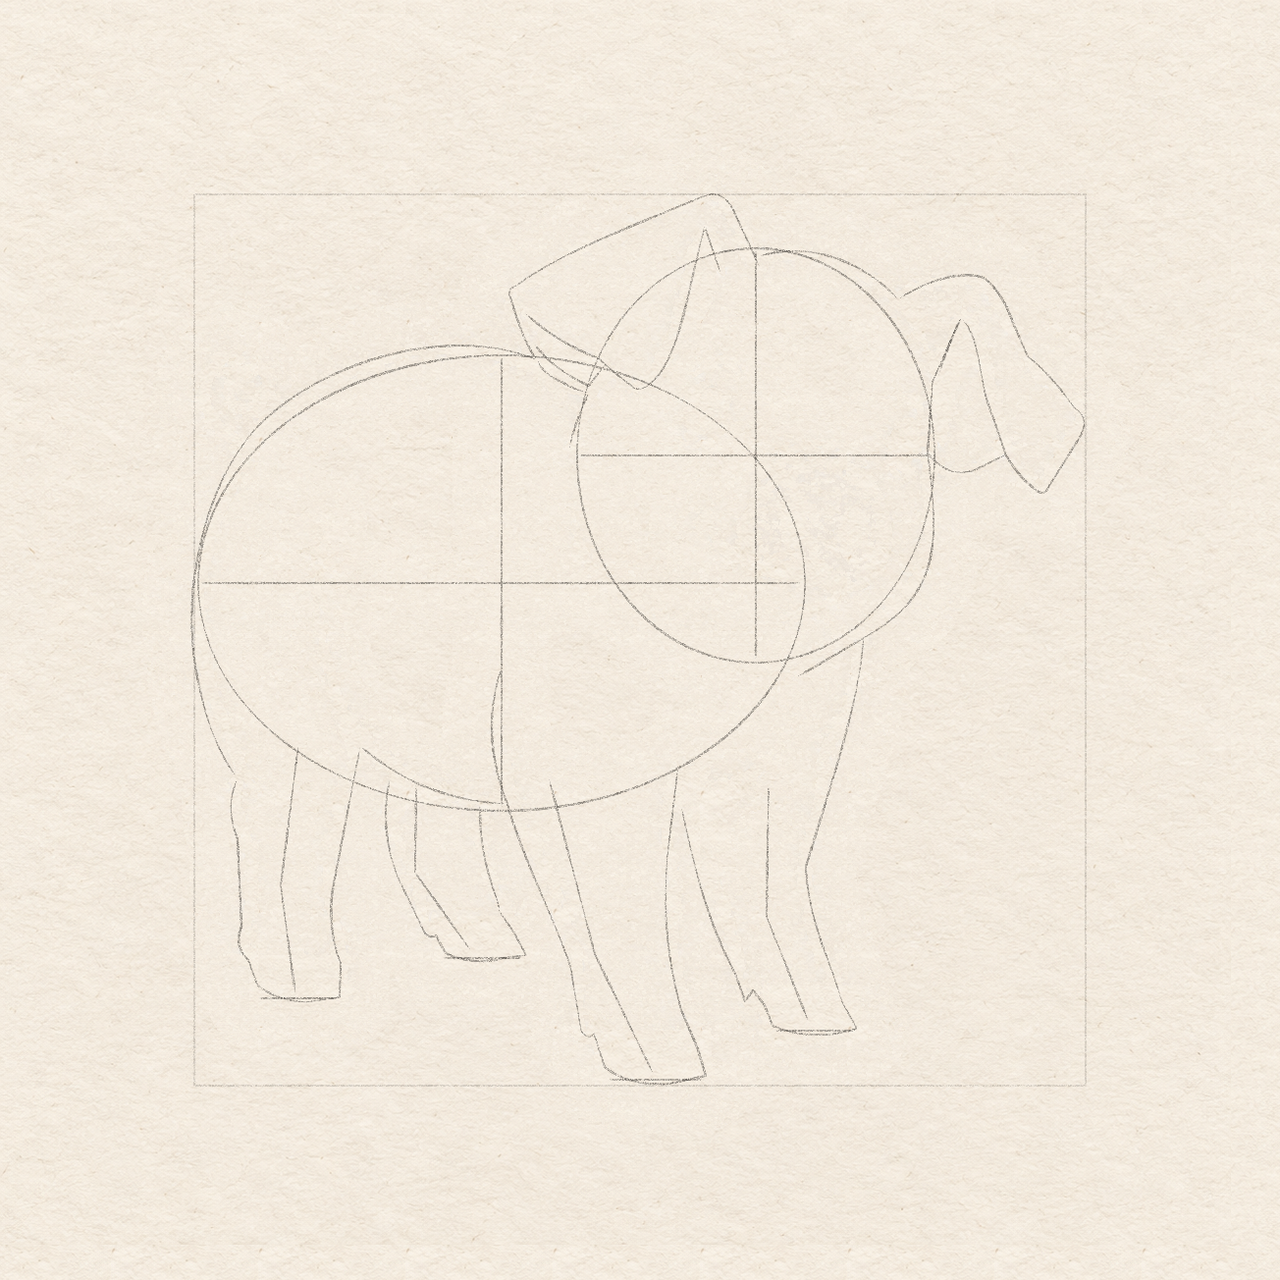
- For the left back leg, follow either side of its bent guide. Join the left body end down to the foot, about 0.7–1.65 cm across and 9 cm down, then curve up to the existing belly’s left start.
- Keep it broad near the body and narrower above the foot. Let each edge bend gently; do not trace the centre line as an edge.
- Start the farther back leg about 2.2 cm across and 6.6 cm down, just below the belly. Curve down to its higher foot, about 2.8–3.75 cm across and 8.55 cm down, then return up to the belly near 3.2 cm across.
- Keep the farther foot higher and farther right. Each foot stays unfilled, ready for its split; repair the leg-to-body joins now.

Drawing 4B — Draw the two front legsView larger Instructions for Drawing 4B — Draw the two front legs
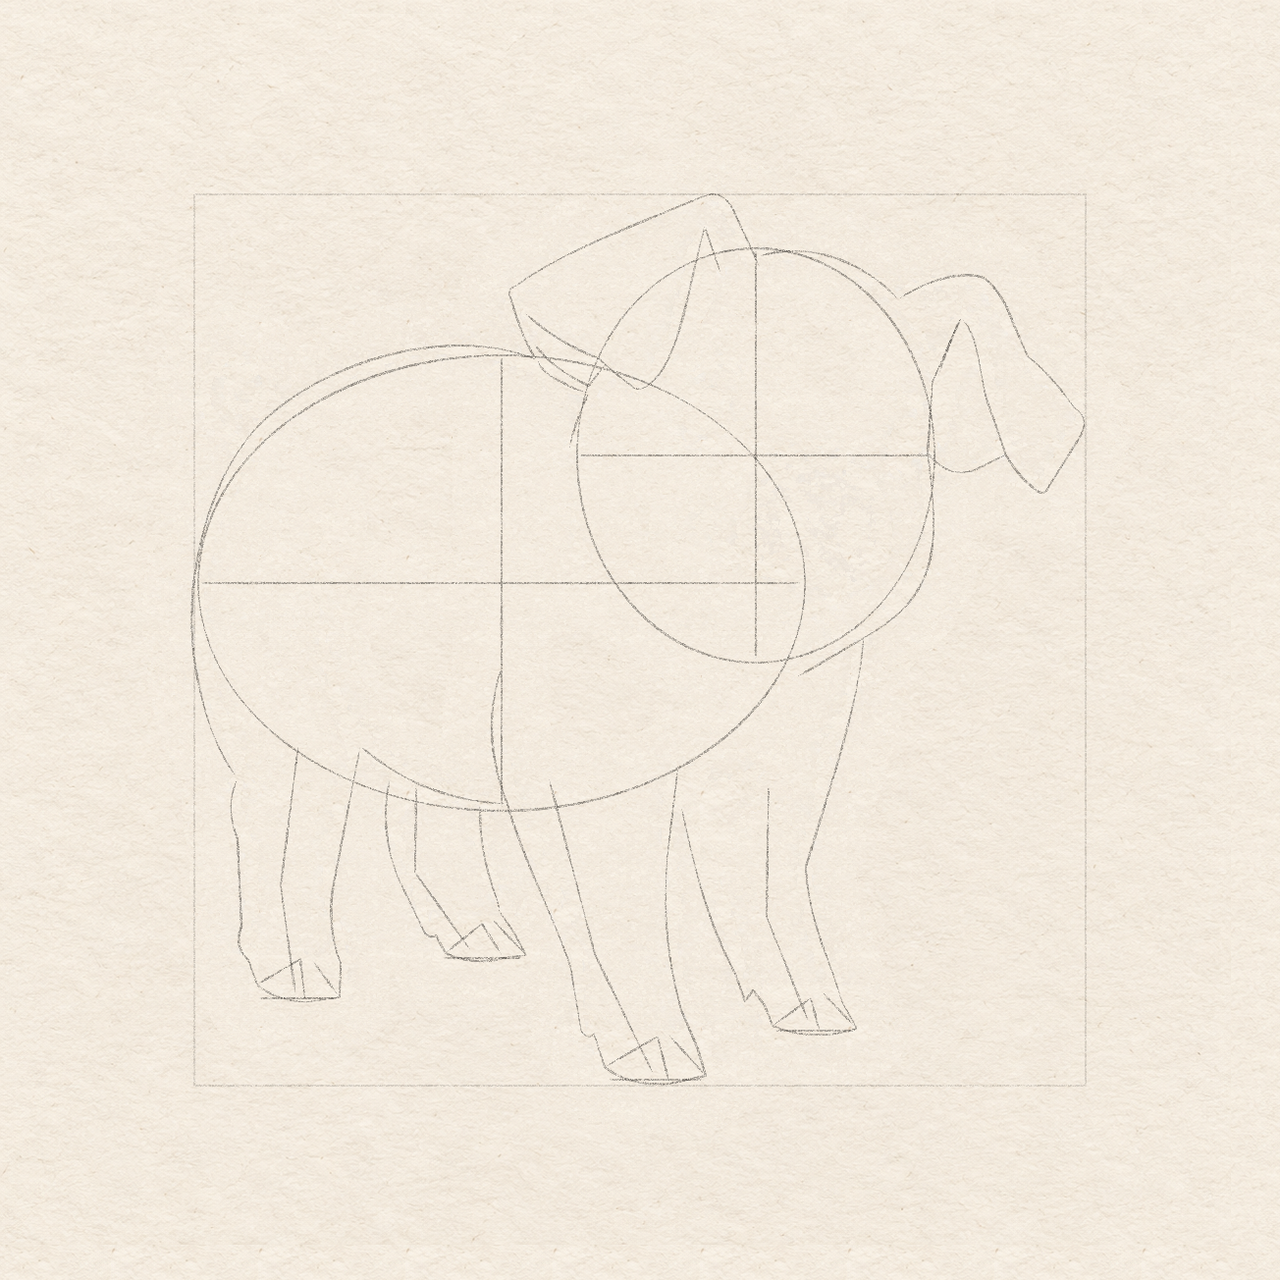
- Start the nearer front leg about 3.45 cm across and 5.3 cm down. Curve left slightly, then down-right past its guide bend to the lowest foot.
- Keep that foot about 4.6–5.75 cm across and 9.9 cm down. Return up its right side to about 5.45 cm across and 6.4 cm down; leave the broad shoulder open.
- Start the farther front leg on the existing cheek, about 7.5 cm across and 5 cm down. Curve down-left beside its guide, then turn into its foot about 6.5–7.45 cm across and 9.35 cm down.
- From that foot’s inner-left corner, go up-left to about 6.3 cm across and 9 cm down. Make a tiny down-left nick about 1 mm long, then continue up-left to about 5.5 cm across and 6.9 cm down. This makes the small notch just above the foot; keep the lower-leg gap open.
- Compare all four feet before committing. The lowest nearer front foot stays left of the other front foot; none of the centre guides becomes a permanent edge.

Drawing 4C — Split each foot into two tipsView larger 
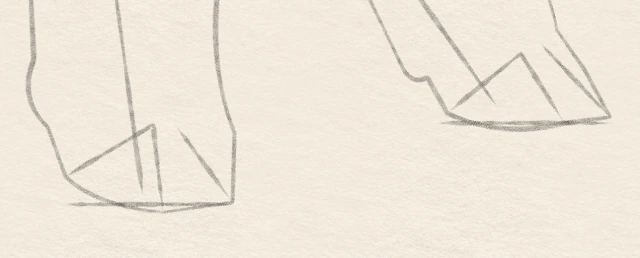
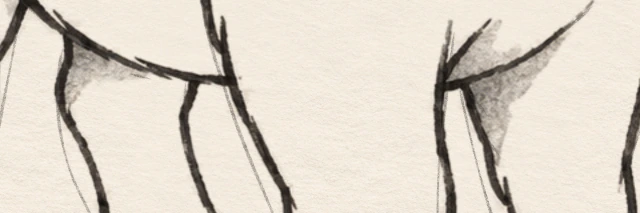
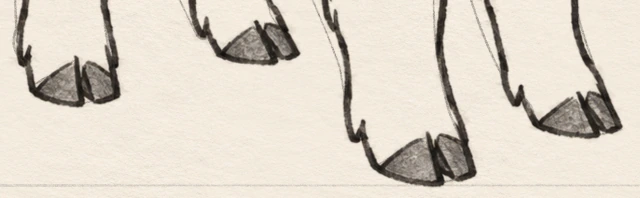
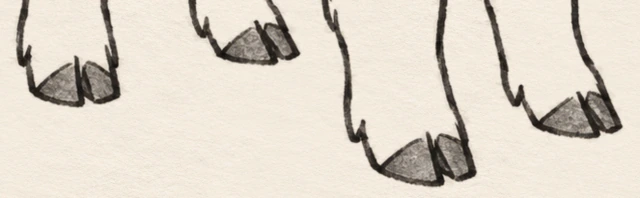
Detail 4C.1 — The two back hoof splitsEnlarged from this same stage. Each foot has two tips separated by a small pale cleft. 
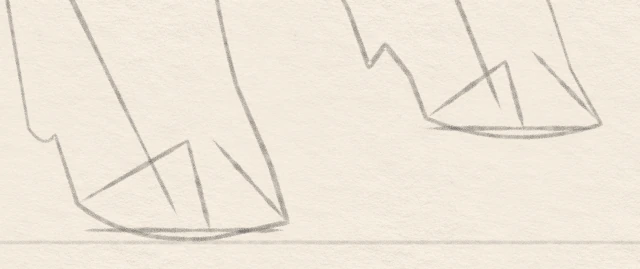
Detail 4C.2 — The two front hoof splitsEnlarged from this same stage. The nearer foot is lower; keep its split separate from the farther one. Instructions for Drawing 4C — Split each foot into two tips
- Work on one foot at a time. From its lower-left corner, slope up-right to a high point near the foot’s middle, about 4–5 mm above its local base for a nearer foot and a little less for a farther foot.
- Return down to the foot base a little past the middle, roughly two-thirds of the way across from its left corner. This makes the first hoof tip.
- Place a second high point about 1 mm right of the first. Draw down-right from it to the foot’s outer-right corner. Keep a narrow paper cleft between the two descending lines.
- Repeat within each foot’s own width and tilted base. Keep the nearer tips broader; do not put all four splits on one horizontal line.
- Check that every foot has two readable tips and a pale central cleft. Erase and reopen a crowded split in pencil before marker.
Step 5 of 9 · Eraser
Clear the construction guides

Drawing 5A — Clear the temporary mass linesView larger 
Detail 5A.1 — The two different ear foldsEnlarged from this same stage. Follow each visible return separately; keep the narrow inside strips distinct from the outer flaps. Instructions for Drawing 5A — Clear the temporary mass lines
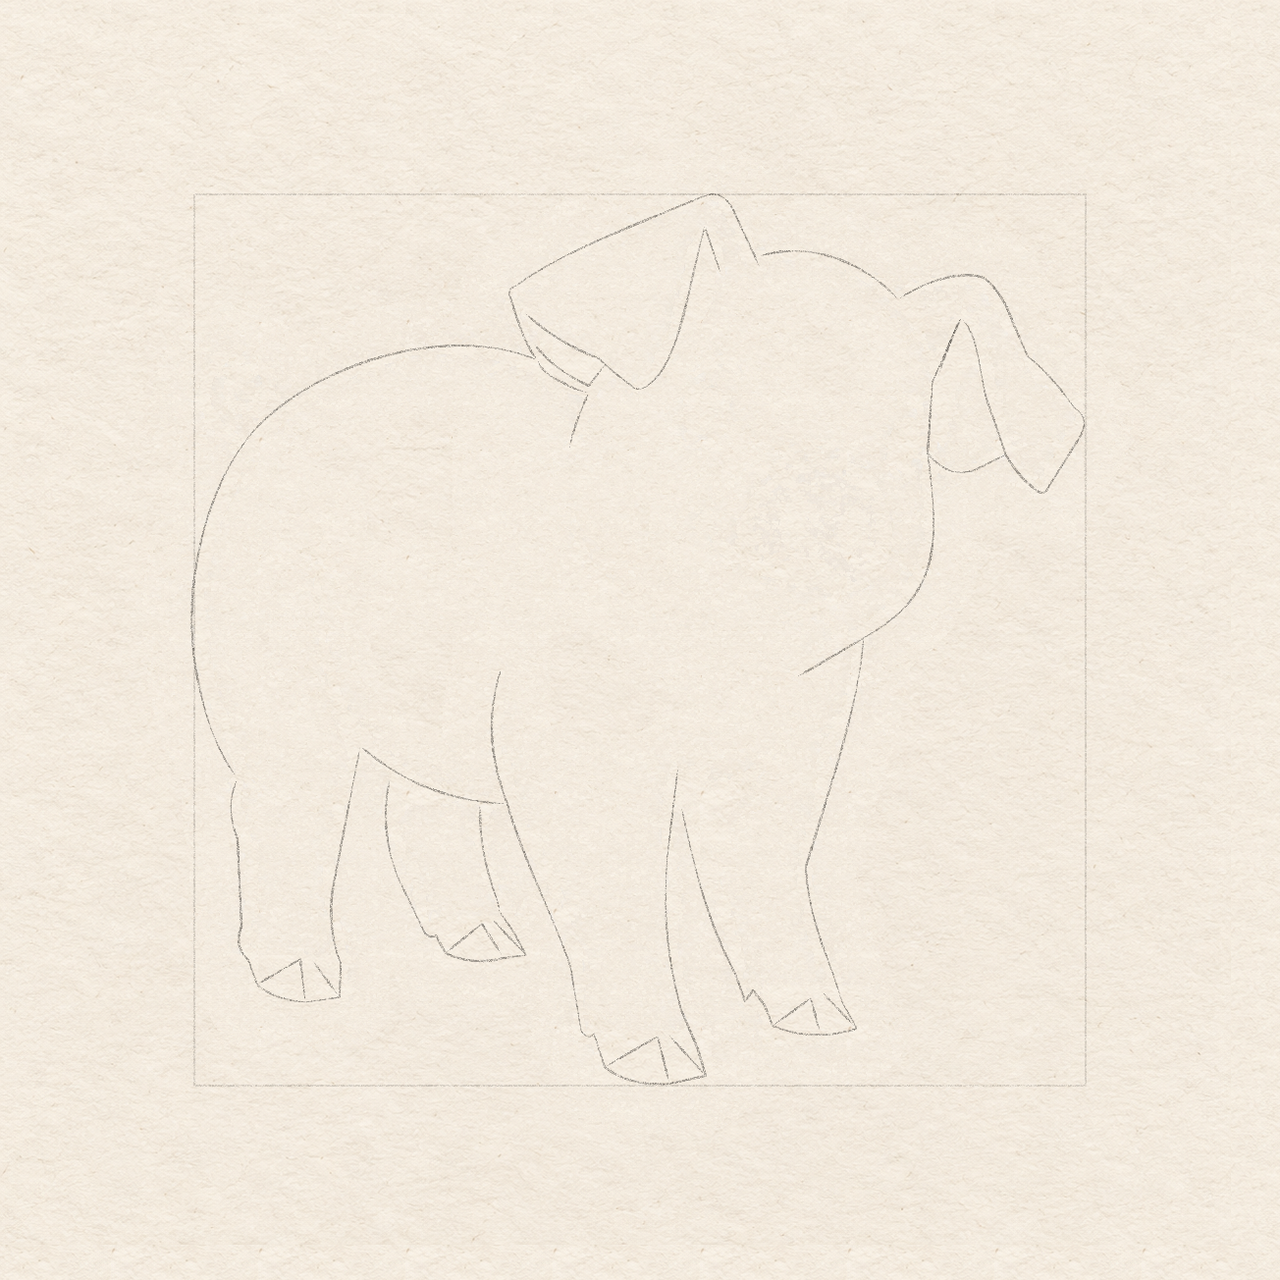
- Check that the chosen body, head, ears and four leg edges are visible. Darken only a faint chosen pencil edge if you need to distinguish it.
- Gently erase the two big ovals and their centre guides, the four leg centre lines and the four foot ticks. Keep the square and every chosen contour.
- Use short eraser touches near overlaps. If you lift a chosen edge, restore it from the adjacent visible contour before placing the face.
Step 6 of 9 · Pencil
Add tail and body accents

Drawing 6A — Add the curl and body accentsView larger Instructions for Drawing 6A — Add the curl and body accents
- For the inner tail curl, start near 0.9 cm across and 2.5 cm down. Curve left, up, right and down clockwise in a small loop about 6 mm wide. Stop inside the curl, leaving its end open.
- To its left, add a separate open C-curve. Start near 0.5 cm across and 1.8 cm down, bow left and down, then stop near 0.4 cm across and 2.7 cm down. Leave a small paper gap between the two curves.
- Inside the body, start about 1.4 cm across and 3.65 cm down. Curve down, then right into the existing near back-leg join at the belly.
- Inside the left cheek, add a short bow from about 4.3 cm across and 3.65 cm down to 4.85 cm across and 4.5 cm down. Add a separate small dash lower-right, near 5.3 cm across and 4.85 cm down.
- From the existing top of the far front-leg inside edge, curve up-right about 1.1 cm. Keep this short chest overlap separate from the long cheek curve.
- Keep the body open. Small breaks in these accent strokes may vary; do not add hair or fill the broad body with texture.
Step 7 of 9 · Pencil
Select the face details

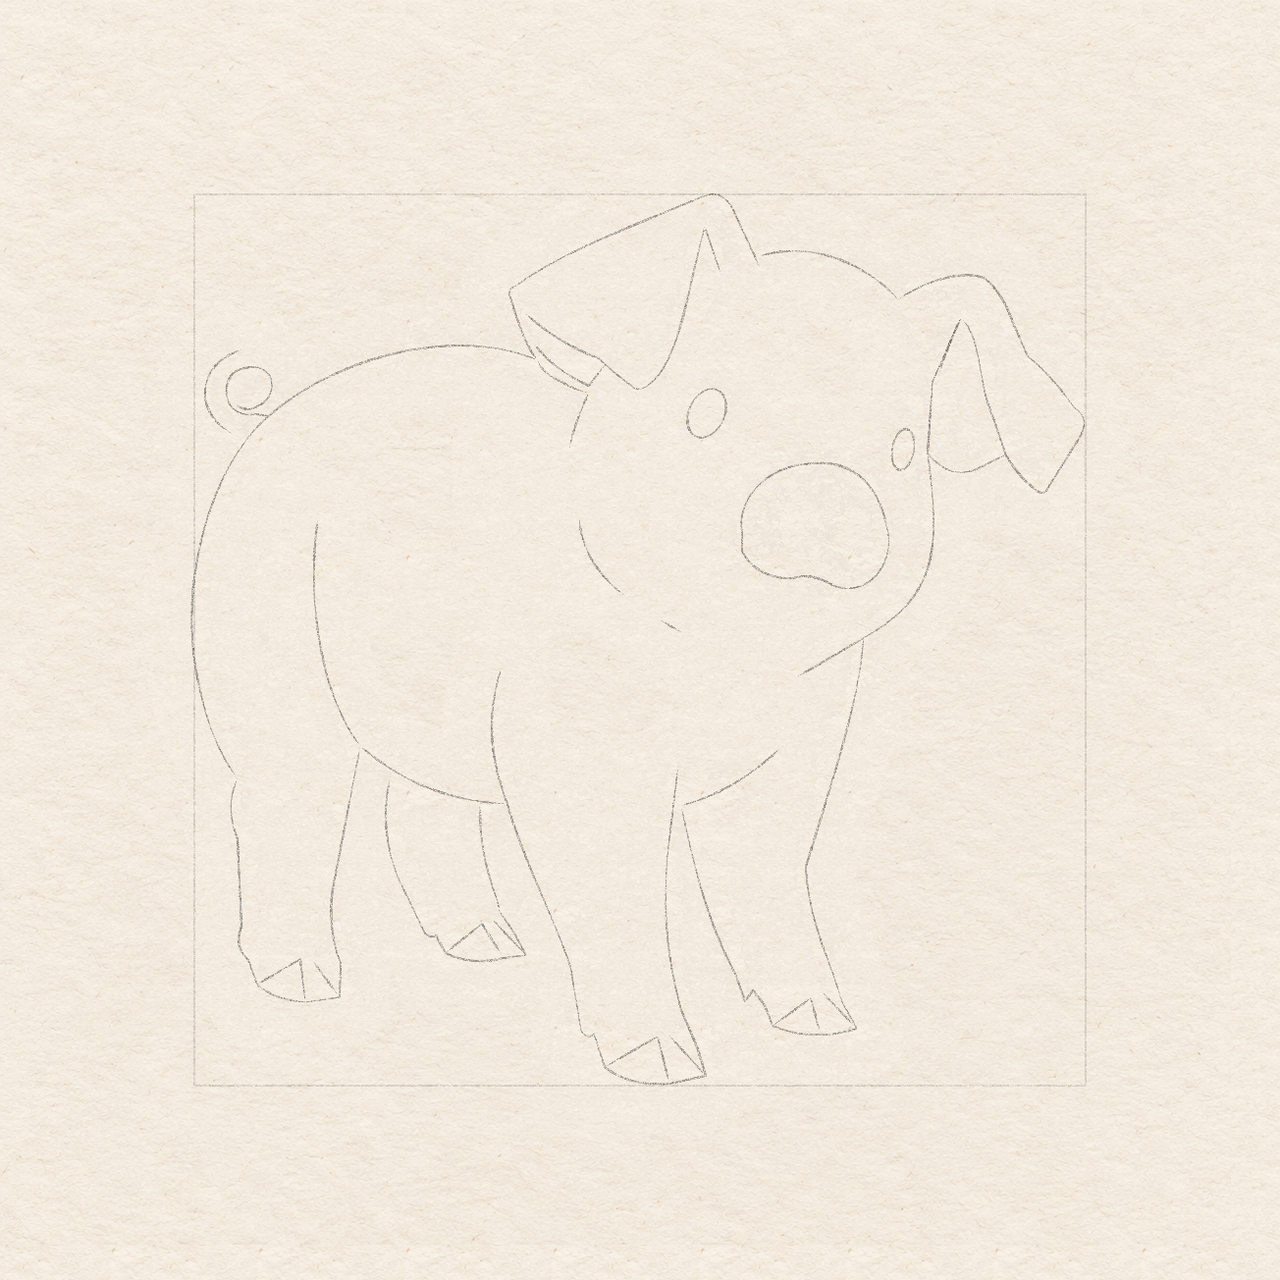
Drawing 7A — Place the snout and eye openingsView larger 
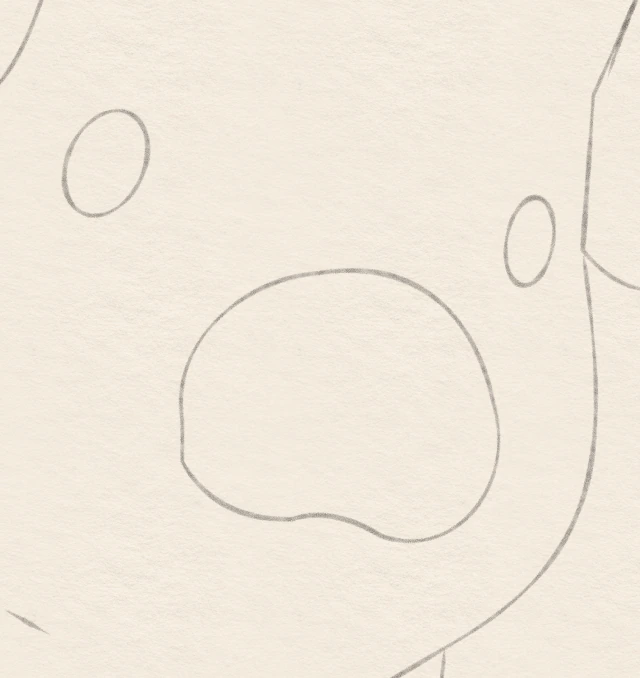
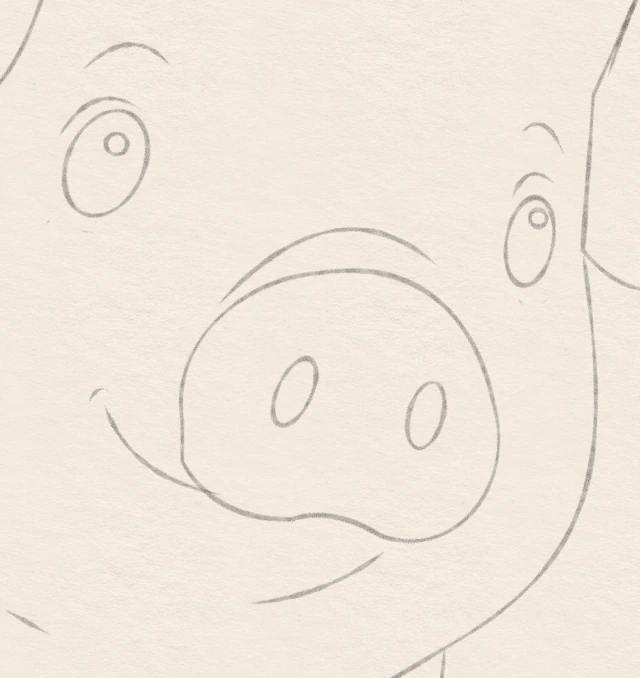
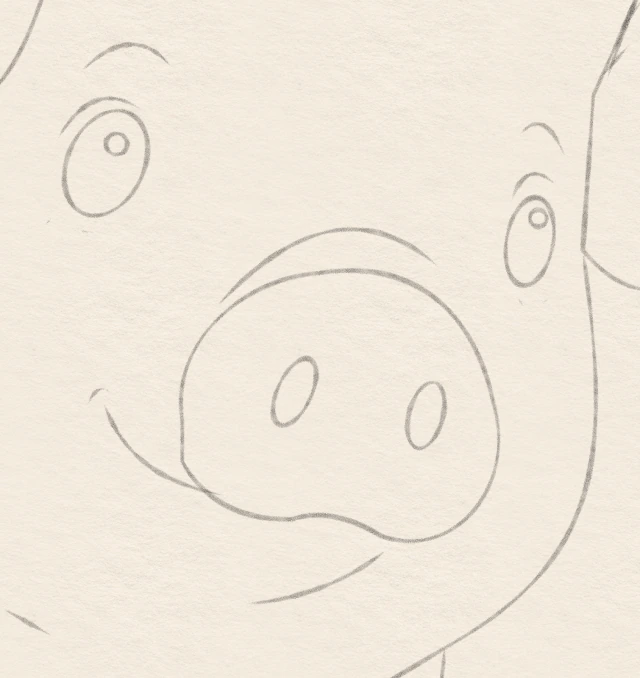
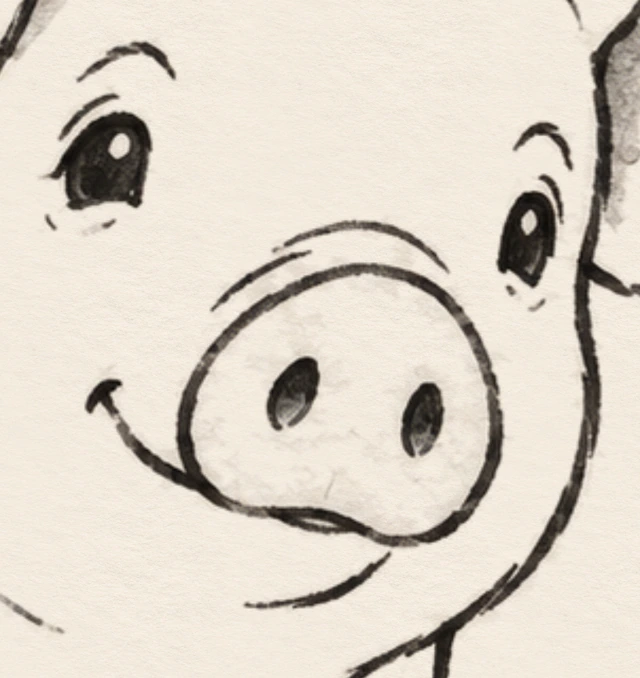
Detail 7A.1 — Eyes, snout and small face marksEnlarged from this same stage. Select the small marks in pencil before permanent black. Instructions for Drawing 7A — Place the snout and eye openings
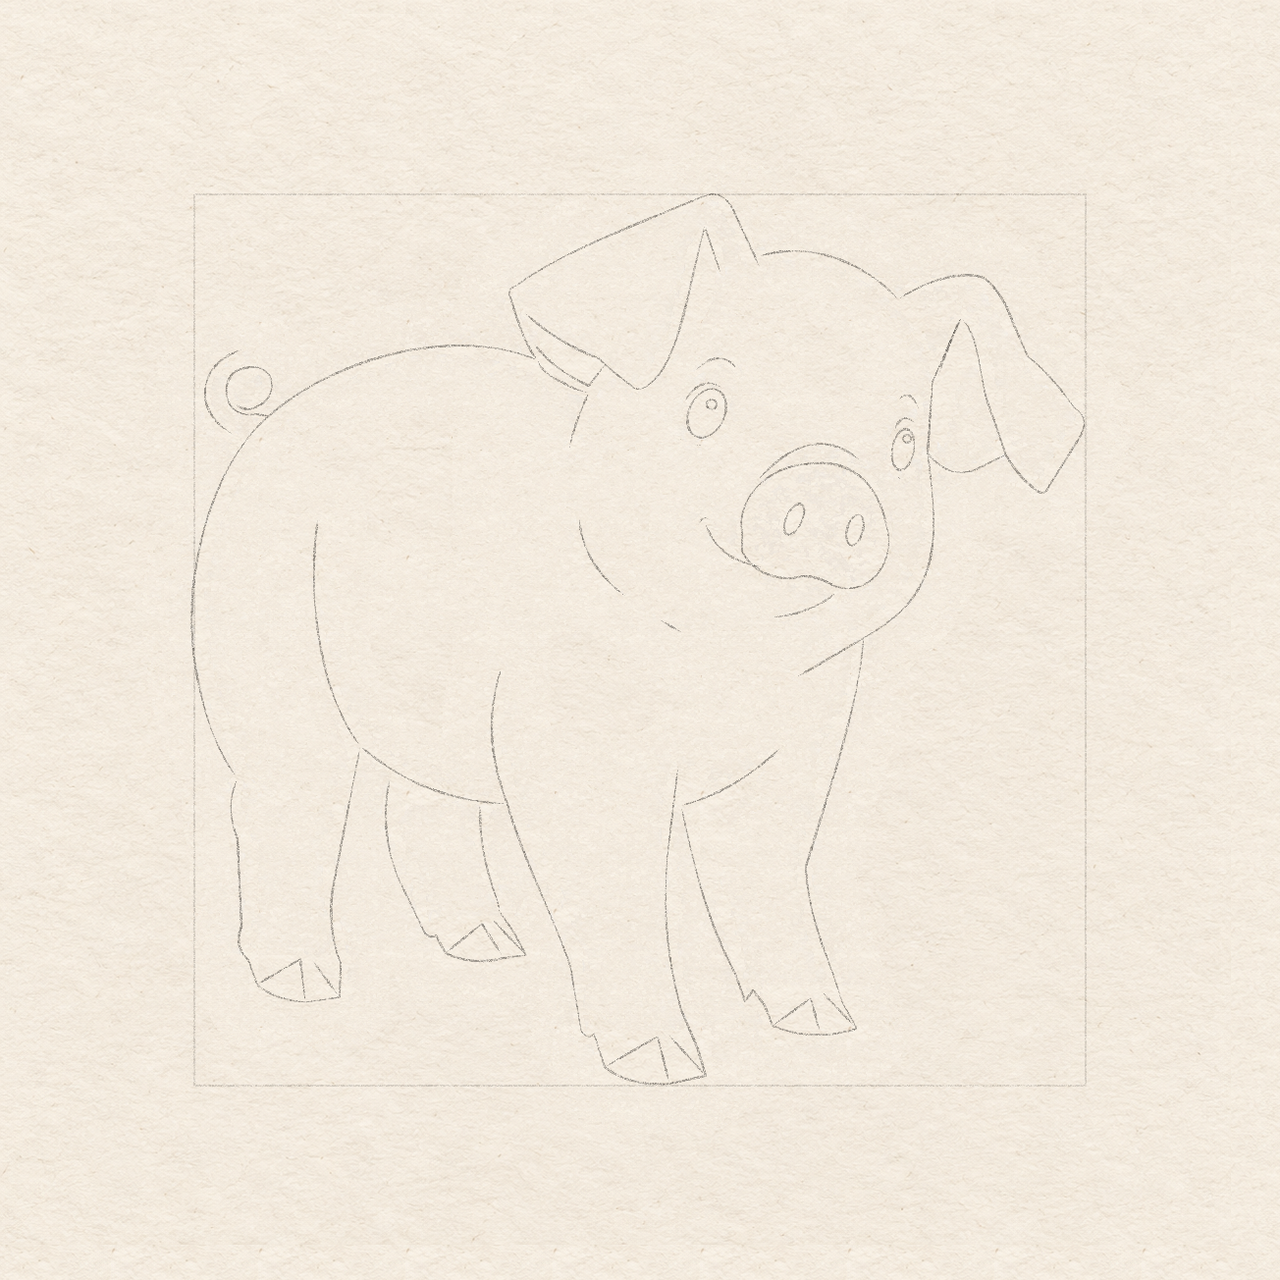
- Before drawing the snout outline, use the ruler to locate its centre about 7 cm across and 3.7 cm down. Locate its top 3 cm down, bottom about 4.4 cm down, and a width of about 1.6 cm around that centre. Do not draw an oval outline yet.
- Draw the snout freehand within those bounds. Round the top and right side, let the lower edge dip on the right, then turn gently up-left to close it. This chosen edge is not a perfect ellipse.
- For the left eye, draw a small closed oval freehand, centred about 5.8 cm across and 2.5 cm down. Keep it about 4 mm wide and 6 mm high, with its top leaning right. Shape the loop by eye: curve from the tilted top around the right side and bottom, then return up the left side.
- For the right eye, draw a smaller closed oval freehand, centred about 8 cm across and 2.9 cm down. Keep it about 2.5 mm wide and 4.5 mm high, with its top leaning slightly right. Shape this smaller loop by eye, curving around the right side and bottom and returning up the left side. Leave both eyes unfilled.
- Compare the eyes with the snout and chosen ear edges. Keep both openings unfilled; correct their unequal heights and tilts before adding highlights.

Drawing 7B — Reserve highlights and select face marksView larger 
Detail 7B.1 — Eyes, snout and small face marksEnlarged from this same stage. Select the small marks in pencil before permanent black. Instructions for Drawing 7B — Reserve highlights and select face marks
- Inside the upper-right of each eye oval, lightly mark a tiny highlight space about 1 mm across in the larger eye and slightly smaller in the other. Shape each small loop freehand by eye, curving around the space and returning to its start. Leave the paper inside these circles white when filling the eyes black.
- Draw two small closed nostril ovals inside the snout, near 6.7 cm across and 3.6 cm down, then 7.4 cm across and 3.8 cm down. Keep each about 2 mm wide and 3.5 mm high, tilted gently right at the top. Shape each closed loop freehand by eye: curve down one side from the tilted top, round the bottom and return up the other side.
- Just above each eye opening, add a thin curved rim that follows its top. Leave a small gap above that rim, then add the separate higher eyebrow.
- Add two tiny open dashes just below each eye. Their exact length may vary; keep them separate from the unfilled eye openings.
- Above the snout, curve a short arc between about 6.3 and 7.5 cm across, rising roughly 2 mm above the snout’s top. Keep it separate from the snout outline.
- For the smile, start left of the snout at about 5.75 cm across and 3.7 cm down. Curve down-right into its lower-left edge. Add the small upturned hook at the smile’s left start.
- Below the snout, add a short lower-lip curve from about 6.5 cm across and 4.75 cm down, curving up-right and stopping just short of the snout’s lower-right.
- Use Detail 7B.1 — Eyes, snout and small face marks to check both white eye spots, the two nostrils and the separate curves above each eye. Correct crowded pencil marks before using black marker.
Step 8 of 9 · Pencil
Plan and add marker

Drawing 8A — Plan the few gray areasView larger 
Detail 8A.1 — The two different ear foldsEnlarged from this same stage. Follow each visible return separately; keep the narrow inside strips distinct from the outer flaps. 
Detail 8A.2 — Eyes, snout and small face marksEnlarged from this same stage. Select the small marks in pencil before permanent black. 
Detail 8A.3 — Small belly and chest overlapsEnlarged from this same stage. Keep the gray limited to the narrow band and short chest wedge, leaving the broad body open. 
Detail 8A.4 — All four split hoovesEnlarged from this same stage. Keep two tips and a pale cleft in each foot at its own height. Instructions for Drawing 8A — Plan the few gray areas
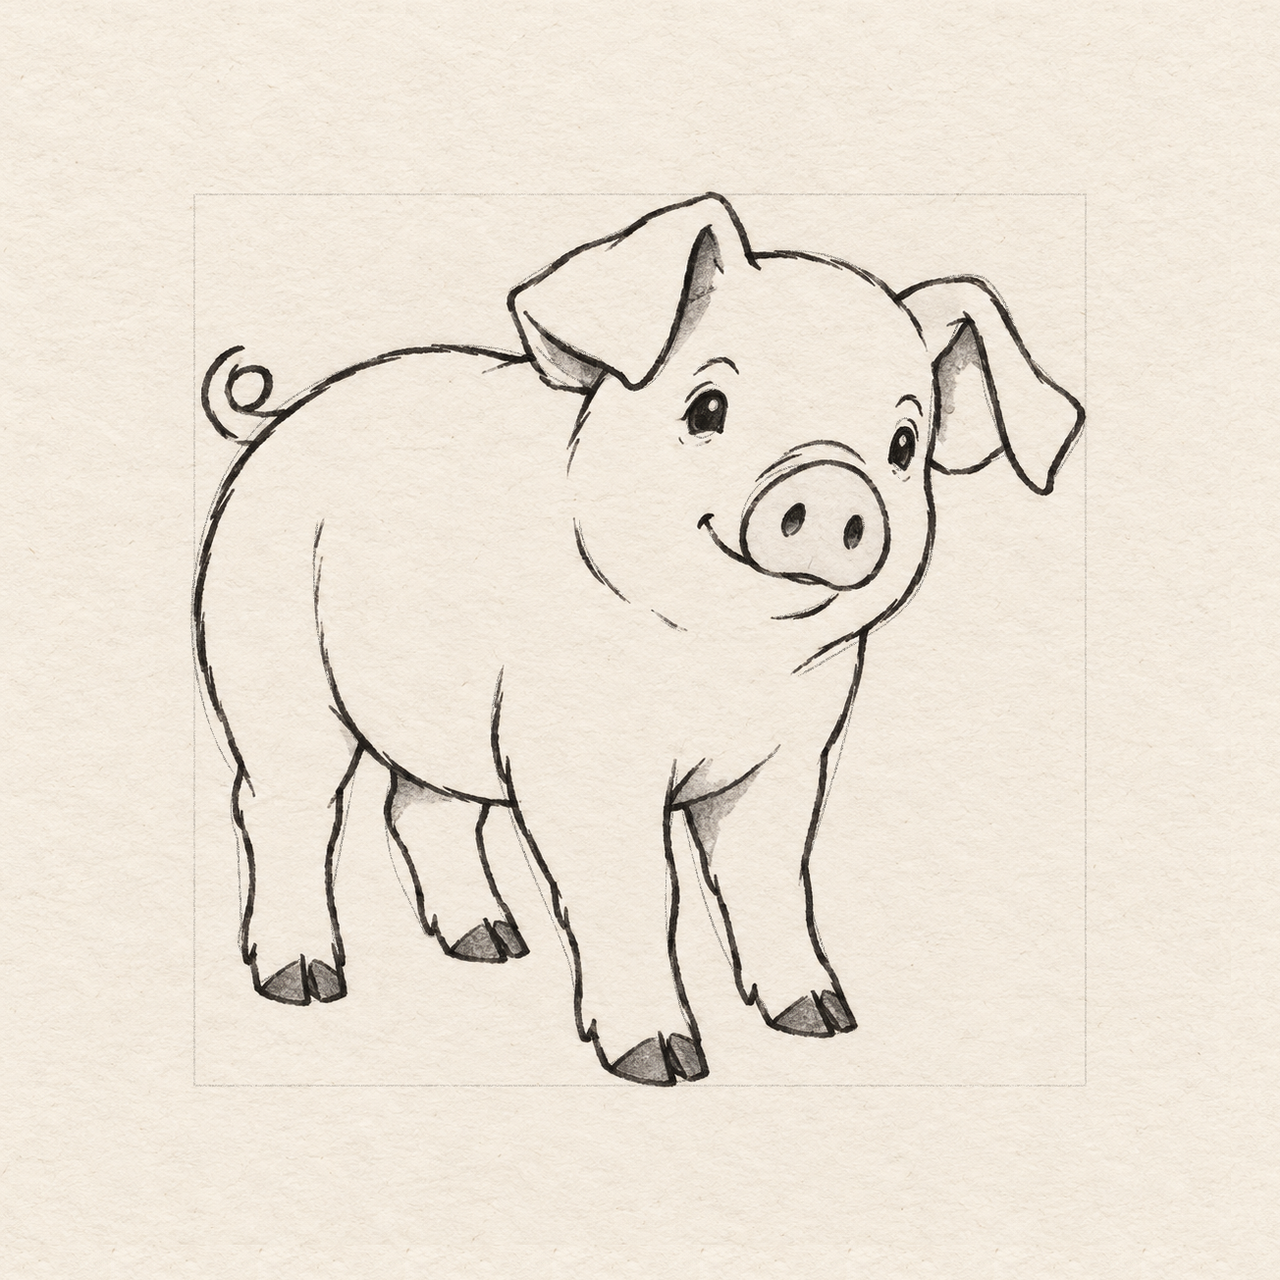
- Use a few light pencil strokes to plan the gray areas now. Do not use a gray marker yet.
- With that pencil, lightly hatch the folded-under left-ear wedge, the long narrow strip beside its upward fold and the short strip beside the right ear’s inner down-left curve.
- Lightly hatch the belly band above the farther back leg and the chest wedge above the farther front leg.
- Plan gray inside all eight hoof tips, leaving every central cleft pale. Keep both white eye-highlight circles clear too.
- The exact pencil stroke count can vary. Keep the broad body, face and outer ear flaps open; test and use the markers only in the next drawing.

Drawing 8B — Trace and fill the checked selectionView larger 
Detail 8B.1 — The two different ear foldsEnlarged from this same stage. Follow each visible return separately; keep the narrow inside strips distinct from the outer flaps. 
Detail 8B.2 — Eyes, snout and small face marksEnlarged from this same finished stage. The white eye highlights remain open. 
Detail 8B.3 — Small belly and chest overlapsEnlarged from this same stage. Keep the gray limited to the narrow band and short chest wedge, leaving the broad body open. 
Detail 8B.4 — All four split hoovesEnlarged from this same stage. Keep two tips and a pale cleft in each foot at its own height. Instructions for Drawing 8B — Trace and fill the checked selection
- Test the black and gray tips on scrap paper. With black, trace the chosen body edges, crown and cheek, both outer ear outlines and their separate inside folds and returns, four leg outlines and hoof splits, then the tail and short body accents. Keep the remaining construction guides in pencil.
- Trace the snout, thin eye rims, higher brows, tiny under-eye marks, upper snout arc and smile/lip marks. Fill the selected eyes around their white spots, then darken the two nostrils.
- Add gray only in the planned ear strips/wedge, belly band, chest overlap and hoof tips. Keep every hoof cleft pale and the broad body and face open.
- Leave the square and remaining pencil until the black and gray marker areas are dry. Broken stroke texture can vary; add no new features during this pass.
Step 9 of 9 · Eraser
Dry and erase

Drawing 9A — Dry-test and clear the pencilView larger 
Detail 9A.1 — The two different ear foldsEnlarged from this same stage. Follow each visible return separately; keep the narrow inside strips distinct from the outer flaps. 
Detail 9A.2 — Eyes, snout and small face marksEnlarged from this same finished stage. The white eye highlights remain open. 
Detail 9A.3 — Small belly and chest overlapsEnlarged from this same stage. Keep the gray limited to the narrow band and short chest wedge, leaving the broad body open. 
Detail 9A.4 — All four split hoovesEnlarged from this same stage. Keep two tips and a pale cleft in each foot at its own height. Instructions for Drawing 9A — Dry-test and clear the pencil
- Make similar black and gray patches on scrap. Wait until a gentle eraser pass smears neither patch; wait longer and retest if either smears.
- Erase the square, remaining selected pencil contours and gray-planning strokes with light short touches. Brush away crumbs without rubbing the marker.
- Keep the same ears, four feet, pale hoof clefts and white eye spots. Only graphite disappears; add no new details during cleanup.
If something looks off
The pig has four feet in a row
Return to the separate foot ticks before selecting contours. The farther back foot is highest; the nearer front foot is lowest.
The face looks crowded
Keep the selected eyes unfilled until their white spots and separate rim/brow pairs are clear. Erase misplaced small marks before black marker.
The ears look like matching triangles
Follow each existing fold return independently. The left ear folds across the head; the right hangs down beside it.