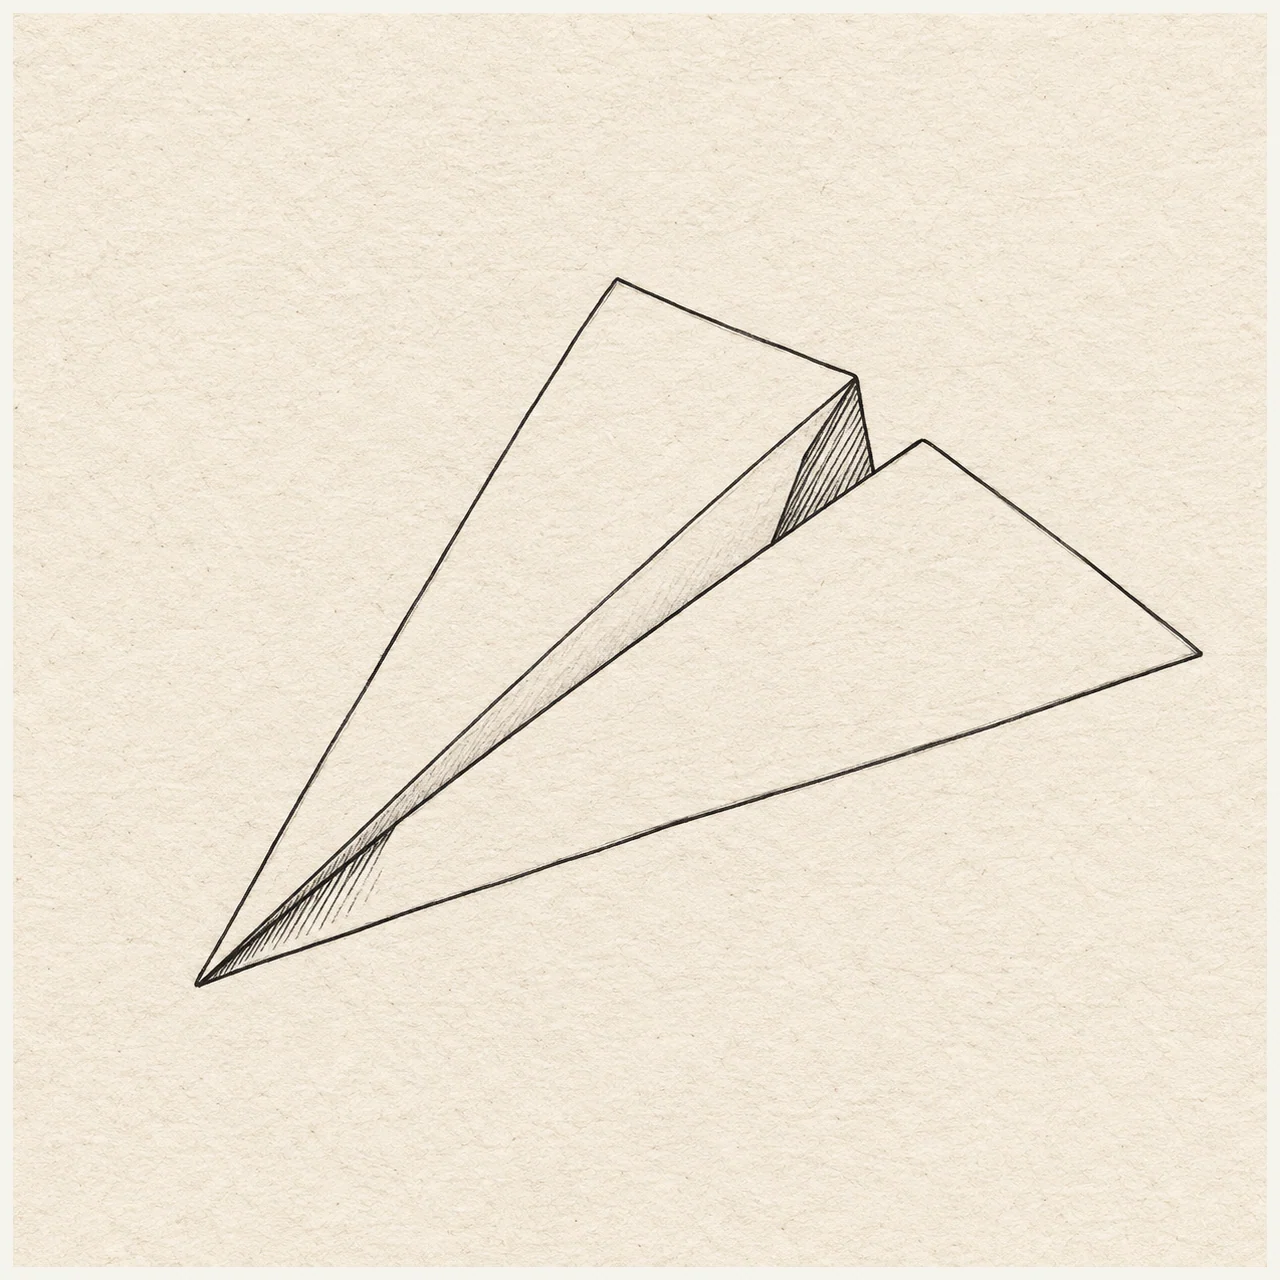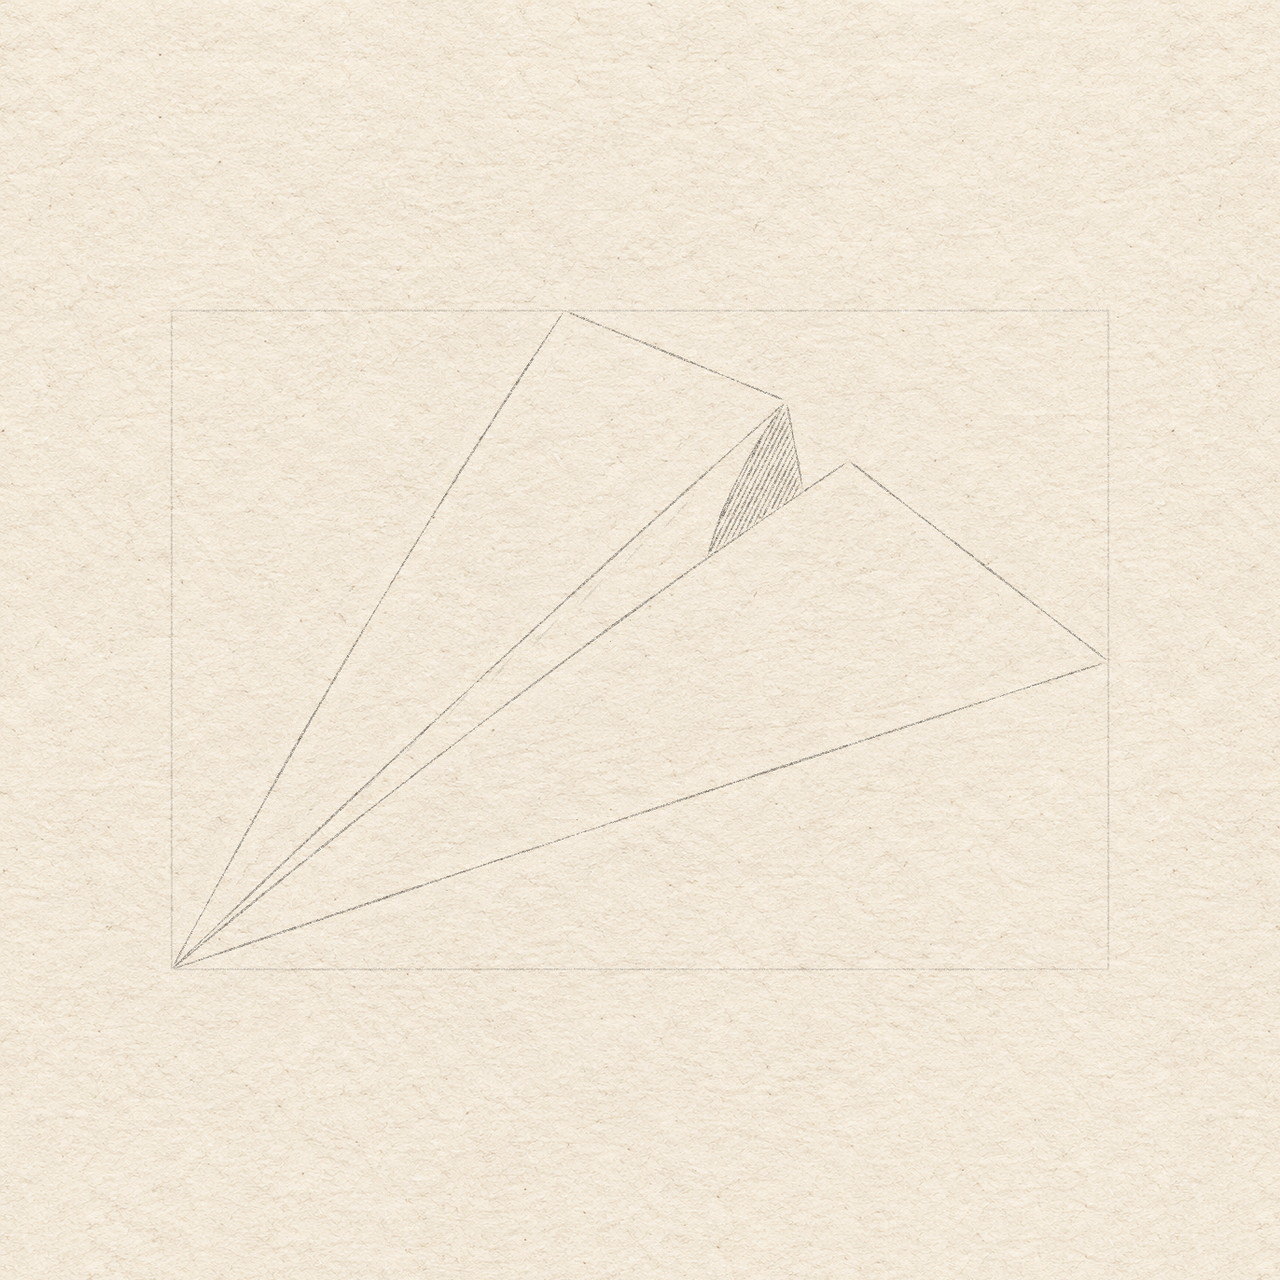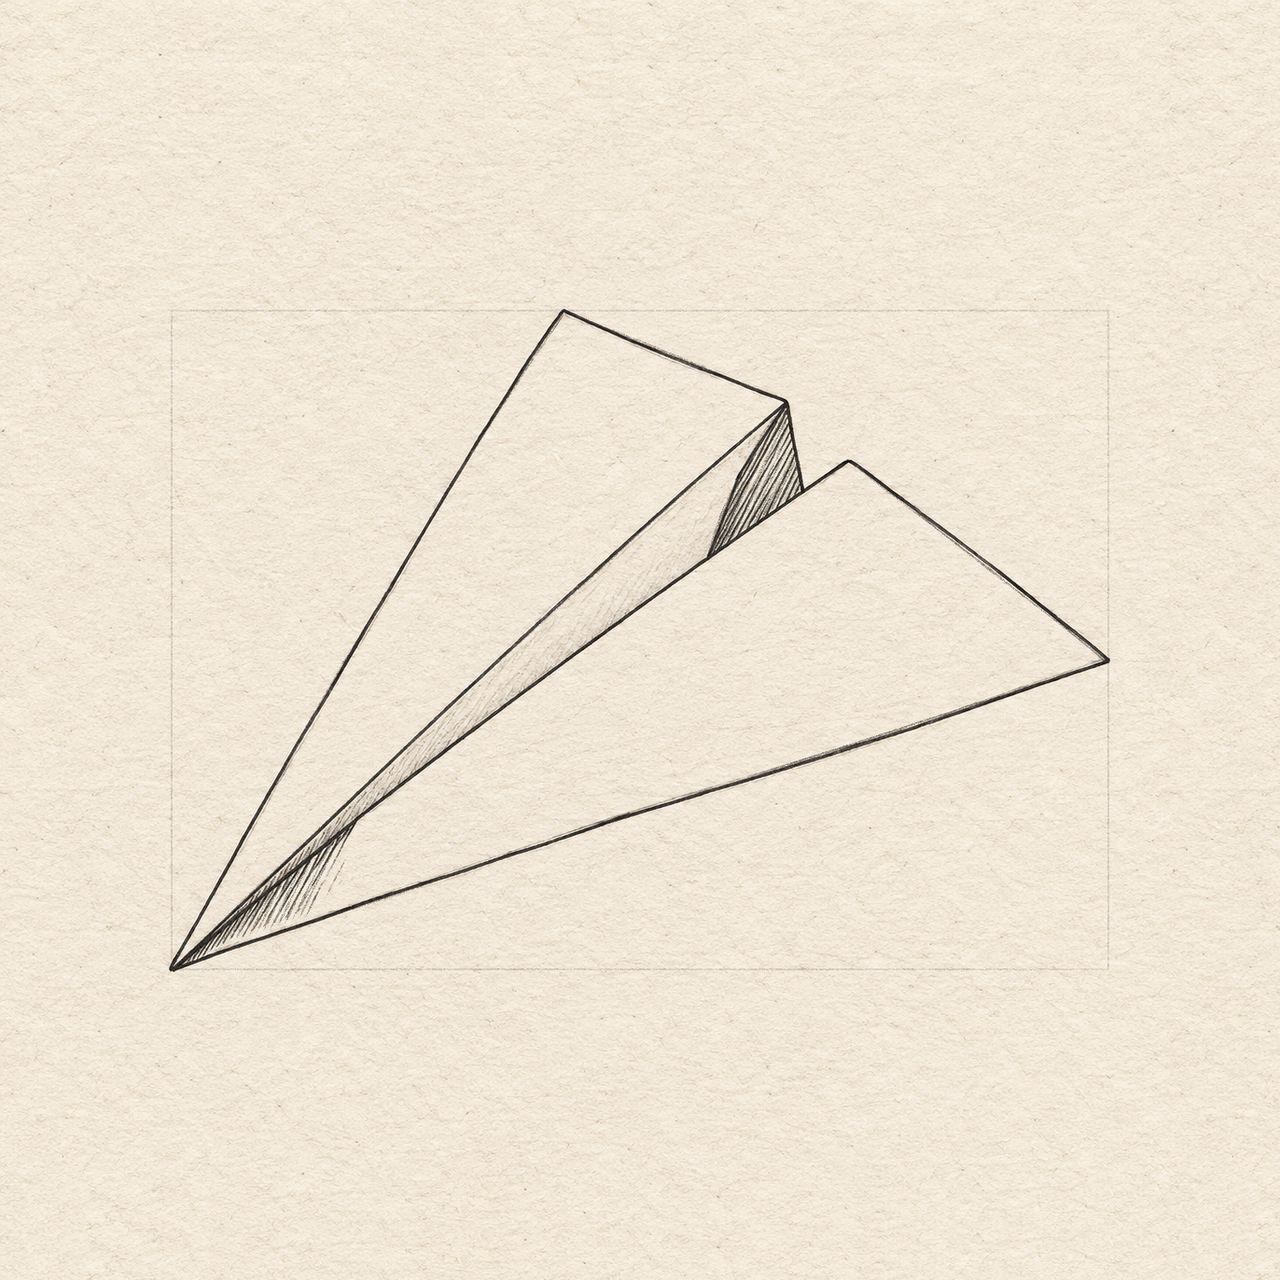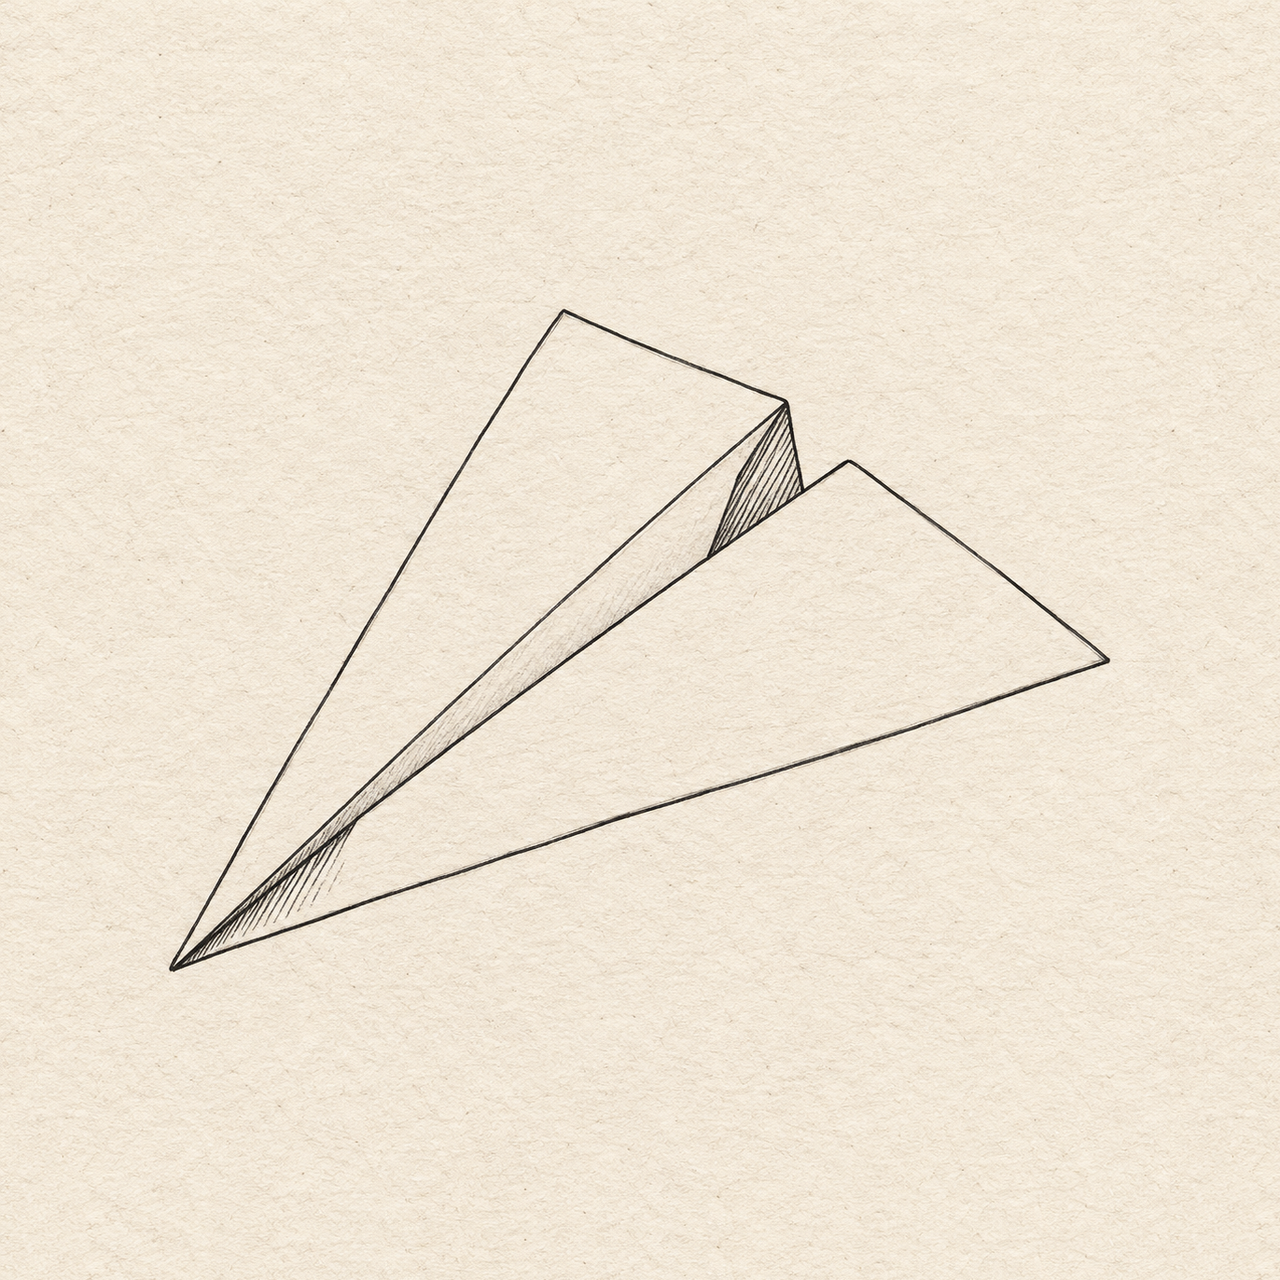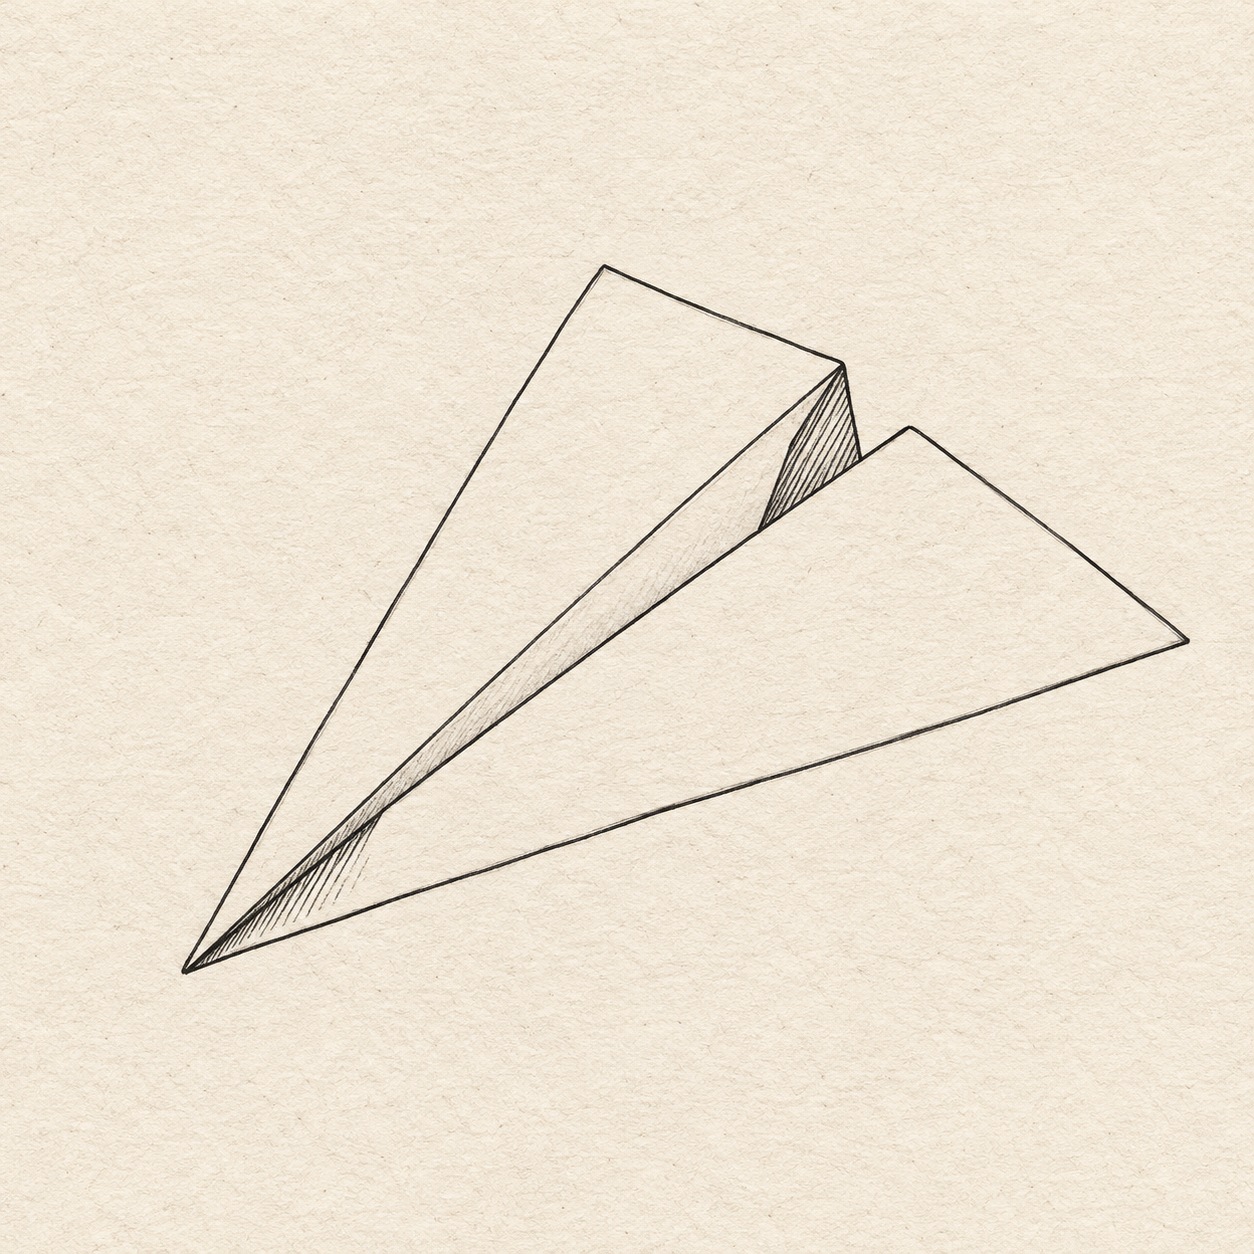
Paper airplane drawn in black and gray fineliner on pale cream textured sketchbook paper, with a complete silhouette and open margins.
Drawing referenceAbout reference use

Paper airplane fine ink study

One folded paper airplane in three-quarter view, pointed nose, central fold and two coherent triangular wings. Practice clear contours and a few local shadows in fine ink.

Things that moveEasyFinelinerReference practice: about 20 min
Save reference

Follow the drawing tutorial

Build two overlapping wings and a raised fold, plan the small shaded areas, then ink and clean up your paper-airplane drawing.

Start the 6-step tutorial

A small thing to tryKeep the wing edges converging toward the same nose.

Draw it, one step at a time

How to draw this paper airplane

Build two overlapping wings and a raised fold, plan the small shaded areas, then ink and clean up your paper-airplane drawing.

6 steps · 8 progress drawings Full tutorial: about 35 minutes, at your pace

What you’ll need

  • HB pencil
  • Ruler marked in centimetres
  • Fine black fineliner
  • Soft eraser
  • Sketchbook paper
  • Scrap paper for an ink-dry test

Before you start

This lesson draws the pictured plane; it is not a paper-folding lesson. Picture-left and picture-right mean the sides of your page. The approximate measurements fit a 14 × 10 cm working rectangle. Use the ruler for placement, then rehearse and draw the edges lightly by hand. A few millimetres of variation is fine; compare the joins and open spaces before pen. The full tutorial estimate includes careful setup and cleanup; it is separate from the reference-practice estimate. Place that rectangle wherever you want the plane, leaving clear paper around it; centring is optional.

  1. Step 1 of 6 · Pencil

    Set the drawing size

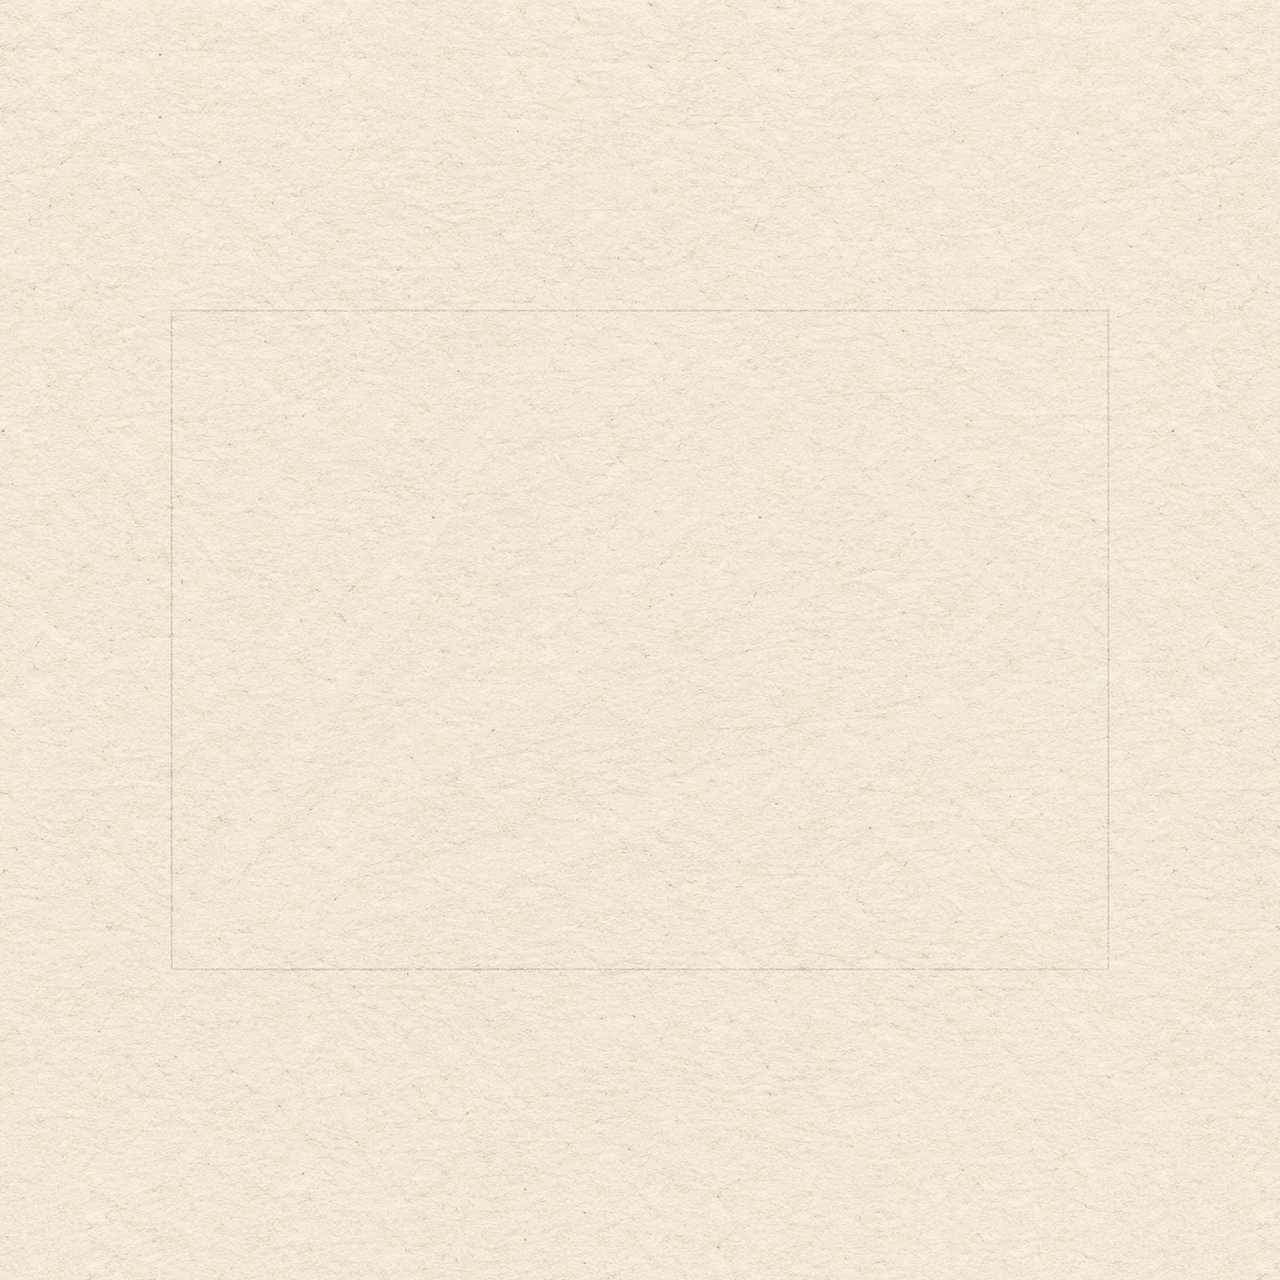
    One light pencil rectangle on warm textured paper; no airplane contours have been added yet.
    Drawing 1A — Set the sizeView larger

    Instructions for Drawing 1A — Set the size

    1. Choose where you want the 14 cm by 10 cm working rectangle, leaving clear paper around it. With a ruler and light pencil, draw a 14 cm horizontal top edge. From each end, draw a 10 cm side straight down, then join their lower ends.
    2. Its bottom-left corner will be the nose. This rectangle only locates the drawing; keep it light enough to erase.
    Next step — Draw the two wings
  2. Step 2 of 6 · Pencil

    Draw the two wings

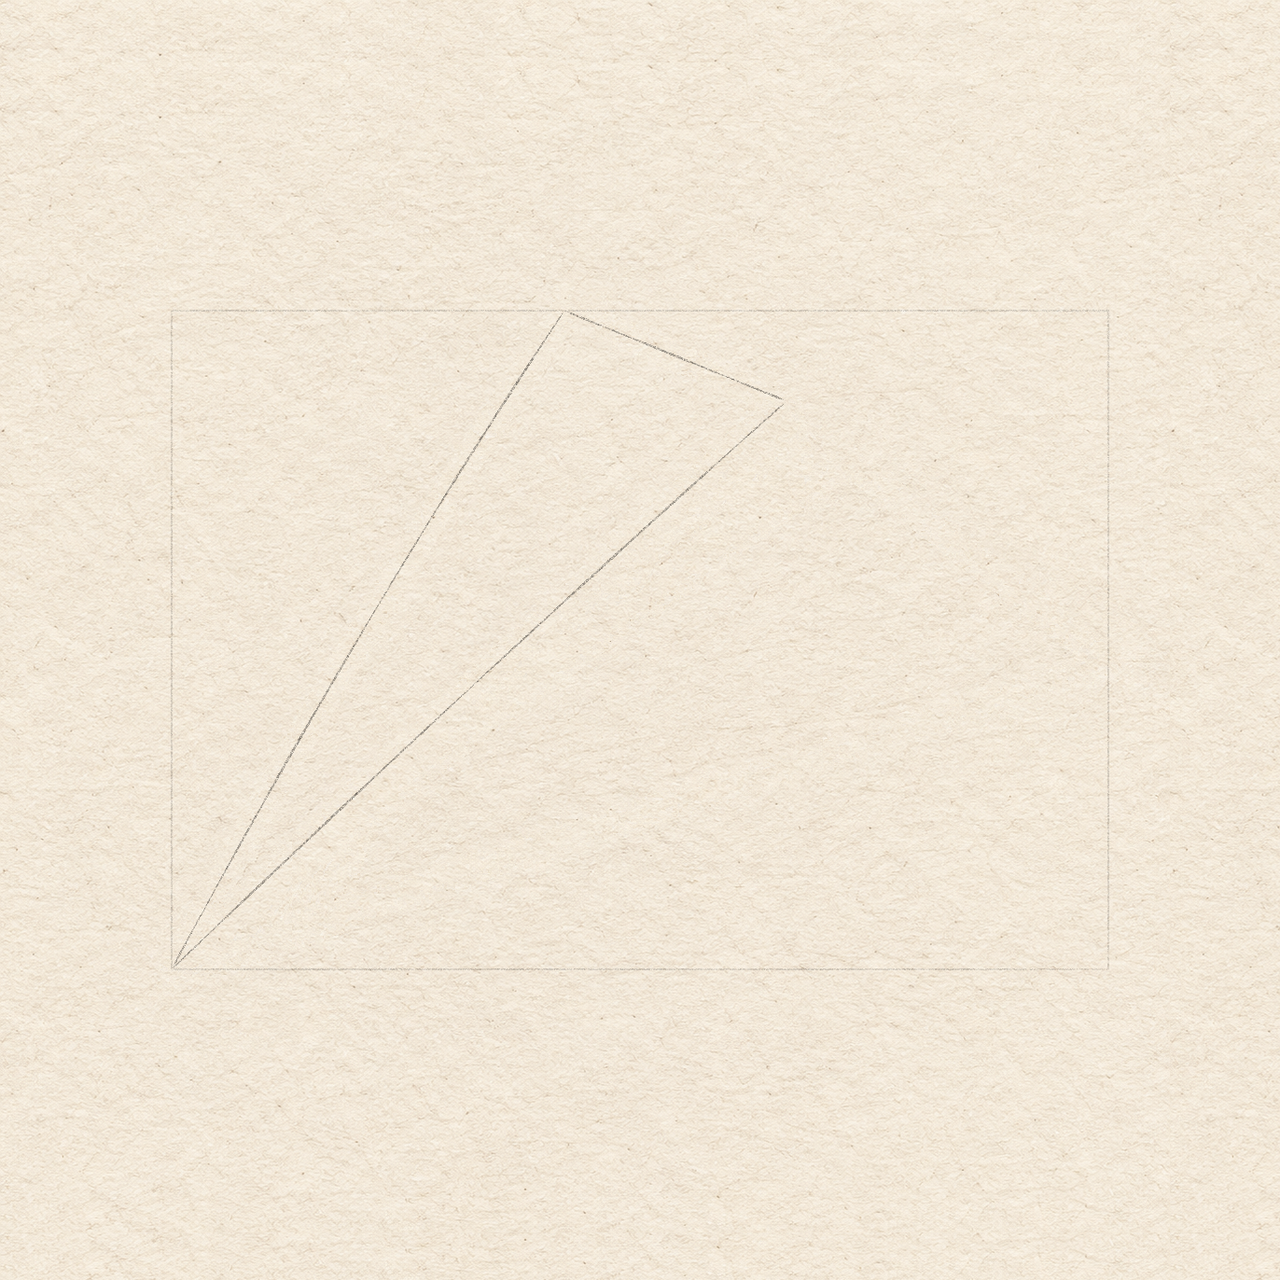
    Three light pencil edges form the far wing from the bottom-left nose to two upper corners, inside the retained layout rectangle.
    Drawing 2A — Draw the farther wingView larger

    Instructions for Drawing 2A — Draw the farther wing
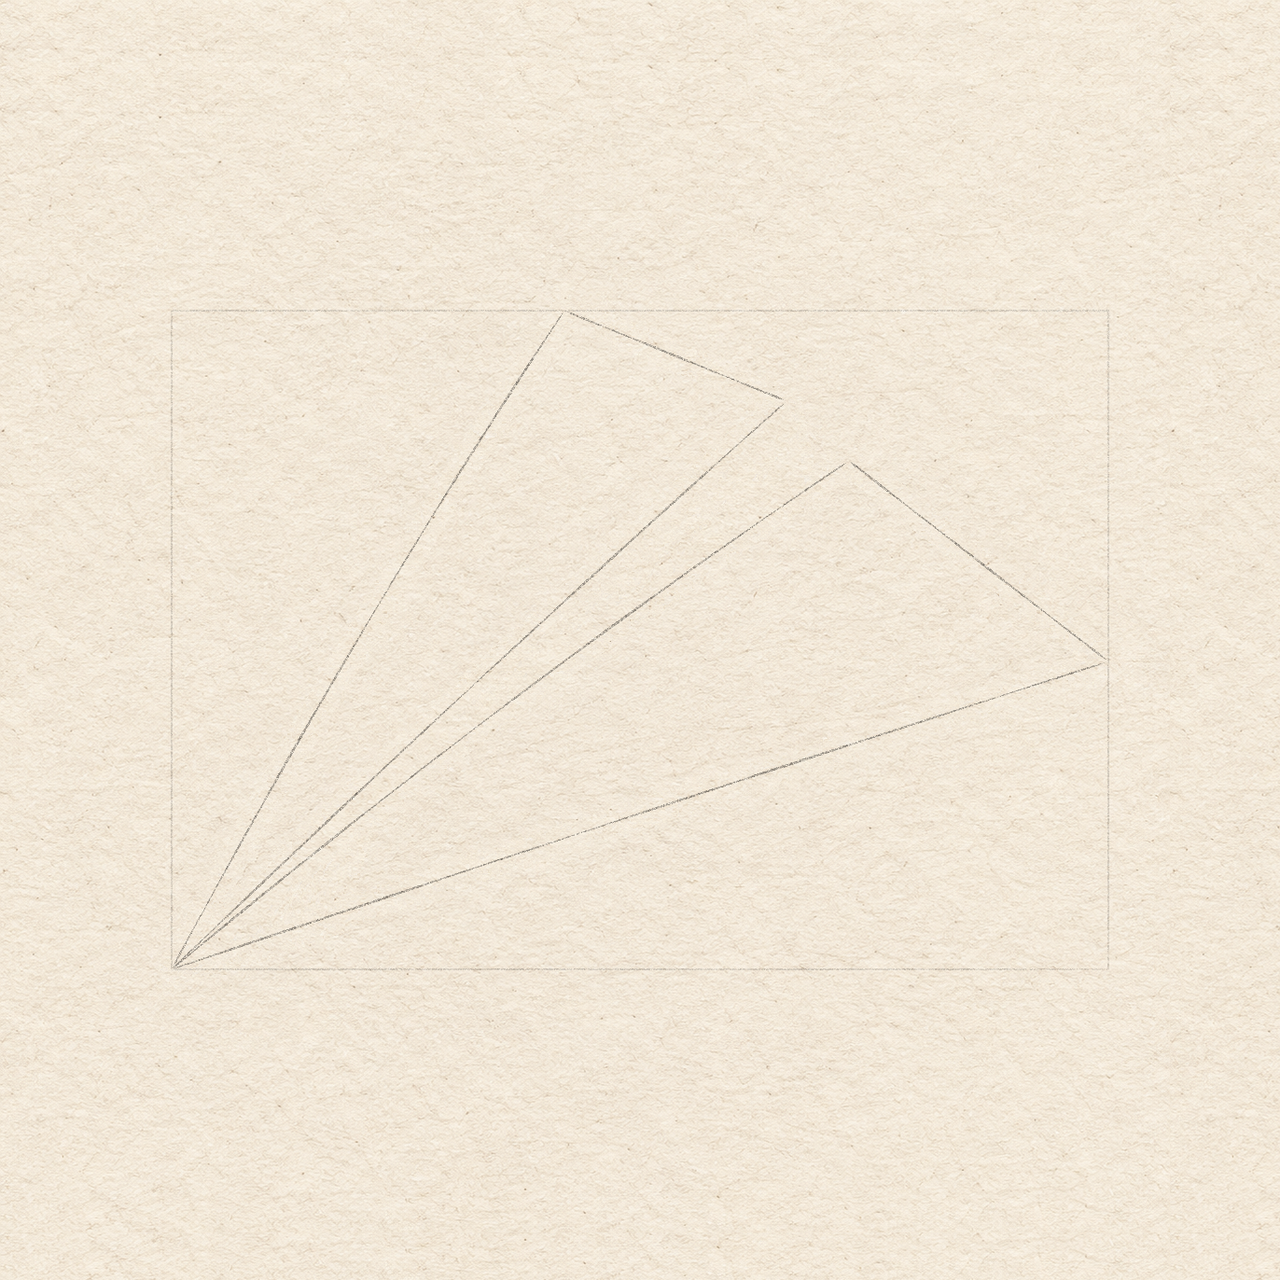
    1. On the rectangle’s top edge, mark a point about 5.9 cm from the left. Rehearse the long movement in the air, then lightly join it to the nose.
    2. Locate a second corner 9.2 cm from the rectangle’s left edge and 1.4 cm below its top. Join the first corner to this one with the short sloping edge.
    3. Join the second corner back to the nose. Let this long crease bow very slightly towards the upper-left—about 1 mm away from a straight join near the middle.
    4. The three edges should meet without a gap. If a corner has drifted, erase that short section now; keep the large triangular interior empty.
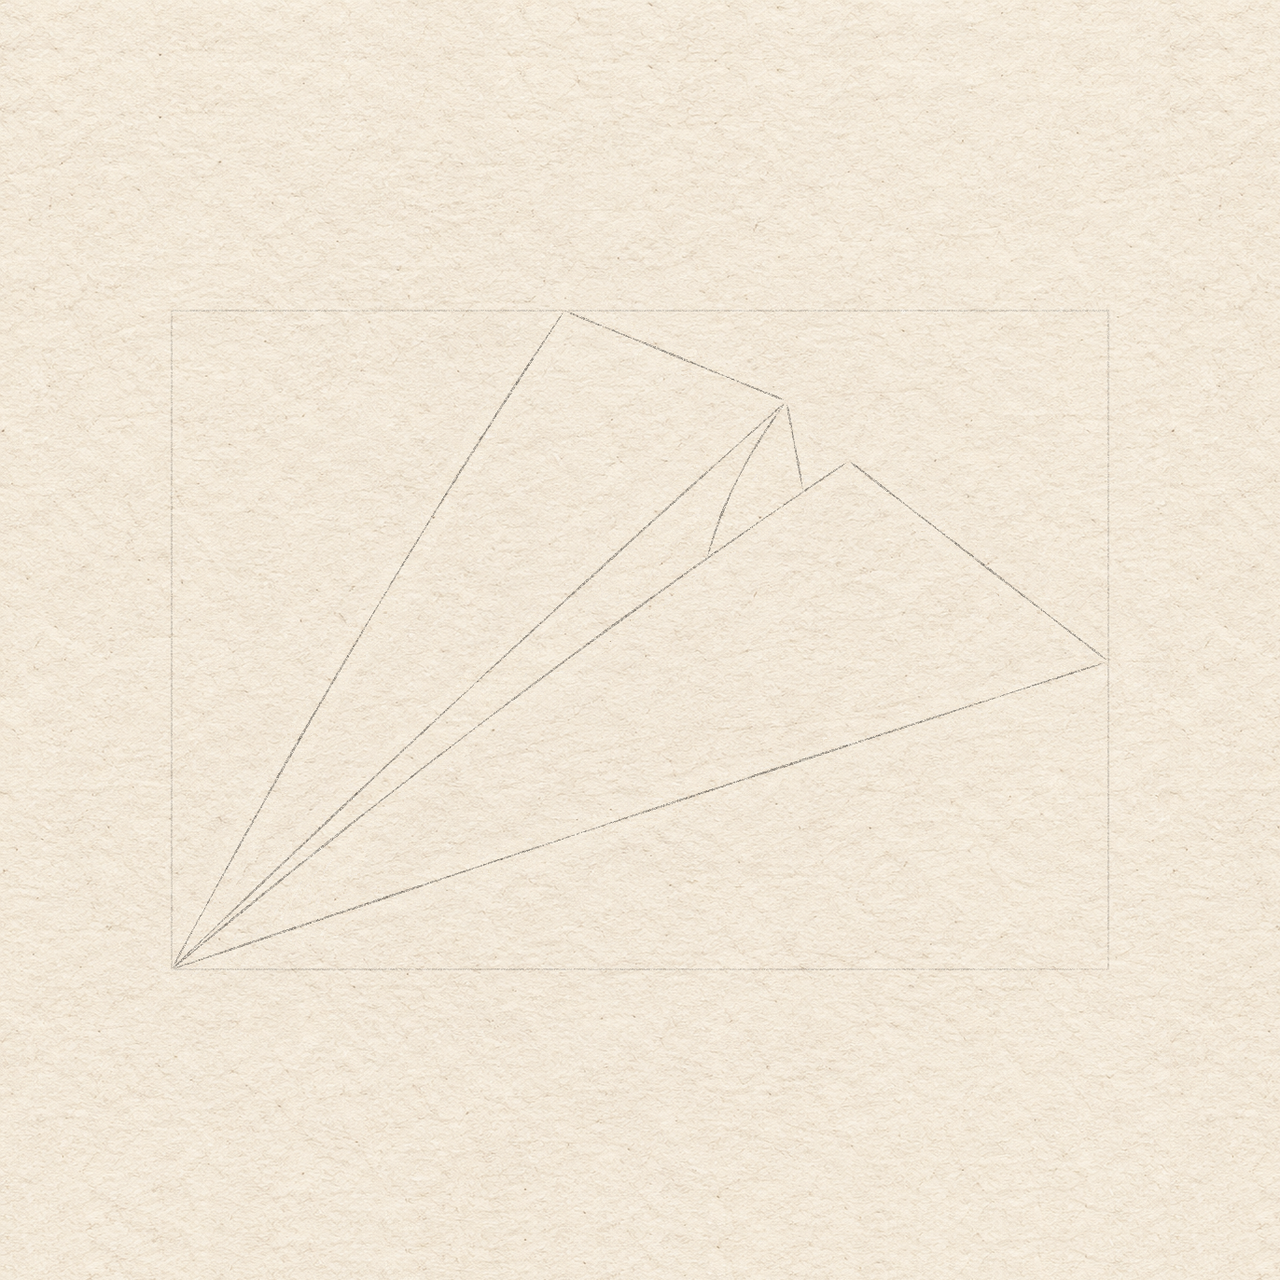
    The broad nearer triangular wing joins the same nose, with a bowed upper diagonal and open interior beside the far wing.
    Drawing 2B — Add the nearer wingView larger

    Instructions for Drawing 2B — Add the nearer wing

    1. Locate the near wing’s upper corner 10.1 cm from the rectangle’s left edge and 2.3 cm below the top. From the nose, draw the long edge to it, bowing gently upward by about 2 mm near the middle.
    2. On the rectangle’s right edge, place the wing tip about 5.3 cm below the top. Join the near upper corner to this tip.
    3. Join that right-hand tip back to the nose with a nearly straight lower edge. Both wings must finish at the same bottom-left point.
    4. Keep the far wing's crease and the near wing's upper edge—the line from the nose to the near upper corner—separate. These two lines bound the narrow strip, which widens toward the upper corners. Erase a crossing before continuing.
    Next step — Add the raised fold
  3. Step 3 of 6 · Pencil

    Add the raised fold

    Two pencil sides close the small raised fold on the near-wing upper edge; the upper notch remains open.
    Drawing 3A — Draw the raised foldView larger
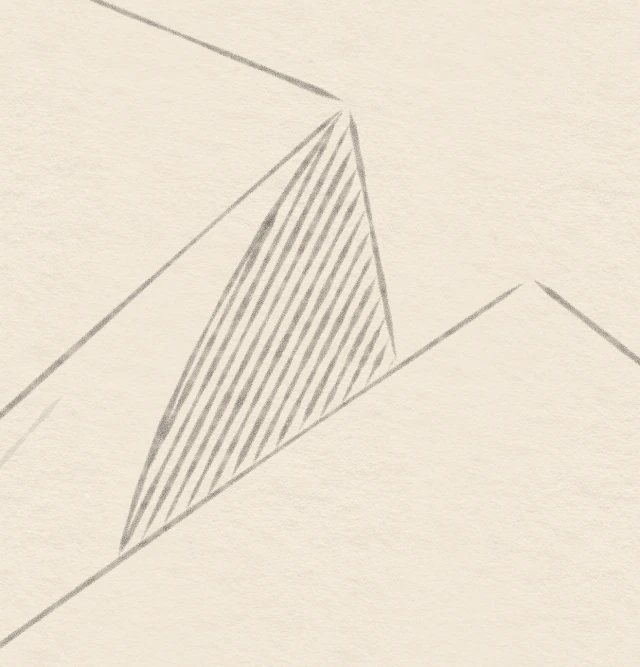
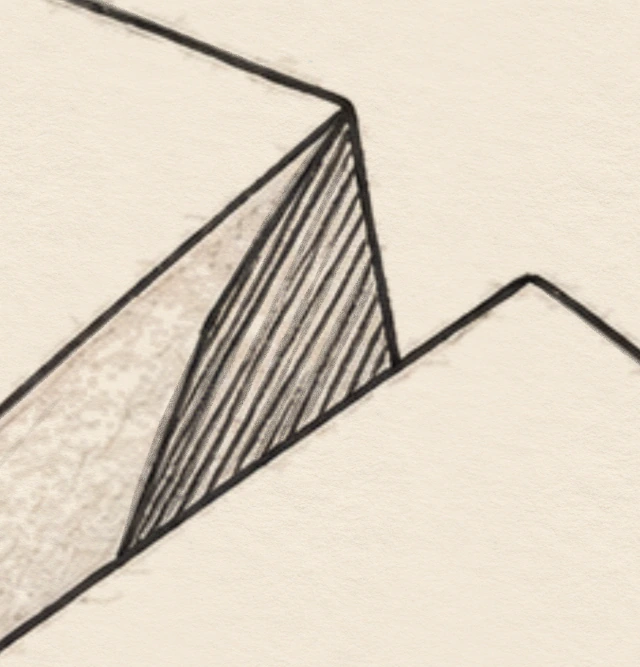
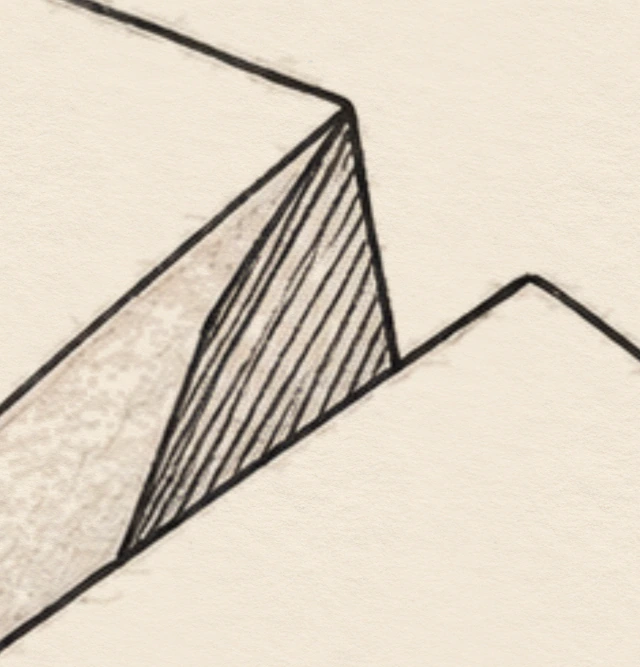
    Same-stage enlarged rear triangular fold with both lower contacts and the near-wing notch.
    Detail 3A.1 — Rear fold and its two contactsEnlarged from this same stage. Both short sides stop on the near wing’s upper edge; the small notch above the wing stays open.

    Instructions for Drawing 3A — Draw the raised fold

    1. On the near-wing upper edge, locate a point 8 cm from the rectangle’s left edge. Join it to the far wing’s second corner—the right-hand end of its short upper edge. Bow this new line about 1.5 mm to the left near its middle.
    2. Hold the ruler vertically, about 2–3 mm to the right of the far wing’s second corner on the page. Mark where its edge meets the near-wing upper edge. Join the far-wing corner to that intersection with the short sloping side.
    3. The two new lines and the near-wing upper edge close a small triangle. Stop both new lines at the near-wing upper edge: the near wing hides anything below it. Leave the little notch above the near wing open.
    Next step — Plan the small shaded areas
  4. Step 4 of 6 · Pencil

    Plan the small shaded areas

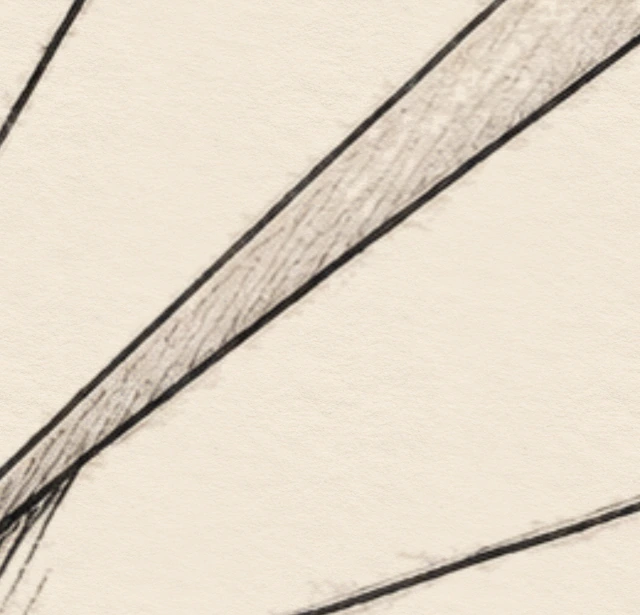
    Close pencil hatching fills only the rear triangle; faint broken accents follow the narrow inner strip and the broad wings stay open.
    Drawing 4A — Plan the fold shadingView larger
    Same-stage enlarged rear triangular fold with both lower contacts and the near-wing notch.
    Detail 4A.1 — Rear fold and its two contactsEnlarged from this same stage. Both short sides stop on the near wing’s upper edge; the small notch above the wing stays open.
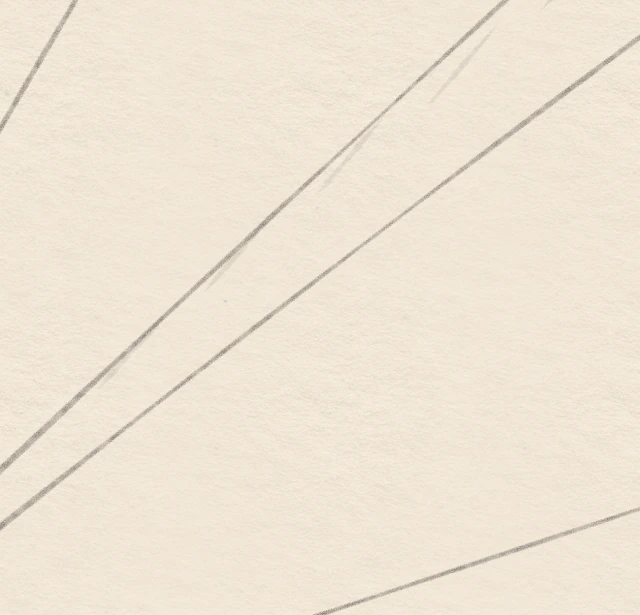
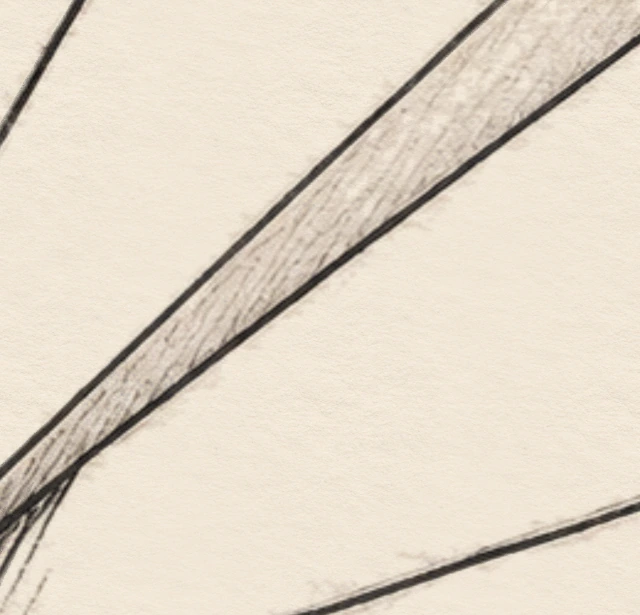
    Representative lower and middle section of the same-stage inner strip, showing separate faint strokes and their paper gaps between the two retained boundaries.
    Detail 4A.2 — Light broken strokes inside the narrow stripEnlarged from this same stage. The short, faint marks sit between the far-wing crease and near-wing upper edge. Leave paper gaps between them; these marks are tone, not another edge.

    Instructions for Drawing 4A — Plan the fold shading
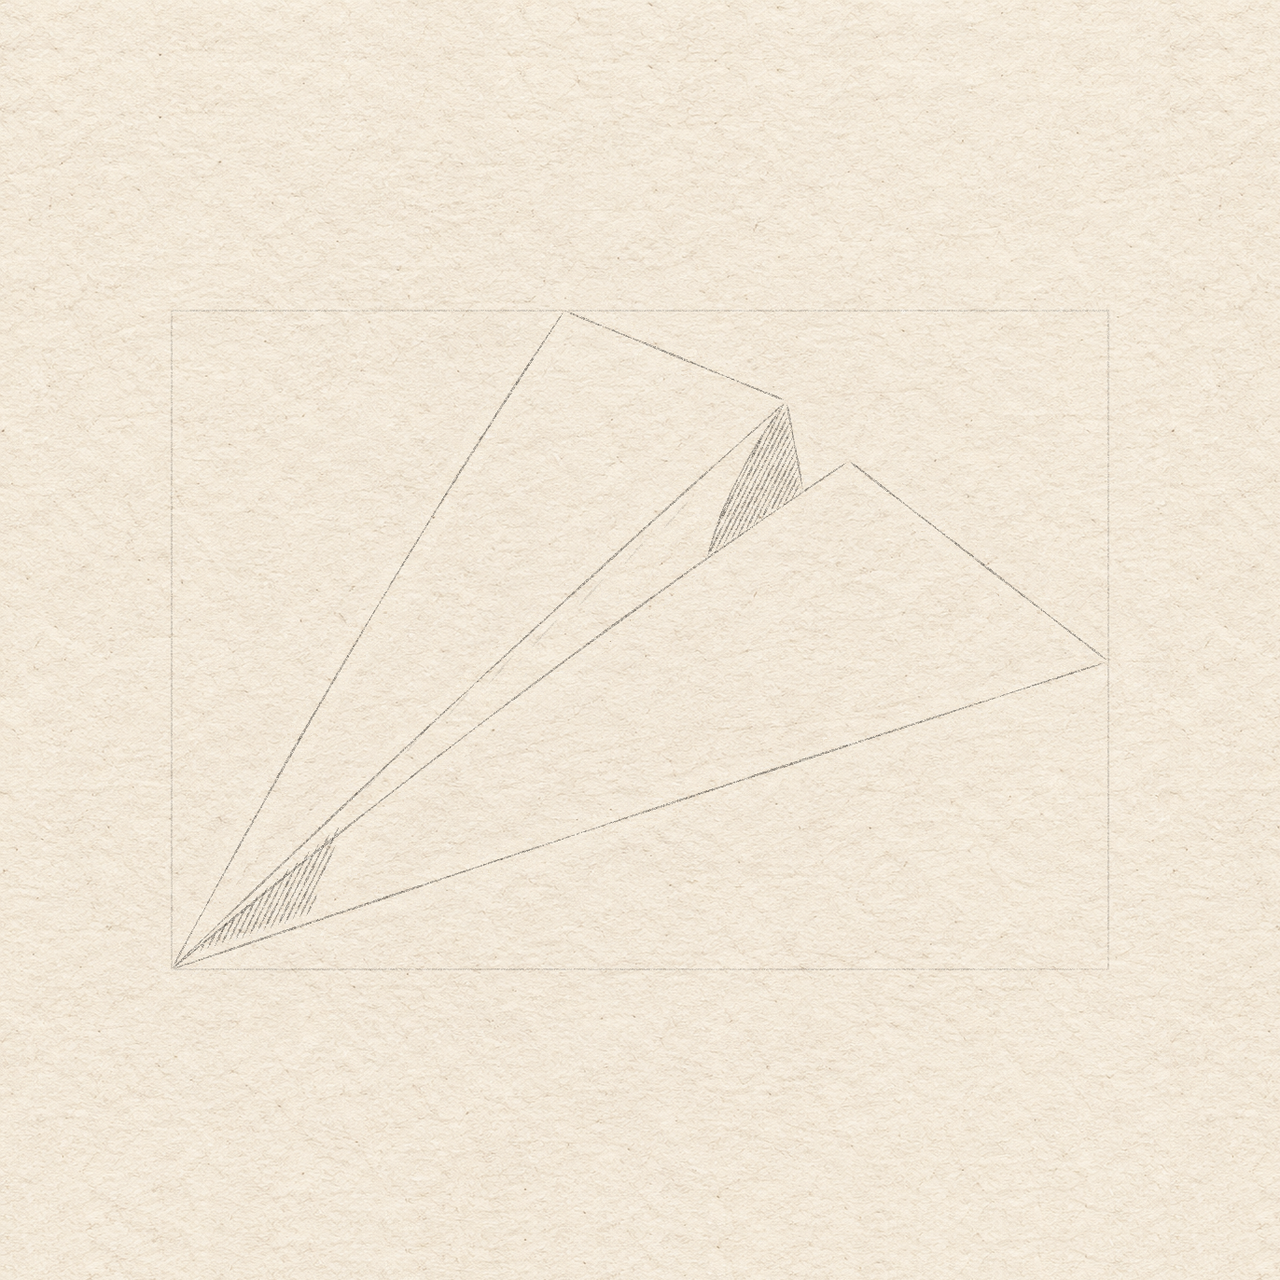
    1. Inside the small rear triangle, lightly plan close diagonal strokes that lean up-right, roughly following its bowed left side. Stop at the triangle’s edges and leave tiny strips of paper between strokes.
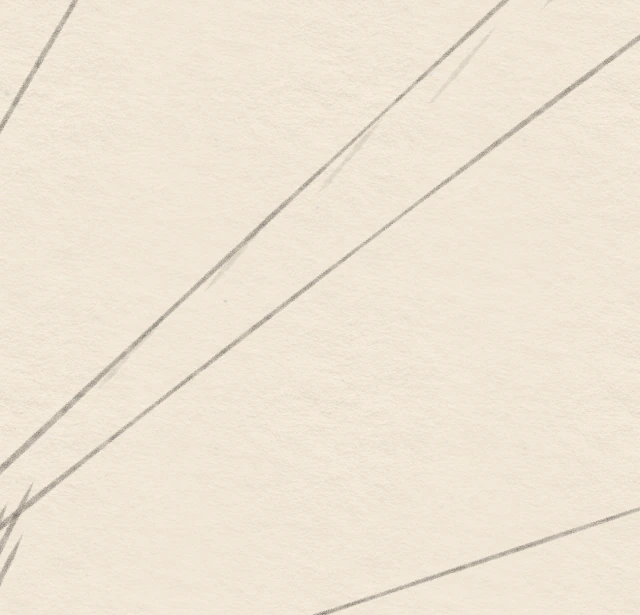
    2. Start about 3 cm to the right and 2.6 cm above the nose. Inside the narrow strip, add a few much lighter, broken diagonal strokes towards the raised fold. Leave broad gaps; these are faint shading marks, not another edge.
    3. Stroke counts and small gaps may vary. Keep all rear-triangle strokes inside that triangle and both broad wing interiors mostly empty.
    A small tapered pencil hatch patch crosses the near-wing upper edge near the nose, with clear paper before the lower outside edge.
    Drawing 4B — Plan the nose shadingView larger
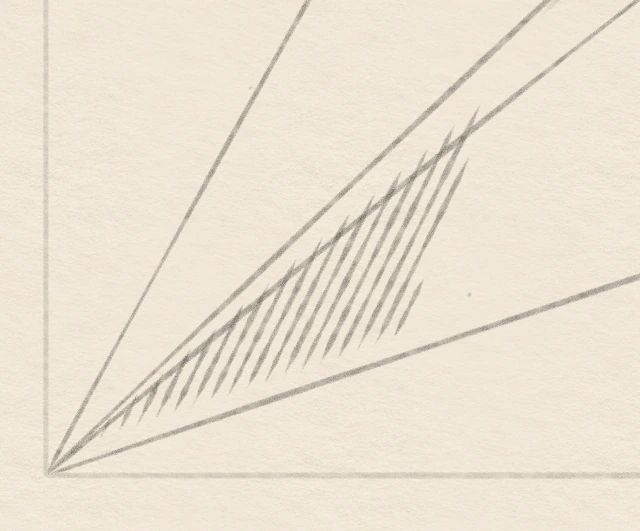
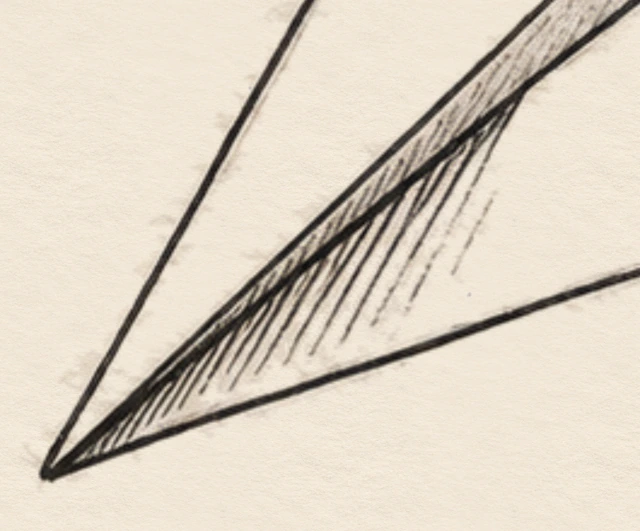
    Same-stage enlarged nose hatch patch crossing the near-wing upper edge with clear paper before the lower outer edge.
    Detail 4B.1 — Nose strokes and open lower edgeEnlarged from this same stage. The local strokes cross the near-wing upper edge and taper before the lower outside edge.
    Representative lower and middle section of the same-stage inner strip, showing separate faint strokes and their paper gaps between the two retained boundaries.
    Detail 4B.2 — Light broken strokes inside the narrow stripEnlarged from this same stage. The short, faint marks sit between the far-wing crease and near-wing upper edge. Leave paper gaps between them; these marks are tone, not another edge.

    Instructions for Drawing 4B — Plan the nose shading

    1. Within about 3 cm to the right of the nose, plan short strokes leaning up-right. Some cross the near-wing upper edge into the near wing; leave a clear strip of paper before the lower outside edge.
    2. Vary their lengths so this small patch tapers into open paper. Keep a few strokes close near the nose, then use wider gaps away from it; do not draw a hard border around the patch.
    3. The nose patch and rear triangle are the only dark groups. Individual stroke counts may vary; keep the long inner-strip accents much lighter.
    Next step — Ink the checked drawing
  5. Step 5 of 6 · Fineliner

    Ink the checked drawing

    Black pen contours and local hatching at the fold, nose and inner strip, with light pencil guides and the layout rectangle still visible until cleanup.
    Drawing 5A — Ink the checked drawingView larger
    Same-stage enlarged rear triangular fold with both lower contacts and the near-wing notch.
    Detail 5A.1 — Rear fold and its two contactsEnlarged from this same stage. Both short sides stop on the near wing’s upper edge; the small notch above the wing stays open.
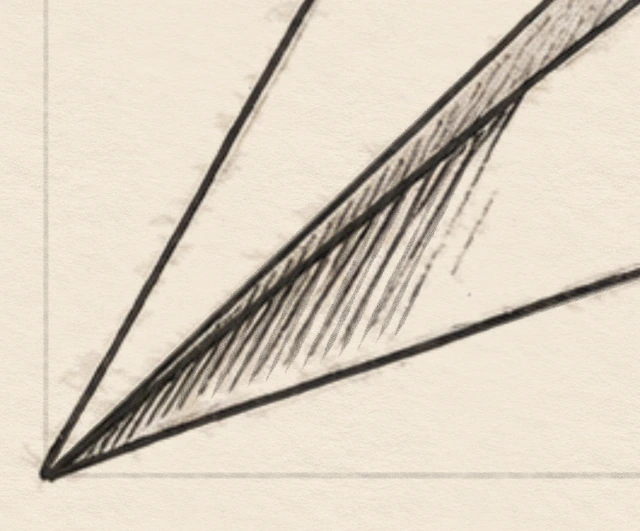
    Same-stage enlarged nose hatch patch crossing the near-wing upper edge with clear paper before the lower outer edge.
    Detail 5A.2 — Nose strokes and open lower edgeEnlarged from this same stage. The local strokes cross the near-wing upper edge and taper before the lower outside edge.
    Representative lower and middle section of the same-stage inner strip, showing separate faint strokes and their paper gaps between the two retained boundaries.
    Detail 5A.3 — Light broken strokes inside the narrow stripEnlarged from this same stage. The short, faint marks sit between the far-wing crease and near-wing upper edge. Leave paper gaps between them; these marks are tone, not another edge.

    Instructions for Drawing 5A — Ink the checked drawing

    1. Test a fine black pen on scrap paper. Trace the checked plane contours, including their shallow bows and the two rear-fold sides. Do not ink the layout rectangle.
    2. Ink the planned rear-triangle strokes and nose patch, keeping their paper gaps. Use a lighter touch for the broken inner-strip accents; small stroke counts and spacing can vary.
    3. Stop the rear-fold sides at the near-wing upper edge. Keep the notch and both broad wing interiors open, and leave all pencil in place until the ink is dry.
    Next step — Dry and erase
  6. Step 6 of 6 · Eraser

    Dry and erase

    Finished paper airplane with all graphite and the layout rectangle removed; two open wings, raised fold and local pen hatching remain.
    Drawing 6A — Dry, then erase the pencilView larger
    Same-stage enlarged rear triangular fold with both lower contacts and the near-wing notch.
    Detail 6A.1 — Rear fold and its two contactsEnlarged from this same stage. Both short sides stop on the near wing’s upper edge; the small notch above the wing stays open.
    Same-stage enlarged nose hatch patch crossing the near-wing upper edge with clear paper before the lower outer edge.
    Detail 6A.2 — Nose strokes and open lower edgeEnlarged from this same stage. The local strokes cross the near-wing upper edge and taper before the lower outside edge.
    Representative lower and middle section of the same-stage inner strip, showing separate faint strokes and their paper gaps between the two retained boundaries.
    Detail 6A.3 — Light broken strokes inside the narrow stripEnlarged from this same stage. The short, faint marks sit between the far-wing crease and near-wing upper edge. Leave paper gaps between them; these marks are tone, not another edge.

    Instructions for Drawing 6A — Dry, then erase the pencil

    1. Make a similar dark pen patch on scrap paper. Wait until a gentle eraser pass does not smear it; if it smears, wait longer and test again.
    2. With light, short eraser touches, remove the rectangle, selected pencil contours and pencil shading. Brush away crumbs without rubbing the ink.
    3. Only the pencil disappears. The nose, wing edges, fold and pen shading stay in the same places, with broad open paper inside both wings.
    Back to the tutorial

If something looks off

My lines miss the nose

Return to the rectangle’s bottom-left corner. Correct one pencil edge at a time so the long edges share this point before any ink.

The fold looks stuck on top

Check both lower contacts on the near wing’s long diagonal. Its front edge stays continuous, and the short fold sides stop there rather than running into the wing.

My wings look too dark

Keep the two large triangles empty. Build dark strokes only in the rear fold and small nose patch; keep the long inner strip much lighter.