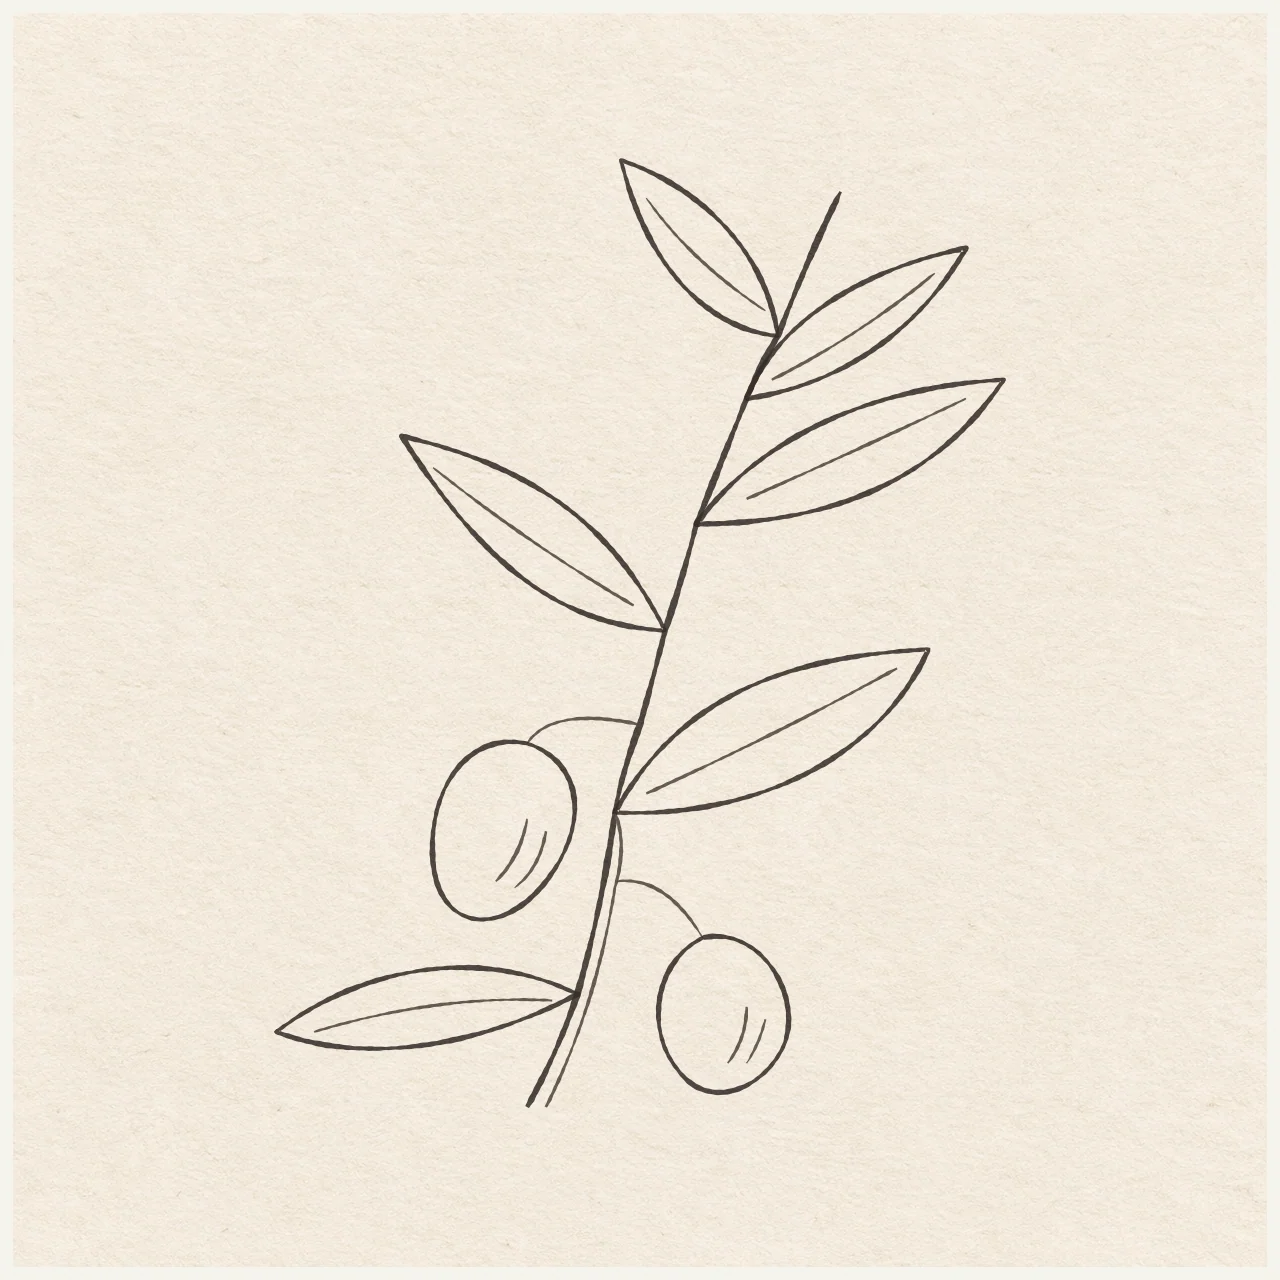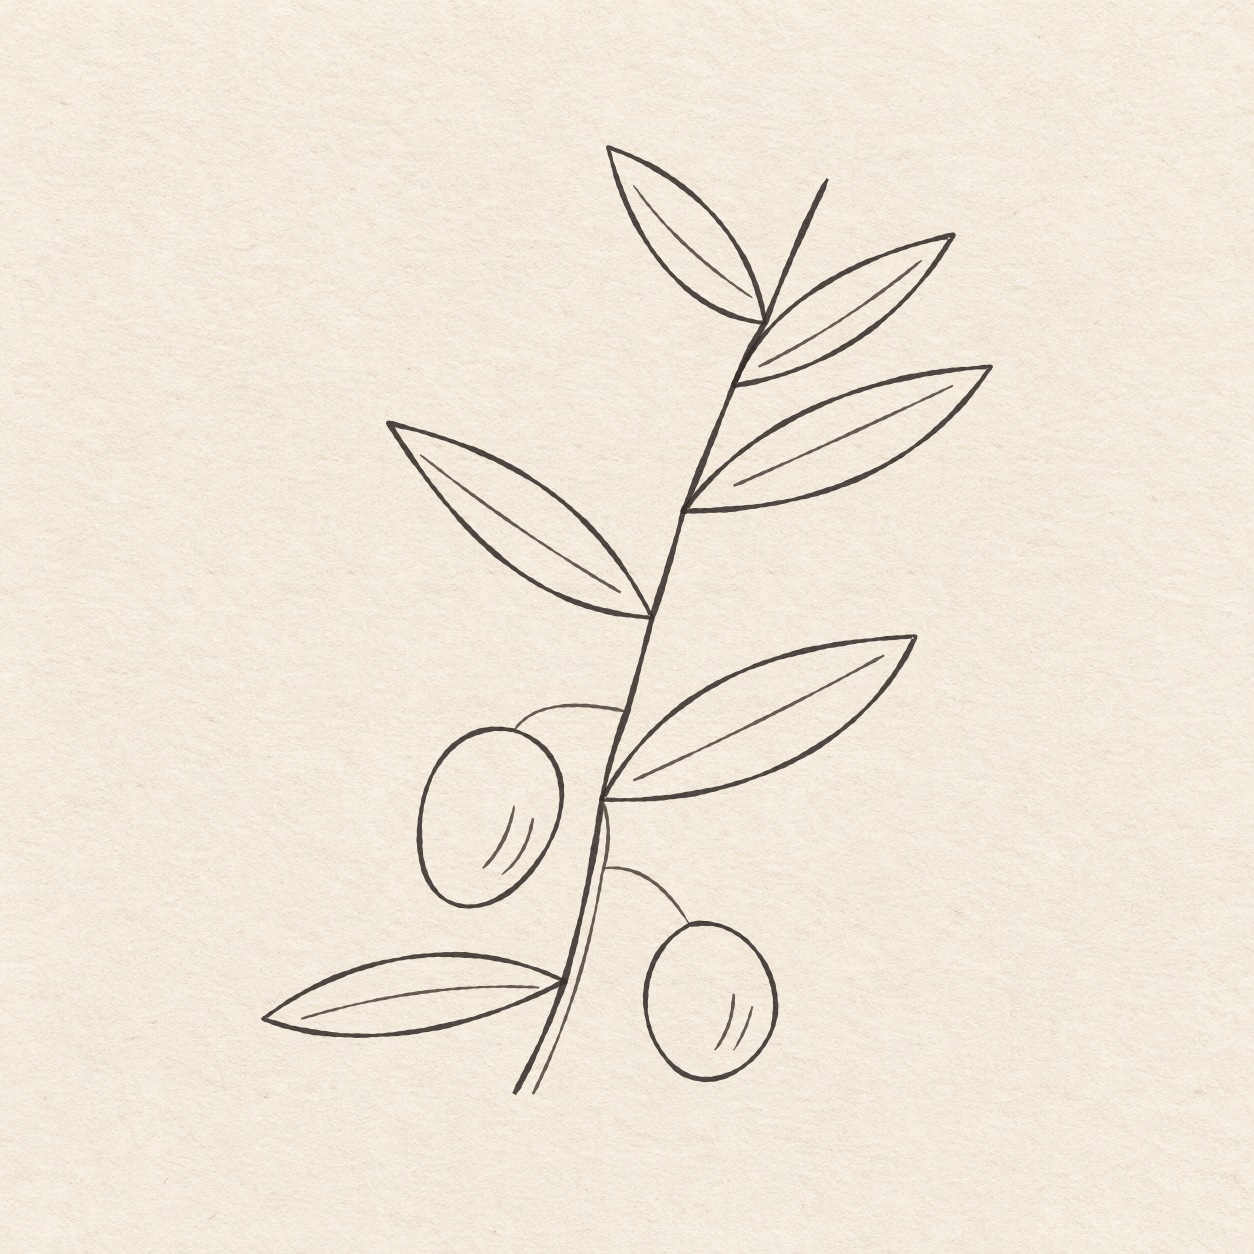
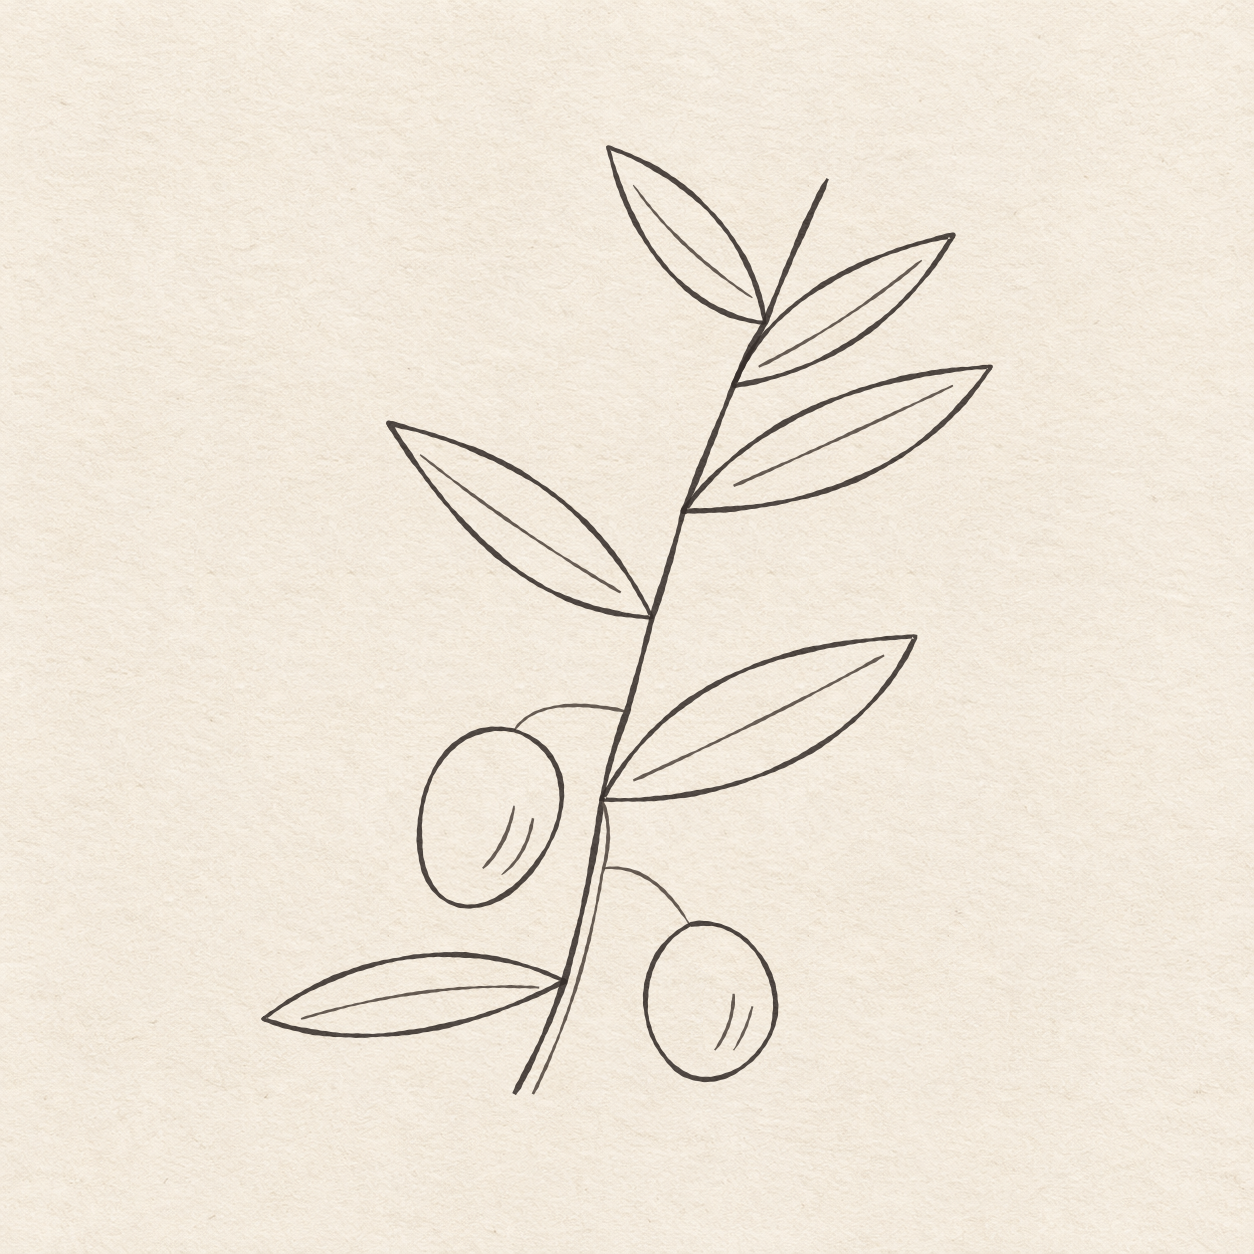
A fineliner drawing of an olive sprig with six pointed leaves, two hanging olives and short curved shading strokes.
Drawing referenceAbout reference use

Olive sprig

A curved olive twig with six narrow leaves and two hanging olives. Practice flowing contours and light fineliner shading.

Nature & plantsMediumFinelinerReference practice: about 20 min
Save reference

Follow the drawing tutorial

Draw a curved twig, six pointed leaves and two hanging olives in pencil before tracing them with a fineliner.

Start the 13-step tutorial

A small thing to tryLeave clear paper between each olive and the twig. Check the gap before inking.

Draw it, one step at a time

Draw an olive sprig

Draw a curved twig, six pointed leaves and two hanging olives in pencil before tracing them with a fineliner.

13 illustrated steps Full tutorial: about 35 minutes, at your pace

What you’ll need

  • HB pencil
  • Eraser
  • Fine black pen
  • Ruler
  • Spare sheet with a square corner
  • Drawing paper

Before you start

The finished sprig is about 9.3 cm wide and 12 cm tall. You can place it anywhere on your sheet with enough room above and beside the twig. Keep the pencil marks light.
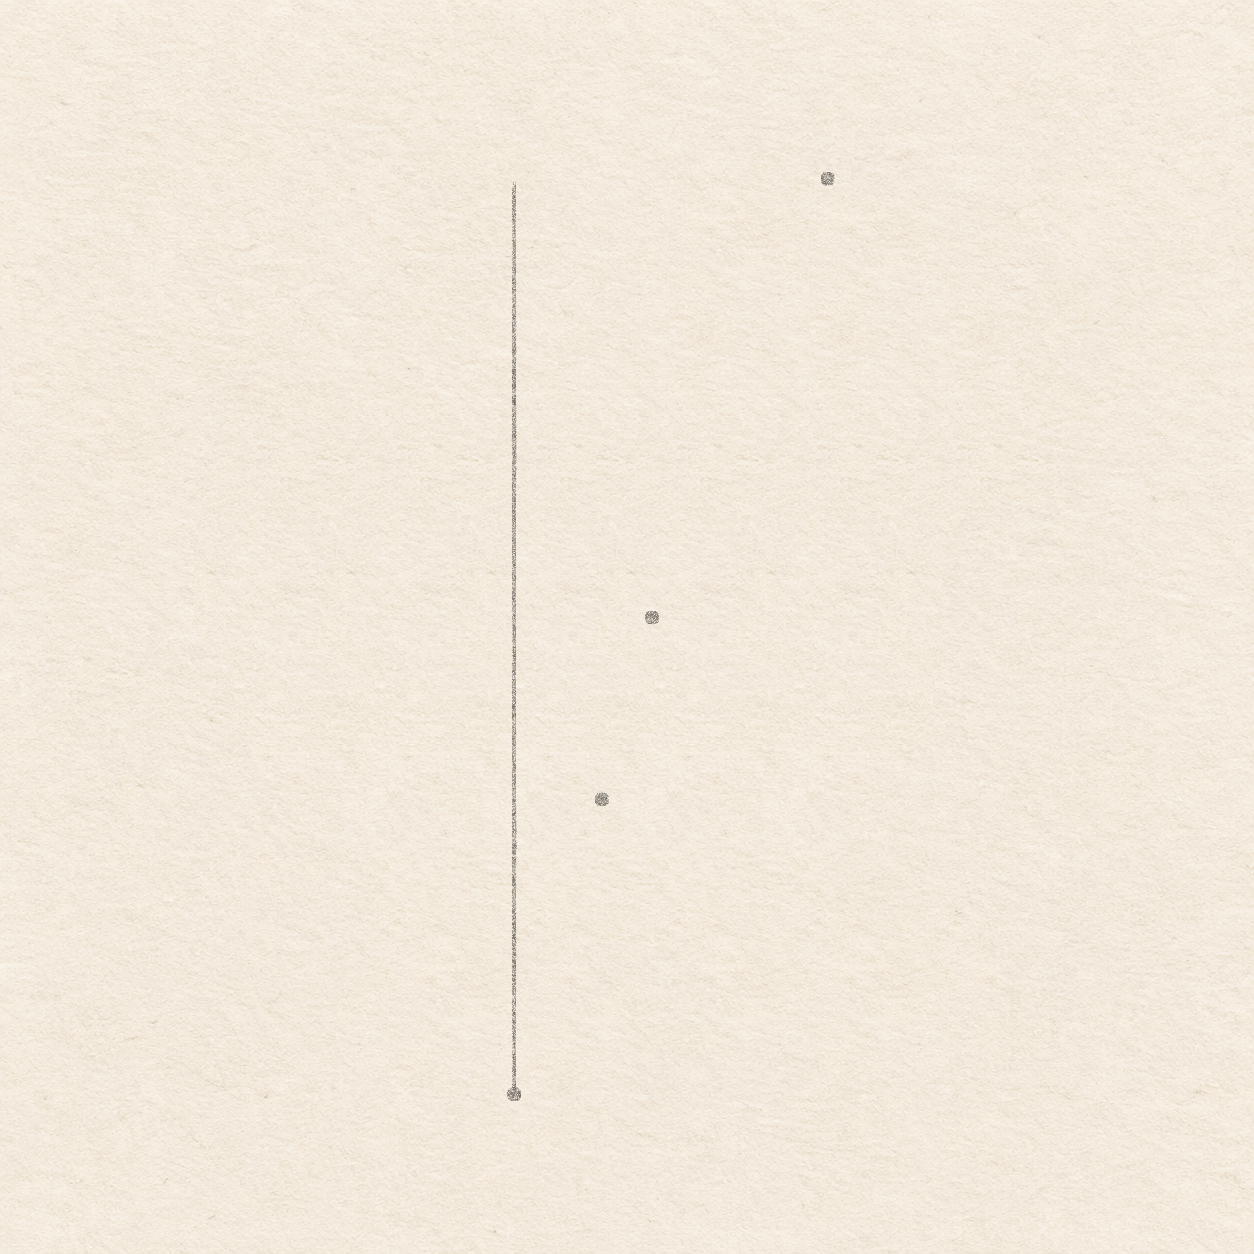
  1. The chosen pencil dot at the bottom of the twig. The upright measuring guide from the base. The lower join dot, middle bend dot and twig tip dot on textured drawing paper.
    Drawing 1 — Mark the height and bend of the sprigView larger
    Pencil

    Mark the height and bend of the sprig

    Instructions for Drawing 1 — Mark the height and bend of the sprig
    1. Choose a spot for the bottom of the twig. Measure from that spot and leave at least 4.2 cm to the left, 8.5 cm to the right, 12.5 cm above, and 1 cm below. Then mark the spot with a pencil dot. Before drawing the upright, recheck all four margins. If any is too small, erase the dot and move it before drawing the guide.
    2. Line up one edge of a spare sheet with the bottom edge of your drawing paper. Slide the sheet until its upright edge passes through the starting dot. Line up your ruler with that upright edge and draw a light line 11.7 cm up from the dot. This measuring line will be erased later. Keep the line light and its bottom on the starting dot.
    3. Hold the spare sheet’s square corner against the upright guide when measuring to the right. For the lower join dot, go 3.8 cm up from the bottom and 1.1 cm right. For the middle bend dot, go 6.1 cm up from the bottom and 1.8 cm right. From the top of the guide, mark the twig tip 4 cm right. Check that the three new dots step up and right, with the tip farthest from the guide.
    Next step
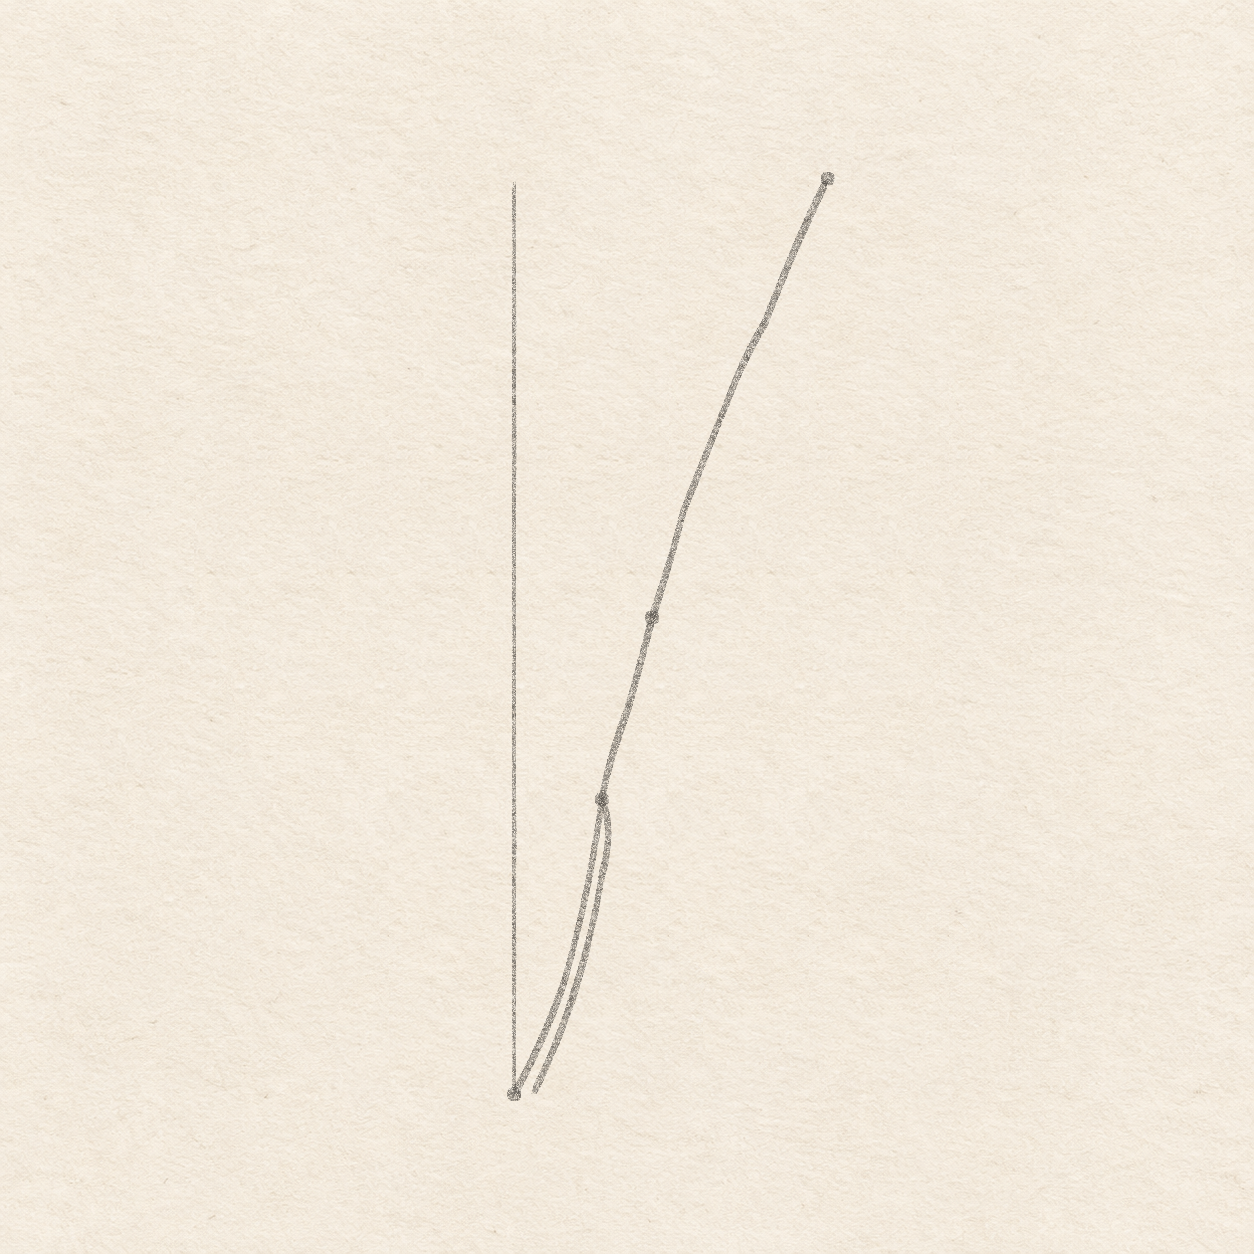
  2. The main rising twig curve. The second edge along the bottom of the twig on textured drawing paper.
    Drawing 2 — Draw the twig in pencilView larger
    Pencil

    Draw the twig in pencil

    Instructions for Drawing 2 — Draw the twig in pencil
    1. Draw the twig freehand from the bottom dot to the tip, passing through the lower join and middle bend dots. Sweep up and right at first, getting closer to upright near the lower join. Above that dot, turn gradually right again and finish at the twig tip dot. Check that the curve passes through the bend dot without a sharp corner.
    2. Start the twig’s second edge 2.5 mm right of the bottom dot. Draw a freehand curve beside the main twig. Close the gap at the lower join dot on the main twig. Keep this second edge on the right. It should narrow into the main twig with no open break.
    Next step
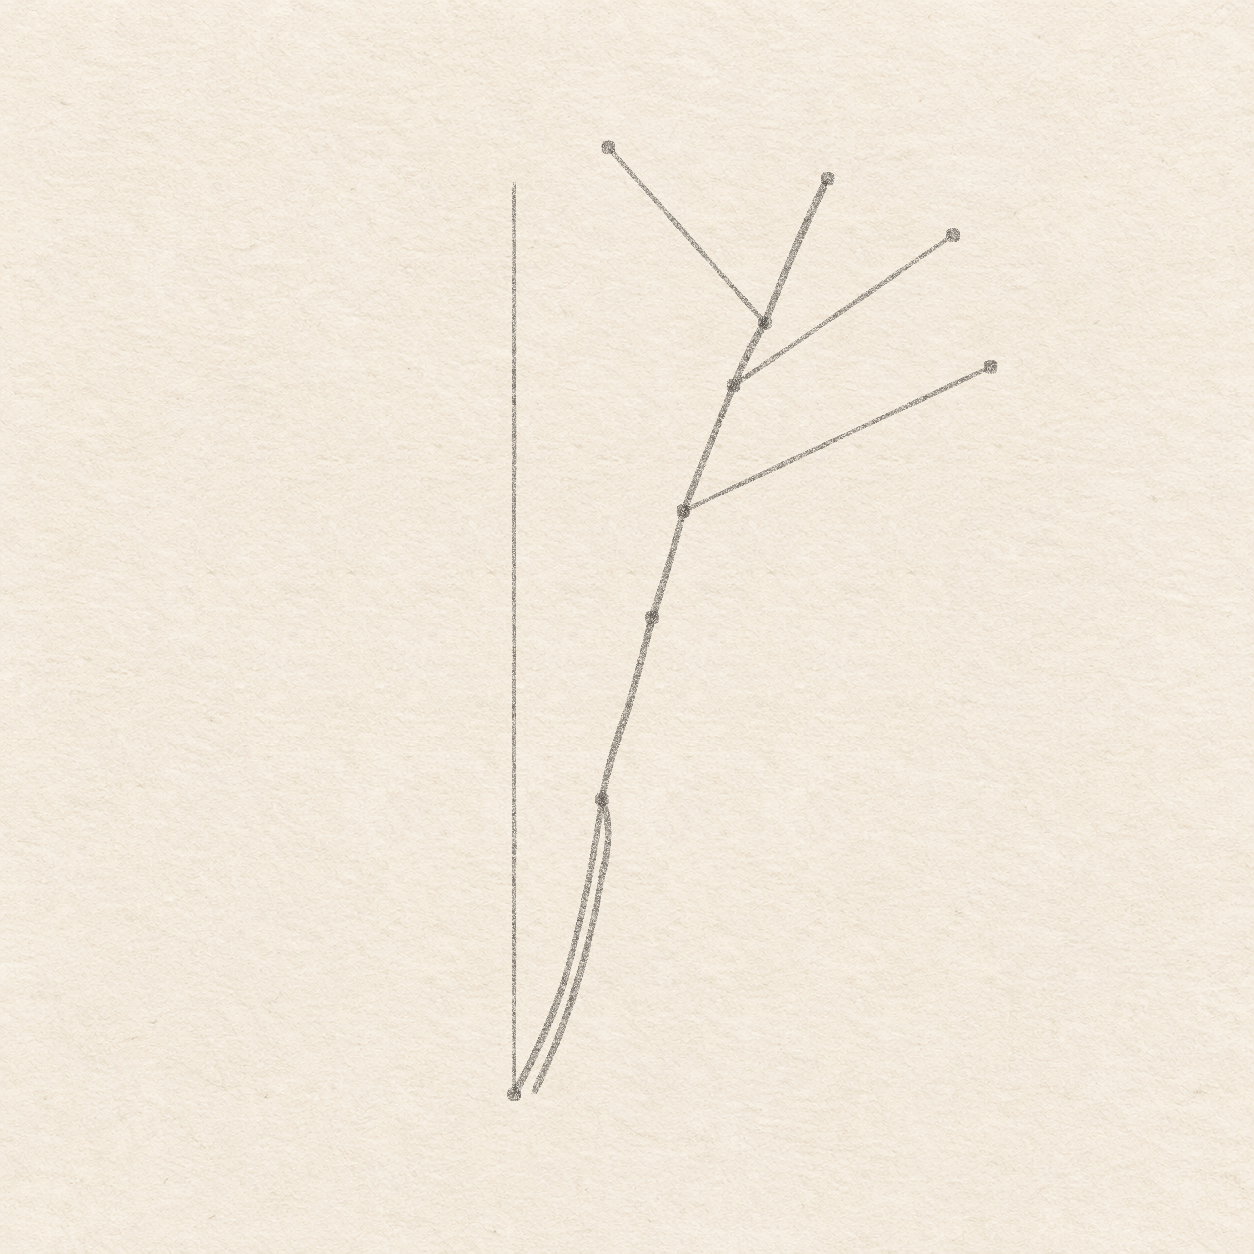
  3. Three leaf join dots on the twig. Three leaf tip dots outside the twig. Three light straight leaf guides on textured drawing paper.
    Drawing 3 — Mark the upper three leaf positionsView larger
    Pencil

    Mark the upper three leaf positions

    Instructions for Drawing 3 — Mark the upper three leaf positions
    1. Measure straight down from the twig tip using the ruler parallel to the upright guide. Put dots on the twig 1.8 cm, 2.6 cm and 4.2 cm below its tip. These are the joins for the top left, short upper right and long upper right leaves, in that order. Check the order from the top down. Move any dot that has slipped off the pencil twig.
    2. From each join dot, use your ruler and the square corner of a spare sheet to measure sideways and then up or down. Mark the top left tip 2 cm left and 2.2 cm up from its own join. Mark the short upper right tip 2.8 cm right and 1.9 cm up from its own join. Mark the long upper right tip 3.9 cm right and 1.8 cm up from its own join. Check that each tip has clear paper around it. Correct any misplaced dot before drawing the leaf.
    3. Join each leaf’s twig dot to its own tip dot with a very light straight pencil line. This line gives the direction and length for the two curved edges. Keep each guide light enough to erase. Check that it connects the right pair of dots.
    Next step
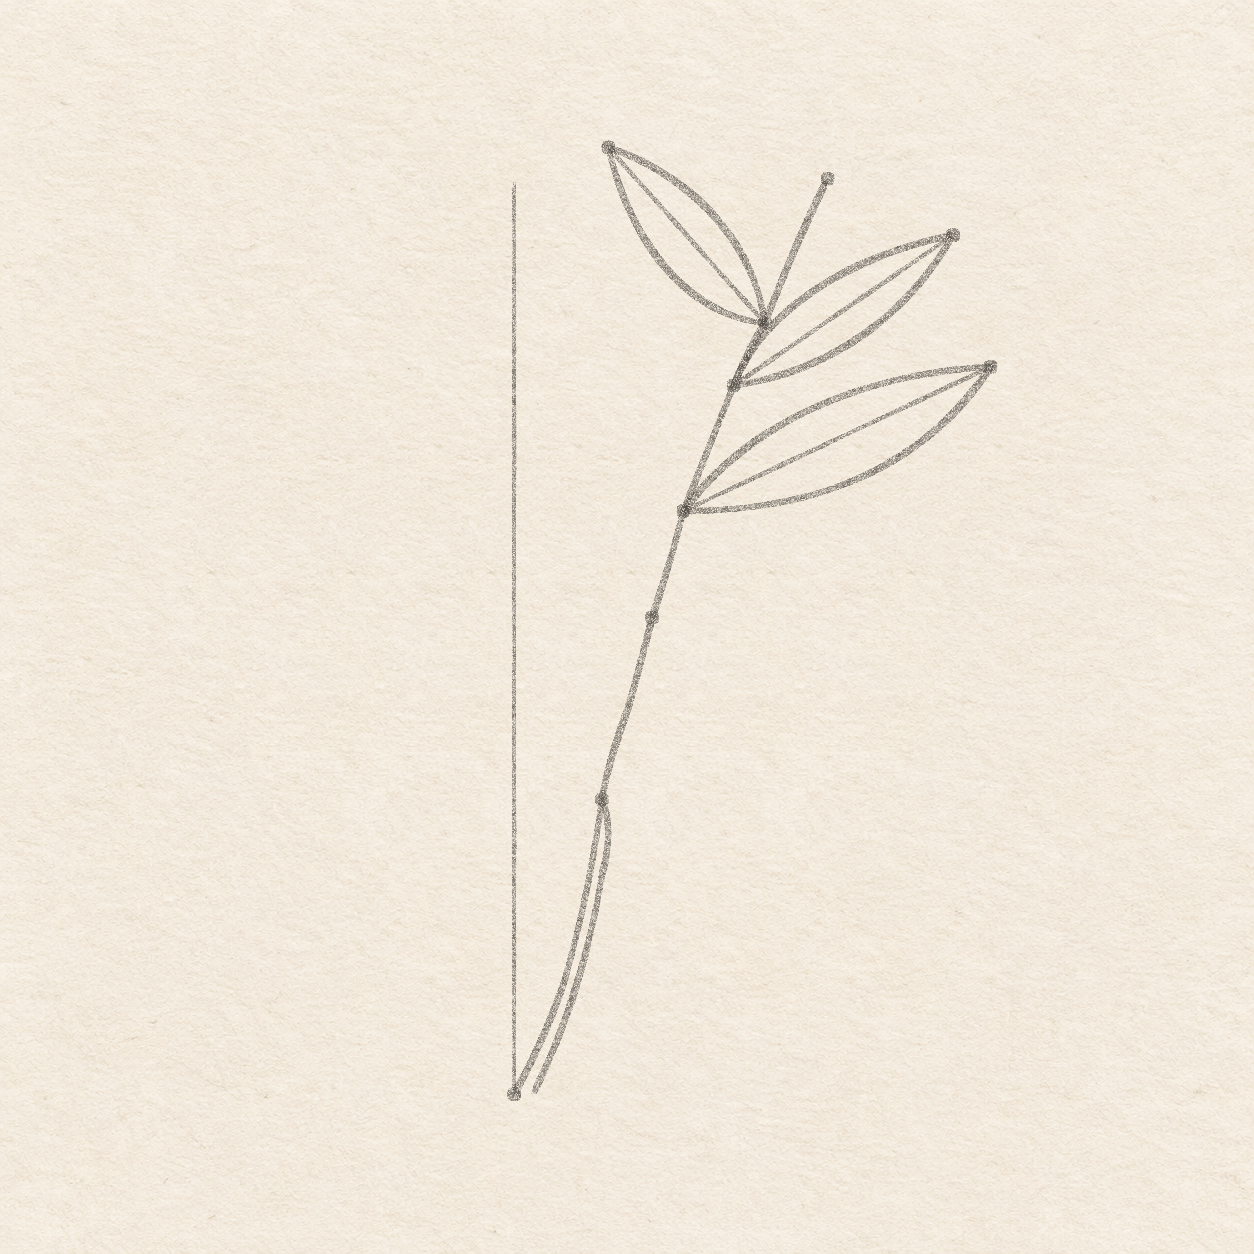
  4. The pointed top left leaf outline. The pointed short upper right leaf outline. The pointed long upper right leaf outline on textured drawing paper.
    Drawing 4 — Shape the three upper leavesView larger
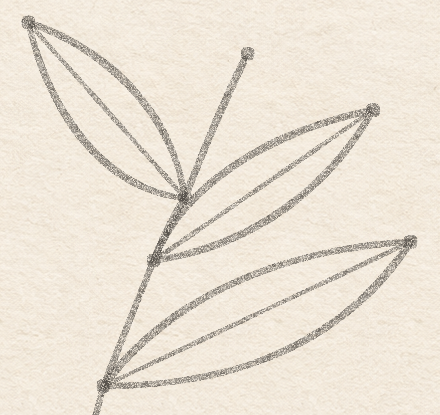
    Three pointed upper leaves with straight pencil guides, tip dots and visible joins on the twig.
    Detail 4.1 — Pencil edges at the upper leaf joinsThe light straight guides run from each twig join to its own tip. Both curved pencil edges meet the same two dots.
    Pencil

    Shape the three upper leaves

    Instructions for Drawing 4 — Shape the three upper leaves
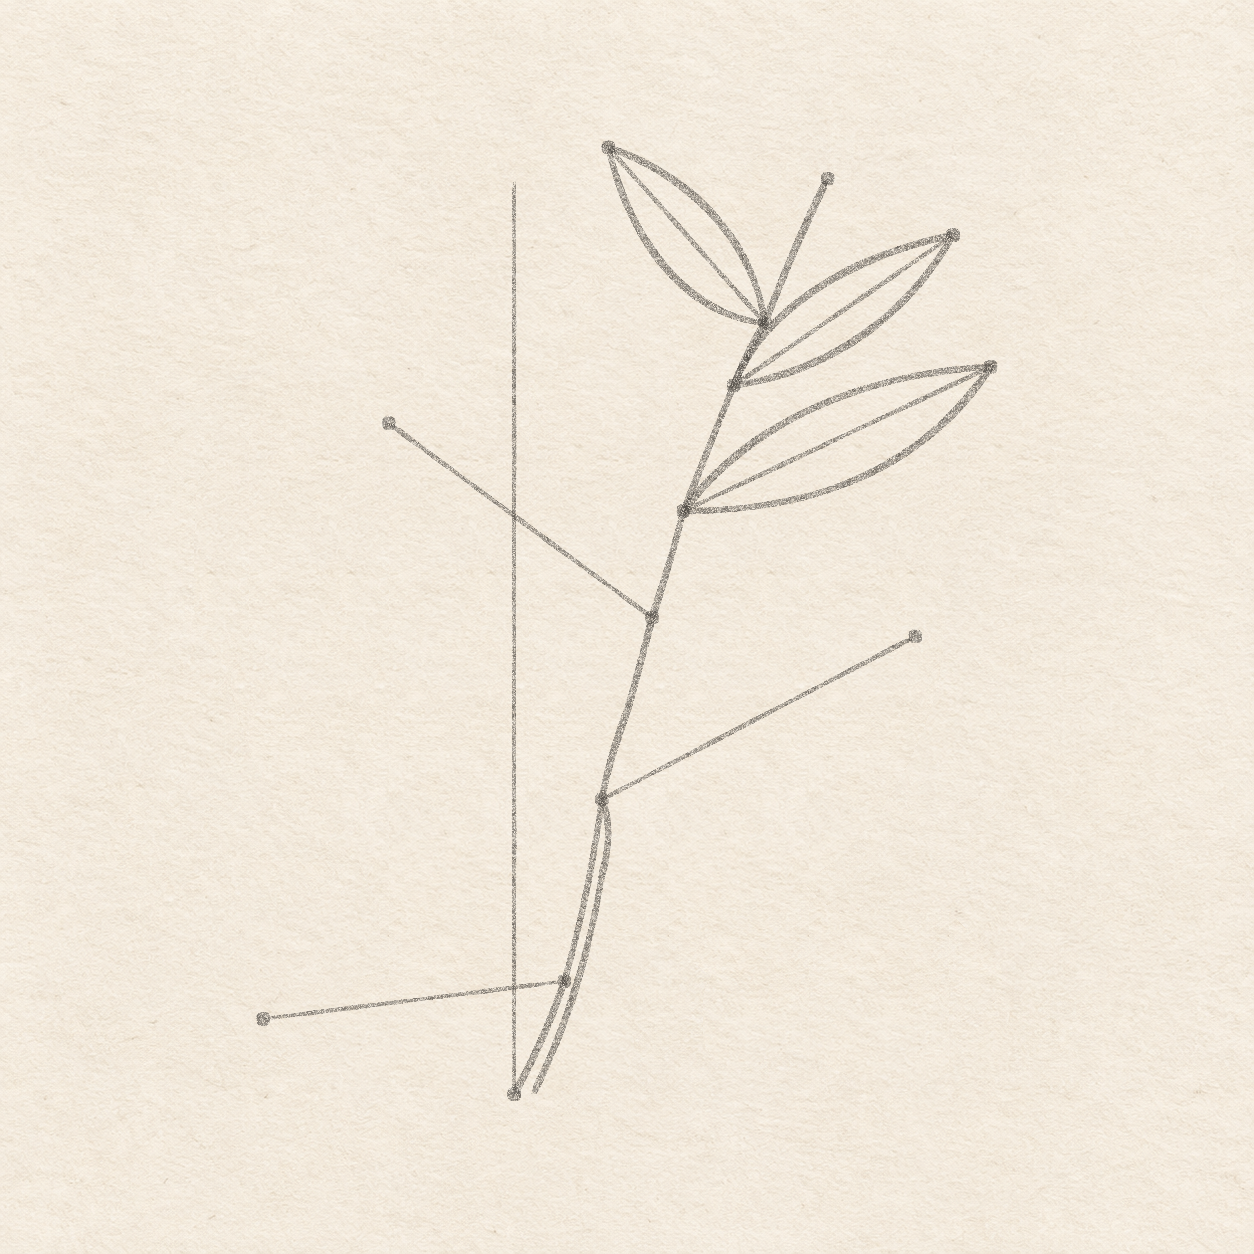
    1. Near the middle of the guide, allow about 9 mm for the full width of the top left leaf, with roughly half on each side. Draw the two edges freehand between the dots. Bow the first edge to the left as it rises. Bow the return edge to the right, then taper both into the twig. Meet both dots. Redraw the curve lightly if it touches a neighboring leaf.
    2. Near the middle of the guide, allow about 8 mm for the full width of the short upper right leaf, with roughly half on each side. Draw the two edges freehand between the dots. Bend the first edge upward and right to the tip. Bring the lower edge back down and left to the join. Meet both dots. Redraw the curve lightly if it touches a neighboring leaf.
    3. Near the middle of the guide, allow about 1.1 cm for the full width of the long upper right leaf, with roughly half on each side. Draw the two edges freehand between the dots. Arc the first edge up and right. Bow the other edge lower as it returns to the twig. Meet both dots. Redraw the curve lightly if it touches a neighboring leaf.
    Next step
  5. The new join dot for the bottom left leaf. Three leaf tip dots outside the twig. Three light straight leaf guides on textured drawing paper.
    Drawing 5 — Mark the lower three leaf positionsView larger
    Pencil

    Mark the lower three leaf positions

    Instructions for Drawing 5 — Mark the lower three leaf positions
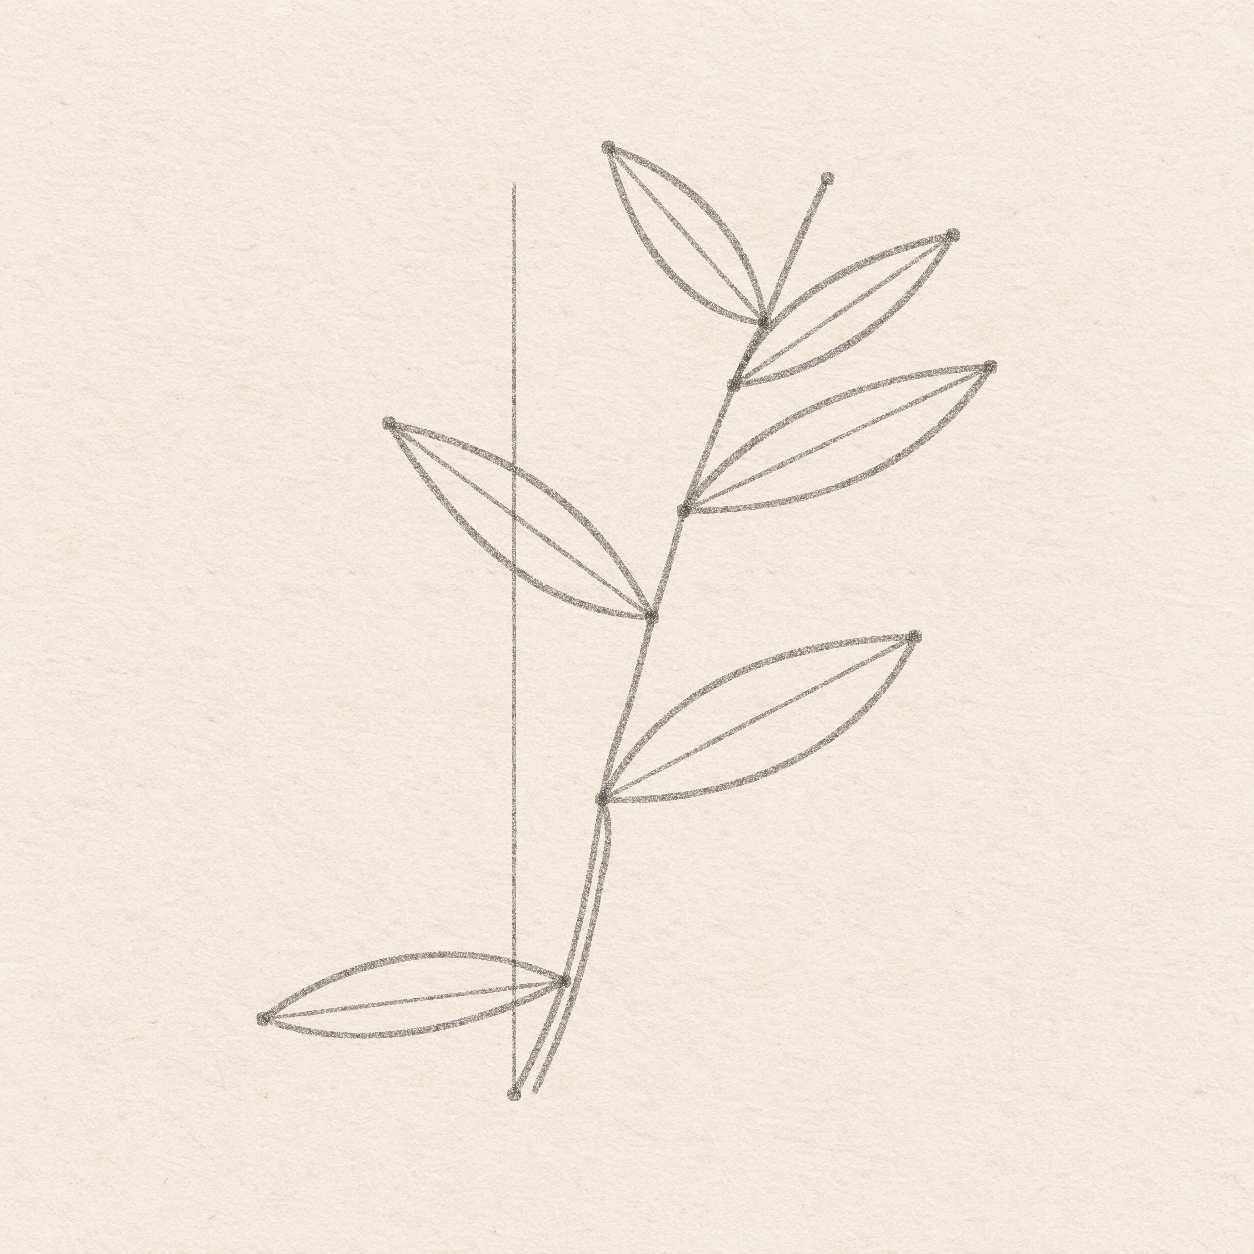
    1. Keep the middle bend dot for the middle left leaf and the lower join dot for the lower right leaf. For the bottom left leaf, measure straight up 1.4 cm from the bottom dot and mark where that height meets the main twig. The new dot is below the other two joins. Move it onto the twig if it has slipped sideways.
    2. From each join dot, use your ruler and the square corner of a spare sheet to measure sideways and then up or down. Mark the middle left tip 3.4 cm left and 2.5 cm up from its own join. Mark the lower right tip 4 cm right and 2.1 cm up from its own join. Mark the bottom left tip 3.8 cm left and 5 mm down from its own join. Check that each tip has clear paper around it. Correct any misplaced dot before drawing the leaf.
    3. Join each leaf’s twig dot to its own tip dot with a very light straight pencil line. This line gives the direction and length for the two curved edges. Keep each guide light enough to erase. Check that it connects the right pair of dots.
    Next step
  6. The pointed middle left leaf outline. The pointed lower right leaf outline. The pointed bottom left leaf outline on textured drawing paper.
    Drawing 6 — Shape the three lower leavesView larger
    Pencil

    Shape the three lower leaves

    Instructions for Drawing 6 — Shape the three lower leaves
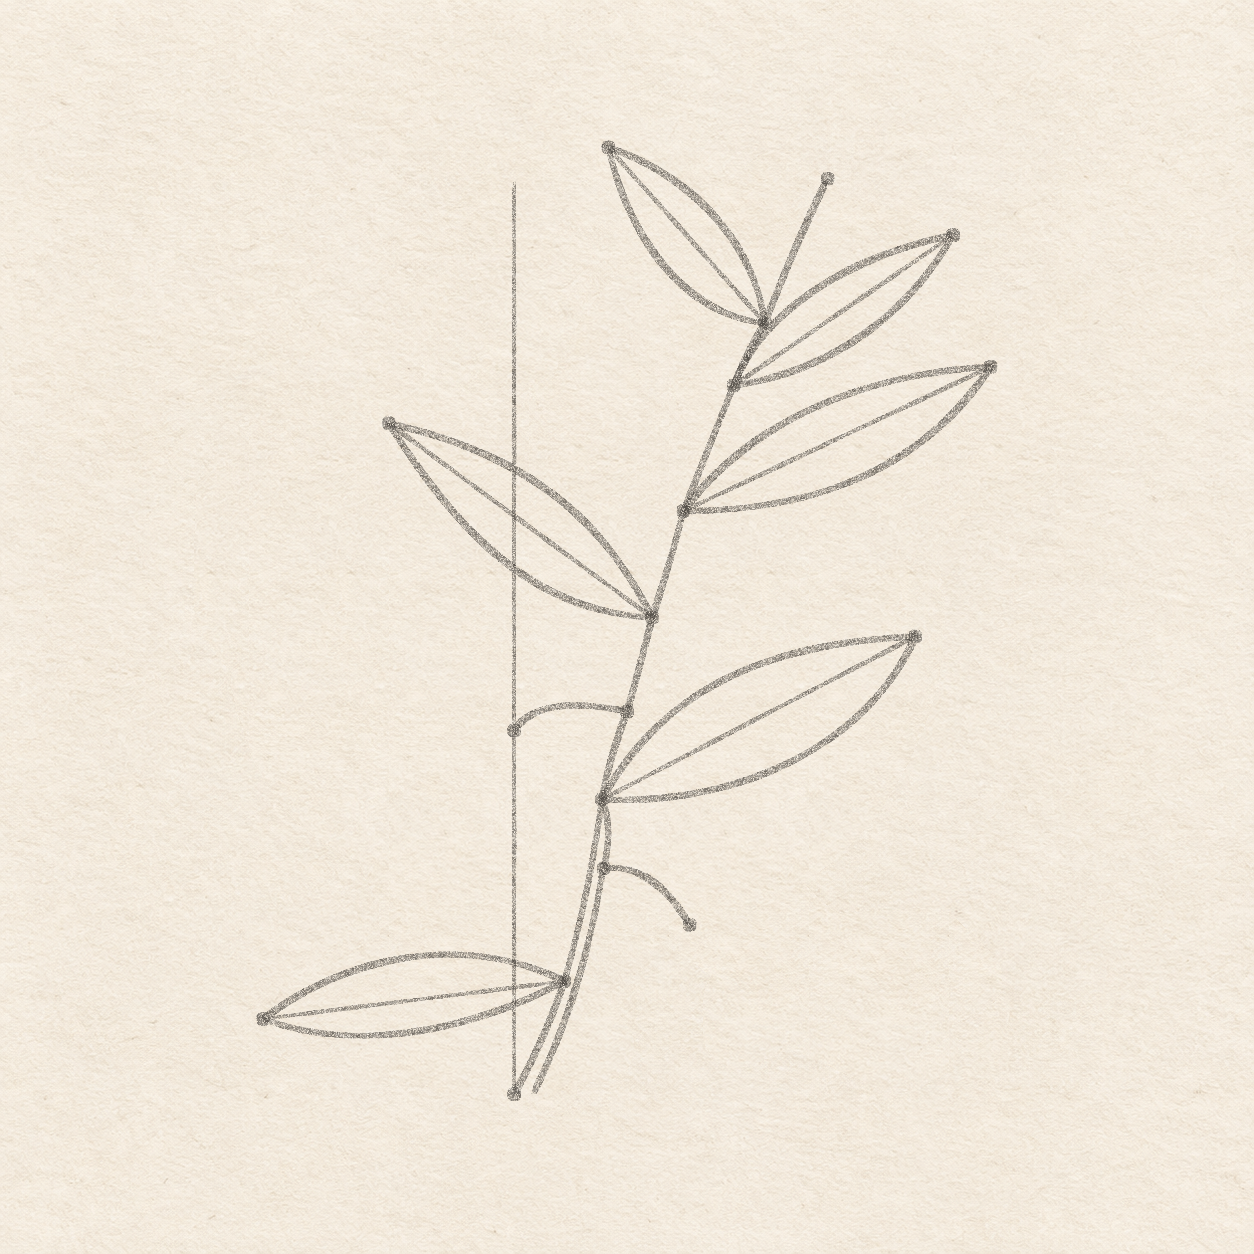
    1. Near the middle of the guide, allow about 1.1 cm for the full width of the middle left leaf, with roughly half on each side. Draw the two edges freehand between the dots. Bow the first edge below the join-to-tip direction and return above it. Meet both dots. Redraw the curve lightly if it touches a neighboring leaf.
    2. Near the middle of the guide, allow about 1.3 cm for the full width of the lower right leaf, with roughly half on each side. Draw the two edges freehand between the dots. Arc the upper edge up and right to the tip. Return along a lower curve that flattens near the twig. Meet both dots. Redraw the curve lightly if it touches a neighboring leaf.
    3. Near the middle of the guide, allow about 1 cm for the full width of the bottom left leaf, with roughly half on each side. Draw the two edges freehand between the dots. Bow the first edge below the guide. Sweep the second edge back above it. Meet both dots. Redraw the curve lightly if it touches a neighboring leaf.
    Next step
  7. Two small dots on the twig for the olive stalks. Two pencil dots for the stalk ends. The stalk that curves left from the main twig. The stalk that curves down and right from the thin twig edge on textured drawing paper.
    Drawing 7 — Place the two curved olive stalksView larger
    Pencil

    Place the two curved olive stalks

    Instructions for Drawing 7 — Place the two curved olive stalks
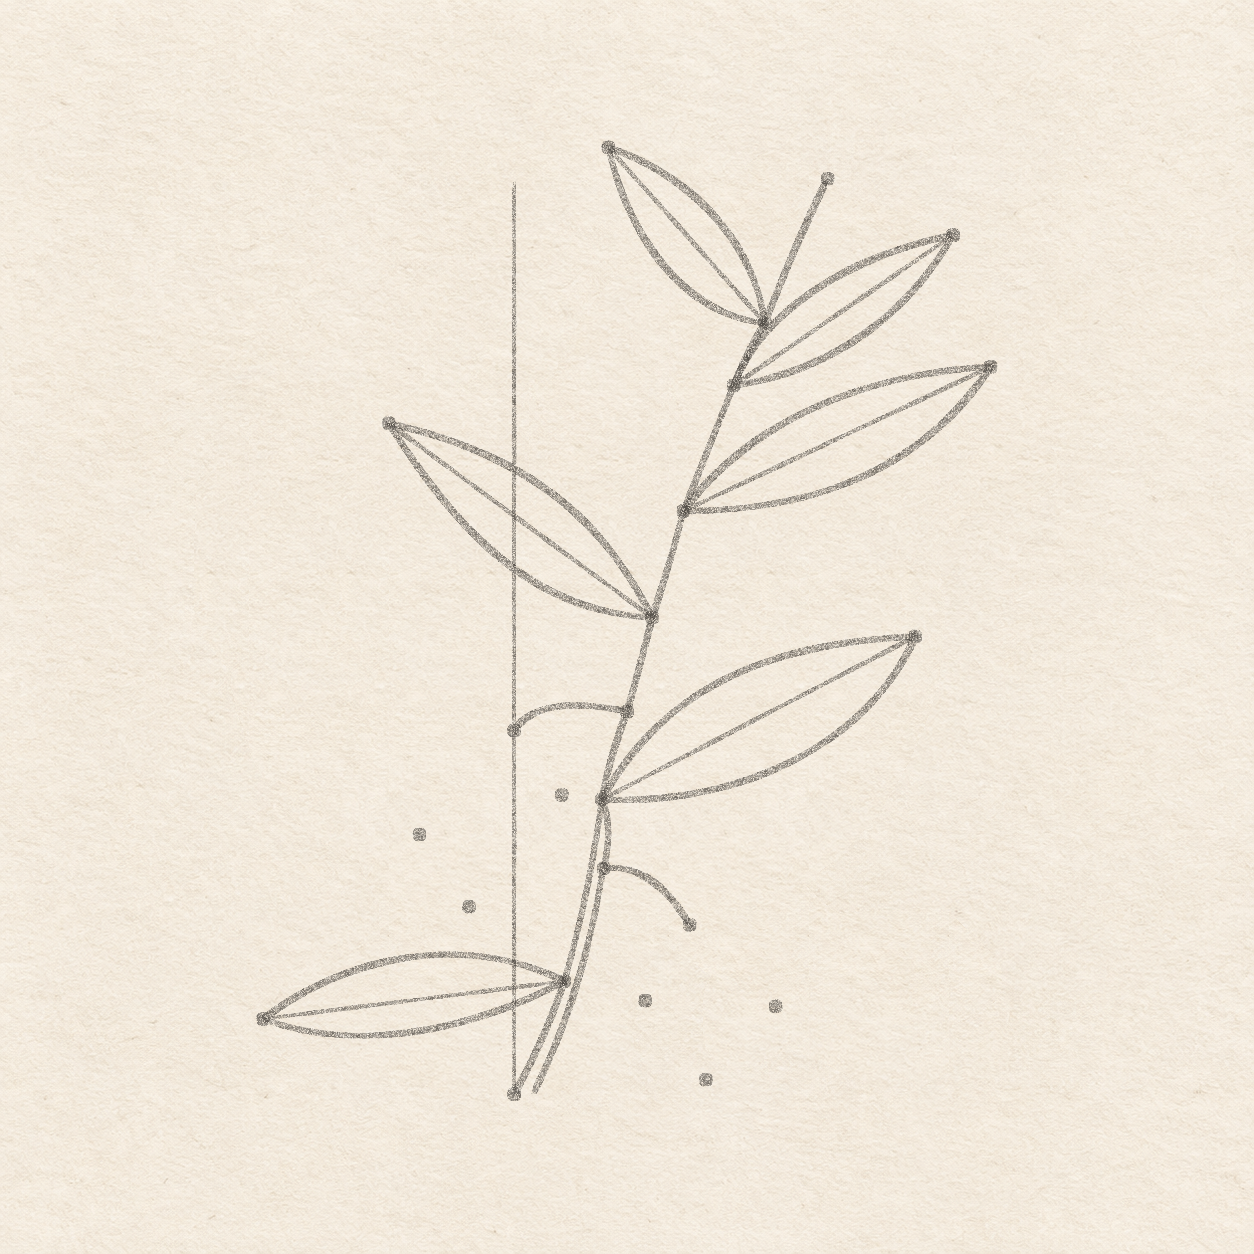
    1. For the left stalk, measure straight down 1.2 cm from the middle left leaf join. Mark that height on the main twig. For the right stalk, measure straight down 9 mm from the lower right leaf join. Mark that height on the thin right edge of the twig. Use the upright guide to keep both measurements straight down. Make sure the right dot is on the thin edge.
    2. Measure 1.4 cm left and 2 mm down from the left stalk’s dot. Measure 1.1 cm right and 7 mm down from the right stalk’s dot. Mark those two ends before drawing the stalks. Check that both end dots are clear of the twig and leaves.
    3. Draw the left stalk freehand between its two dots. Bow a little above the start as you go left, then turn gently down into the end dot. Leave the open area below the stalk clear for the left olive.
    4. Draw the right stalk freehand between its two dots. Keep it almost level as it leaves the twig and bend down into the end dot. Leave clear paper between the stalk and the leaf above it.
    Next step
  8. Four small pencil dots at the widest sides of the olives. Two pencil dots at the lowest points of the olives on textured drawing paper.
    Drawing 8 — Mark the width and height of each oliveView larger
    Pencil

    Mark the width and height of each olive
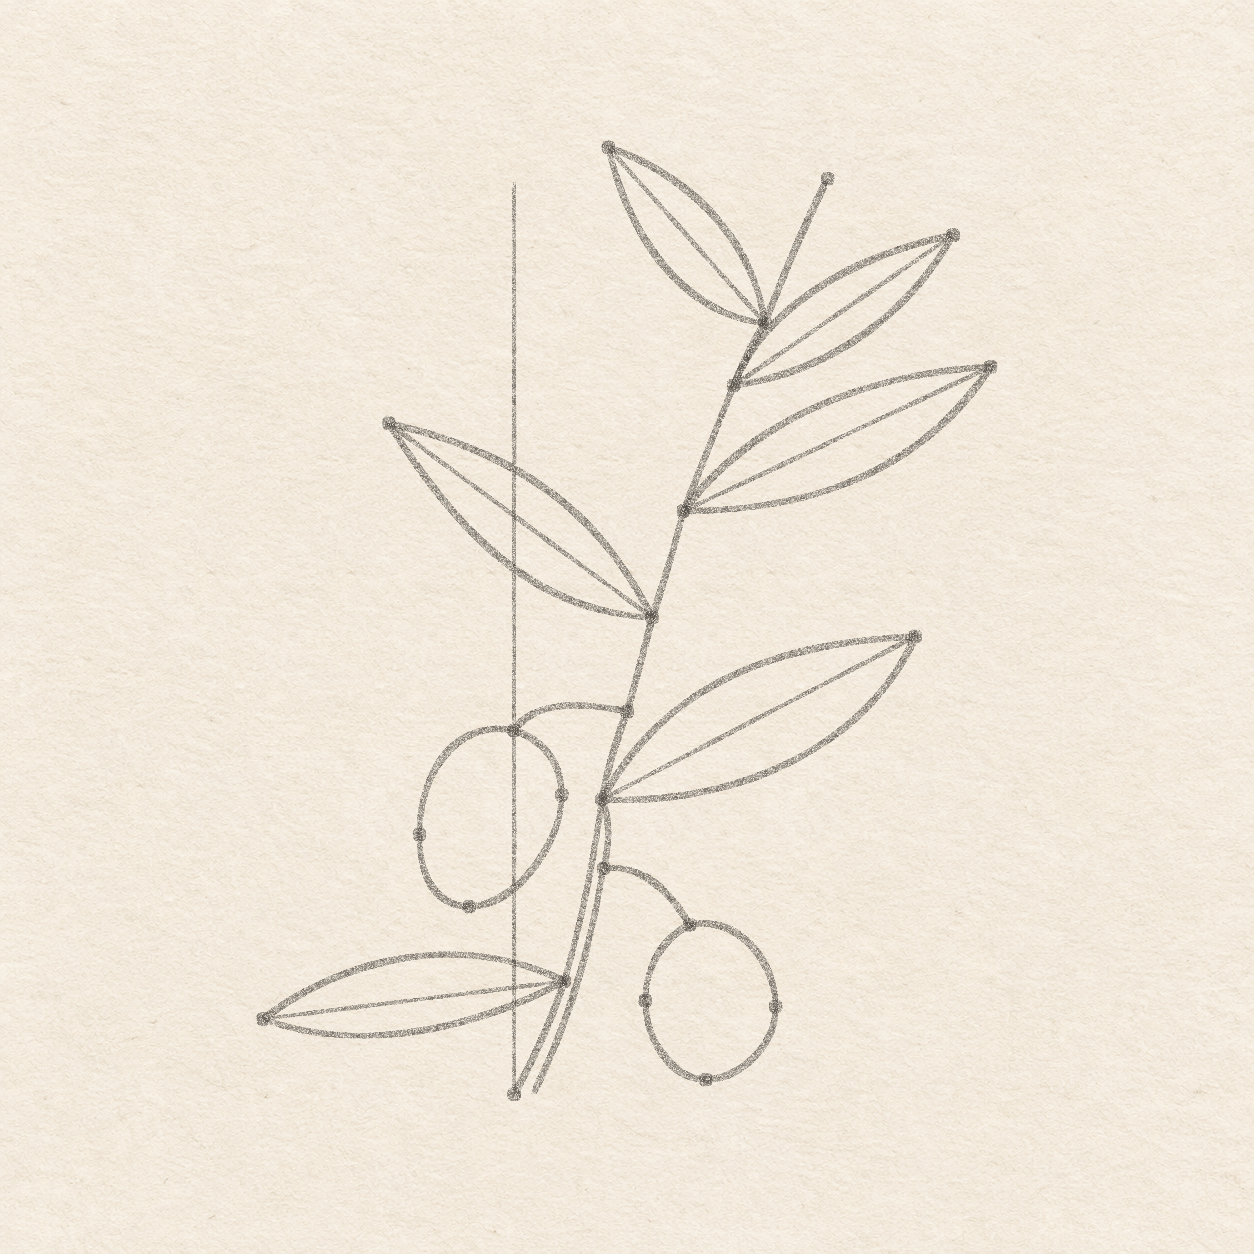
    Instructions for Drawing 8 — Mark the width and height of each olive
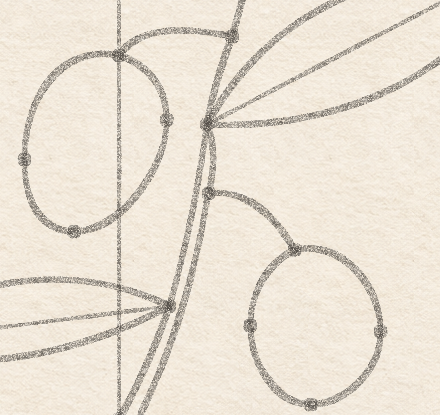
    1. Measure from the end of the left stalk. Mark one dot 1.2 cm left and 1.3 cm down, and another 6 mm right and 8 mm down. From the end of the right stalk, mark dots about 6 mm left and 1.1 cm right, both 1 cm down. The left olive’s far-left dot should sit lower than its right dot. Keep all four dots away from the twig.
    2. From the left stalk end, mark a bottom dot 6 mm left and 2.2 cm down. From the right stalk end, mark a bottom dot about 2 mm right and 2 cm down. Check that each bottom dot lies below its pair of side dots.
    Next step
  9. The slightly tilted left olive outline. The rounder right olive outline on textured drawing paper.
    Drawing 9 — Round the two olivesView larger
    Two pencil olives with separate stalks and small pencil dots along their sides and bases.
    Detail 9.1 — Olive side and bottom dotsEach stalk meets the top of one olive. The left olive’s side dots sit at different heights.
    Pencil

    Round the two olives

    Instructions for Drawing 9 — Round the two olives
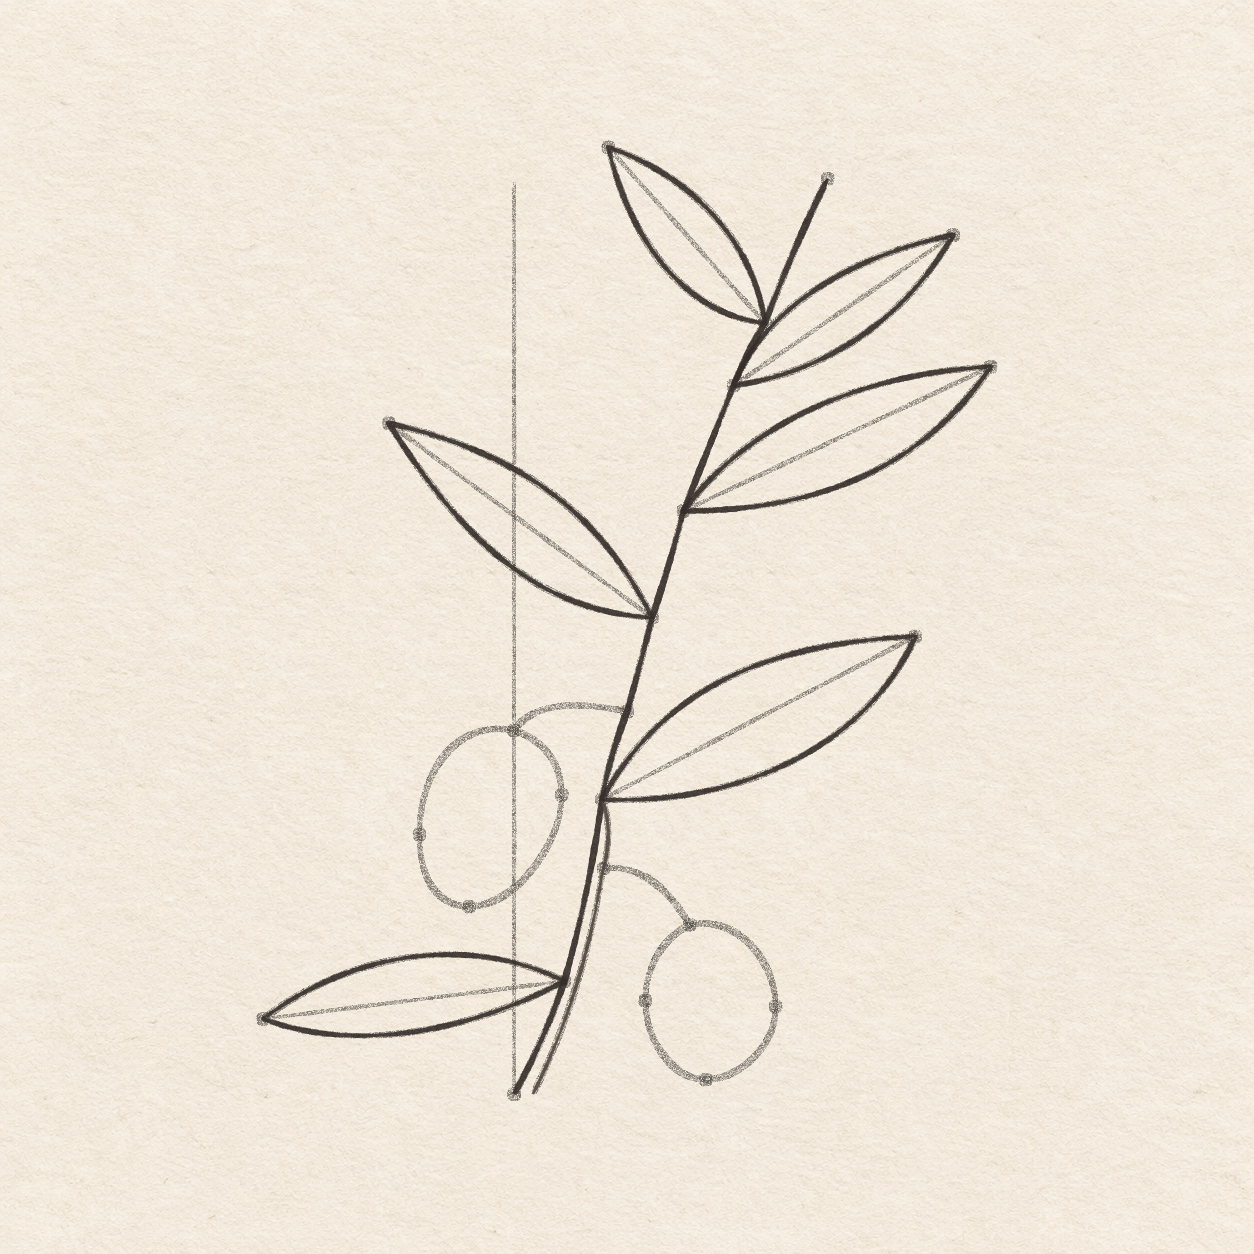
    1. Draw the left olive freehand. Start at the left stalk’s end, then round left through the left side dot and down to the bottom dot. Curve back up through the right side dot. Round the top and close it at the stalk. Let the ends stay round, and leave clear paper between the olive and the twig.
    2. Draw the right olive freehand from its own stalk end. Round left through the left side dot, then down to the bottom dot and up through the right side dot. Round the top back to the stalk to close the olive. Leave clear paper between the two olives. Smooth any point at the bottom while the pencil is light.
    Next step
  10. The dark main twig and thinner lower edge. The six pointed leaf outlines in ink on textured drawing paper.
    Drawing 10 — Ink the twig and leavesView larger
    Fineliner

    Ink the twig and leaves

    Instructions for Drawing 10 — Ink the twig and leaves
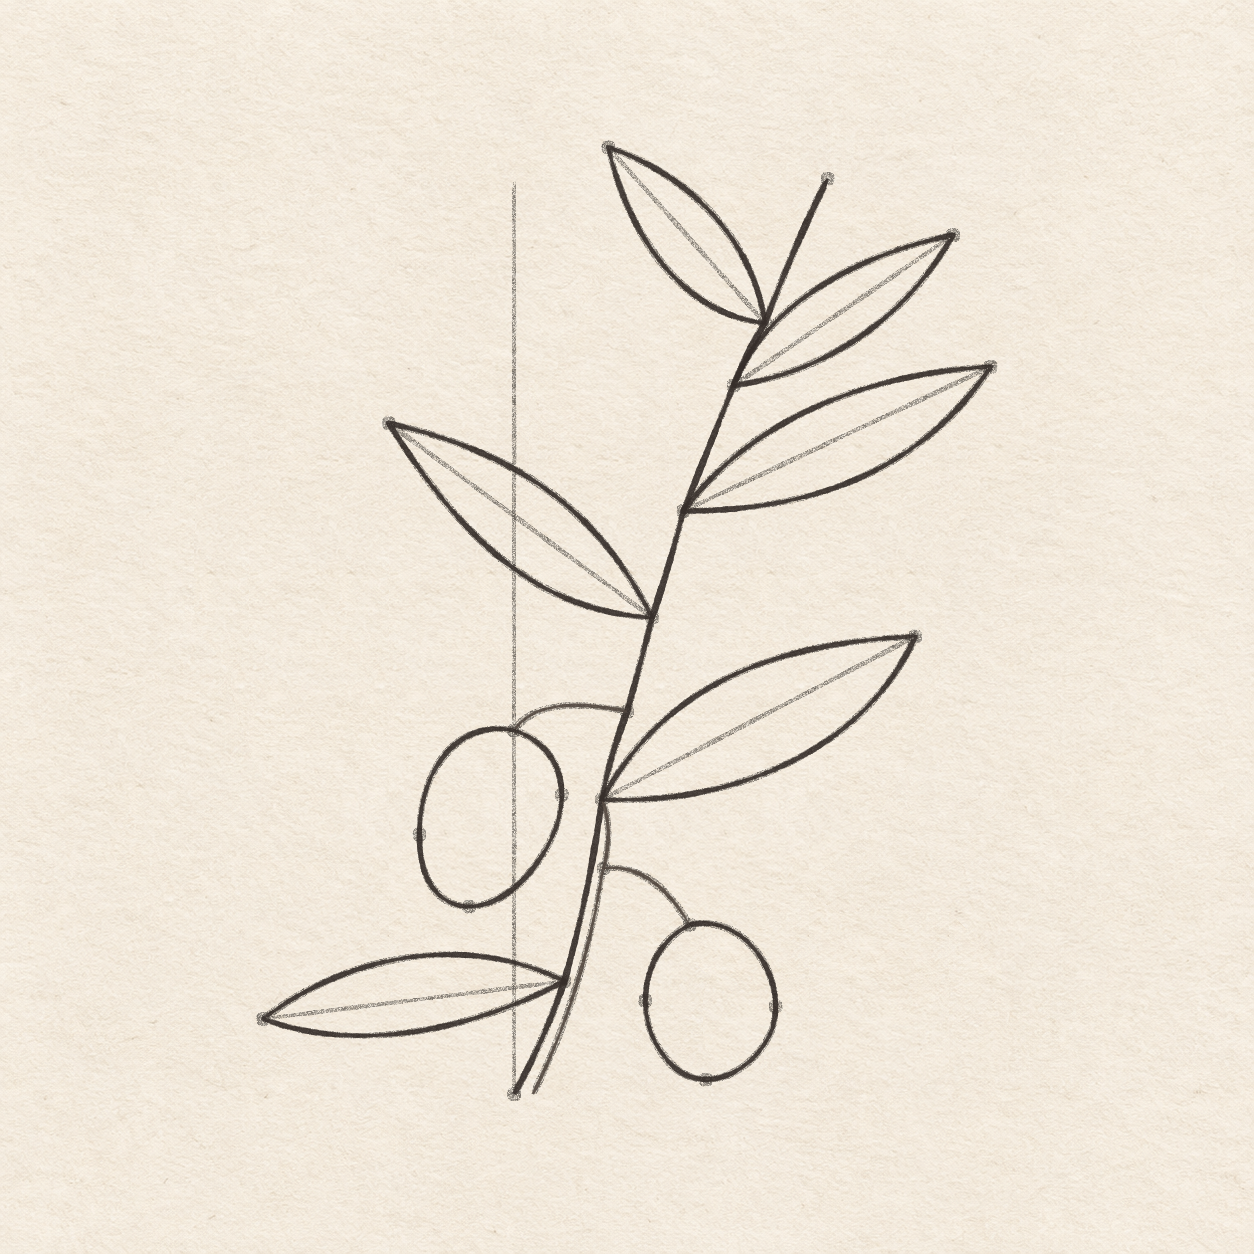
    1. Follow the main twig curve with a fineliner, from the bottom to the tip. Trace the short second edge more lightly from the bottom to its join with the main twig. Keep the upright measuring line and the dots in pencil.
    2. Trace each pencil leaf in pen, from its twig join to its tip and back. Work through the three upper leaves and then the three lower ones. Leave the straight leaf guides in pencil. Ink only the curved outlines now. You’ll add the veins after erasing the guides.
    Next step
  11. Two separate thin ink stalks. The two rounded olive outlines in ink on textured drawing paper.
    Drawing 11 — Ink the stalks and olivesView larger
    Fineliner

    Ink the stalks and olives

    Instructions for Drawing 11 — Ink the stalks and olives
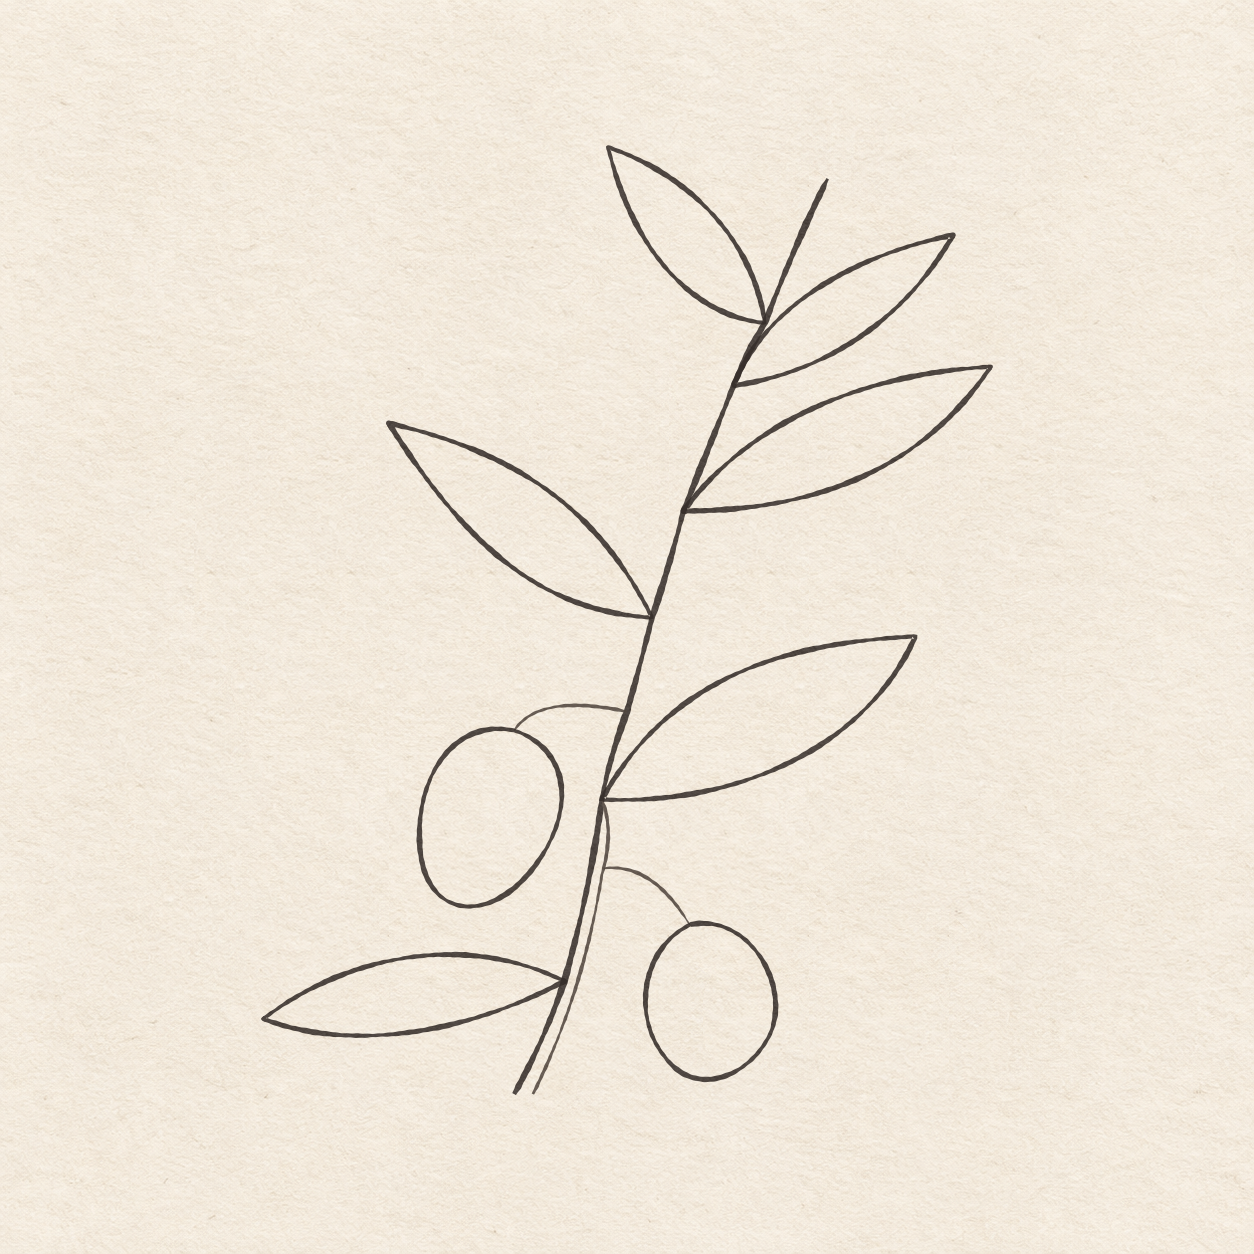
    1. Use a light pen stroke to follow each pencil stalk from the twig to the top of its olive. Stop where each stalk meets its olive. Keep the side and bottom dots in pencil.
    2. Trace each olive’s pencil outline with the fineliner. Go all the way around and meet the top of the olive at its stalk. Keep the inside of each olive clear for the short shading strokes you’ll add later.
    Next step
  12. Inked twig, six leaves and two olives on paper, with all pencil guides removed.
    Drawing 12 — Erase the pencil after the ink driesView larger
    Cleanup

    Erase the pencil after the ink dries

    Instructions for Drawing 12 — Erase the pencil after the ink dries
    1. Fill a small patch on a scrap of the same paper with the same pen. Rub the patch gently with your eraser. If it smears, wait and test again. Once the patch stops smearing, erase the upright guide, leaf guides, dots and any pencil beside the dry ink.
    Next step
  13. One fine vein inside each leaf. Two short curved shading lines on the lower right of each olive on textured drawing paper.
    Drawing 13 — Add the veins and light shadingView larger
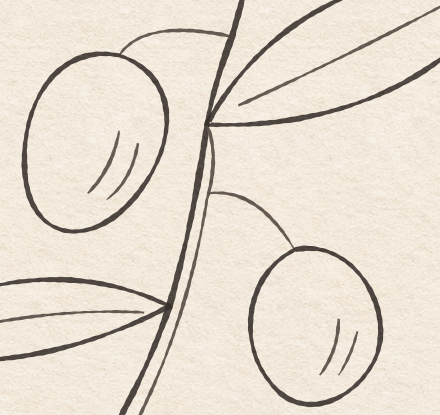
    Two inked olives with two short shading lines inside each lower right edge.
    Detail 13.1 — Finished olive shadingTwo short curved strokes sit inside the lower right of each olive. The paper between the strokes and each outline stays clear.
    Fineliner

    Add the veins and light shading

    Instructions for Drawing 13 — Add the veins and light shading

    1. Inside each leaf, draw one thin freehand vein from just inside the twig join toward its tip. Follow the leaf’s length with a slight curve and lift the pen a few millimetres before the point. Keep both ends of each vein clear of the outline.
    2. Draw two short curved fineliner strokes freehand near the lower right edge of each olive. Curve each stroke down and left, about 6 to 9 mm long. Leave a little clear paper between the strokes and the outside edge. Leave the upper left and middle of each olive light.
    Back to the steps

If something looks off

If the leaves crowd each other

Check where the leaf tips sit while the drawing is still in pencil. Narrow a leaf a little if its curved edge touches the leaf beside it.