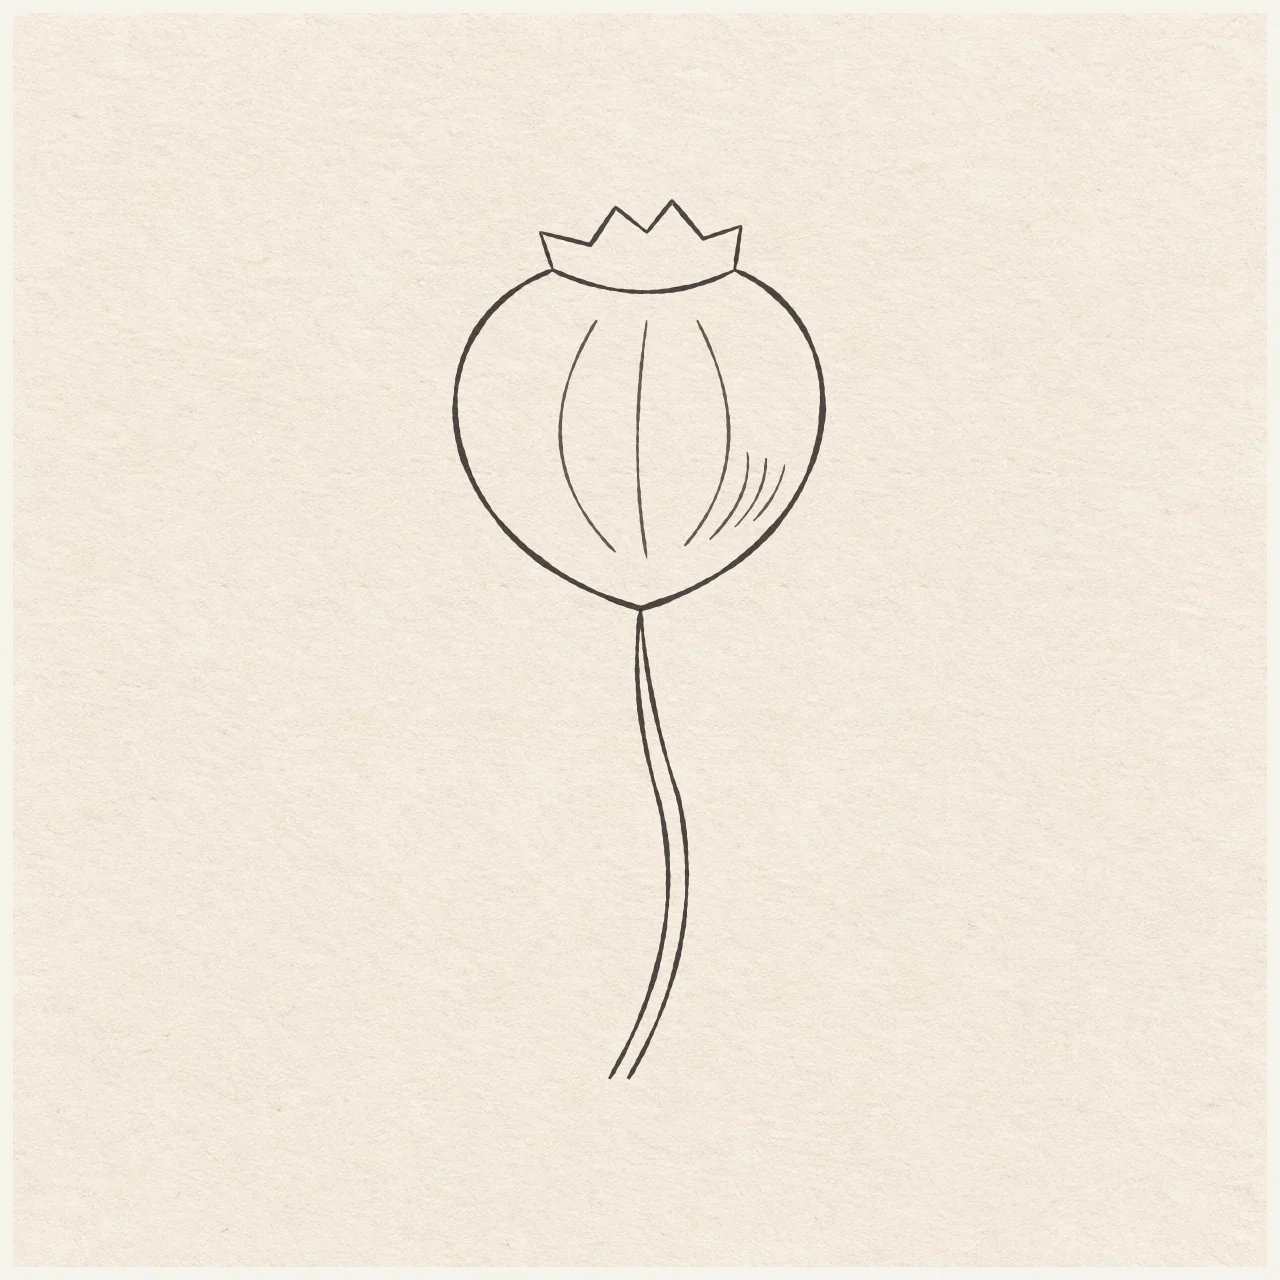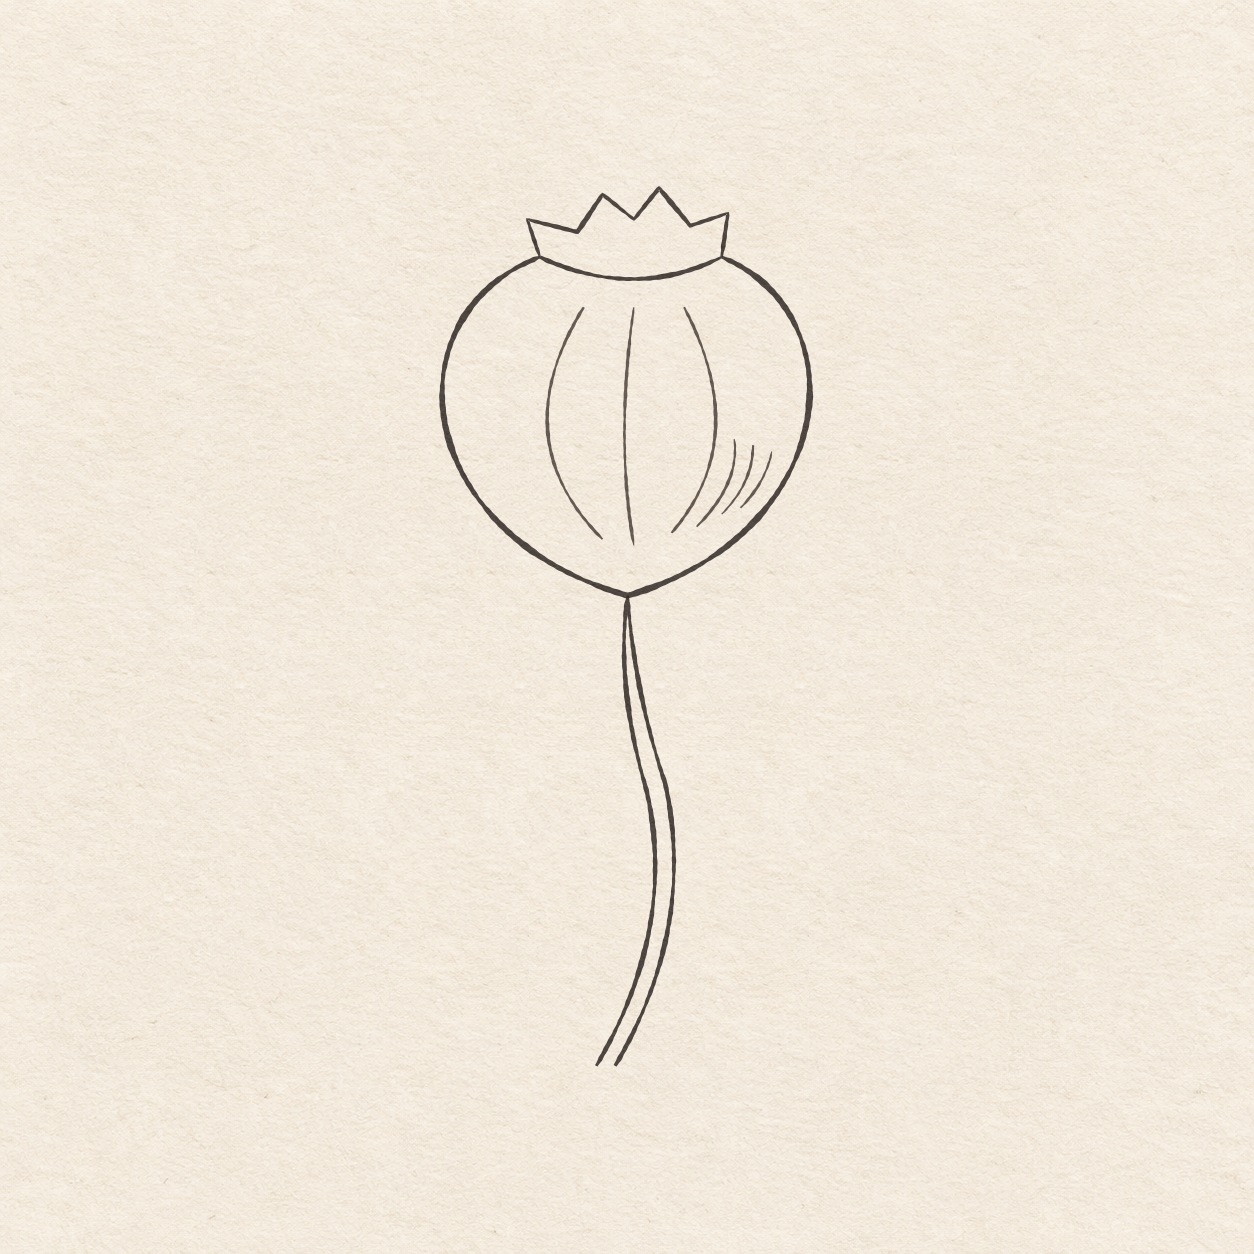
Rounded poppy seed pod with a four-point crown and a slim curved stem in fineliner on warm textured paper.
Drawing referenceAbout reference use

Poppy seed pod

Practice a rounded poppy pod with a four-point crown, a curved stem and sparse fineliner hatches.

Nature & plantsEasyFinelinerReference practice: about 14 min
Save reference

Follow the drawing tutorial

Plot the narrow stem, rounded body and uneven crown, then ink the outline and a few curved ribs.

Start the 8-step tutorial

A small thing to tryKeep the four crown peaks uneven and the narrow seam attached to both sides.

Draw it, one step at a time

Draw a poppy seed pod

Plot the narrow stem, rounded body and uneven crown, then ink the outline and a few curved ribs.

8 illustrated steps Full tutorial: about 25 minutes, at your pace

What you’ll need

  • HB pencil
  • Eraser
  • Fine black pen
  • Ruler
  • Spare sheet with a square corner
  • Drawing paper

Before you start

The pod and stem together are about 11 cm high. Choose a place for the bottom of the stem and leave room above it. Keep the pencil light so you can move the crown or widen the body before inking.
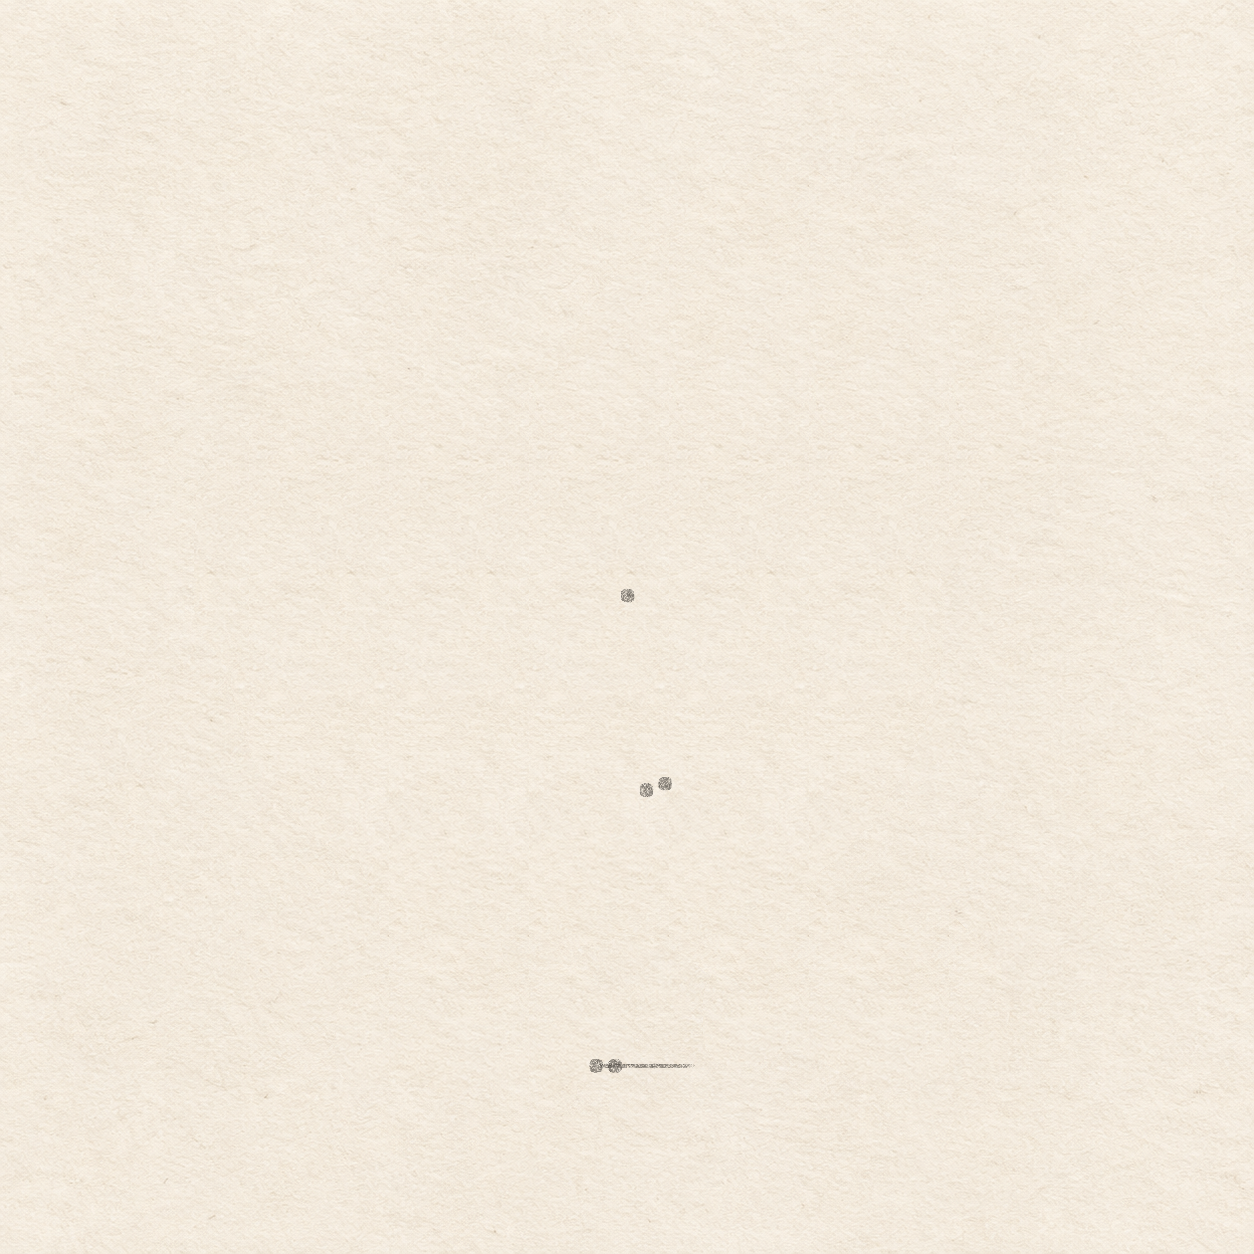
  1. A faint bottom pencil line and dots for the paired stem feet, two middle bends and a shared top.
    Drawing 1 — Set the open stem base and topView larger
    Pencil

    Set the open stem base and top

    Instructions for Drawing 1 — Set the open stem base and top
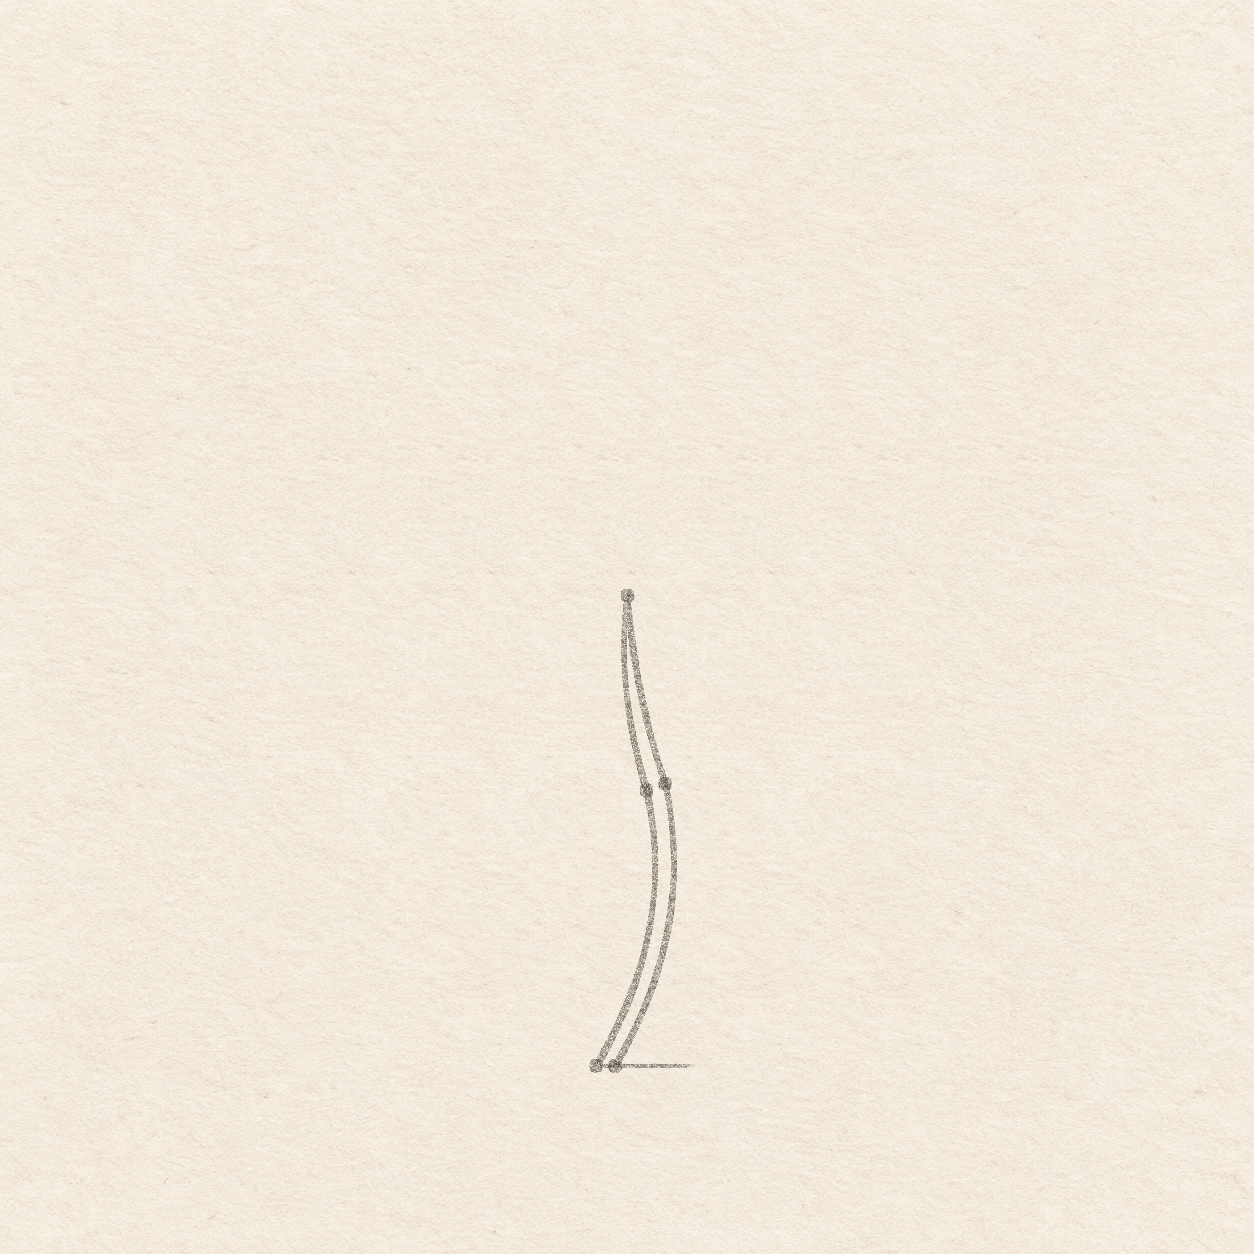
    1. Choose a spot for the stem’s left foot and mark it in pencil. Leave at least 12 cm above it and 3 cm to its left and right. Move the dot if the plant would run into an edge or another drawing.
    2. Rule a faint level line about 1.3 cm to the right of the first dot. To measure upward, line up the spare sheet with the pencil line and set its square corner at the measured spot. Hold the ruler against the upright edge. Keep the line light so it can be lifted later.
    3. Mark the right foot about 2.5 mm along the level line. From the left foot, measure right about 6.5 mm then up 3.5 cm for the left bend. Put the right bend about 2.5 mm farther right and just higher. Set the square corner about 4 mm right of the left foot and mark the top dot 6 cm up. Check that the two feet and the two bend dots stay apart. The two sides share only the single top dot.
    Next step
  2. Two faint curved stem edges start apart at the bottom and join at one dot at the top.
    Drawing 2 — Curve both sides of the stemView larger
    Pencil

    Curve both sides of the stem

    Instructions for Drawing 2 — Curve both sides of the stem
    1. Curve freehand upward from the left foot through the left bend dot, then gently back left into the top dot. Repeat from the right foot through the right bend dot into the same top dot. Let each lower curve bow slightly right before returning. Leave both feet open. The curves should stay separate until they meet the same point under the pod.
    Next step
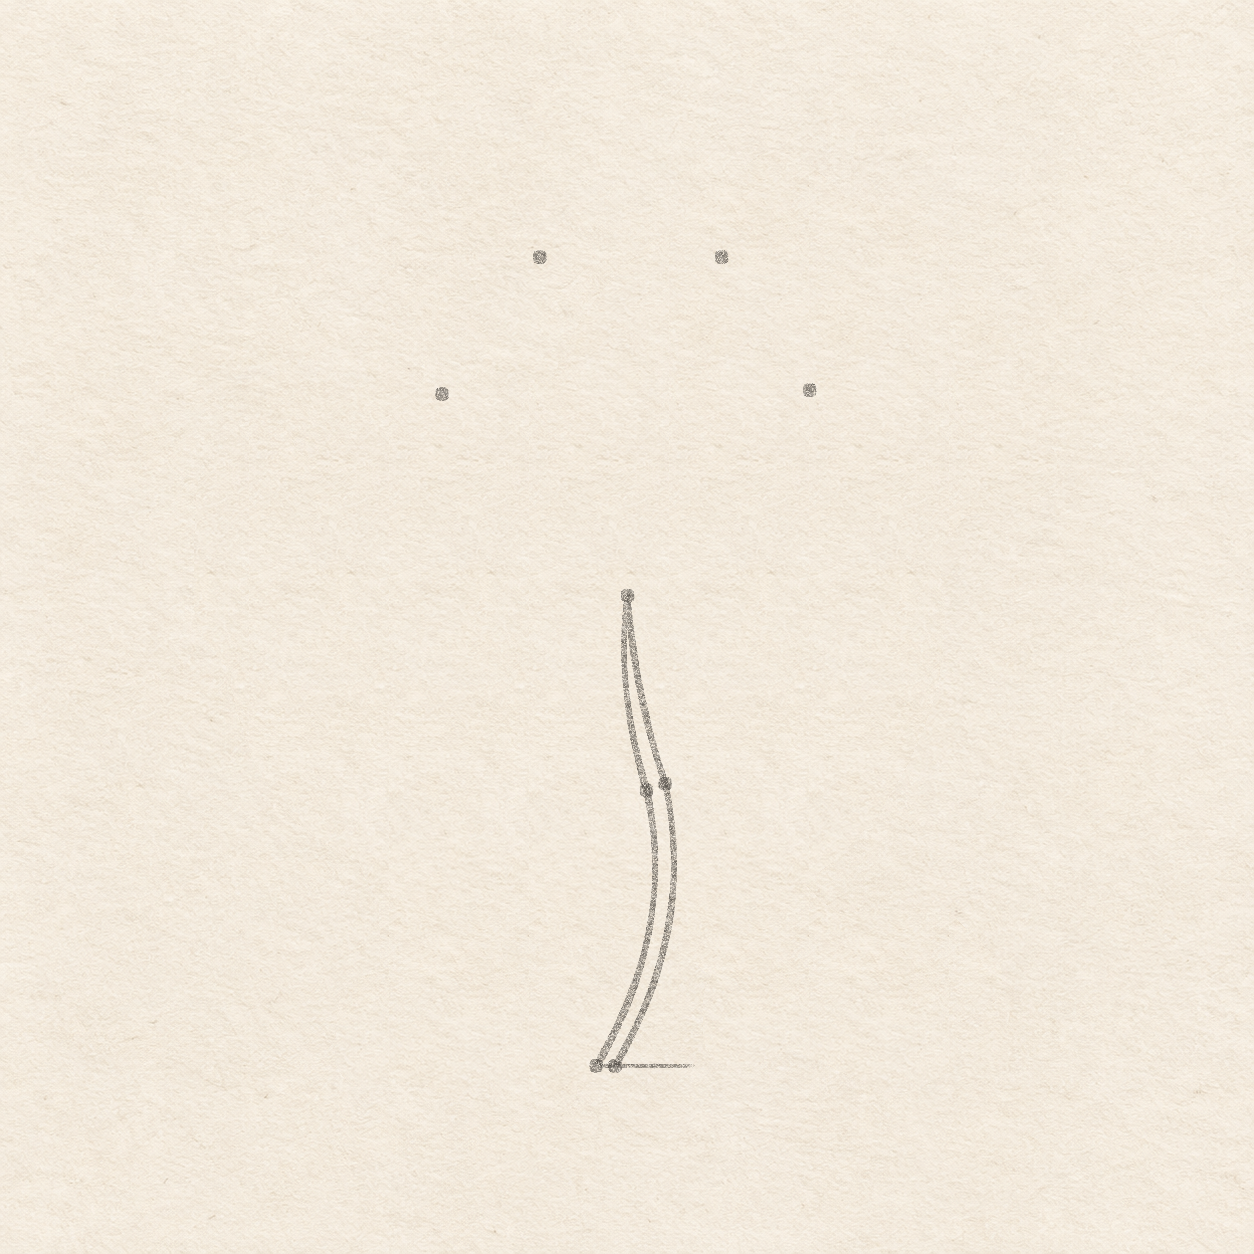
  3. Four separate dots above the curved stem mark the widest sides and the two upper crown contacts.
    Drawing 3 — Plot the widest body and crown stopsView larger
    Pencil

    Plot the widest body and crown stops

    Instructions for Drawing 3 — Plot the widest body and crown stops
    1. Hold the ruler level through the top stem dot, parallel to the faint bottom line. Keep one sheet edge along the ruler and set its square corner at each horizontal measurement. For the wide dots, place one 2.4 cm left and 2.6 cm up, and one 2.3 cm right and 2.6 cm up. For the upper stops, use 1.1 cm left and 1.2 cm right, both 4.3 cm above the stem dot. Check that the upper pair is level and closer together than the two wide side dots.
    Next step
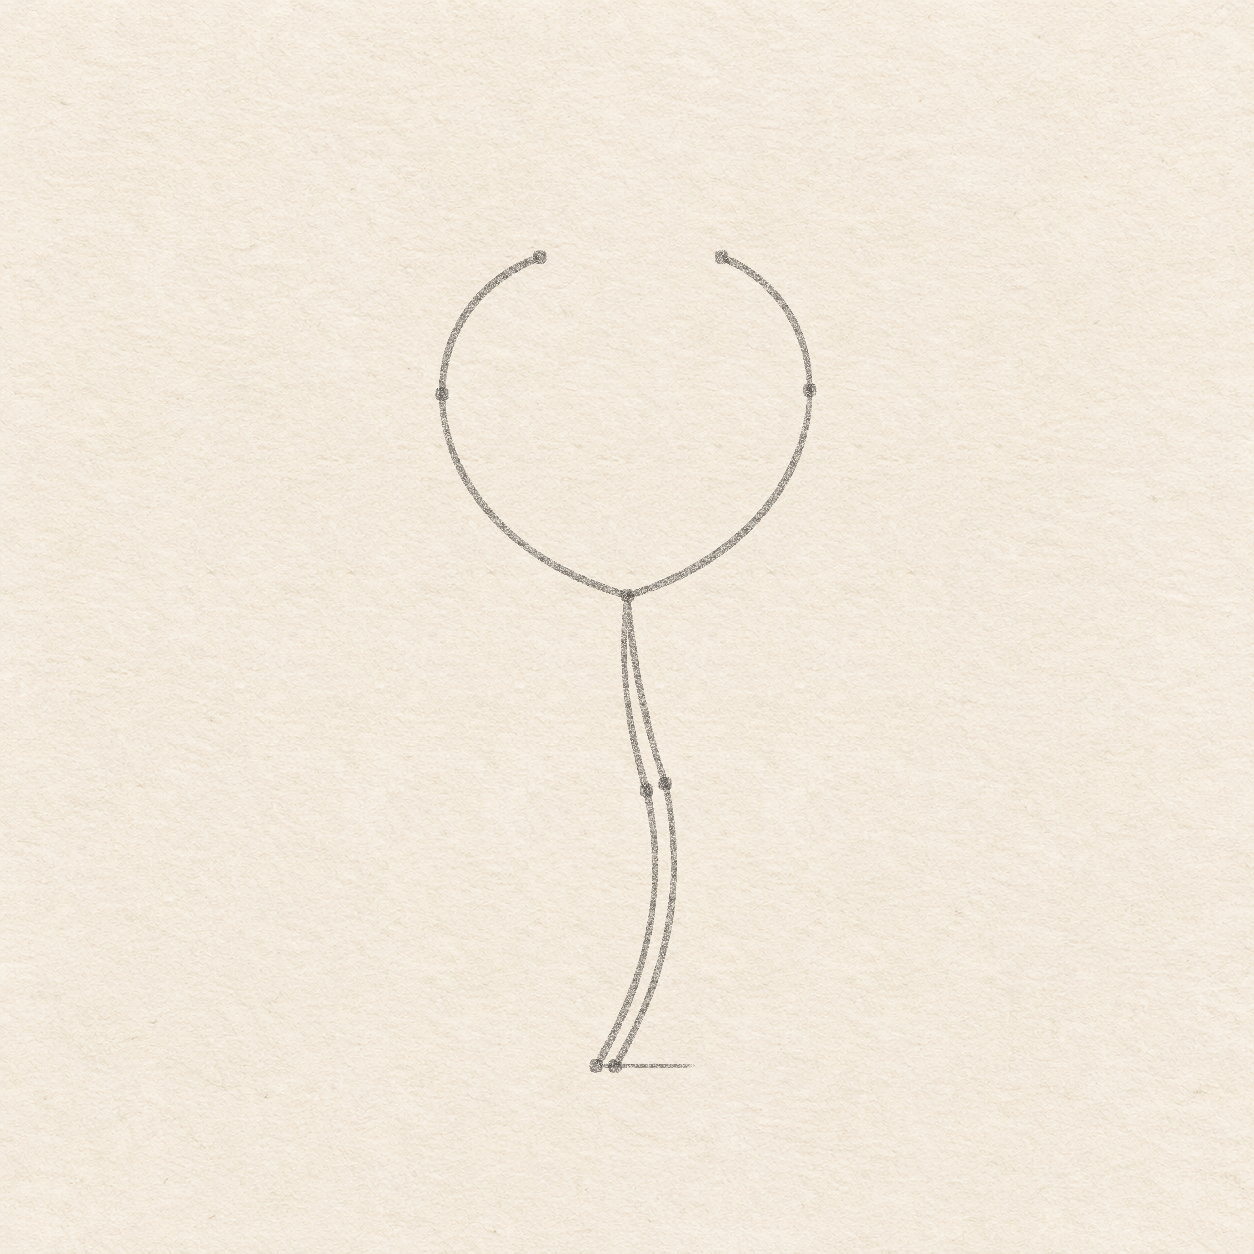
  4. A rounded pencil seed pod curves into the stem at the bottom with a gap between the upper crown stops.
    Drawing 4 — Sweep around the rounded podView larger
    Pencil

    Sweep around the rounded pod

    Instructions for Drawing 4 — Sweep around the rounded pod
    1. Start at the left upper stop. Curve freehand out through the wide left dot and swing down to the top of the stem. Keep the lower curve smooth and continue up through the wide right dot. Then swing back in to the right upper stop. Leave a gap between the two upper stops. Both sides should look full and meet the stem without crossing it.
    Next step
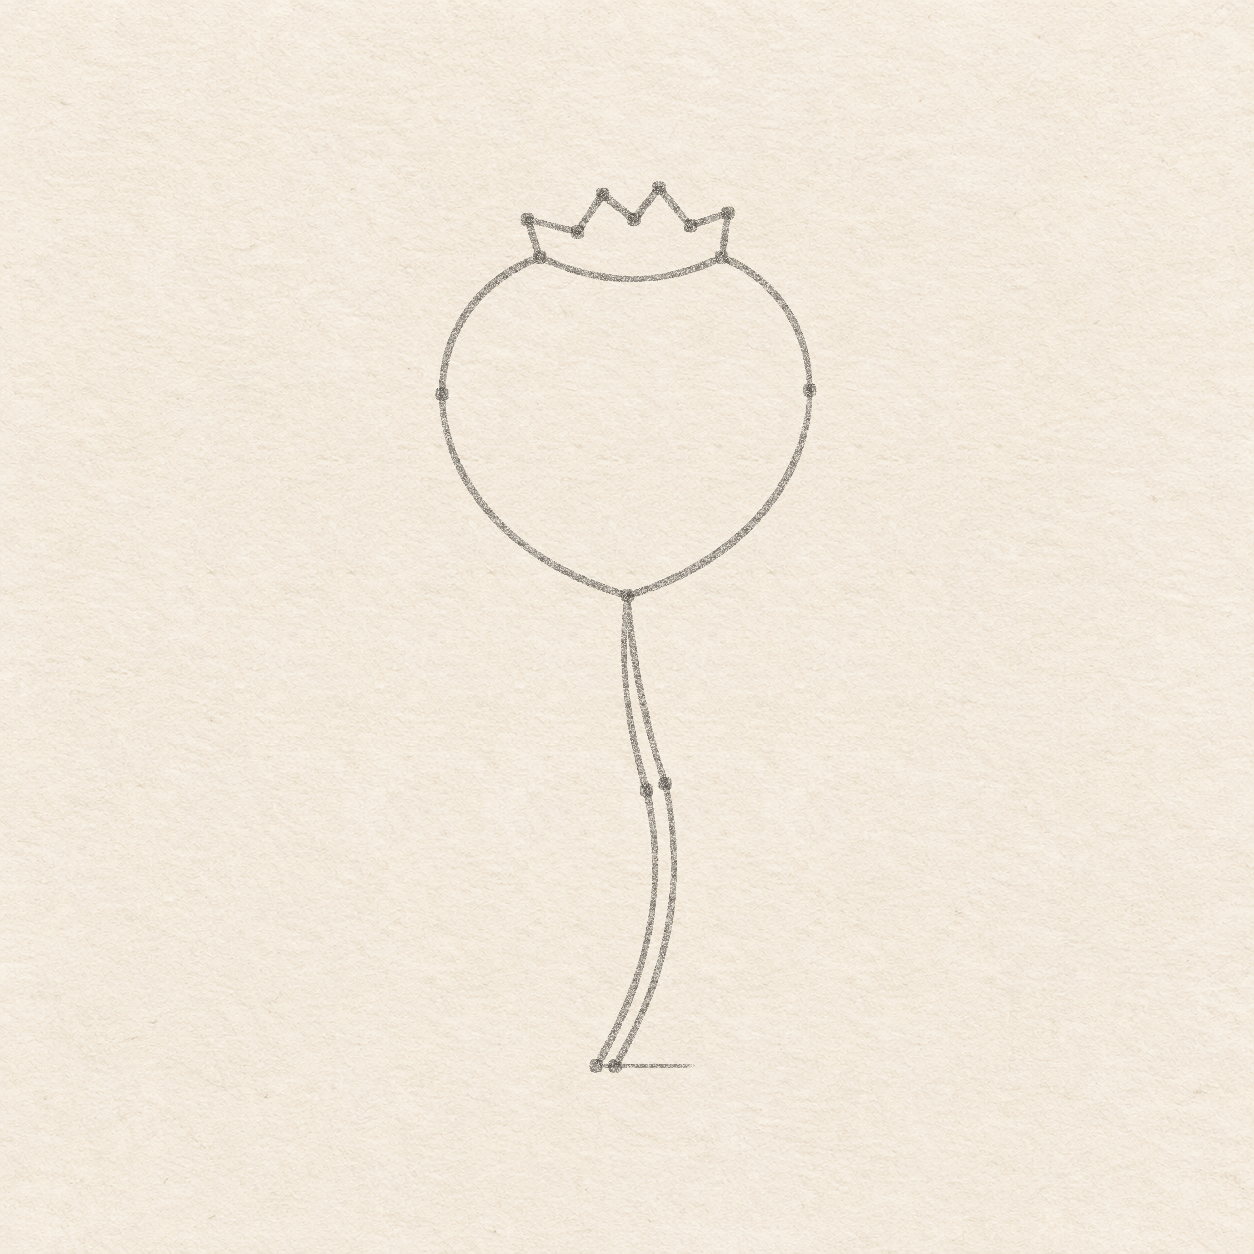
  5. A shallow curved seam under four uneven pointed tips across the upper pencil pod.
    Drawing 5 — Build the cap and its uneven crownView larger
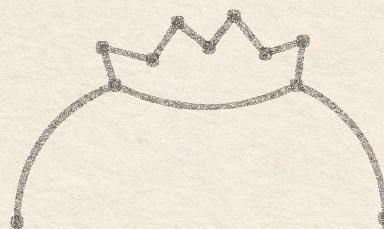
    Exact enlarged crop of the four uneven crown points, curved crown base and their two contacts with the shoulders.
    Detail 5.1 — Uneven crown points above the curved baseBoth ends of the pointed edge meet the shallow curved base. The point right of the middle is highest.
    Pencil

    Build the cap and its uneven crown

    Instructions for Drawing 5 — Build the cap and its uneven crown
    1. Sweep a shallow pencil curve freehand from the left upper stop to the right one. Dip about 3 mm below their level near the middle. Meet both dots. Keep the curve shallow enough for a clear band above it.
    2. Hold the ruler level across the two upper contacts. Put the first tip 2 mm left and 5 mm up from the left contact. Move across the cap, placing the next dip about 5 mm right and 3 mm up from the left contact, the next tip 8 mm right and 8 mm up, the middle dip 1.2 cm right and 5 mm up, and the tallest tip 1.5 cm right and 9 mm up. Place the final dip about 4 mm left and 4 mm up from the right contact, and the last tip about 1 mm right and 6 mm up from it. Check for four distinct tips at different heights. Make the tip just right of the middle the highest.
    3. Join the left contact to the first point. Follow the dots from left to right with short straight pencil strokes, dipping at each lower dot. Bring the final short edge down to the right contact. Keep the curved cap base under the tips. Both ends of this pointed edge should meet that curve.
    Next step
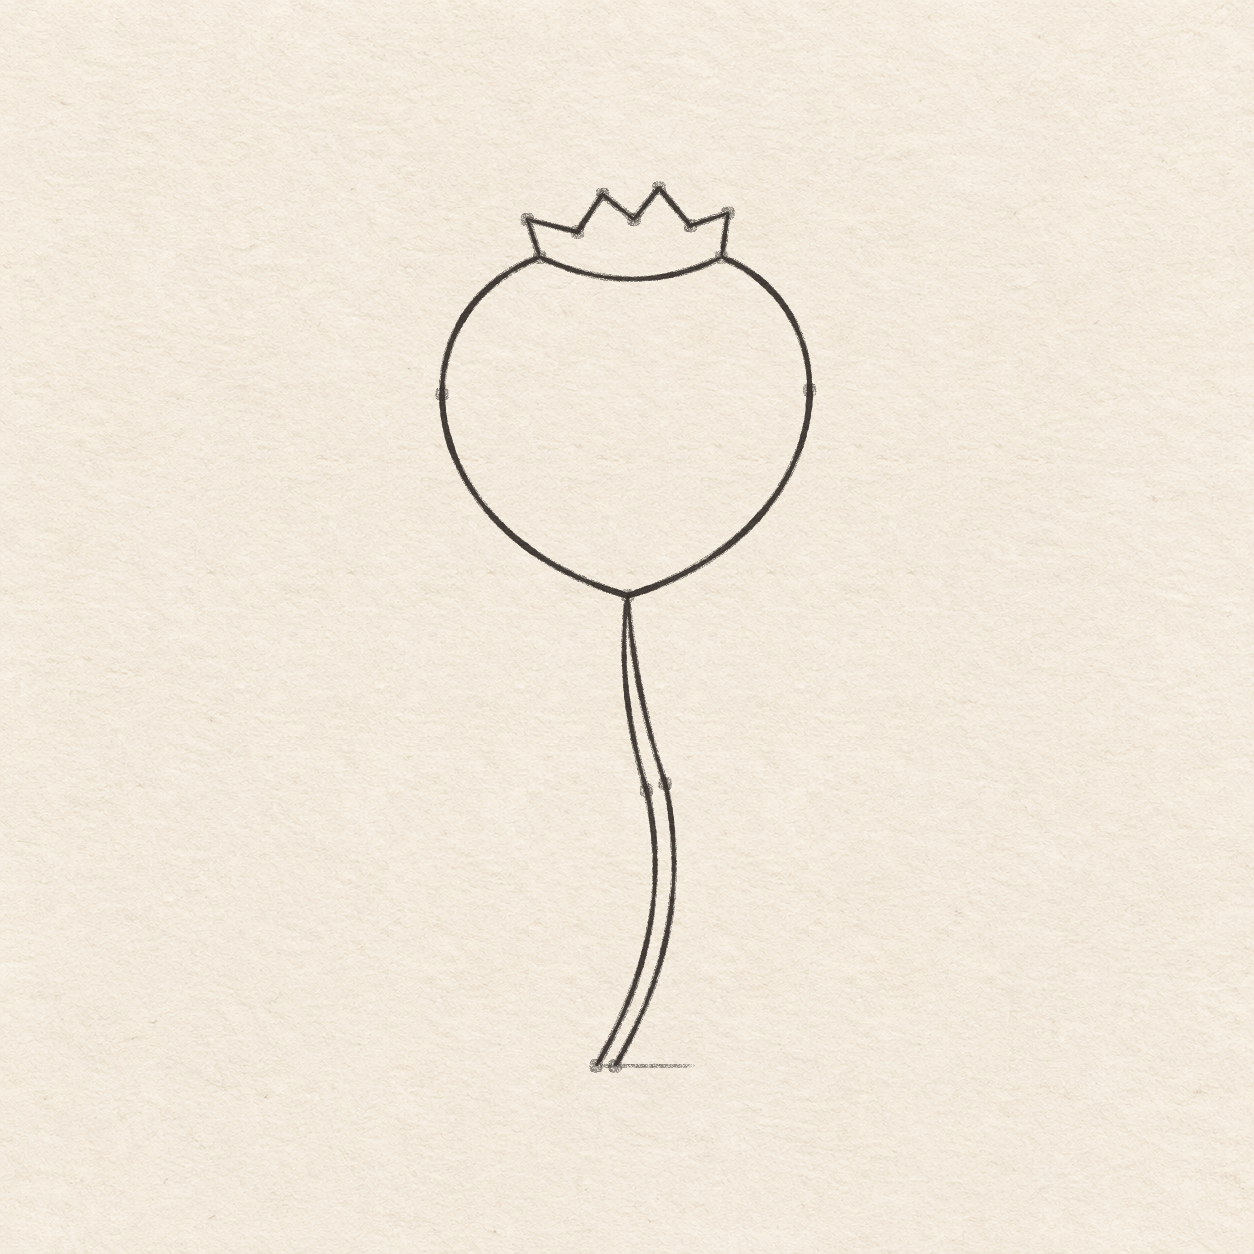
  6. Inked double stem open at its foot, rounded body and pointed crown. Pale placement dots still show.
    Drawing 6 — Ink the stem, rounded pod and capView larger
    Fineliner

    Ink the stem, rounded pod and cap

    Instructions for Drawing 6 — Ink the stem, rounded pod and cap
    1. Trace each stem side from its own foot up through its bend to the shared top. Keep the paper at the two feet open and touch the same top dot with each line.
    2. Trace the body from the left upper stop through the wide left side, the inked stem contact and the wide right side to the right upper stop. Meet the stem where the two edges end. Stop at the upper dots so there is still an opening for the cap.
    3. Ink the shallow cap base from one body stop to the other. Trace all four tips, starting and ending on those same stops. Check that the cap lines meet at both sides. Keep the paper in the cap band clear.
    Next step
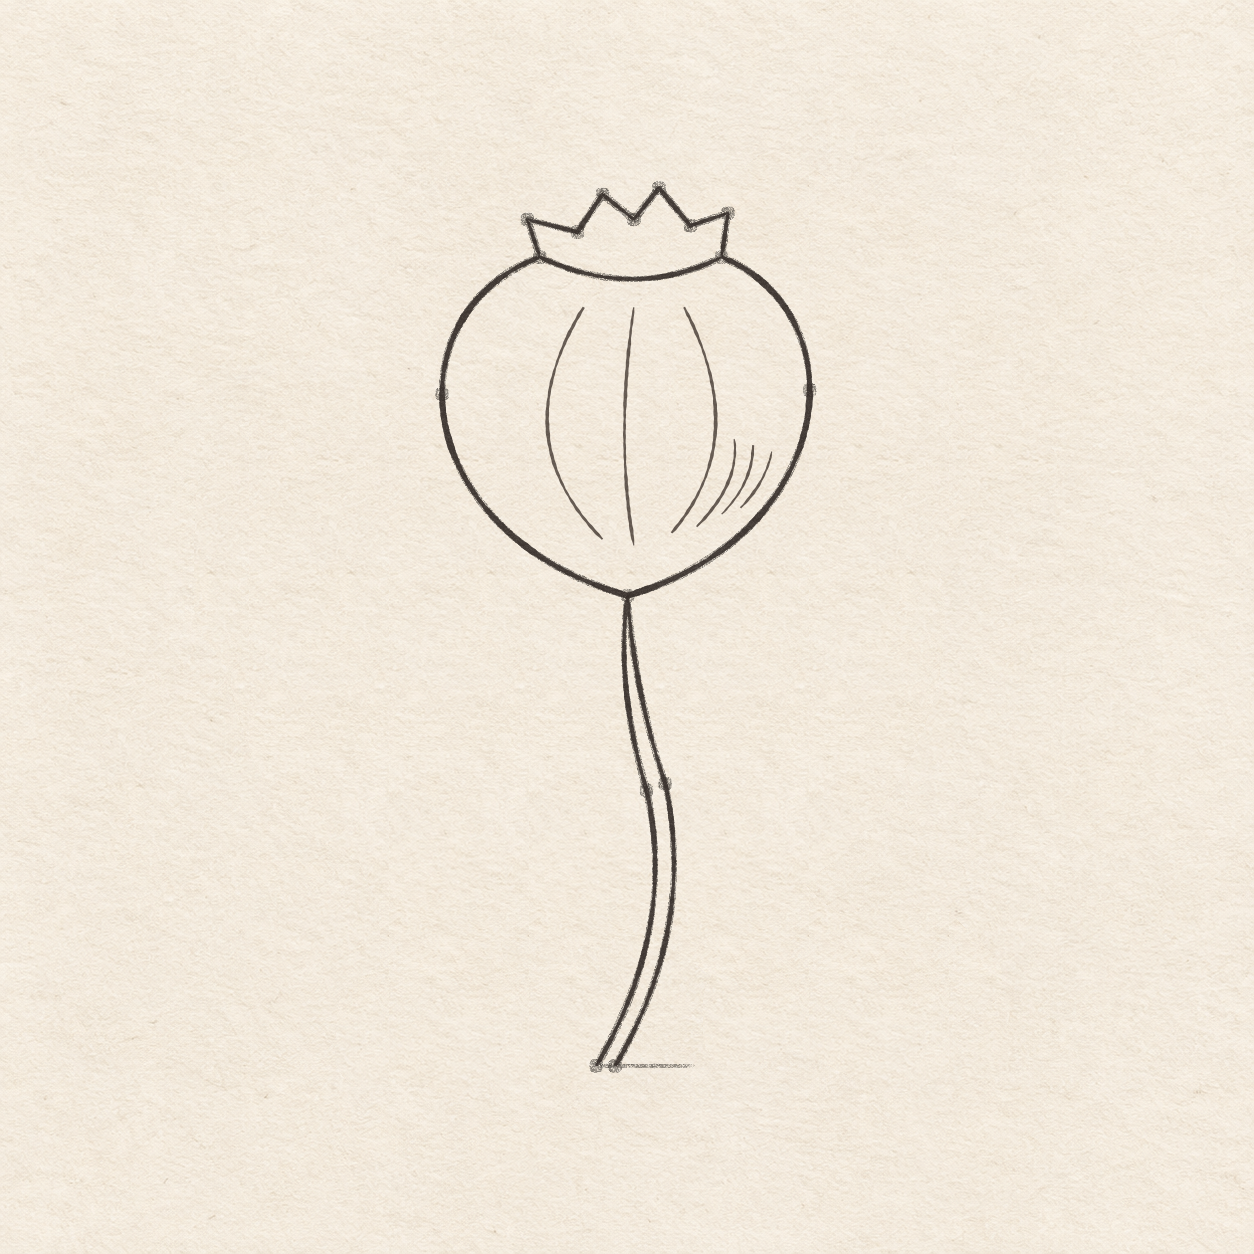
  7. Three long downward-curved ribs inside the pod and three shorter marks near its right side.
    Drawing 7 — Place three ribs and a few light hatchesView larger
    Fineliner

    Place three ribs and a few light hatches
    Instructions for Drawing 7 — Place three ribs and a few light hatches

    1. Begin three separate strokes a few millimeters below the cap base. Bow the left rib out left, then bring it inward near the bottom. Keep the middle one almost upright. Bow the right rib out to the right and bring it back in. Stop all three several millimeters above the stem join. Leave clear paper between every rib and the cap, both sidewalls and the stem join.
    2. In the lower-right part of the body, add three short curved dashes between the right rib and the side. Start with the longest nearer the rib and make each farther-right dash a little shorter. Sweep each down and left. Leave small gaps between the hatches and keep them away from the inked body edge.
    Next step
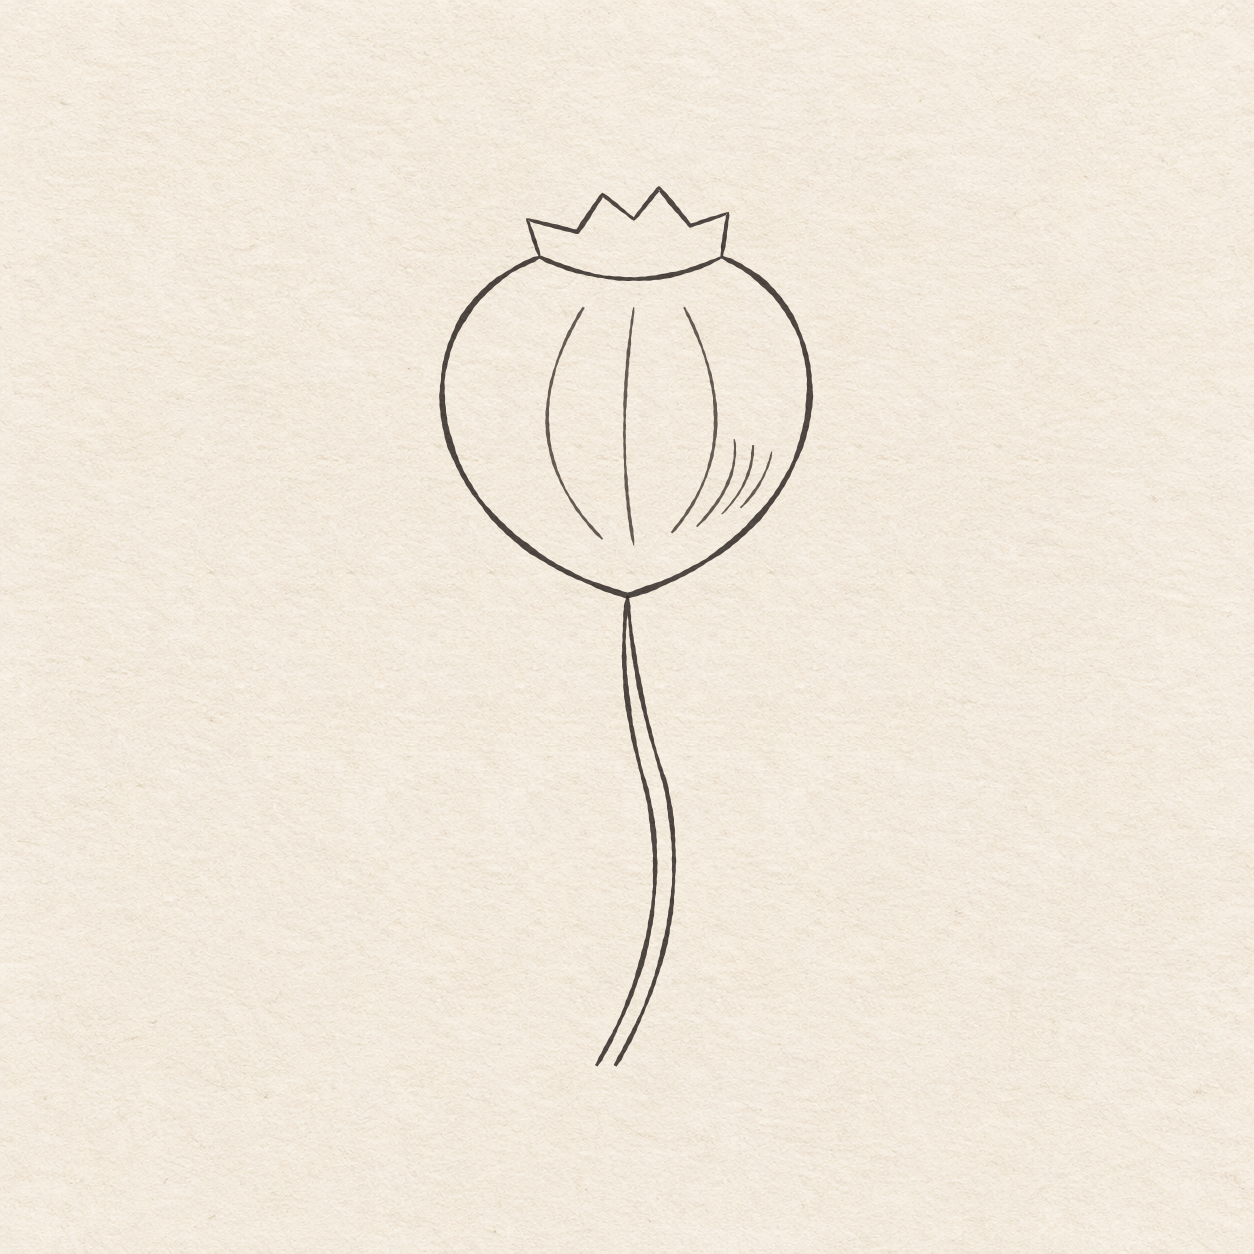
  8. Completed poppy seed pod with a curved open stem, irregular crown, three long ribs and three smaller accents. No pencil marks remain.
    Drawing 8 — Erase the dry pencil guidesView larger
    Cleanup

    Erase the dry pencil guides

    Instructions for Drawing 8 — Erase the dry pencil guides

    1. Fill a small patch on a scrap of the same paper with the same pen. Rub the patch gently with your eraser. If it smears, wait and test again. Once the patch stops smearing, erase the bottom measuring line, placement dots and any pencil beside the dry ink.
    Back to the steps

If something looks off

If the body looks narrow

While it is still in pencil, check the two wide side dots above the stem join. Lift and widen either curve that turns inward before reaching its dot.