If you are not sure how to start drawing, begin with one object and a small page. Your first useful skill is noticing where one shape sits beside another. A recognizable cup with an uneven rim teaches you more than a carefully shaded handle attached to a body you never finished.
This guide takes you from choosing a subject to checking a finished sketch. Use a cup on your desk or one of the references below. The ten-minute exercise is a starting point; pause whenever you need another look.
Keep your materials simple
A regular HB pencil, an eraser, and a sheet of unlined paper are enough. A mechanical pencil also works. You do not need a full set of drawing pencils before trying shapes, changing lines, and adding a little tone.
Make a few marks on a spare corner: a light line, a darker line, and a broad patch made with the side of the lead. If your lightest line leaves a groove when erased, loosen your grip and reduce the pressure. The first sketch lines should be easy to revise.
Place the object where it will stay still and its outline is easy to see. Keep the paper and reference visible together. Moving your chair halfway through can change the angle of a cup rim or handle, so settle on a view before you begin.
Choose a subject you can simplify
Look for a clear outline and a few large parts. A plain mug, a single leaf, a pear, or a simple cat reference gives you enough to observe without solving a whole scene. Save patterned fabric, glass reflections, and complicated backgrounds for another study.
Describe the subject in three shapes before drawing it. A mug might be an oval, a tapered rectangle, and a curved handle. A sitting cat might be a small head, a larger body, and a curved tail. These are temporary guides; they do not need to match the finished outline exactly.
You can redraw a reference in any medium, including using pencil for an image labeled Marker. Use these references for drawing practice. Choose a real object or a reliable photograph when you want to study accurate anatomy or light on real surfaces.
Place the big shapes before details
Mark the highest, lowest, leftmost, and rightmost points of the subject. Leave space around them. These four small marks stop the drawing from growing until its ears or handle run off the page.
Lightly connect the marks into a simple outer shape. Add the biggest internal shapes next, checking how much space each occupies. For a cat, place the body and head before the eyes. For a mug, establish its body before drawing decoration or steam.
If the head occupies roughly a third of the body's height in your reference, compare that relationship on your page. Do not force every cat into that ratio; measure the particular reference in front of you. Details are easier to place once the larger shapes agree.
Check proportions and the empty spaces
Compare height with width before correcting individual edges. Is your mug wider than the real one? Does the cat lean farther forward? Hold your pencil at a consistent distance, with one eye closed if that helps, and use your thumb to compare lengths. You are comparing proportions, not measuring centimeters.
Look at the empty shapes too. The opening inside a handle is often easier to compare than the handle itself. The triangular gap between a cat's tail and body can reveal that one part sits too far away. This empty area is called negative space.
Check alignments with imagined horizontal and vertical lines. Where does the handle join the body relative to the rim? Is the ear above the front paw or farther back? Change the big relationship while the marks are light. A carefully drawn small detail cannot correct a misplaced large shape.
Refine your lines without chasing perfection
When an edge is misplaced, draw a light correction beside it before erasing. Compare both versions with the reference, then keep the better one. Repeatedly erasing the whole subject makes it hard to remember what needed changing.
Once the main shapes fit, darken the edges that explain the subject. A few clear lines around the ears, paws, or handle will do more than making every guide equally bold. Leave construction marks faint, and erase only the ones that distract from the drawing.
To add shading, choose one obvious shadow and keep it simple. Avoid shading every empty area just because it looks unfinished. A clear outline and believable proportions are a useful first result on their own.
Try a ten-minute mug drawing
Use a plain, empty mug and draw it about the height of your palm. The times below help divide your attention; take longer on any step if needed. Skip lettering and decoration for this exercise.
- Minutes 0–1: look before drawing. Compare the mug's height and width, notice the angle of the rim, and identify where the handle joins the body.
- Minutes 1–3: mark the four outer limits. Add a light oval for the rim and two sides for the body. The oval gets flatter as your view approaches the level of the rim; copy the view you see.
- Minutes 3–5: place the handle as an outer curve and an inner opening. Check the size of that opening against the mug's body before darkening either edge.
- Minutes 5–8: correct one large proportion, then strengthen the useful contours. Add one patch of shadow beneath the handle or along the side facing away from the light.
- Minutes 8–10: step back. Check whether the mug sits level, soften distracting guides, and write one specific thing to try on the next drawing.
Fix the problems that matter most
Identify the largest mismatch before adding more detail. Choose the relevant check instead of restarting the entire page.
- The drawing runs off the page: mark the outer limits first next time, or reduce the whole shape while it is still light. Squeezing only the last part distorts its proportions.
- The subject looks recognizable but wrong: cover the details and compare the silhouette. Check width against height and the position of the largest parts.
- The outline looks hairy: choose one of your trial lines and strengthen it with a deliberate stroke. Leave neighboring trials pale instead of darkening them all.
- The page looks muddy: stop rubbing and adding graphite everywhere. Keep a clean sheet under your drawing hand and save shading for deliberate areas.
Finish, review, and draw it once more
Call the sketch finished when the main shape is present and you have checked its largest relationships. It does not need every visible texture. Date the page and write an observation such as “the handle opening is too narrow” or “leaving the top edge light helped.” That note gives your next session a job.
Draw the same subject again on a fresh part of the page. Keep the view similar and change the thing you noticed. Compare the silhouettes before comparing details. If the second version has a better-shaped handle but rougher shading, you can identify both and decide what to practice next.
Choose a practice reference
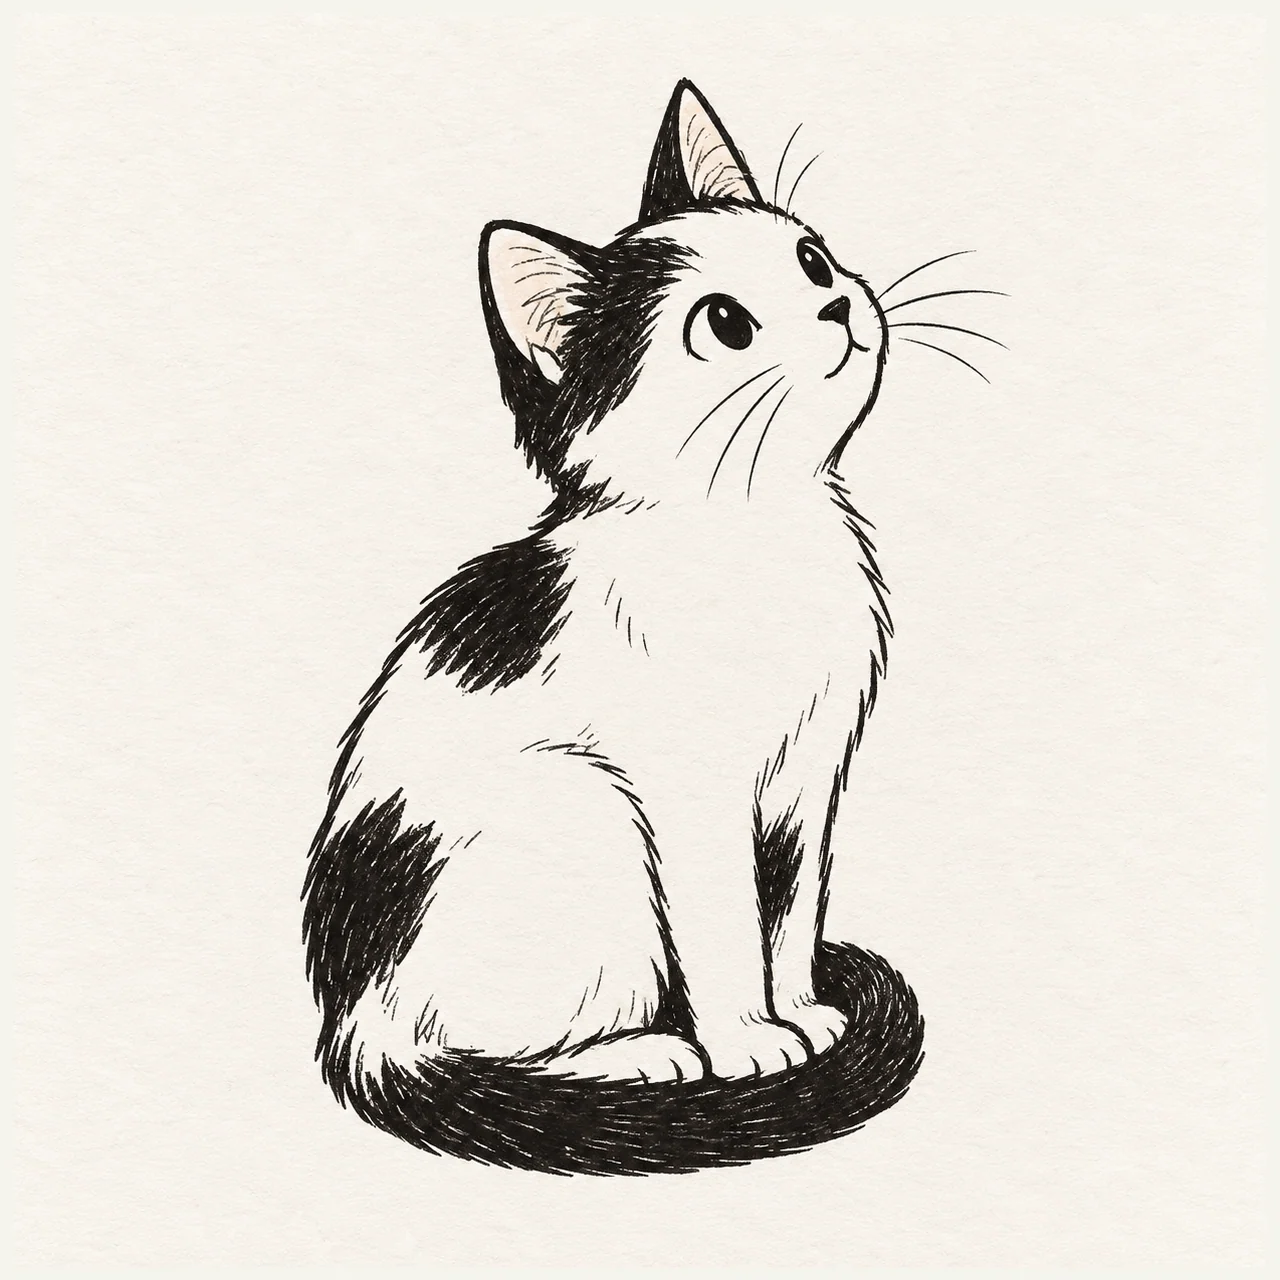
- One curious cat
Reduce the body, head, ears, and tail to a few shapes before adding the face.
- A quiet cup of tea
Compare the rim and handle opening, then add one area of shadow.