Shading gives a drawing depth when its light and dark areas explain the shape. Smooth pencil marks alone do not make an object look round. A rough study with a clear light side, shadow side, and cast shadow can describe the form more convincingly than a perfectly blended patch of gray.
Begin with a plain egg, a ball, or a piece of fruit under one lamp. Save reflective metal and glass for later. The exercise below uses three values so you can practice placing tones before worrying about a wide range of pencils or seamless blending.
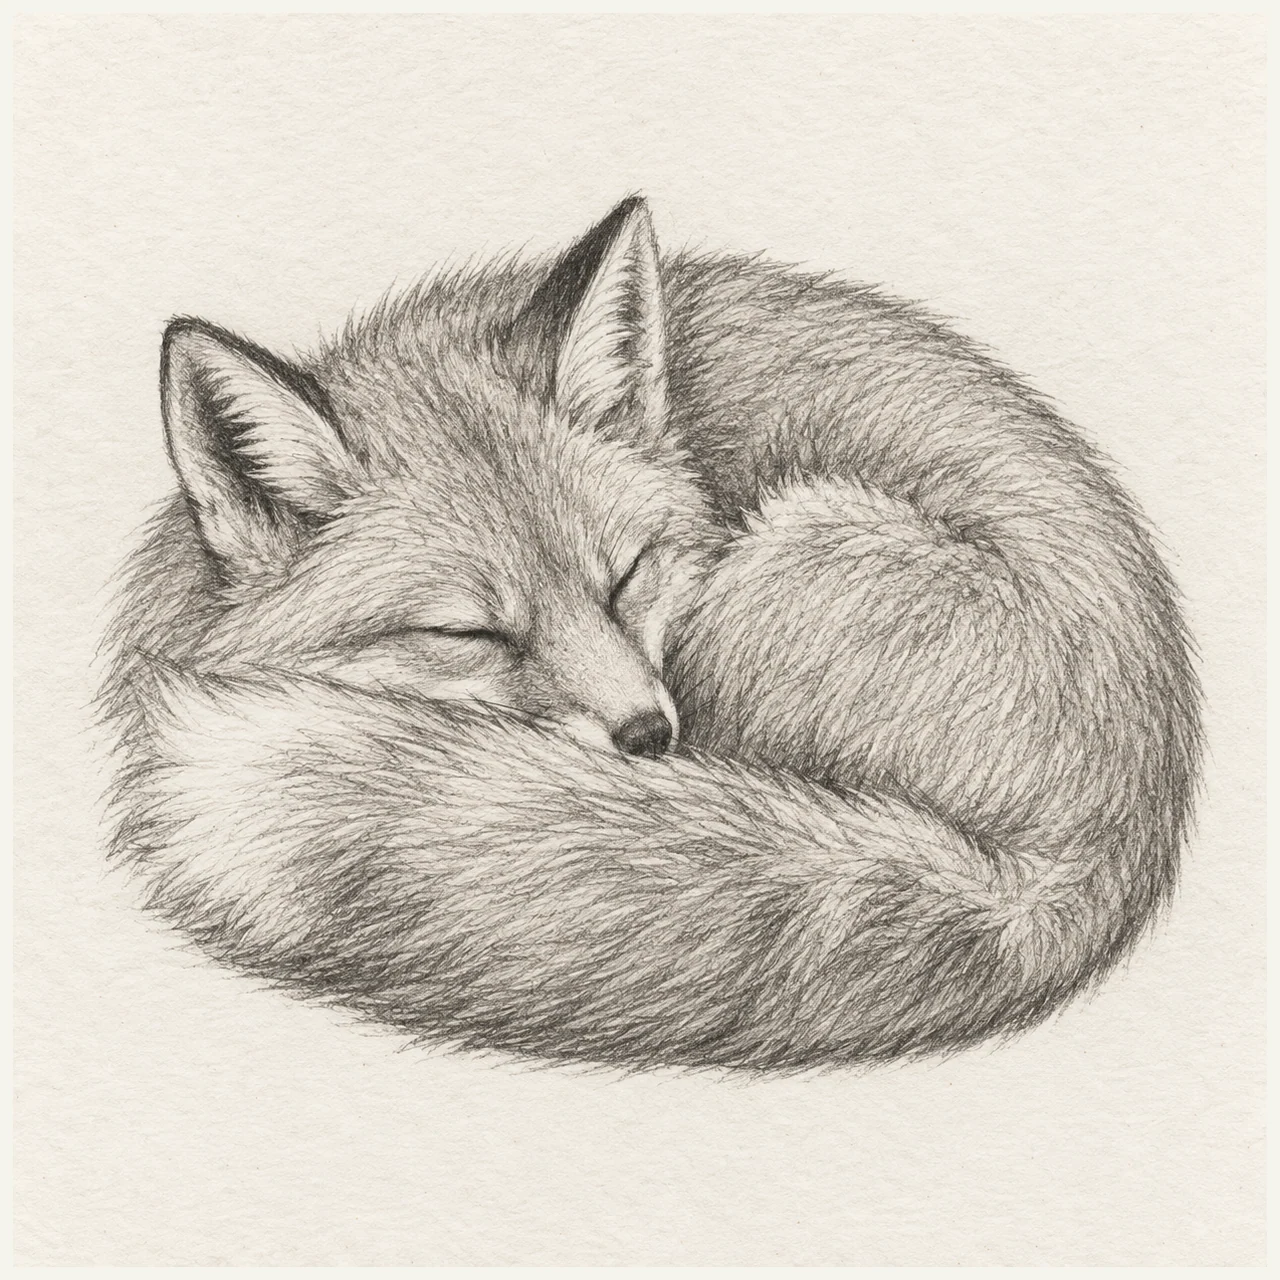
Pick one direction for the light
Place a lamp above and to one side of the object. Keep the object and lamp still during the study. Look for the area facing the light, the side turning away, and the shadow cast onto the table. Make a small arrow in the corner of the page to remember the direction.
A form shadow belongs to the surface of the object. A cast shadow falls onto another surface because the object blocks the light. On an egg, the darker lower side is form shadow; the shape beside it on the table is cast shadow. Keeping them separate helps the object feel grounded.
Light can bounce into the shadow side from the table or surroundings. Notice it, but keep the first study simple. Do not make every reflected patch as bright as the directly lit side. Compare neighboring tones instead of assuming a fixed recipe for every object.
Build a three-value plan
Value means how light or dark a tone appears. Make three small swatches beside the drawing: untouched paper, a middle gray, and a dark gray. Use them as a limited palette for the study. Choose where those tones belong before adding the small transitions between them.
An HB pencil can make a useful first range. If you own a 2B or 4B, try it for darker passages with light pressure. B grades are generally softer and darker than H grades, although exact hardness varies between manufacturers. A larger set is optional; pressure and layering still need practice with any pencil.
Squint briefly at the object to simplify details into larger patches. Lightly outline the main shadow area. Keep the lit side mostly pale and lay a middle tone across the shadow side. Reserve your darkest marks for the deepest areas you observe, rather than outlining the whole subject in black.
Let your marks describe the surface
For hatching, build tone with roughly parallel strokes. Bring the strokes closer together or add another light layer to darken an area. For cross-hatching, add a second set at a different angle. Practice both in small swatches before using them on the subject.
Curved hatching can wrap around an egg or the rounded body of a fox. Short strokes can suggest fur where the coat changes direction. Straight, even strokes may suit a flat plane. Let the direction help explain the surface; you do not have to draw every hair to communicate fur.
Hold the pencil farther from the tip if it helps you ease pressure. Use a sharp point for narrow marks and the side of the lead for broader tone. Build light passes instead of pressing hard at first. A heavy groove can remain visible even after you lift the graphite.
Choose hard and soft edges
An edge is the boundary between neighboring shapes or tones. On a rounded object, light can change gradually into shadow. A fold, sharp corner, or contact between two objects may create a more abrupt change. Compare the reference instead of treating every boundary the same way.
To soften a tonal edge, overlap light strokes across it and reduce pressure as you move toward the light. To keep an edge firm, stop at a deliberate boundary. A narrow strip of clean paper can be more effective than repeatedly rubbing at an edge.
Look where the object touches the table. A small dark contact area can anchor it without a thick outline around the form. A cast shadow may soften farther from the object, depending on the light source. Copy that change when you see it rather than forcing it into every study.
Try a fifteen-minute egg or fruit study
Choose one simple object on a plain surface. Draw it large enough to shade with several strokes instead of filling tiny spaces. Keep your three swatches beside it throughout the exercise.
- Minutes 0–3: draw a light outline and the cast shadow's shape. Check width, height, and position before adding tone.
- Minutes 3–5: mark the light direction and identify the light, middle, and dark areas. Leave the brightest area untouched. If the object has no sharp highlight, keep a broader pale region instead of inventing a white dot.
- Minutes 5–10: lay a middle gray over the shadow side with light hatching. Add the cast shadow separately, checking its direction against the lamp. Keep both shadows readable as whole shapes.
- Minutes 10–13: deepen a few observed darks, especially near contact points. Add a softer transition where the surface turns gradually away from the light.
- Minutes 13–15: look from arm's length. Compare the large light and dark areas and make one correction. Add texture only if the form already reads.
Protect highlights and control blending
Plan the lightest areas before covering the page. Clean paper is often the clearest highlight. A kneaded eraser can lift some graphite when gently pressed and lifted, but deeply pressed or heavily worked marks may not return to the original paper tone.
You can leave hatching visible. To try a smoother passage, test a clean blending stump lightly on a spare swatch and compare it with an unblended one. Blending moves graphite; it cannot fix an incorrectly placed shadow. Avoid a fingertip, which can spread smudges and leave skin oils on the paper.
Use a clean sheet beneath your drawing hand and avoid dragging it across fresh graphite. Lift the sheet when changing position so it does not rub the drawing underneath. Protecting those areas as you work is easier than repeatedly erasing them at the end.
Diagnose a flat or muddy drawing
Check the large tone pattern first. Extra detail usually makes these problems harder to see.
- Everything is the same gray: compare the drawing with your swatches. Lift a lighter region where appropriate and deepen an observed dark so the groups separate again.
- The object looks flat: check whether the shadow follows the form and the cast shadow agrees with the light direction. Darkening every tone will not solve a misplaced shadow.
- The surface looks streaky: use lighter pressure and overlap another even layer. For visible hatching, aim for a consistent direction instead of polishing every stroke away.
- The graphite looks shiny: inspect it from another angle before adding more. Heavy graphite can reflect light; ease the pressure and try a softer grade next time if you need a darker tone.
- The shadow seems detached: compare the contact point, shadow position, and nearby darks. Bring the shadow into contact where you observe it rather than adding a heavy border everywhere.
Choose a practice reference
- Sleeping fox
Separate the large light and shadow groups before adding short strokes of fur.
- Woodland mushrooms
Compare the cap, darker underside, and stem as separate tonal areas.