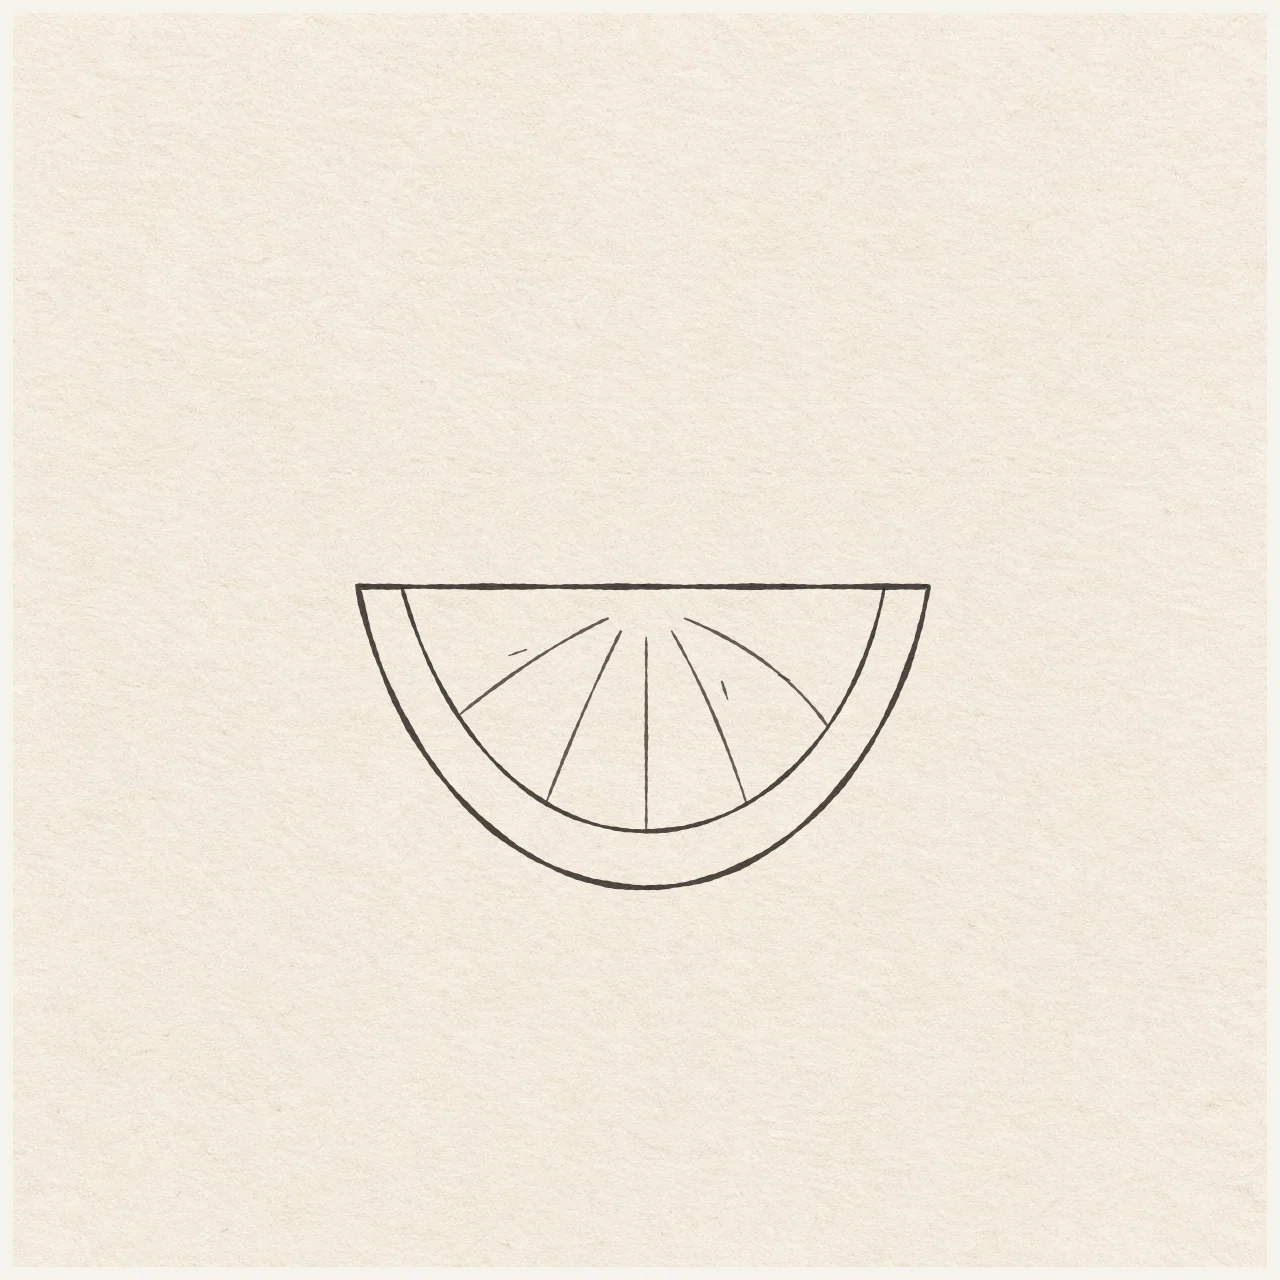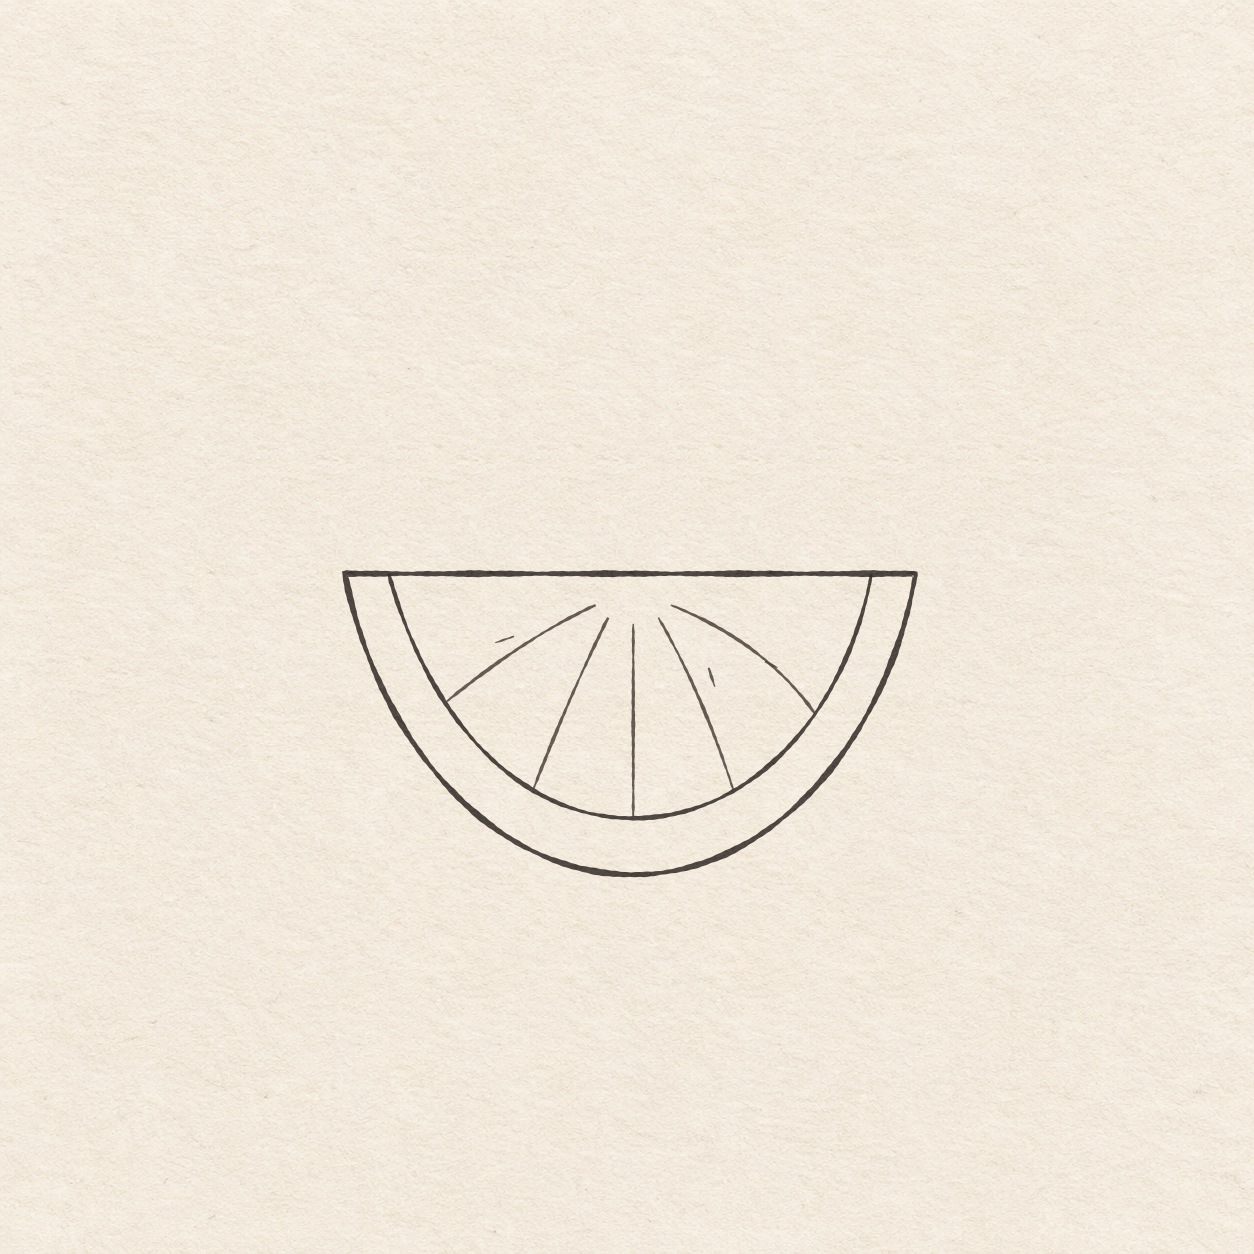
Fineliner drawing of a half-moon lemon wedge with two rind curves and five lines that fan out through the pulp.
Drawing referenceAbout reference use

Cut lemon wedge

Round the peel under a straight cut edge, then spread five pulp divisions toward the rind.

Food & drinkEasyFinelinerReference practice: about 19 min
Save reference

Follow the drawing tutorial

Round the peel under a straight cut edge, then spread five pulp divisions toward the rind.

Start the 5-step tutorial

A small thing to tryWhile it is still in pencil, adjust the inner curve so a narrow band of paper stays visible around the whole peel.

Draw it, one step at a time

Draw a cut lemon wedge

Round the peel under a straight cut edge, then spread five pulp divisions toward the rind.

5 illustrated steps Full tutorial: about 19 minutes, at your pace

What you’ll need

  • HB pencil
  • Eraser
  • Ruler
  • Scrap of paper with a square corner
  • Fine black pen
  • Drawing paper

Before you start

This example is about 9.2 cm wide and 4.9 cm high. Pick where the left corner of the cut face will sit. The entire curved peel will hang below the level line.
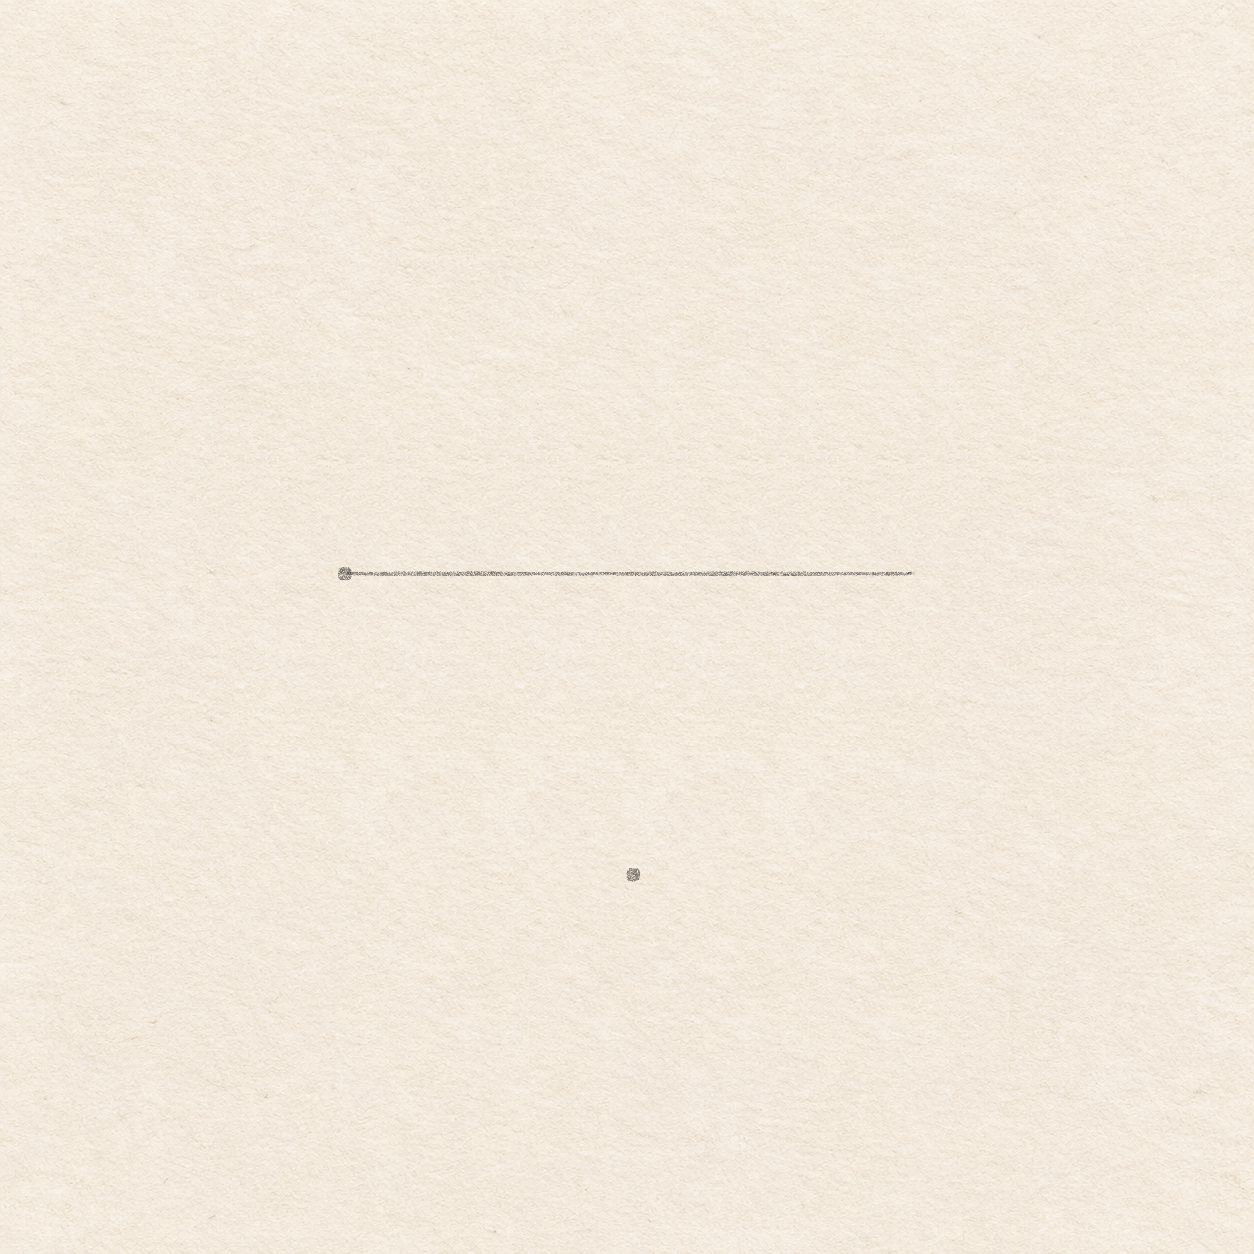
  1. A light level cut edge with two ends and one low mark below the middle.
    Drawing 1 — Place the cut edge and outer peel depthView larger
    Pencil

    Place the cut edge and outer peel depth
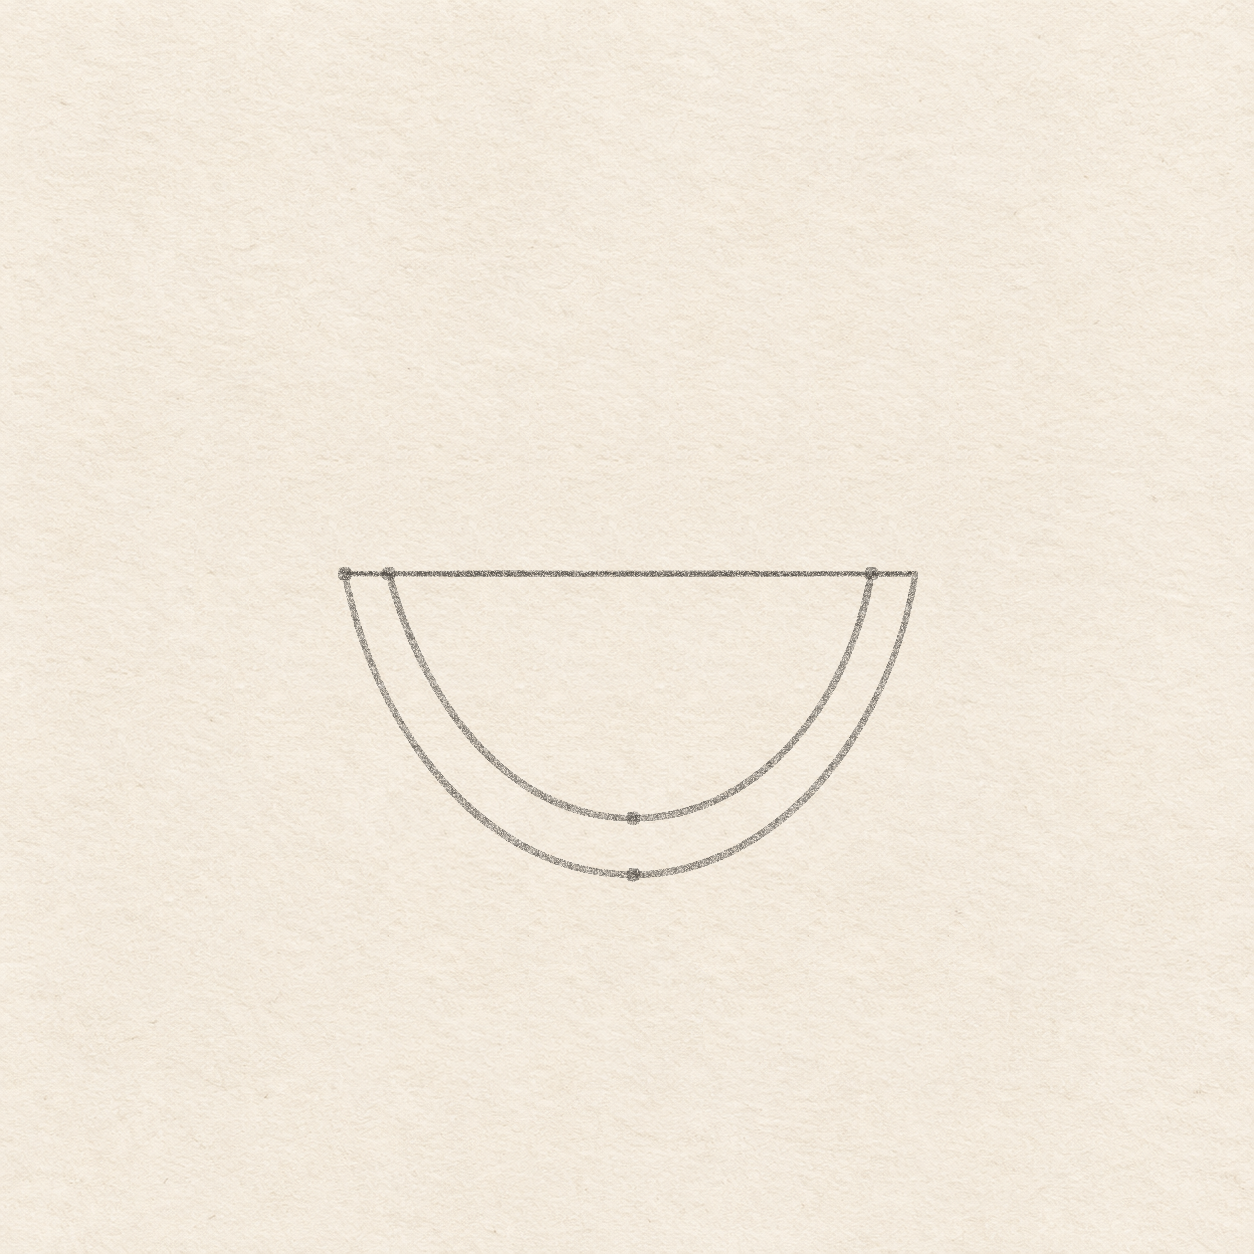
    Instructions for Drawing 1 — Place the cut edge and outer peel depth

    1. Put a small dot where you want the left end of the cut edge. Leave 9.3 cm to the right and 5 cm below, plus a margin. Move this starting dot first if the wedge would crowd the paper edge.
    2. Rule a light horizontal line 9.1 cm to the right. It sets the width of the wedge and will be inked later.
    3. Set a square scrap corner along the line 4.6 cm from its left end. Mark a dot 4.8 cm straight down. Put this low point almost under the middle of the cut edge.
    Next step
  2. Two rounded arcs start at different places on the level cut edge and leave a narrow rind band.
    Drawing 2 — Draw the outer peel and inner rindView larger
    Pencil

    Draw the outer peel and inner rind

    Instructions for Drawing 2 — Draw the outer peel and inner rind
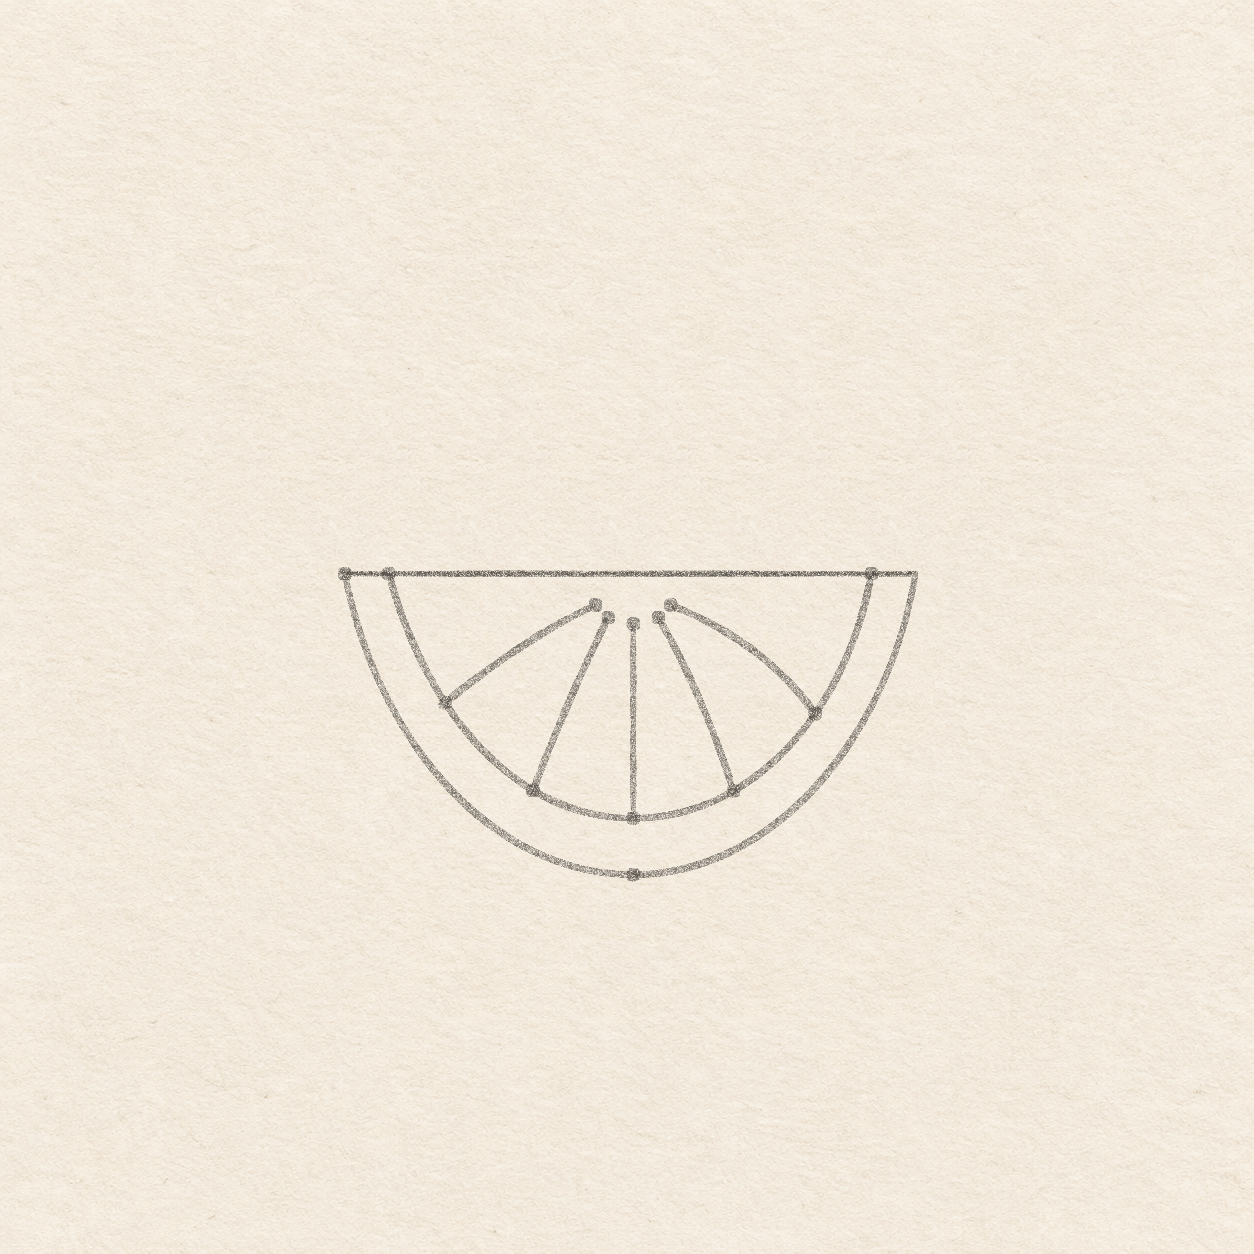
    1. Follow the straight cut edge lightly once. From its right end, freehand down and inward through the low dot. Round the bottom and sweep up and left to the left end. Keep both outer corners narrow and the low curve rounded.
    2. Put a dot on the cut edge 7 mm in from each end. Under a spot 4.6 cm from the left end, use the square corner to mark another dot 3.9 cm straight down. The low inner dot sits 9 mm above the outer one.
    3. Freehand from the left inner dot, bowing down and right through the low inner dot and back up to the right inner dot. Leave a narrow band of paper between the two curves all the way around.
    Next step
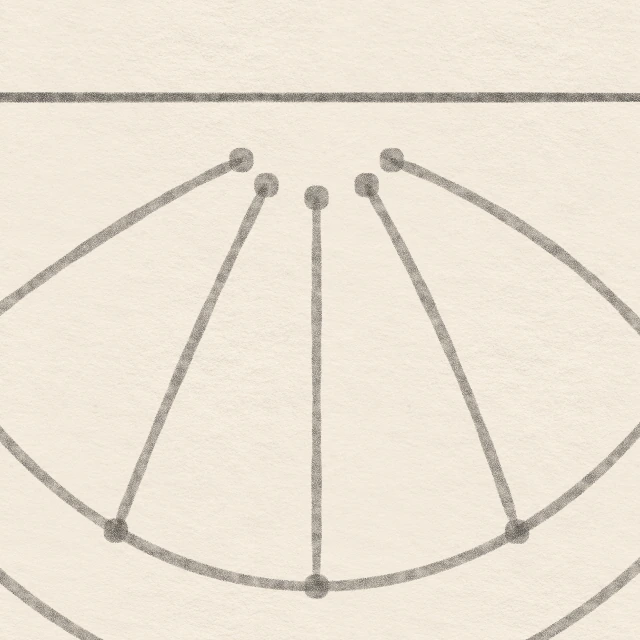
  3. Five pencil rays spread from separate starts beneath the cut edge and meet the inner rind.
    Drawing 3 — Spread five lines toward the rindView larger
    Close pencil view of five separate starts under the cut edge, with the middle line meeting the low dot on the inner rind.
    Detail 3.1 — Five separate pulp startsThe five lines start below the cut edge with paper between them. The middle line uses the low inner rind dot from the previous drawing.
    Pencil

    Spread five lines toward the rind

    Instructions for Drawing 3 — Spread five lines toward the rind
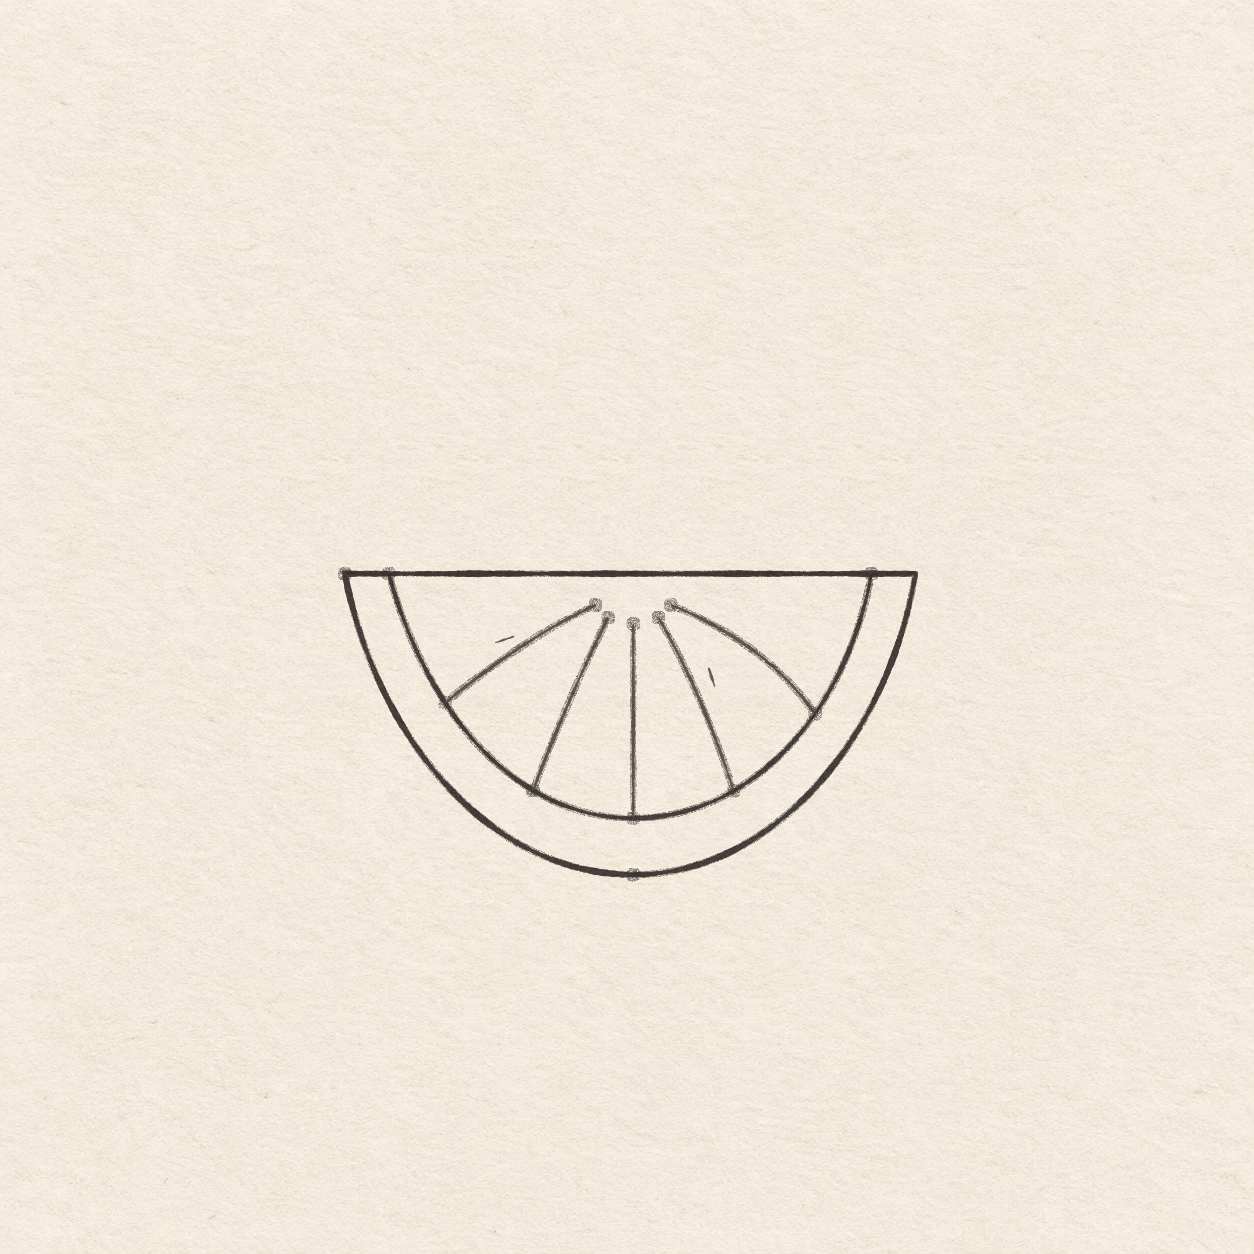
    1. From the left end, find spots 4, 4.2, 4.6, 5 and 5.2 cm right along the cut edge. Use the square corner to mark dots beneath them at 5, 7, 8, 7 and 5 mm down, in that order. Check that the middle dot is the farthest below the cut edge and the outer pair sit a little closer.
    2. For the two left ends, hold the ruler upright 1.6 cm and 3 cm from the left end of the cut edge. Mark its crossings with the inner rind. Use the same method 6.2 cm and 7.5 cm from the left end for the two right ends. Use the existing lowest inner rind dot for the middle end.
    3. The five close dots under the cut edge are the starts. Freehand five lines from them to the five rind dots, in the same left-to-right order. Keep the center line upright and curve the other four gently out toward their ends. Keep the five starts separate, with a small space below the cut edge.
    Next step
  4. The lemon has a dark cut edge and peel, five pulp divisions and three fine separate accents.
    Drawing 4 — Ink the peel and add three pulp marksView larger
    Ink

    Ink the peel and add three pulp marks

    Instructions for Drawing 4 — Ink the peel and add three pulp marks
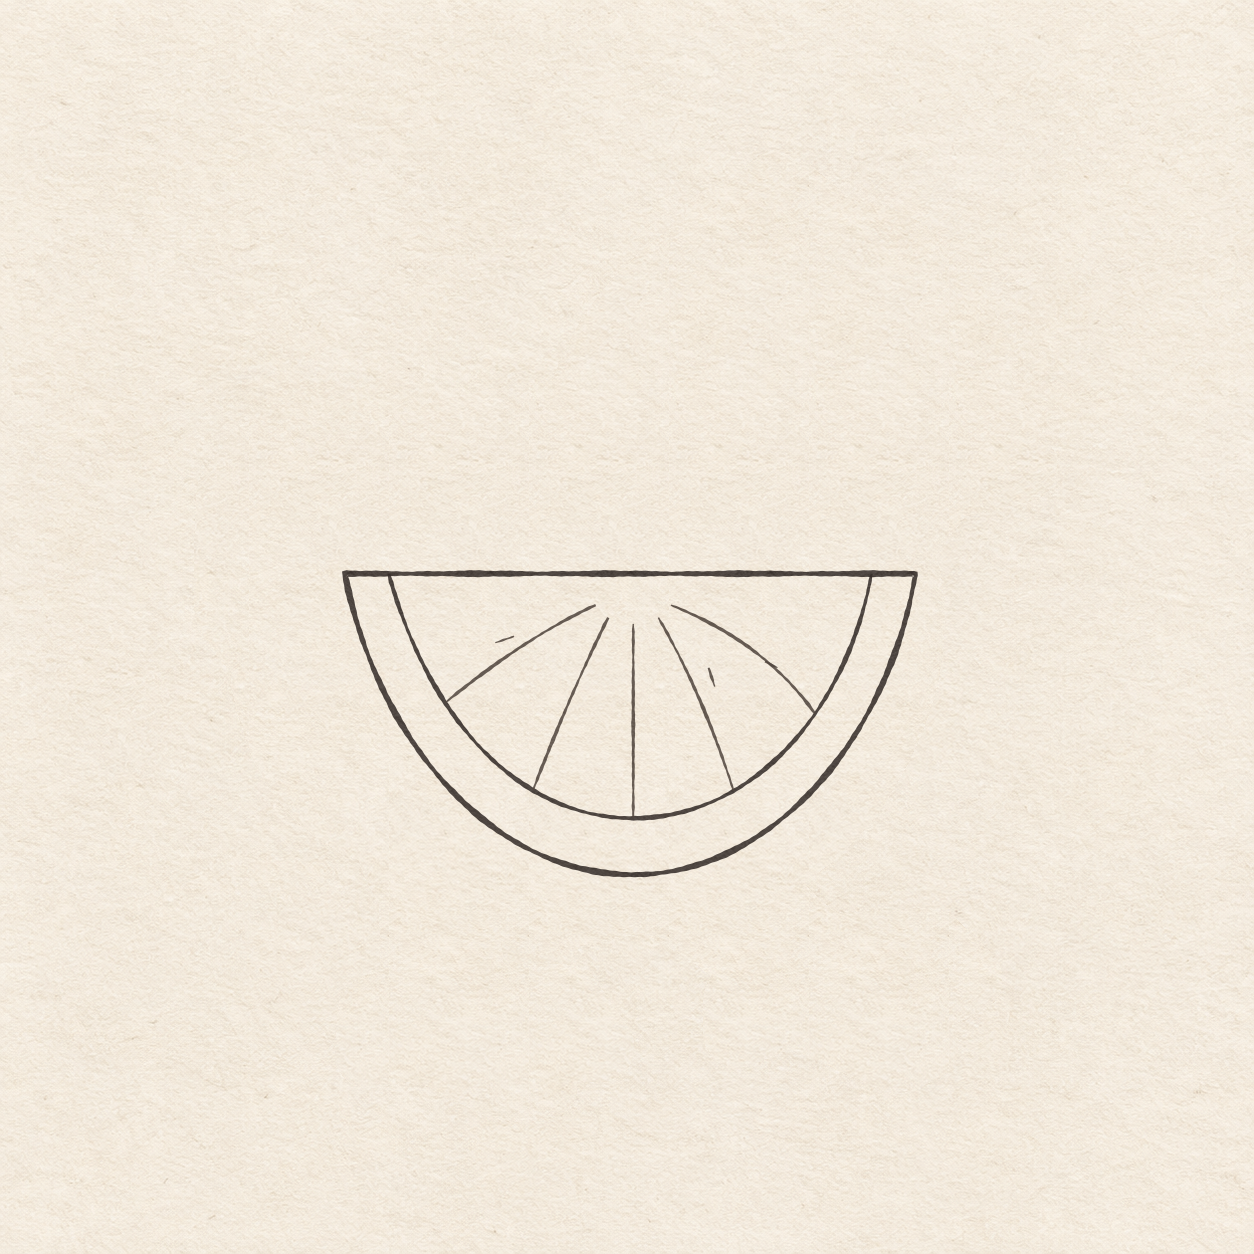
    1. Trace the cut edge and curved peel in ink. Meet the straight and curved parts at both tips.
    2. Trace the inner rind curve with the pen from its left cut-edge contact to its right one. Keep the two rind edges separated by their narrow band of untouched paper.
    3. Ink the five lines from their separate starts to the inner rind. Preserve the small light center and lift at the rind.
    4. Freehand three short slanted strokes inside the lemon. Put one near the upper-left pulp and two in separate spaces near the upper right. Leave each stroke away from adjacent divisions, rind and cut edge.
    Next step
  5. The finished lemon wedge has a double rind, five radiating lines and three short pulp marks.
    Drawing 5 — Erase the dry pencil guidesView larger
    Cleanup

    Erase the dry pencil guides

    Instructions for Drawing 5 — Erase the dry pencil guides

    1. Fill a small patch on a scrap of the same paper with the same pen. Rub the patch gently with your eraser. If it smears, wait and test again. Once the patch stops smearing, erase the placement dots and any remaining pencil marks beside the dry ink.
    Back to the steps

If something looks off

If the rind looks thick on one side

While it is still in pencil, adjust the inner curve so a narrow band of paper stays visible around the whole peel.