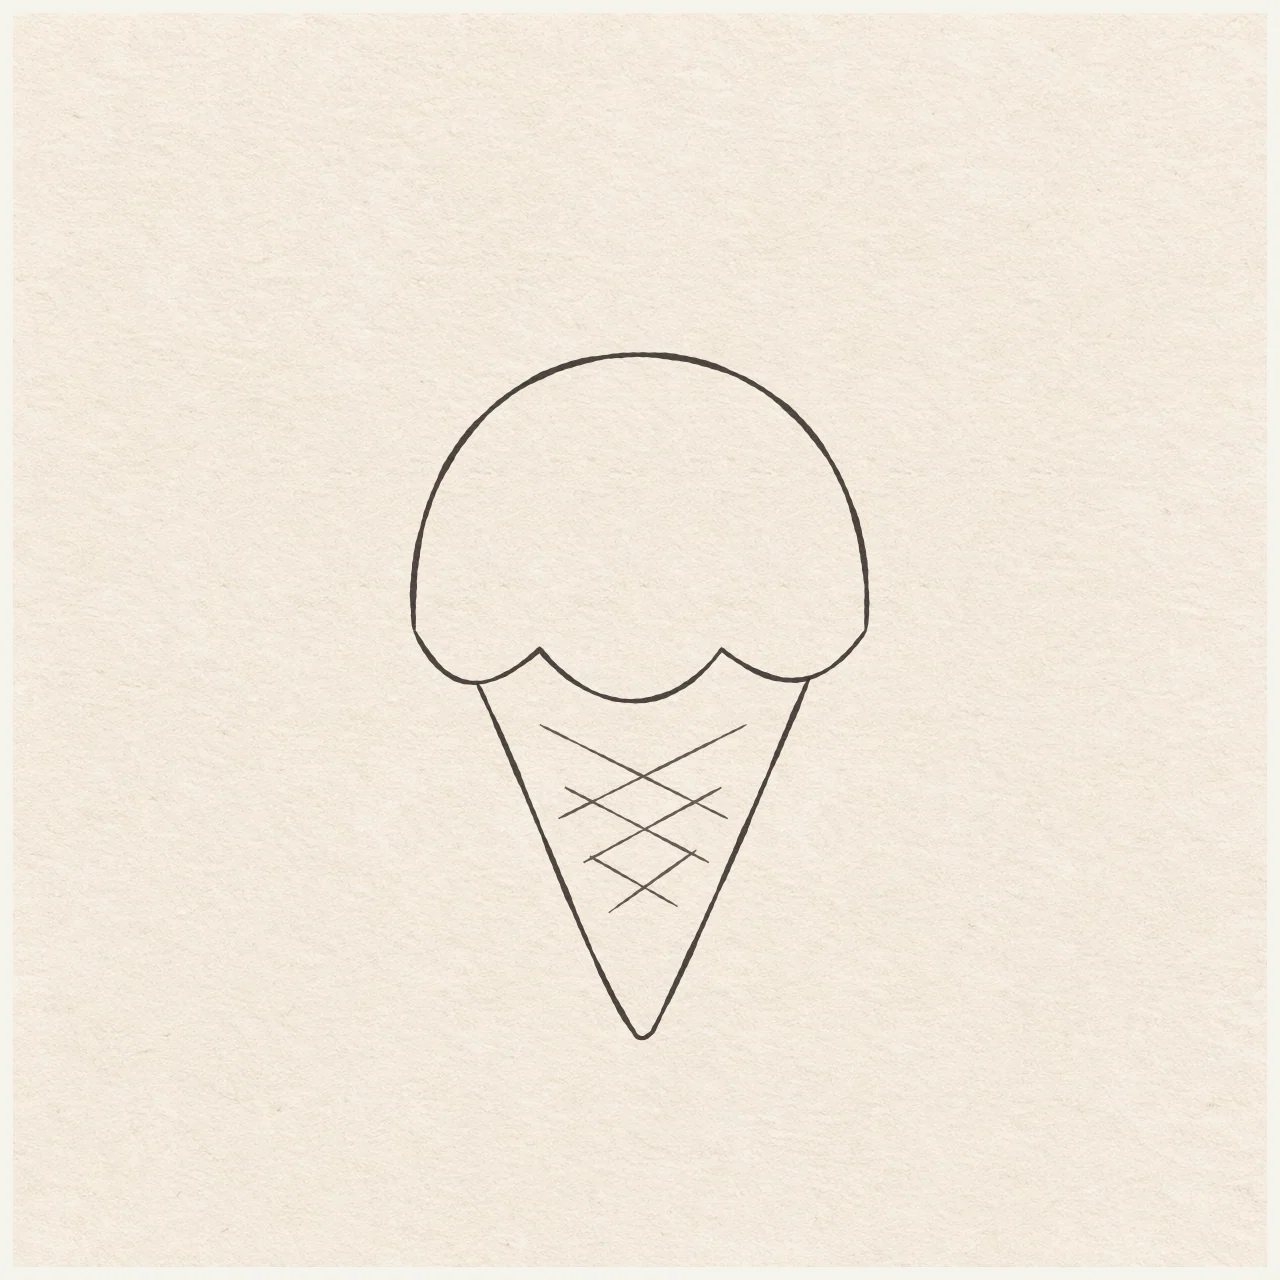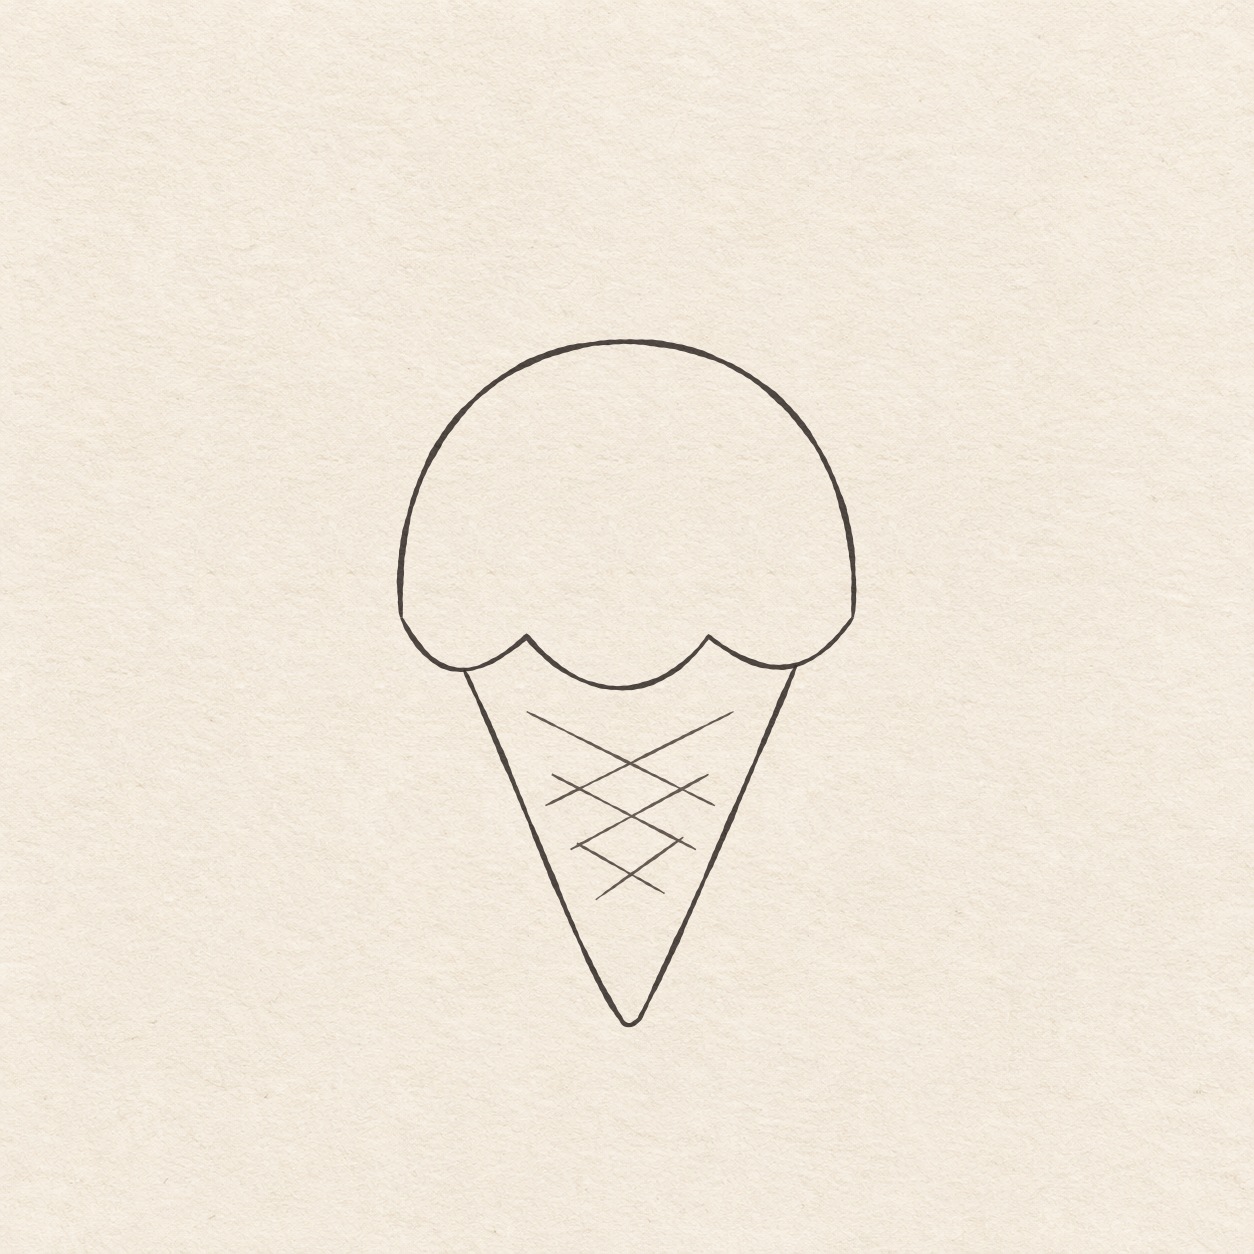
Fineliner drawing of a round scoop with three soft folds on a pointed cone and a light waffle grid.
Drawing referenceAbout reference use

Single-scoop ice-cream cone

Round one scoop, tuck a pointed cone under it and add six loose waffle lines.

Food & drinkEasyFinelinerReference practice: about 19 min
Save reference

Follow the drawing tutorial

Round one scoop, tuck a pointed cone under it and add six loose waffle lines.

Start the 6-step tutorial

A small thing to tryShorten the remaining lines as the cone narrows. Keep their ends inside the inked sides.

Draw it, one step at a time

Draw a scoop of ice cream in a cone

Round one scoop, tuck a pointed cone under it and add six loose waffle lines.

6 illustrated steps Full tutorial: about 19 minutes, at your pace

What you’ll need

  • HB pencil
  • Eraser
  • Ruler
  • Scrap of paper with a square corner
  • Fine black pen
  • Drawing paper

Before you start

This example is about 7.2 cm wide and 11 cm high. Pick the position of the scoop first. Its long cone will hang below the middle.
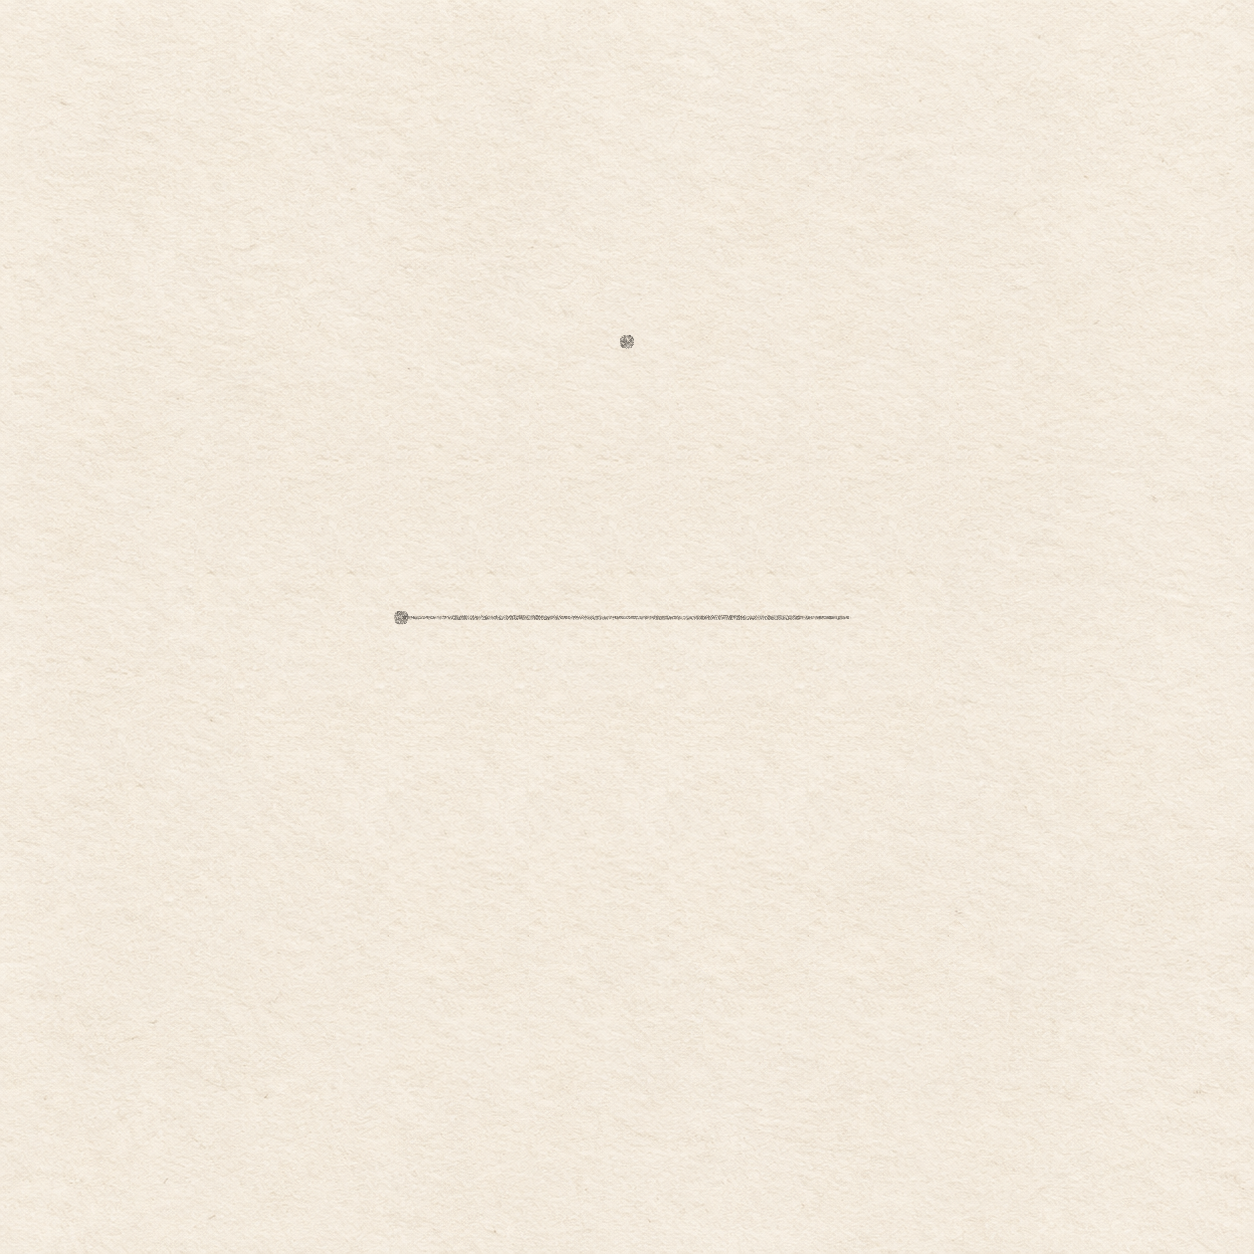
  1. A faint line between scoop tips and a dot above its middle.
    Drawing 1 — Set the scoop width and crestView larger
    Pencil

    Set the scoop width and crest

    Instructions for Drawing 1 — Set the scoop width and crest
    1. Place a dot for the left end of the scoop. Leave 7.5 cm to the right, 4.5 cm above and 6.7 cm below, plus a margin. Move this first dot before ruling if the cone would sit too low.
    2. Rule a faint line 7.2 cm right from the dot. Its ends locate the scoop edges. The line is for measuring and will be erased.
    3. At the midpoint of the line, 3.6 cm from its left end, lay one edge of a square scrap corner along it. Mark a dot 4.4 cm straight up. The high dot sits over the middle. Check the 4.4 cm rise again if it looks off-center.
    Next step
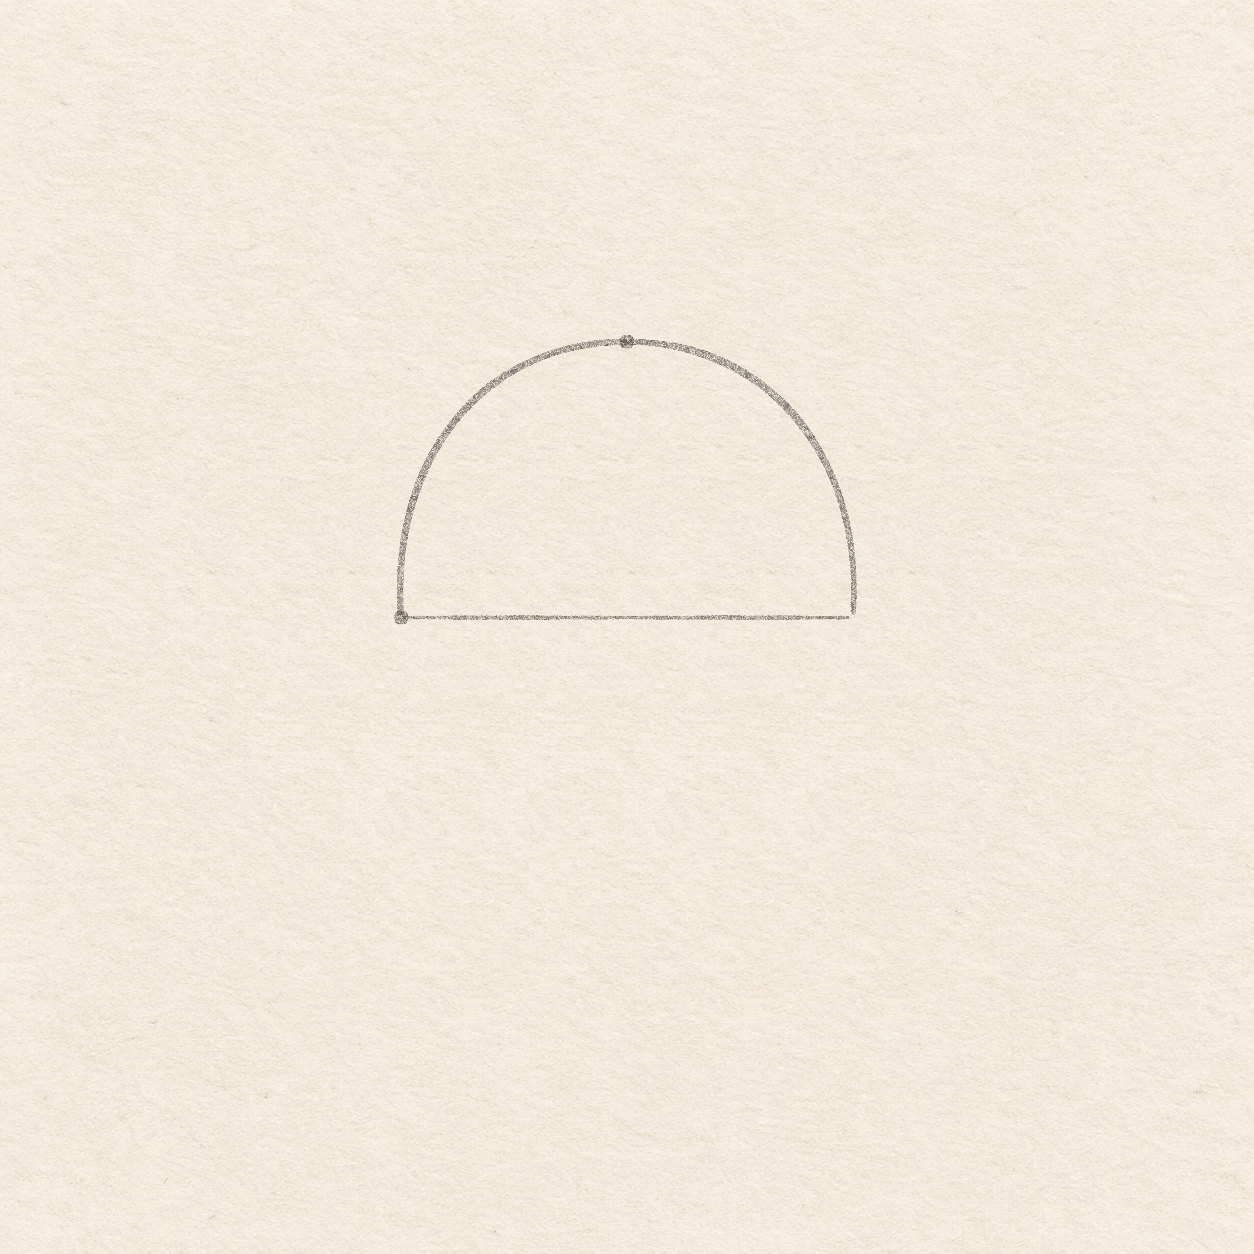
  2. A domed scoop arc meets both tips of the light measuring line.
    Drawing 2 — Round the top of the scoopView larger
    Pencil

    Round the top of the scoop

    Instructions for Drawing 2 — Round the top of the scoop
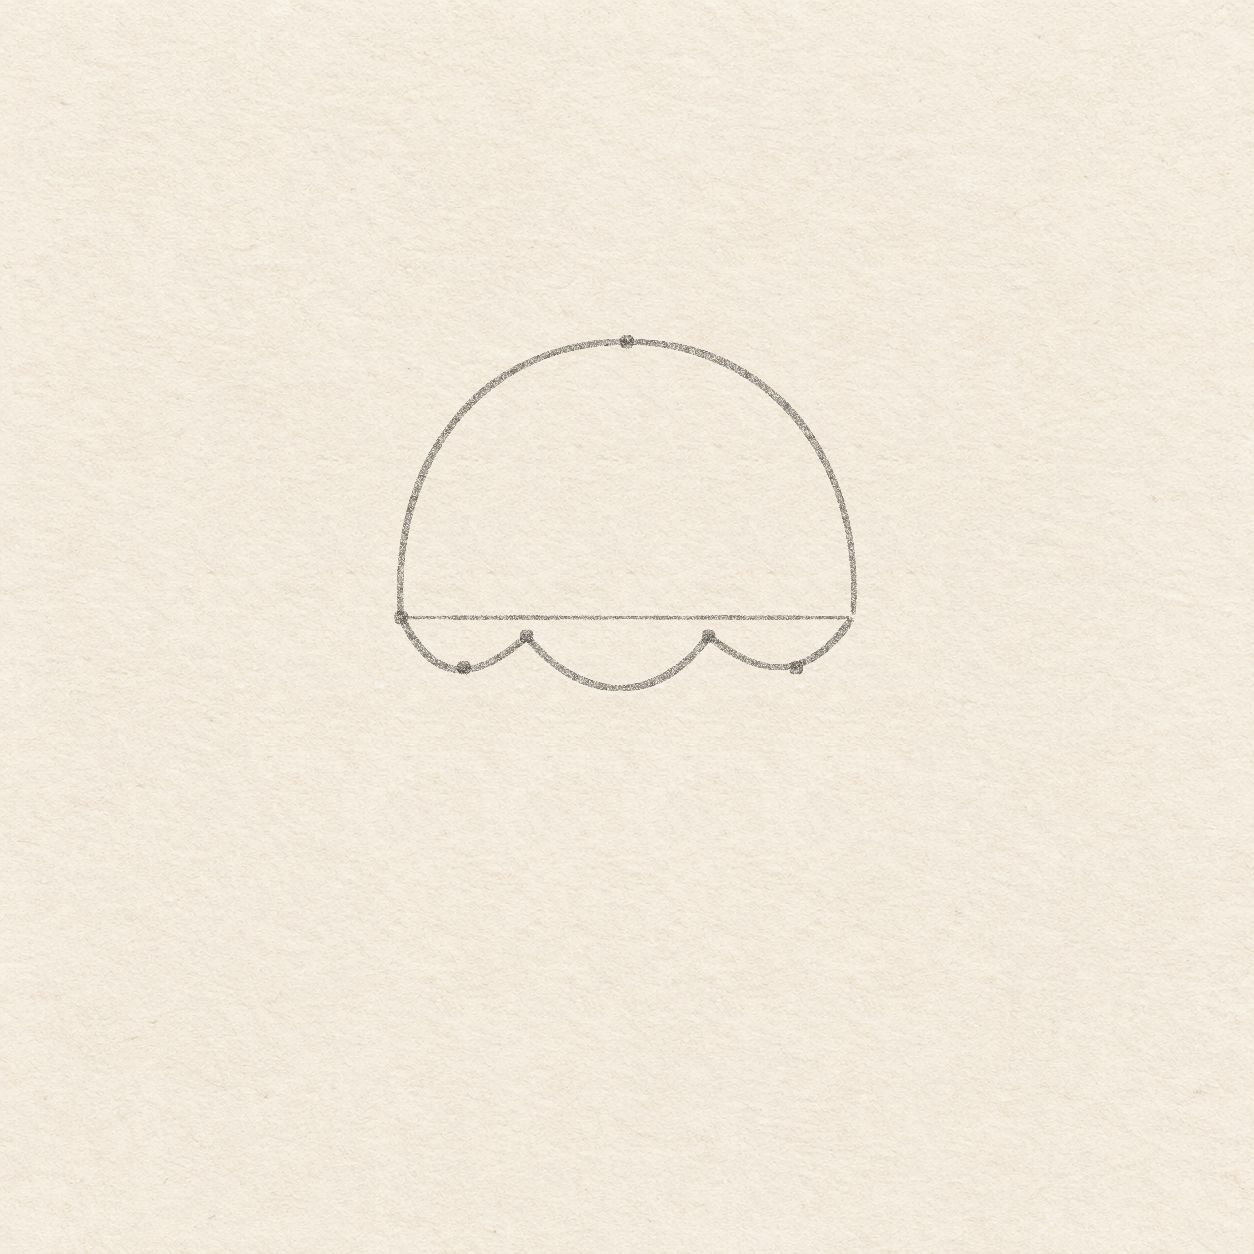
    1. Freehand a round sweep from the left tip to the high dot, then down to the right tip. Let it stand almost upright near both tips. Keep the top rounded as you pass the high dot.
    Next step
  3. Three curves hang under the scoop, with two returns and two cone contacts on the outer folds.
    Drawing 3 — Draw the three soft foldsView larger
    Pencil

    Draw the three soft folds

    Instructions for Drawing 3 — Draw the three soft folds
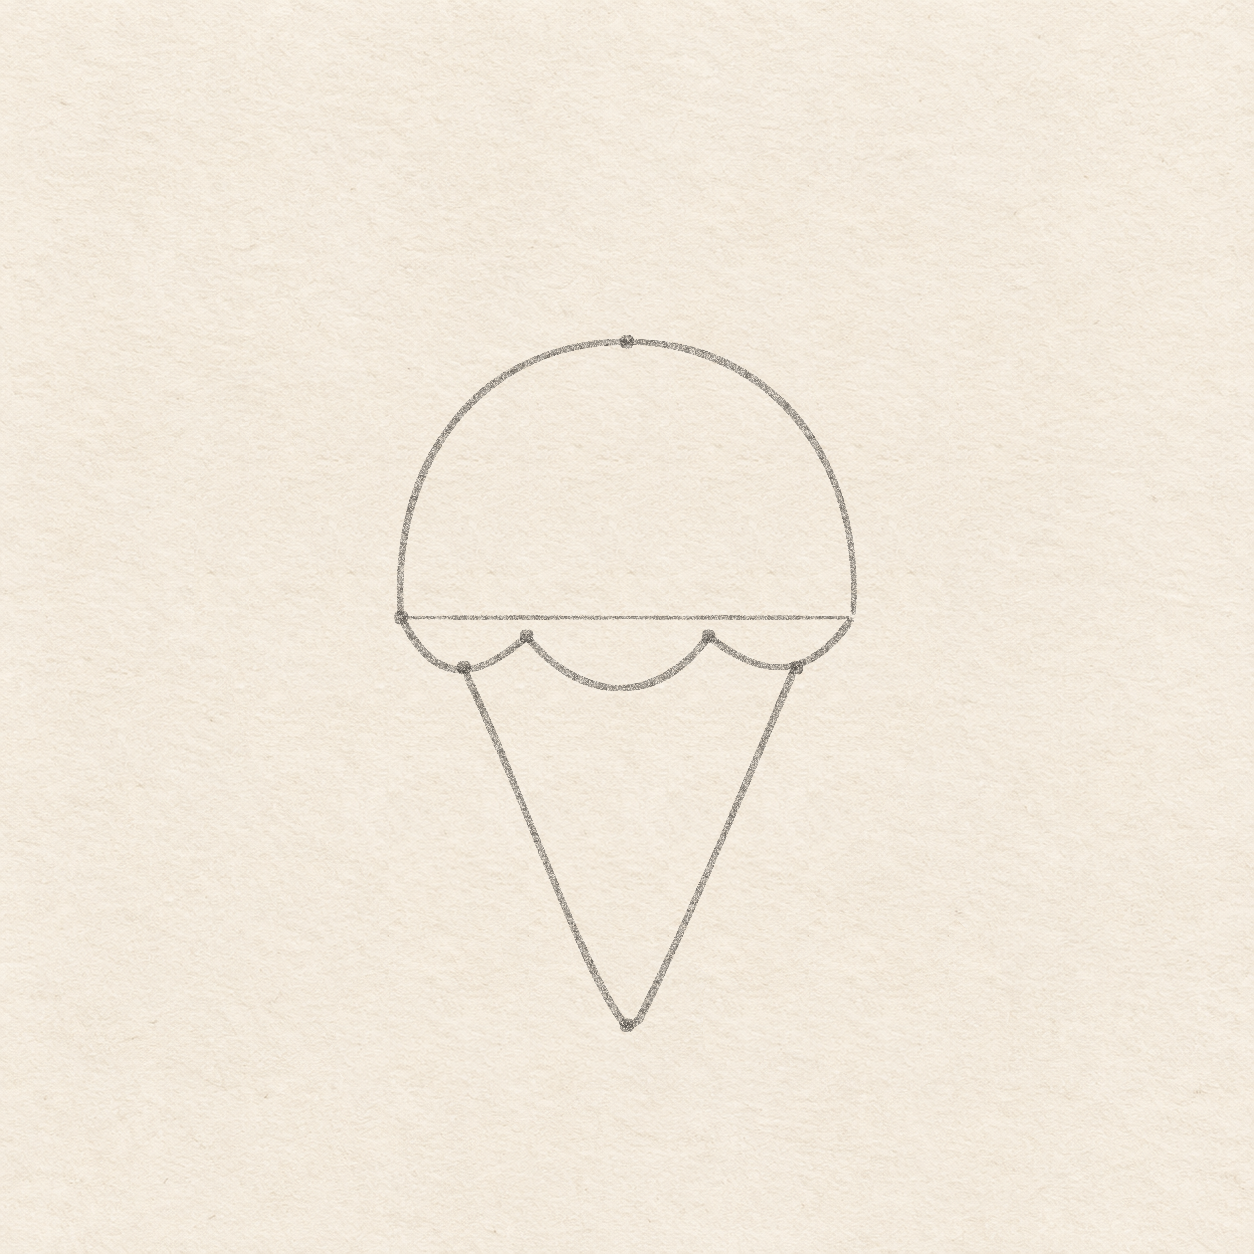
    1. Measure from the left end of the line. With its edge aligned along the line, use the square corner to put the two return dots 2 cm and 4.9 cm right and 3 mm straight down. Use the same method to put the cone contact dots 1 cm and 6.3 cm right and 8 mm down.
    2. Freehand from the left scoop tip down through the left cone contact, then rise to the first return dot. Bow down about 8 mm between the two return dots. From the second return, bow through the right cone contact and rise to the right scoop tip. Use each cone dot as a contact where the next drawing will start a side.
    Next step
  4. The cone sides start on the lower scoop folds and meet in one small rounded turn.
    Drawing 4 — Bring the cone down to a blunt tipView larger
    Pencil

    Bring the cone down to a blunt tip

    Instructions for Drawing 4 — Bring the cone down to a blunt tip
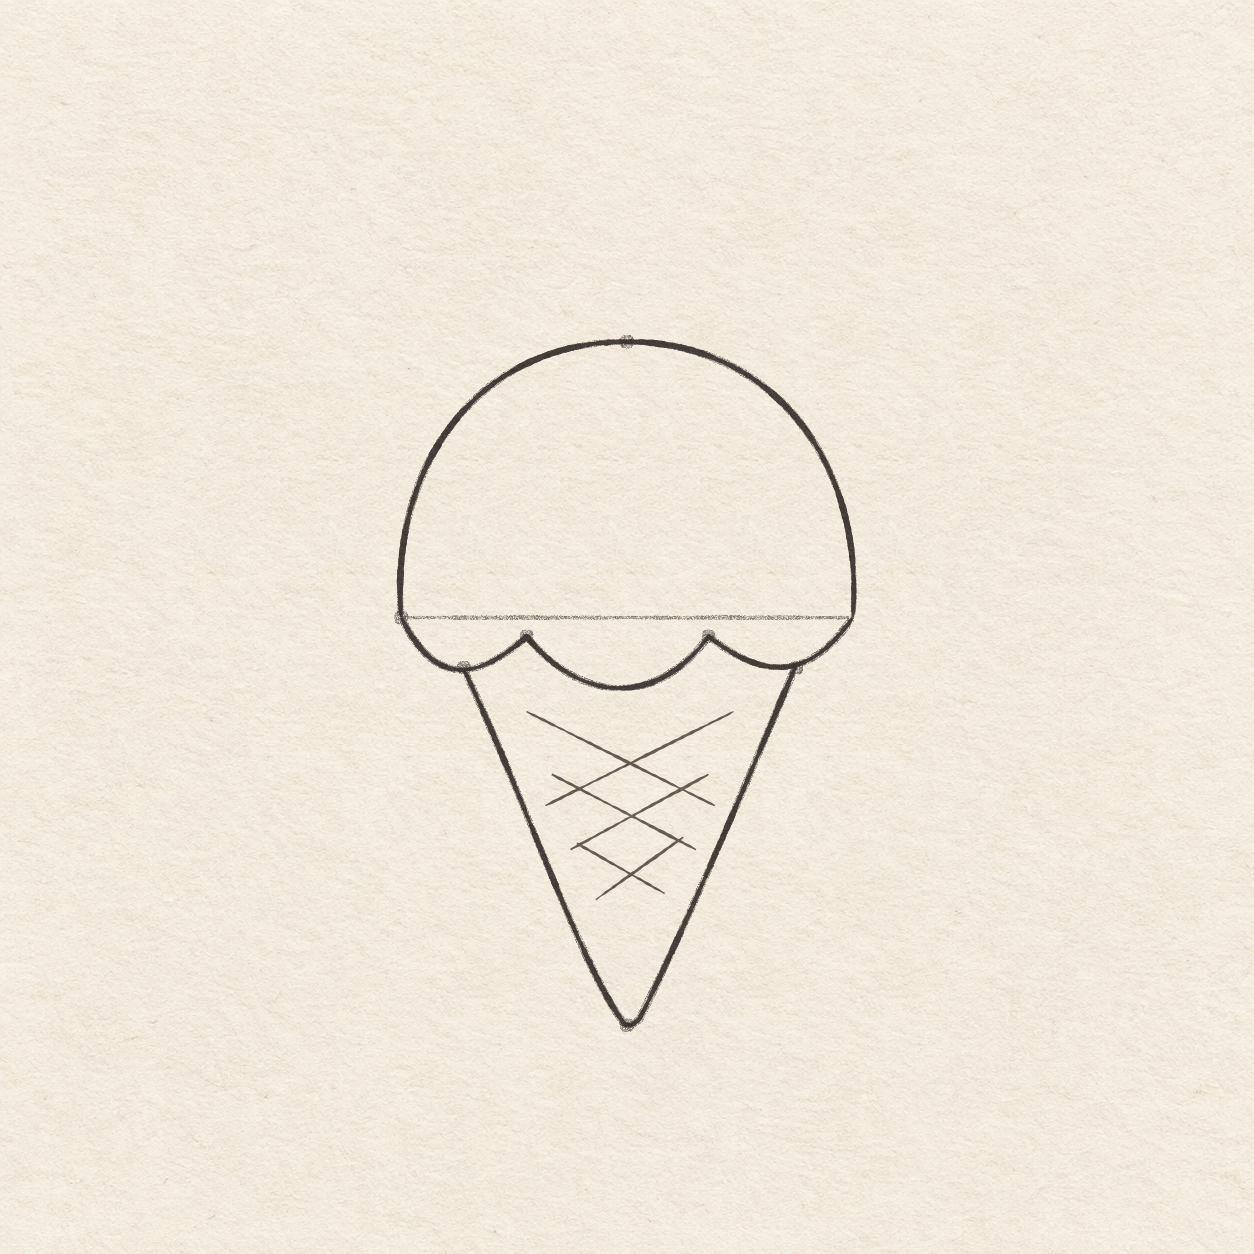
    1. At the midpoint of the faint line, use the square corner to put a dot 6.5 cm straight down. Keep it below the gap between the two cone contacts.
    2. Freehand from the left cone contact down and in toward the tip dot. Round through the dot, then climb up and right to the other contact on the scoop. Make the two sides taper gradually and stop against the scoop edge.
    Next step
  5. The finished ink outline and six crossing strokes sit over the faint pencil layout.
    Drawing 5 — Ink the edges and cross the waffle linesView larger
    Ink

    Ink the edges and cross the waffle lines
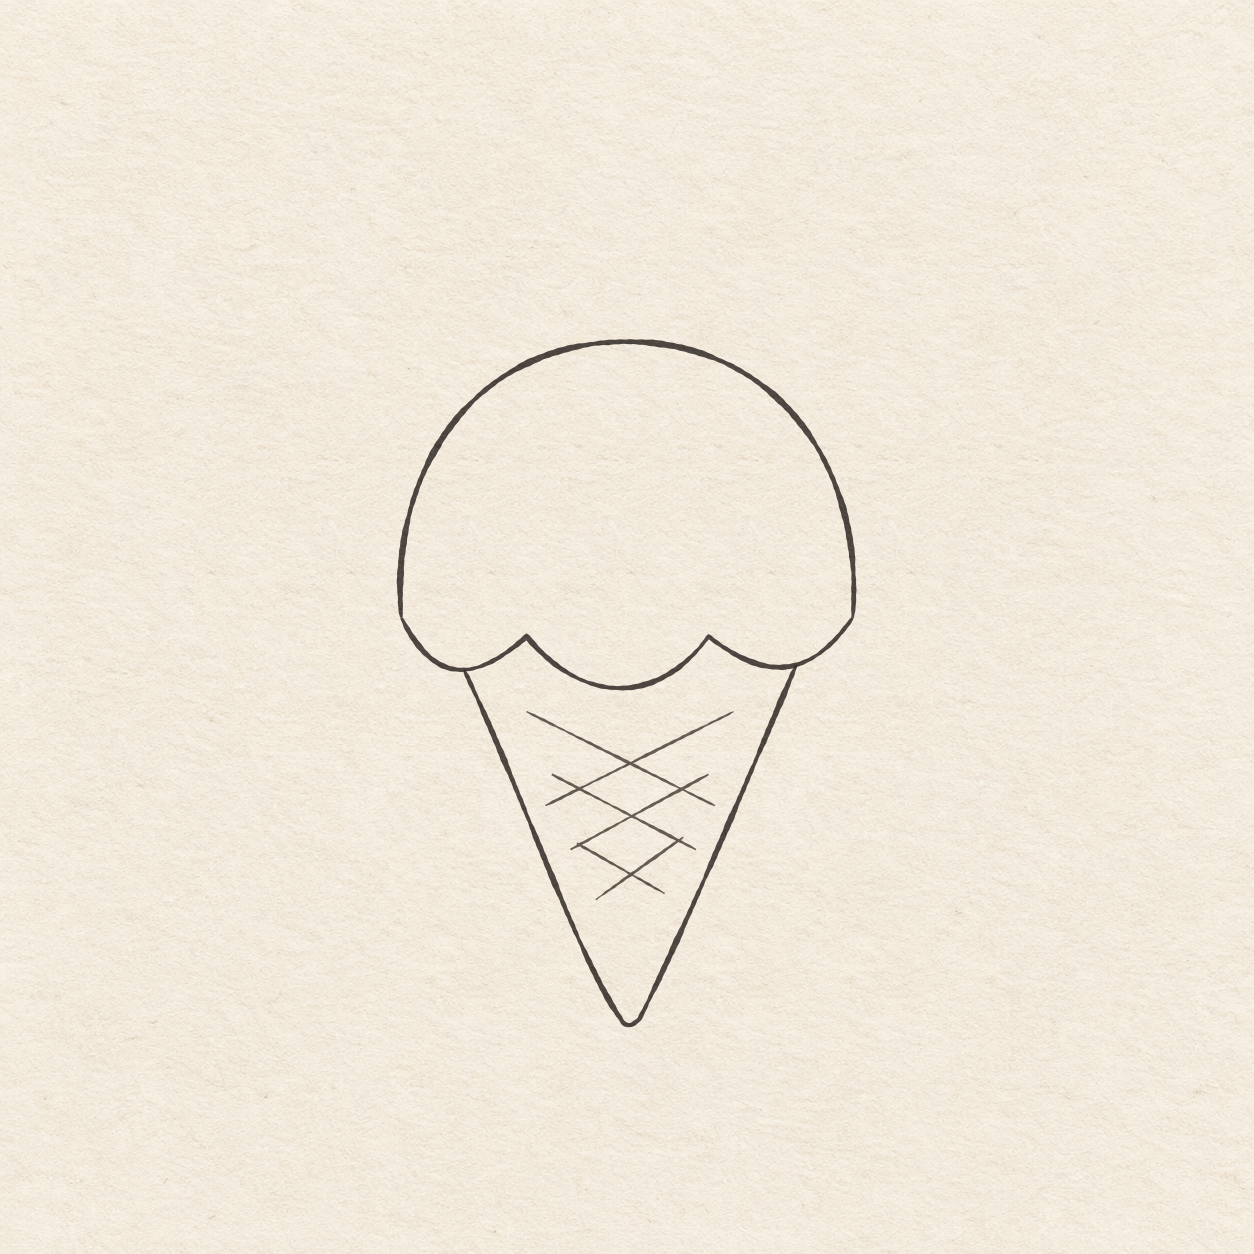
    Instructions for Drawing 5 — Ink the edges and cross the waffle lines

    1. Follow the rounded pencil dome with the pen. Lift the pen at the two outside tips where the lower edge will meet the dome.
    2. Ink the lower edge through its three soft folds. Let the two ends meet the inked dome without closing over an extra line.
    3. Trace from the left cone contact down, around the tip and back to the right contact. Keep each join against the real ink fold.
    4. Freehand three separate lines slanting down and right inside the cone, then three slanting down and left across them. Start the first stroke of each set just under the scoop. Shorten both sets as the cone narrows. Leave paper between the stroke ends and the cone sides.
    Next step
  6. The cleaned drawing shows a round scoop over a tapered cone with a small crosshatched grid.
    Drawing 6 — Erase the dry pencil guidesView larger
    Cleanup

    Erase the dry pencil guides

    Instructions for Drawing 6 — Erase the dry pencil guides

    1. Fill a small patch on a scrap of the same paper with the same pen. Rub the patch gently with your eraser. If it smears, wait and test again. Once the patch stops smearing, erase the measuring line, placement dots and any remaining pencil marks beside the dry ink.
    Back to the steps

If something looks off

If the grid reaches the rim

Shorten the remaining lines as the cone narrows. Keep their ends inside the inked sides.