FinelinerEasy

Single strawberry
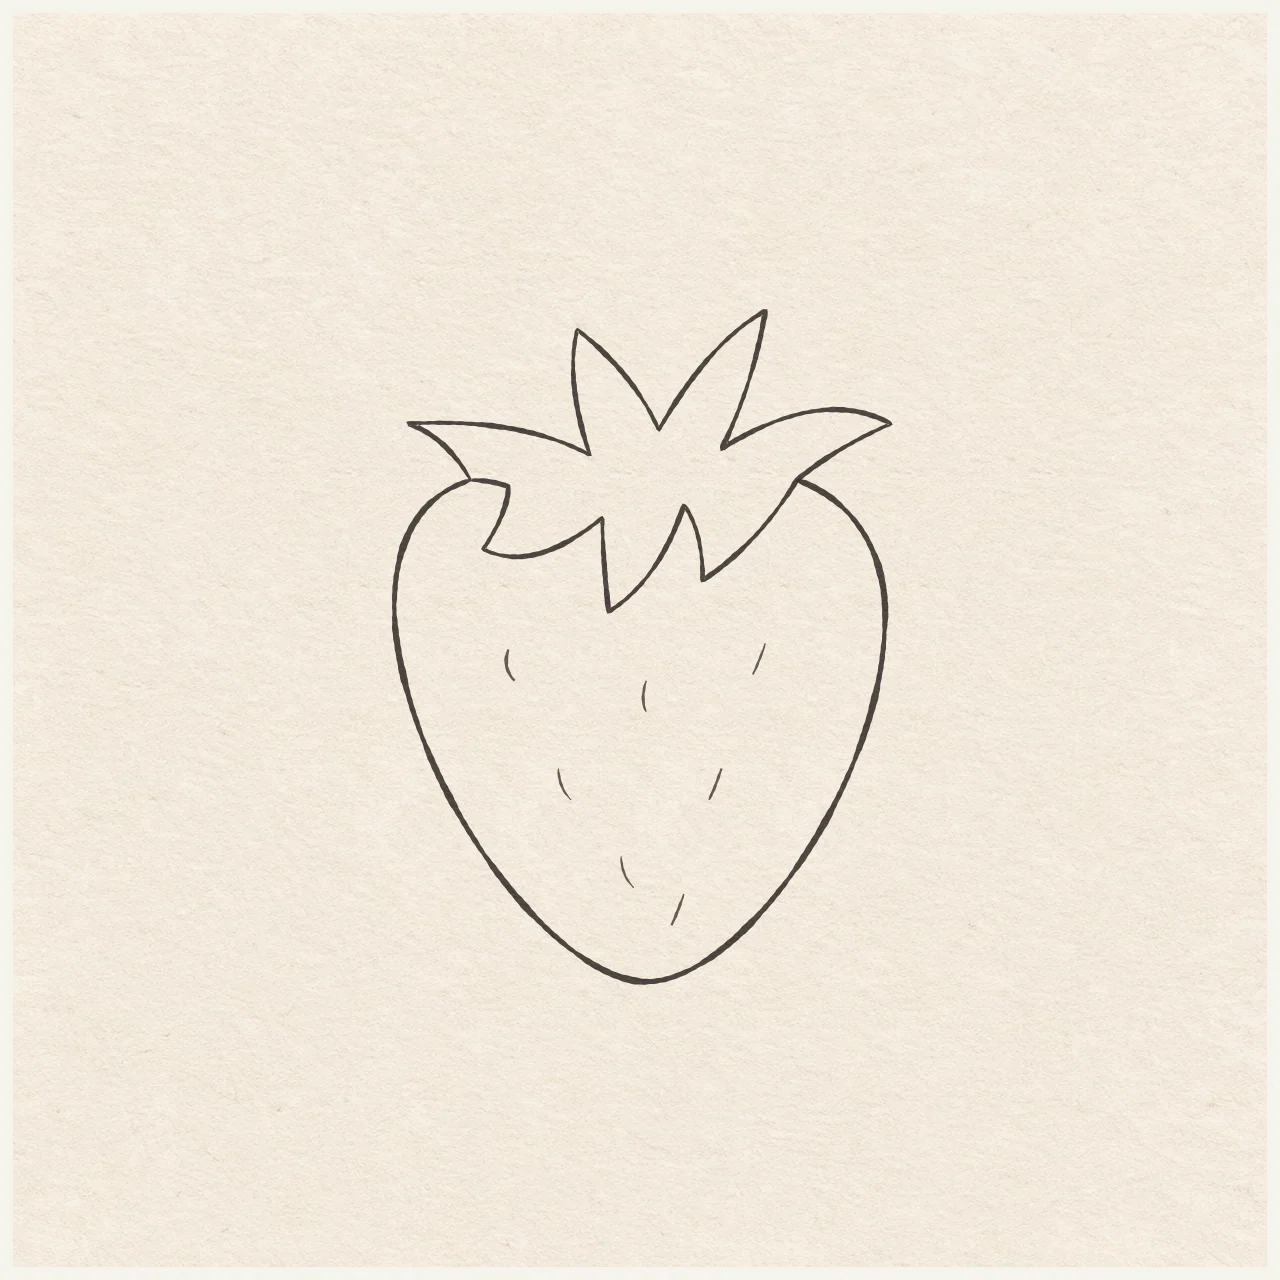
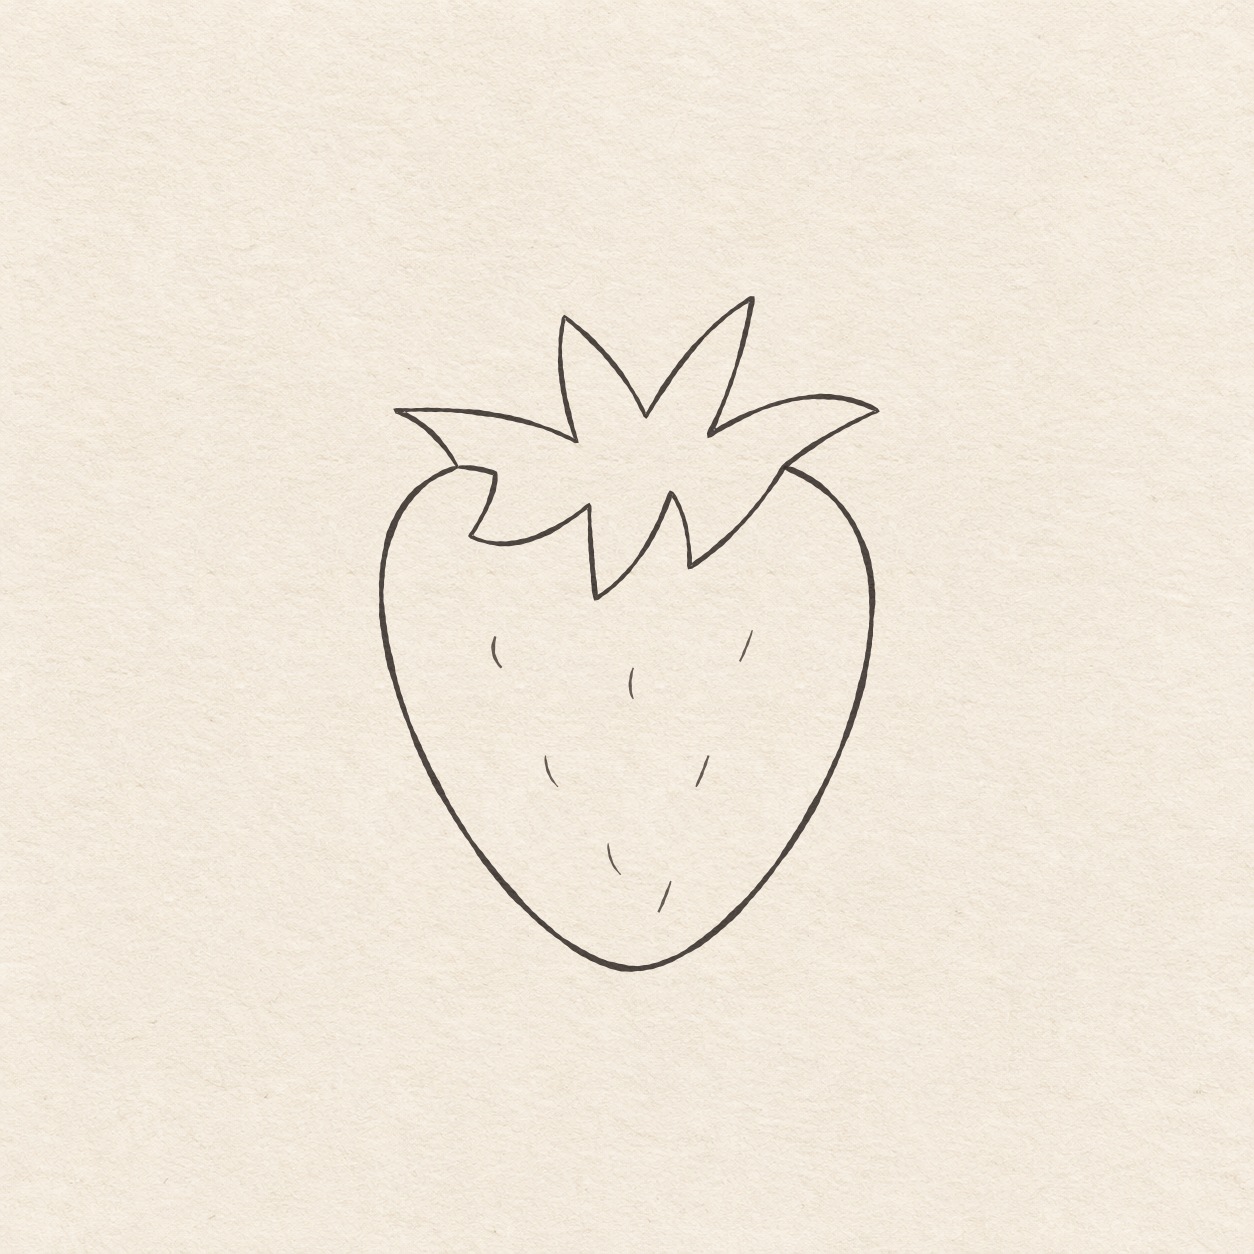
Build the rounded fruit under a crown of pointed leaves, then add a few small seed marks.
Follow the drawing tutorial
Build the rounded fruit under a crown of pointed leaves, then add a few small seed marks.
Start the 5-step tutorialA small thing to tryIn pencil, keep the sides turning inward until they reach the low dot. Soften the join into one short rounded turn.
Draw it, one step at a time
Draw a strawberry
Build the rounded fruit under a crown of pointed leaves, then add a few small seed marks.
What you’ll need
- HB pencil
- Eraser
- Ruler
- Scrap of paper with a square corner
- Fine black pen
- Drawing paper
Before you start
This example is about 7.8 cm wide and 10.8 cm high. Choose where the shoulder of the fruit will sit. Leave room above it for the leaf crown.
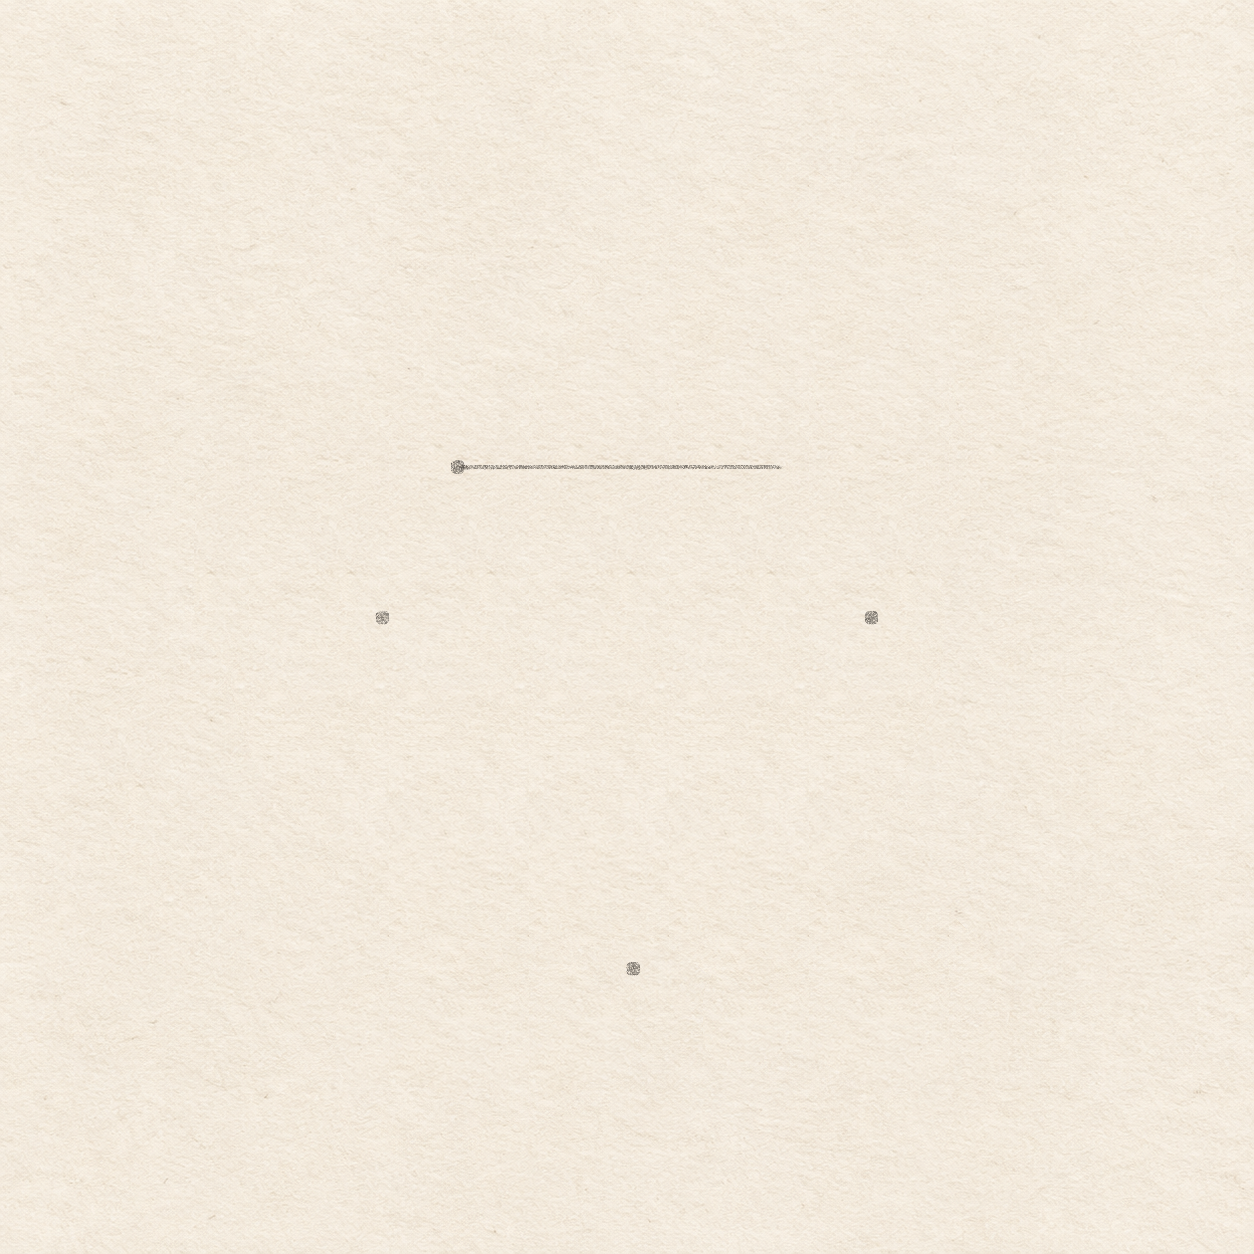
Drawing 1 — Set the shoulders and fruit widthView larger PencilSet the shoulders and fruit width
Instructions for Drawing 1 — Set the shoulders and fruit width
- Mark a dot for the left shoulder. Leave 1.5 cm to its left, 7 cm to its right, 3 cm above and 8.5 cm below, plus a margin. Move it while it is still just a dot if it is too close to an edge.
- Rule a faint line 5.2 cm horizontally to the right. The ends are the two shoulder contacts. Keep it light enough to erase beside the leaf crown after the ink dries.
- From the left shoulder, measure 1.2 cm left using the ruler along the faint line. Extend the ruler past the line without drawing. At that spot, seat one edge of the square corner along the ruler and put a dot 2.4 cm straight down. Repeat 1.4 cm to the right of the right shoulder, also 2.4 cm down. For the low turn, mark a third dot 8 cm straight down from a spot 2.8 cm right of the left shoulder.

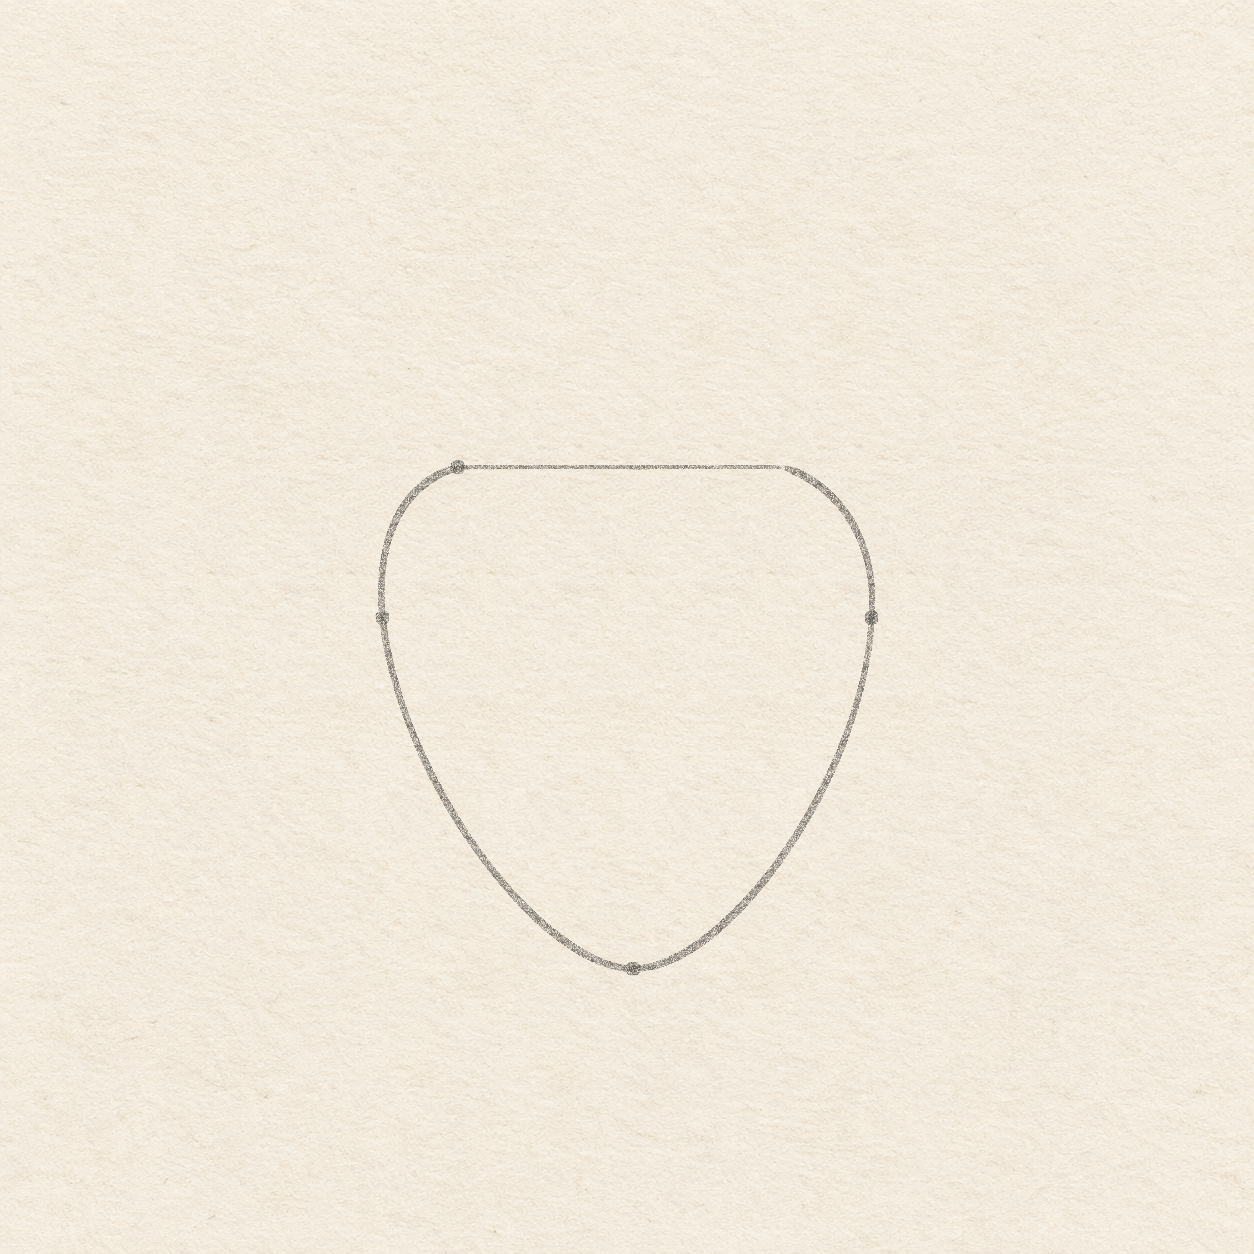
Drawing 2 — Round the sides of the strawberryView larger PencilRound the sides of the strawberry
Instructions for Drawing 2 — Round the sides of the strawberry
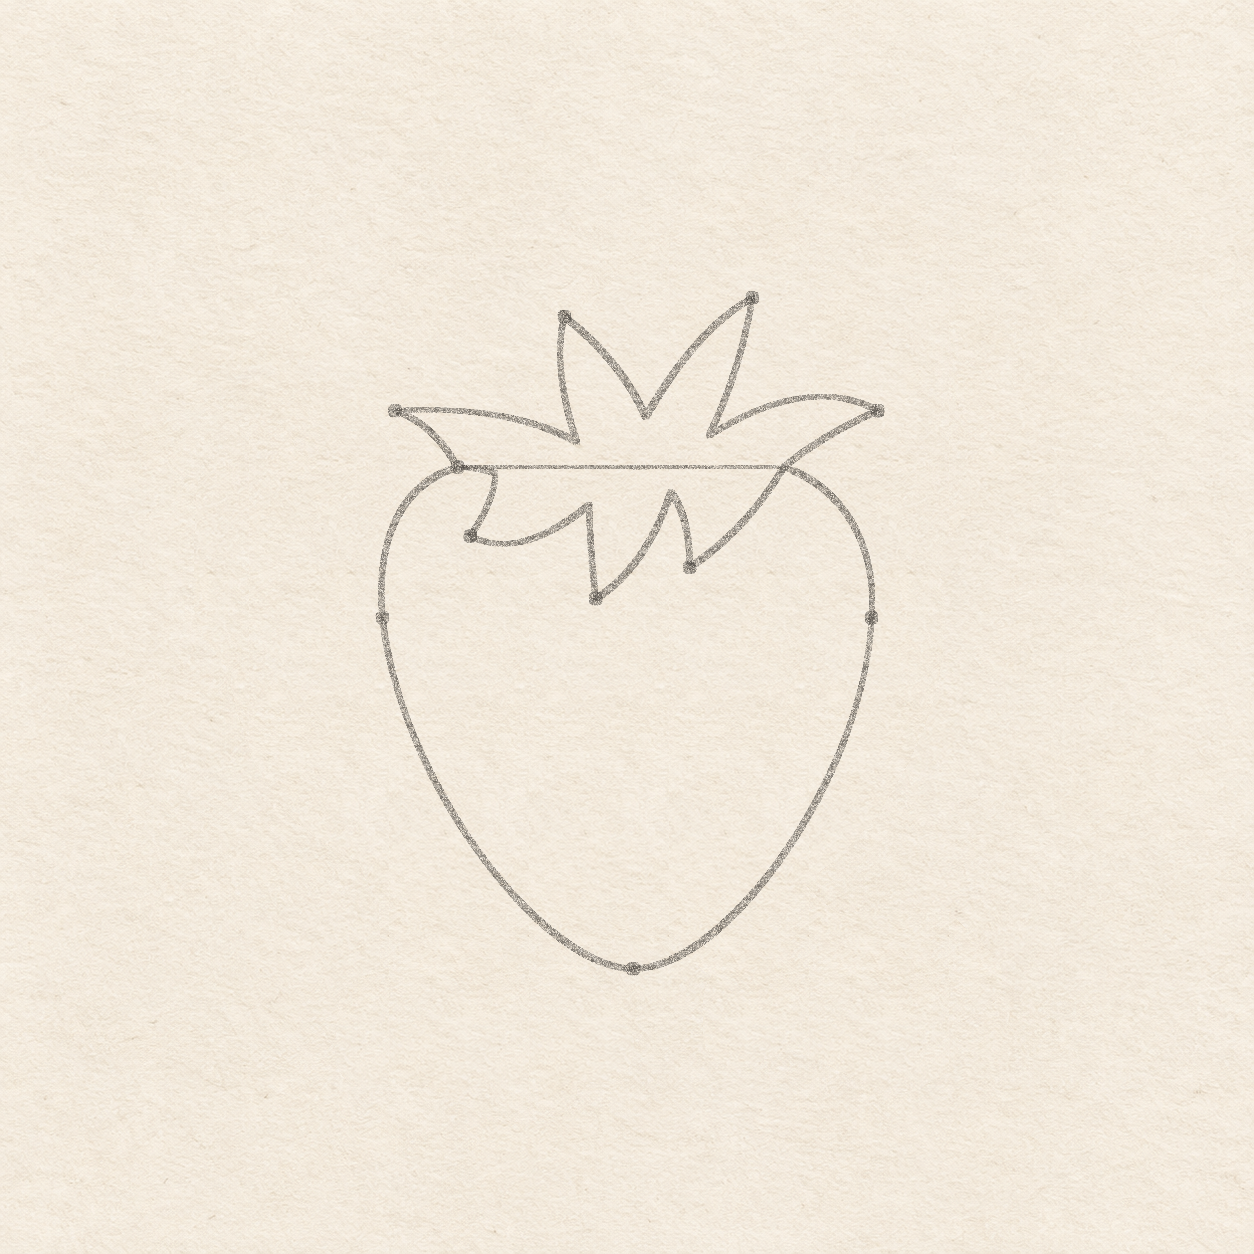
- Freehand from the left shoulder out to the left width dot and then down and in to the bottom dot. Round through the bottom dot, then sweep up and right through the right width dot to the right shoulder. Keep the shoulders distinct and lift when you reach the faint line again.

Drawing 3 — Place and draw the leaf crownView larger PencilPlace and draw the leaf crown
Instructions for Drawing 3 — Place and draw the leaf crown
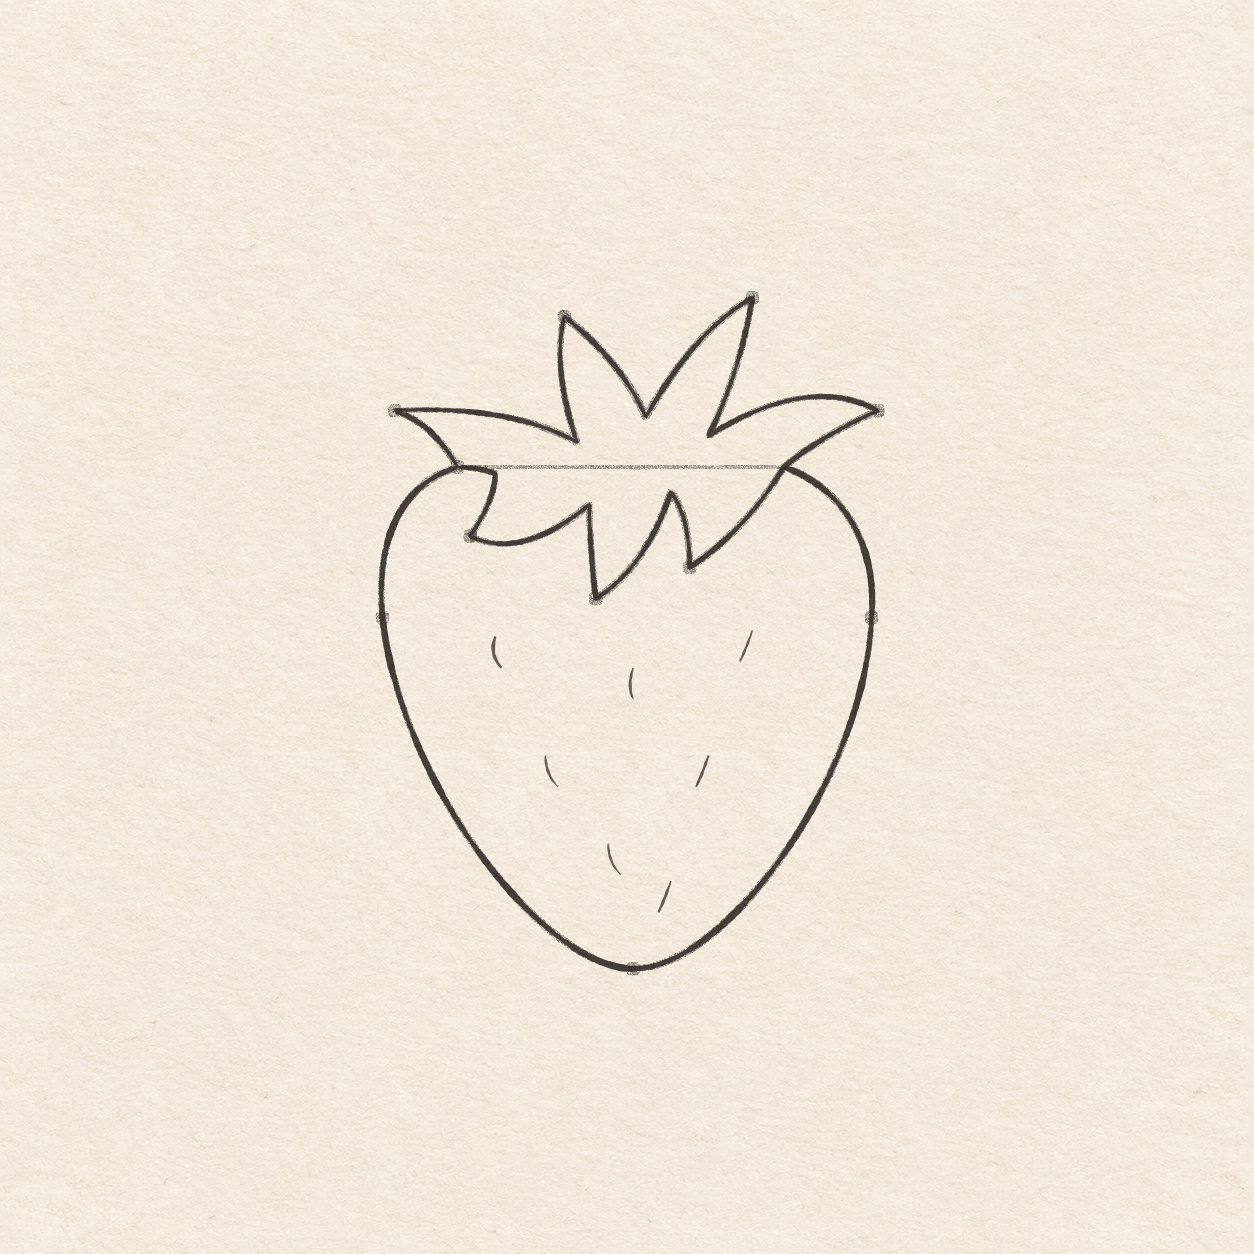
- Use the faint shoulder line, with the ruler held past each end for the square corner. From the left shoulder, mark the far-left leaf tip 1 cm left and 9 mm up. Mark the next tip 1.7 cm right and 2.4 cm up. From the right shoulder, mark the high tip 5 mm left and 2.7 cm up, then the far-right tip 1.5 cm right and 9 mm up.
- From the left shoulder, mark three dots below the faint line. Use 2 mm right and 1.1 cm down, then 2.2 cm right and 2.1 cm down, then 3.7 cm right and 1.6 cm down. The middle one should hang lowest. Remeasure from the line if the tips come out level.
- From the left shoulder, freehand to the far-left tip. Sweep right to a low valley near the faint line, rise to the second tip and dip again. Do the same for the highest and far-right tips, then return to the right shoulder. Below the faint line, go from the right shoulder through the three lower tips from right to left. Put a small upward bend between each pair, and curl back to the left shoulder.

Drawing 4 — Ink the fruit and place seven seedsView larger InkInk the fruit and place seven seeds
Instructions for Drawing 4 — Ink the fruit and place seven seeds
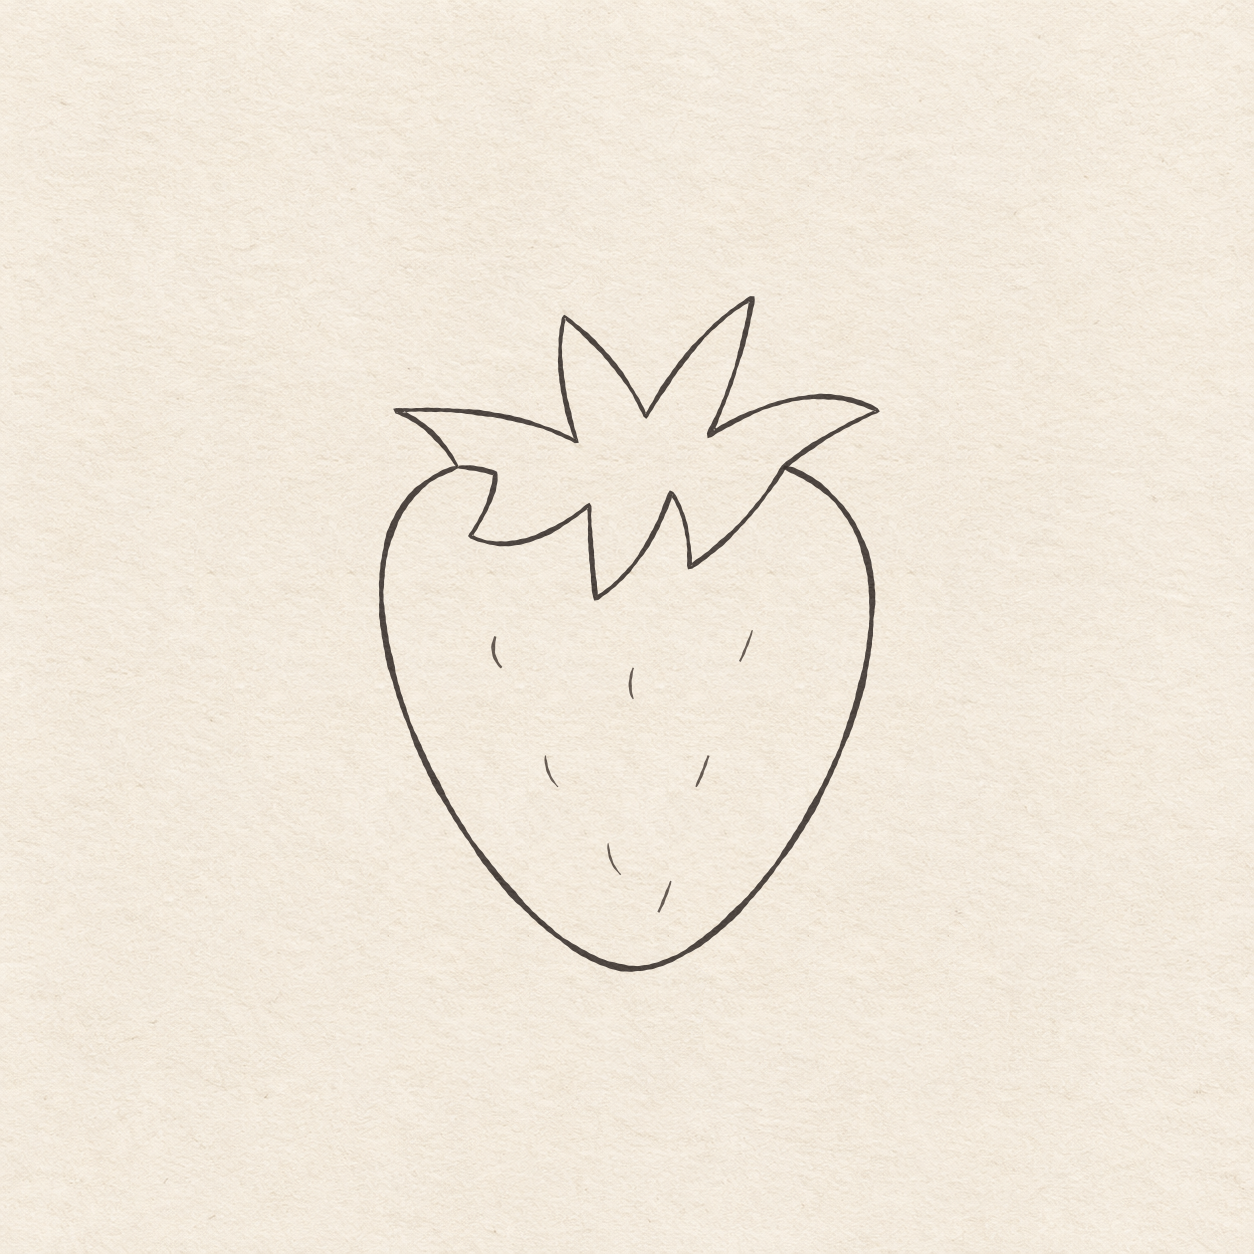
- Follow the berry outline in pen from left shoulder around to right shoulder. Stop at the two leaf contacts and keep the middle open for the seeds.
- Follow the upper and lower sides of the leaf crown. Lift at the tips if it helps you turn. Join both ends to the fruit outline.
- Freehand three small mostly upright curves spread across the upper fruit, clear of the leaves. Add two a little lower, then two staggered near the bottom. Keep each seed about 5 mm long, separate from the next and clear of the berry edge.

Drawing 5 — Erase the dry pencil guidesView larger CleanupErase the dry pencil guides
Instructions for Drawing 5 — Erase the dry pencil guides
- Fill a small patch on a scrap of the same paper with the same pen. Rub the patch gently with your eraser. If it smears, wait and test again. Once the patch stops smearing, erase the shoulder line, placement dots and any remaining pencil marks beside the dry ink.
If something looks off
If the berry looks flat at the bottom
In pencil, keep the sides turning inward until they reach the low dot. Soften the join into one short rounded turn.