FinelinerEasy

Binder clip
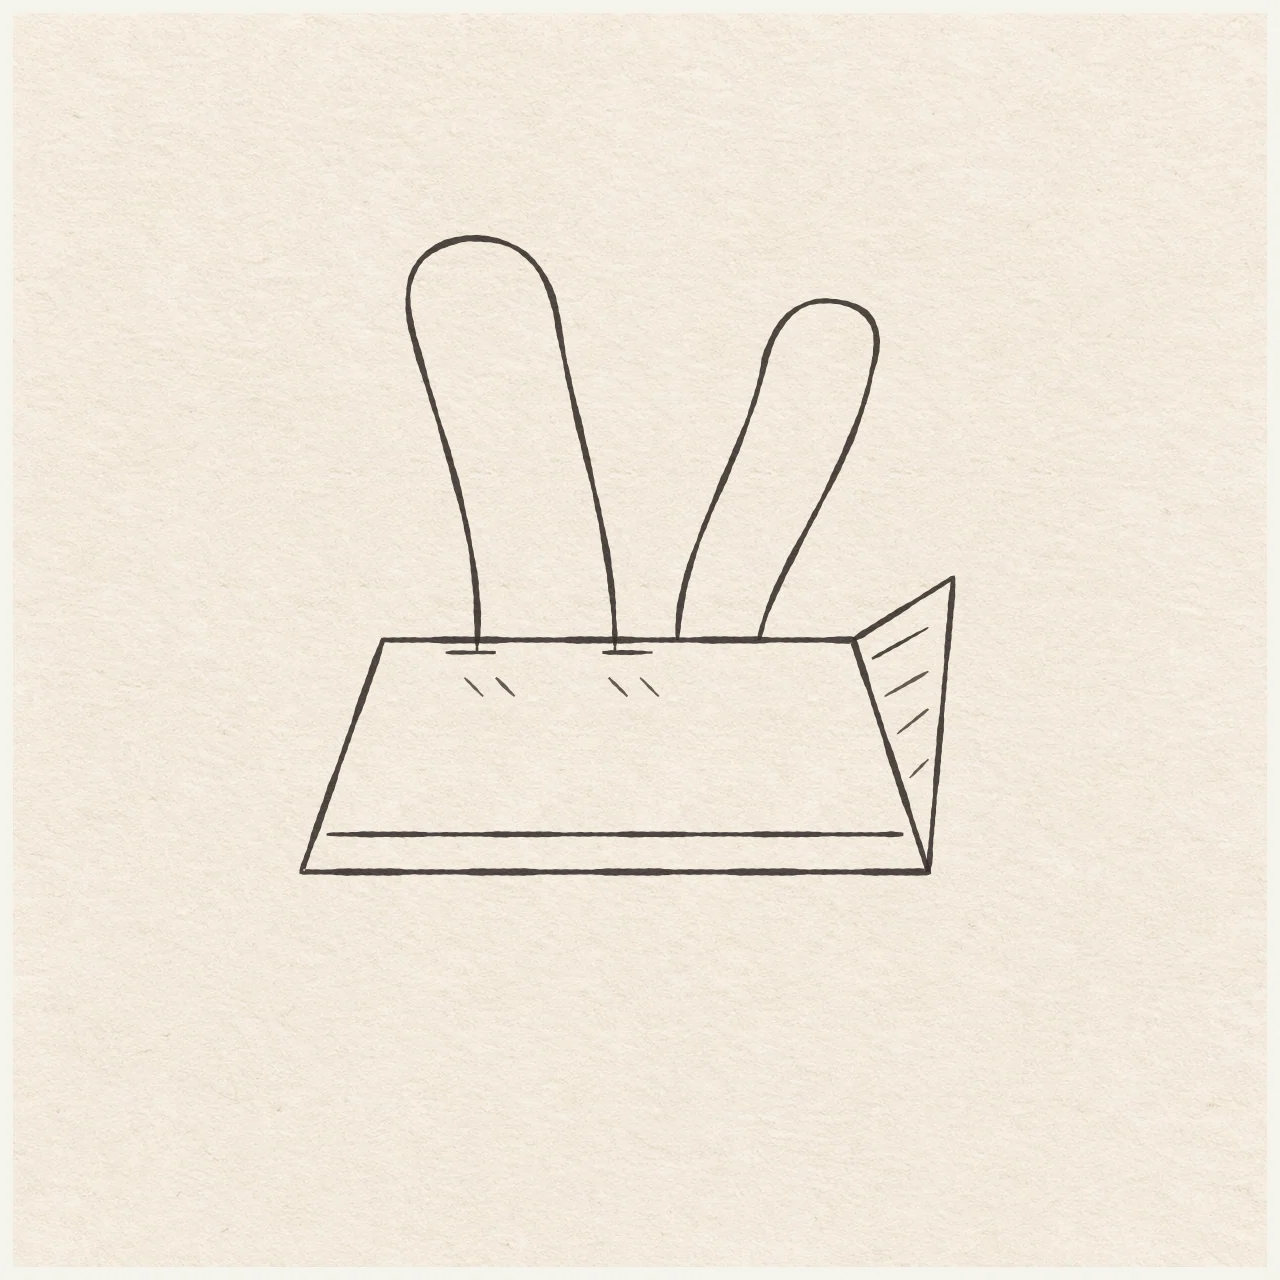
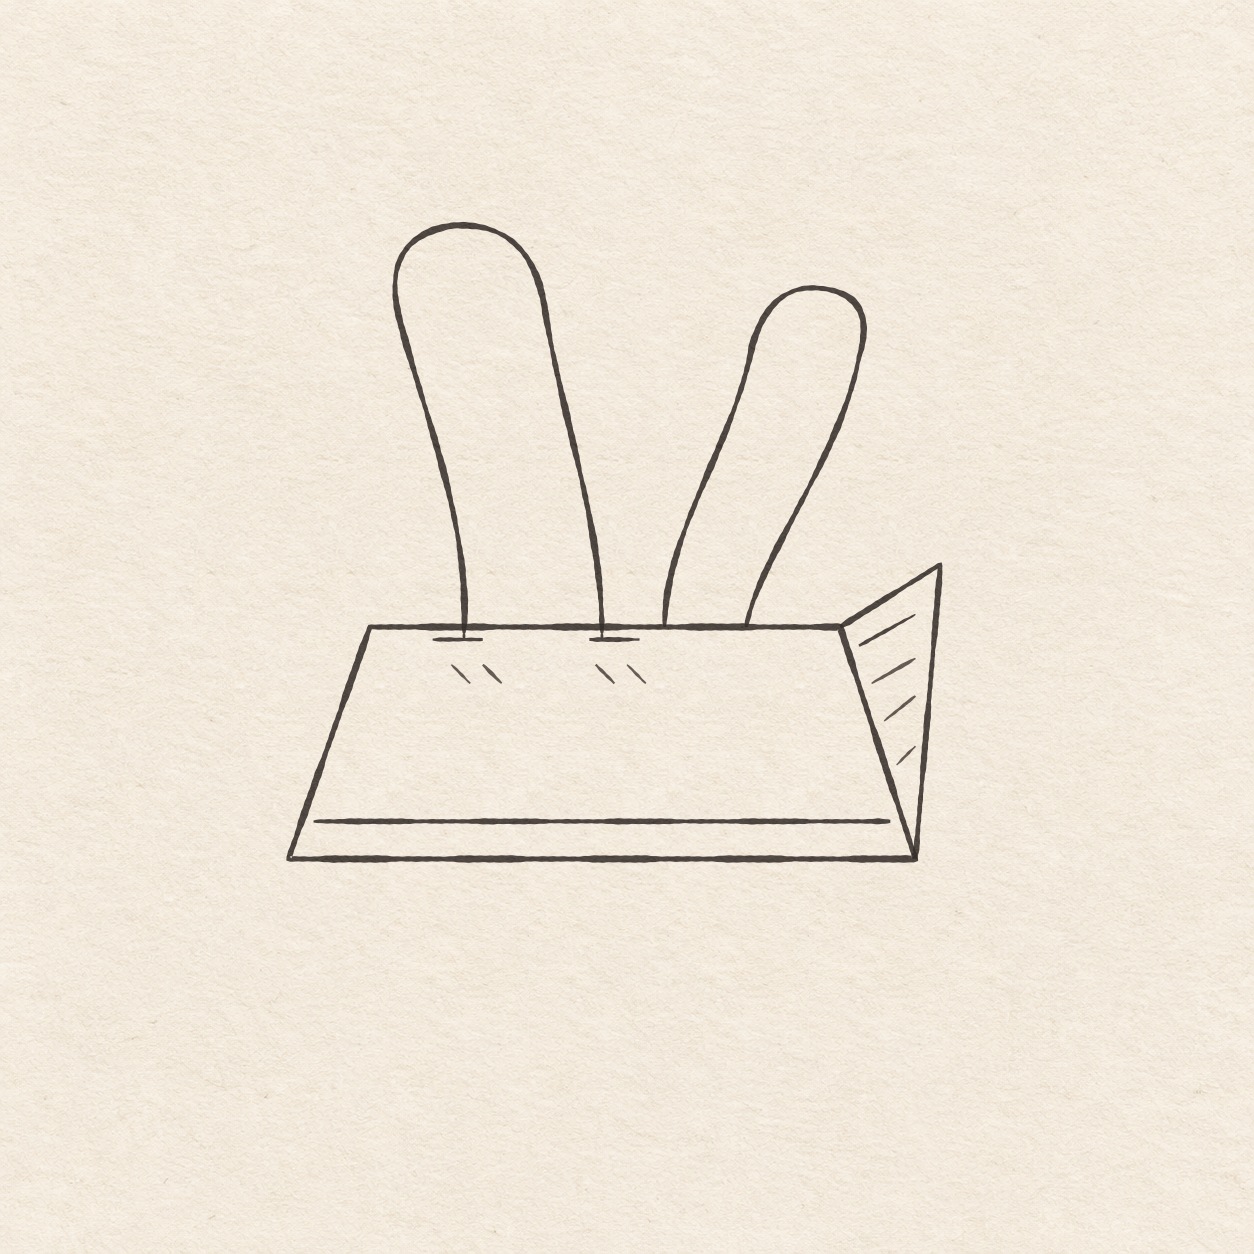
Sketch a binder clip with a folded side and two rounded wire handles. Set the four front corners first, then place the handle feet along the top edge.
Follow the drawing tutorial
Use a few measured pencil dots to draw a binder clip with two rounded handles, a folded side and short ink accents.
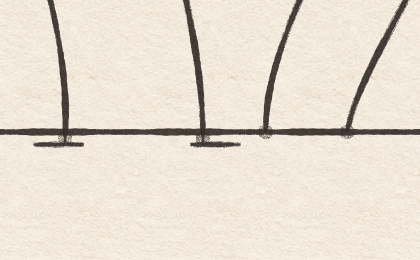
Start the 9-step tutorialA small thing to tryThe shorter handle stops at the top edge. The taller handle extends below it to two tabs.
Draw it, one step at a time
Draw a binder clip
Use a few measured pencil dots to draw a binder clip with two rounded handles, a folded side and short ink accents.
What you’ll need
- HB pencil
- Eraser
- Fine black pen
- Ruler
- Spare sheet with a square corner
- Drawing paper
Before you start
The example is about 8.3 cm wide and 8.1 cm tall. Choose where you want it on your drawing paper. Keep the pencil marks light so you can adjust and erase them.
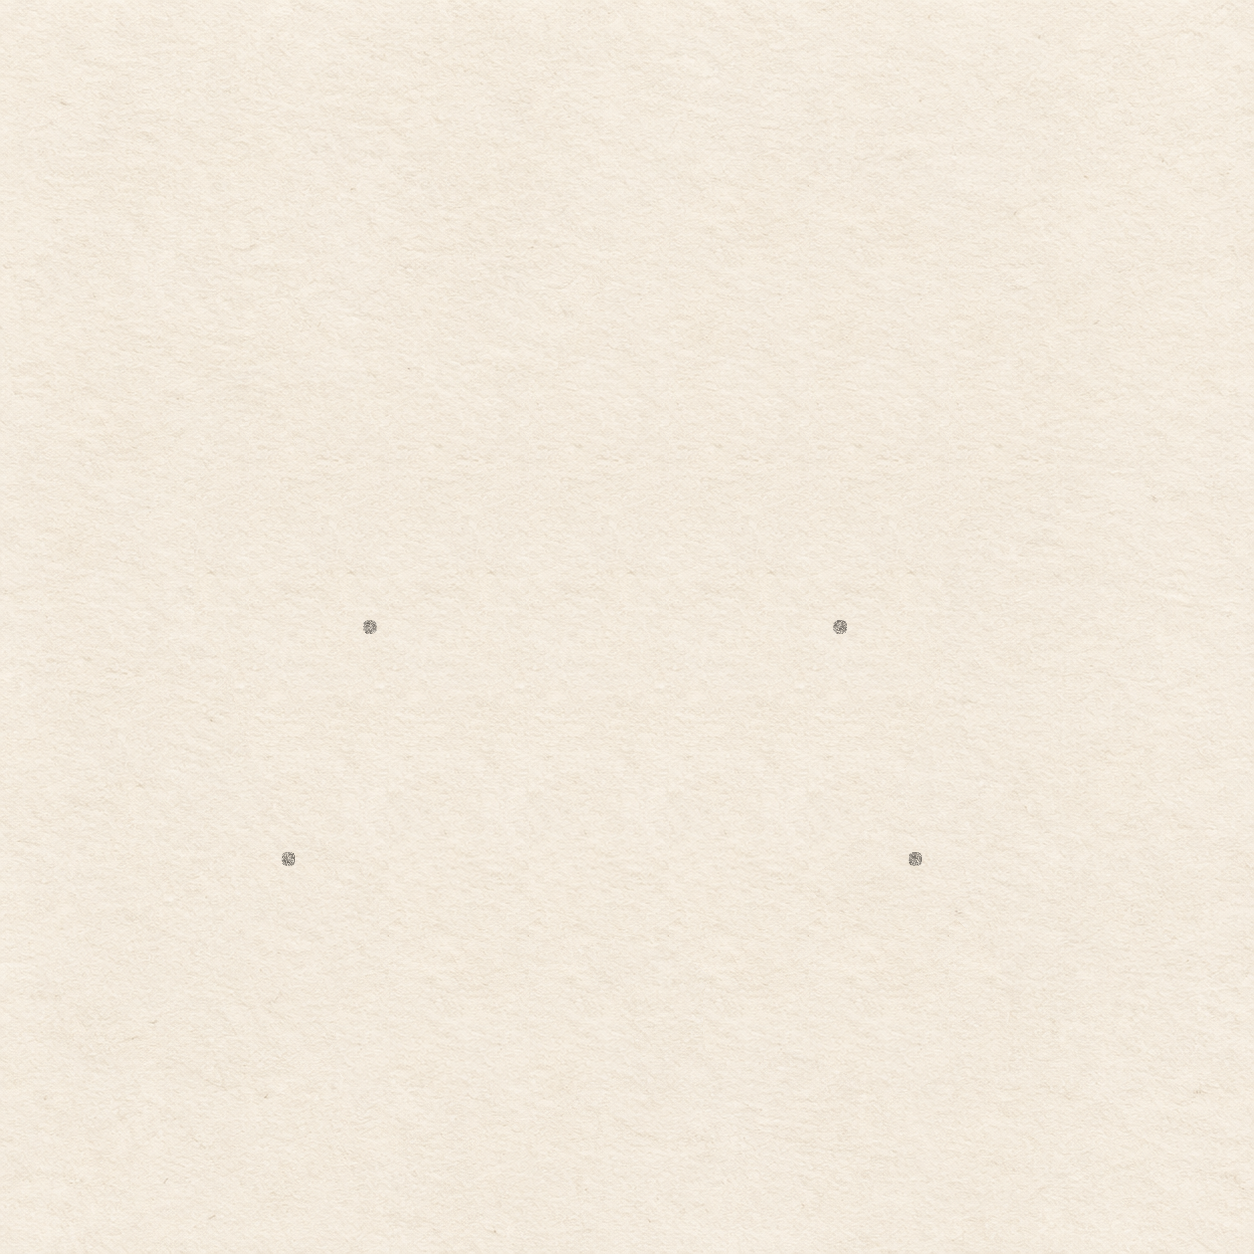
Drawing 1 — Set the width and height of the clipView larger PencilSet the width and height of the clip
Instructions for Drawing 1 — Set the width and height of the clip
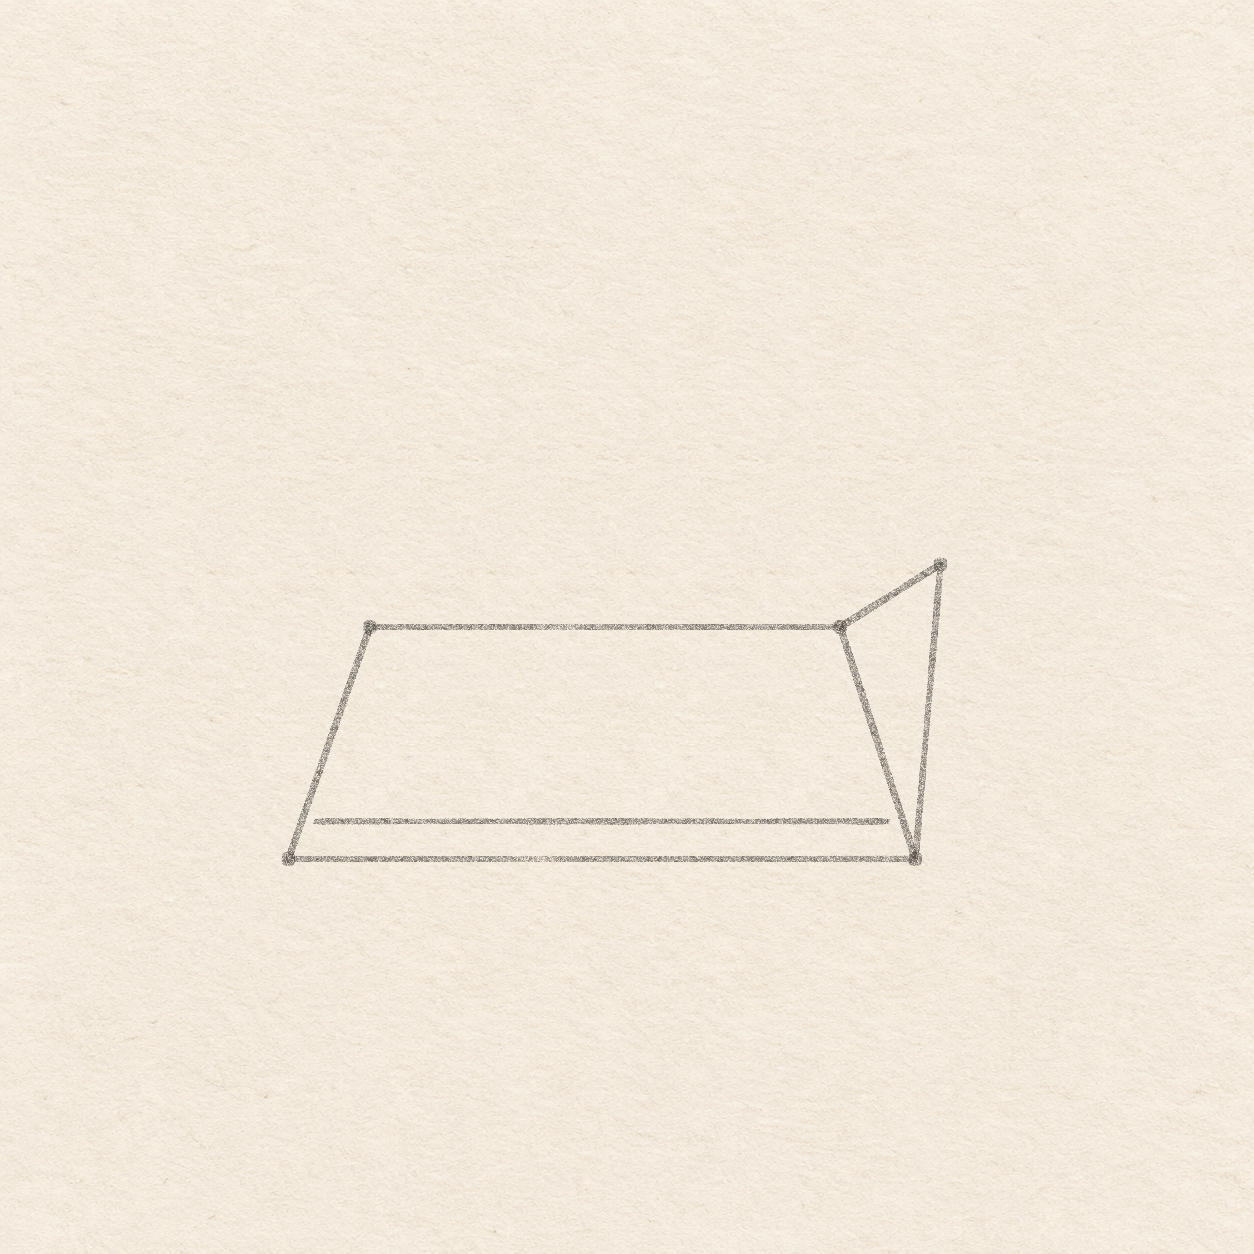
- Choose where the lower left corner will sit. Leave about 8.5 cm of clear paper above it and 8.5 cm to its right, with a small margin to its left and below. Mark the corner in pencil. Place the ruler through it, parallel to the bottom of your page. Mark a second dot 8 cm to the right. The dots set the bottom edge of the clip. Move both together now if you want the drawing in a different spot.
- Keep the ruler across the two bottom dots. Slide a square corner of a spare sheet to 1 cm inward from the left dot, keeping one edge against the ruler. Measure 3 cm up the sheet’s other edge and mark a light dot. Repeat 1 cm inward from the right dot. The two upper dots should be level with each other. Measure from the bottom again if one is higher.

Drawing 2 — Draw the front face and folded sideView larger PencilDraw the front face and folded side
Instructions for Drawing 2 — Draw the front face and folded side
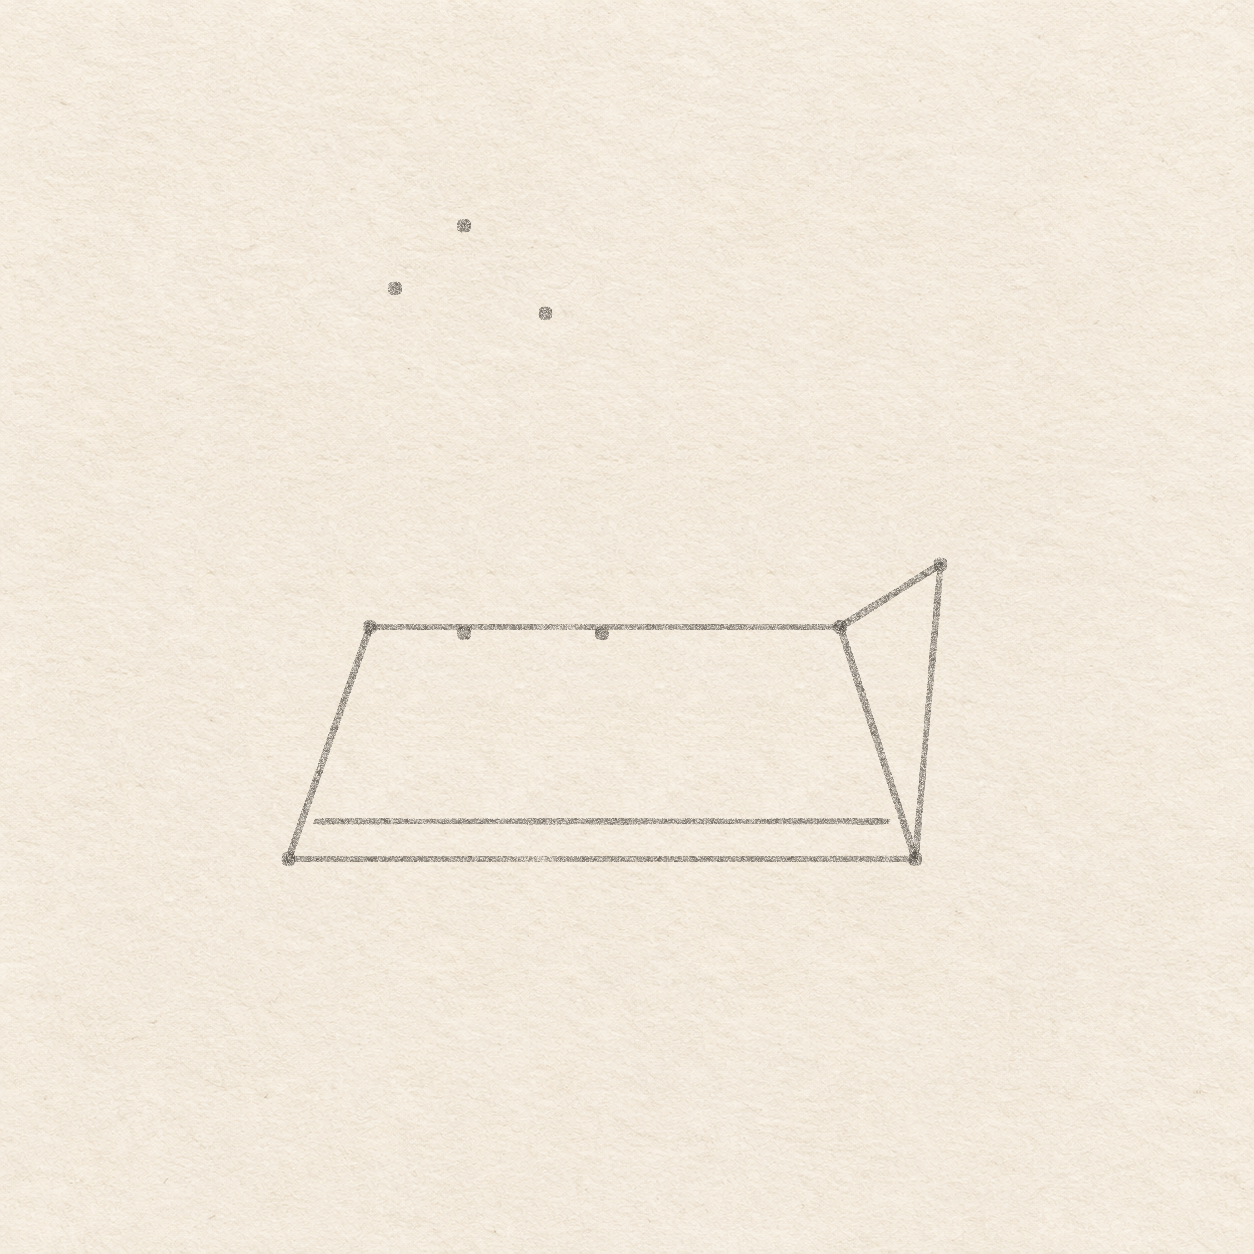
- Connect the four dots with straight pencil lines. Join the bottom dots, then go up to the upper right dot, across to the upper left dot and back to the first corner. Keep the top edge shorter than the bottom. Each side slopes inward as it rises.
- Start at the lower right corner. Hold the ruler along the bottom edge and measure 3 mm beyond that corner. Set the spare sheet’s square corner at that spot with one edge along the ruler. Measure 3.8 cm straight up the other edge and put a pencil dot there. The new dot is above the top edge and just to the right of the bottom corner.
- Draw a straight line from the upper right corner to the new dot. Draw another from the dot down to the lower right corner. The existing slanted edge closes the narrow triangle. Leave that shared edge as a single line.
- Start just inside the left slanted edge, 5 mm above the bottom. Follow the bottom edge freehand, keeping the same height until just inside the right slanted edge. Keep the line parallel to the bottom edge and separate from both sides.

Drawing 3 — Place the taller left handleView larger PencilPlace the taller left handle
Instructions for Drawing 3 — Place the taller left handle
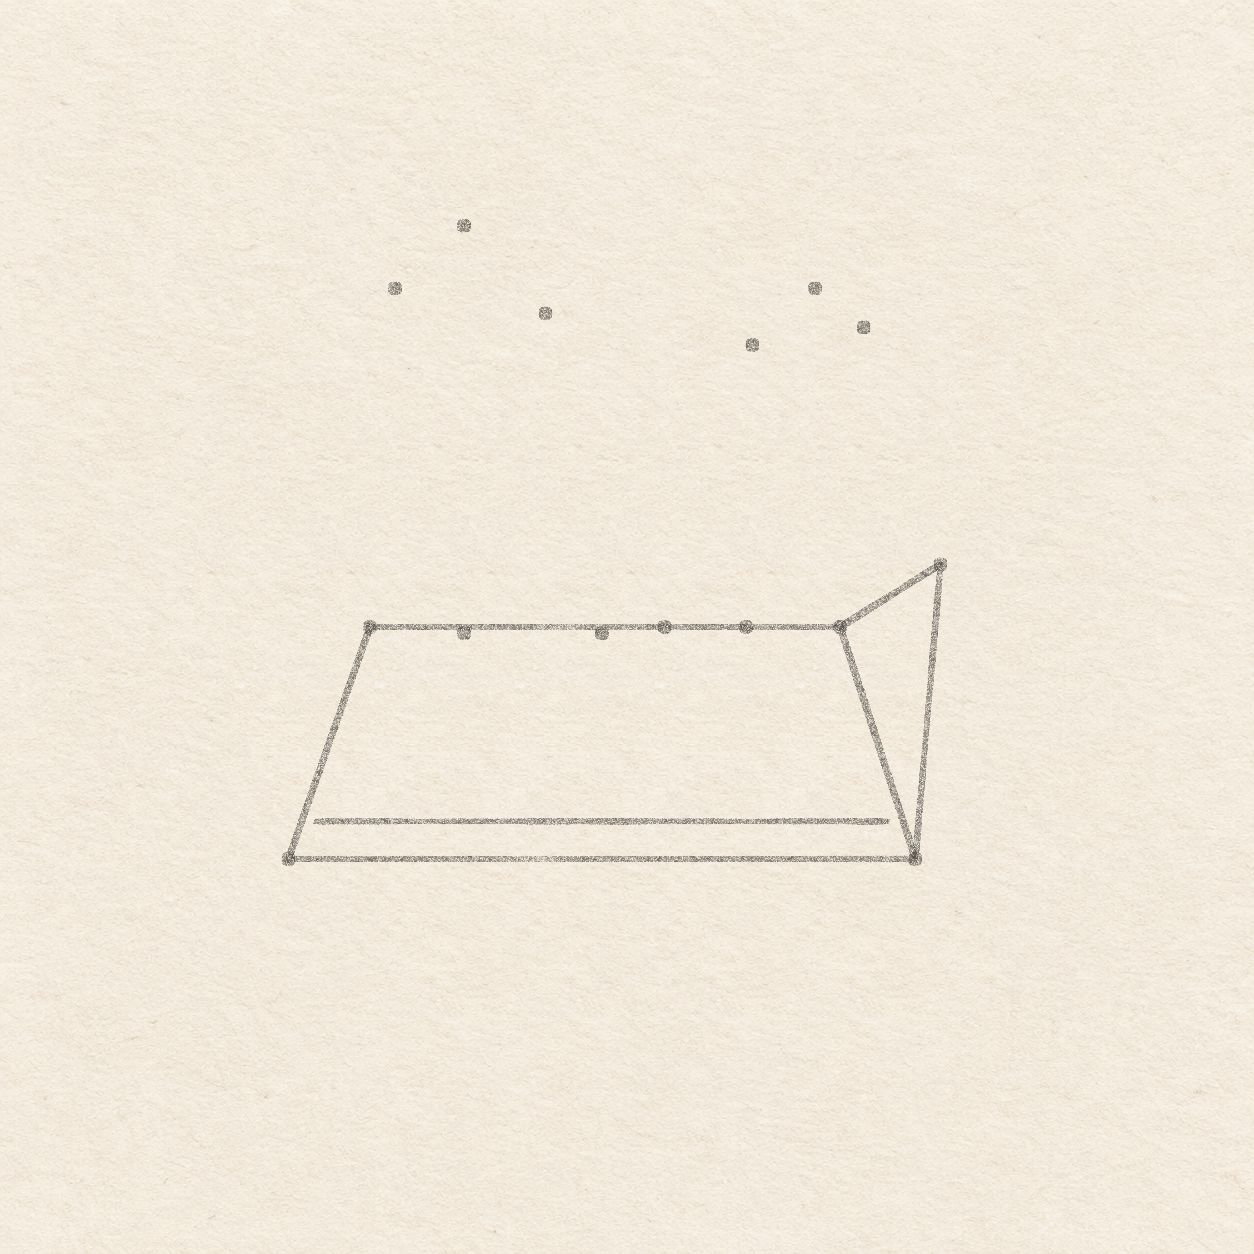
- Start at the left end of the top edge. Measure 1.2 cm and 3 cm to the right along it. At each spot, put a light dot just under the line, about 1 mm down. The two feet are just inside the face. The top edge stays visible between them.
- Hold the ruler along the top edge. Slide the spare sheet’s square corner to each sideways measurement on the ruler. Measure up the adjoining edge. From the left foot, measure about 9 mm left and 4.3 cm above the top edge for the left turn. Directly above that same foot, mark the highest point 5.1 cm above the top edge. From the right foot, measure about 7 mm left and 4 cm above the top edge for the right turn. The middle dot is the highest. Correct any misplaced dot before drawing the curve.

Drawing 4 — Place the shorter right handleView larger PencilPlace the shorter right handle
Instructions for Drawing 4 — Place the shorter right handle
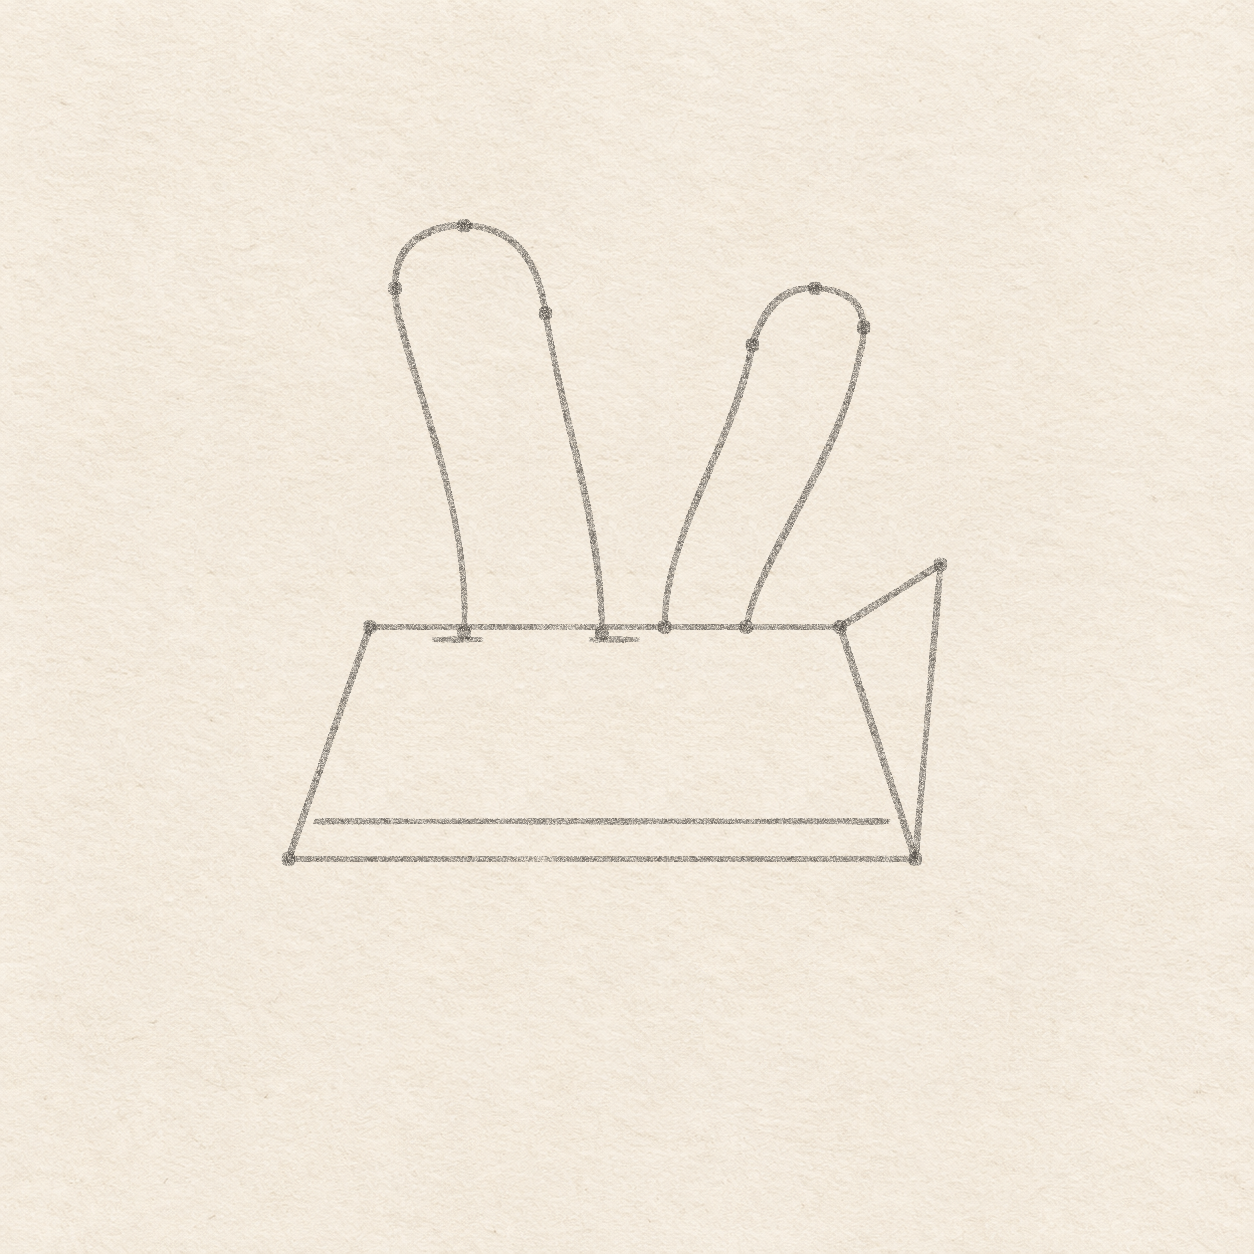
- From the right end of the top edge, measure 2.2 cm and 1.2 cm to the left. Put both pencil dots on the top edge itself. Leave the gap between the two handles clear. The right handle will stop at the edge.
- Slide the spare sheet’s square corner along the ruler on the top edge again. Measure up the adjoining edge. From the rightmost foot, measure about 1 mm right and 3.6 cm up for the left turn. From that foot, measure 9 mm right and 4.3 cm up for the highest point, then 1.5 cm right and 3.8 cm up for the right turn. All three upper dots sit to the right of the feet. The highest is about 8 mm below the tallest left dot.

Drawing 5 — Curve the two handles and add the tabsView larger PencilCurve the two handles and add the tabs
Instructions for Drawing 5 — Curve the two handles and add the tabs
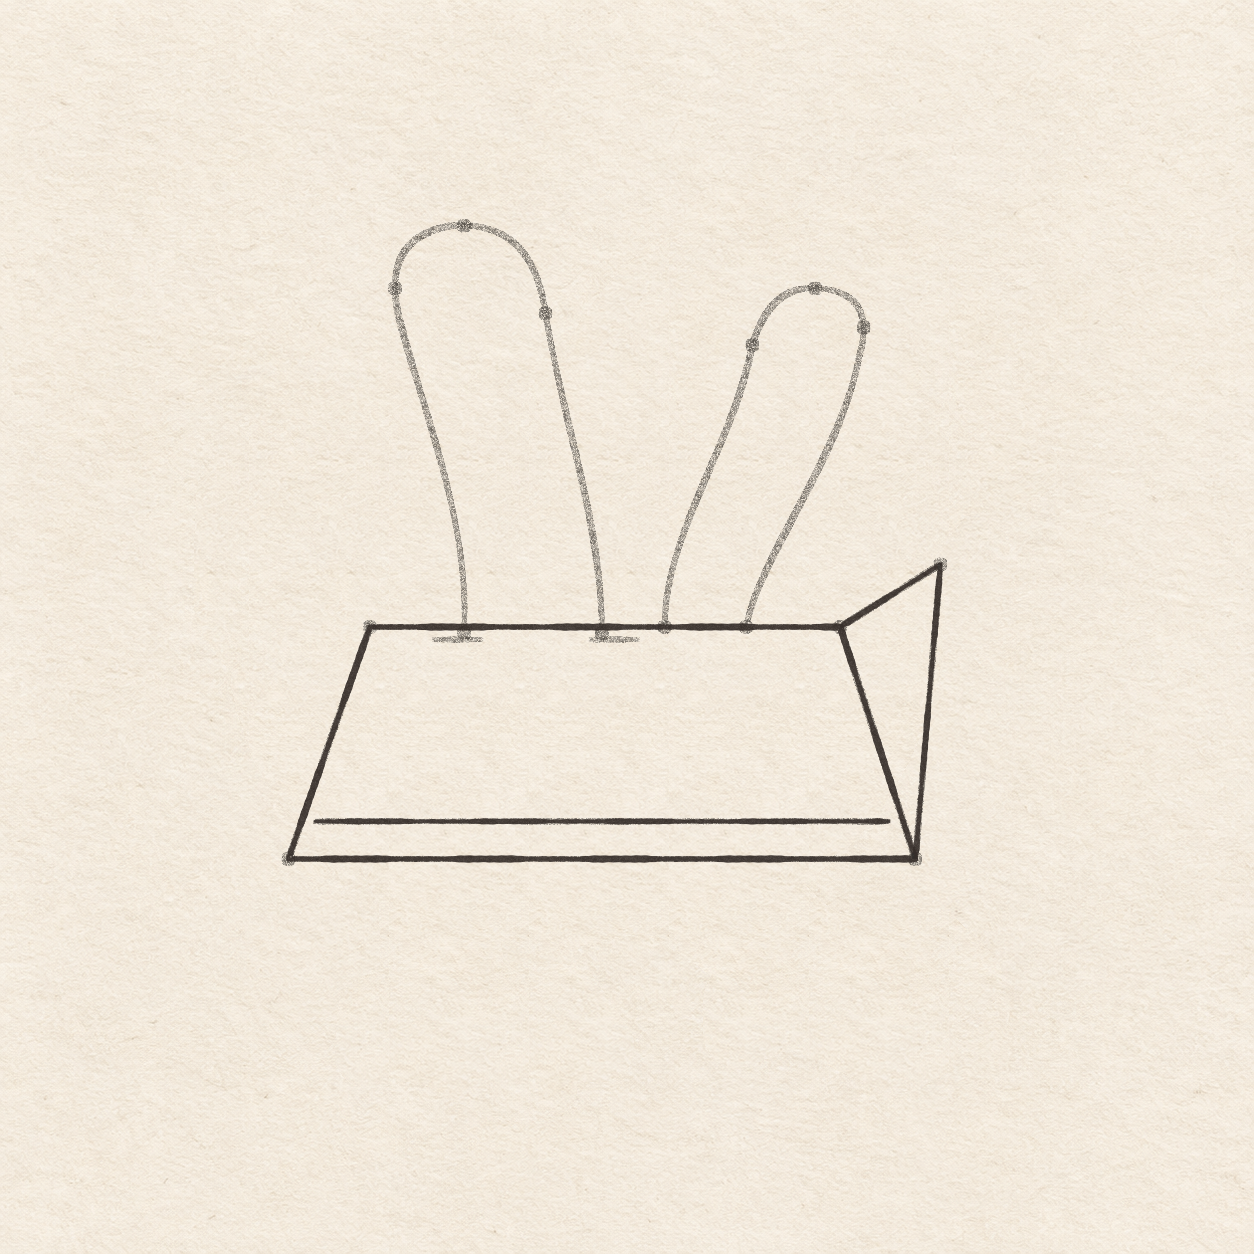
- Start at the left foot under the top edge. Draw upward freehand, nearly upright at first, then lean left toward the left turn dot. Round over the highest dot and through the right turn dot. Sweep down and slightly right to the other foot. Round the top as one curve. If it looks pointed, redraw only the short arc between the turn dots.
- Start at the left dot of the smaller handle. Sweep up and right freehand to its left turn dot. Round through its highest dot and right turn dot, then sweep down and left to the right foot. Stop both ends on the top edge and leave the left handle separate. If its top looks pointed, smooth the curve in pencil between the turn dots.
- At the end of each tall handle foot, draw a level dash freehand, about 6 mm long. Let the dash touch the foot and extend to both sides. Leave the shorter handle as it is. Keep the two dashes separate from each other and leave clear paper between the dashes and the top edge on either side of each foot.

Drawing 6 — Ink the front face and folded sideView larger FinelinerInk the front face and folded side
Instructions for Drawing 6 — Ink the front face and folded side
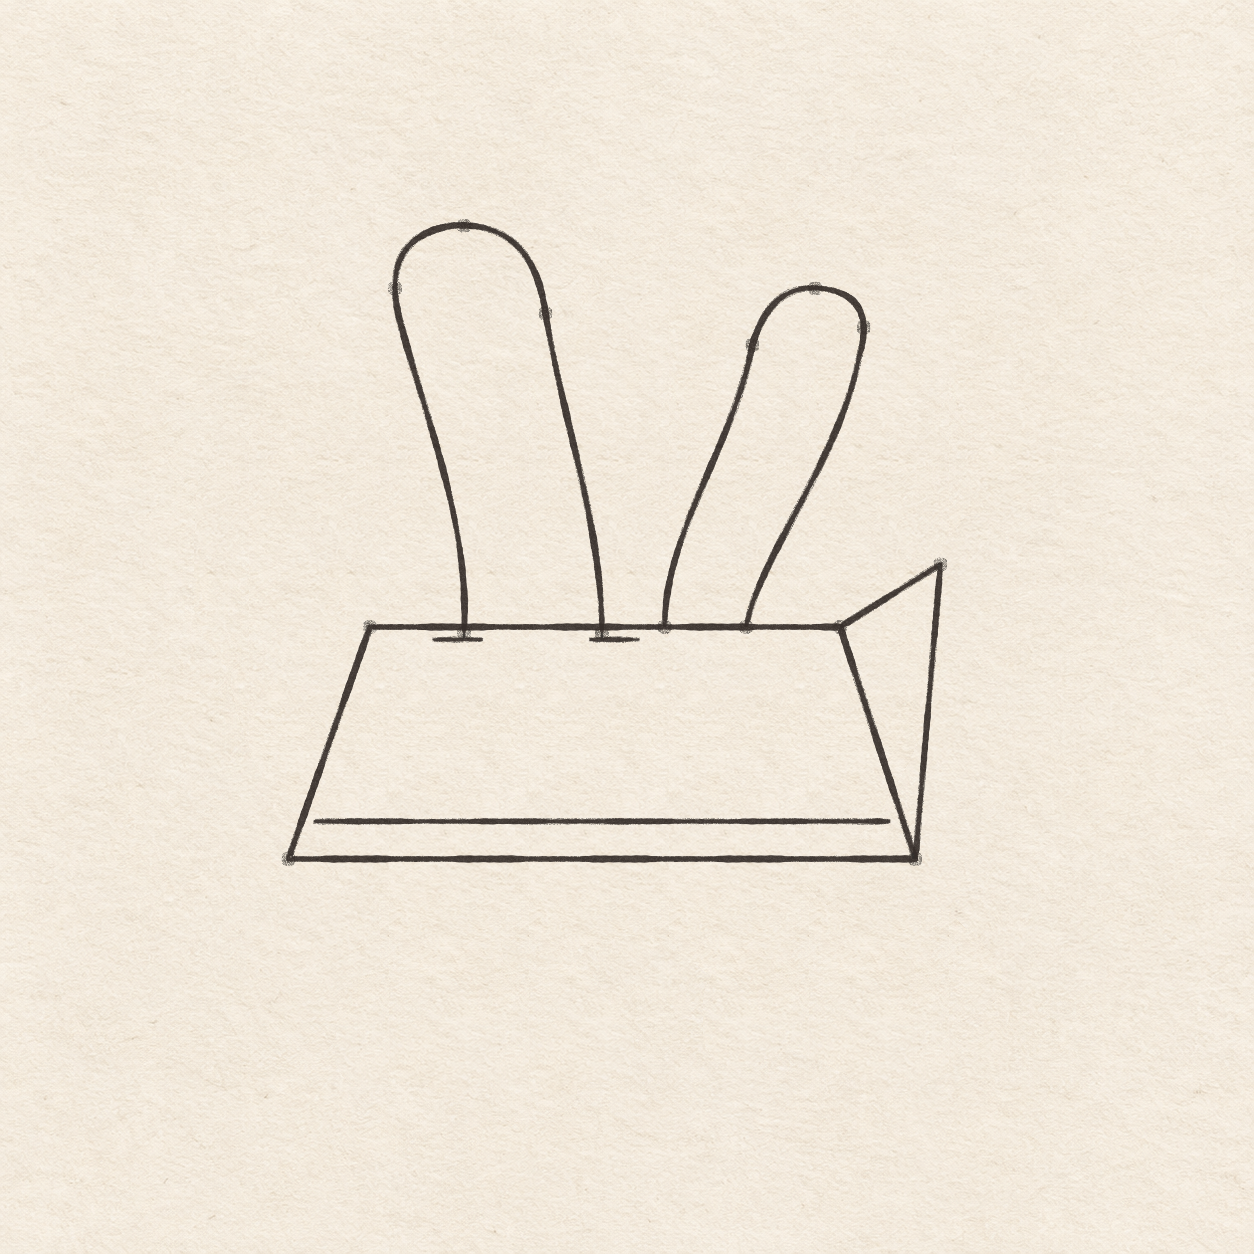
- Trace the four front edges with a fine black pen. Make the top edge one continuous line under the handles. Keep the pencil handles and dots for the next drawing.
- Trace the two outer edges of the folded side. Leave its shared edge alone. Trace the inset line above the bottom, stopping short of the sides. Leave the inside of the folded side empty for now.

Drawing 7 — Ink the two handlesView larger 
Detail 7.1 — Where the two handles stopThe taller handle reaches the two tabs below the top edge. The shorter handle stops at the top edge. FinelinerInk the two handles
Instructions for Drawing 7 — Ink the two handles
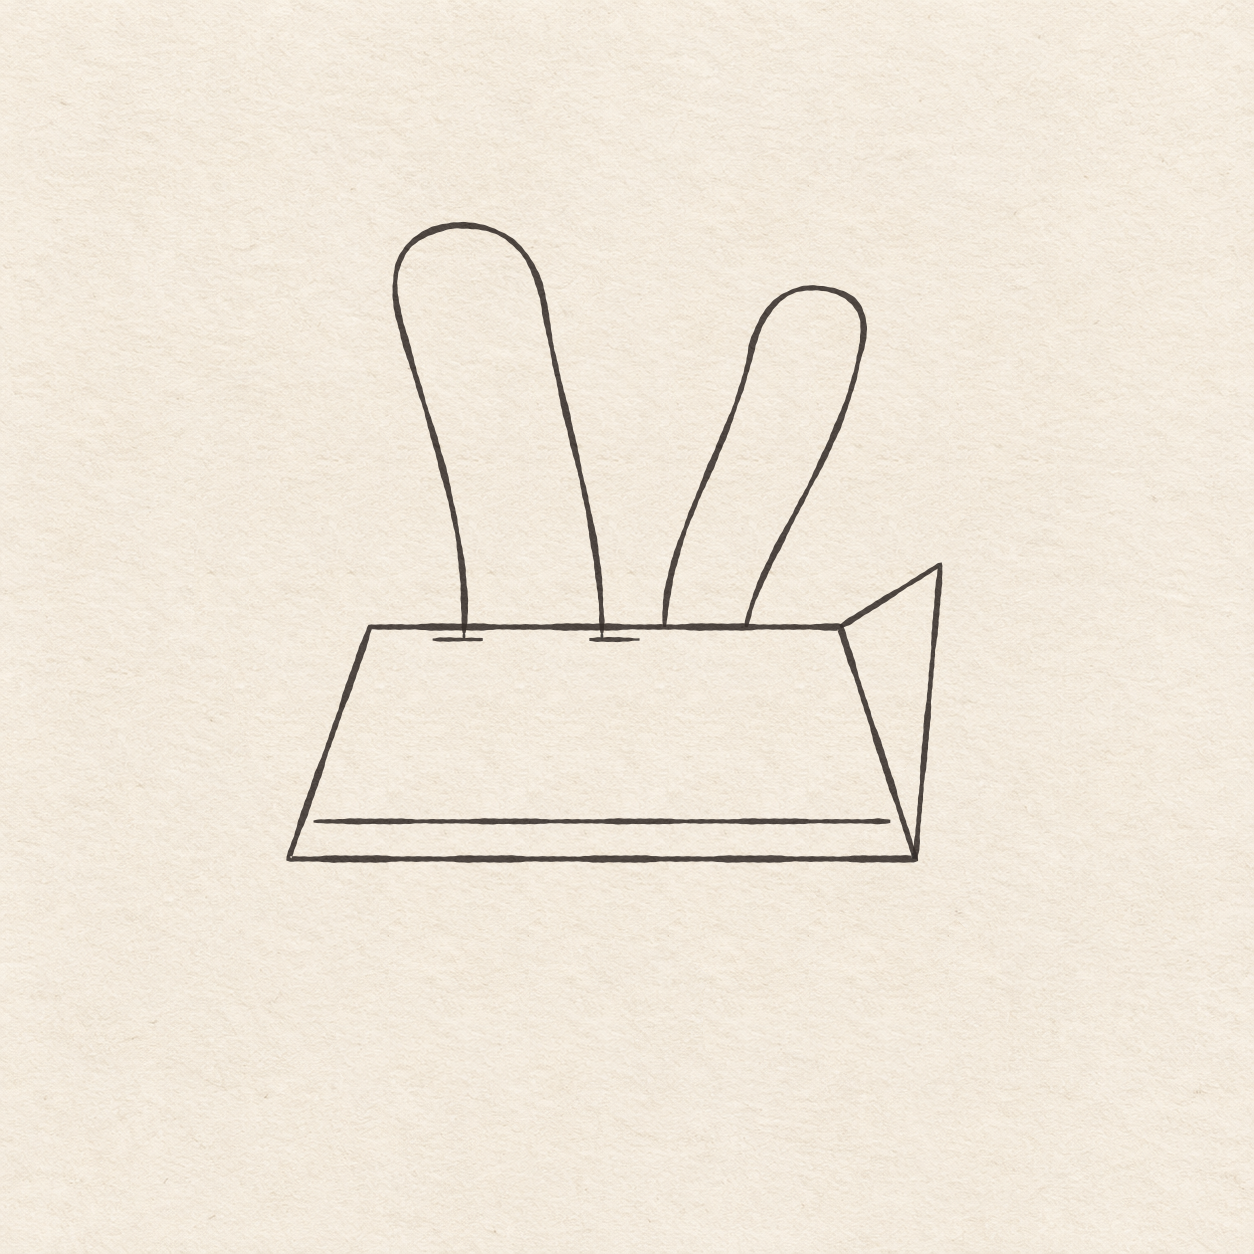
- Trace the tall handle from foot to foot. Let each end cross just below the inked top edge. Trace the two little tabs. Each tab touches the tip of its own foot. Leave clear paper above each tab on both sides of the foot.
- Trace the smaller handle from foot to foot. Stop both ends at the inked top edge. Keep the two handles apart and leave the placement dots in pencil.

Drawing 8 — Erase the pencil after the ink driesView larger CleanupErase the pencil after the ink dries
Instructions for Drawing 8 — Erase the pencil after the ink dries
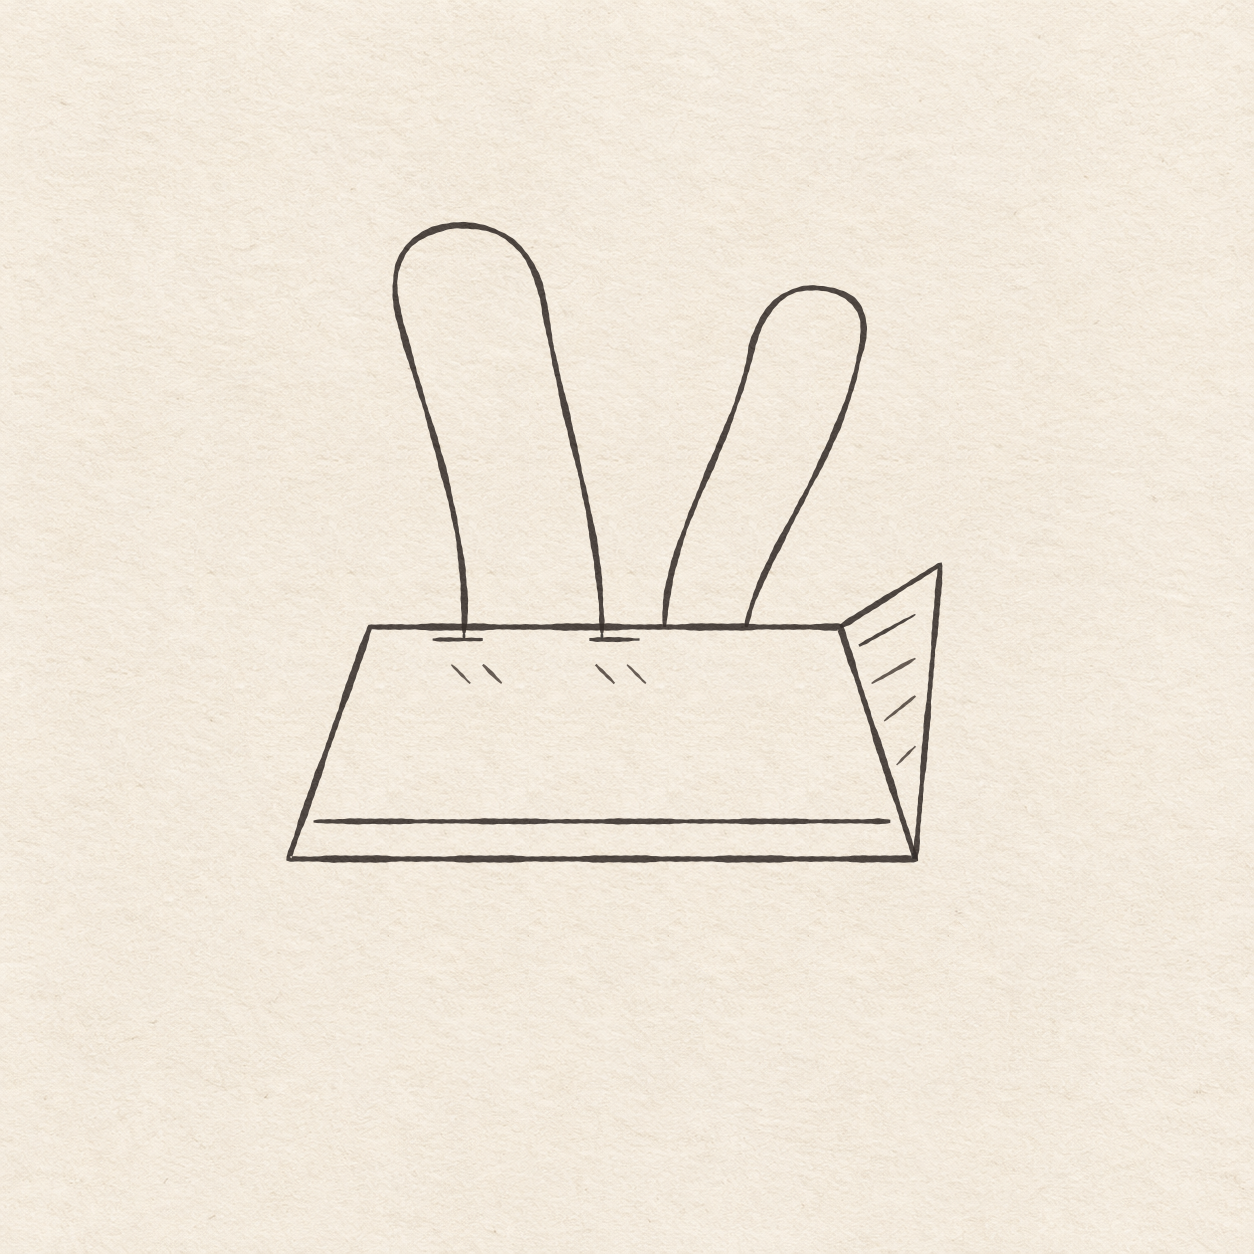
- Fill a small patch on a scrap of the same paper with the same pen. Rub the patch gently with your eraser. If it smears, wait and test again. Once the patch stops smearing, erase the placement dots and any pencil showing beside the dry ink.

Drawing 9 — Shade the fold and add four small accentsView larger FinelinerShade the fold and add four small accents
Instructions for Drawing 9 — Shade the fold and add four small accents
- Inside the folded side, draw four short freehand lines slanting up to the right, roughly parallel to its top edge. Start the first just below the top edge. Space the rest down the fold, making the lowest one shortest. Leave about 1 mm of paper at both ends. Keep a little paper between the strokes.
- Start about 3 mm below the first tab, then draw two tiny freehand dashes slanting down to the right. Repeat under the other tab. Make each dash only a few millimeters long. Leave space between the dashes and keep the rest of the face open.
If something looks off
If a handle top looks pointed
In pencil, smooth the arc between the upper turn dots. Keep the peak and both feet in place.