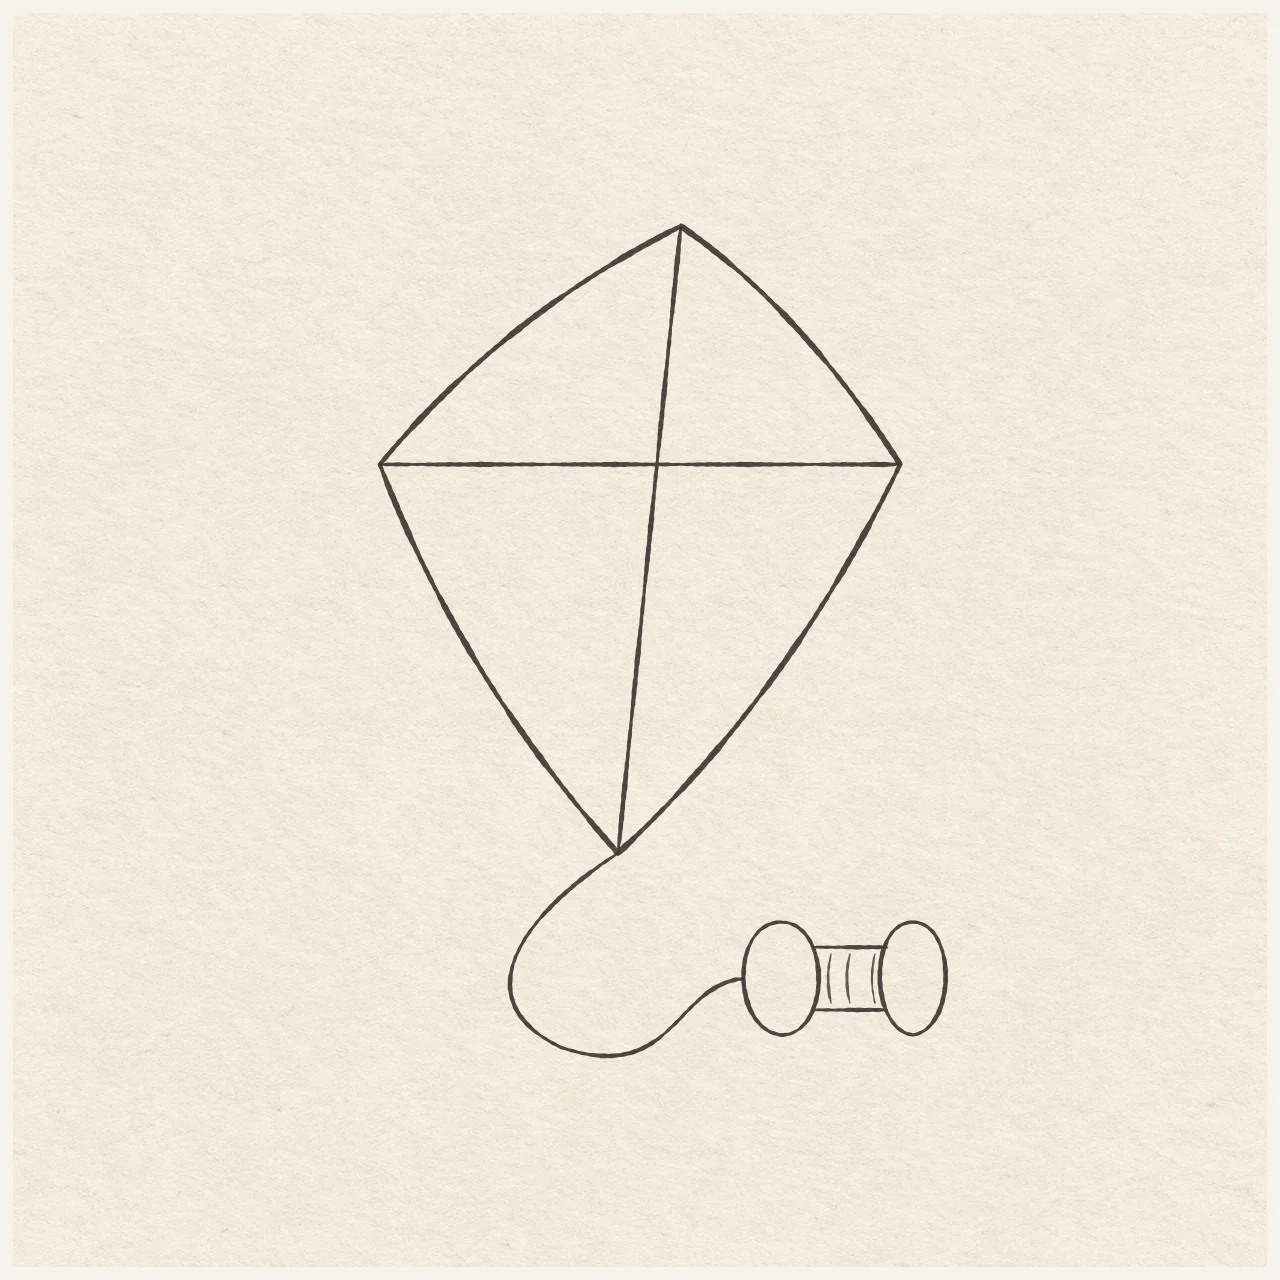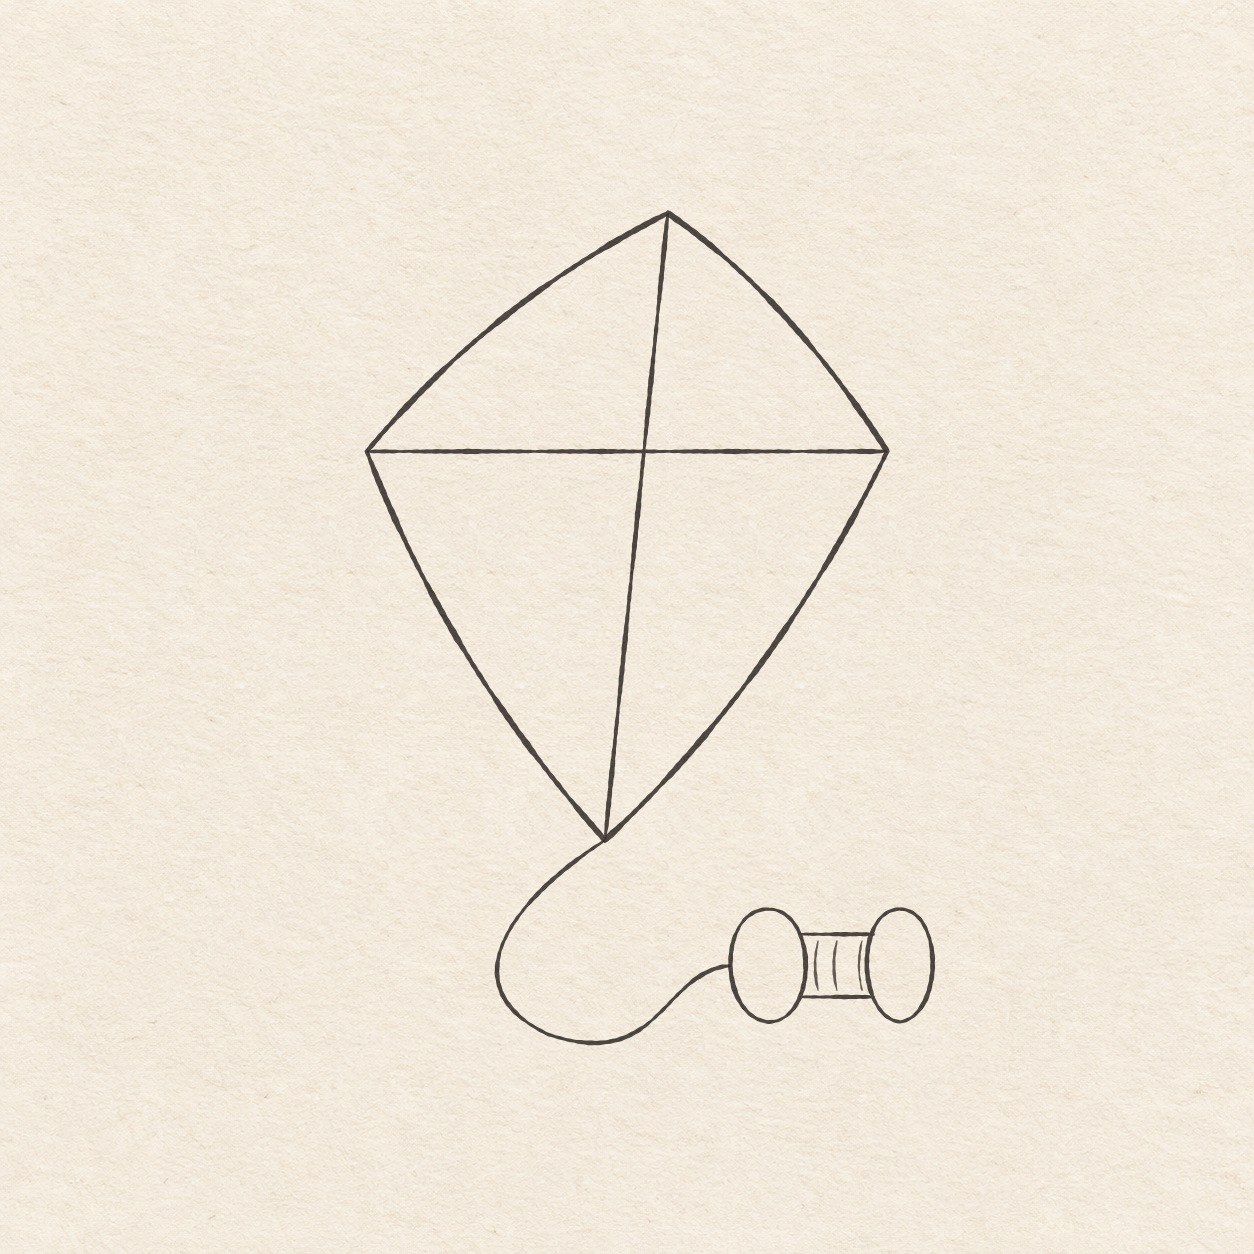
A softly curved diamond kite and a two-ended string reel, linked by a loose line in black fineliner.
Drawing referenceAbout reference use

Kite and reel

Place the slanted long spar and soft sail curves, then draw the reel and the loose line connecting them.

Everyday objectsEasyFinelinerReference practice: about 16 min
Save reference

Follow the drawing tutorial

Place the slanted long spar and soft sail curves, then draw the reel and the loose line connecting them.

Start the 8-step tutorial

A small thing to tryRule the two spars before drawing the sail. Keep the little rails between the two upright reel edges.

Draw it, one step at a time

Draw a kite and its reel

Place the slanted long spar and soft sail curves, then draw the reel and the loose line connecting them.

8 illustrated steps Full tutorial: about 31 minutes, at your pace

What you’ll need

  • HB pencil
  • Eraser
  • Fine black pen
  • Ruler
  • Spare sheet with a square corner
  • Drawing paper

Before you start

The kite, reel and line together are about 11 cm tall. Choose the kite crossing first and leave extra room below for the reel and line.
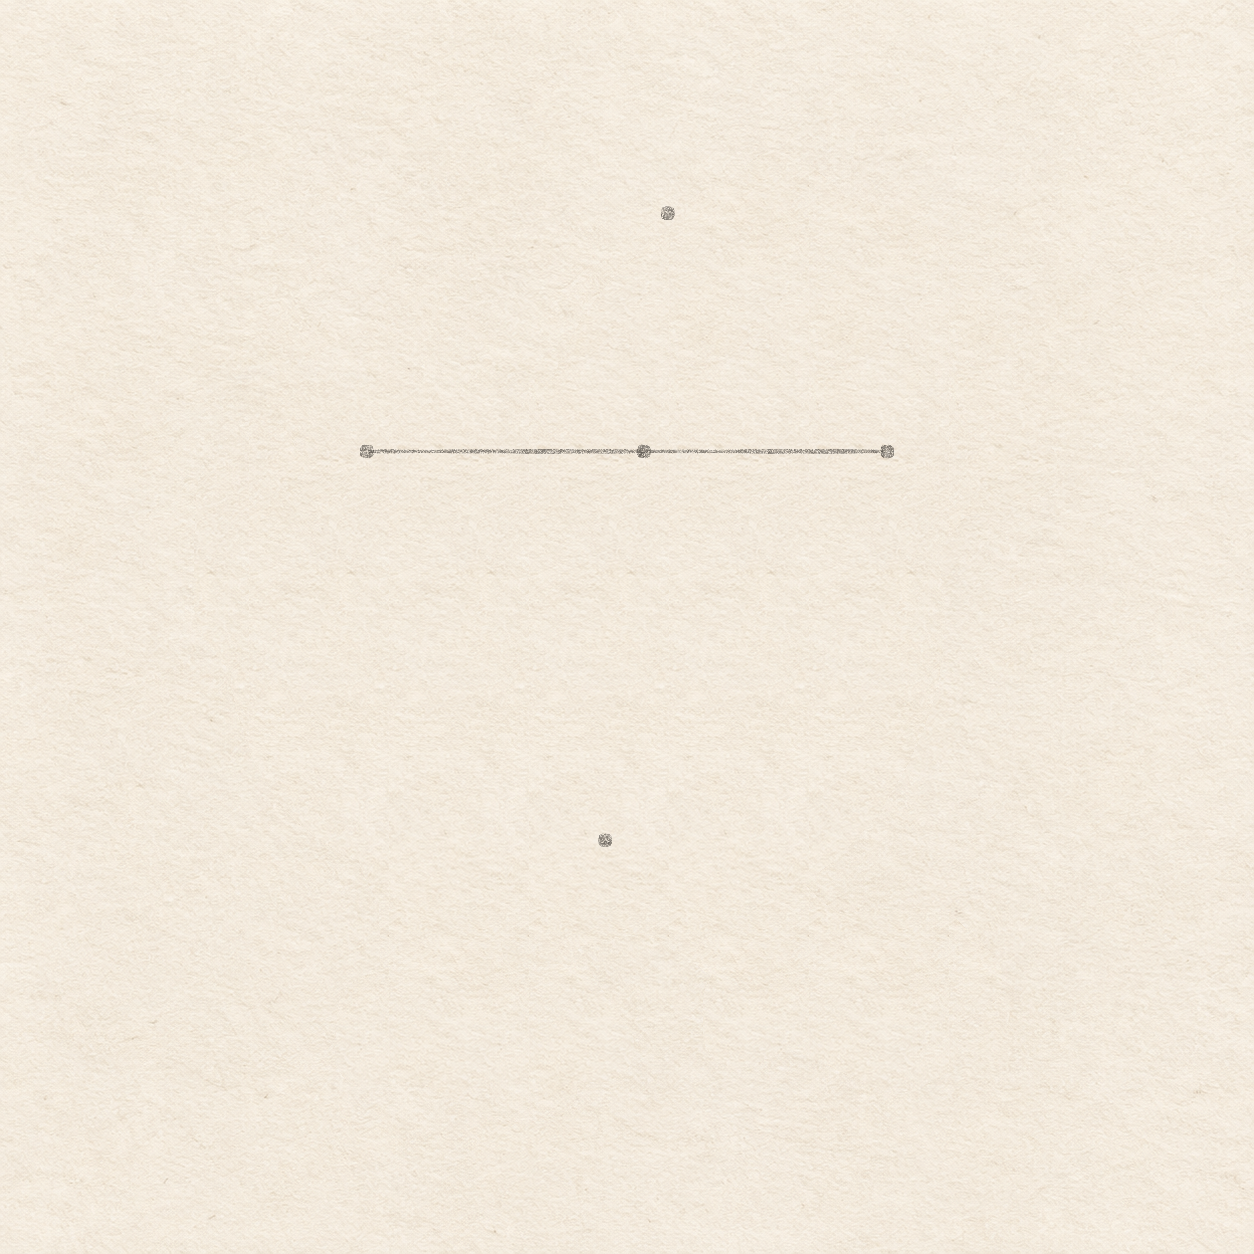
  1. A faint level connects the left, center and right dots. The top and bottom dots sit slightly to opposite sides of the center.
    Drawing 1 — Place the four spar endsView larger
    Pencil

    Place the four spar ends

    Instructions for Drawing 1 — Place the four spar ends
    1. Choose where the kite’s two spars cross. Make a small dot and leave about 4 cm up, 8 cm down and 4 cm to either side. Move the dot now if the reel or the line below would crowd the page.
    2. Rule a faint level line through the crossing, 3.5 cm to the left and 3.1 cm to the right. Keep the line level. Its ends are the wide kite points.
    3. Mark a dot at each end of the level line. From the crossing, measure 3 mm right along the line. Put a spare sheet edge along the line with its square corner there and mark 3 cm straight up. Move the square corner to 5 mm left of the crossing and mark 5 cm straight down. These are the top and bottom dots. Hold the ruler through the top and bottom dots. It should pass through the crossing and lean a little to the right at the top.
    Next step
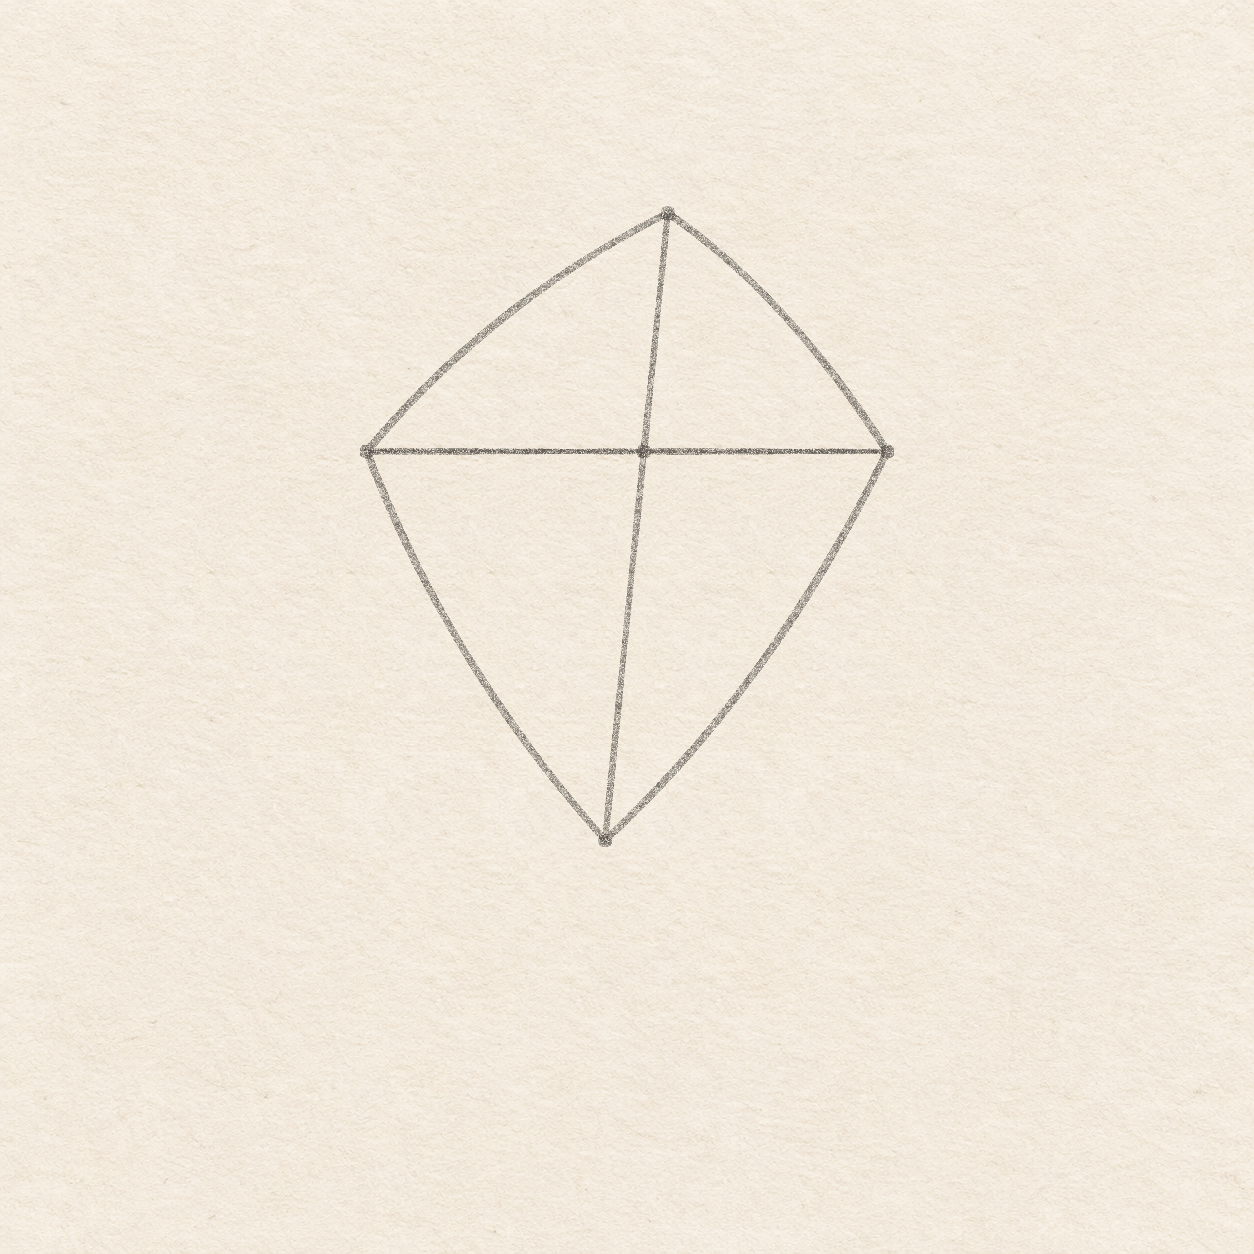
  2. Four softly bowed pencil edges meet all four spar tips. Two straight pencil lines cross inside the kite.
    Drawing 2 — Draw the spars and rounded sailView larger
    Pencil

    Draw the spars and rounded sail

    Instructions for Drawing 2 — Draw the spars and rounded sail
    1. Rule from the top dot through the crossing to the bottom dot. Strengthen the light level between its left and right dots. Keep both lines between their four endpoints and check that the long line crosses the level at the first dot.
    2. Start at the top. Curve freehand out toward the right to the right tip, then down to the bottom tip. Continue through the left tip and back to the top. Between each pair of tips, bow gently outside the straight route, by about 3 mm at the bottom sides and about 1 to 2 mm at the upper sides. Every curve should end at its spar tip. Lift and redraw a curve if it bows into the sail.
    Next step
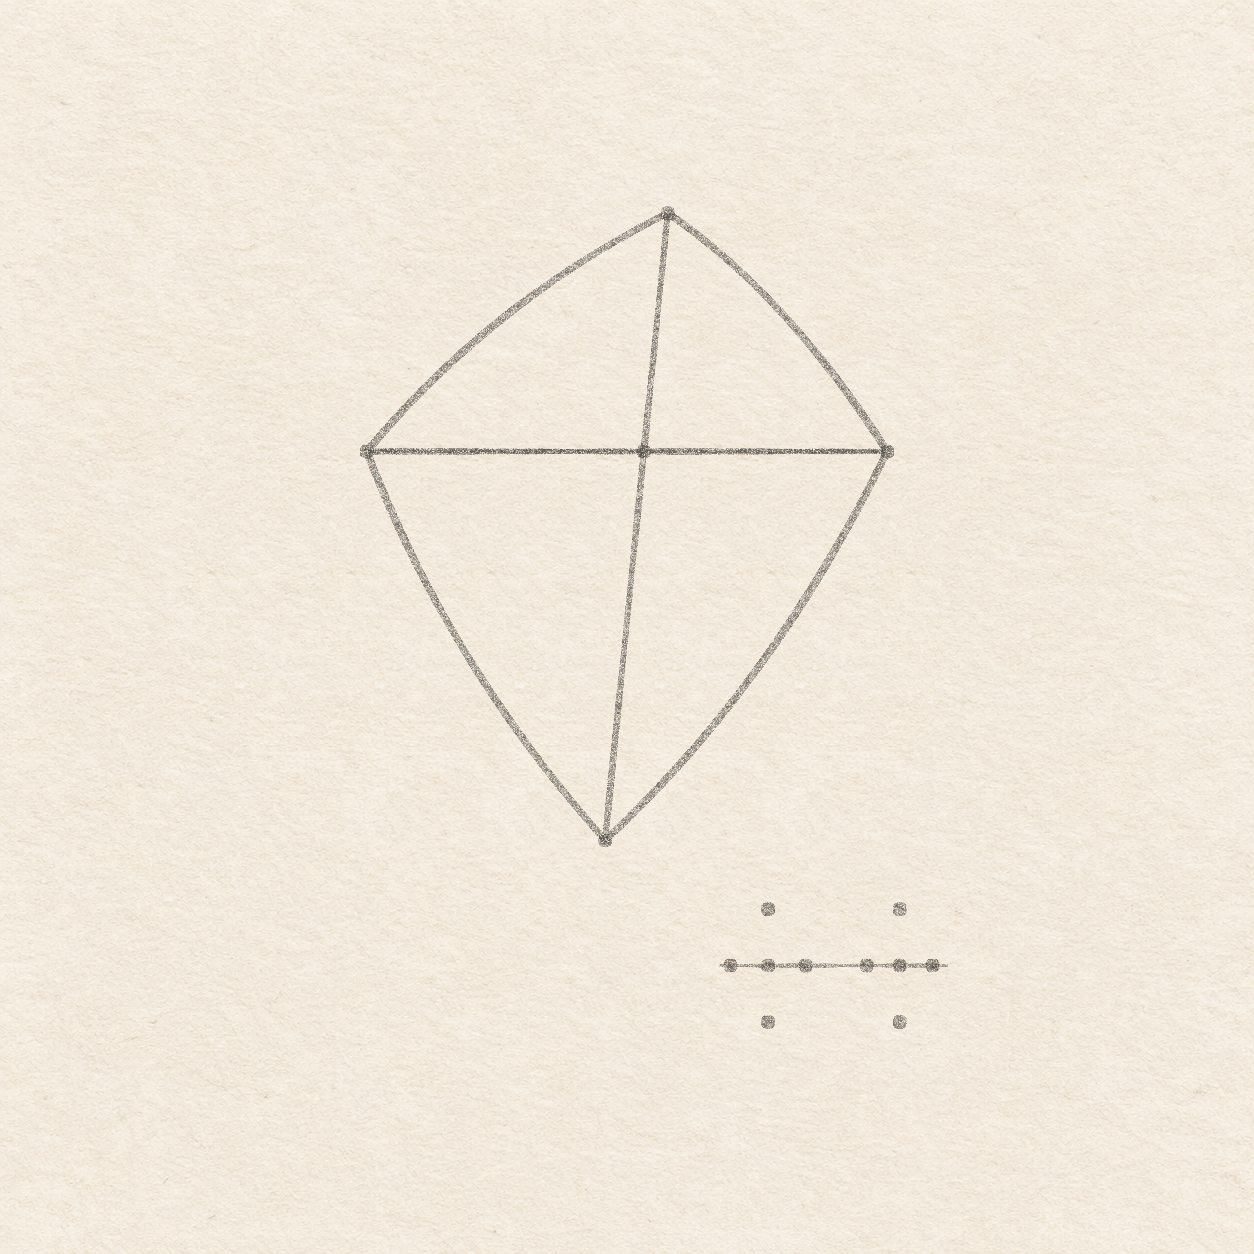
  3. A faint short level connects two reel center dots. Four pencil dots around each center bound the narrow reel ends.
    Drawing 3 — Mark the small reel below the kiteView larger
    Pencil

    Mark the small reel below the kite

    Instructions for Drawing 3 — Mark the small reel below the kite
    1. Hold the ruler level through the bottom sail tip, parallel to the short spar. Measure 2.1 cm to the right. Place the square corner at that spot and mark the left reel center 1.6 cm down. Move the square corner to 3.8 cm right of the same sail tip and mark the second center 1.6 cm down. Hold the ruler across the two dots and check they are level and about 1.7 cm apart.
    2. Rule a faint level line through both centers, about 6 mm beyond each dot. Place one edge of your spare sheet along it for the next measurements. Leave the line in faint pencil so it can be erased once the reel is inked.
    3. At each center dot, set the square corner against the short line and mark a dot about 7 mm above and another 7 mm below. At the left center mark the side dots about 5 mm outward on both sides along the faint line. Use about 4 mm each side of the right center. Check that the two oval ends are tall, separate and sit at the same heights.
    Next step
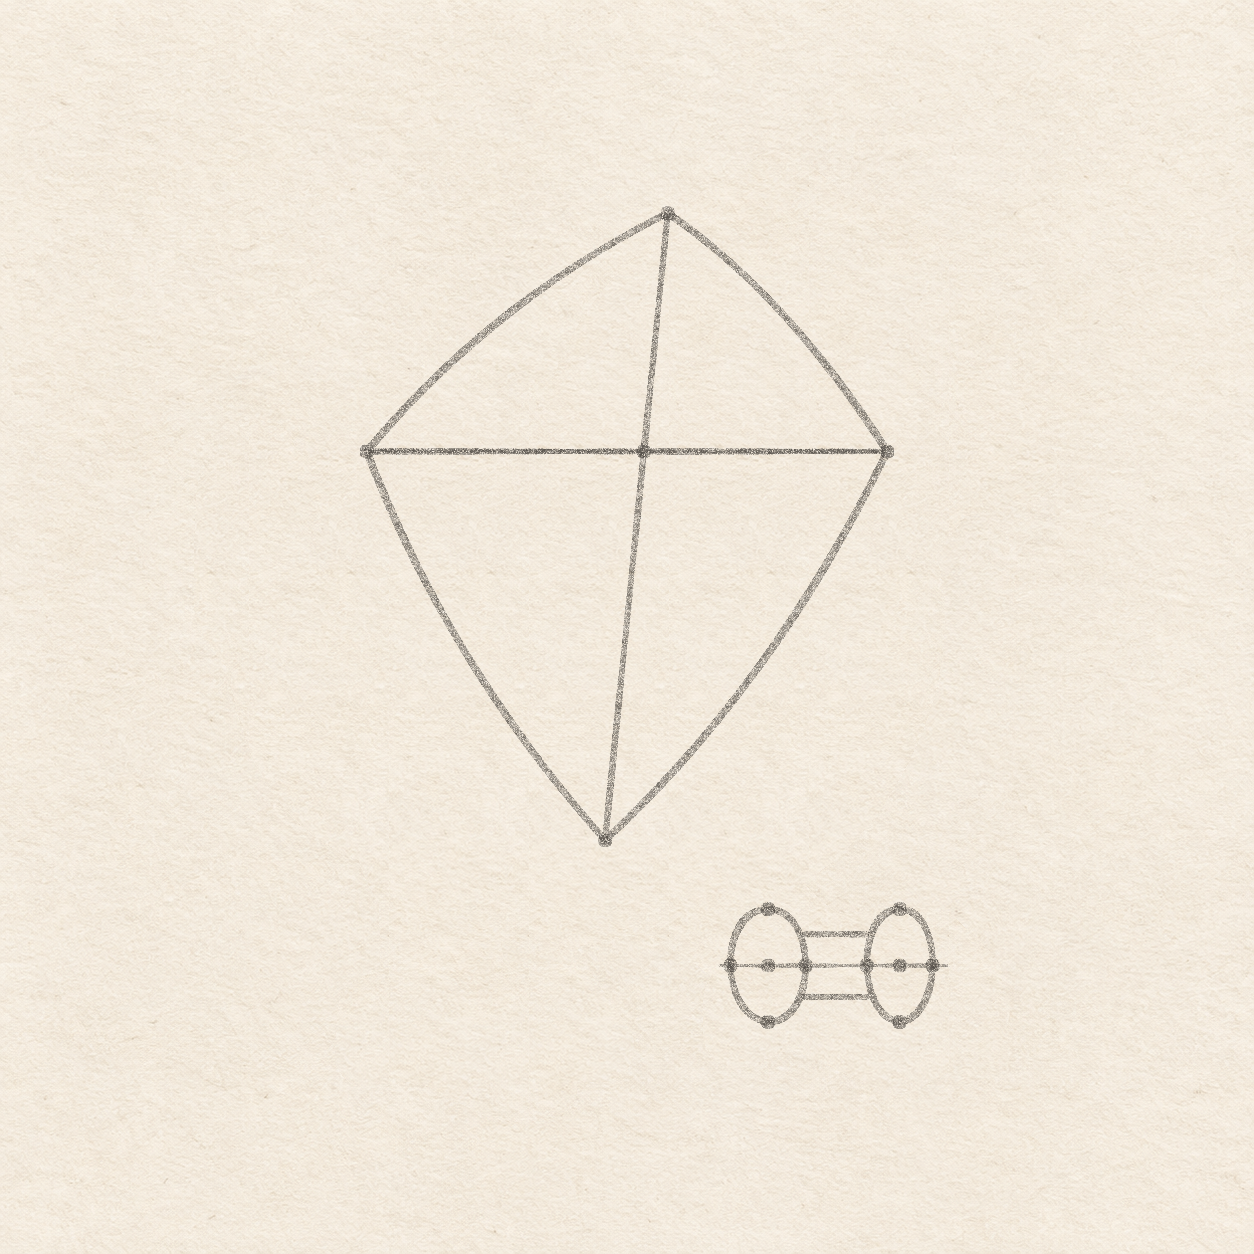
  4. Two tall pencil ovals join by a pair of short level pencil rails.
    Drawing 4 — Curve the reel ends and join themView larger
    Pencil

    Curve the reel ends and join them

    Instructions for Drawing 4 — Curve the reel ends and join them
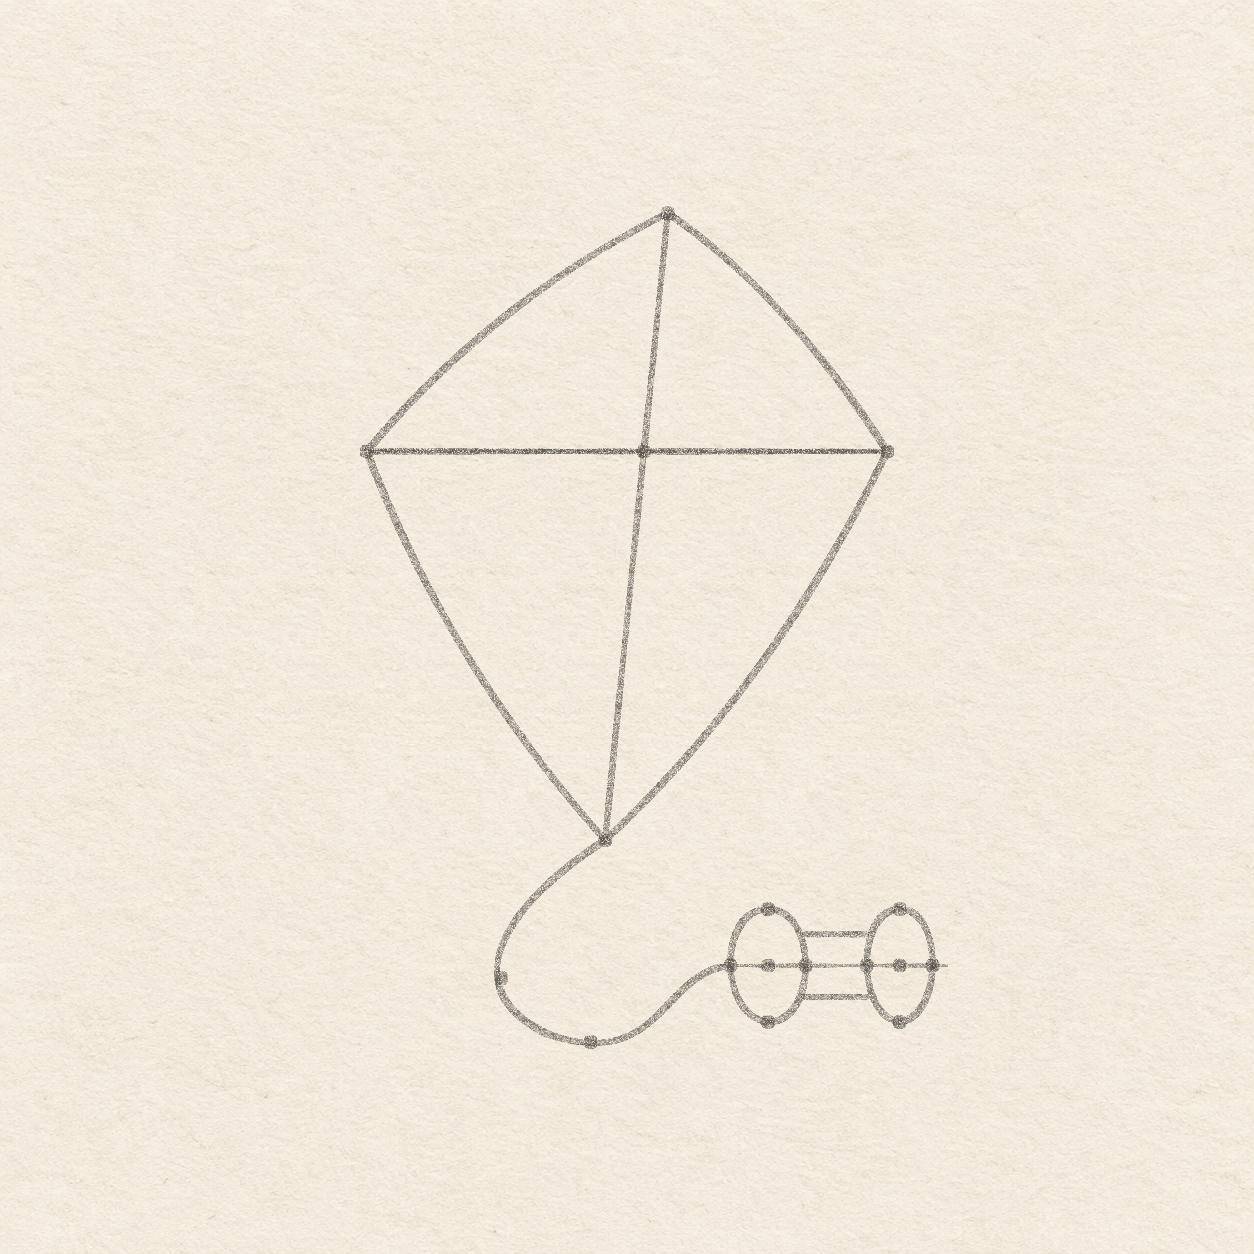
    1. For each end of the reel, curve freehand through its top, right, bottom and left dots, returning to your starting dot. Keep each end narrow and upright. Leave the pale oval centers open. Correct a flat shoulder or a point while it is in pencil.
    2. Set a spare sheet edge along the faint center line, with its square corner between the two ovals. Measure 4 mm up its upright edge. Hold the ruler level through that height, parallel to the faint center line. Rule from the inward edge of one oval to the inward edge of the other. Repeat 4 mm below the center line. The rails should be level and end as soon as each one touches both oval edges.
    Next step
  5. A broad pencil cord dips left and down from the kite and returns to meet the left oval.
    Drawing 5 — Loop the line into the reelView larger
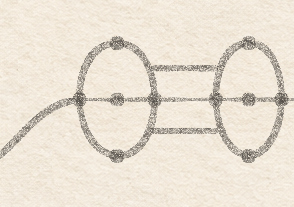
    Native enlargement of both reel ends, the rails joining their inside edges and the cord meeting the left oval.
    Detail 5.1 — Both rails join the reel endsBoth short rails stop at the oval edges. The cord meets the far left edge below the upper rail.
    Pencil

    Loop the line into the reel

    Instructions for Drawing 5 — Loop the line into the reel
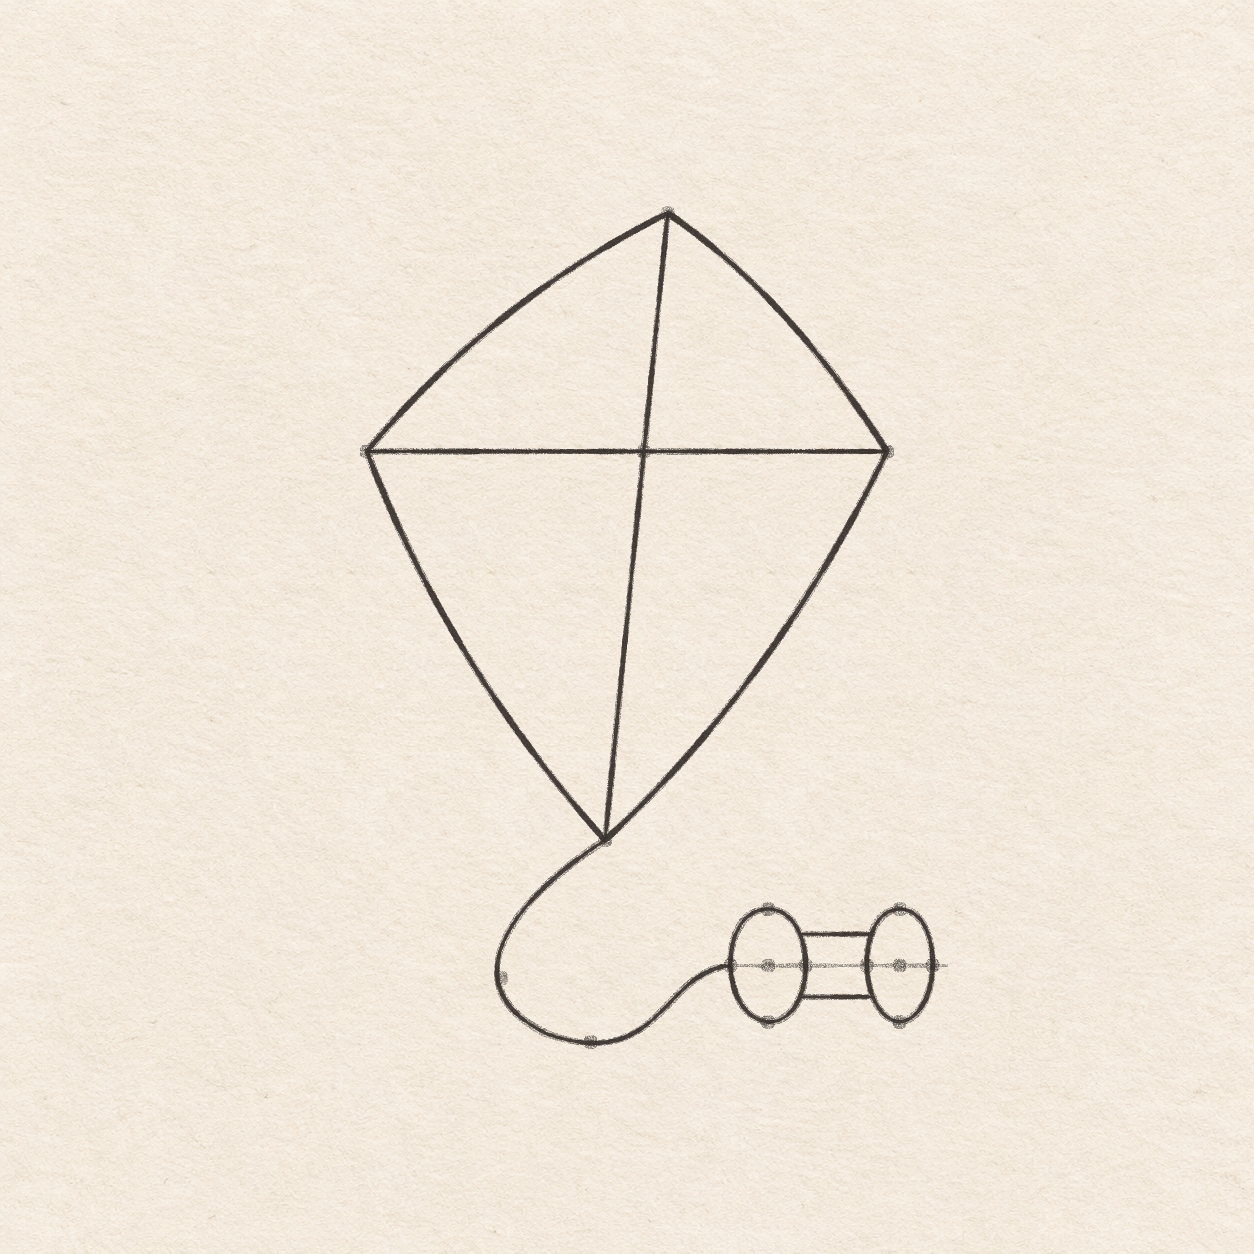
    1. Hold the ruler level through the kite’s bottom tip. Mark a dot about 1.3 cm left and 1.8 cm down, seating the square corner at the measured spot on the ruler before measuring down. Then set it about 2 mm left of the tip and mark the low dot about 2.6 cm down. Keep the two dots clear of the reel. The low dot should sit just below both ovals.
    2. Draw a freehand curve from the bottom sail tip down and left to the first new dot. Sweep around the lower dot, turning right and up. End where the faint center line meets the far left edge of the left oval. Keep the loop open and stop at the oval edge. Lift an overrun before inking.
    Next step
  6. Dark pen outlines the curved kite, the spars and the connected reel and cord over pale pencil.
    Drawing 6 — Ink the kite, reel and stringView larger
    Fineliner

    Ink the kite, reel and string

    Instructions for Drawing 6 — Ink the kite, reel and string
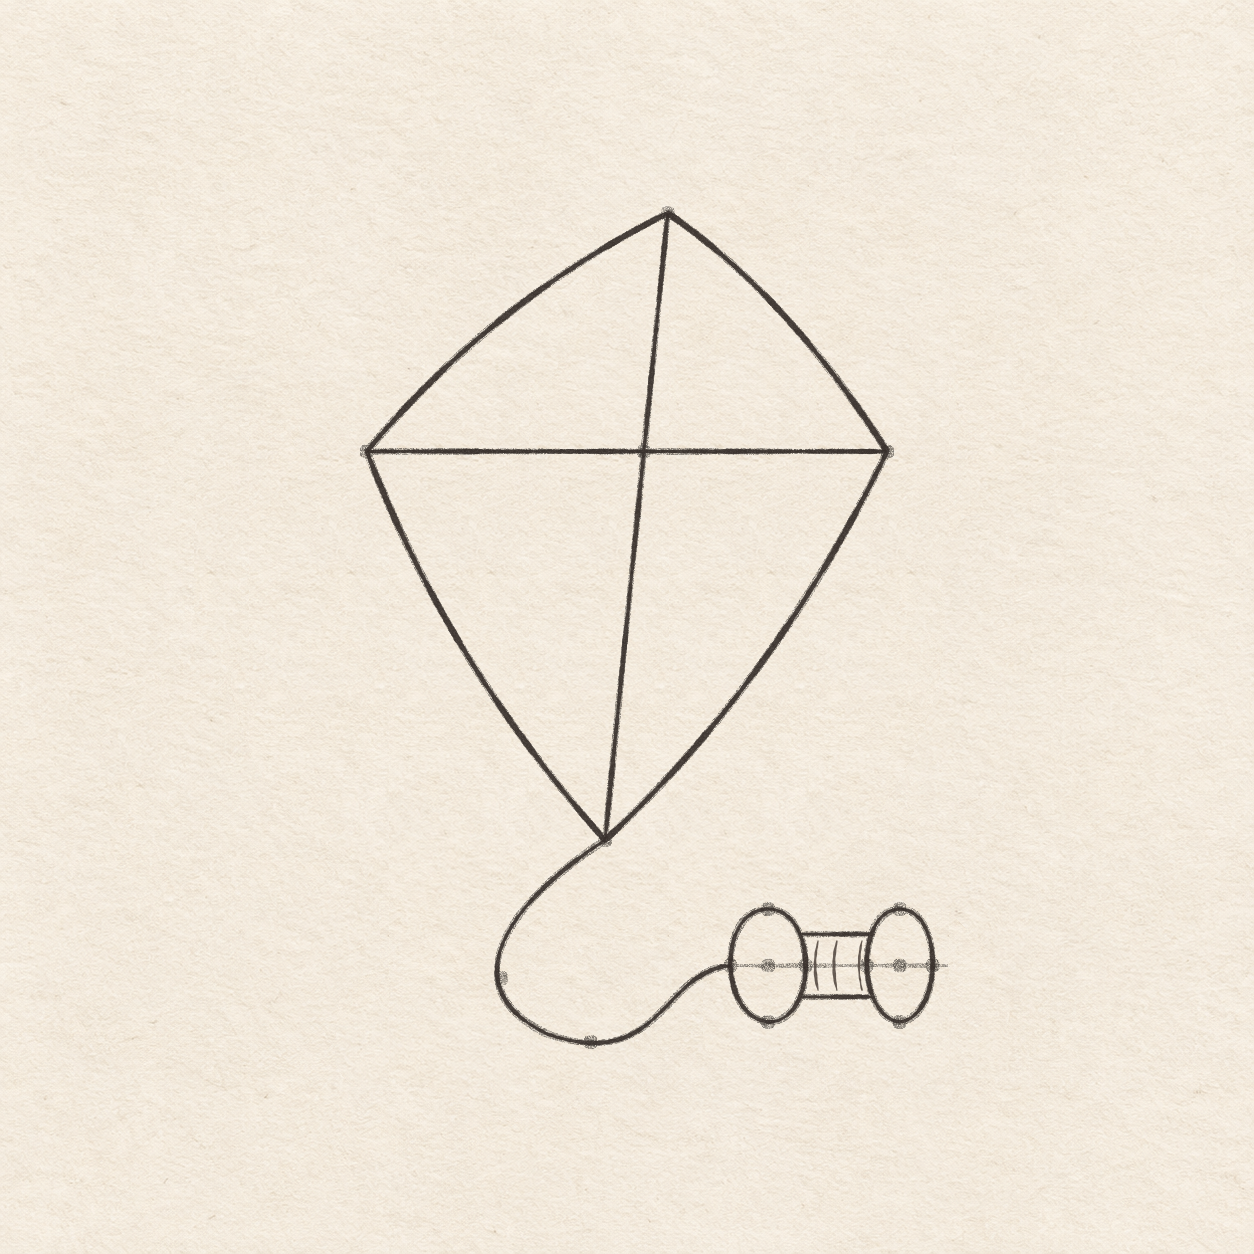
    1. Trace both spar lines in pen from tip to tip. The two lines should meet cleanly at the crossing.
    2. Trace the four pencil edges in pen in a continuous loop. Ink all four actual spar-to-edge contacts.
    3. Ink the two closed ovals, then the two short rails between them. Stop each rail where it meets an oval edge.
    4. Trace the thin cord in one sweep from the bottom kite tip to the left edge of the reel. Leave the loop and oval centers pale, and stop the cord exactly at the oval.
    Next step
  7. Three short near-upright pen marks sit between the rails of the reel.
    Drawing 7 — Add the three reel winding marksView larger
    Fineliner

    Add the three reel winding marks

    Instructions for Drawing 7 — Add the three reel winding marks
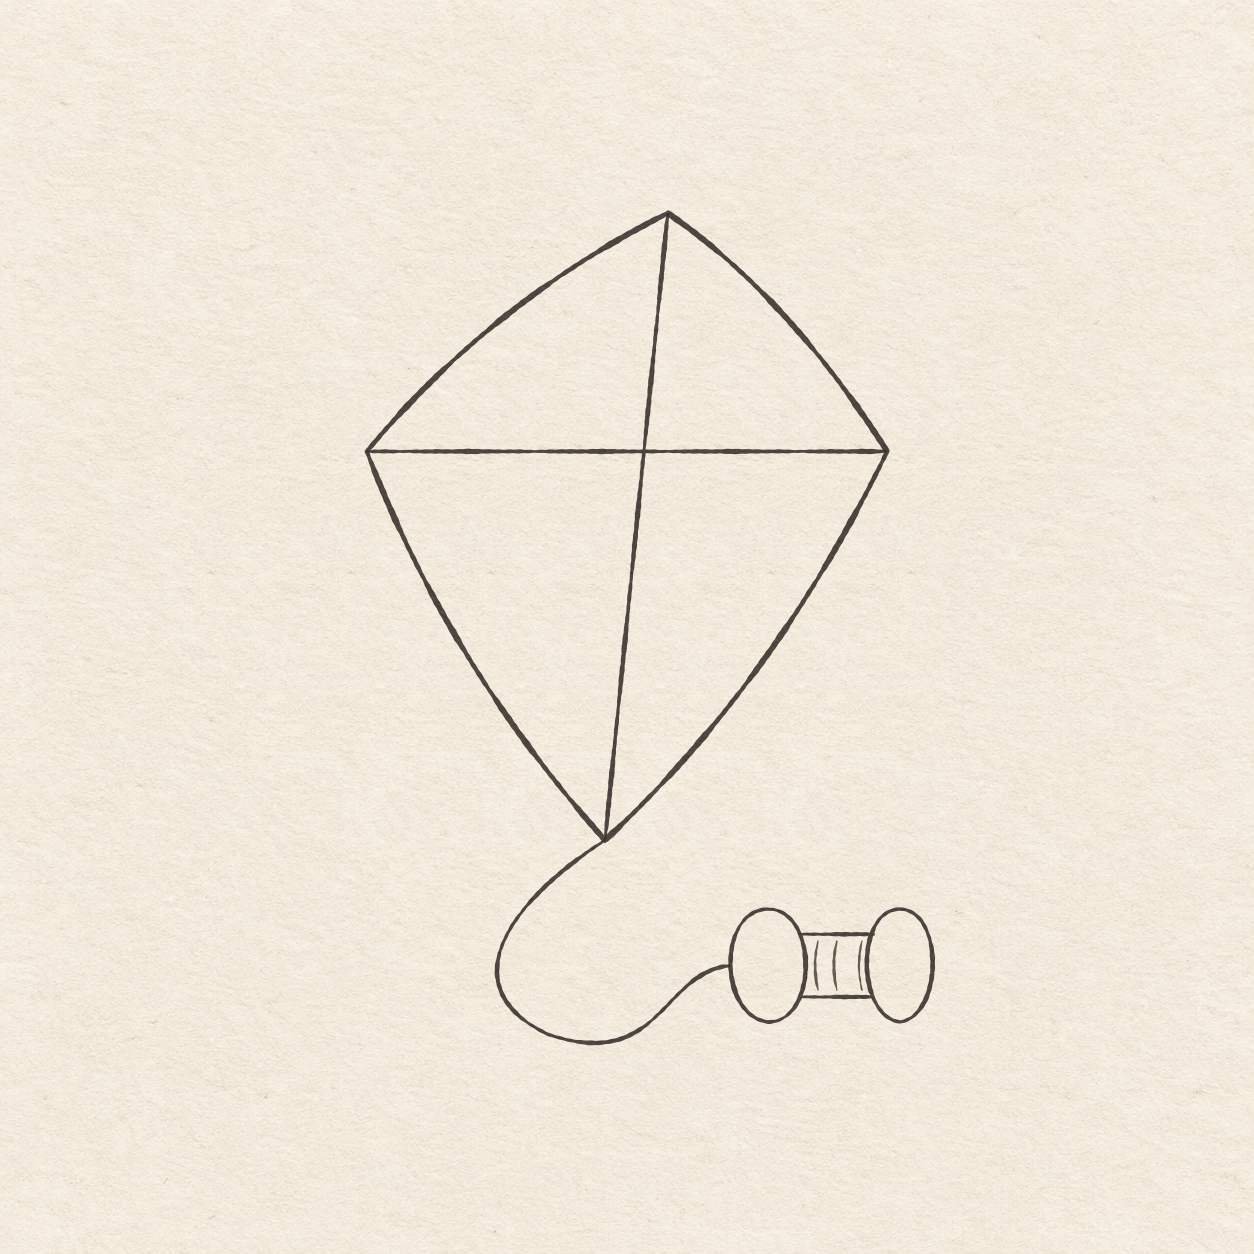
    1. Between the rails, make three short upright freehand curves, evenly spaced from left to right. Begin just below the top rail and finish just before the lower rail. Keep pale gaps on both sides and between the three winding marks.
    Next step
  8. Finished kite on warm paper, with two crossed spars, curved sail edges, loose line and small wound reel.
    Drawing 8 — Erase the dry pencil guidesView larger
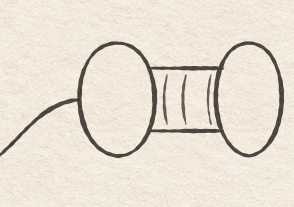
    Native enlargement of both reel ends, the rails joining their inside edges and the cord meeting the left oval.
    Detail 8.1 — Both rails join the reel endsBoth short rails stop at the oval edges. The cord meets the far left edge below the upper rail.
    Cleanup

    Erase the dry pencil guides

    Instructions for Drawing 8 — Erase the dry pencil guides

    1. Fill a small patch on a scrap of the same paper with the same pen. Rub the patch gently with your eraser. If it smears, wait and test again. Once the patch stops smearing, erase the measuring line through the reel and any other remaining graphite beside the dry ink.
    Back to the steps

If something looks off

If the reel looks disconnected

While the reel is still in pencil, put the ruler back on the faint level line and locate the two rail heights again. Check that each rail meets both oval edges and the string meets the left oval sideways.