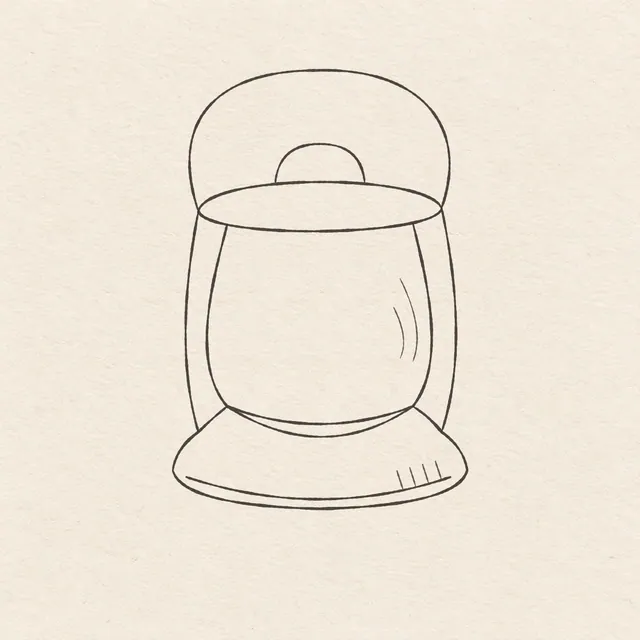
FinelinerEasy

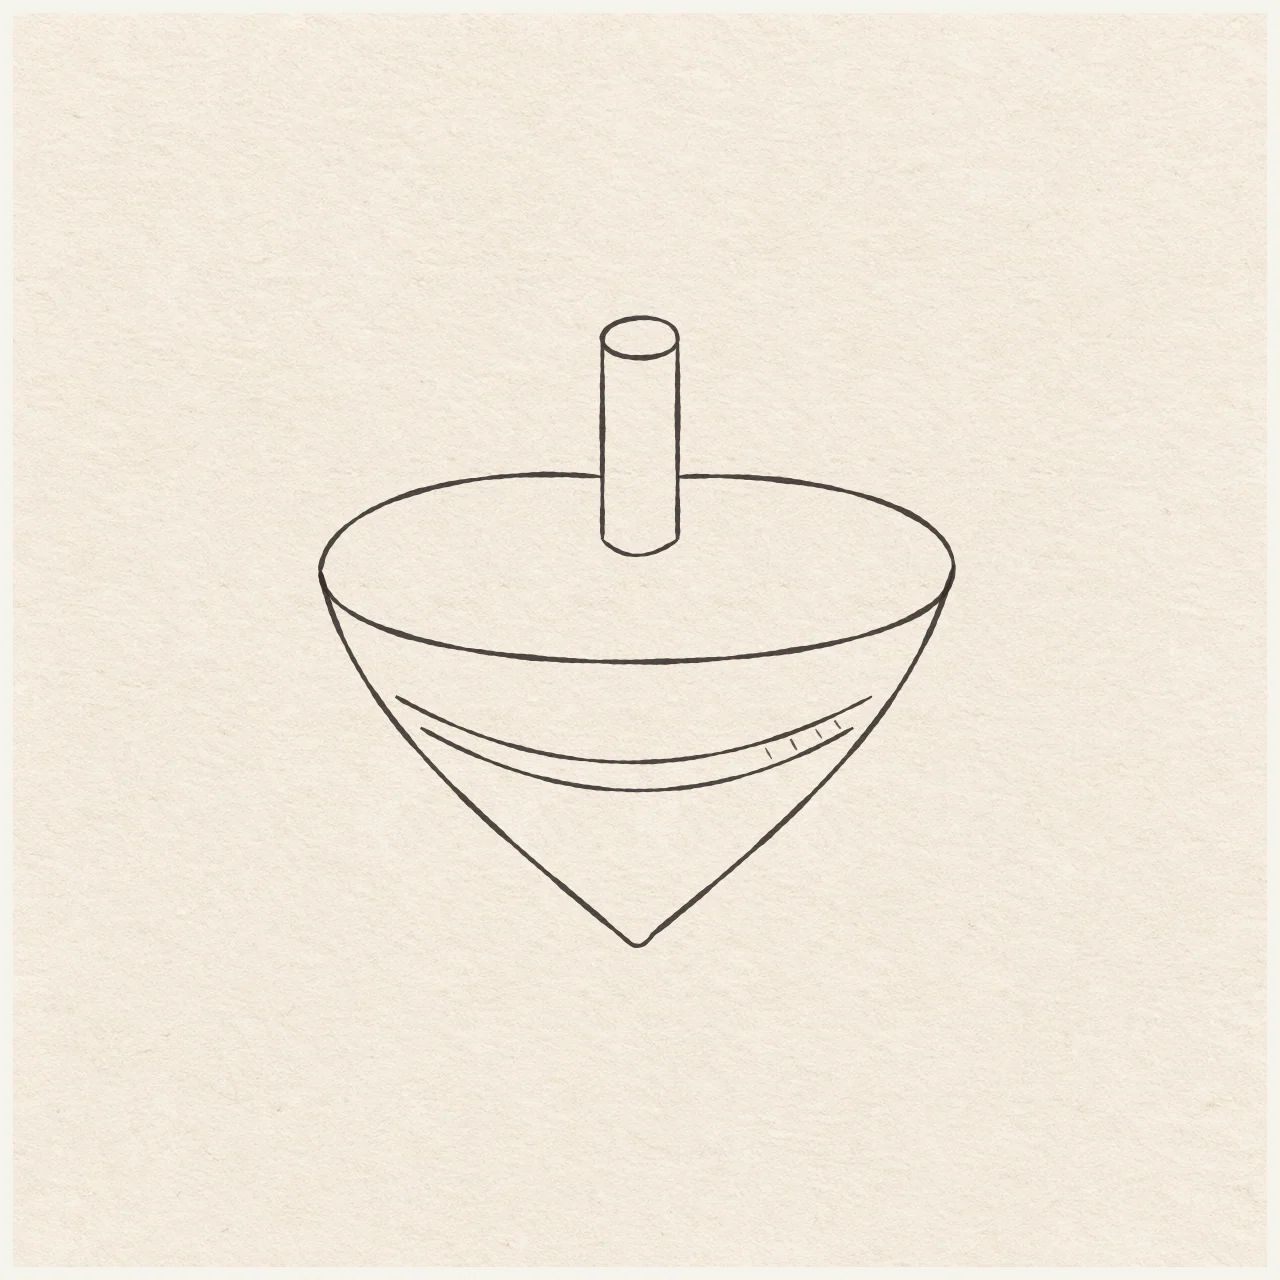
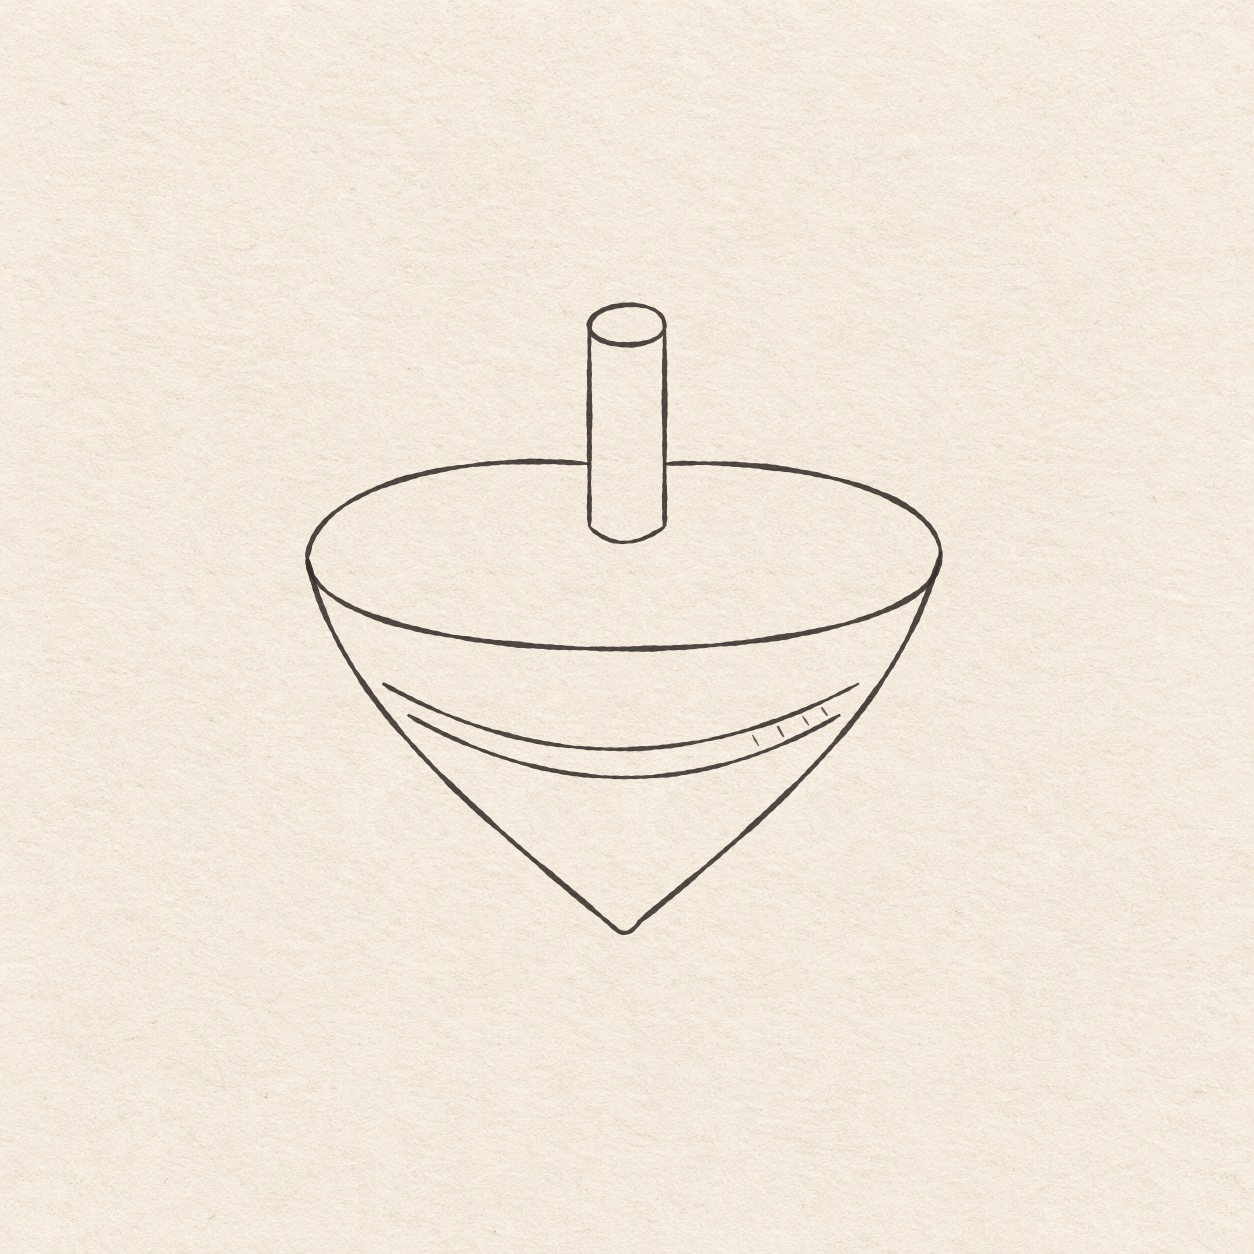
Wooden spinning top
Set out a rounded band, slope the body to one rounded point and build the upright grip before inking a small decorative stripe.
Follow the drawing tutorial
Set out a rounded band, slope the body to one rounded point and build the upright grip before inking a small decorative stripe.
Start the 11-step tutorialA small thing to tryKeep the grip foot above the front rim and the four short slants between the stripe curves.
Draw it, one step at a time
Draw a wooden spinning top
Set out a rounded band, slope the body to one rounded point and build the upright grip before inking a small decorative stripe.
What you’ll need
- HB pencil
- Eraser
- Ruler
- Spare sheet with a square corner
- Fine black pen
- Drawing paper
Before you start
The spinning top is about 8 cm wide and 8 cm tall. Choose where the middle of the wide rim will sit, leaving space above for the grip and below for the tapered point.
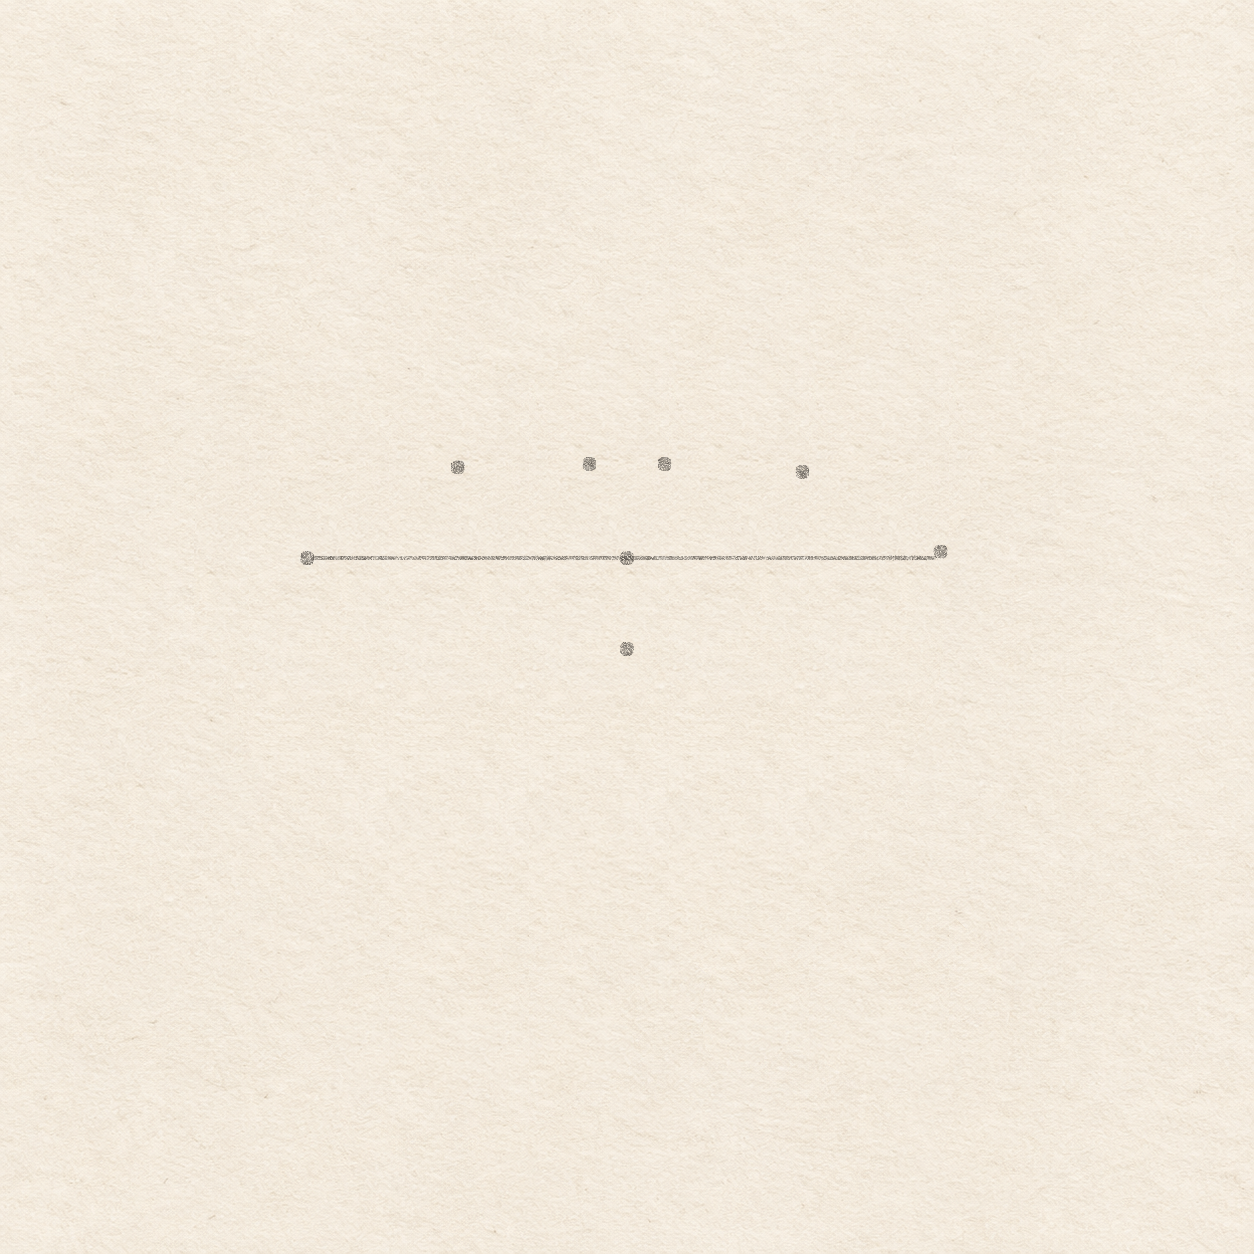
Drawing 1 — Mark the wide band and its rear gapView larger PencilMark the wide band and its rear gap
Instructions for Drawing 1 — Mark the wide band and its rear gap
- Place a light dot where the middle of the wide band will sit. Leave at least 4.1 cm on each side, 3.3 cm above and 4.9 cm below. Move this starting dot if any end of the spinning top would run close to a paper edge.
- Rule a light line through the dot, extending about 4.1 cm left and 4 cm right. Place one edge of your spare sheet against the line. Slide its square corner and hold your ruler along the upright edge for straight drops and rises. Check that the line remains level and your first dot is nearly halfway between its two ends.
- Mark the left tip at the left end of the line. Put the right tip nearly level, about 1 mm above its end. Mark the front bow halfway between them, about 1.2 cm straight below the starting dot. Keep the two tip dots just about level and much farther apart than the front bow drops.
- Mark two rear contacts about 5 mm left and right of the starting dot and about 1.2 cm straight above its level. Mark the upper curve on the left about 2.2 cm left and 1.2 cm up, and on the right about 2.2 cm right and 1.1 cm up. Use your square corner to keep the drops and rises upright. Keep a clear gap between the two closest dots to make room for the upright grip.

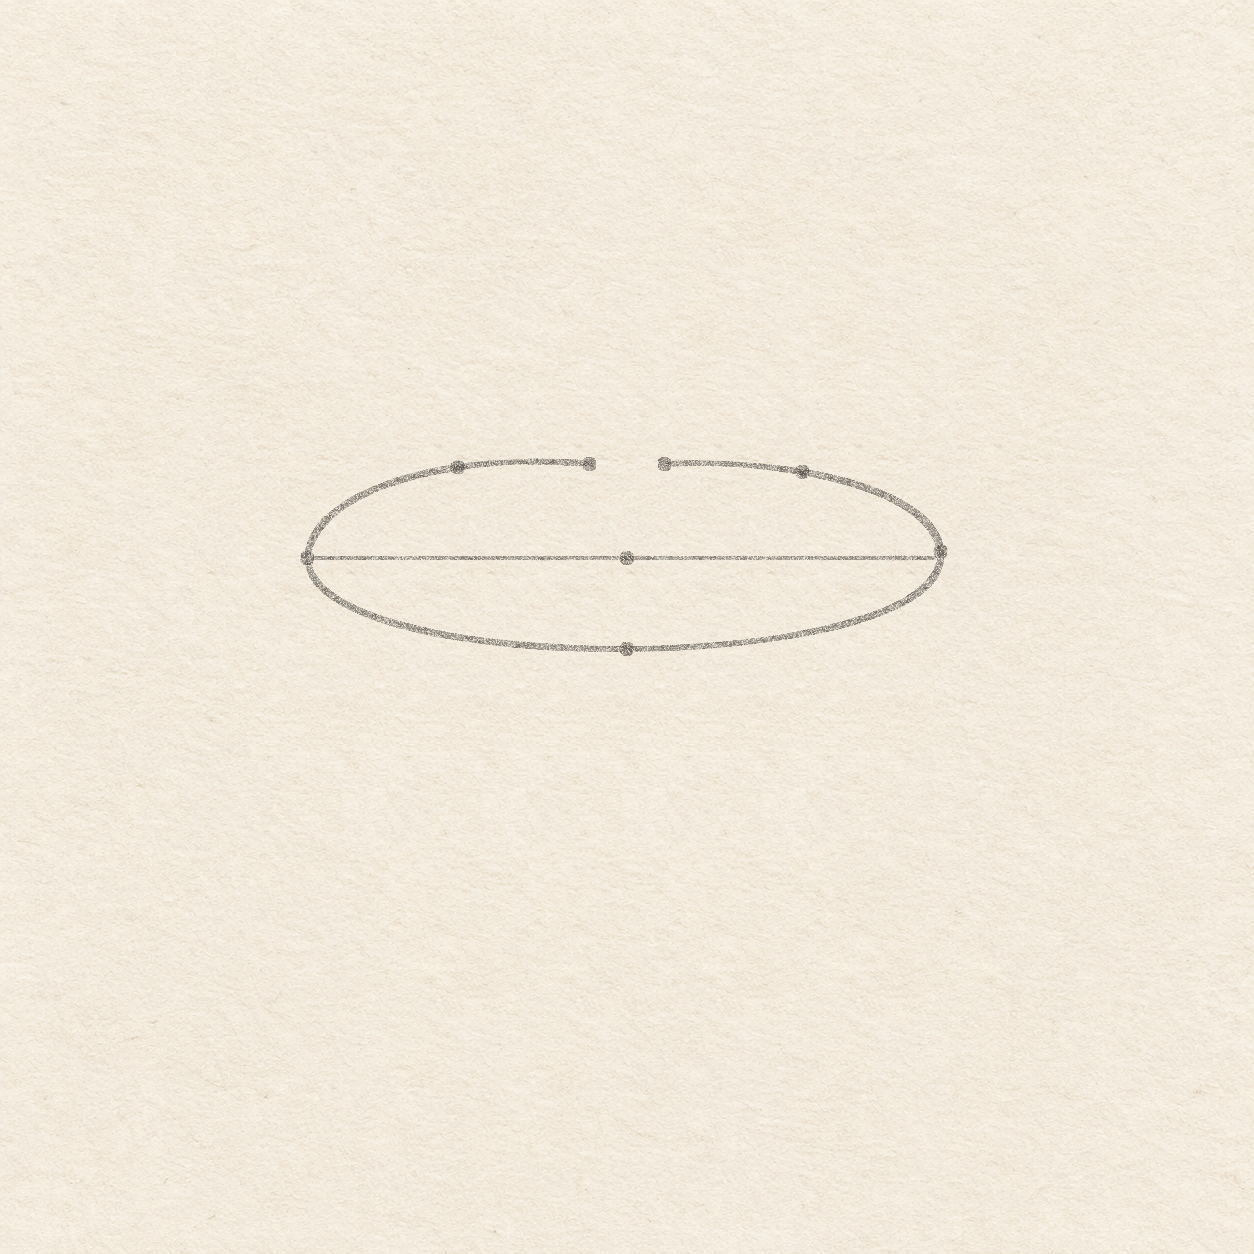
Drawing 2 — Sweep the front curve and leave the rear gapView larger PencilSweep the front curve and leave the rear gap
Instructions for Drawing 2 — Sweep the front curve and leave the rear gap
- From the left tip, draw freehand up and right through the left rear bow to the left gap dot. Lift the pencil. From the right gap dot, draw through the right bow and down to the right tip. Turn into the low front curve, sweep through the low middle dot and come back up to the left tip. Leave clear paper between the two rear ends and soften any kink where the long front curve meets the tips.

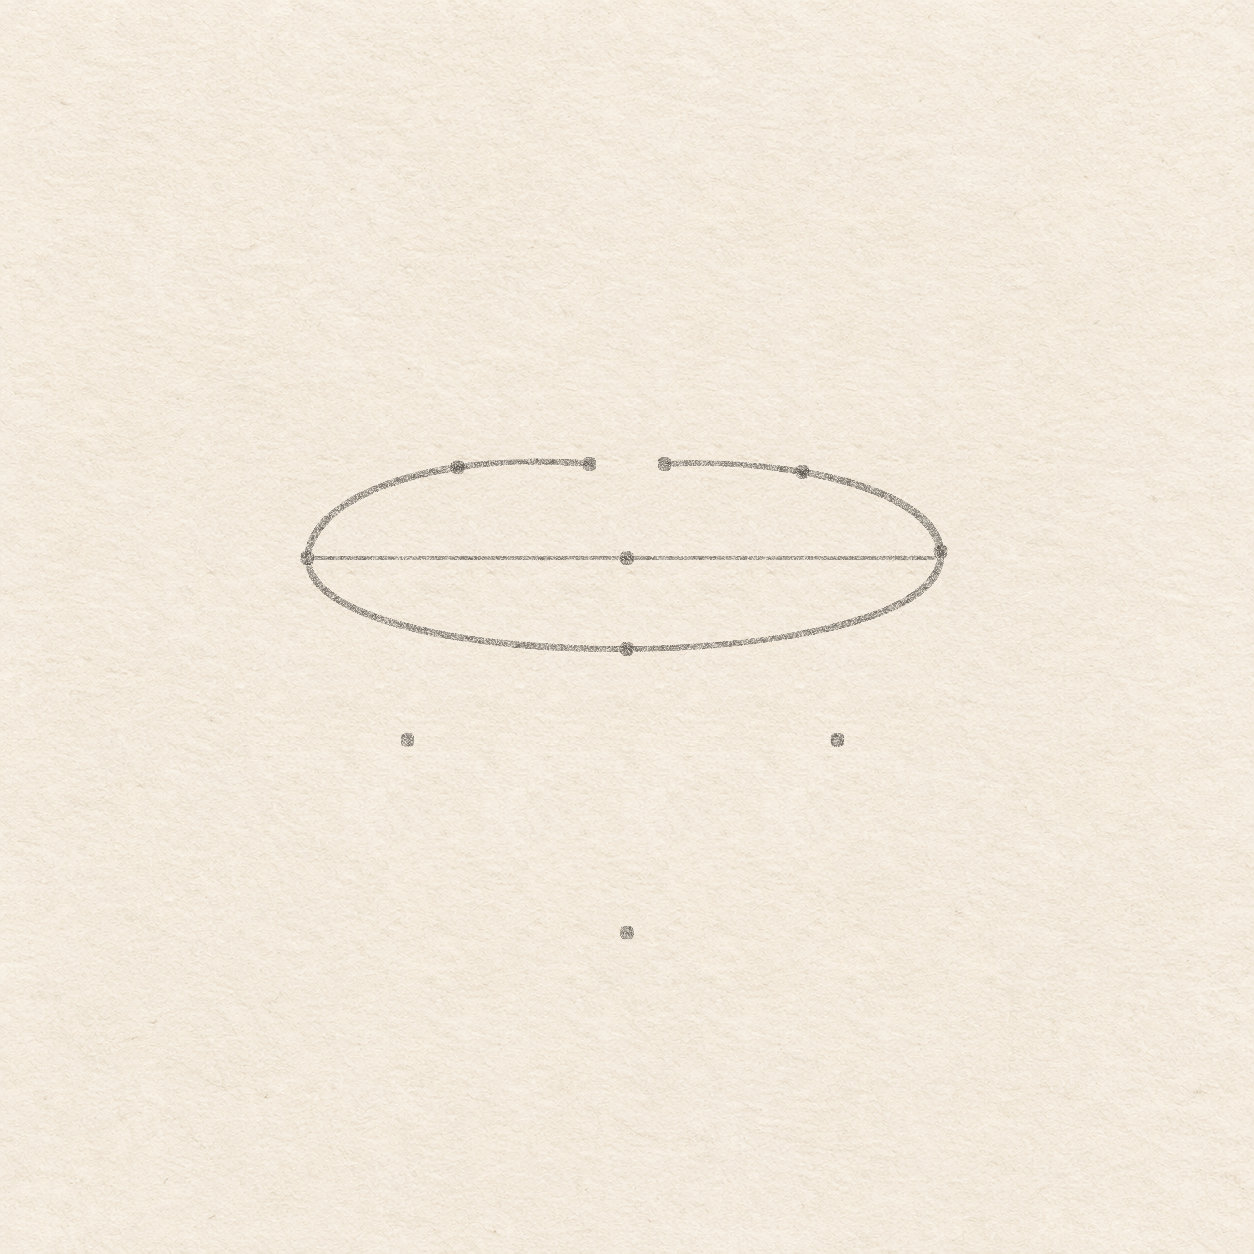
Drawing 3 — Place the sloping sides and rounded pointView larger PencilPlace the sloping sides and rounded point
Instructions for Drawing 3 — Place the sloping sides and rounded point
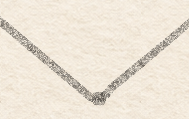
- Put a light dot about 4.8 cm straight below the first middle dot. Then mark the left and right slopes about 2.8 cm to each side of the starting dot and 2.3 cm below the level line. Use the square corner for each straight drop. Check that each slope dot sits inward of its band tip and that the low dot lines up with the center.

Drawing 4 — Round one pointed base between both sidesView larger 
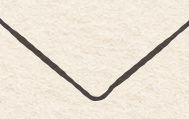
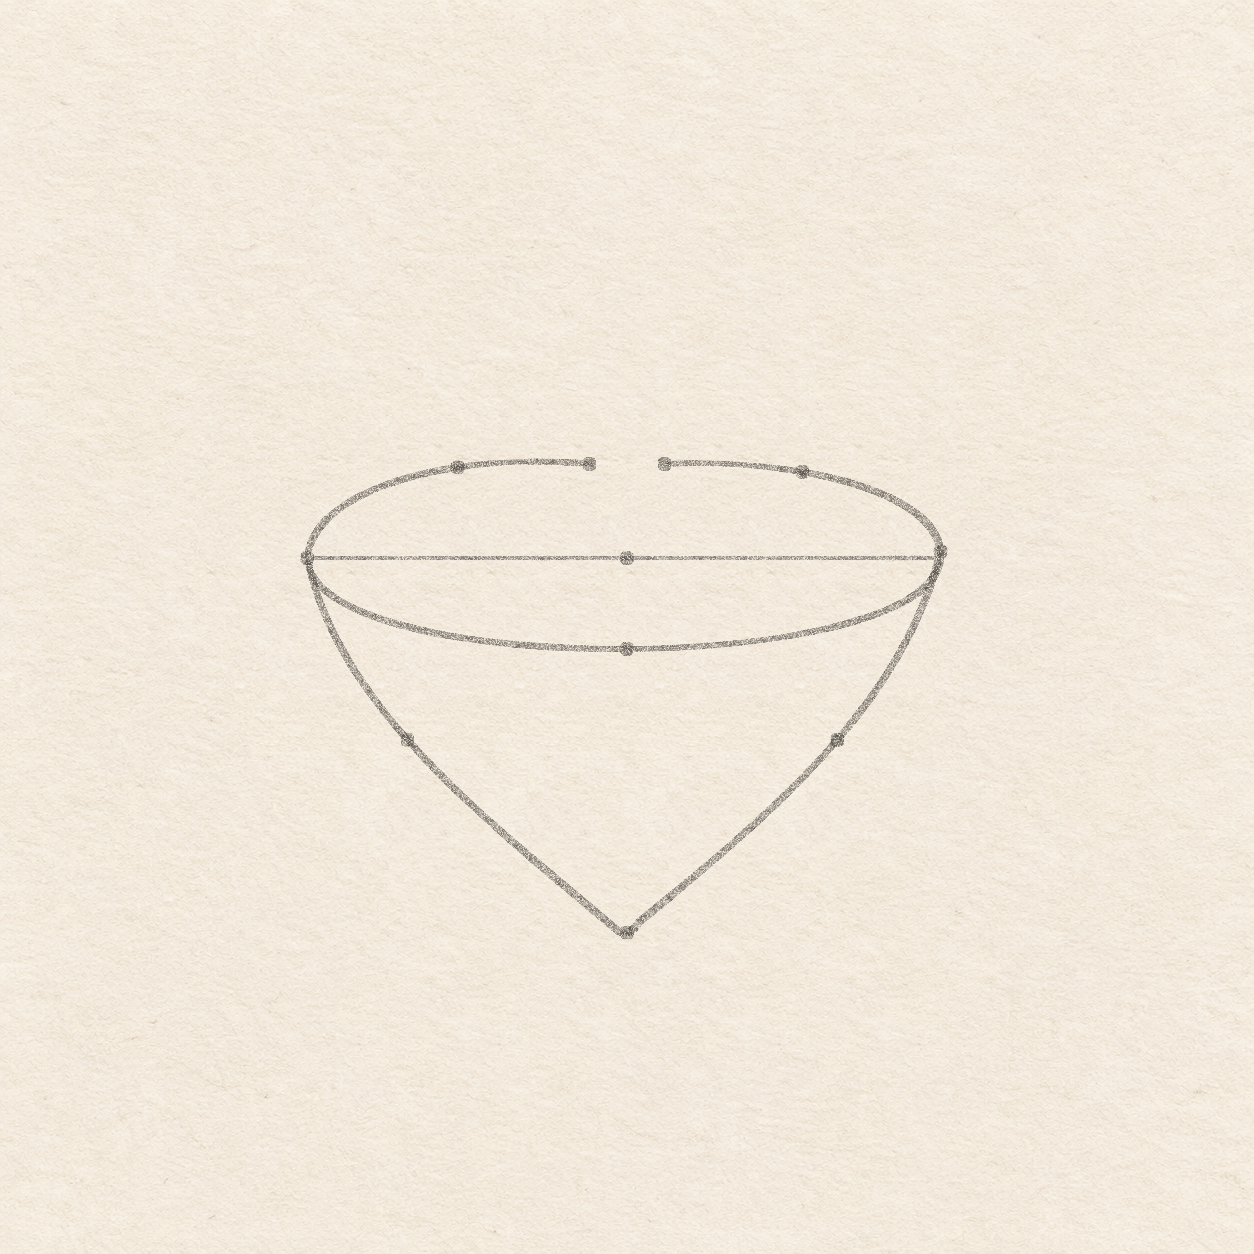
Detail 4.1 — One small rounded pointThe two long sloping sides turn through a short rounded base. Keep both sides joined without extending the tip. PencilRound one pointed base between both sides
Instructions for Drawing 4 — Round one pointed base between both sides
- Start at the left tip of the band. Sweep freehand down and right through the left slope dot. As you reach the low dot, turn in one short round curve and then sweep back up through the right slope dot to the right band tip. Check the lower turn before darkening it. The two sides turn around the same low dot and meet their own band tips.

Drawing 5 — Plot both grip sides and the small top ovalView larger PencilPlot both grip sides and the small top oval
Instructions for Drawing 5 — Plot both grip sides and the small top oval
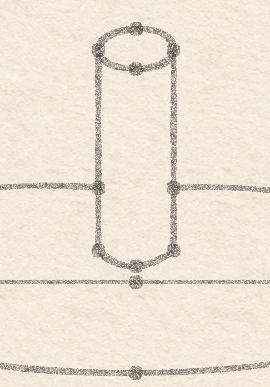
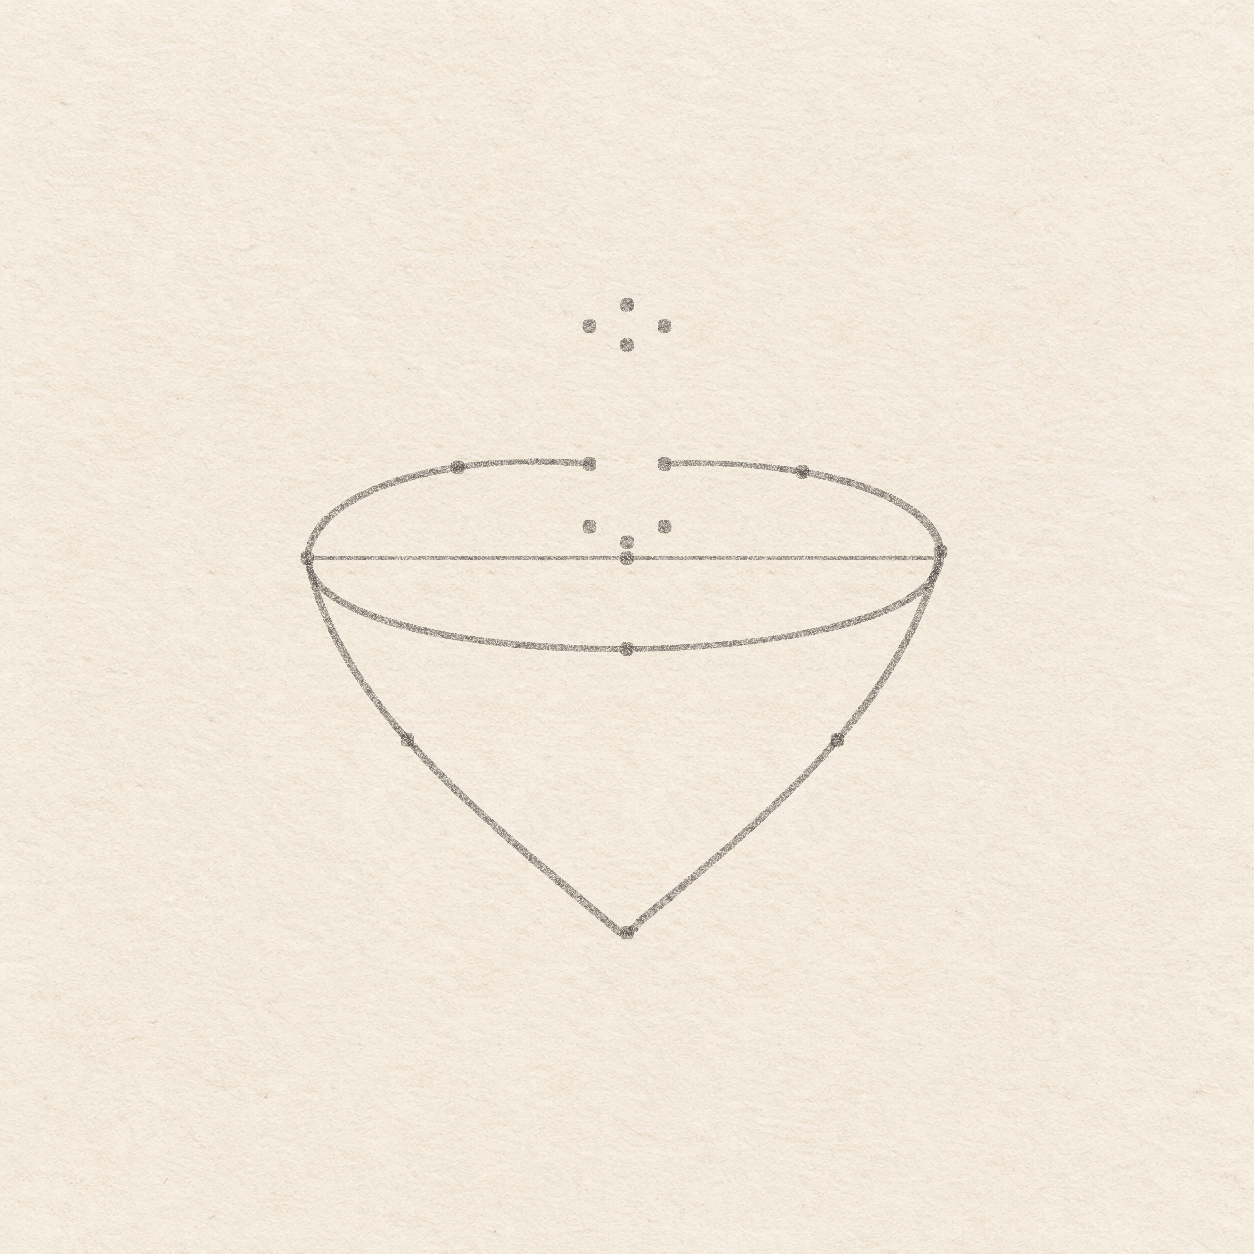
- Hold the spare sheet square to the level line and align the ruler up through the left gap end. Mark a top stop about 1.8 cm above it and a foot stop about 8 mm below it. Repeat from the right gap end. Between the two feet, mark a middle dot 2 mm lower for their small connecting curve. Check that both top stops and both feet align with their own rear gap contacts.
- Hold the ruler level through the two upper grip dots. Measure halfway between them along the ruler. Seat the spare sheet’s square corner there and use its upright edge to place a dot about 3 mm above and another about 2.5 mm below the ruler. The two upper grip dots are also the left and right ends of the oval. Keep the small oval about 1 cm wide. The two middle dots give about 5 mm of height.

Drawing 6 — Connect the upright grip and cap ovalView larger 
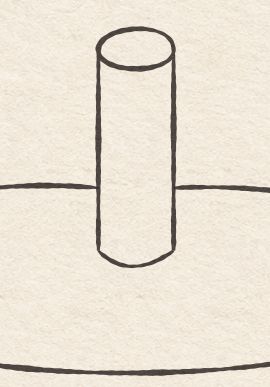
Detail 6.1 — Where the rim meets the upright gripEach rear curve stops at its own grip side. The grip has a separate top oval and a short curved foot, with open paper between the foot and the front rim. PencilConnect the upright grip and cap oval
Instructions for Drawing 6 — Connect the upright grip and cap oval
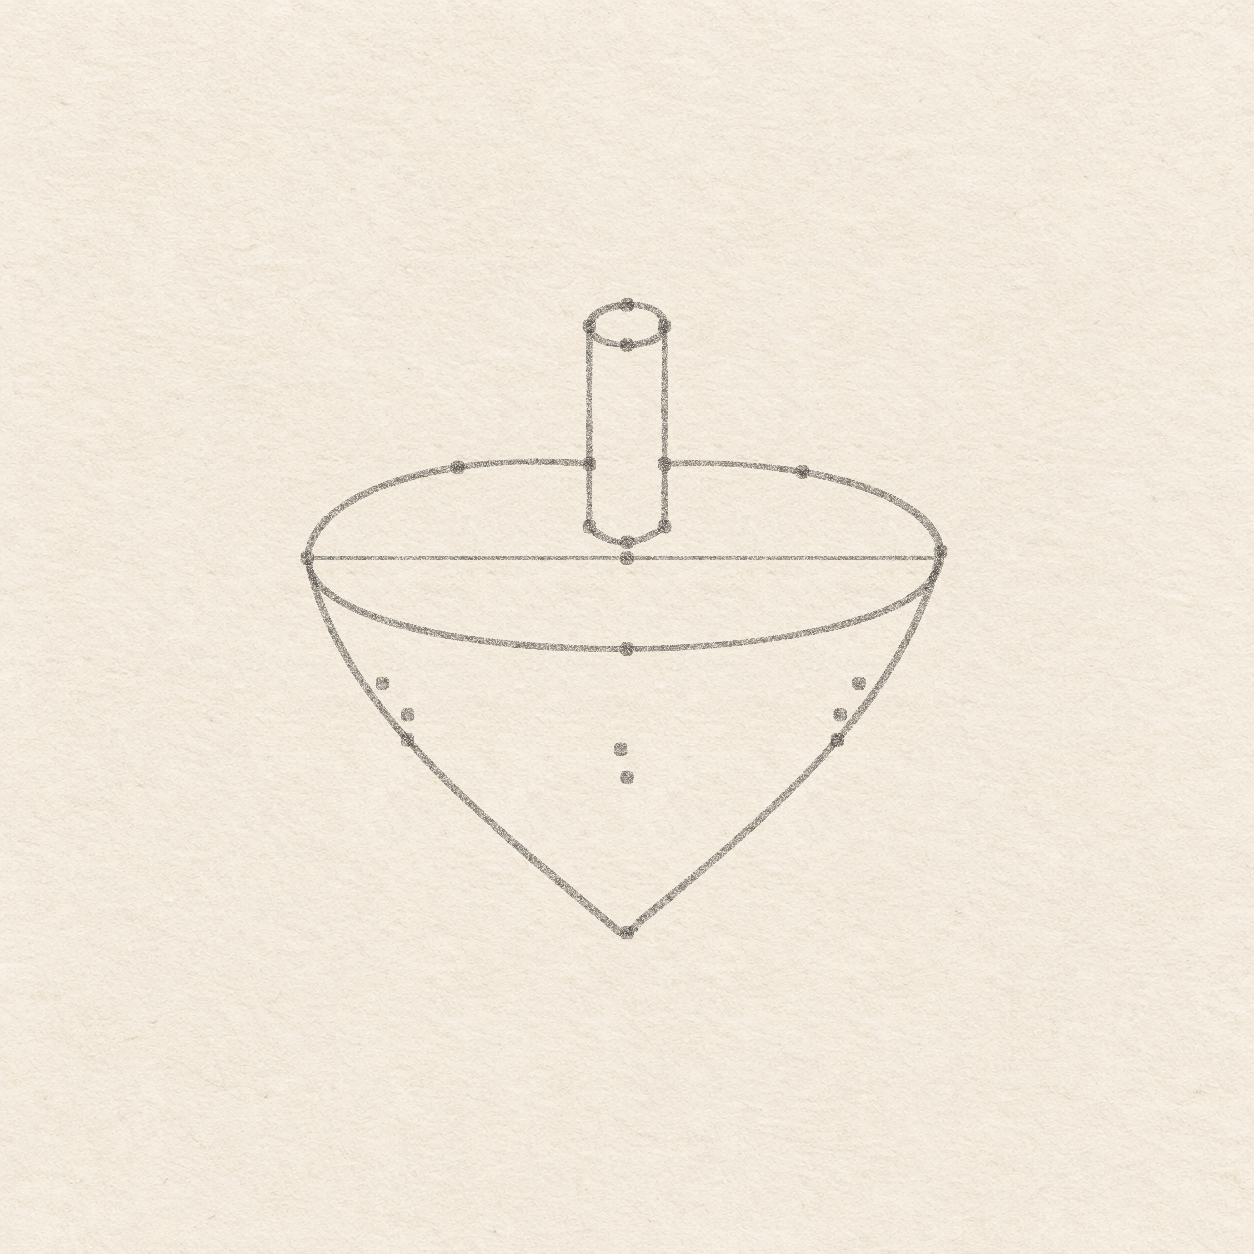
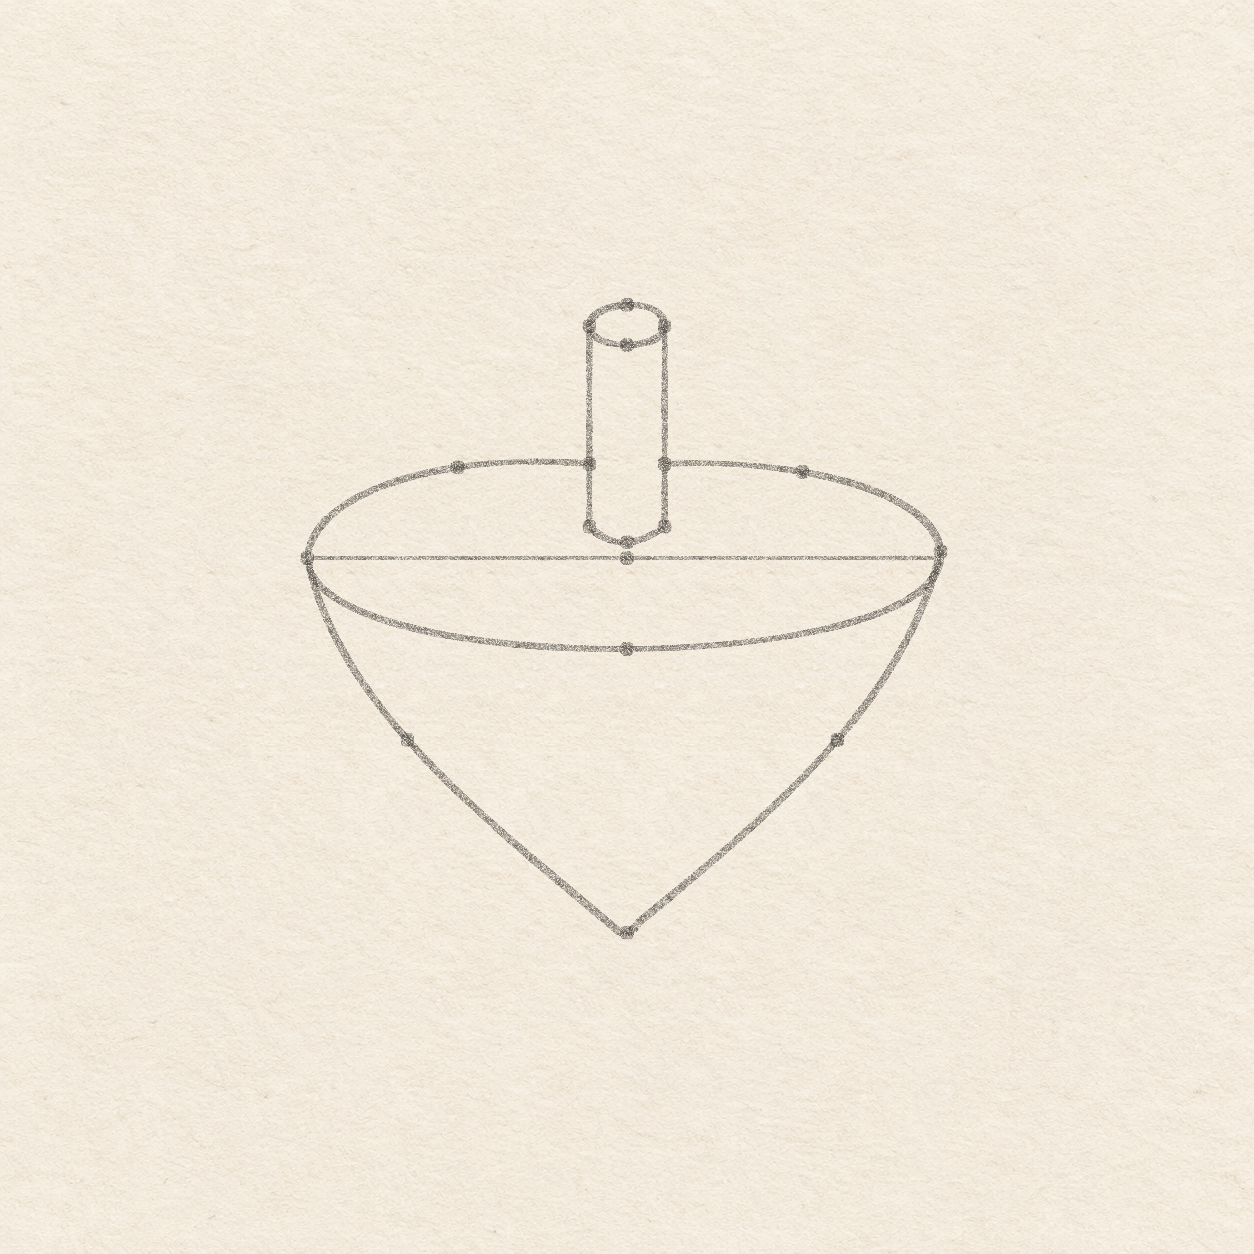
- On the left, rule a light line from the foot dot straight up to the top dot through the left rear contact. Repeat with the separate right rear contact and its own two stops. Each side meets a rear curve. Leave the space between the two upright lines clear.
- Start at the top of the left upright. Round freehand through the higher middle dot to the top of the right upright. Curve back lower through the low dot and close the oval at the left upright. Both upright tips meet the cap oval. Leave the middle of the oval open paper.
- From the left grip foot, curve freehand down through its low middle dot and back up to the right grip foot. Keep the curve shallow and well above the long front rim. Join both upright feet and keep the paper between their small curve and the front rim.

Drawing 7 — Mark both curved stripe limitsView larger PencilMark both curved stripe limits
Instructions for Drawing 7 — Mark both curved stripe limits
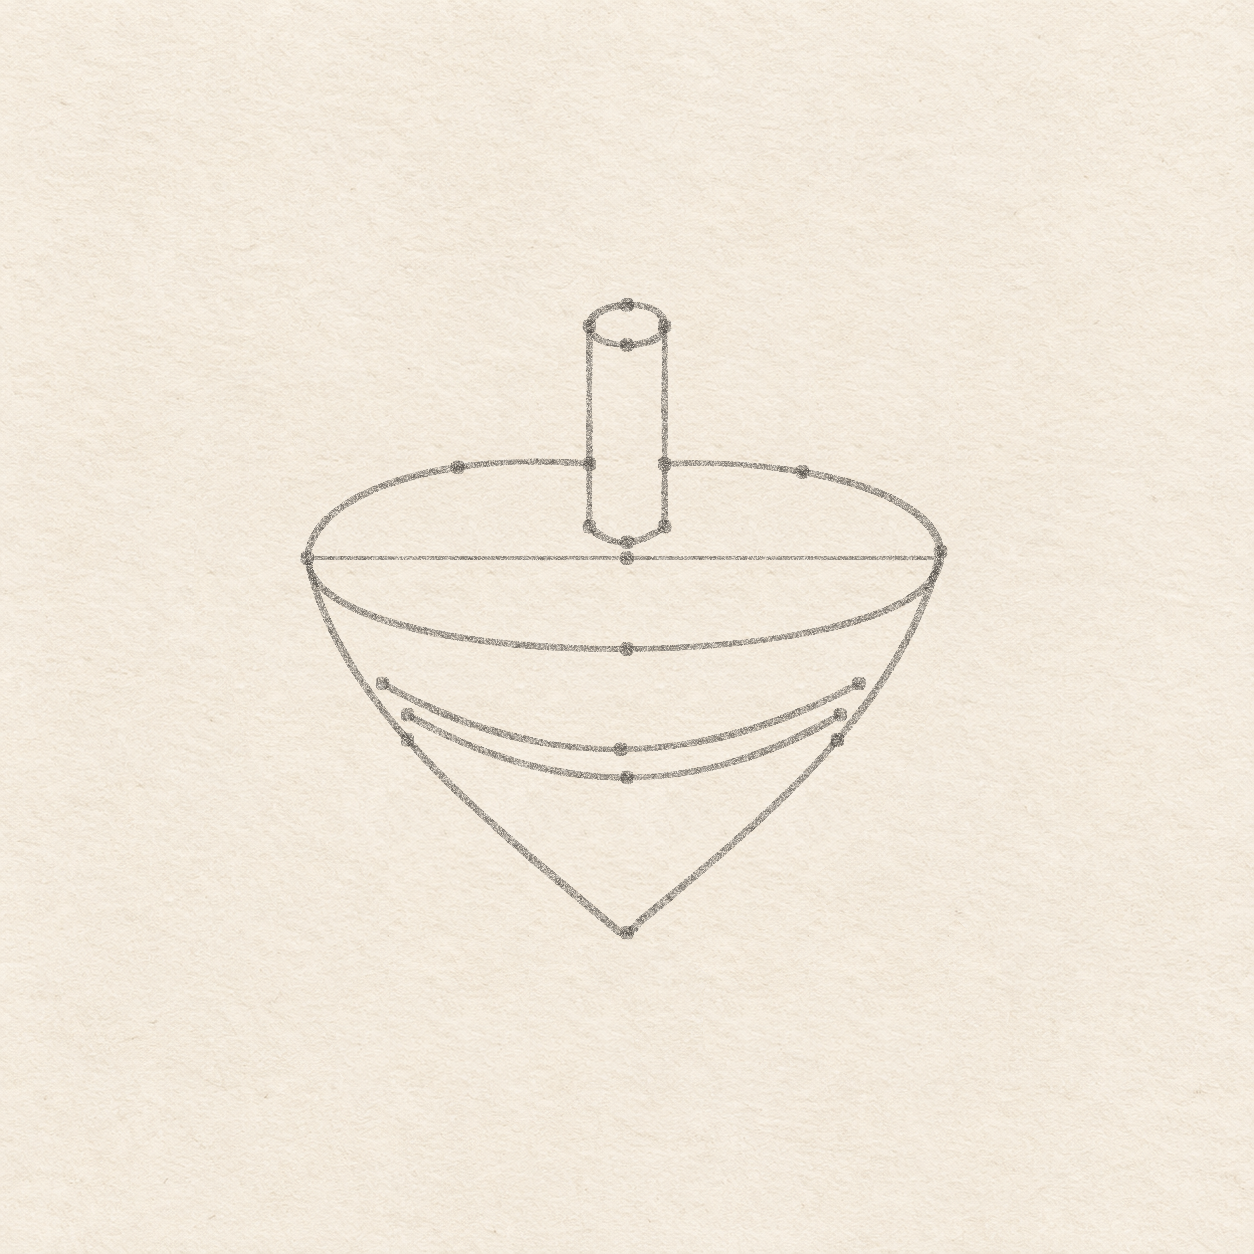
- From the middle of the level, mark the upper stripe ends about 3 cm left and right and 1.6 cm down. Mark its middle dot about 2.4 cm down. Put the second pair of ends about 2.8 cm either side and 2 cm down. Mark their middle dot about 2.8 cm down. Use the square corner for all drops. If a dot crowds the sloping wall, move it a little inward while keeping the upper and lower bows separate.

Drawing 8 — Join the two stripe arcsView larger PencilJoin the two stripe arcs
Instructions for Drawing 8 — Join the two stripe arcs
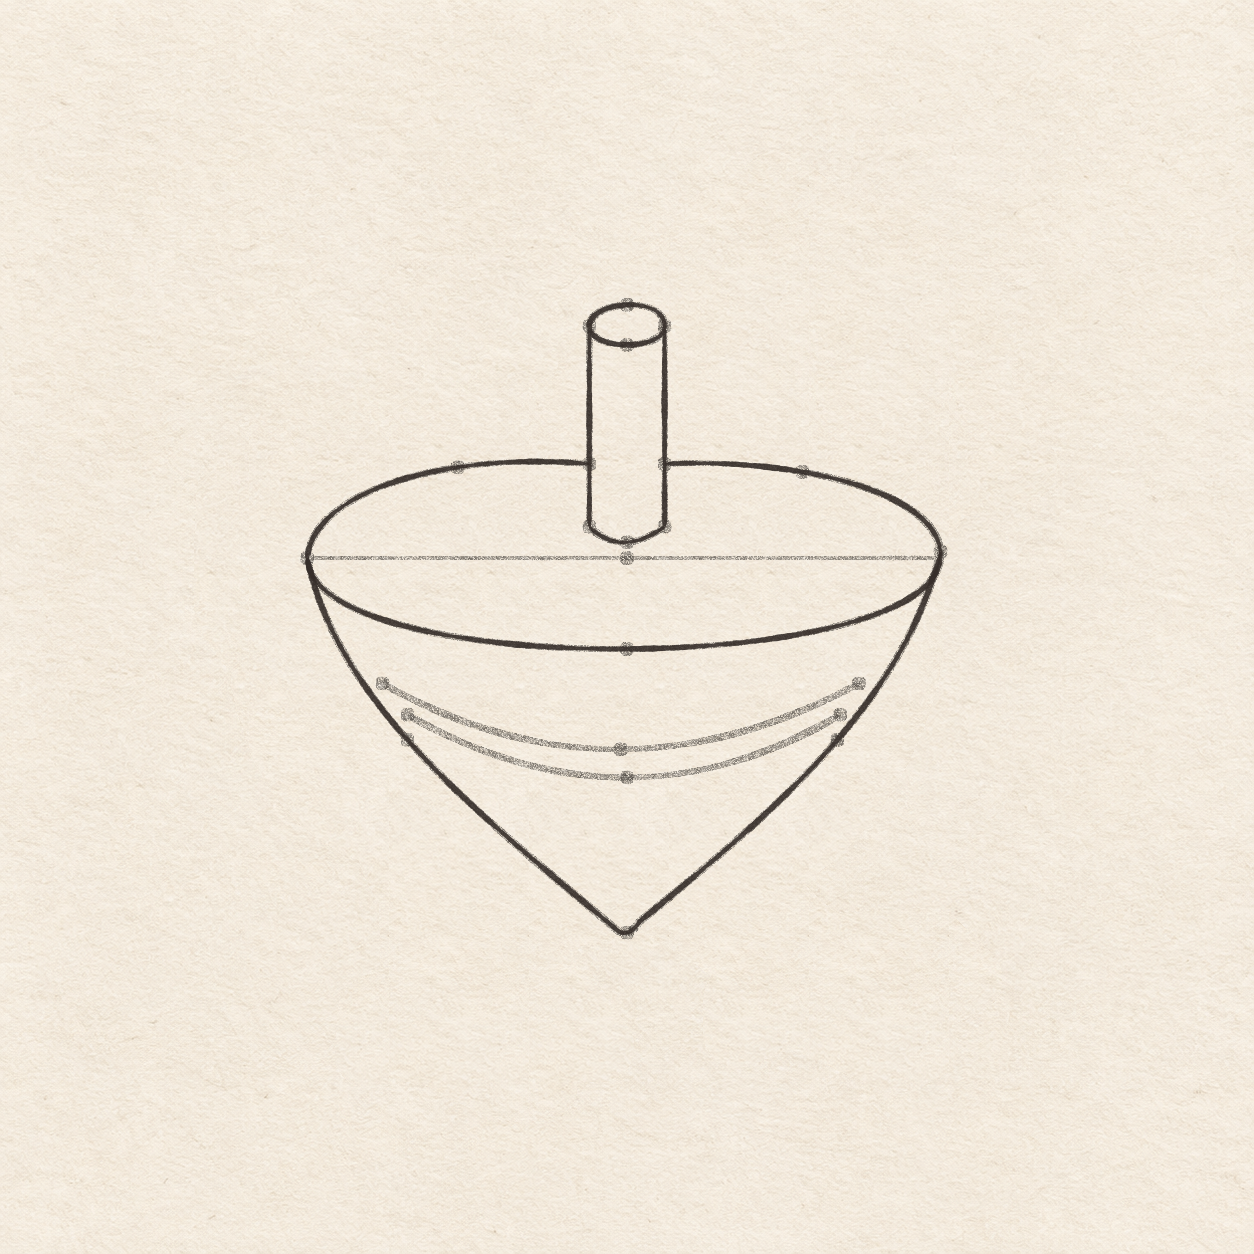
- Join the upper left dot to the upper right dot with a freehand curve through its low middle dot. Repeat from the lower left dot through the lower middle dot to the lower right dot. Let each arc rise gently toward its own ends. Keep the curves separate from each other and from the outer body on both sides.

Drawing 9 — Trace the band, body and grip in penView larger FinelinerTrace the band, body and grip in pen
Instructions for Drawing 9 — Trace the band, body and grip in pen
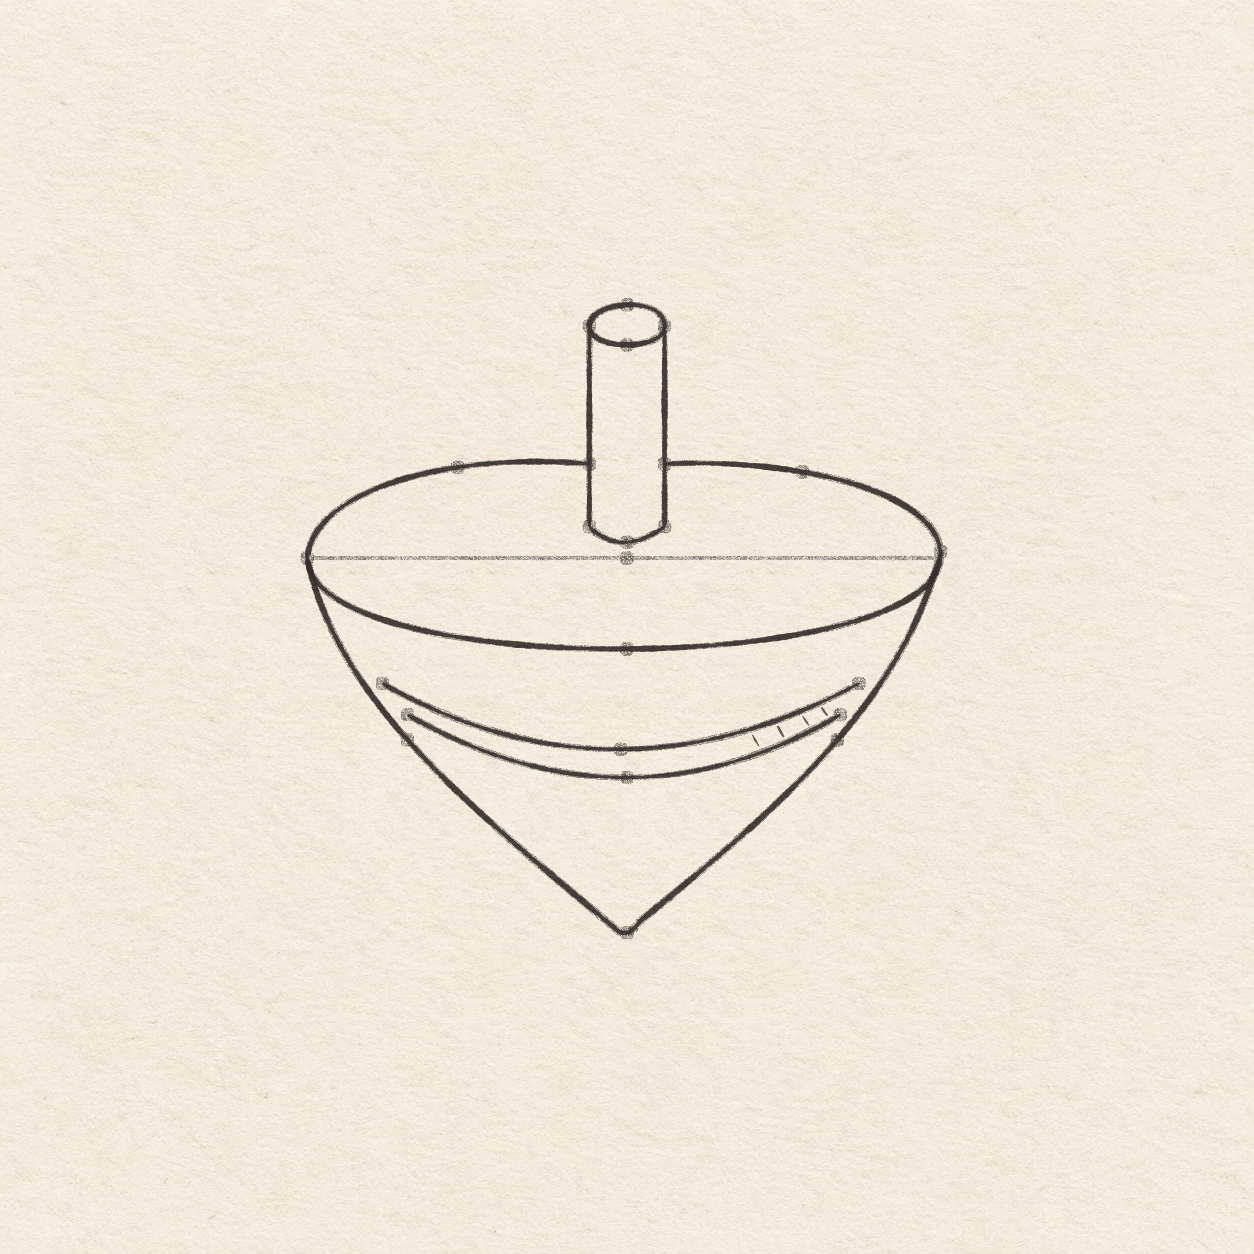
- Trace the left rear curve to its grip contact and stop. Trace from the right contact to the right tip and around the low front curve. Stop at the left tip where the earlier route begins. Keep the small rear gap. Make the front and rear edges meet at their intended tips.
- Follow the left body edge down from the rim, make the same tiny rounded turn and continue up to the right rim contact. Join both rim ends. Check the small lower turn for a single continuous ink edge.
- Trace each upright over its rear rim contact. Follow the small top oval and then the rounded lower edge. Let each shape touch both upright ends. The little oval remains open inside and the bottom of the grip remains apart from the wide front rim.

Drawing 10 — Ink the curves and four little stripe marksView larger 
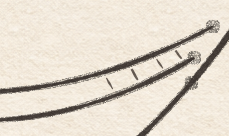
Detail 10.1 — Four short strokes inside the stripeBoth stripe curves stop before the body edge. Put four short slants on the right with paper between each slant and both curves. FinelinerInk the curves and four little stripe marks
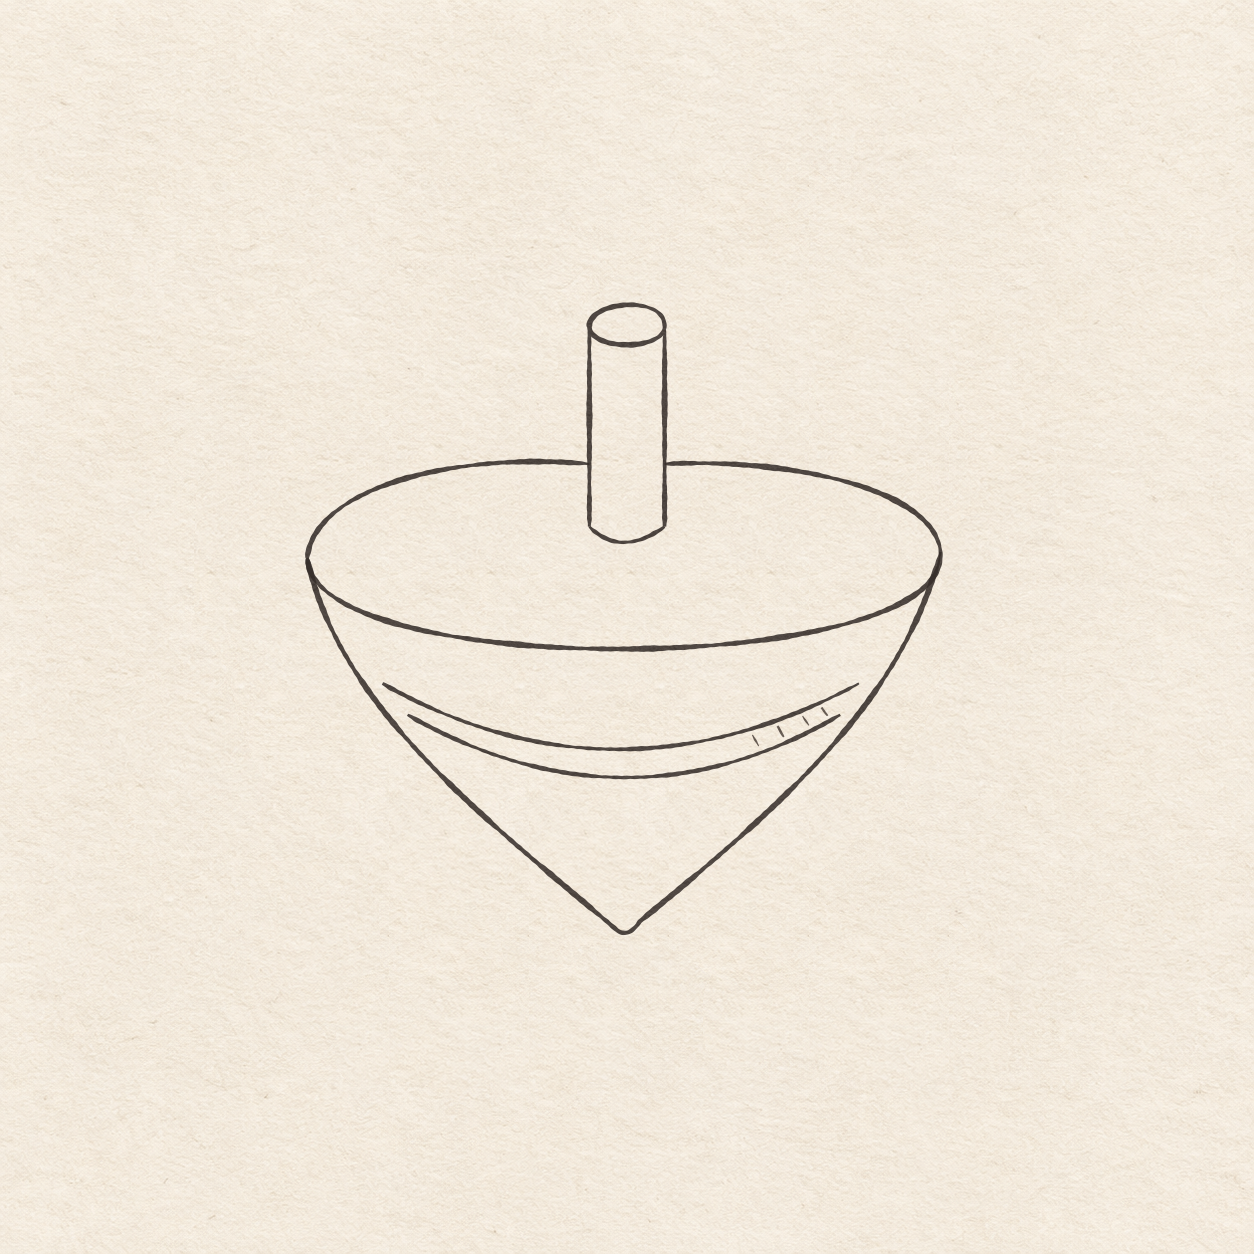
Instructions for Drawing 10 — Ink the curves and four little stripe marks
- Trace the upper curve along its two stops and shallow middle. Trace the lower curve separately. Keep both end pairs strictly inside the outer body. Leave open paper at each end of both stripe curves and inside the strip.
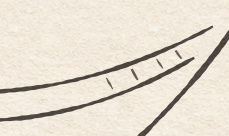
- About 5 mm left of the top stripe’s right end, start just under 1 mm below that curve. Draw a tiny freehand flick down and slightly right. Lift the pen before reaching the lower curve. Move about 3 mm left for each of three more flicks, stepping a little lower as the stripe bends down toward the middle. Keep paper at both ends of each flick. Make a flick shorter wherever the curves are closer together.

Drawing 11 — Erase the dry pencil guidesView larger 
Detail 11.1 — Where the rim meets the upright gripEach rear curve stops at its own grip side. The grip has a separate top oval and a short curved foot, with open paper between the foot and the front rim. 
Detail 11.2 — One small rounded pointThe two long sloping sides turn through a short rounded base. Keep both sides joined without extending the tip. 
Detail 11.3 — Four short strokes inside the stripeBoth stripe curves stop before the body edge. Four short slants sit on the right, with paper between each slant and both curves. CleanupErase the dry pencil guides
Instructions for Drawing 11 — Erase the dry pencil guides
- Fill a small patch on a scrap of the same paper with the same pen. Rub the patch gently with your eraser. If it smears, wait and test again. Once the patch stops smearing, erase the level line, placement dots and any remaining pencil under the outlines beside the dry ink.
If something looks off
If the little grip looks tilted
Use the spare sheet to hold the ruler square to the level guide. Check both grip sides against the exact rear rim gap ends while the lines are still in pencil.