FinelinerEasy

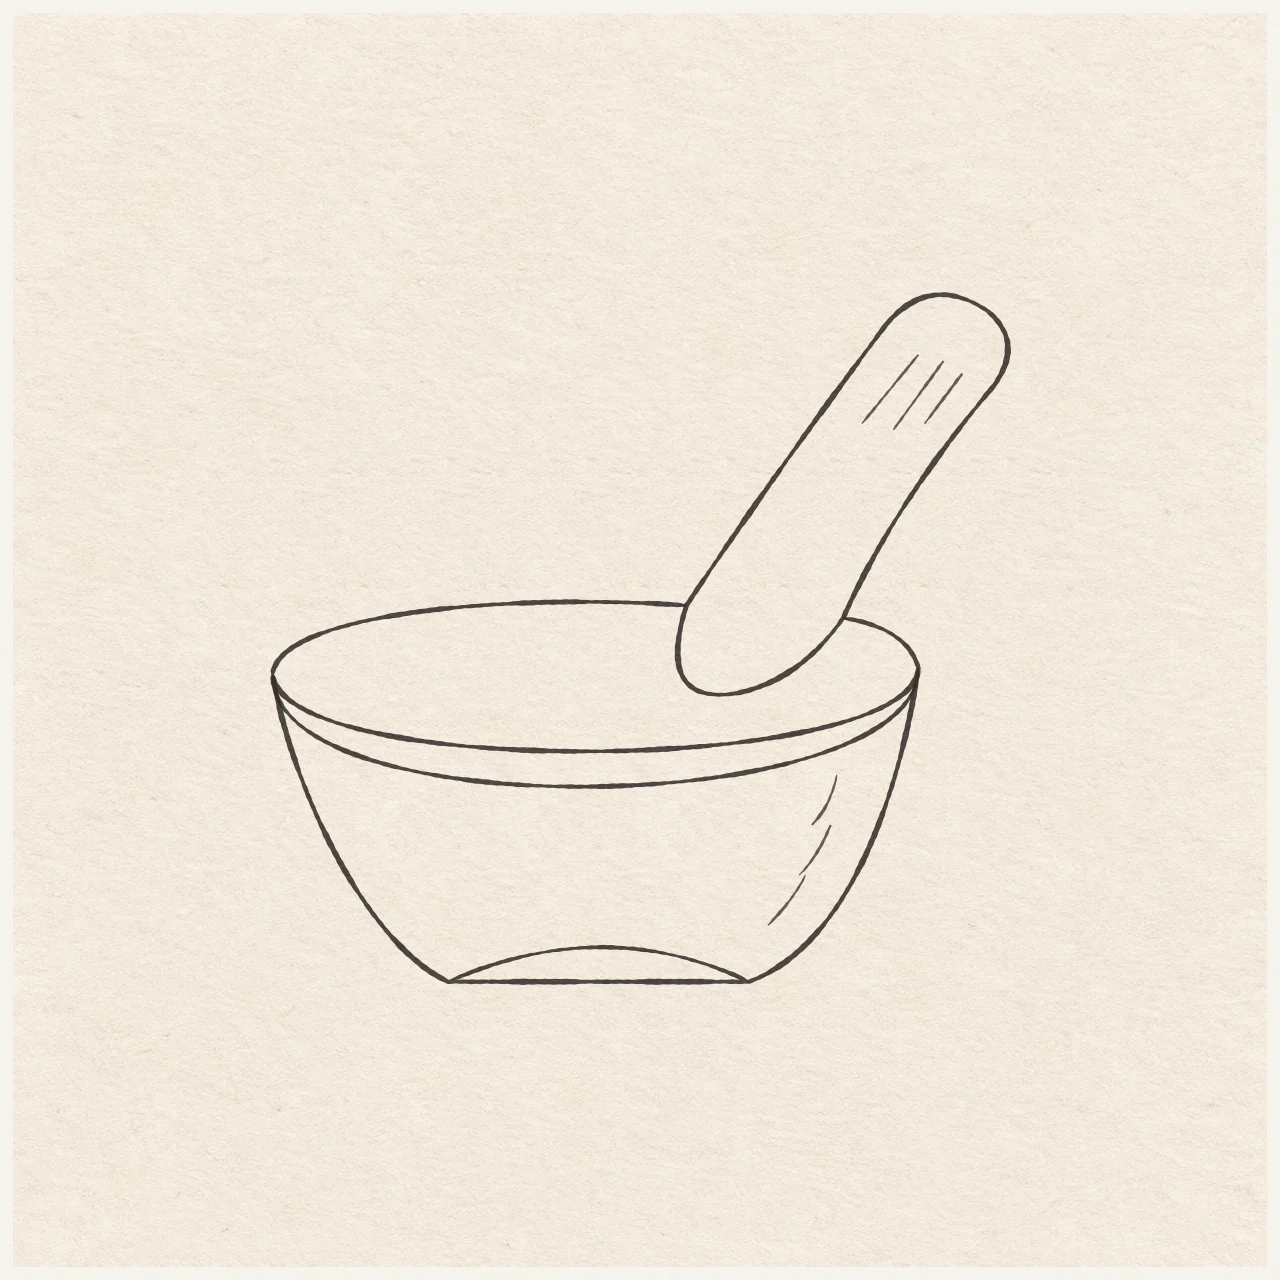
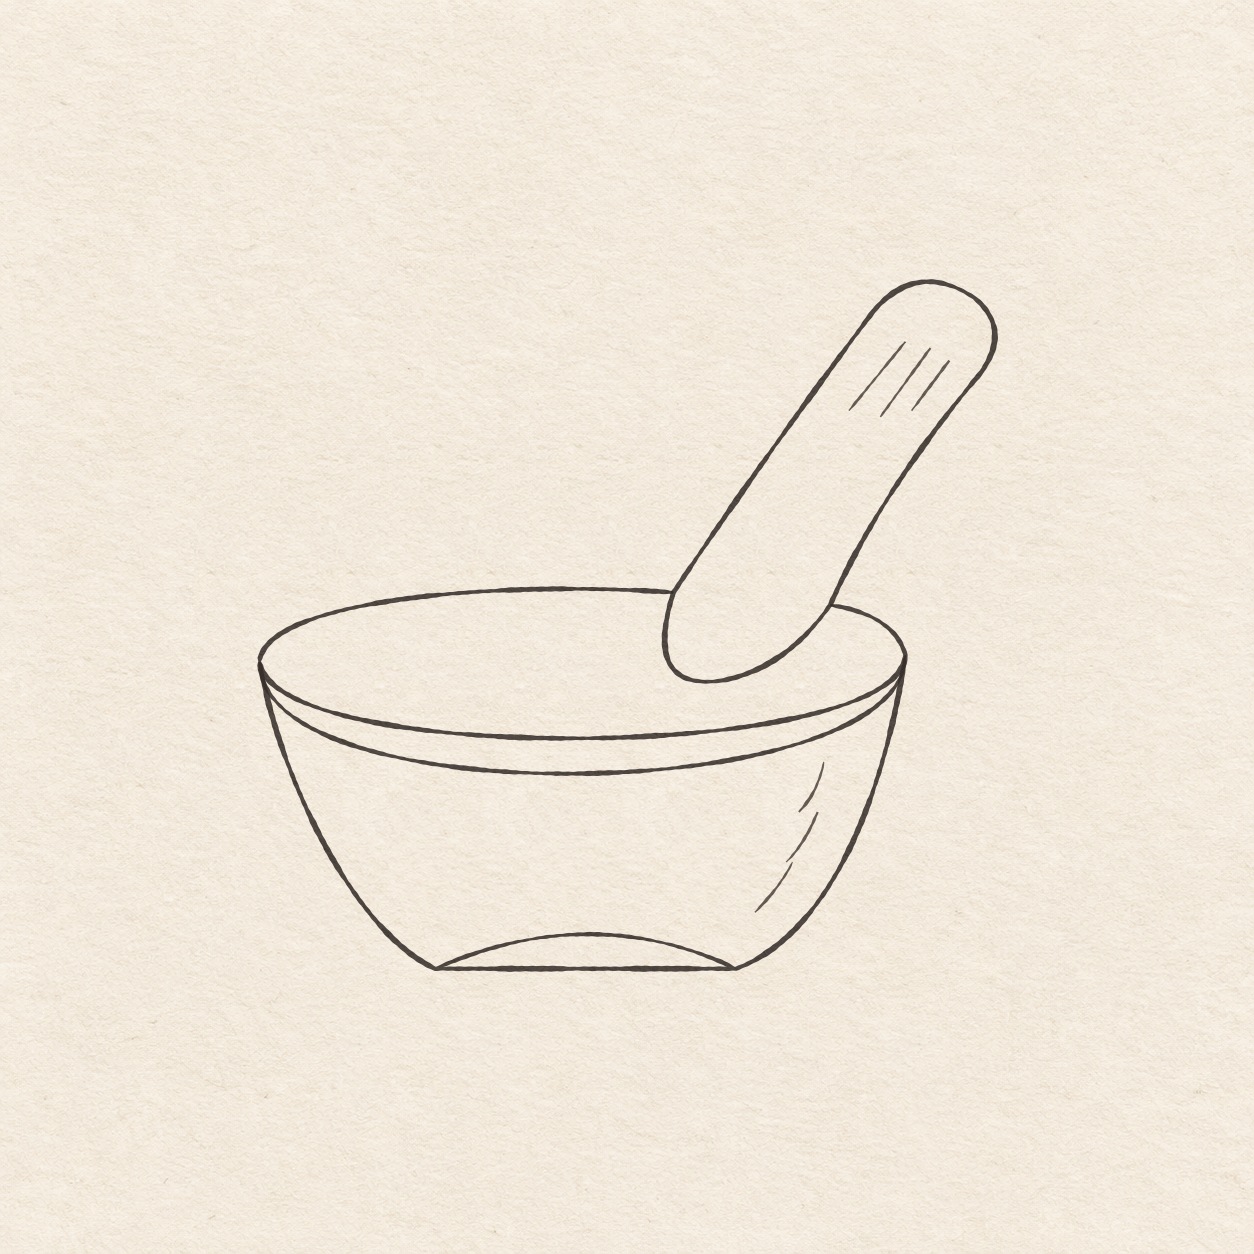
Mortar and pestle
Set the bowl’s oval rim and shape the pestle into its opening before tracing in pen.
Follow the drawing tutorial
Set the bowl’s oval rim and shape the pestle into its opening before tracing in pen.
Start the 7-step tutorialA small thing to tryJoin the pestle to both stops of the back rim and leave paper between the tool and the front lip.
Draw it, one step at a time
Draw a mortar and pestle
Set the bowl’s oval rim and shape the pestle into its opening before tracing in pen.
What you’ll need
- HB pencil
- Eraser
- Fine black pen
- Ruler
- Spare sheet with a square corner
- Drawing paper
Before you start
The study is about 9.5 cm wide. Choose a place for the left side of the bowl with room beneath it for the foot and above it for the raised end of the pestle.
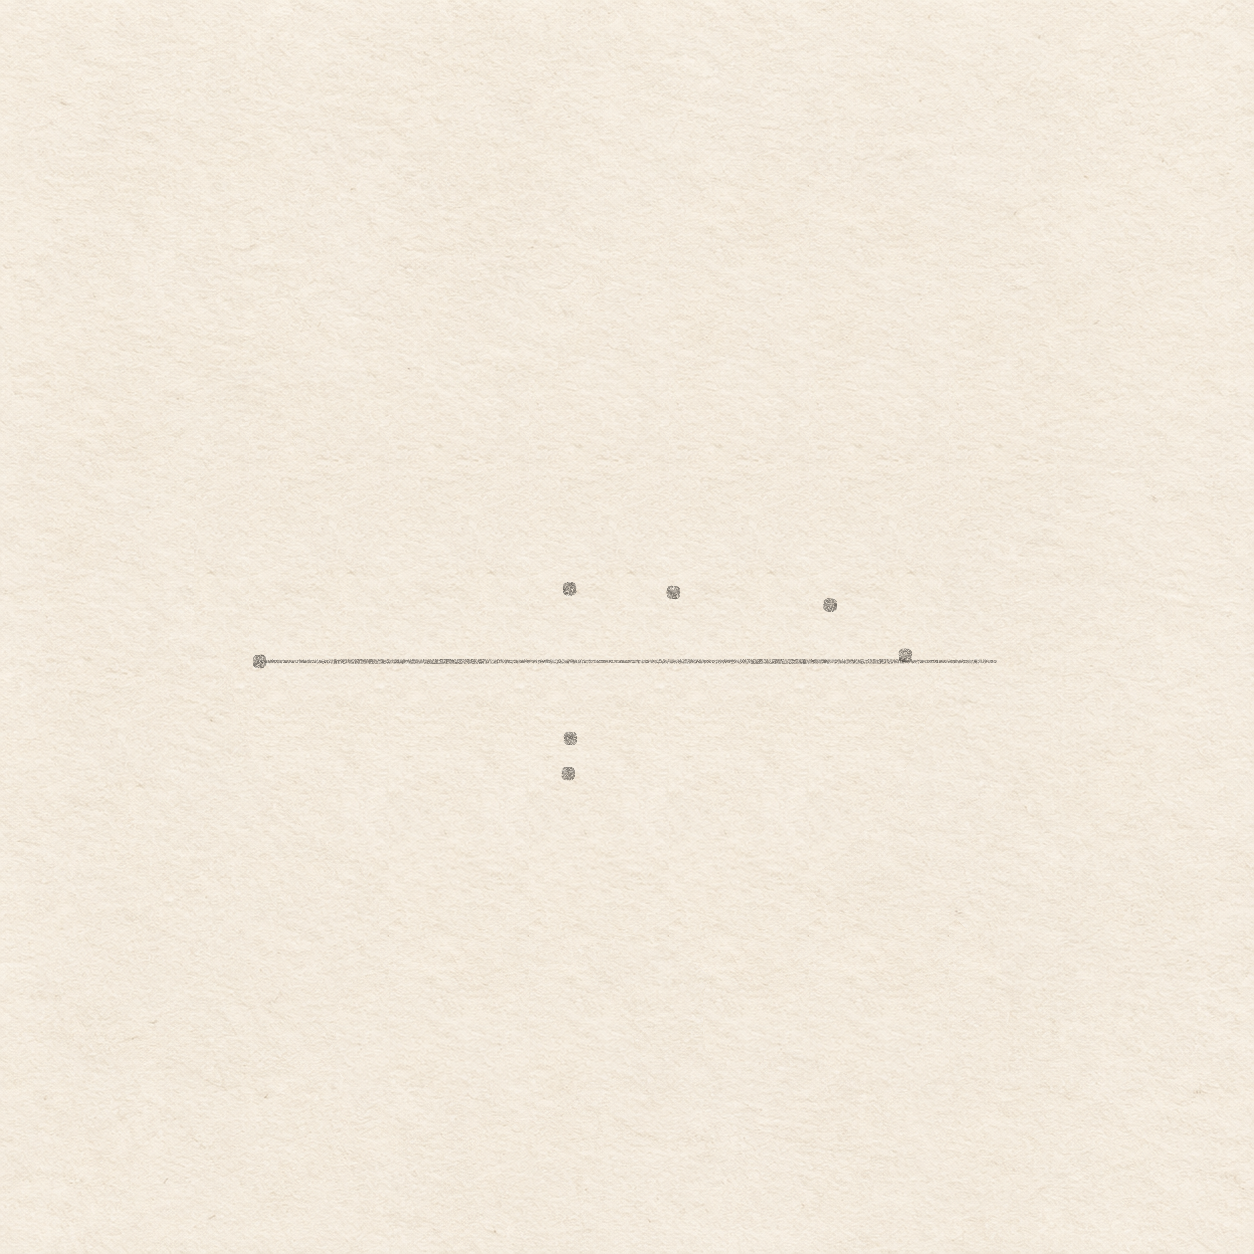
Drawing 1 — Place both rim sides and the rear openingView larger PencilPlace both rim sides and the rear opening
Instructions for Drawing 1 — Place both rim sides and the rear opening
- Choose where the left rim corner will sit and make a light dot. Leave about 10 cm to its right, 5.5 cm above and 4.5 cm below. Move your starting dot now if that space would crowd an edge of your sheet.
- Rule a very faint level line 9.4 cm to the right of the dot. Set one edge of a spare sheet along the line. Slide the square corner to each sideways measurement and use its upright edge to measure up or down. Use the same level for all the bowl and pestle placement measurements.
- Measure along the faint line from the left dot, setting the square corner at each spot. Put the right rim dot about 8.2 cm right and 1 mm up. At 4 cm right, mark the back rim about 9 mm up and the two front curves about 1 cm and 1.4 cm down. Mark the two ends of the rear opening about 5.3 cm right and 9 mm up, then 7.3 cm right and 7 mm up. See that the two rear opening dots sit to the right of the highest back-rim dot.

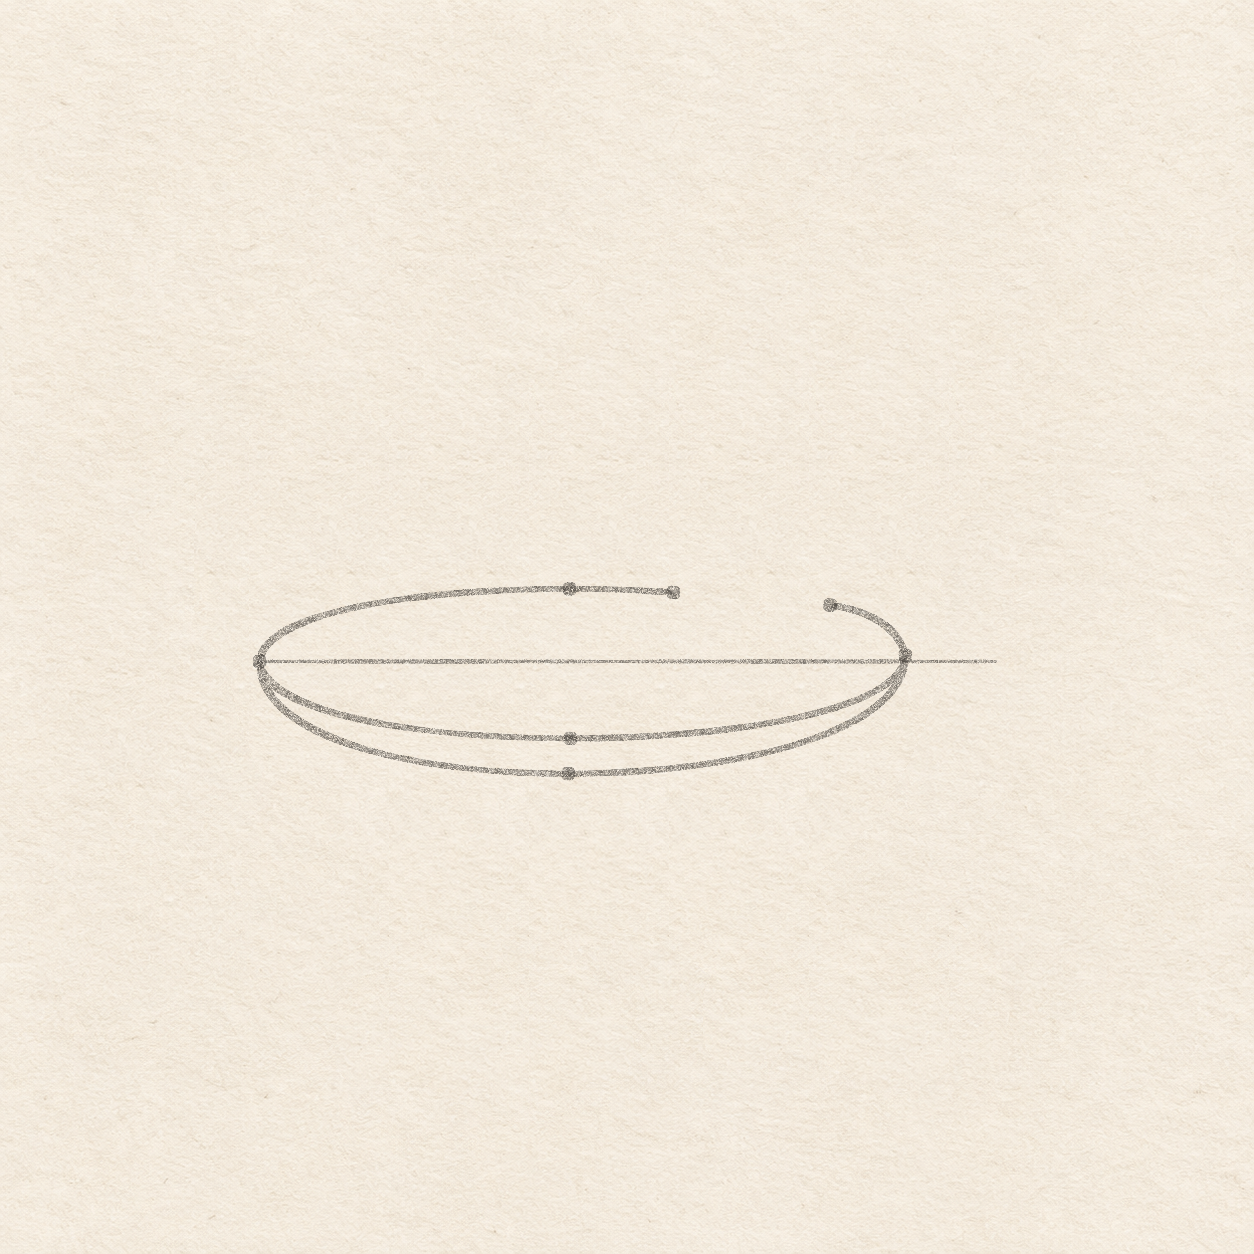
Drawing 2 — Curve the rim around its open backView larger PencilCurve the rim around its open back
Instructions for Drawing 2 — Curve the rim around its open back
- From the left rim dot, sweep freehand up through the high dot to the nearer dot of the rear opening. Lift the pencil. From the far opening dot, curve gently down to the right rim dot, then bow through the higher of the low middle dots and back to the left rim dot. Draw a second freehand curve from the left rim dot through the lower middle dot to the right rim dot. Leave the opening in the back. Keep a thin strip of paper between the two front curves while they meet at both sides.

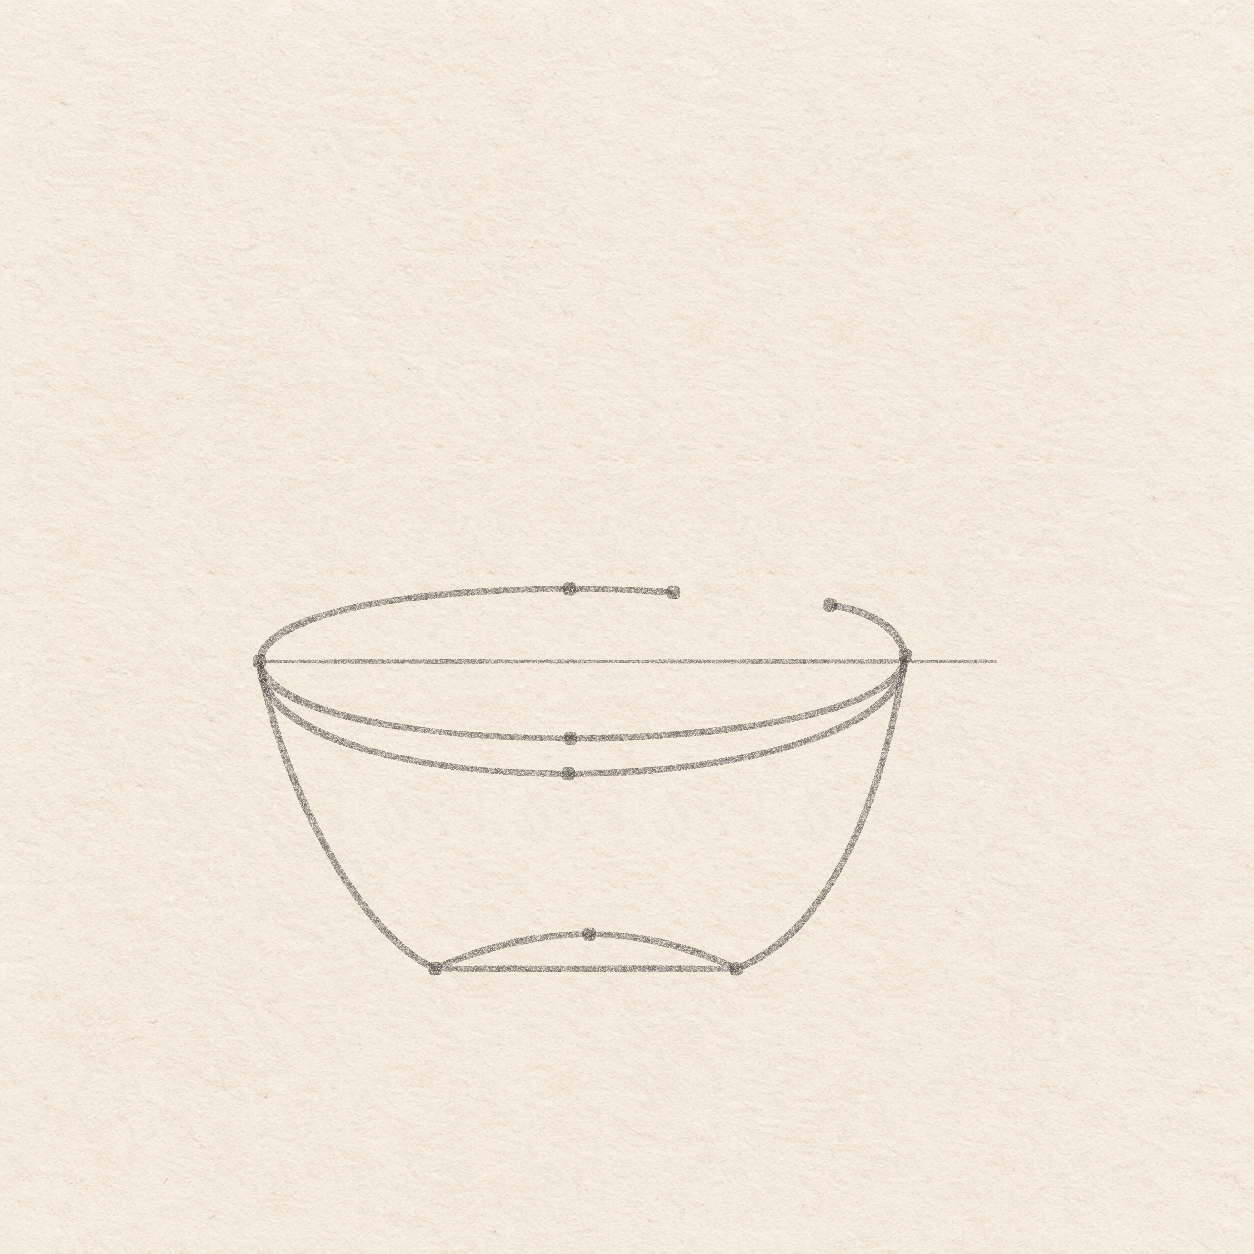
Drawing 3 — Shape the bowl and its baseView larger PencilShape the bowl and its base
Instructions for Drawing 3 — Shape the bowl and its base
- Use the level line through the left rim dot. Seat the square corner about 2.2 cm right and mark 3.9 cm down. Move it to 6.1 cm right and make a second dot 3.9 cm down. Halfway between those sideways spots, make a dot about 3.5 cm below the line. Check that both foot corners are level and the middle dot is just above them.
- Curve freehand down and in from the left rim stop to the left foot dot. Rule across to the right foot dot. From there, curve gently up and out to the right rim stop. Draw a shallow freehand arc from the left foot to the right foot through the dot just above the base. Leave a slim open strip between the shallow curve and the ruled base. Keep both edges touching at the two foot corners.

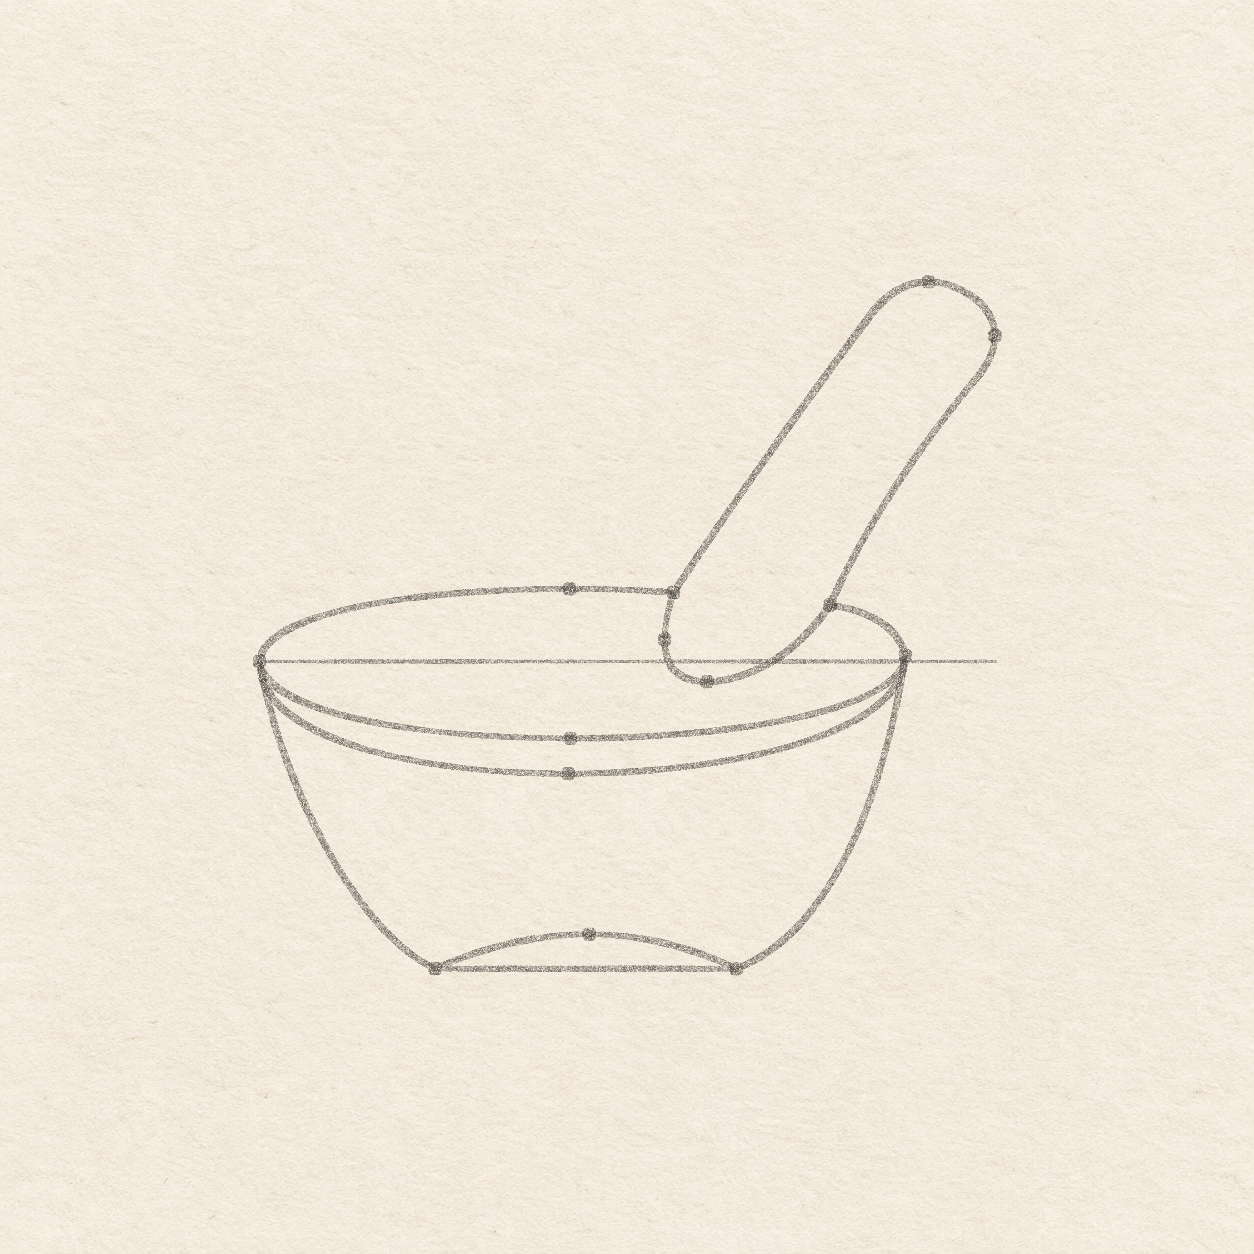
Drawing 4 — Fit the rounded pestle through the gapView larger 
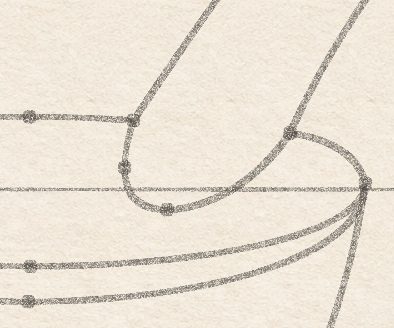
Detail 4.1 — Two places where the pestle meets the rimBoth ends of the back rim touch the pestle. The front lip runs continuously below the rounded inner end. PencilFit the rounded pestle through the gap
Instructions for Drawing 4 — Fit the rounded pestle through the gap
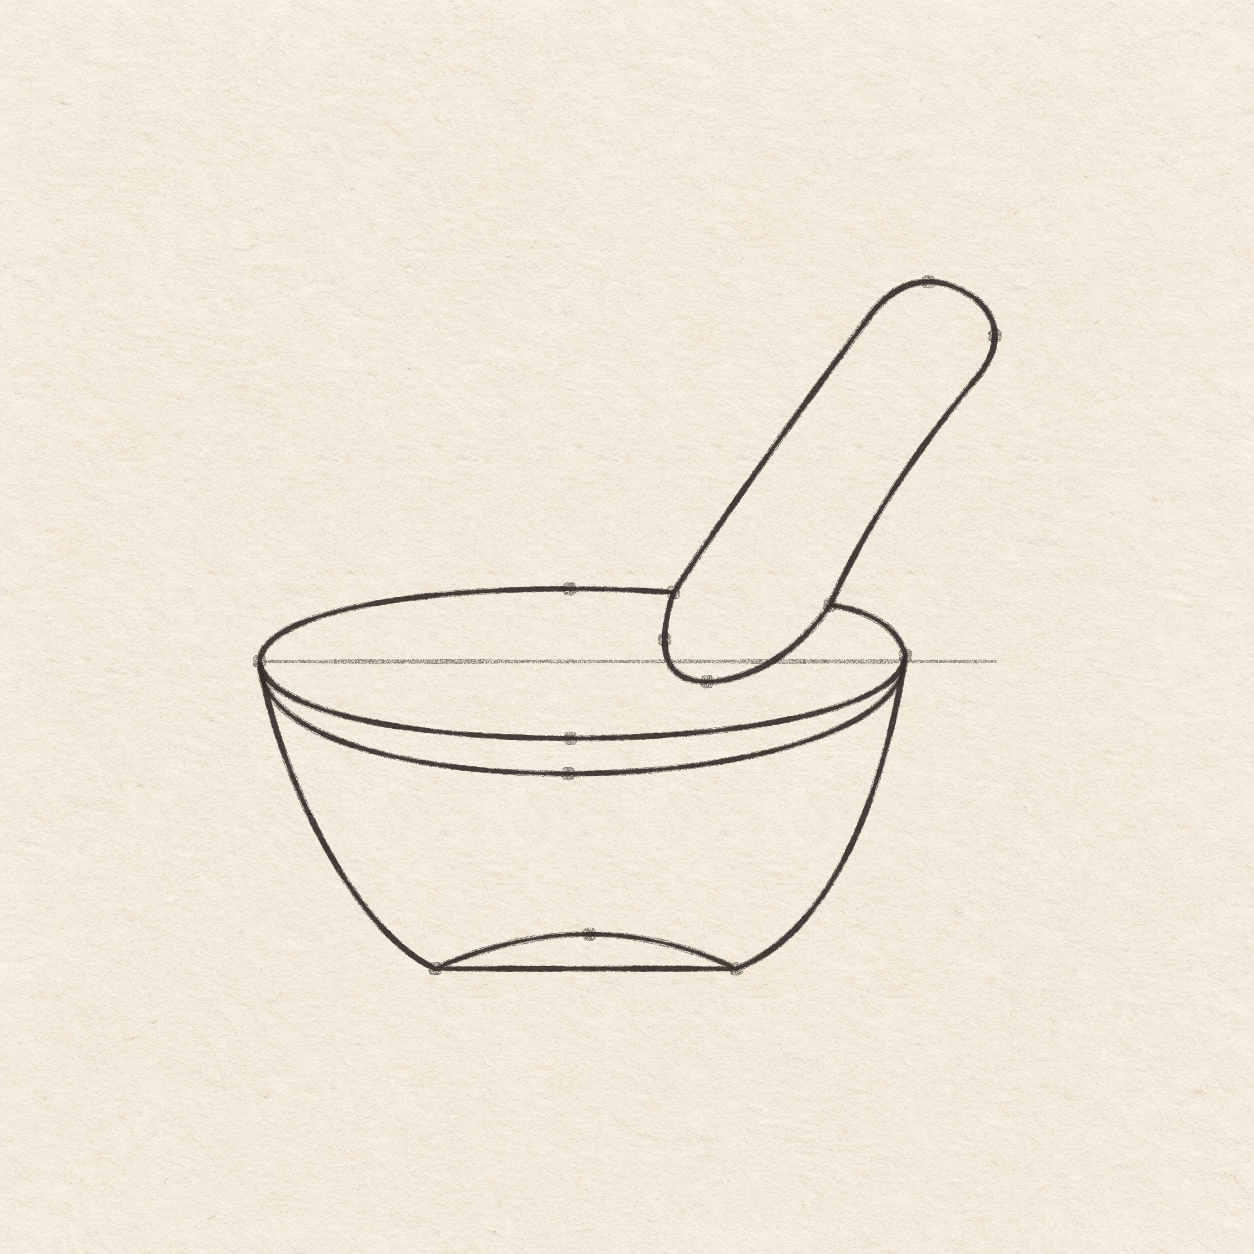
- Move the square corner along the bowl’s level line. From the original left rim dot, measure 8.5 cm right and 4.8 cm up for the high pestle dot, then 9.4 cm right and 4.1 cm up for its far right dot. For the inner end in the bowl, mark about 5.7 cm right and 3 mm below the line, and about 5.2 cm right and 3 mm above it. The lower two dots belong above the front lip. Check that the upper two dots sit well above and right of the rear gap.
- Start where the left part of the rear rim stops. Sweep freehand up and right to the high pestle dot. Round around the far right dot and curve back down and left to the other rear rim stop. Continue around the two low dots in the bowl and return to the first rim stop. Keep this one closed shape. The back rim ends should touch its two sides, with the front lip still clear below.

Drawing 5 — Ink the bowl and pestle outlinesView larger FinelinerInk the bowl and pestle outlines
Instructions for Drawing 5 — Ink the bowl and pestle outlines
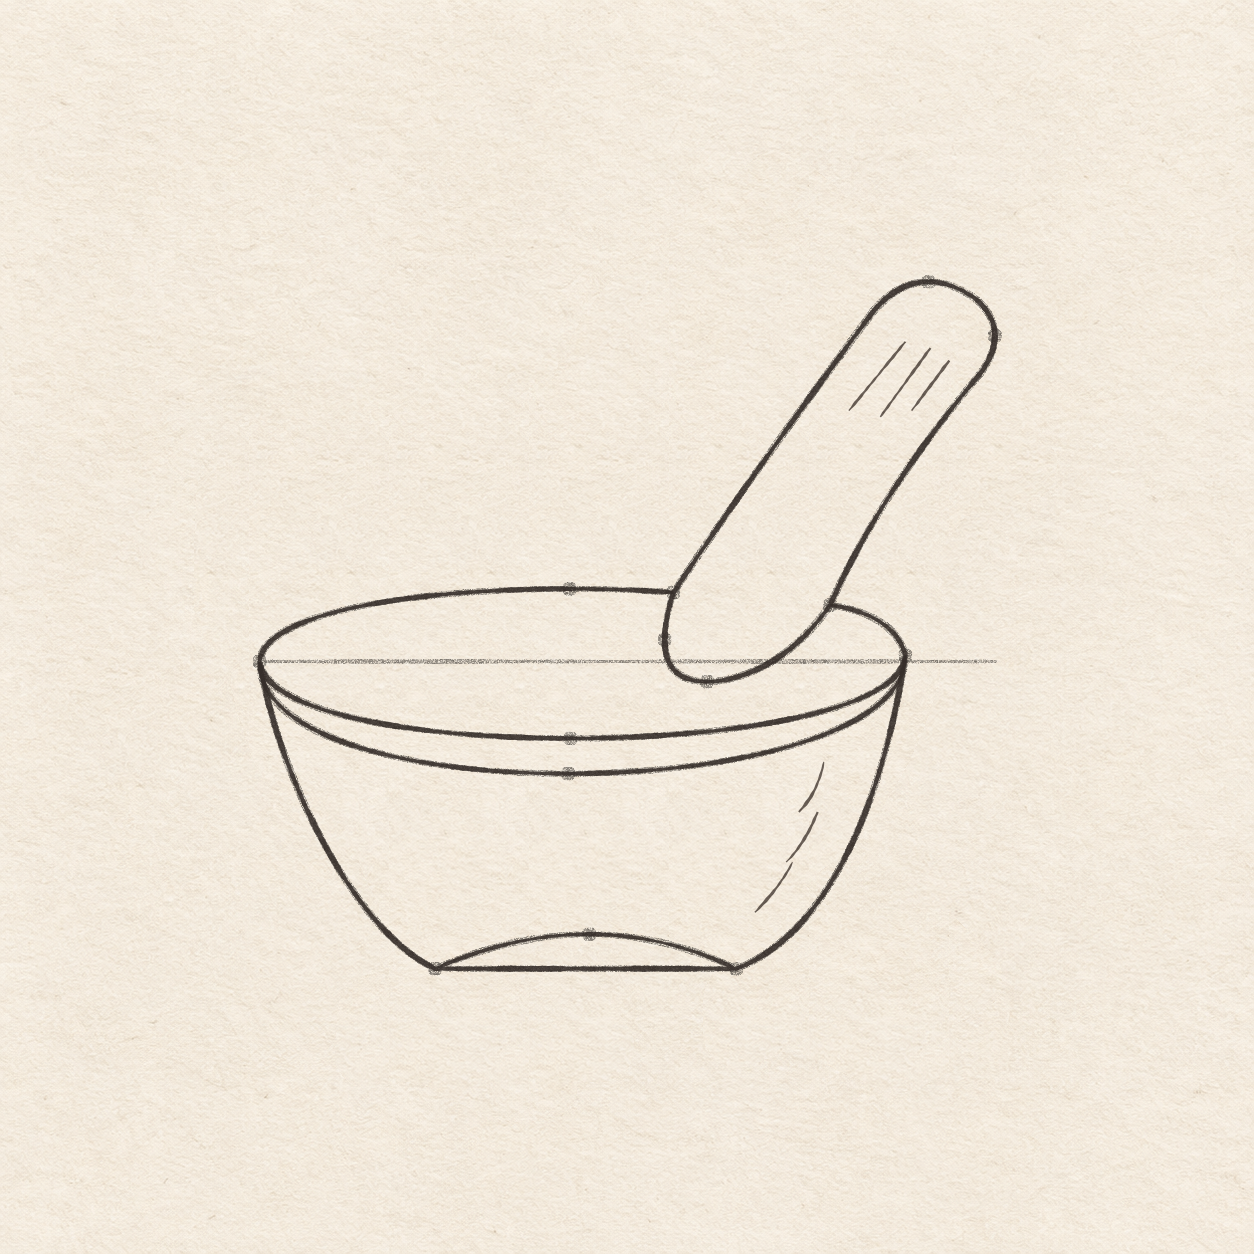
- Trace the left and right sections of the rear rim and both front curves in pen. Leave the rear opening for the pestle. Keep the front curves joined at the two sides with paper between them.
- Trace both bowl walls, the ruled bottom and the shallow foot arc. Check each wall meets the rim and both foot corners still meet their shallow curve.
- Trace the pencil tool outline through both rear rim ends and around both rounded ends. Stop and close at the starting contact. Keep pale paper between the tool and front lip.

Drawing 6 — Place the two small sets of hatchesView larger FinelinerPlace the two small sets of hatches
Instructions for Drawing 6 — Place the two small sets of hatches
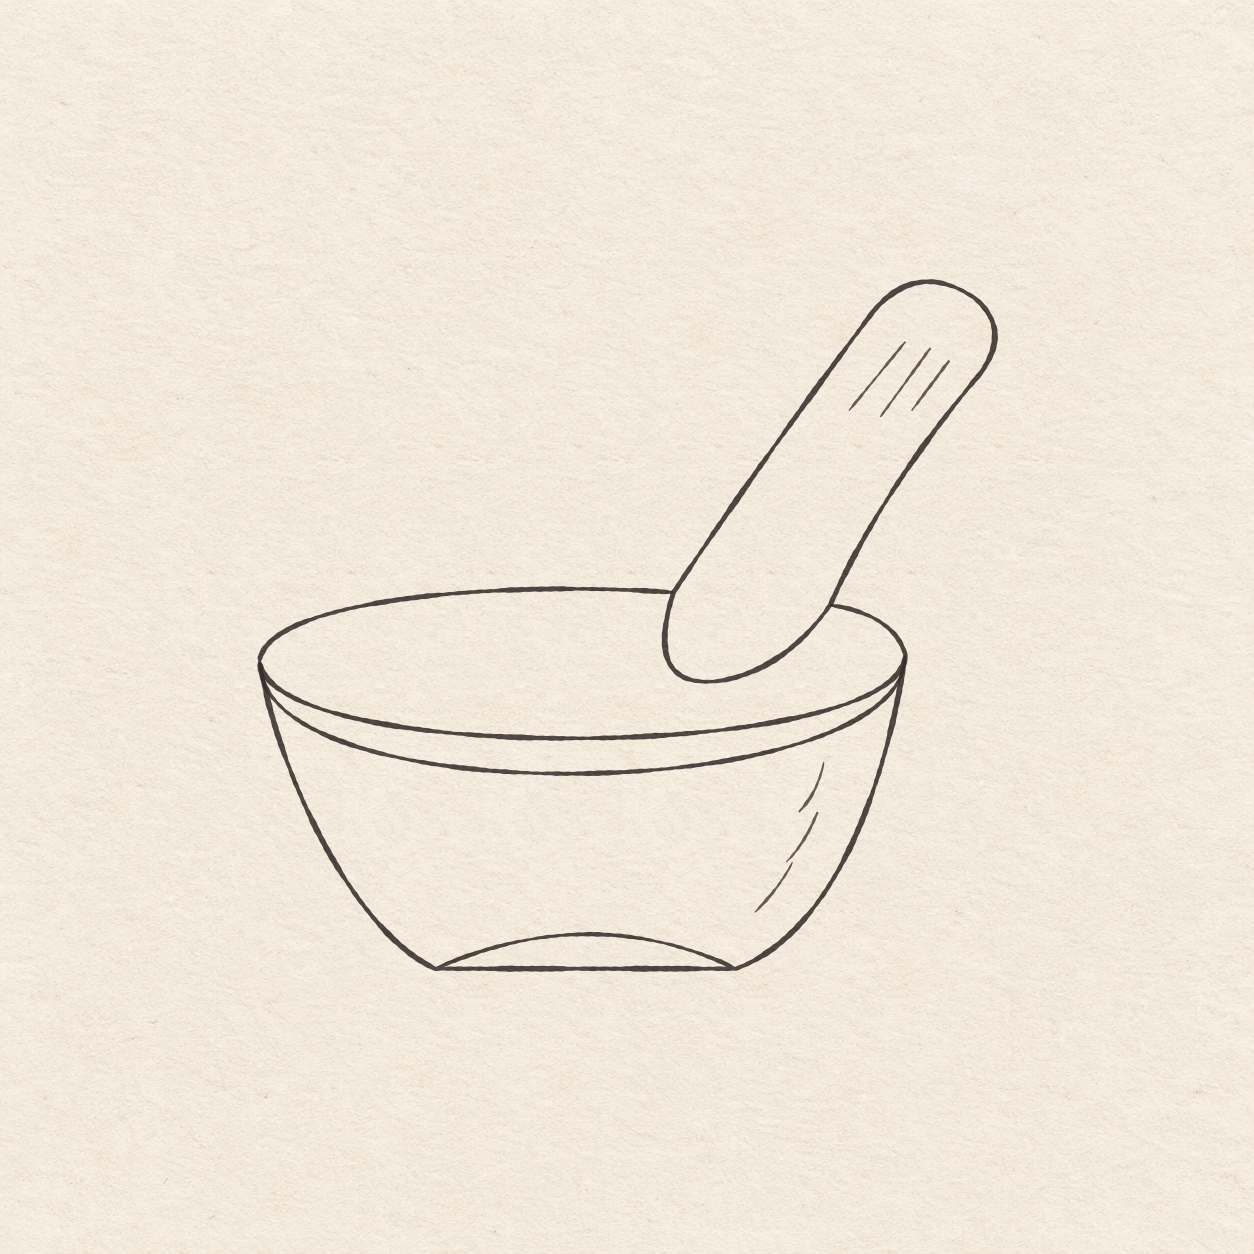
- Inside the bowl’s right wall, place three short curved down-left slashes, stepping each lower one slightly left. Inside the high rounded pestle end, draw three short slashes down and left, staying inside its rim. Keep gaps between each short stroke and leave the rest of the bowl and tool pale.

Drawing 7 — Erase the dry pencil guidesView larger 
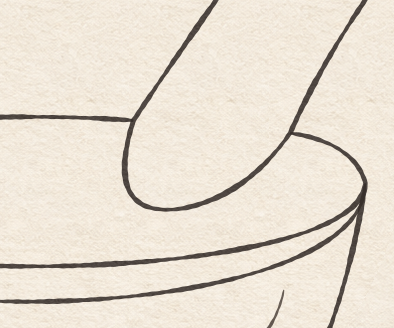
Detail 7.1 — Two places where the pestle meets the rimBoth ends of the back rim touch the pestle. The front lip runs continuously below the rounded inner end. CleanupErase the dry pencil guides
Instructions for Drawing 7 — Erase the dry pencil guides
- Fill a small patch on a scrap of the same paper with the same pen. Rub the patch gently with your eraser. If it smears, wait and test again. Once the patch stops smearing, erase the faint measuring line, placement dots and remaining graphite beside the dry ink.
If something looks off
If the pestle floats above the bowl
Return to the two ends of the interrupted rear rim. The pencil pestle outline must meet both ends, while the front rim spans continuously below the tool.