FinelinerEasy

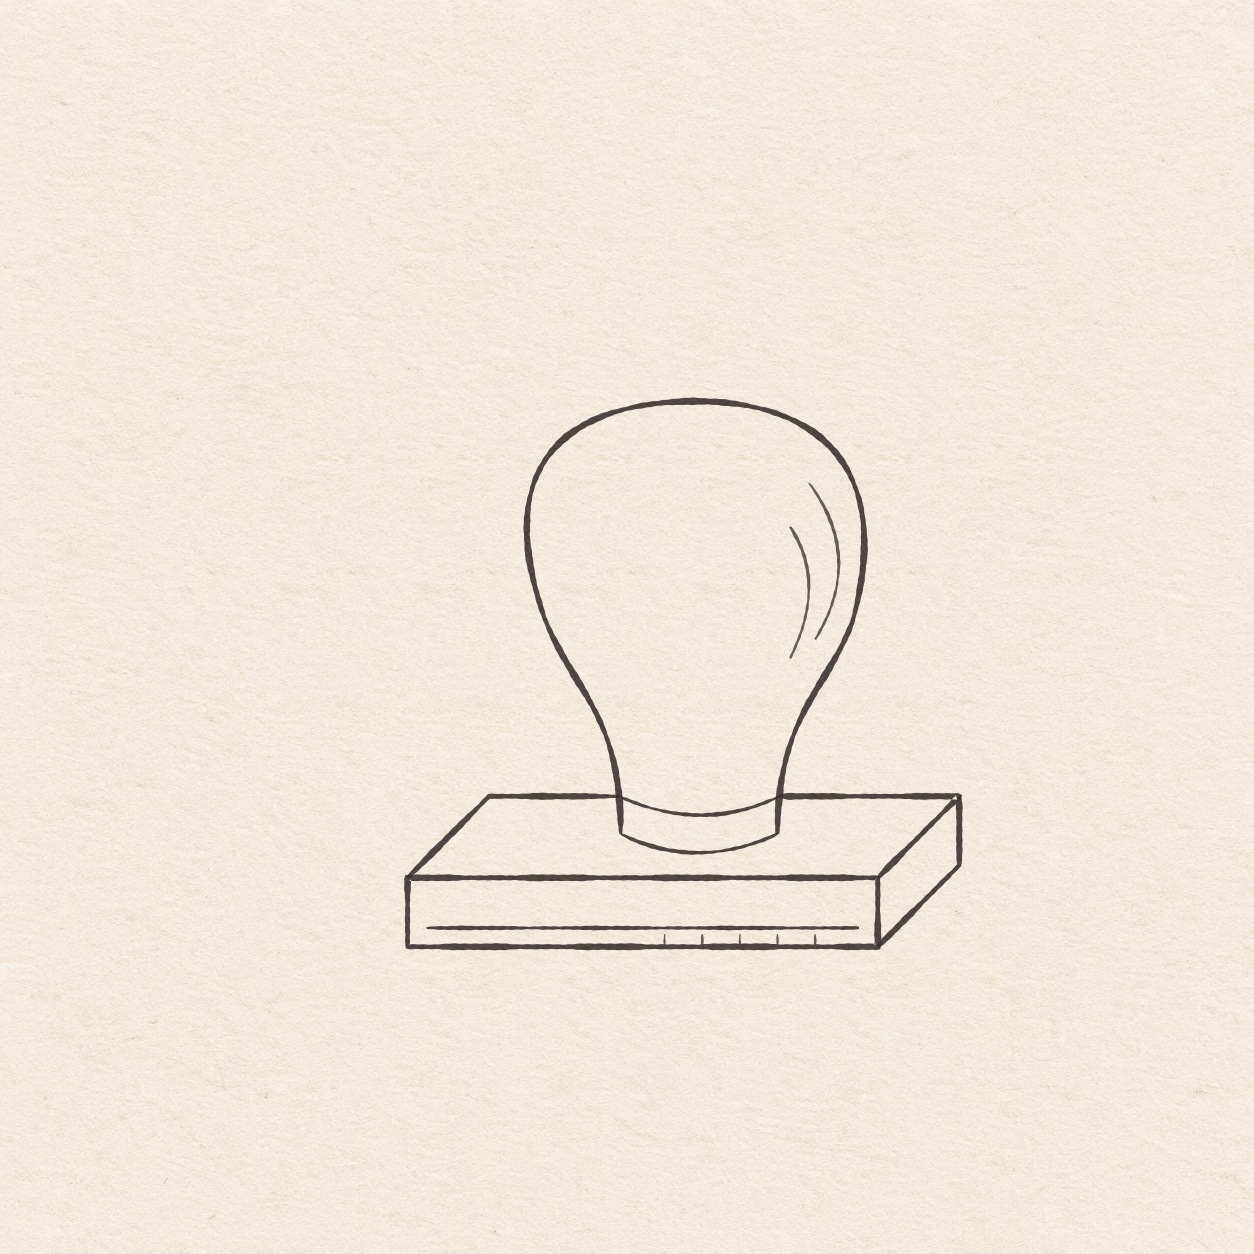
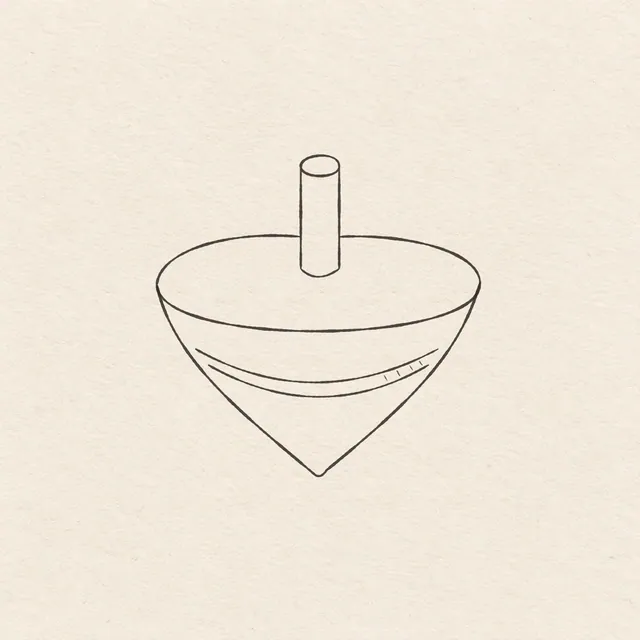
Wooden desk stamp
Build the rectangular desk stamp base, place the rounded grip and join the curved collar before using fine pen.
Follow the drawing tutorial
Build the rectangular desk stamp base, place the rounded grip and join the curved collar before using fine pen.
Start the 8-step tutorialA small thing to tryMake both receding right-side edges follow the same direction, and keep the inset seam separate from the bottom hatches.
Draw it, one step at a time
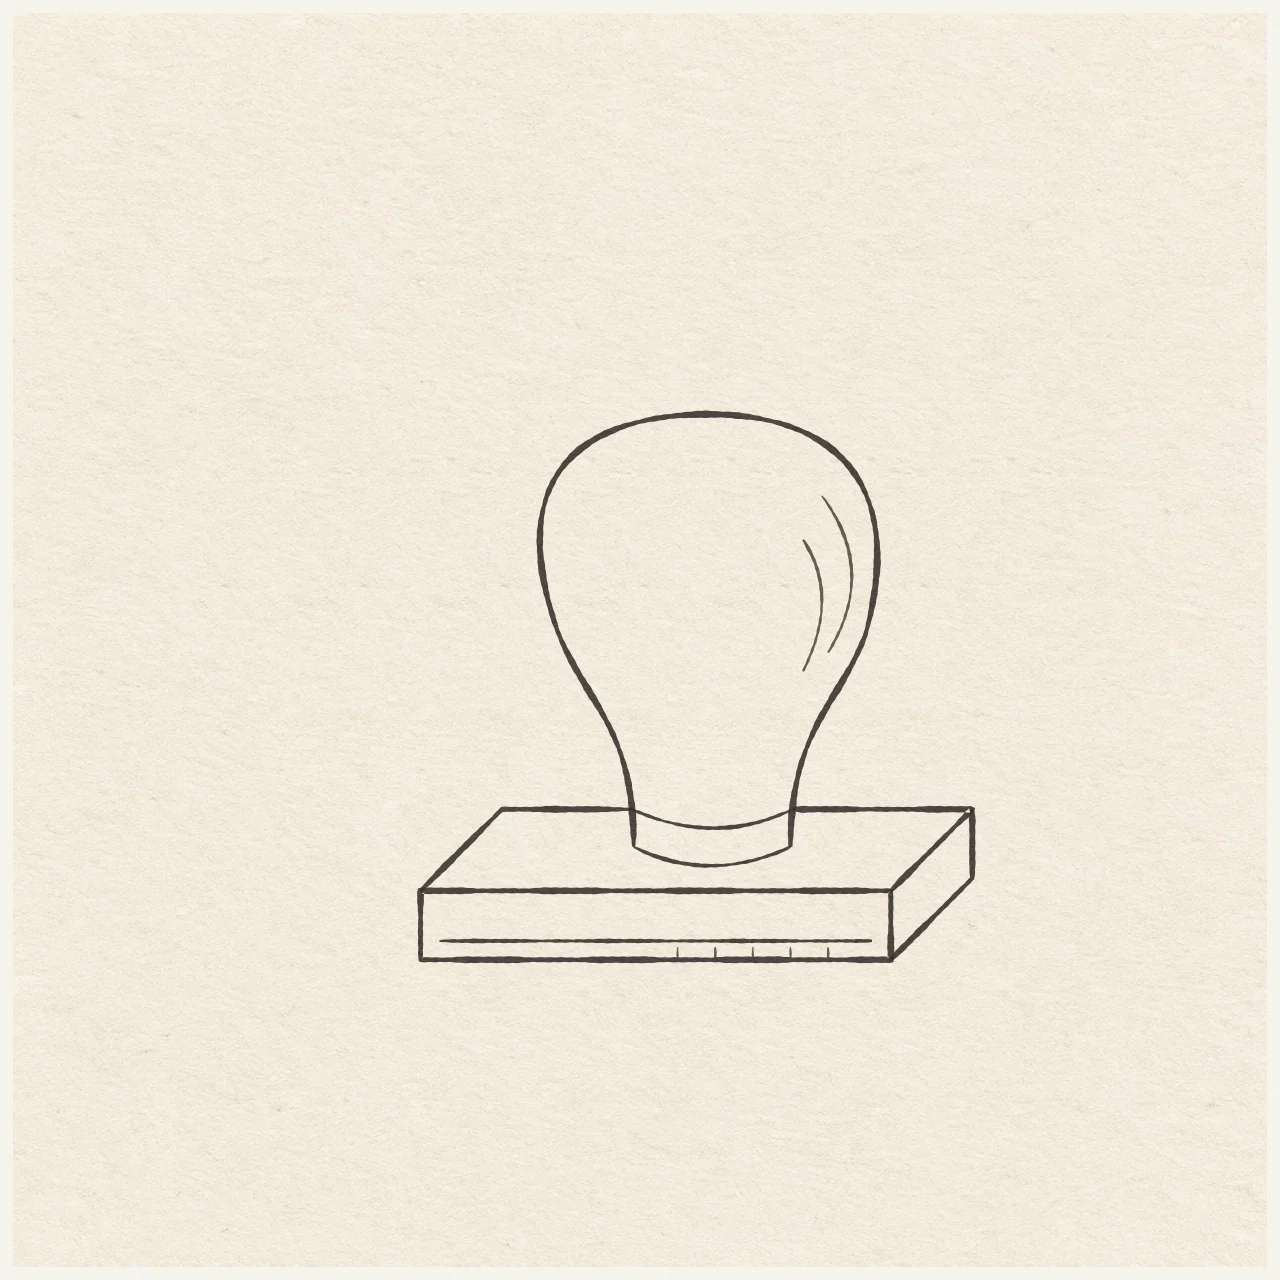
Draw a desk stamp
Build the rectangular desk stamp base, place the rounded grip and join the curved collar before using fine pen.
What you’ll need
- HB pencil
- Eraser
- Ruler
- Spare sheet with a square corner
- Fine black pen
- Drawing paper
Before you start
Choose where the stamp will sit on your page. This example is about 9 cm wide and 9 cm tall. Leave a small margin around it.
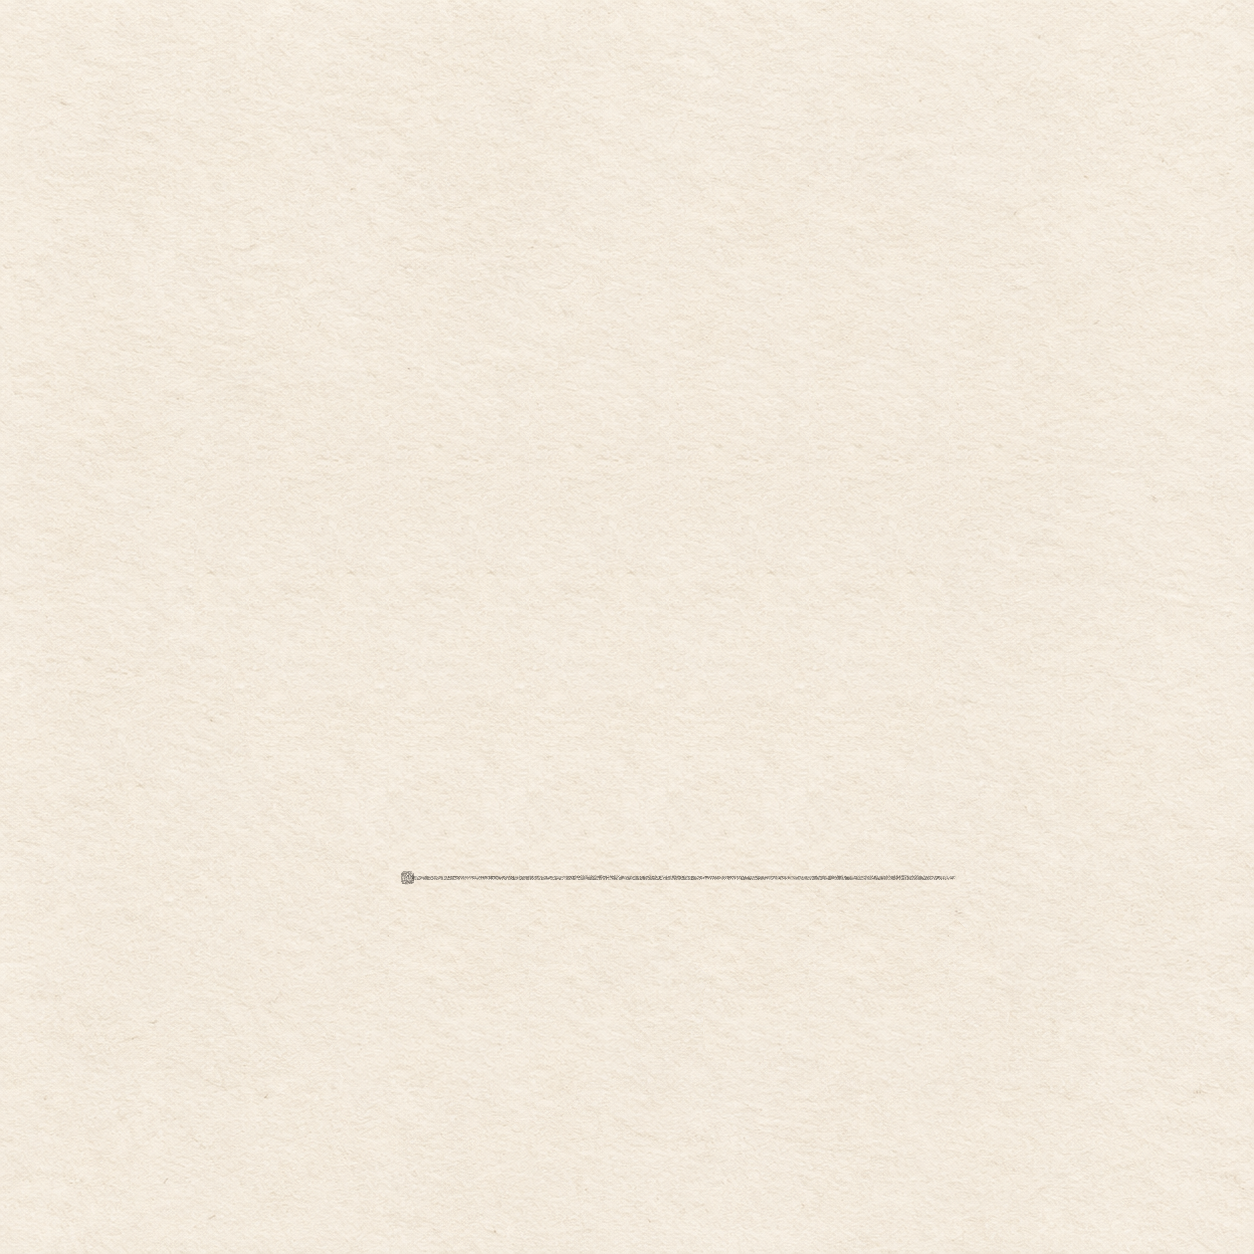
Drawing 1 — Place the first base cornerView larger PencilPlace the first base corner
Instructions for Drawing 1 — Place the first base corner
- Mark a small dot for the front upper-left corner. Leave about 9 cm to its right, 8 cm above it and about 1.5 cm below, plus a little spare paper. Move the dot if the handle would crowd the edge of the sheet.
- Rule a faint line about 8.8 cm to the right from the dot. Slide the spare sheet’s corner along this line. Keep one side level as you measure up or down along the other. Keep this line light so you can erase any part that extends beyond the base.

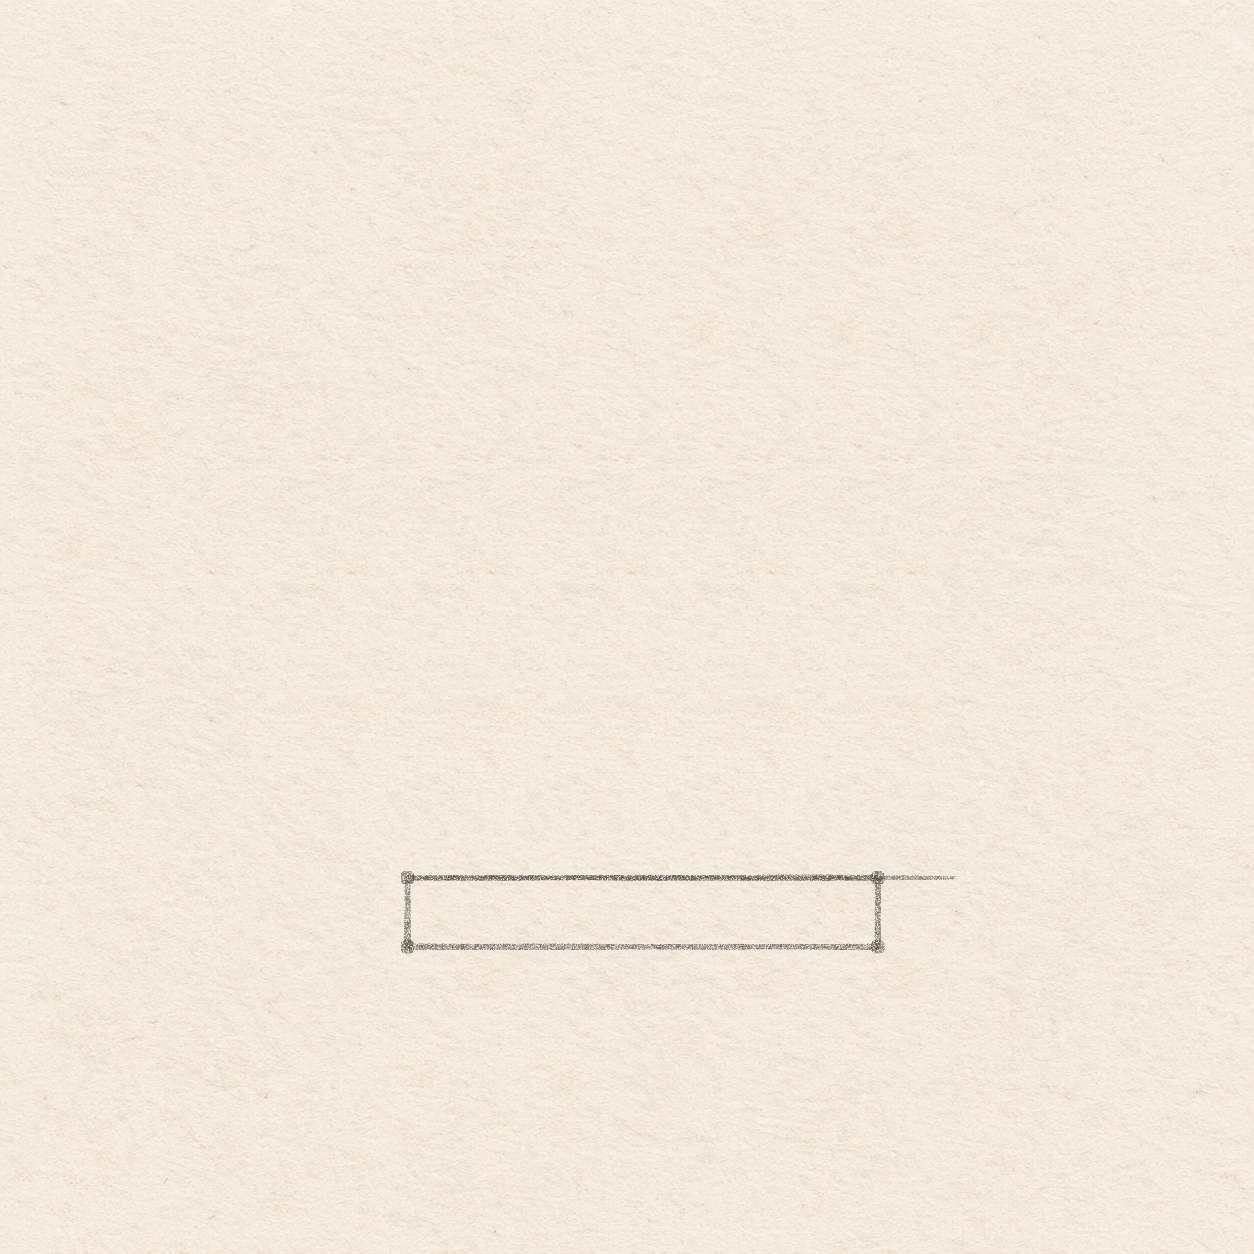
Drawing 2 — Rule the rectangular front faceView larger PencilRule the rectangular front face
Instructions for Drawing 2 — Rule the rectangular front face
- On the light line, measure 7.5 cm right from the starting dot and mark the upper-right corner. Set the spare sheet’s square corner on each upper dot in turn. Mark another dot 1.1 cm straight down from each one. Check that both lower dots sit at the same level.
- Rule from the lower-left dot to the lower-right dot. Go straight up to the upper-right dot and rule left to the original upper-left dot. Rule straight down to close the left edge. Keep the front face shallow and its corners square.

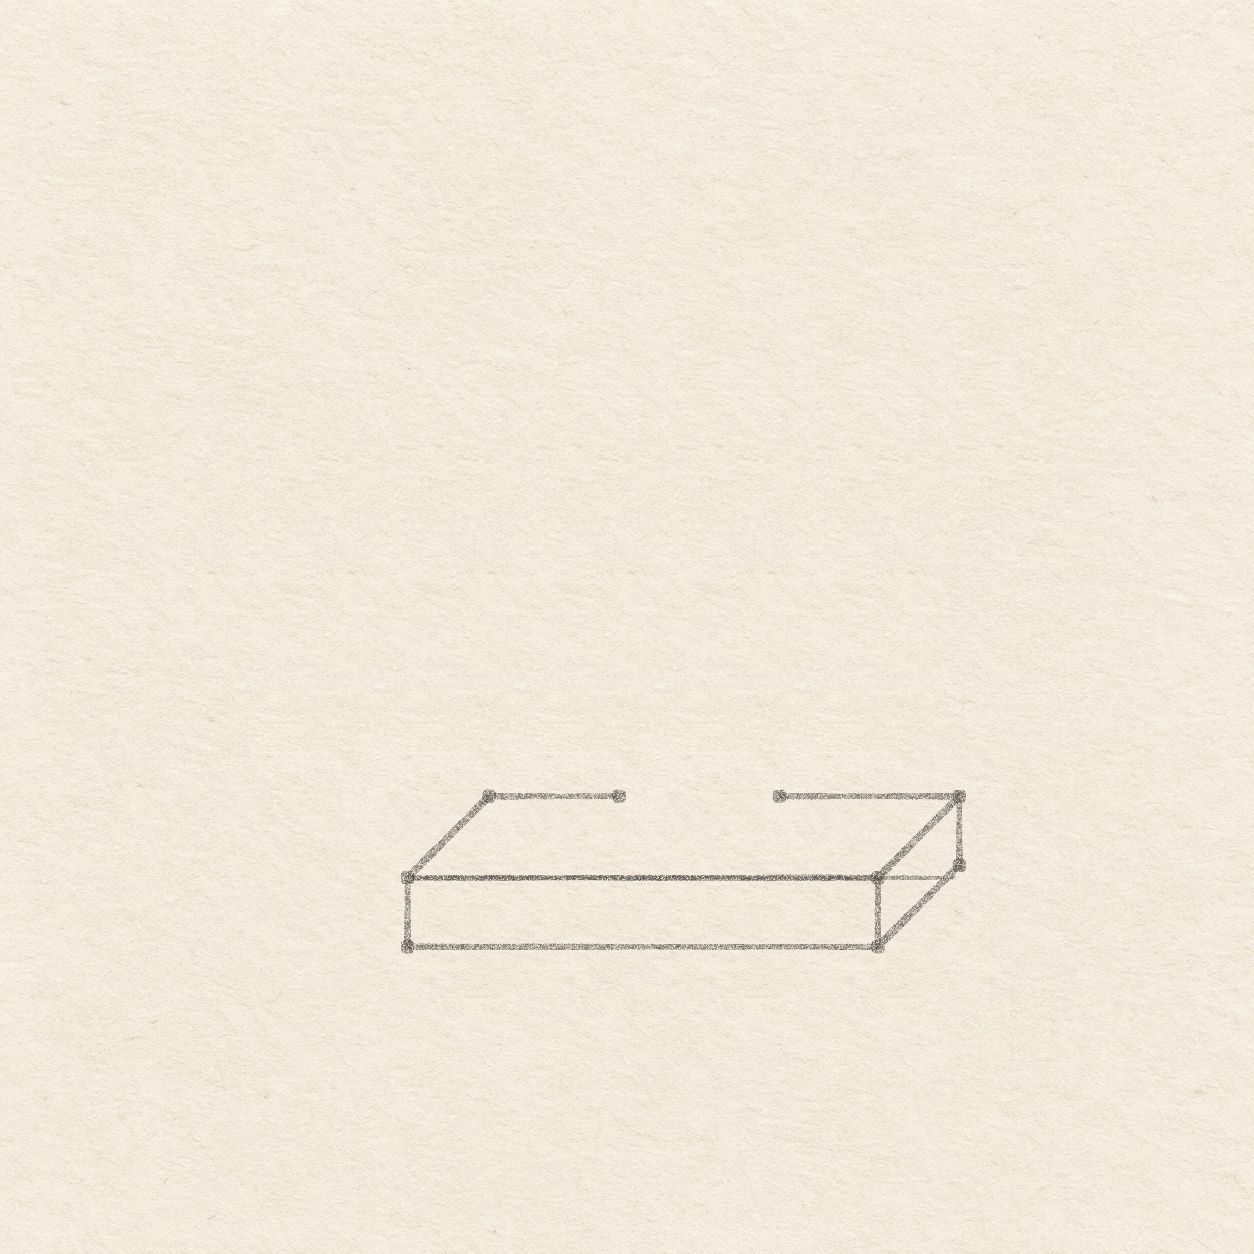
Drawing 3 — Draw the rear edge and right side of the baseView larger 
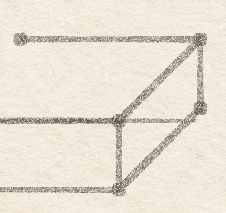
Detail 3.1 — Rear drop and two matching sloping edgesThe short rear edge drops straight down. The two diagonal edges of the side panel slant the same way. PencilDraw the rear edge and right side of the base
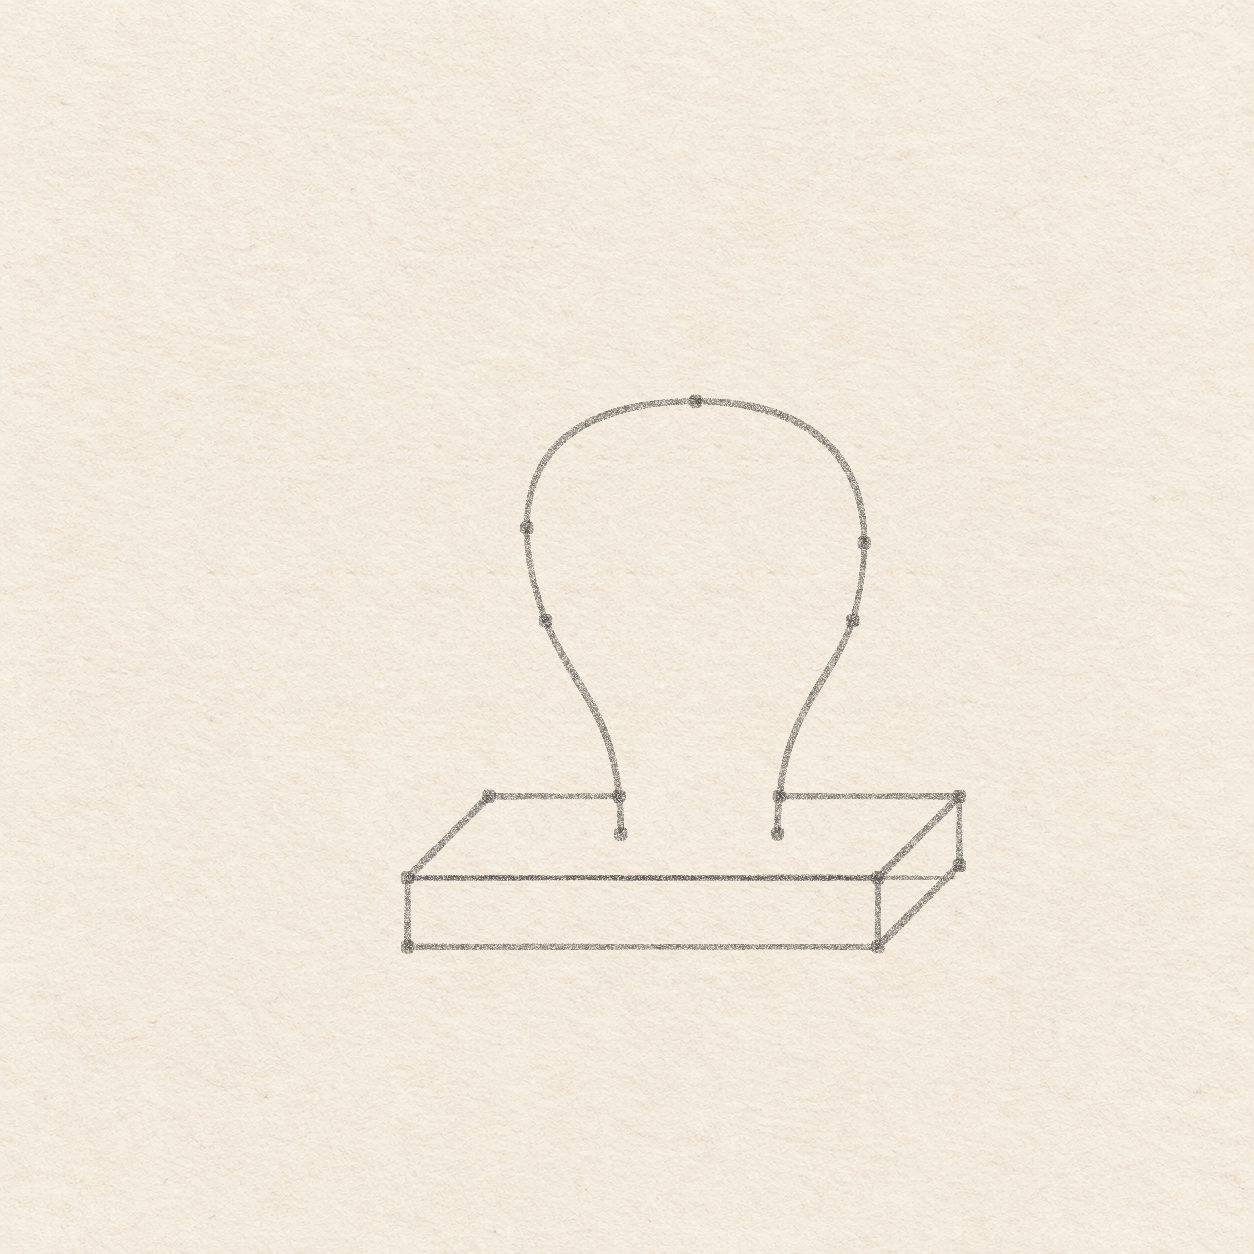
Instructions for Drawing 3 — Draw the rear edge and right side of the base
- From each upper corner of the front rectangle, measure 1.3 cm right along the light line. At each spot, use the square corner to mark a dot 1.3 cm straight up. Those are the left and right rear corners. Hold the ruler through both rear dots. From the left rear corner, put the two gap dots about 2.1 cm and 4.6 cm to its right. Put a fifth dot 1.1 cm directly below the right rear corner. The rear drop ends 2 mm above the front top level. The two gap dots line up with the rear corners.
- Join the front upper-left corner to the rear-left dot. Rule right along the rear edge to the first gap dot and lift the pencil. Start again at the second gap dot and rule to the rear-right corner. From there, draw down-left to the front upper-right corner. Leave the slot between the two gap dots open.
- Rule straight down from the rear-right corner to its lower dot. Then rule down-left to the front lower-right corner, following the same slant as the top diagonal. You can compare both diagonals with your ruler. Each goes 1.3 cm left and 1.3 cm down from its rear endpoint. Keep the middle of the side panel as open paper.

Drawing 4 — Plot and curve the handleView larger PencilPlot and curve the handle
Instructions for Drawing 4 — Plot and curve the handle
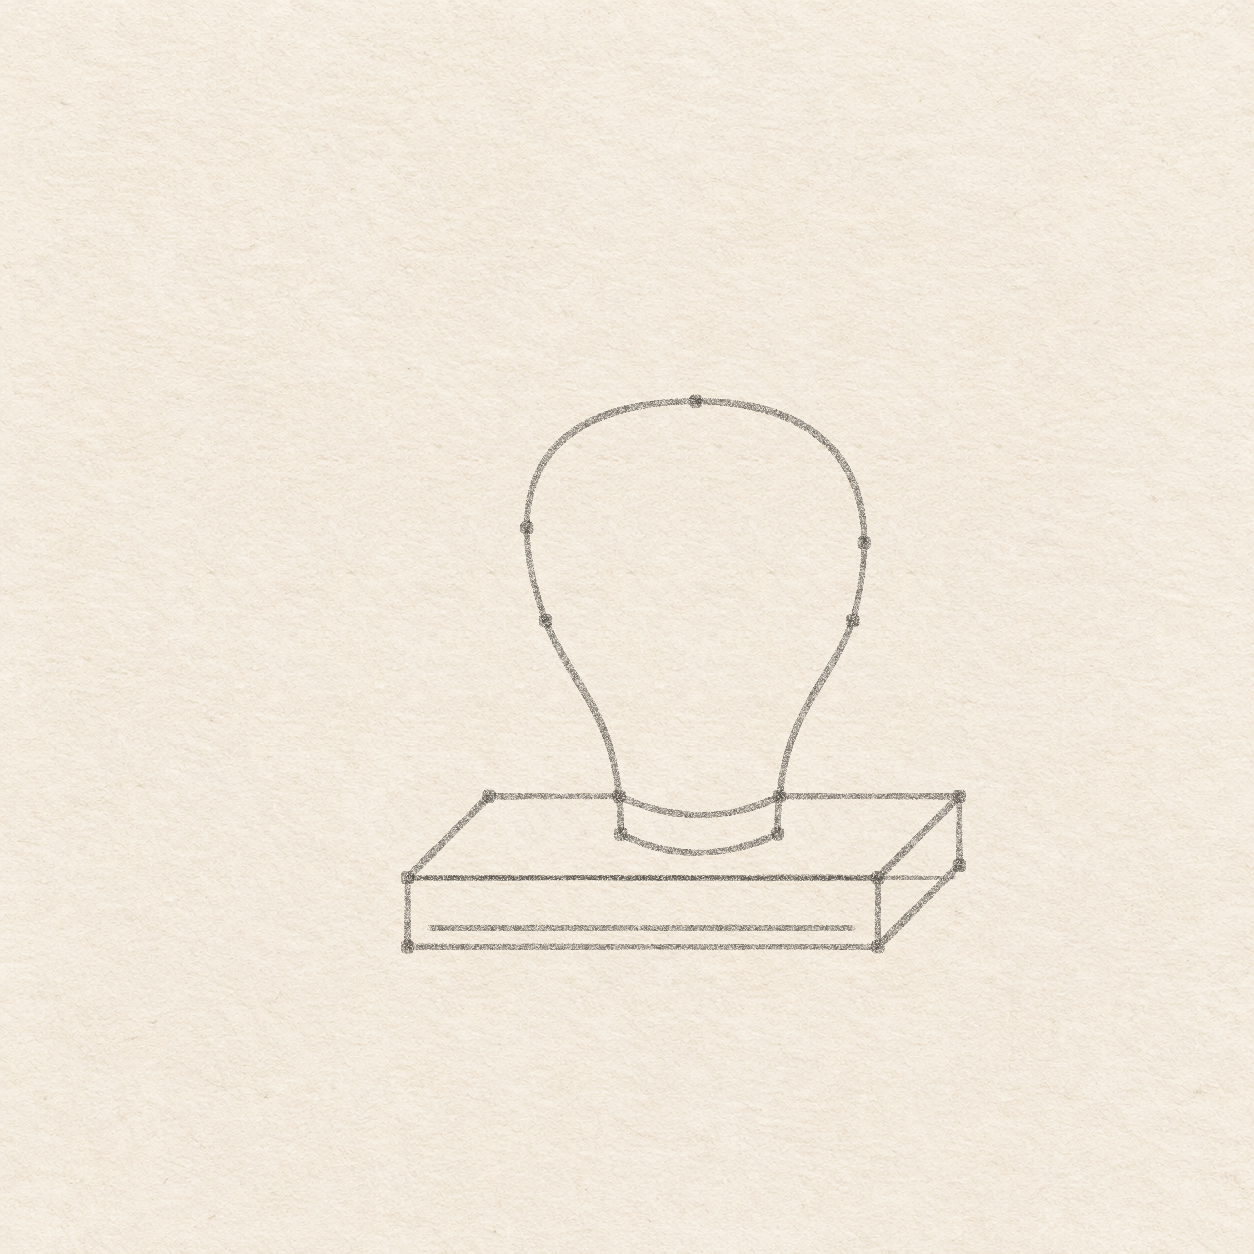
- Make a light dot just under each rear gap end, about 6 mm down. For the other dots, measure from the left front corner along the light line and use the square corner to measure up. Mark the left and right lower bends 2.2 cm and 7.1 cm right, both 4.1 cm up. Mark the widest left side 1.9 cm right and 5.6 cm up, and the widest right side 7.3 cm right and 5.3 cm up. Put the crown 4.6 cm right and 7.6 cm up. The crown lies near the middle, with the right shoulder slightly lower than the left.
- From the lower-left handle dot, curve freehand up through the left end of the rear gap. Bow left through the lower bend and the widest left dot. Sweep inward and over the rounded crown, then down through the widest right dot and the right lower bend. Taper inward to meet the right rear gap end and finish at the lower-right handle dot. Keep the two rear contacts and the two lower ends distinct. Check the rounded top before inking.

Drawing 5 — Join the collar curves and front seamView larger 
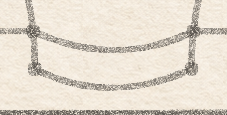
Detail 5.1 — The two collar curvesThe upper bow meets the existing rear gap. The lower bow begins and ends where the handle sides stop. PencilJoin the collar curves and front seam
Instructions for Drawing 5 — Join the collar curves and front seam
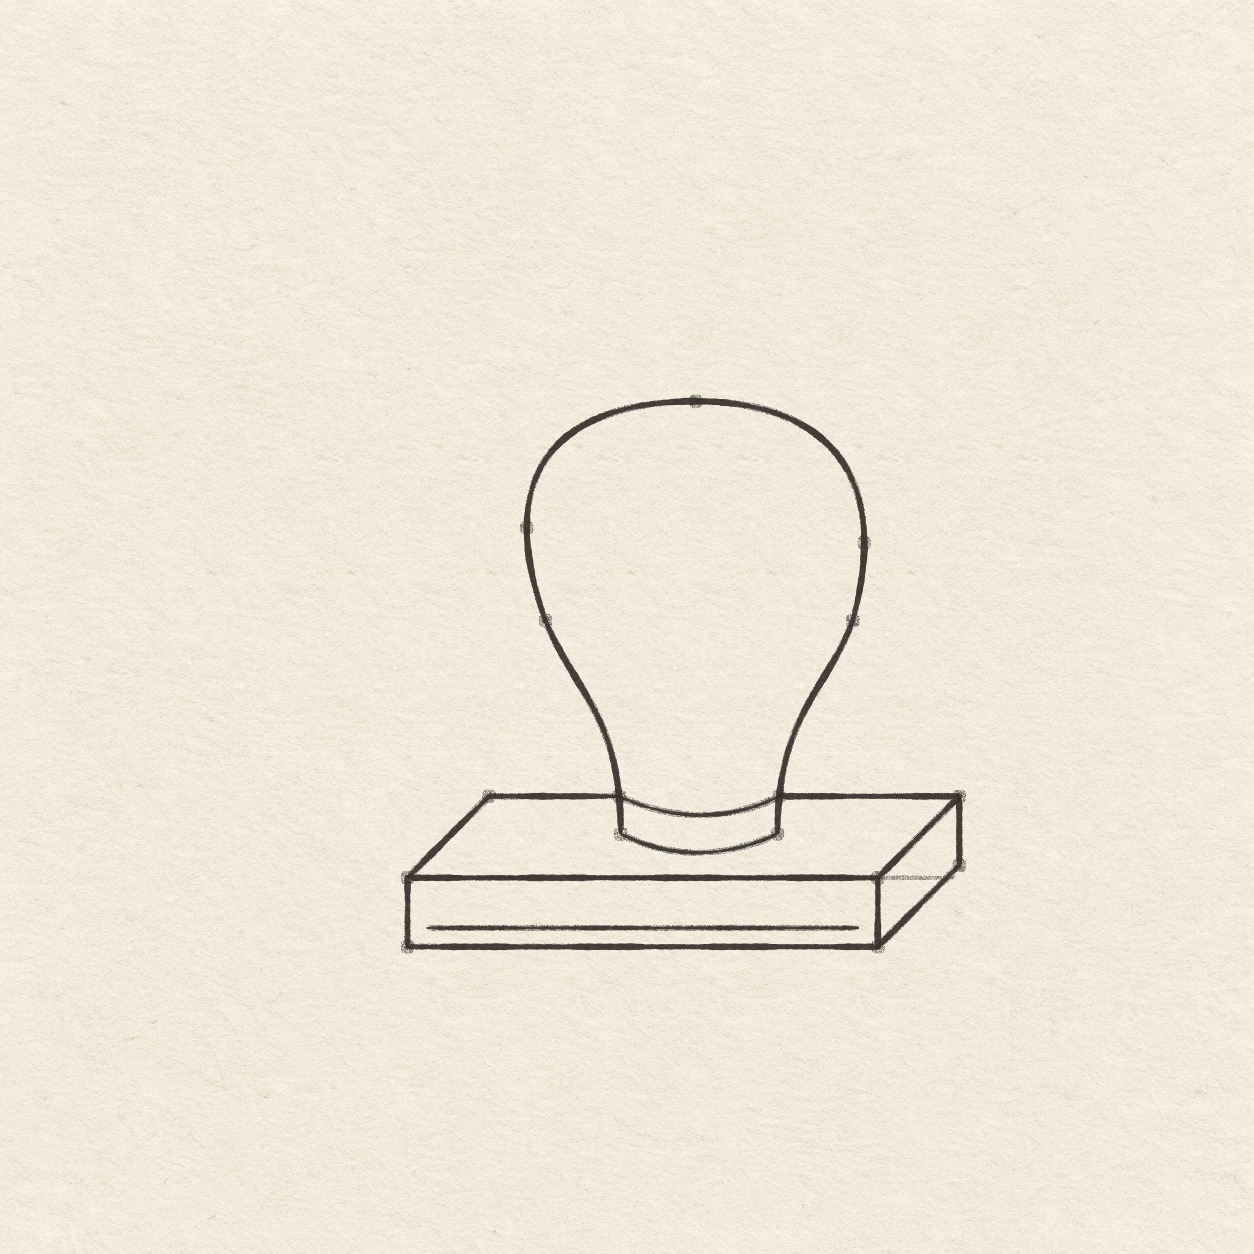
- Start at the lower-left handle end. Curve freehand down toward the center, dipping about 3 mm below the ends. Sweep back up to the lower-right handle end. Keep a narrow strip of top panel visible between this curve and the front edge.
- Start where the left handle side meets the rear edge of the base. Curve freehand down a little, about 3 mm at the center, and back up to the matching rear contact on the right. Leave paper between the two collar lines. Check that the upper bow meets both sides at the rear gap height.
- Inside the front face, measure about 3 mm straight up from the bottom edge near each end. Mark those positions about 3 mm in from the side edges, then rule between them. Keep the line parallel to the bottom and clear of both face corners.

Drawing 6 — Ink the base, handle and collarView larger FinelinerInk the base, handle and collar
Instructions for Drawing 6 — Ink the base, handle and collar
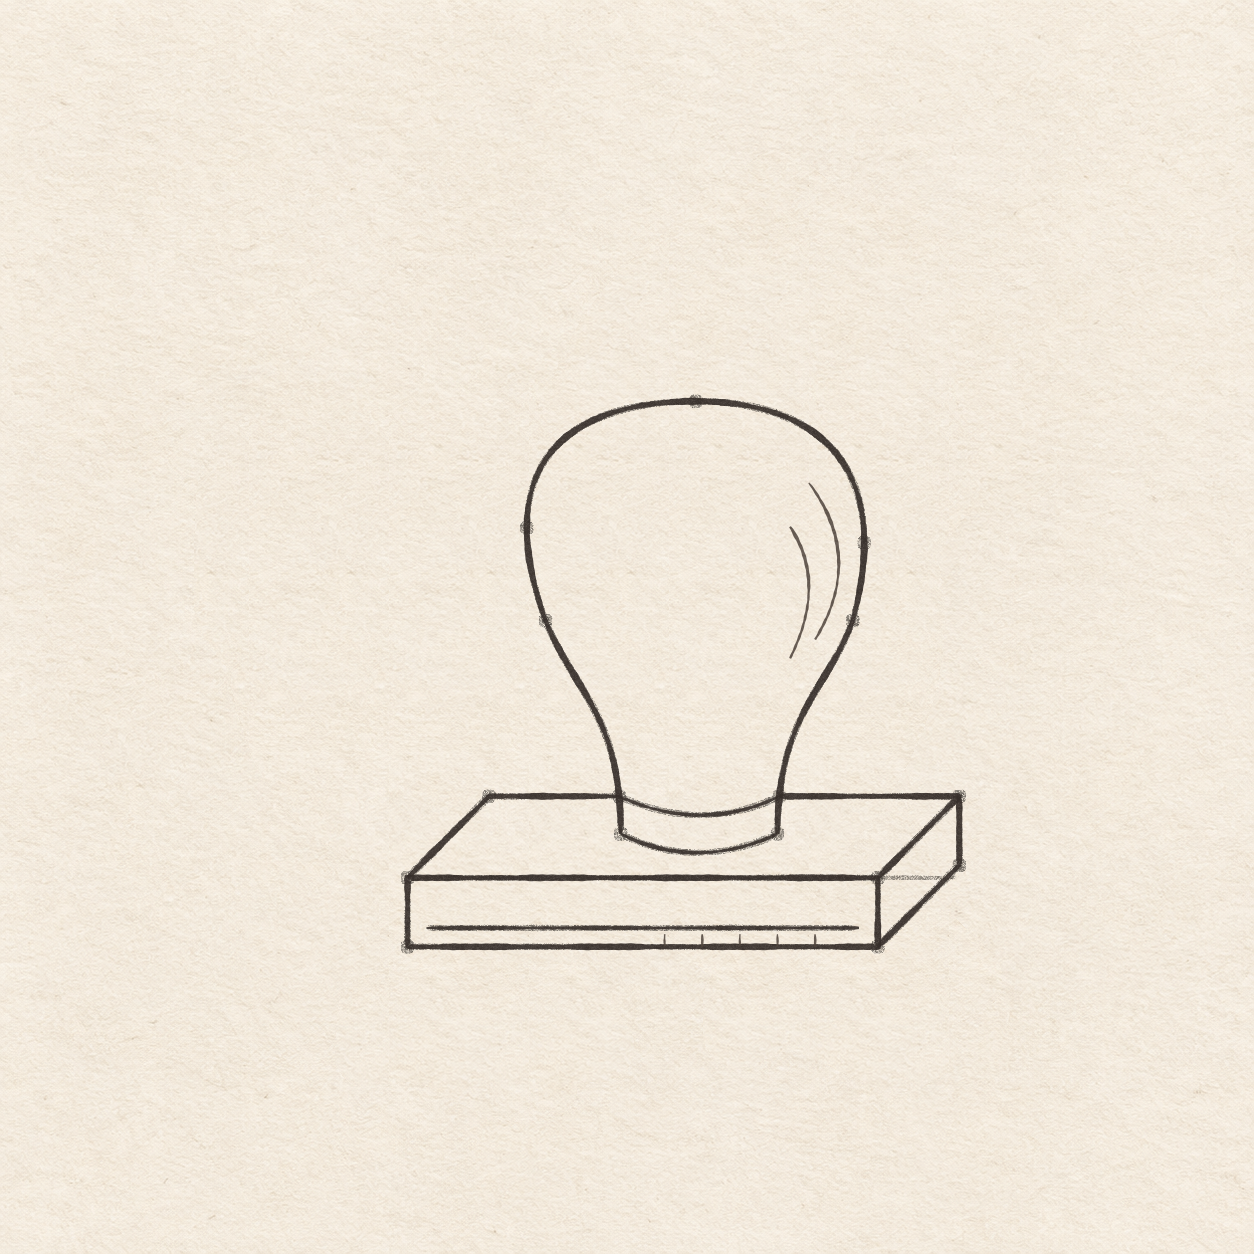
- Trace the four straight edges of the front rectangle with fine black pen. Close each front corner cleanly and leave its middle open.
- Ink the two rear edge sections and their diagonal joins to the front. Lift the pen between the two handle contacts. Keep the rear slot open except where the handle and its collar meet it.
- Ink straight down the rear drop, then descend along the lower diagonal to the front lower-right corner. Keep the side panel open inside the four visible edges.
- Trace up from the lower-left end, around the two shoulders and crown, and down the right side. Meet each rear contact on the way and stop at the two lower ends.
- Ink both collar curves at their already drawn ends. Trace the front seam with a thin line. Leave paper between both collar curves and under the front seam.

Drawing 7 — Add two handle curves and five short hatchesView larger 
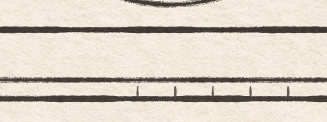
Detail 7.1 — Five short hatches below the front seamThe short hatches rise from the bottom edge. A narrow strip of paper separates their tips from the inset seam above. FinelinerAdd two handle curves and five short hatches
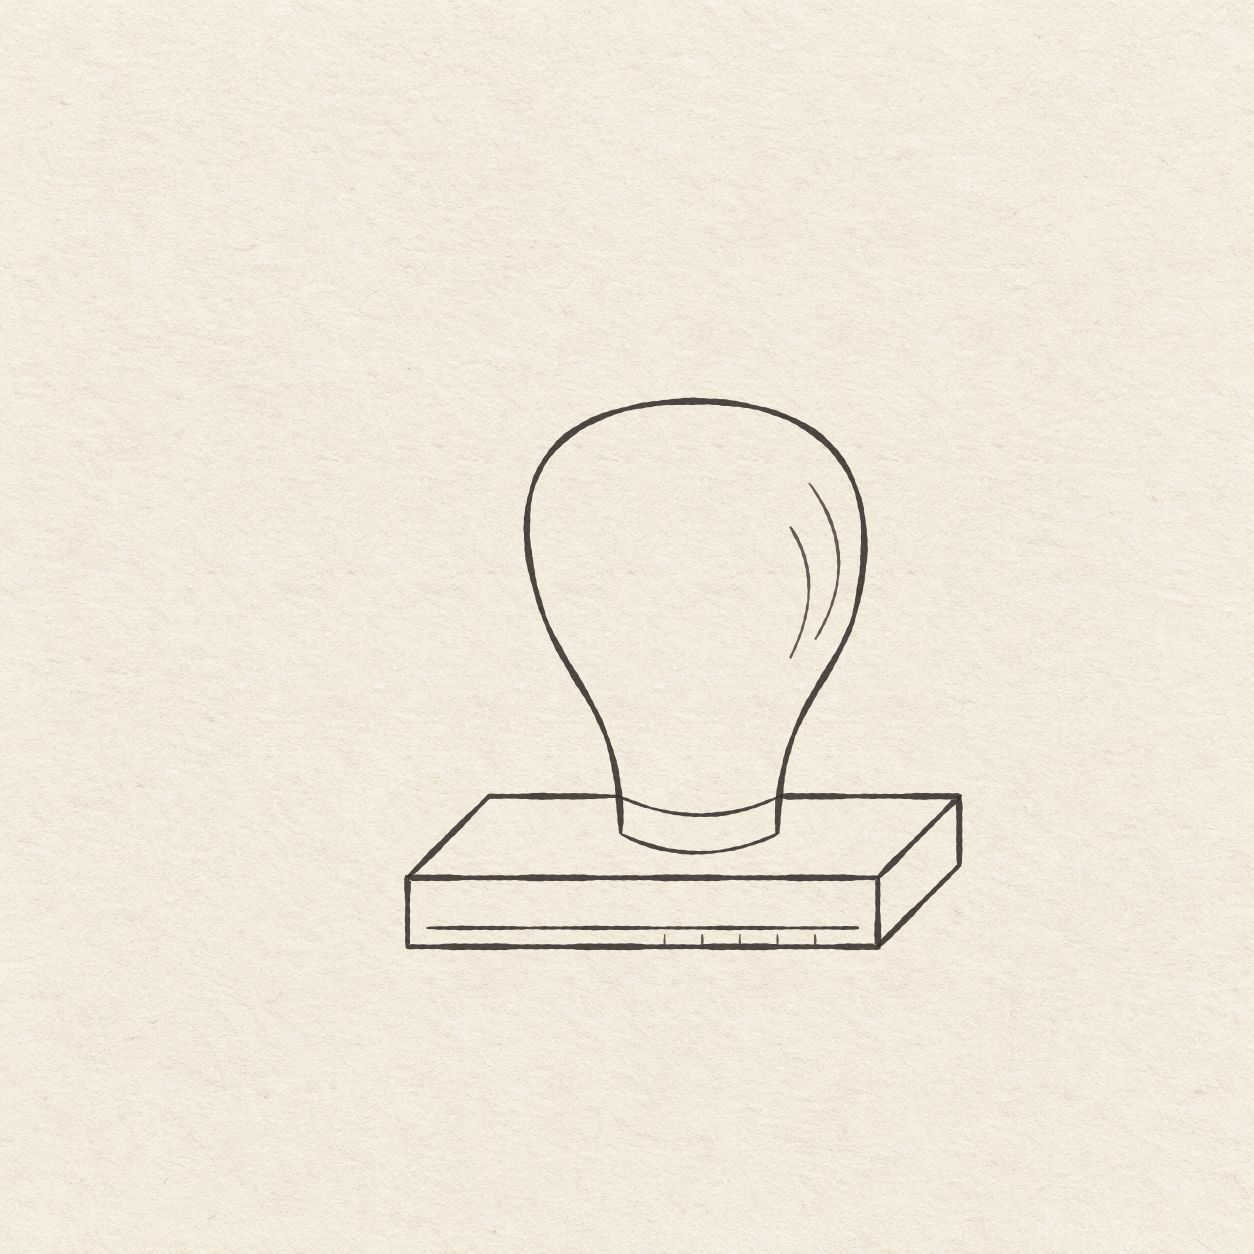
Instructions for Drawing 7 — Add two handle curves and five short hatches
- Hold the ruler level through the crown. About 1.8 cm right of the crown, seat the spare sheet’s square corner along the ruler. Follow its upright edge 1.3 cm down to start the first fine pen line. Bow gently right as you go down, then turn left and taper above the narrowing neck. For the shorter second curve, move the square corner 3 mm left along the ruler and follow its upright edge 2 cm down before making a similar bend. Let it end a little lower. Keep both curves clear of each other and the outer handle edge.
- Start on the actual bottom edge of the front face, just right of its midpoint. Make five fine straight flicks up about 2 mm each, spaced roughly 6 mm apart. Stop each one about 1 mm short of the thin seam above it. Count five separate marks starting at the lower edge and check the narrow paper gap under the seam.

Drawing 8 — Erase the dry pencil guidesView larger CleanupErase the dry pencil guides
Instructions for Drawing 8 — Erase the dry pencil guides
- Fill a small patch on a scrap of the same paper with the same pen. Rub the patch gently with your eraser. If it smears, wait and test again. Once the patch stops smearing, erase the light line, layout dots and remaining pencil beside the dry ink.
If something looks off
If the collar touches the base in the wrong place
In pencil, find the two stops on the rear edge of the base again. Where each stop meets the handle, start the upper collar. Join the lower two handle ends with the second curve separately.