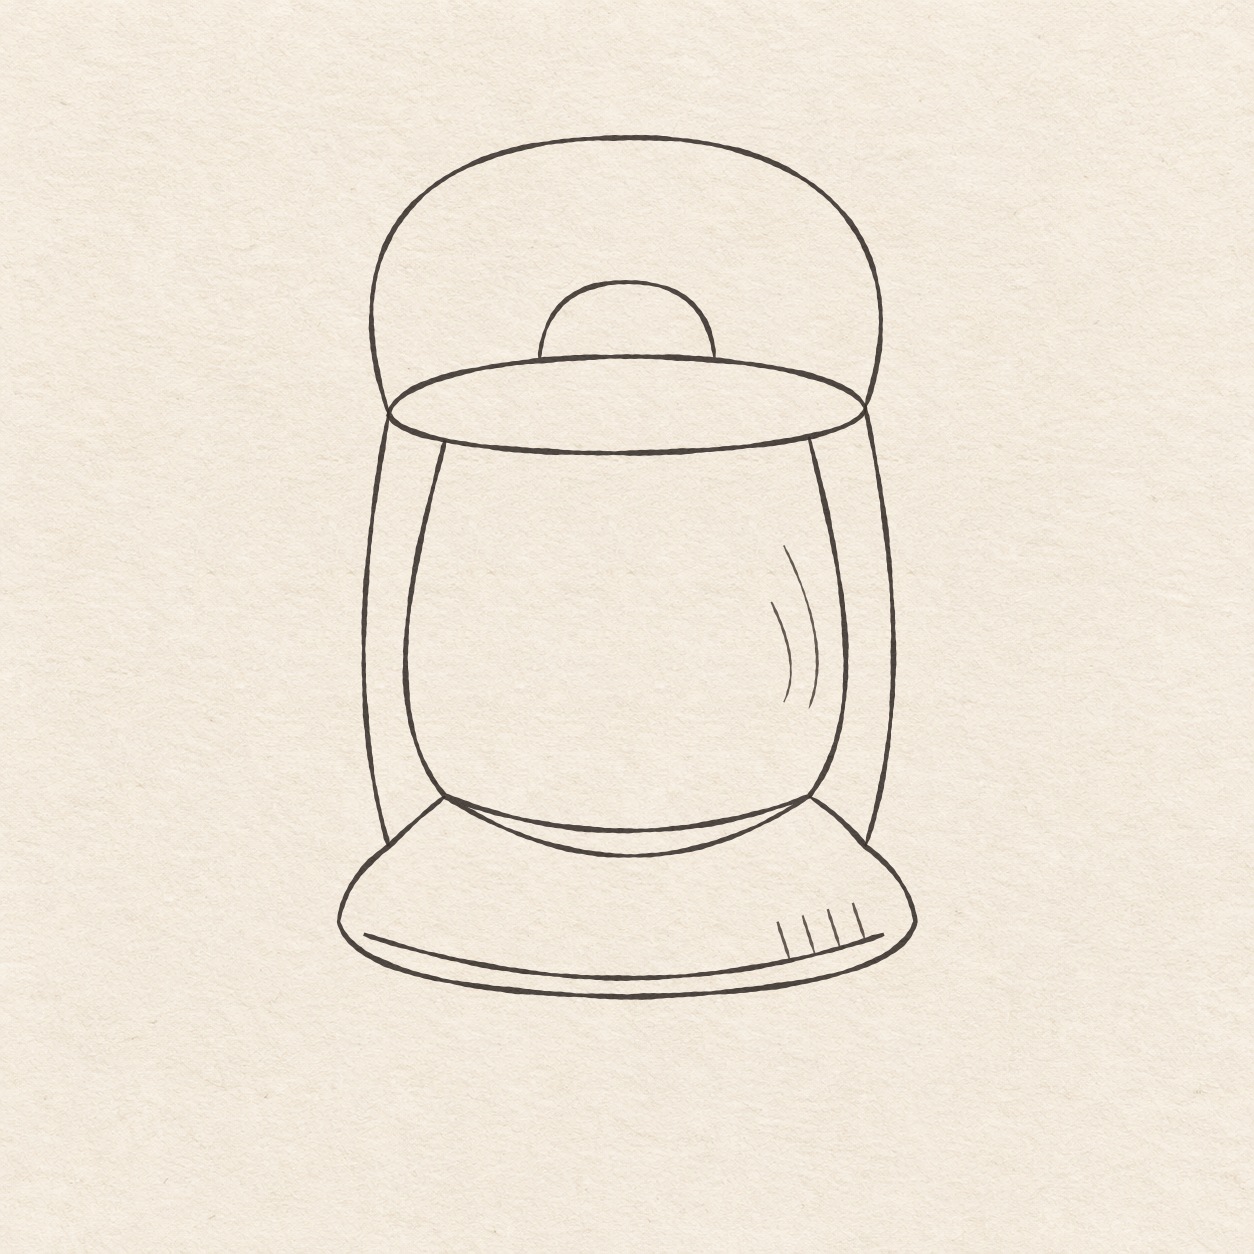
FinelinerEasy

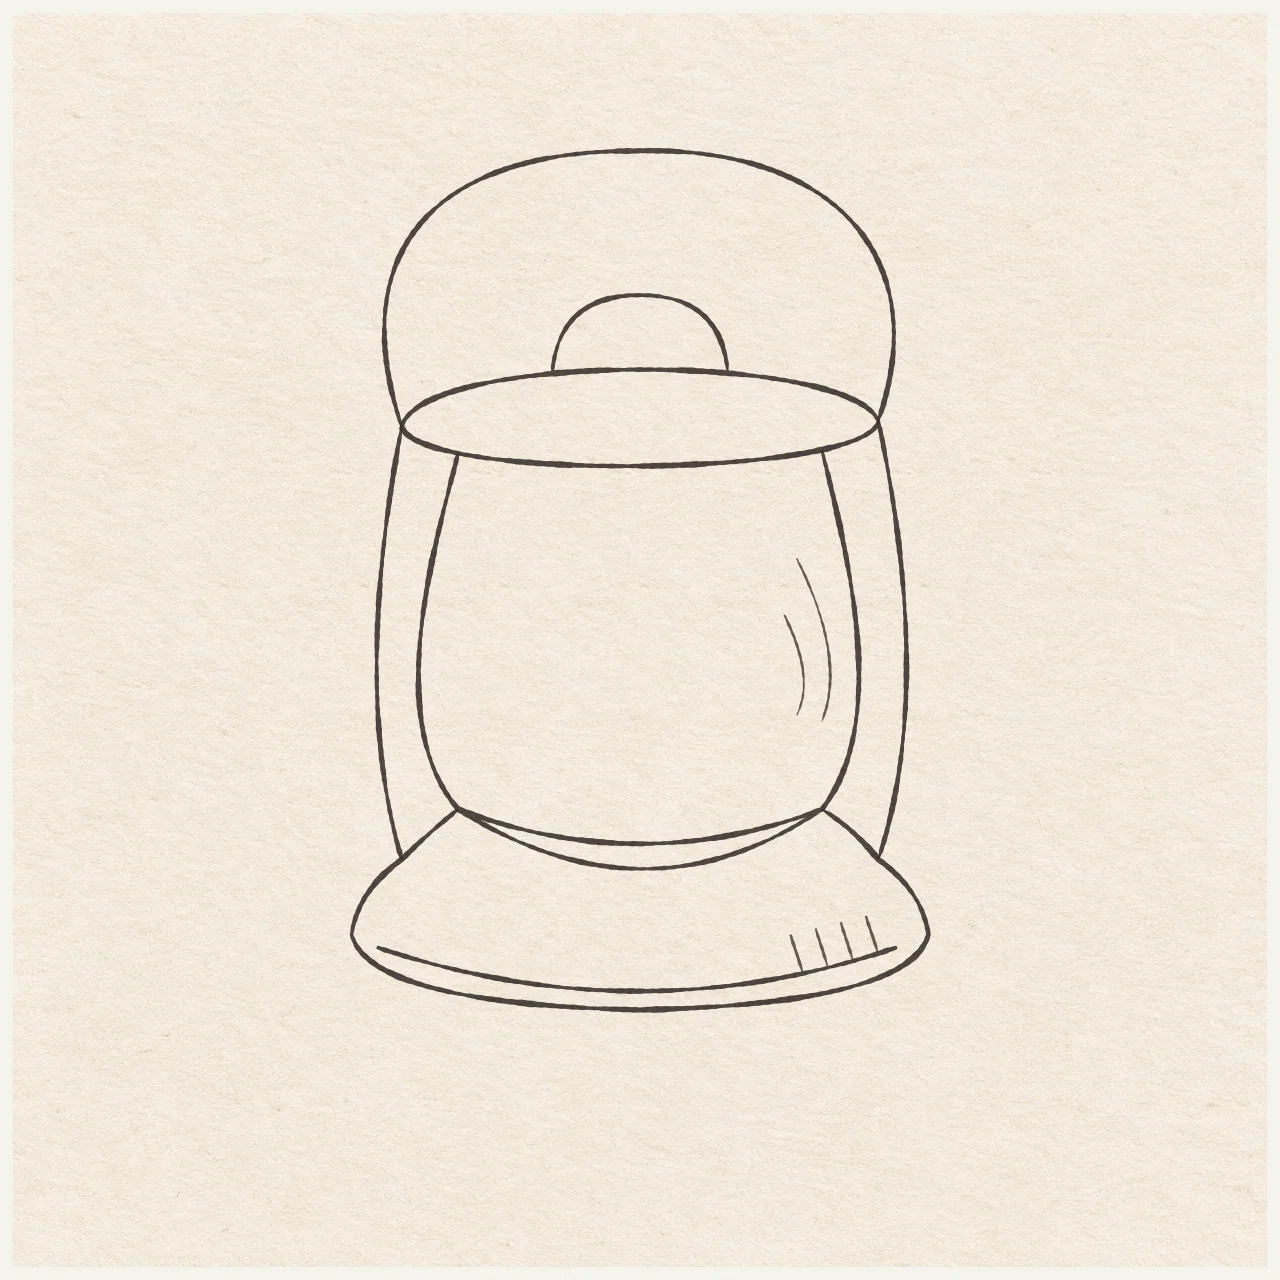
Camping lantern
Plot a rounded lantern cap, build the glass and metal frame, and finish with light reflections and base shading.
Follow the drawing tutorial
Plot a rounded lantern cap, build the glass and metal frame, and finish with light reflections and base shading.
Start the 10-step tutorialA small thing to trySet the glass stops inside the cap tips, leaving paper between the glass and each outer metal rod.
Draw it, one step at a time
Draw a camping lantern
Plot a rounded lantern cap, build the glass and metal frame, and finish with light reflections and base shading.
What you’ll need
- HB pencil
- Eraser
- Fine black pen
- Ruler
- Spare sheet with a square corner
- Drawing paper
Before you start
Choose where the cap will sit on your paper. The example is about 7.4 cm wide and 11 cm tall. Leave space above the cap for the handle and below it for the glass and base.
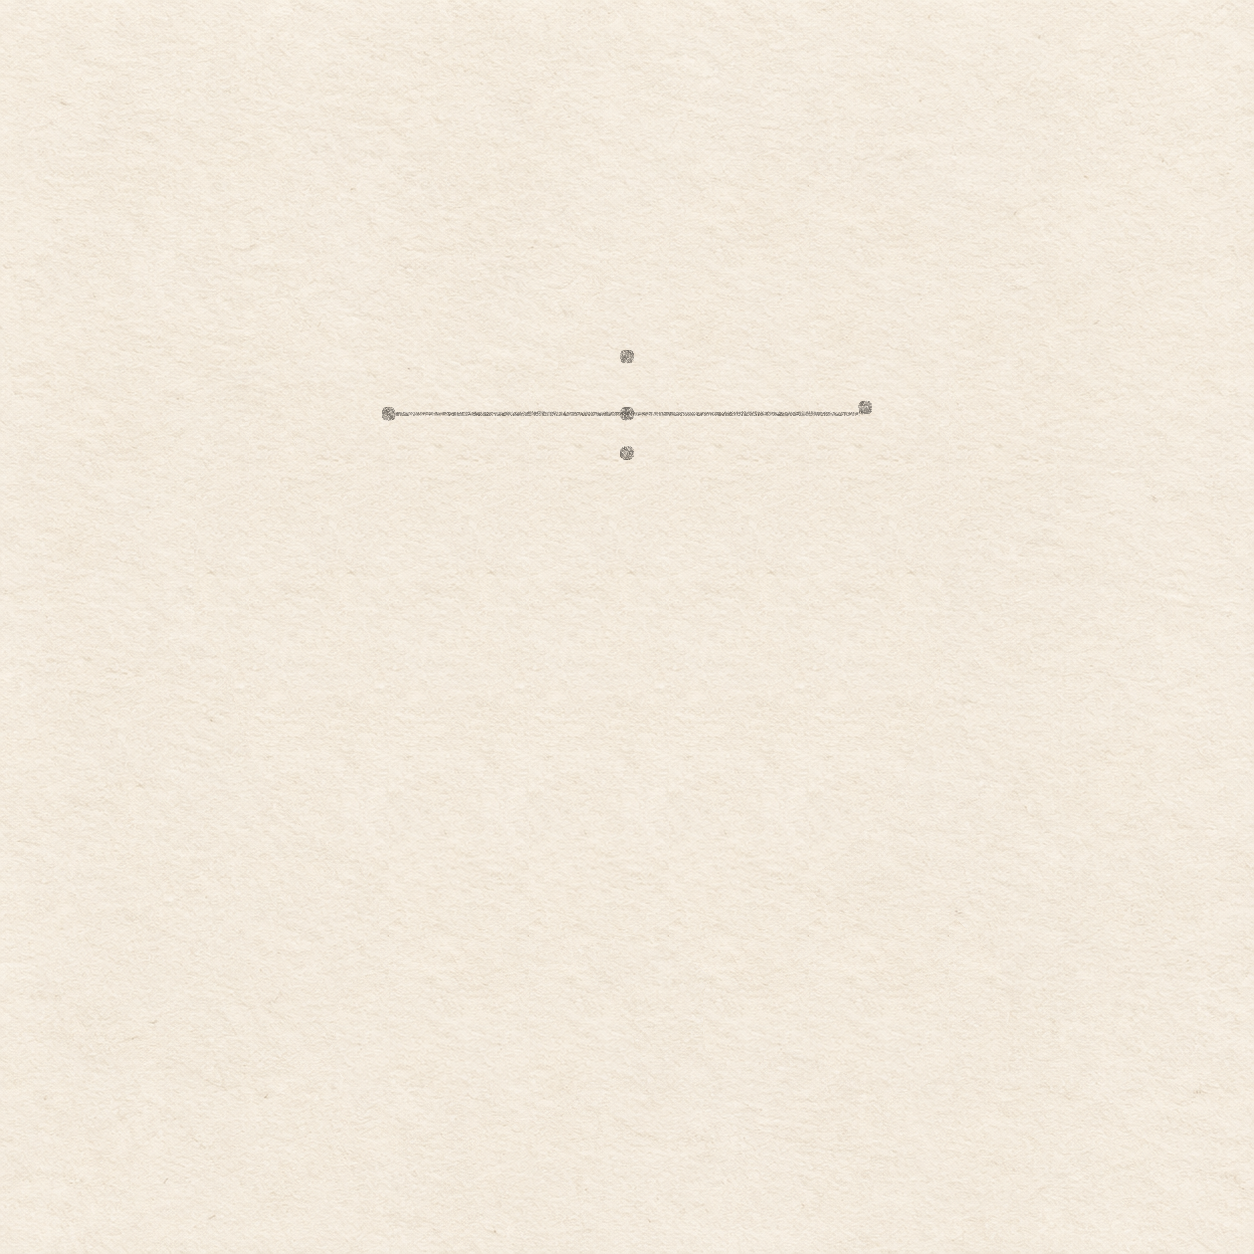
Drawing 1 — Place the cap with four limitsView larger PencilPlace the cap with four limits
Instructions for Drawing 1 — Place the cap with four limits
- Set a light dot where you want the middle of the cap. Leave about 3.8 cm on each side, 3.6 cm above and 7.5 cm below it. Move this first dot before ruling if the frame or the base would crowd the edge.
- Rule a light line about 3 cm each way from the first dot. Align one edge of your spare sheet with this line. Hold your ruler along its upright edge when you measure straight up or down. Check that the line passes through the first dot and its ends are equally far from it.
- Make a light dot at the left end of the level line for the left tip. Put the right tip about 1 mm above its right end. At the middle line dot, measure about 7 mm straight up for the upper bow and 5 mm straight down for the lower bow. Mark both spots lightly. The four marks give a shape about 6 cm wide with just over 1 cm between its highest and lowest points.

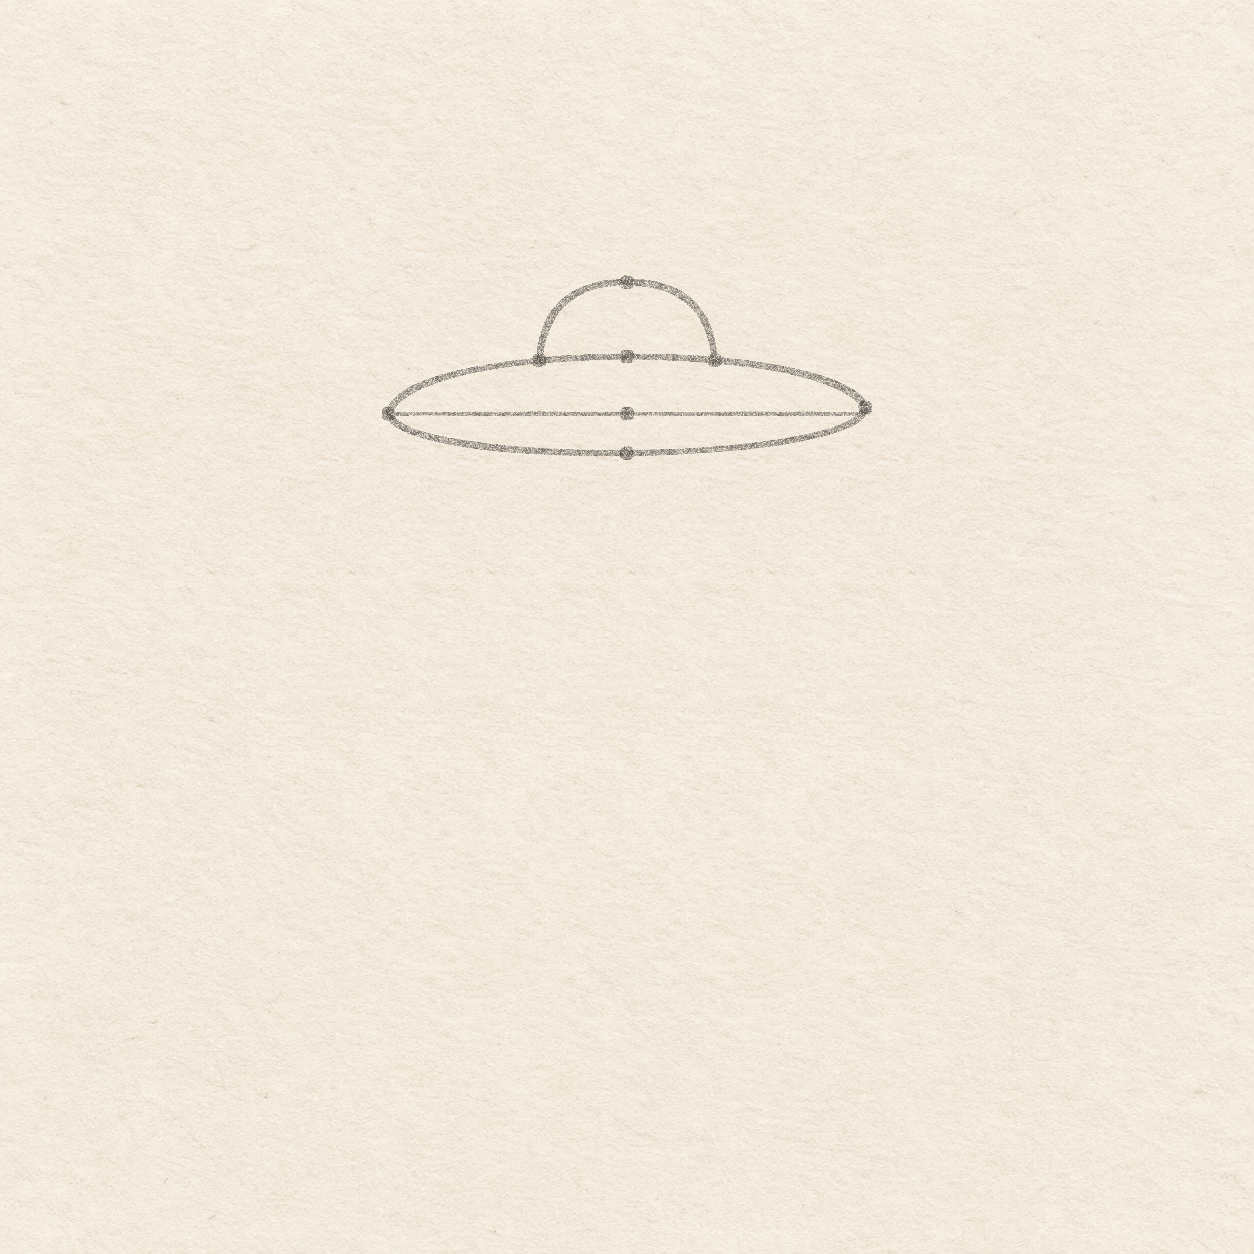
Drawing 2 — Draw the shallow cap and raised ventView larger PencilDraw the shallow cap and raised vent
Instructions for Drawing 2 — Draw the shallow cap and raised vent
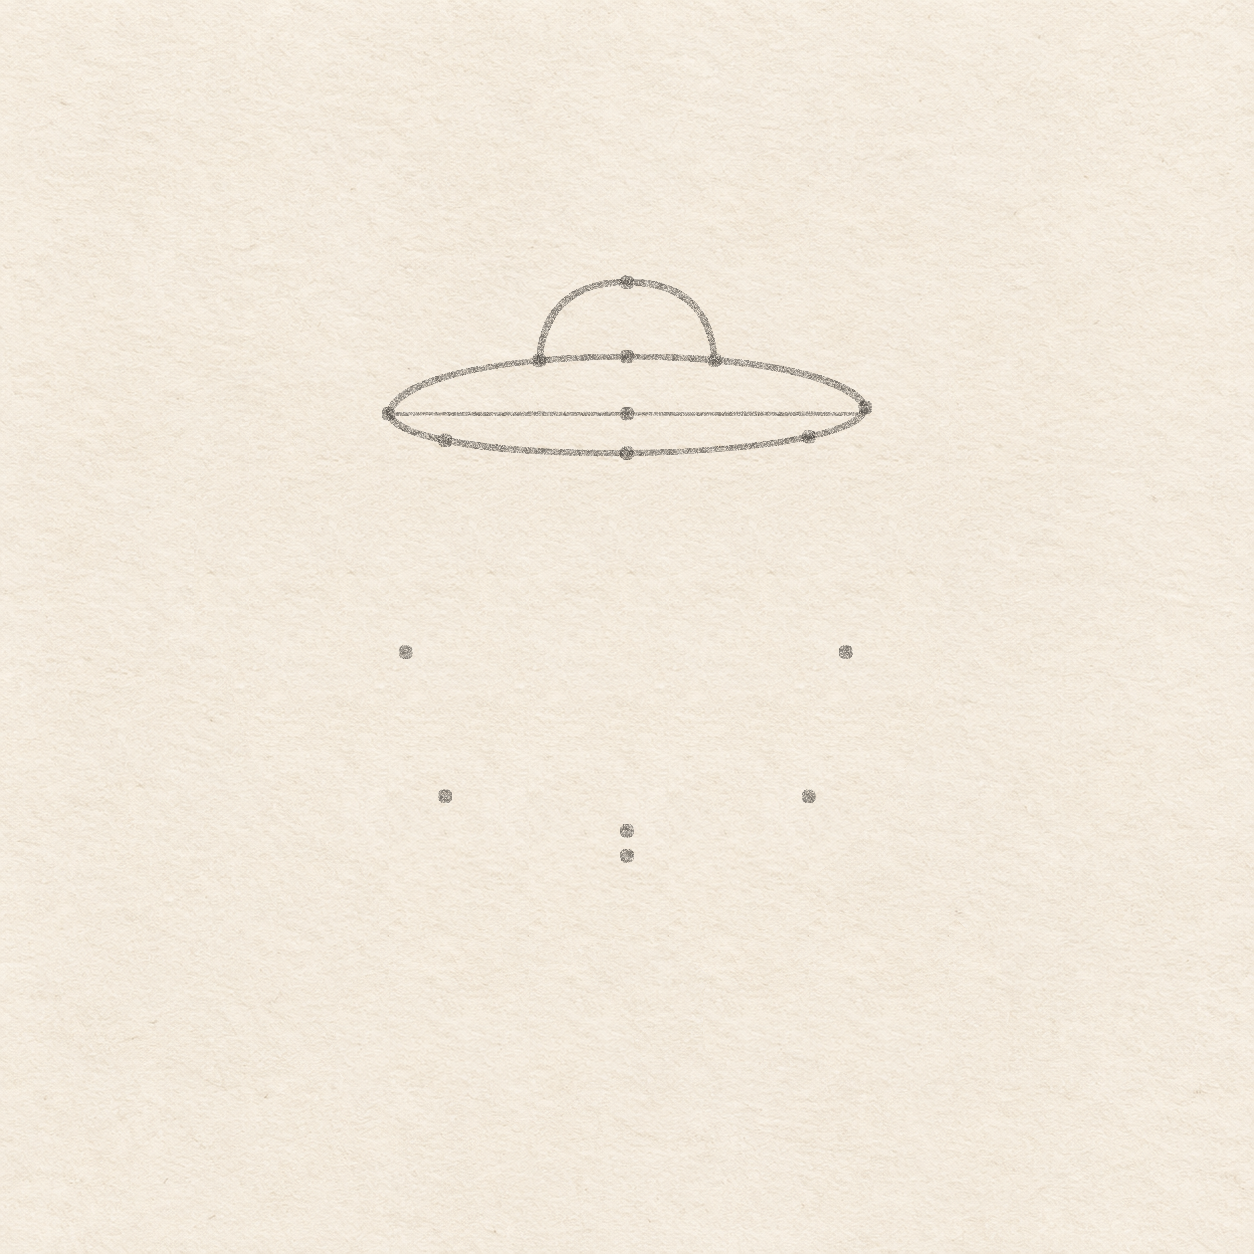
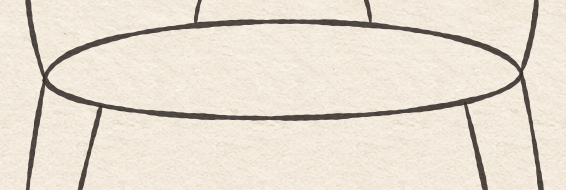
- Draw freehand from the left tip up through the upper dot to the right tip. Return to the left tip in a shallower curve through the lower dot. Keep both turns rounded and make the two curves meet at the tips. Check the widest part at the two tips and the low curve at its own dot before adding the vent.
- Align the spare sheet to the level. Measure about 1.1 cm left and right of the middle dot. At each position, follow the square edge up to the cap’s upper curve and mark the two touches. Above the middle of the upper curve, mark a crest about 1 cm higher. Both side dots must sit on the existing cap. The crest sits halfway between them from left to right.
- From the left touch, curve freehand almost straight up at first. Round over the crest and sweep back down to the right touch, almost straight at the lower end. Leave the original cap to form the bottom edge. Check that both ends touch the upper cap curve and that the space inside the little arch stays clear.

Drawing 3 — Mark the glass width and lower ringView larger PencilMark the glass width and lower ring
Instructions for Drawing 3 — Mark the glass width and lower ring
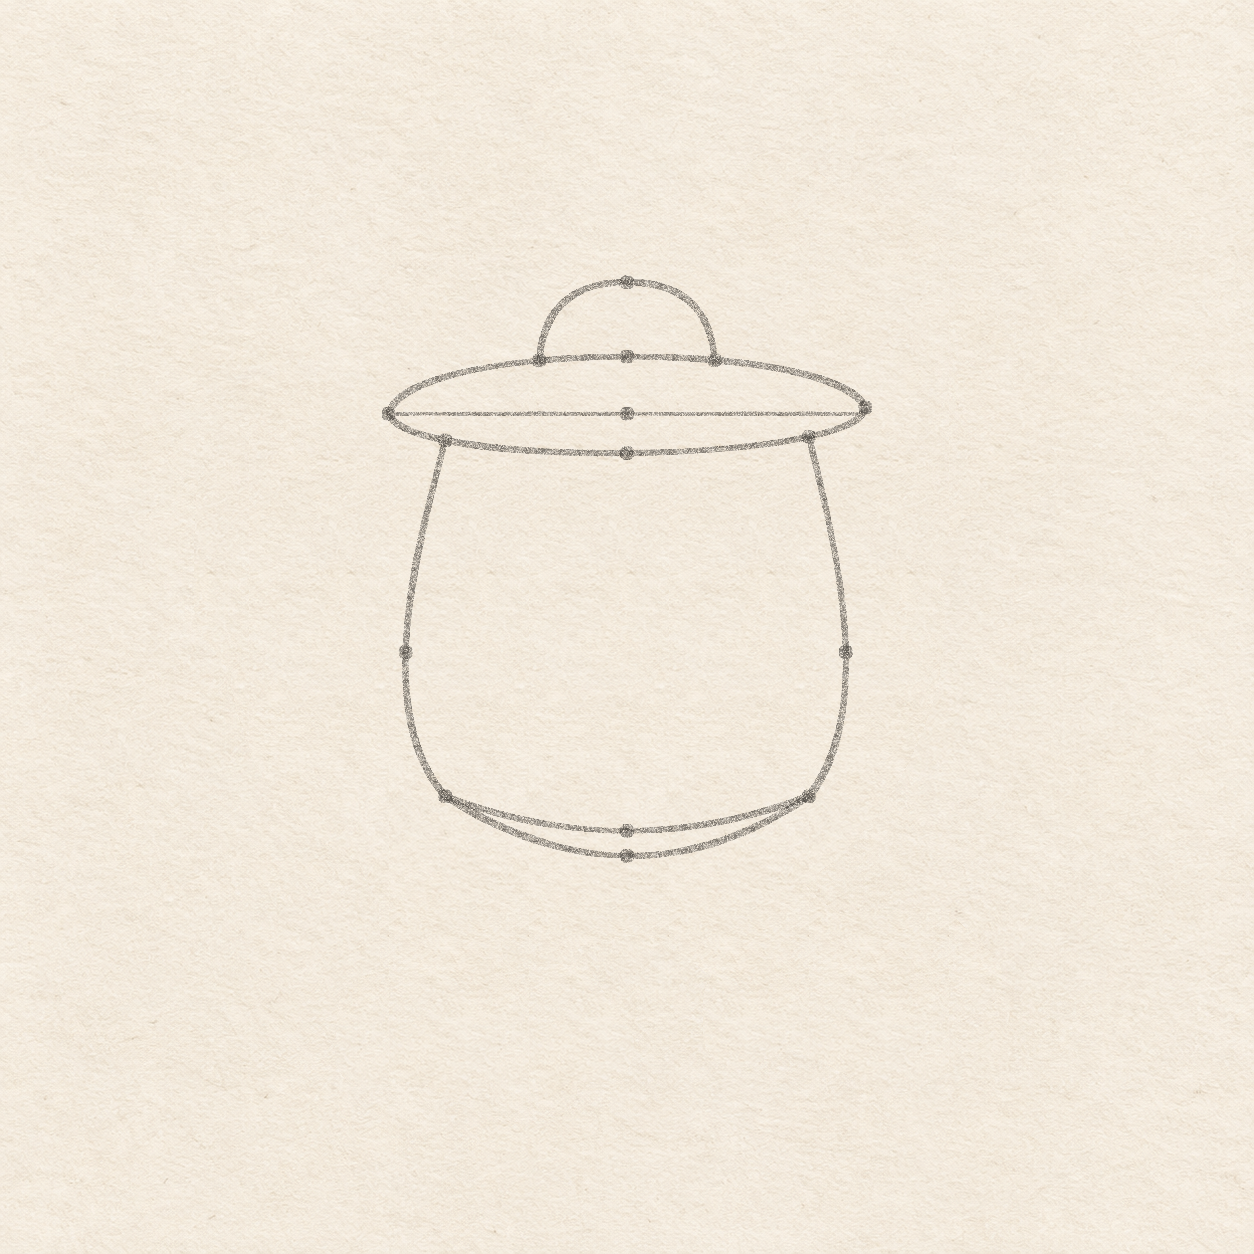
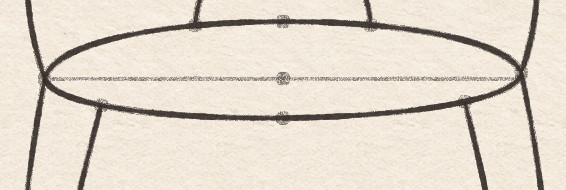
- Measure 2.3 cm left and right of the midpoint along the level line. Put the spare sheet corner at each spot and follow its upright side down to the lower cap curve. Put a light dot on each touch. Keep both touches a little inward from the cap tips. If your curve differs slightly, place each dot on the actual stroke.
- Use the cap midpoint and the square corner. Mark the wide glass stops about 2.8 cm to each side and 3 cm down. Mark the lower ends 2.3 cm to each side and 4.9 cm down. Halfway between the ends, put two dots on the upright through the cap midpoint. Put the first about 5.3 cm below the cap midpoint and the second about 5.6 cm below it. The middle pair is wider than the lower ends. The two central bow dots stay a few millimeters apart.

Drawing 4 — Connect the glass and its lower ringView larger 
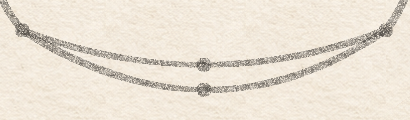
Detail 4.1 — Two curves with the same endsThe shallow glass curve and the deeper ring curve meet at the two lower glass stops. In the next drawing, the base will start at those same stops. PencilConnect the glass and its lower ring
Instructions for Drawing 4 — Connect the glass and its lower ring
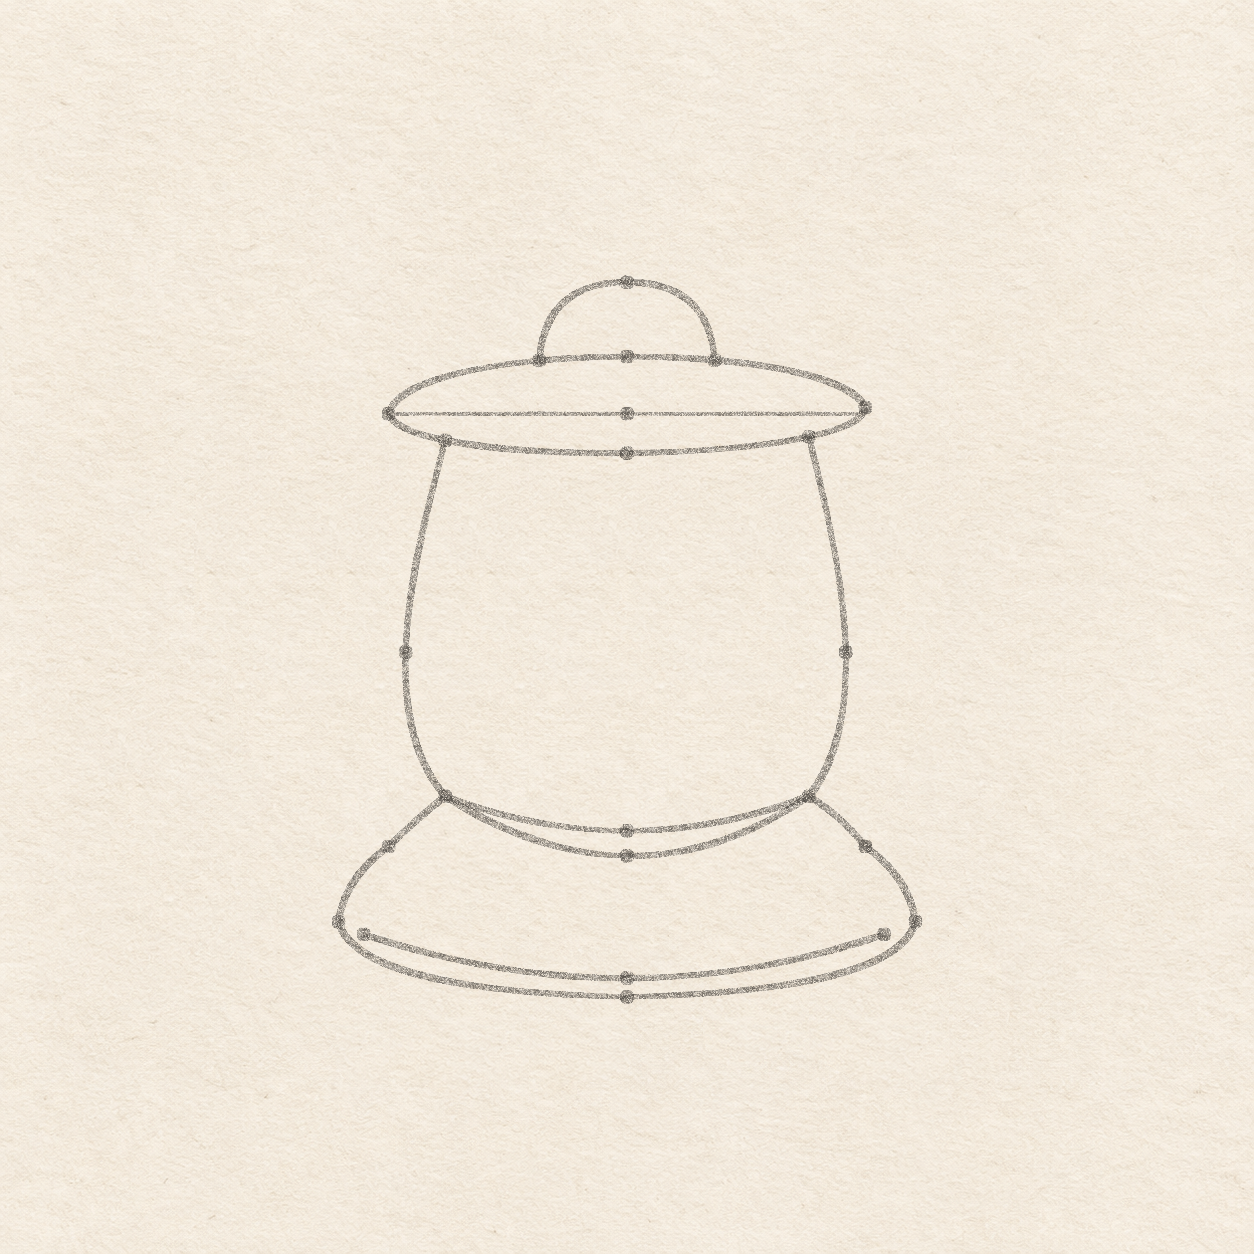
- Start at the left cap touch. Curve freehand down and outward through the wide dot, then bend in toward the left lower end. Sweep down through the higher of the two middle dots to the right lower end. Continue through the right wide dot and up to the right cap touch. Touch the cap at both ends and keep the lower arc smooth between the two glass corners.
- Begin again at the left glass corner. Curve freehand a little farther down through the lower middle dot and back up to the same right glass corner. The two curved lines meet only at the ends. Leave a narrow band of open paper between their middles.

Drawing 5 — Place both shoulders and curve around the baseView larger PencilPlace both shoulders and curve around the base
Instructions for Drawing 5 — Place both shoulders and curve around the base
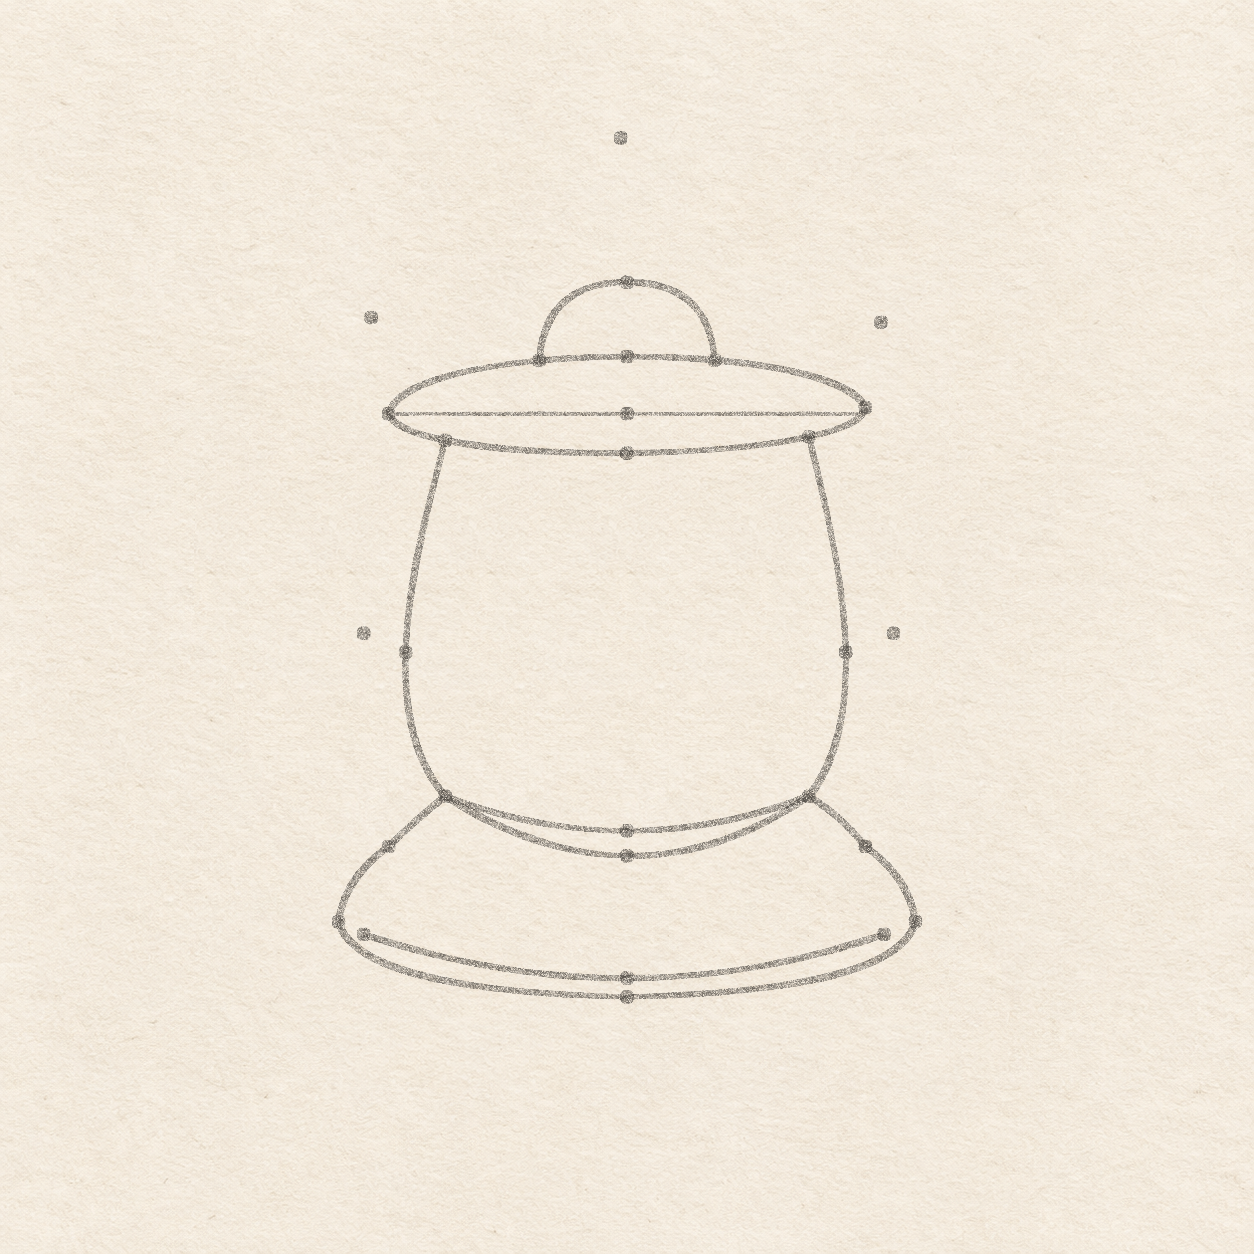
- Hold the ruler level through both glass corners. Measure about 7 mm outward from each corner. Set the square corner at each measured spot and mark a shoulder dot 6 mm down. Hold the ruler through both shoulder dots and use the same transfer 6 mm farther out and 1 cm down for each wide end. Measure on the upright below the cap midpoint. Put the bottom dot about 7.4 cm down and the inside rim dot about 7.2 cm down. Hold the ruler through the wide ends and mark each inside rim end a few millimeters inward and 2 mm lower, using the square corner at each inward measurement. Check that the shoulders line up and that the inner rim ends sit a little inward from the outer turn.
- Start at the left glass corner. Curve freehand through its shoulder to the wide end. Turn down and around through the low middle dot, then back up to the right wide end. Bend inward through the right shoulder to the right glass corner. Keep both shoulders visible on the sloping edges. Check that the base is wider than the glass.
- Draw the inside rim freehand from its left end dot, down through the higher middle dot and up to its right end dot. Keep a thin strip of paper above the outside base curve. Stop short of the outer edges at both ends. The two low curves should stay separate.

Drawing 6 — Plot the handle rise and both rod bowsView larger PencilPlot the handle rise and both rod bows
Instructions for Drawing 6 — Plot the handle rise and both rod bows
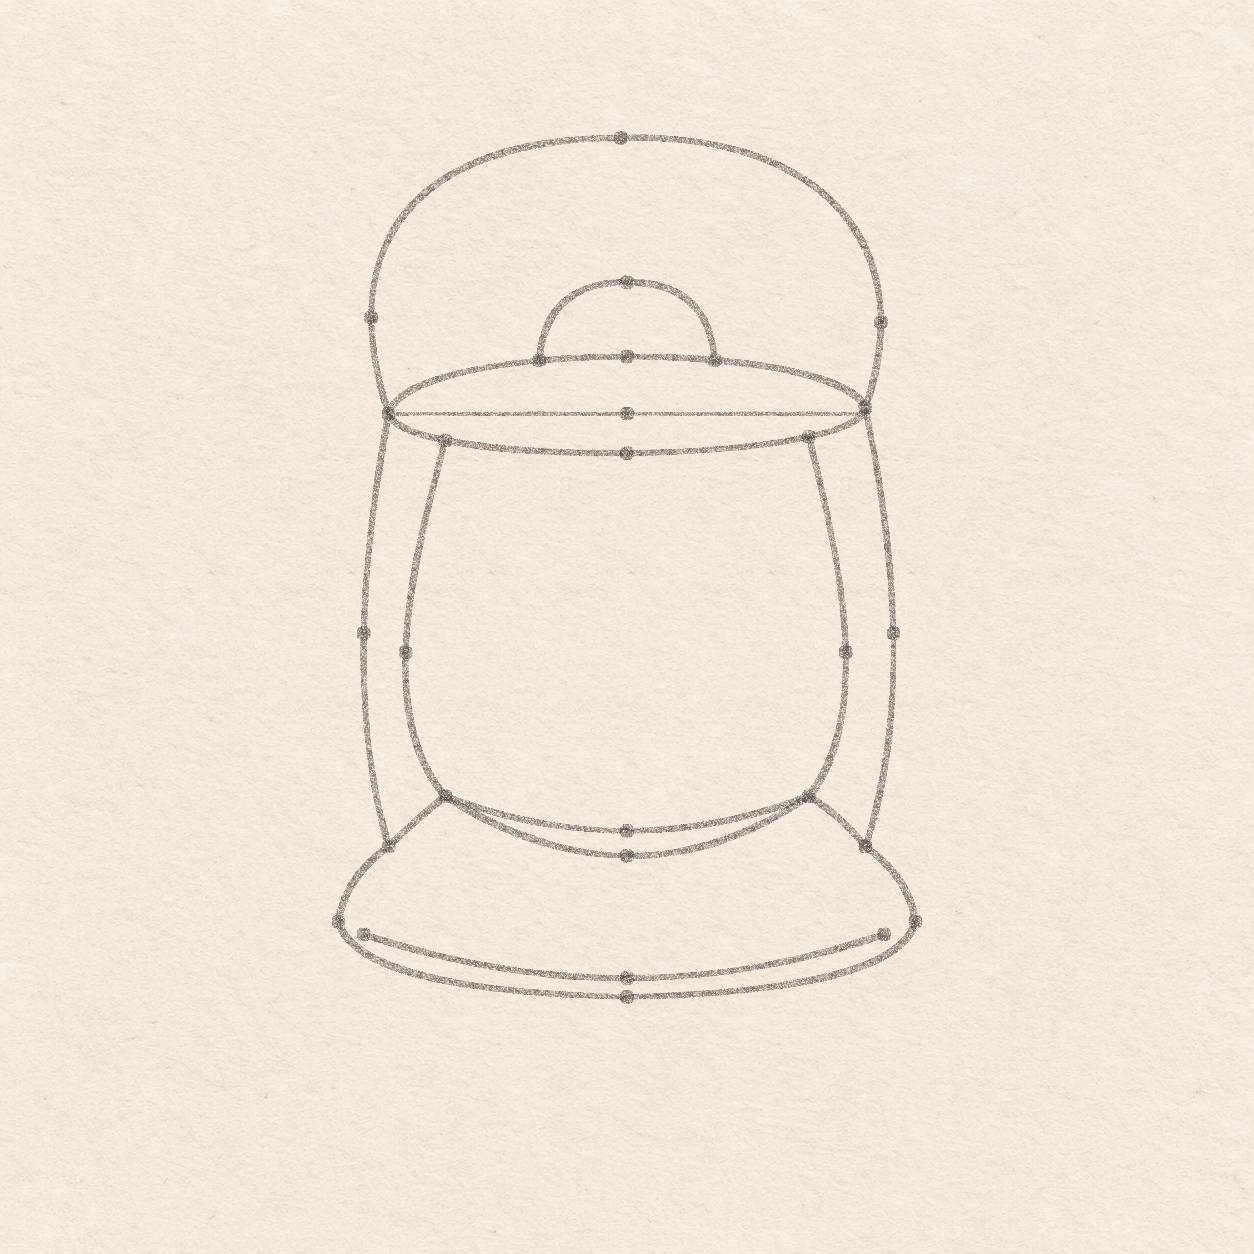
- From the middle of the cap level, mark the top of the handle about 3.5 cm straight up. Hold the ruler level through the left cap tip and extend its edge past the tip. Set the square corner about 3 mm outward along it. Mark the wide handle turn 1.2 cm up and the rod bend 2.8 cm down. Reset the level ruler through the slightly higher right tip and repeat to the right. Keep the rod bend dots outside the glass. The handle’s top dot stays almost over the cap center.

Drawing 7 — Join the handle and rods to the capView larger PencilJoin the handle and rods to the cap
Instructions for Drawing 7 — Join the handle and rods to the cap
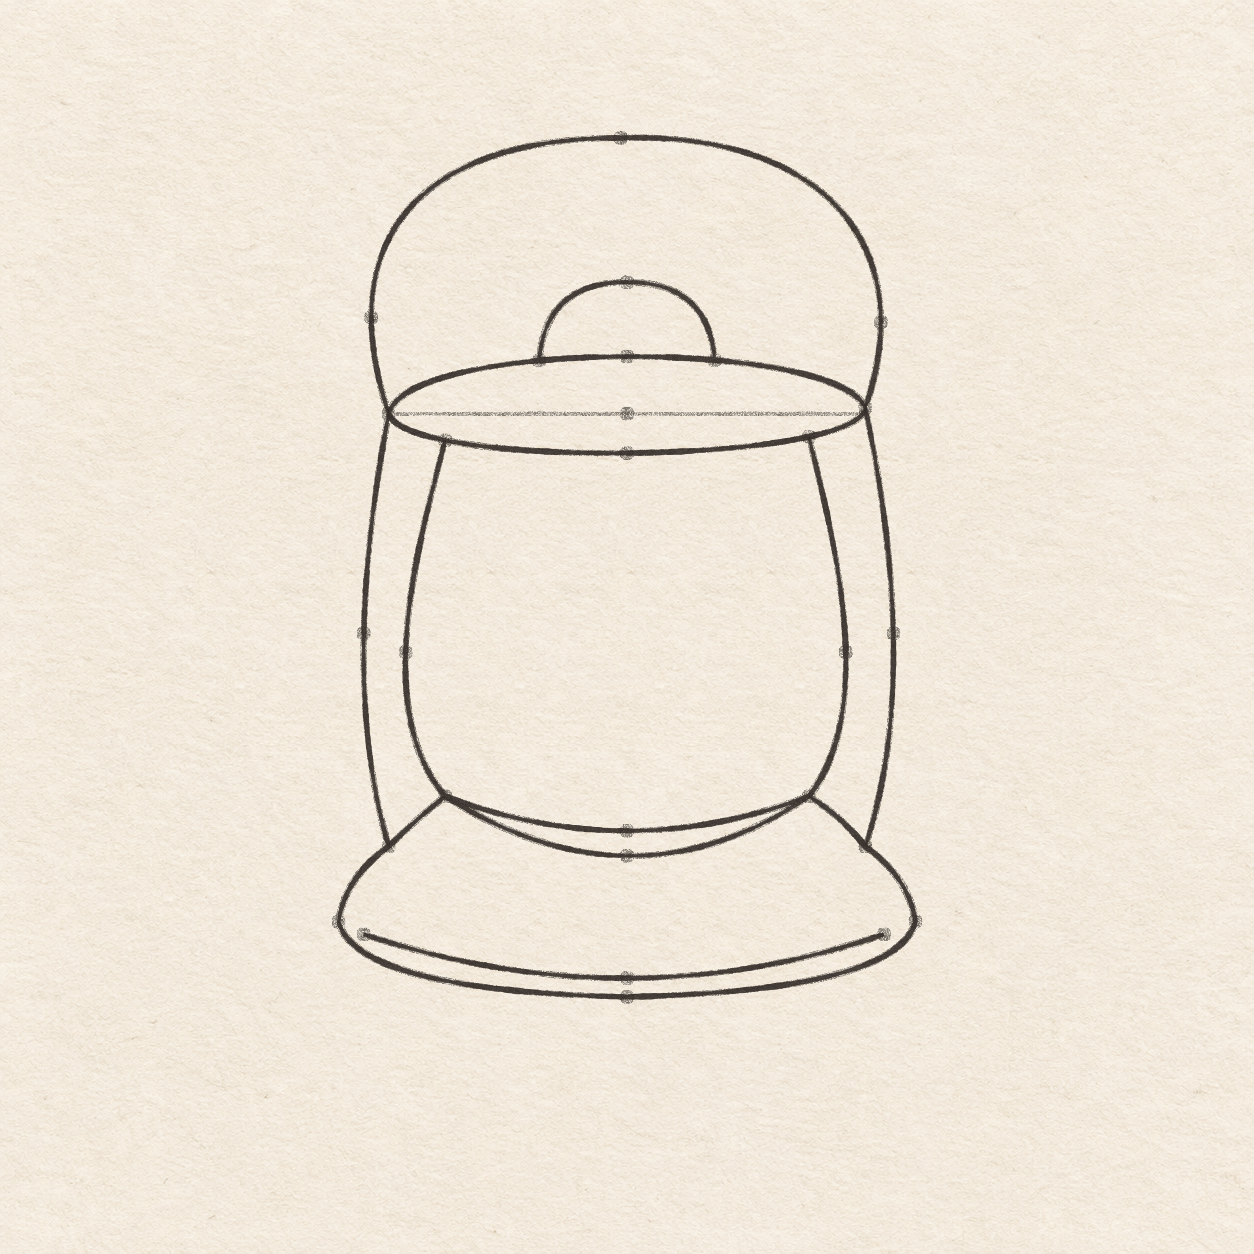
- From the left cap tip, curve freehand out to the left handle dot and up to the high center dot. Round across the top and out through the right handle dot, then bend inward to finish at the right cap tip. Leave paper between the high handle and the small vent. Meet the actual cap tips on both sides.
- Start the left rod at the exact left cap tip, curve freehand through its outside bend and back to the left base shoulder. Repeat on the right through the separate right bend. Follow the glass from a distance so it stays clear of both rods. Each rod touches a cap tip and its own shoulder. Leave a strip of clear paper between each rod and the glass.

Drawing 8 — Trace the lantern structure in penView larger 
Detail 8.1 — Where the handle and frame meet the capBoth frame rods start at the cap tips themselves. The glass joins the nearer cap curve farther inward and leaves open space beside both rods. FinelinerTrace the lantern structure in pen
Instructions for Drawing 8 — Trace the lantern structure in pen
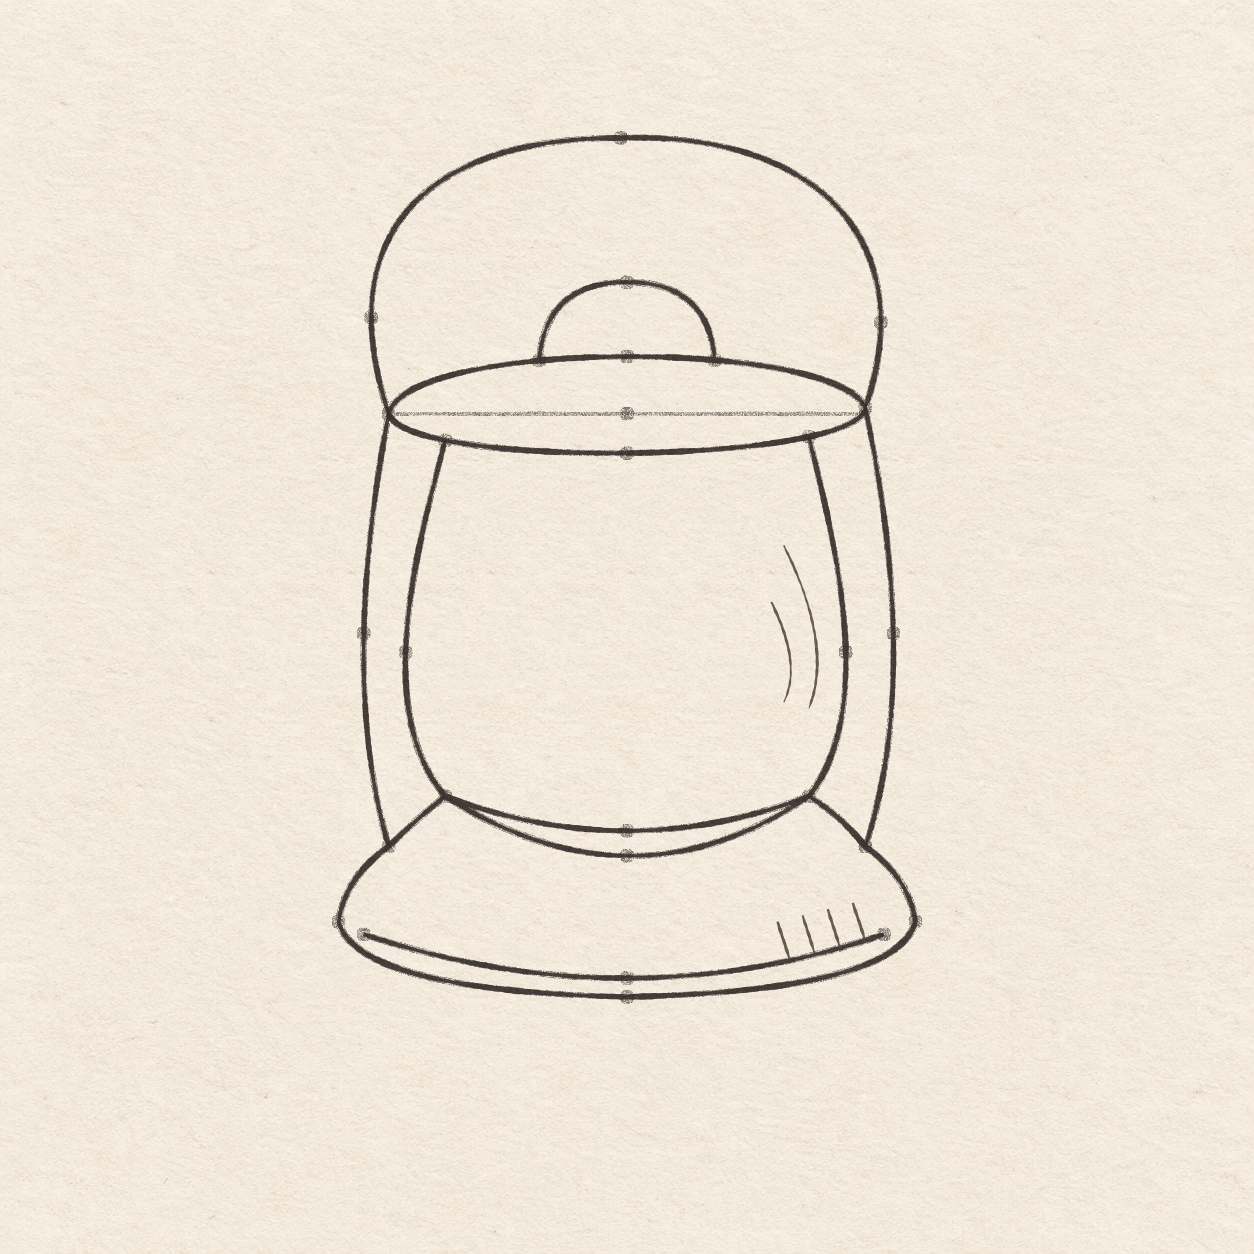
- Trace the cap in light pen pressure. Trace the small vent next. Stop its sides at the upper curve you just inked. Leave the vent interior and the cap clear of shade while the outline is wet.
- Trace along the left glass side from its cap touch, around the shallow low curve and up to the other cap touch. Trace the deeper arc between the same two corners. Keep the paper band between the two curves and close the tiny contacts at their ends.
- Trace the outside base from glass corner to glass corner through both shoulders. Trace the separate inside rim with a slightly lighter hand. Keep the thin paper band along the bottom and keep the inner ends away from the outside edge.
- Trace the handle from one cap tip to the other. Then trace each side rod from its own cap tip to the shoulder on the same side. Follow the precise joints instead of starting below the cap. The cap, handle and rod visibly touch at each tip. Check the open lanes beside the glass before adding any marks inside it.

Drawing 9 — Add two glass curves and four base strokesView larger 
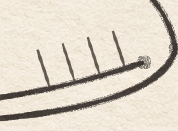
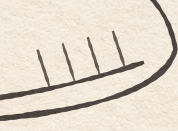
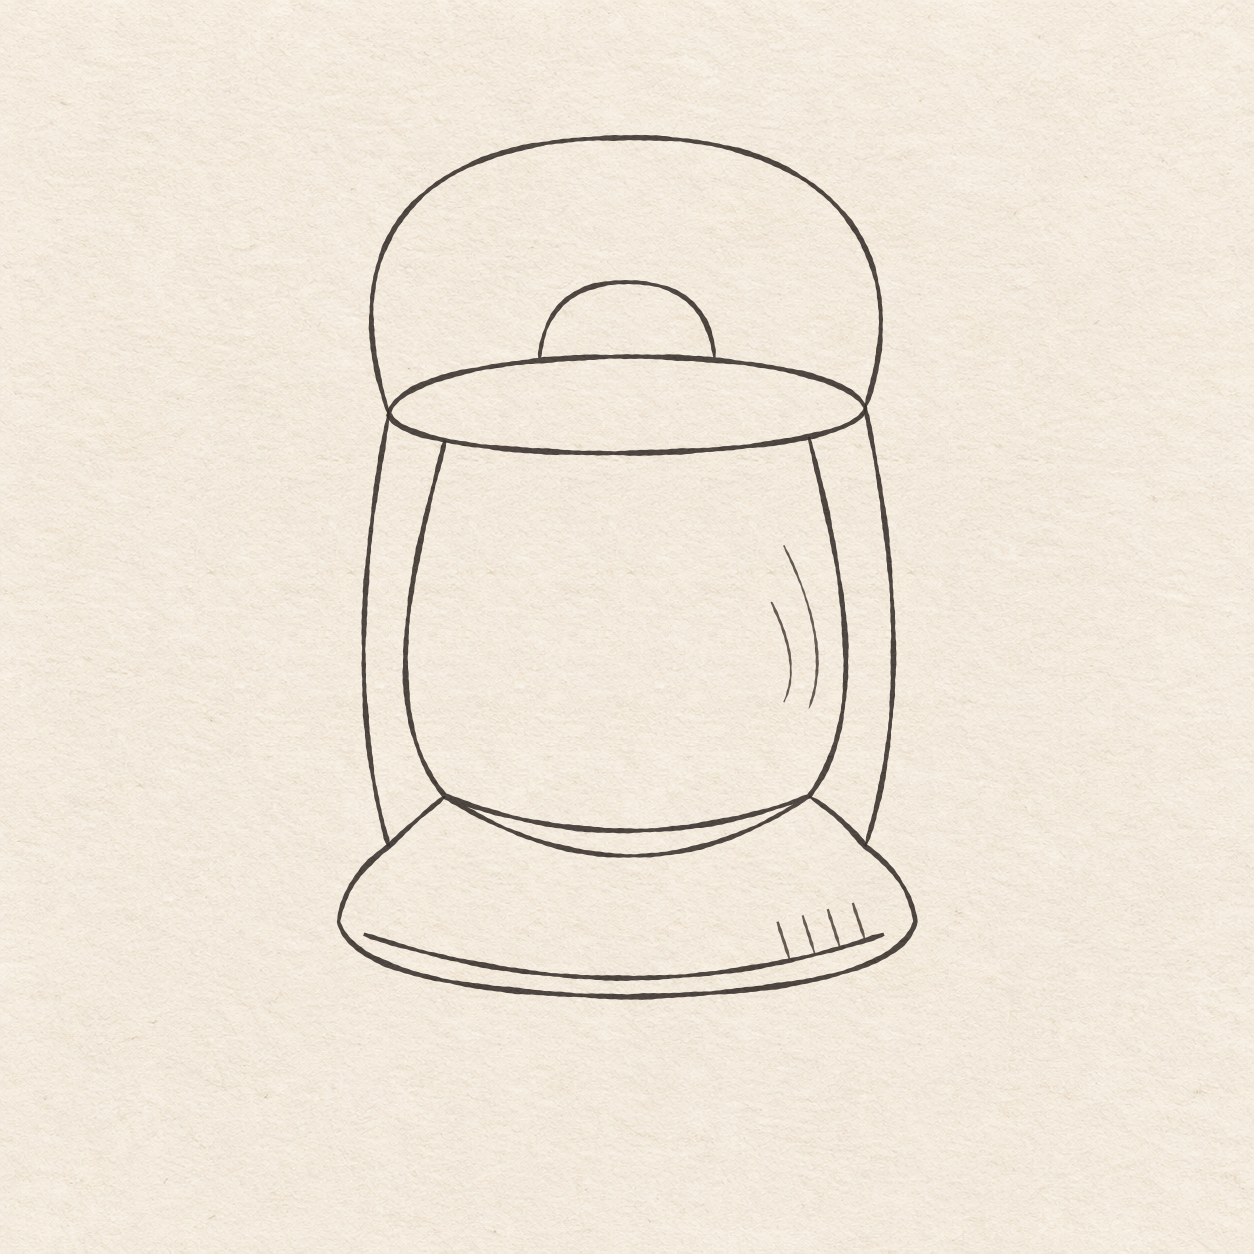
Detail 9.1 — Four short strokes meeting the lower rimStop the slanted hatch marks at the existing inner curve. Leave the narrow band below it open. FinelinerAdd two glass curves and four base strokes
Instructions for Drawing 9 — Add two glass curves and four base strokes
- Hold the ruler level through the right cap touch and set the square corner there. Use its upright edge to find a height 1.35 cm lower. Hold the ruler level at that new height and locate the longer curve’s start 7 mm inside the actual glass wall. Bow the pen line down and right, then turn slightly left. End about 9 mm above the lower corner. Reset the ruler at the first start and use the square corner to find the second start about 1.5 mm left and 7 mm down. Give that line the same turn and end near the height of the longer one. Keep paper between the two curves and the glass edge. Stop both inside the glass.
- Start near the right side of the base. Set four slanted strokes about 5 mm tall and spaced about 3 mm apart. Bring each stroke down and a little right to meet the existing inside rim. Follow its rise so each successive stroke starts slightly higher. Each stroke touches the inside line. The strips of paper between strokes and the thin band underneath remain clear.

Drawing 10 — Erase the dry pencil guidesView larger 
Detail 10.1 — Where the handle and frame meet the capBoth frame rods start at the cap tips themselves. The glass joins the nearer cap curve farther inward and leaves open space beside both rods. 
Detail 10.2 — Four short strokes meeting the lower rimStop the slanted hatch marks at the existing inner curve. Leave the narrow band below it open. CleanupErase the dry pencil guides
Instructions for Drawing 10 — Erase the dry pencil guides
- Fill a small patch on a scrap of the same paper with the same pen. Rub the patch gently with your eraser. If it smears, wait and test again. Once the patch stops smearing, erase the level line, placement dots and any pencil under the contours beside the dry ink.
If something looks off
If the metal frame touches the glass
While the lines are still light, check that each frame rod reaches from the outside cap tip to its own base shoulder. Let it bow out just enough to leave clear paper beside the glass.