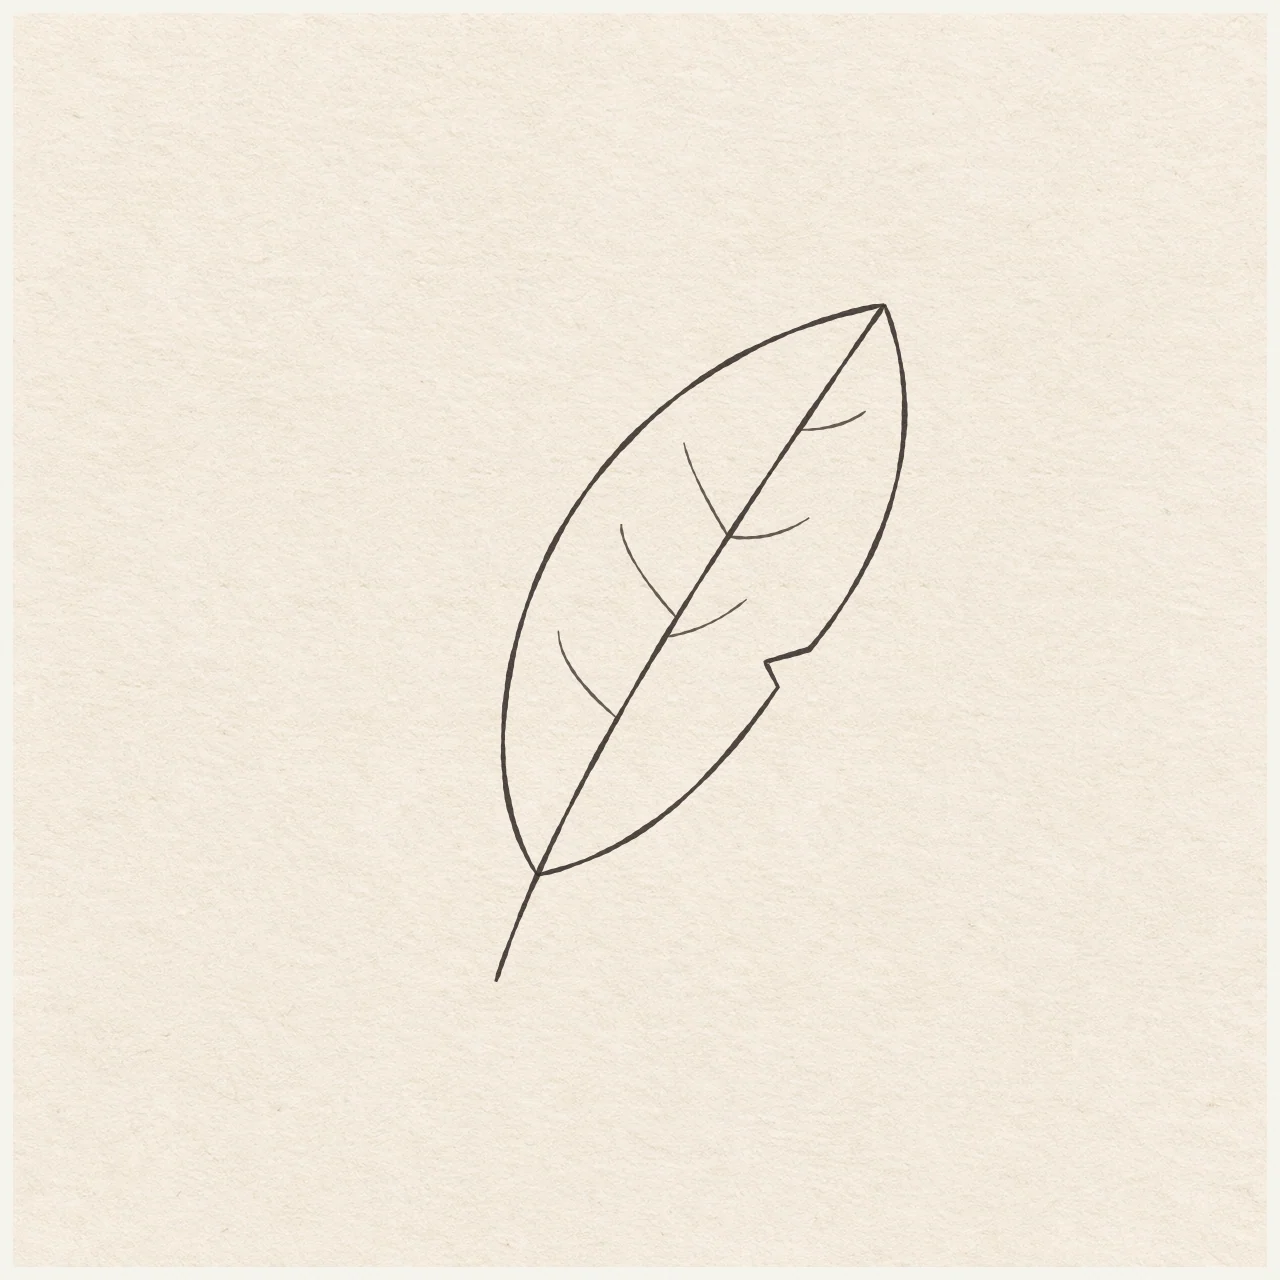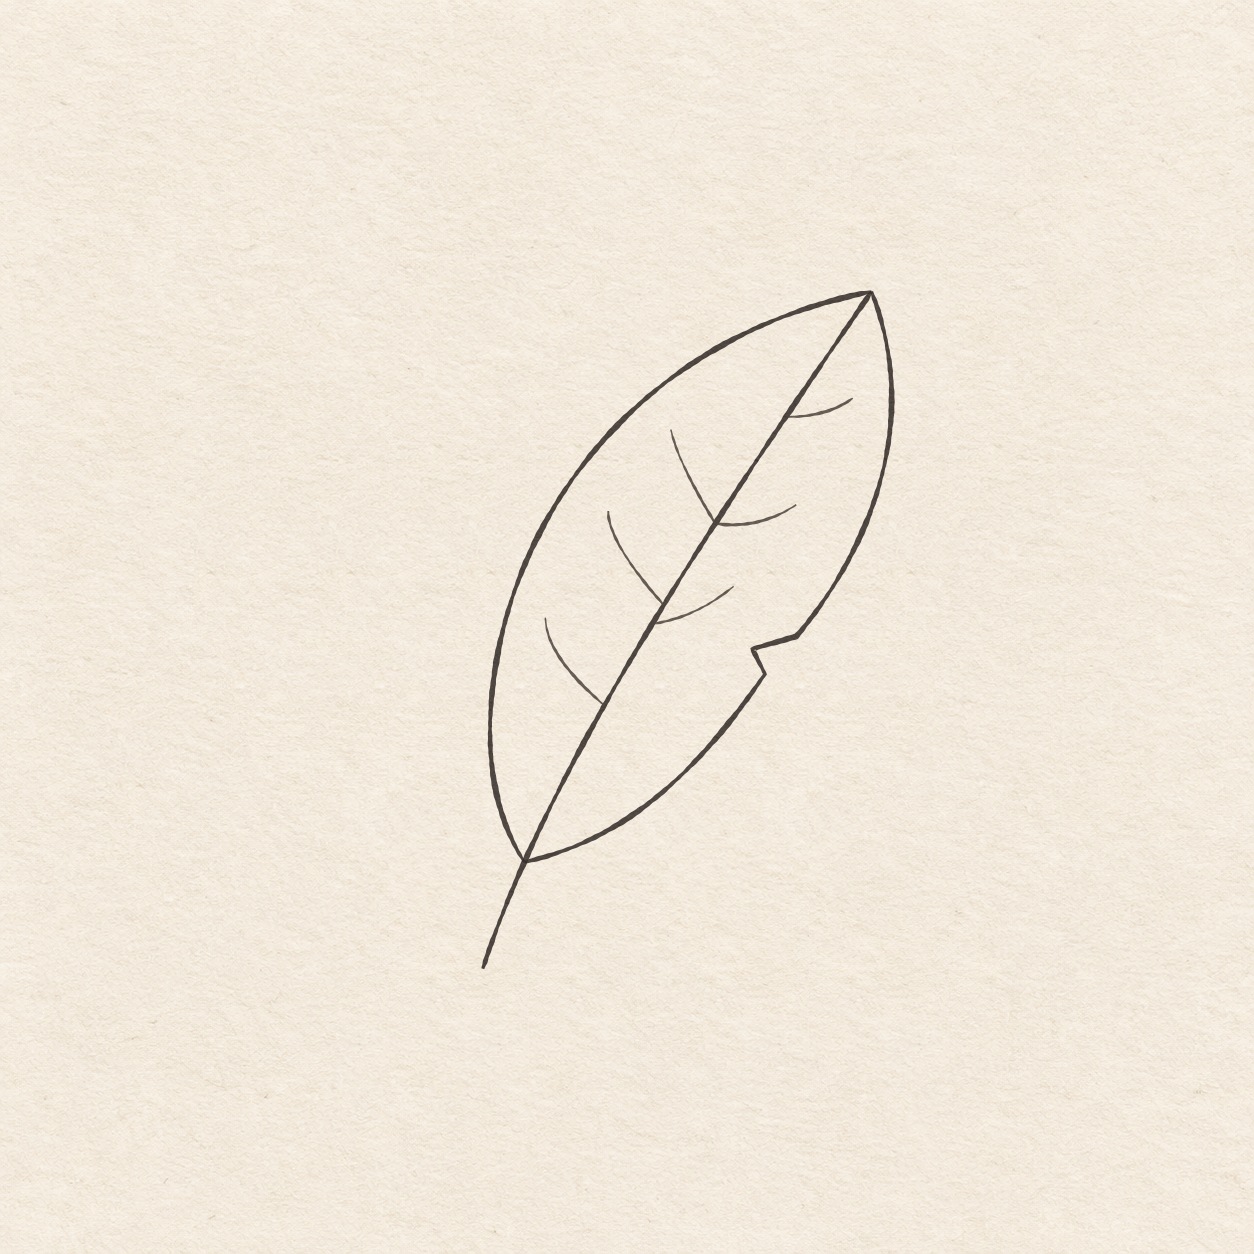
Fineliner drawing of a diagonal feather with a curved shaft, one notch and six fine barbs.
Drawing referenceAbout reference use

Curved notched feather

Give a feather a long curved shaft, one small notch and six light barb strokes.

Nature & plantsEasyFinelinerReference practice: about 19 min
Save reference

Follow the drawing tutorial

Give a feather a long curved shaft, one small notch and six light barb strokes.

Start the 5-step tutorial

A small thing to tryWhile the edge is in pencil, make a small inward point before the next section of the right edge. Leave a gap from the notch to the shaft.

Draw it, one step at a time

Draw a curved feather

Give a feather a long curved shaft, one small notch and six light barb strokes.

5 illustrated steps Full tutorial: about 19 minutes, at your pace

What you’ll need

  • HB pencil
  • Eraser
  • Ruler
  • Scrap of paper with a square corner
  • Fine black pen
  • Drawing paper

Before you start

This example is about 6.5 cm wide and 10.8 cm high. Choose the bottom of the shaft. The feather leans up and to the right from it.
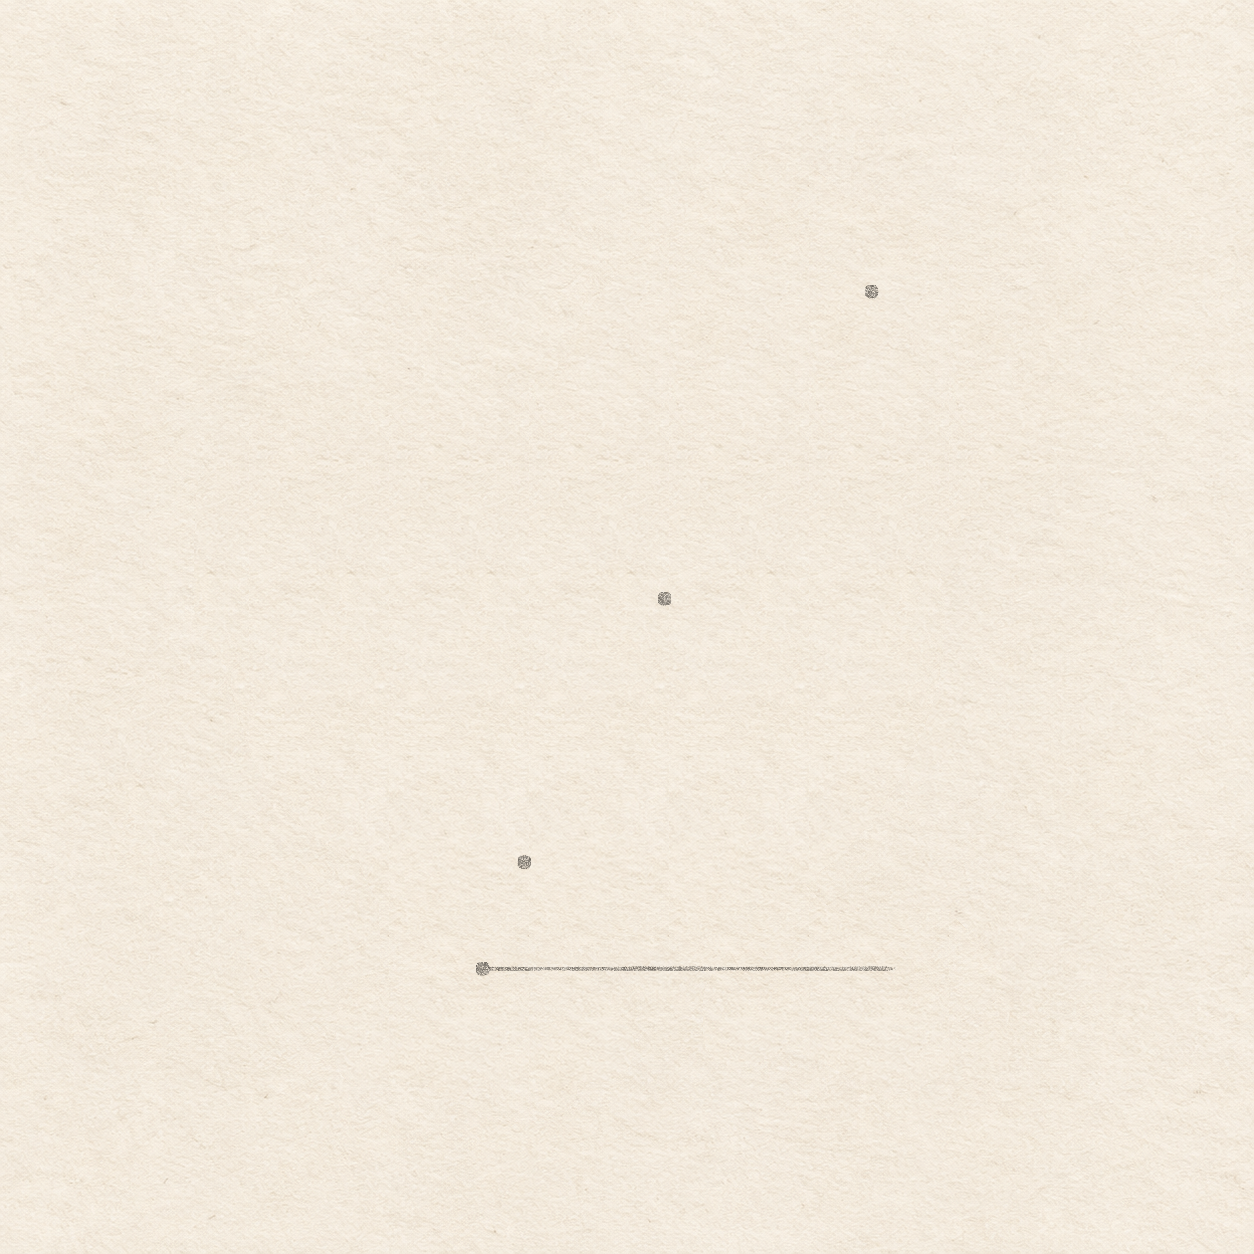
  1. A pale level line at the shaft foot and three marks above it locate the rising shaft.
    Drawing 1 — Place the shaft and its tipView larger
    Pencil

    Place the shaft and its tip

    Instructions for Drawing 1 — Place the shaft and its tip
    1. Choose the lower end of the quill and mark a small dot. Leave 7 cm to its right and 11 cm above, plus a margin. Move the dot first if the feather would approach the edge.
    2. Rule a faint horizontal line 6.6 cm to the right from the foot dot. Keep it pale enough to erase without rubbing over the dark shaft.
    3. Place one edge of a square scrap corner along the line. From the foot, go 6.2 cm right and mark the tip 10.8 cm straight up. At 2.9 cm right of the foot, mark the middle 5.9 cm up. At about 6.6 mm right of the foot, mark the low vane join 1.7 cm up. Keep it just above where the bare shaft will begin.
    Next step
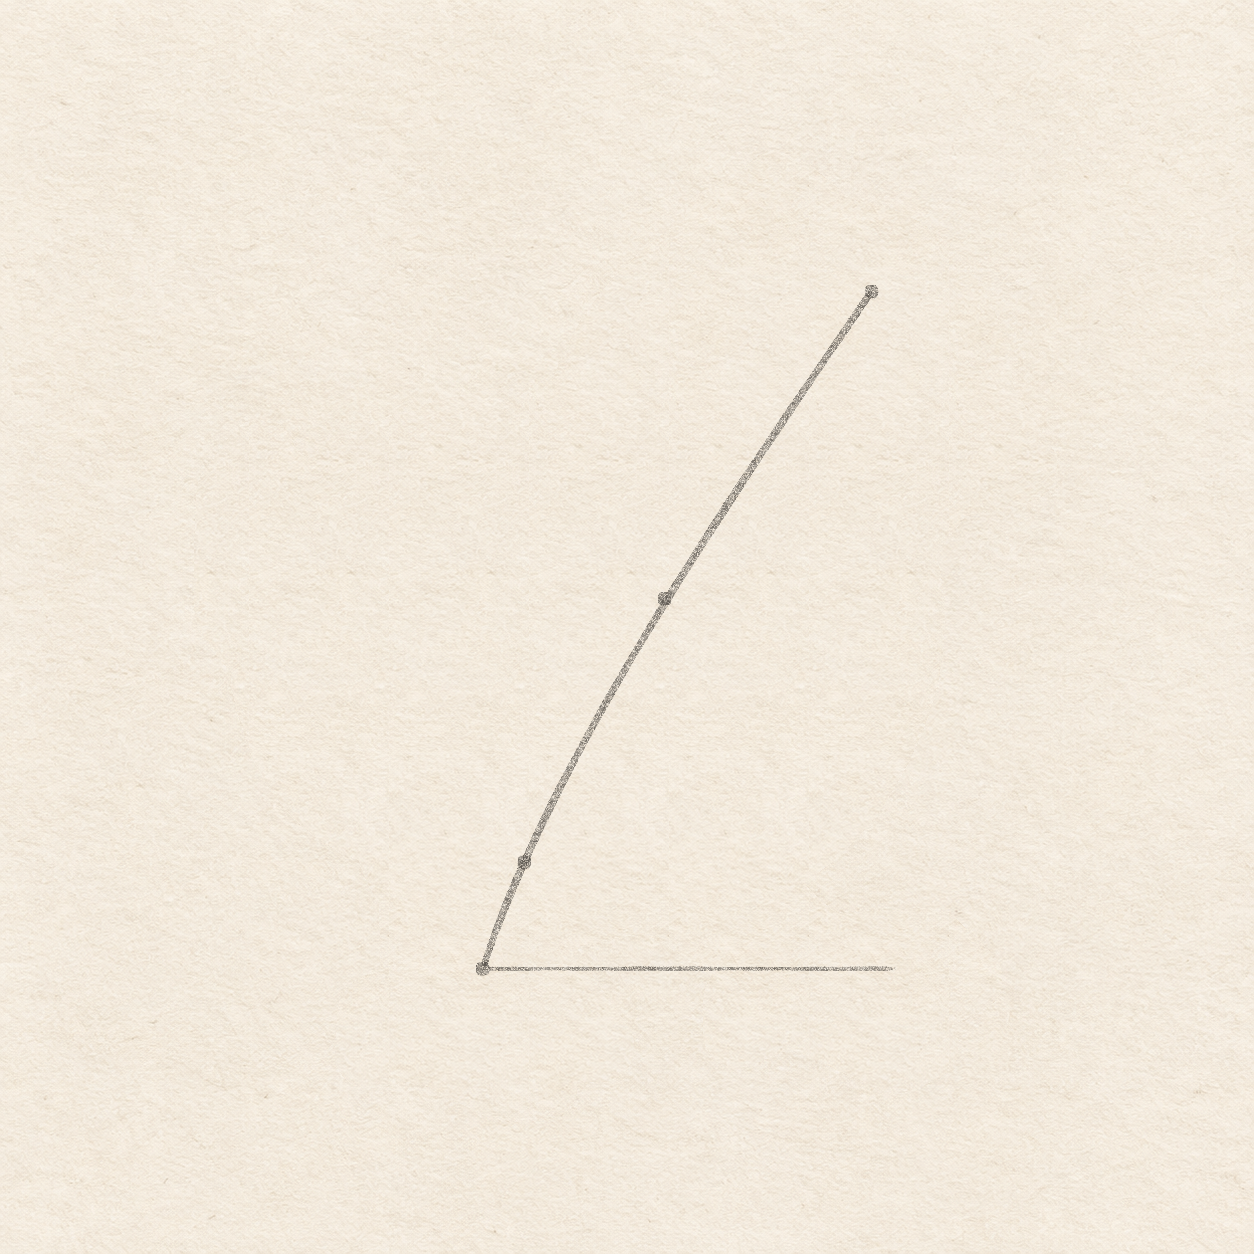
  2. A long gently curved pencil shaft rises from the foot to the high tip.
    Drawing 2 — Curve the feather shaftView larger
    Pencil

    Curve the feather shaft

    Instructions for Drawing 2 — Curve the feather shaft
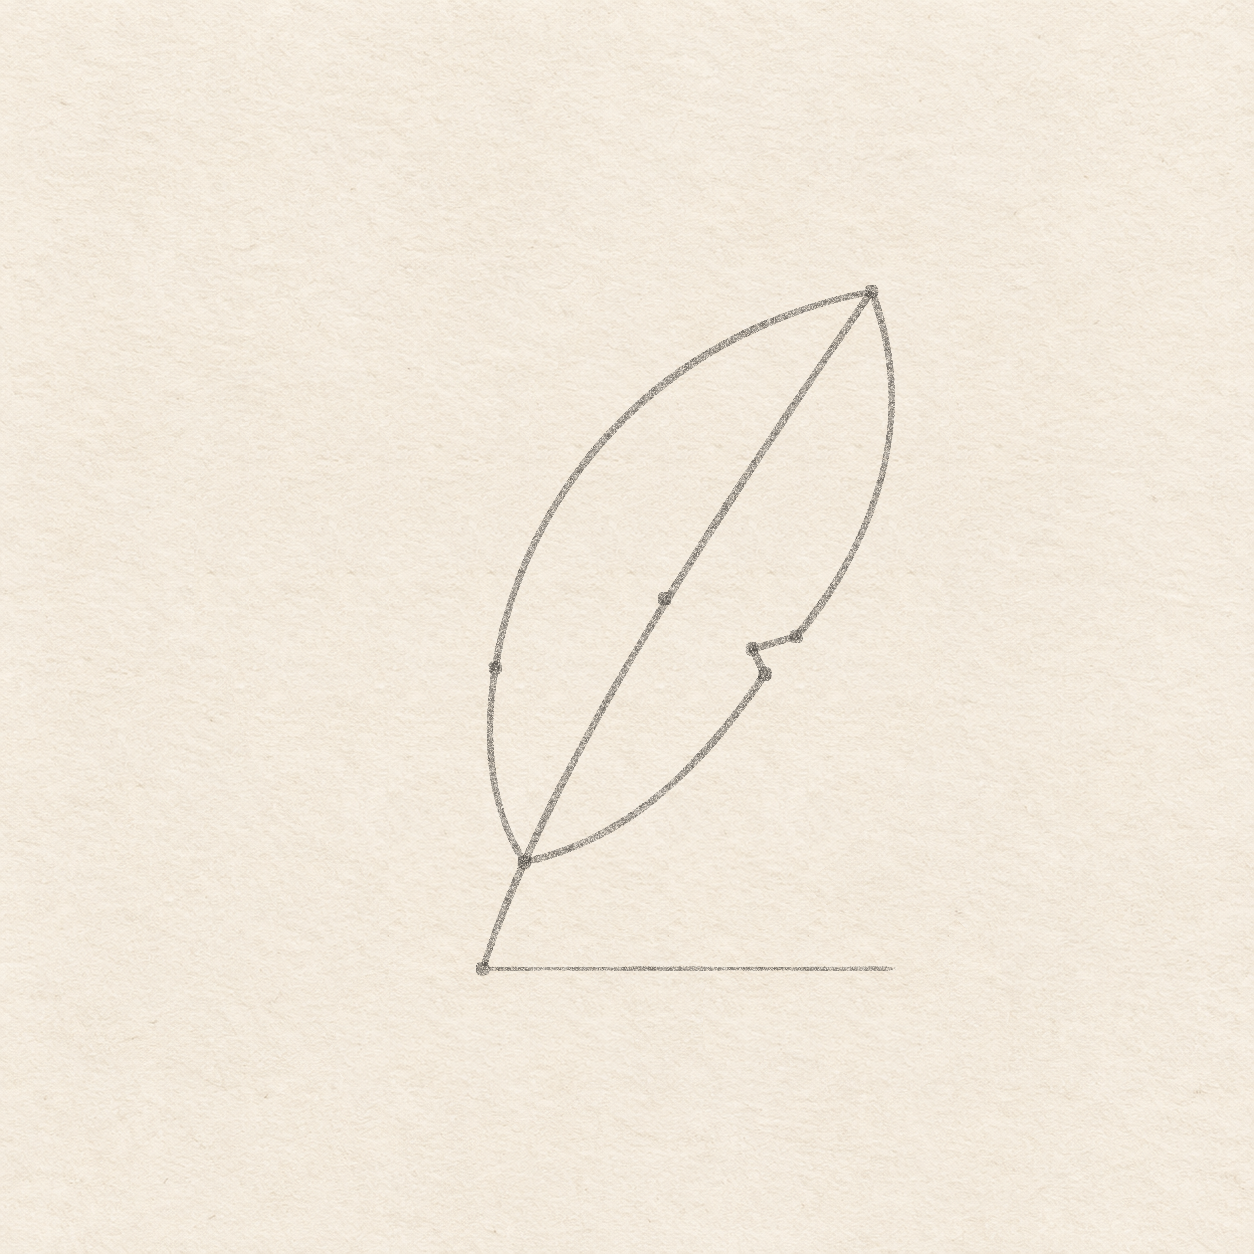
    1. Freehand a long line from the shaft foot up and right through the low join, the middle dot and the upper tip. Start steeper near the foot and ease into a diagonal nearer the tip.
    Next step
  3. The left feather side is full and smooth. The right edge has a small pointed notch before it reaches the shaft.
    Drawing 3 — Draw the unequal sidesView larger
    Pencil

    Draw the unequal sides

    Instructions for Drawing 3 — Draw the unequal sides
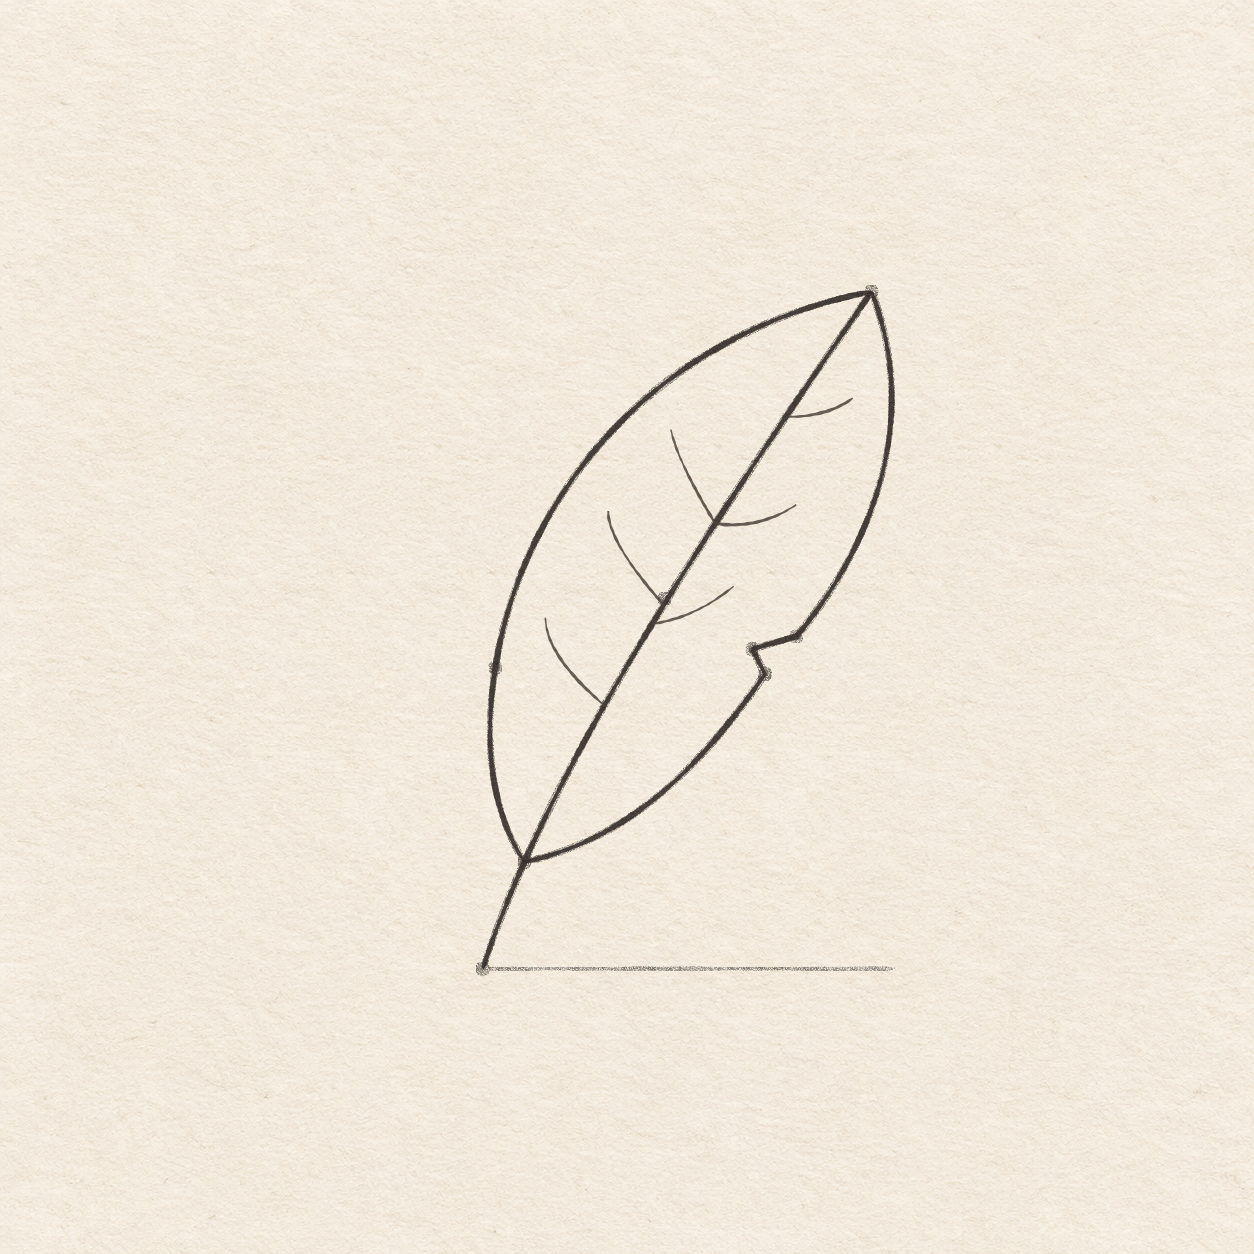
    1. From the shaft foot, use the measuring line and square corner to mark the widest left turn 2 mm right and 4.8 cm up. For the right notch, mark a dot 5 cm right and 5.3 cm up. Mark the inner notch tip 7 mm left and 2 mm below that right dot. Mark its lower lip 2 mm right and 4 mm below the inner tip.
    2. Freehand the left side from the high tip down and left through the wide turn, then round inward to the low shaft join. From the high tip again, bow a little right before coming down to the first notch dot. Touch the inner notch dot and then its lower lip with two short lines. From the lip, curve down and left to the same low shaft join.
    Next step
  4. A dark shaft and feather outline hold three curved barbs on each side.
    Drawing 4 — Ink the form and add six barbsView larger
    Ink

    Ink the form and add six barbs

    Instructions for Drawing 4 — Ink the form and add six barbs
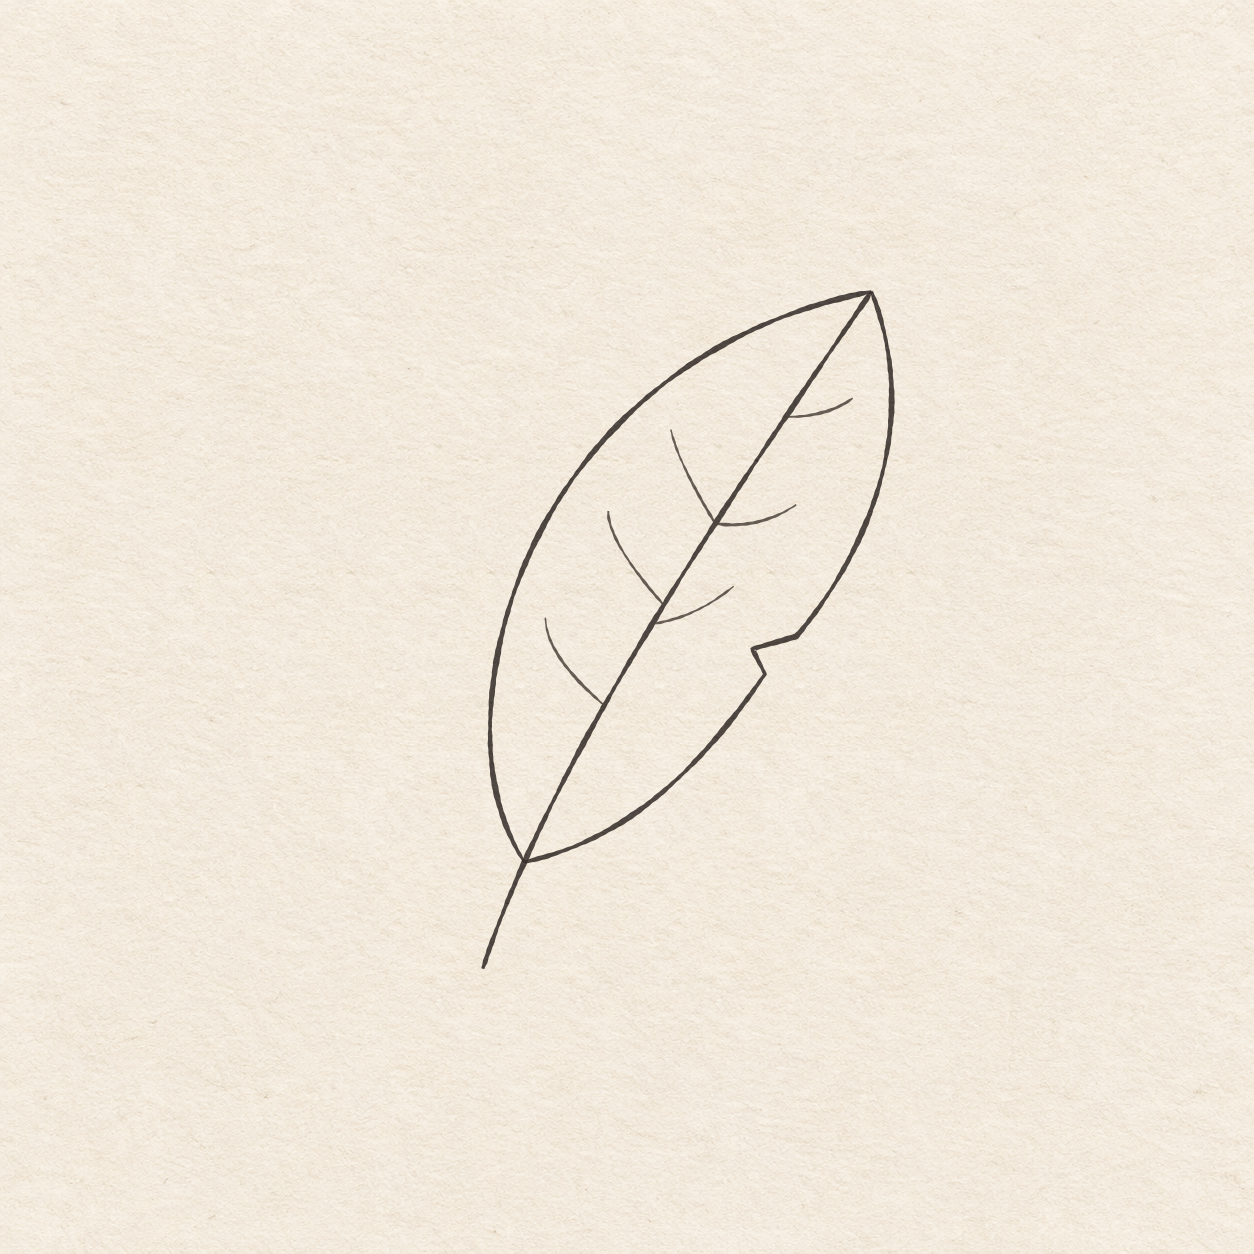
    1. Ink the curved shaft from its bare lower end to the high tip. Run through the low join so the barbs have a continuous line to start on.
    2. Trace both pencil edges, including the two short sides of the right notch. Let both sides meet the shaft at the high tip and low join.
    3. Freehand three thin curves from the middle stretch of the shaft up and left. Add three shorter curves from the shaft up and right. Keep their outer ends inside the two feather edges. Leave open space between the barbs.
    Next step
  5. The cleaned feather has a curved bare shaft, a small right notch and six fine barbs.
    Drawing 5 — Erase the dry pencil guidesView larger
    Cleanup

    Erase the dry pencil guides

    Instructions for Drawing 5 — Erase the dry pencil guides

    1. Fill a small patch on a scrap of the same paper with the same pen. Rub the patch gently with your eraser. If it smears, wait and test again. Once the patch stops smearing, erase the measuring line, all plotted dots and any remaining pencil marks beside the dry ink.
    Back to the steps

If something looks off

If the notch gets lost

While the edge is in pencil, make a small inward point before the next section of the right edge. Leave a gap from the notch to the shaft.