FinelinerEasy

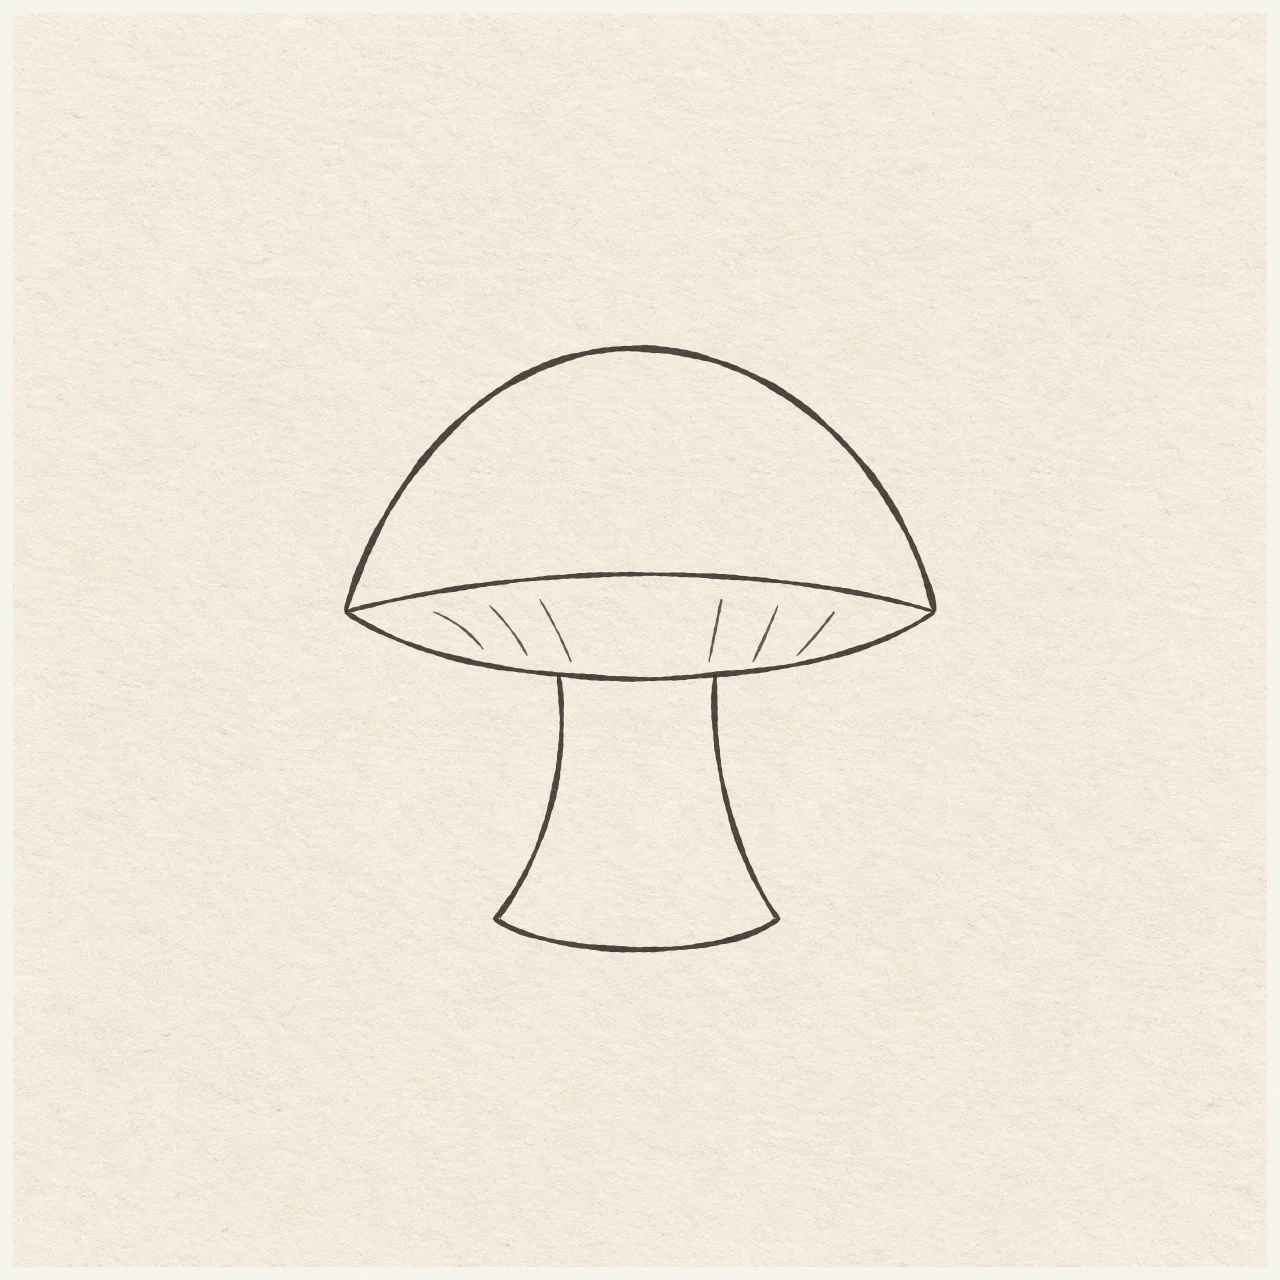
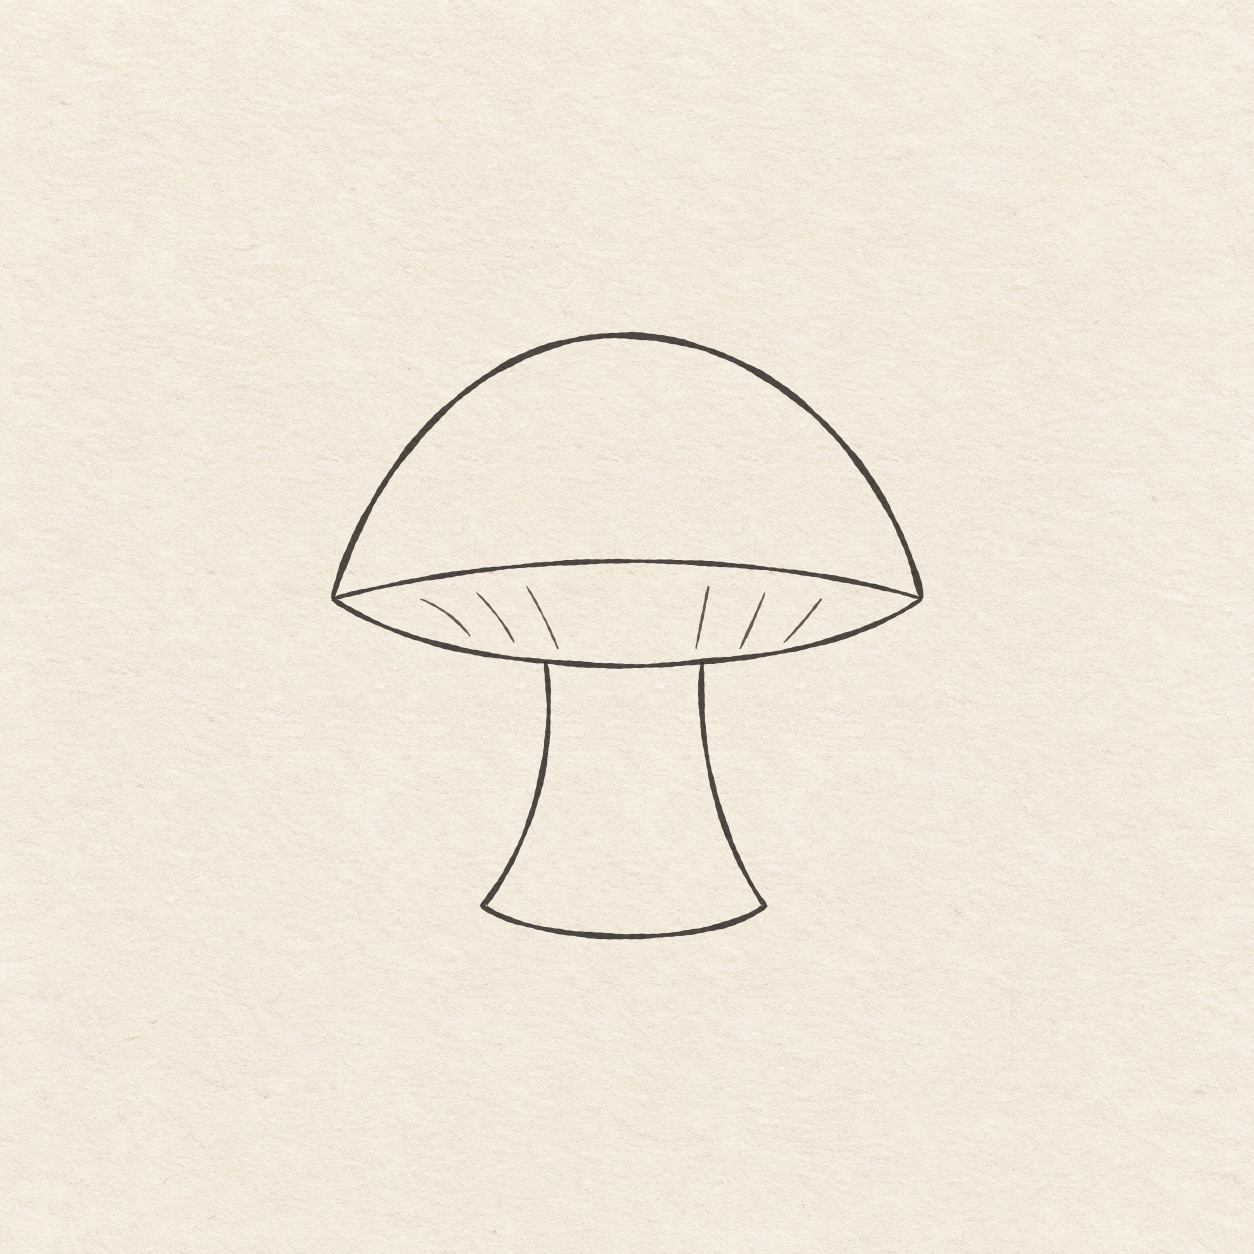
Mushroom with a rounded cap
Build a round mushroom dome, show the narrow underside and add a few fine gill strokes.
Follow the drawing tutorial
Build a round mushroom dome, show the narrow underside and add a few fine gill strokes.
Start the 6-step tutorialA small thing to tryShorten the remaining gills so their tips stop clear of both edges.
Draw it, one step at a time
Draw a mushroom with a rounded cap
Build a round mushroom dome, show the narrow underside and add a few fine gill strokes.
What you’ll need
- HB pencil
- Eraser
- Ruler
- Scrap of paper with a square corner
- Fine black pen
- Drawing paper
Before you start
This example is about 9.4 cm wide and 9.5 cm high. Set the cap where you like. Leave room for the stem below it.
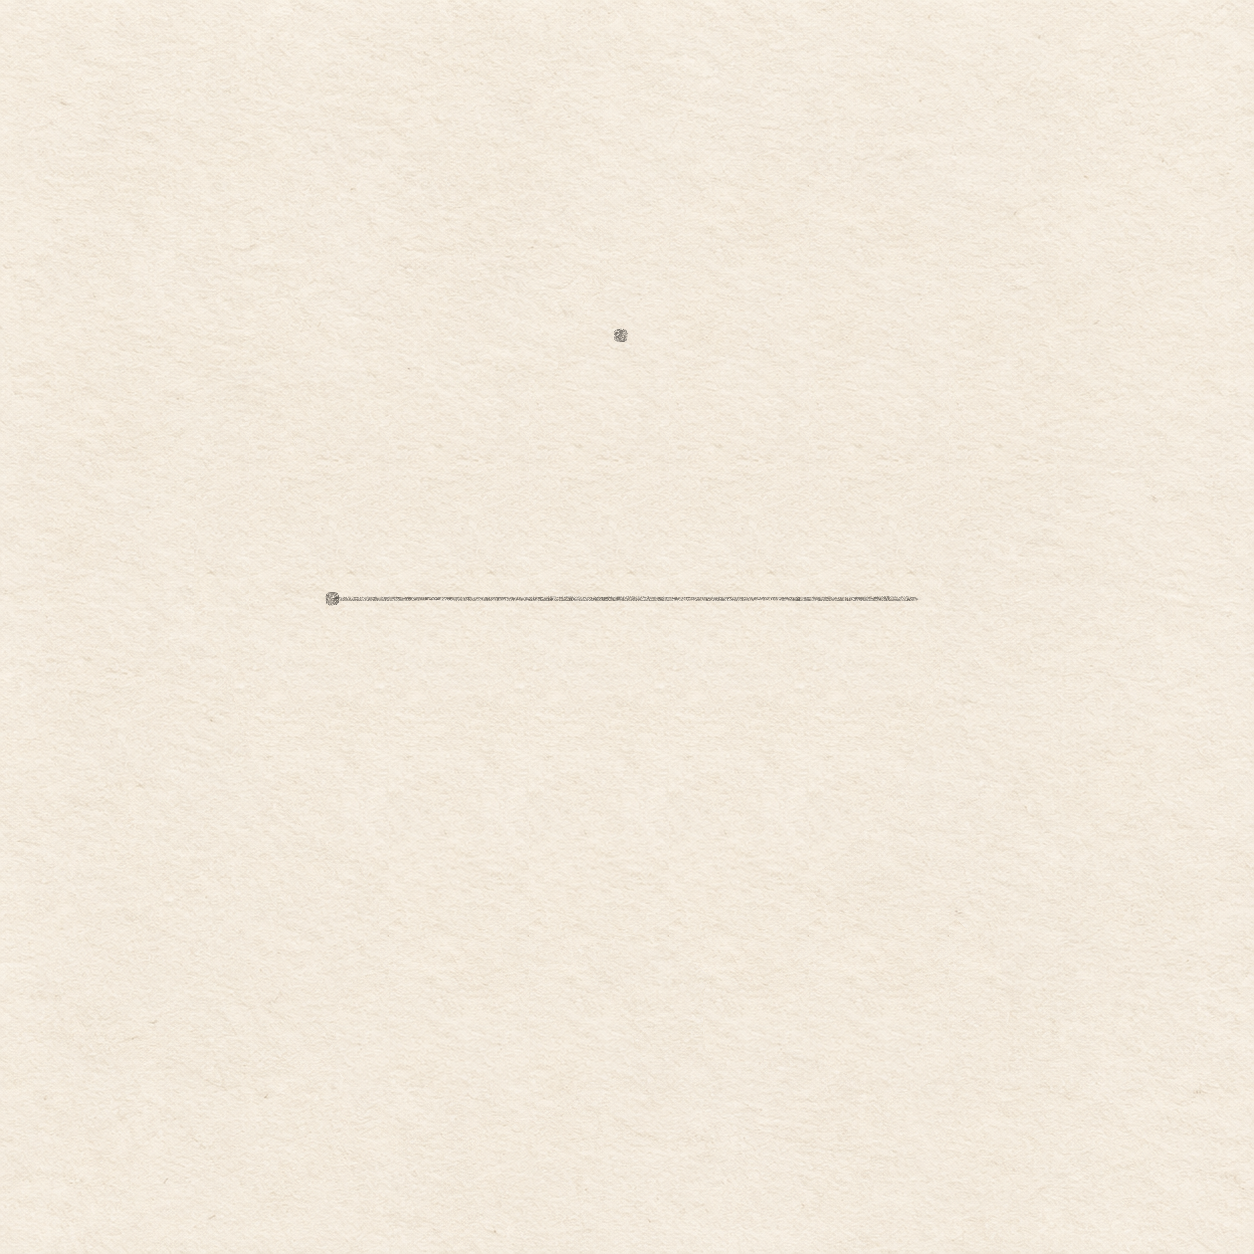
Drawing 1 — Set the cap width and heightView larger PencilSet the cap width and height
Instructions for Drawing 1 — Set the cap width and height
- Choose the left tip and mark it with a small dot. Leave 9.5 cm to its right, 4.5 cm above and 5.5 cm below, plus a margin. Move the tip before drawing if the stem or dome will crowd an edge.
- Rule a faint level line 9.4 cm to the right of the dot. Its ends mark where the cap turns down to the underside. Use this line for measuring and leave it light enough to erase.
- Find a spot along the line 4.6 cm from the left. Lay a scrap’s square corner there with one edge along the line. On the upright edge, mark a dot 4.2 cm straight up. This dot is the high point and should sit nearly above the line’s middle.

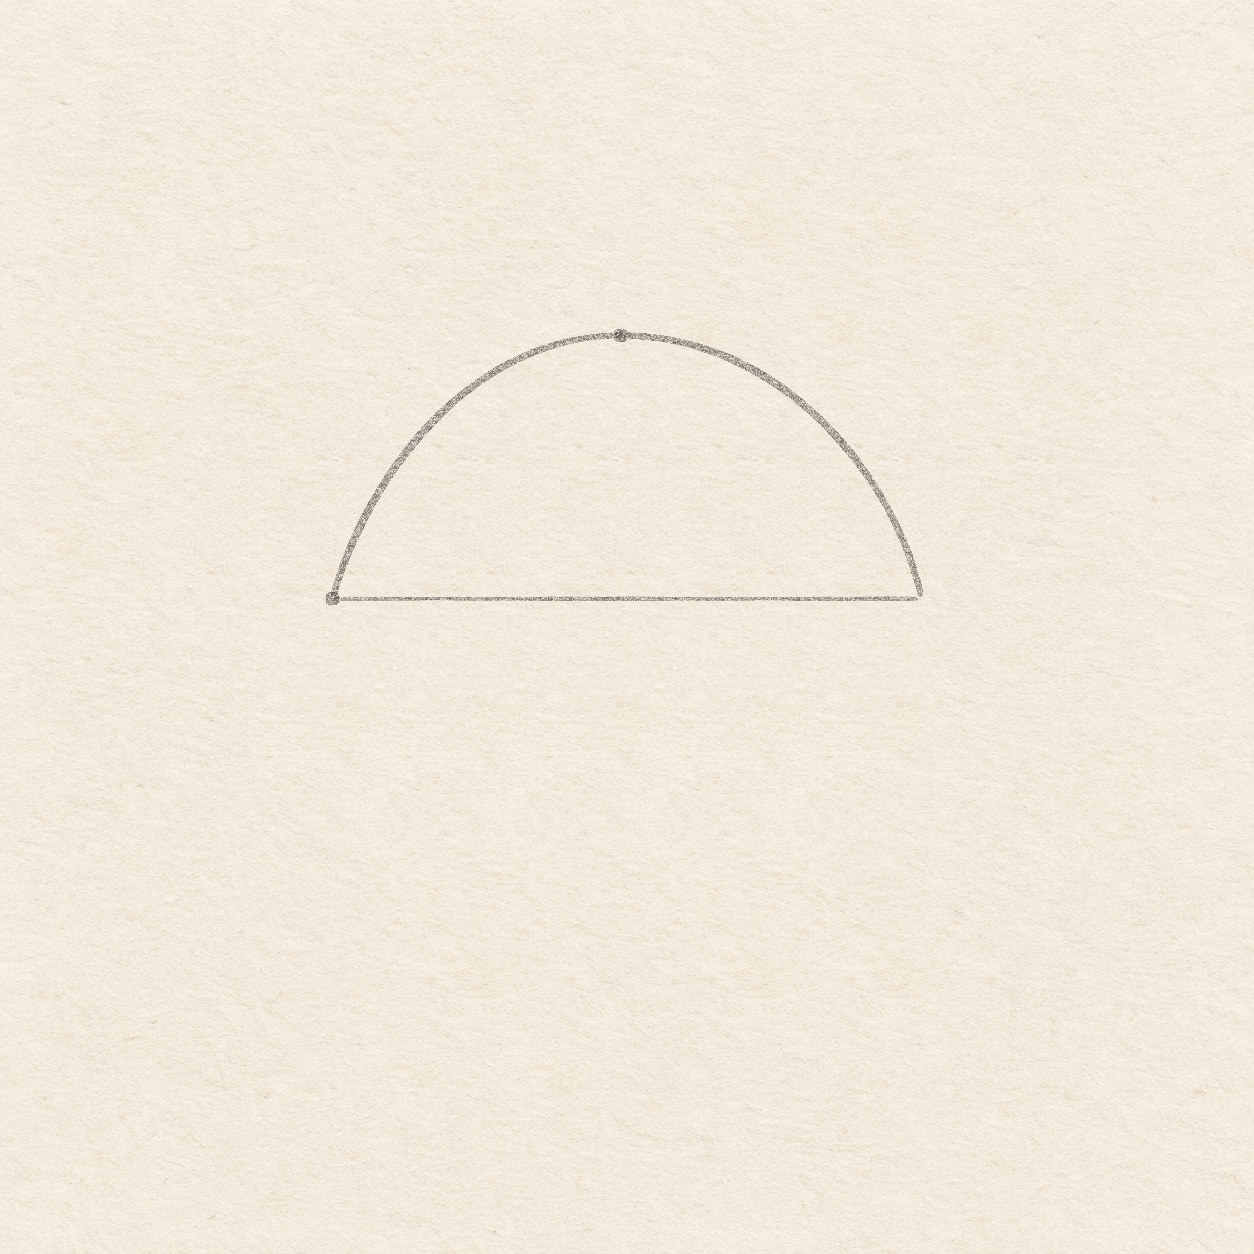
Drawing 2 — Draw the domeView larger PencilDraw the dome
Instructions for Drawing 2 — Draw the dome
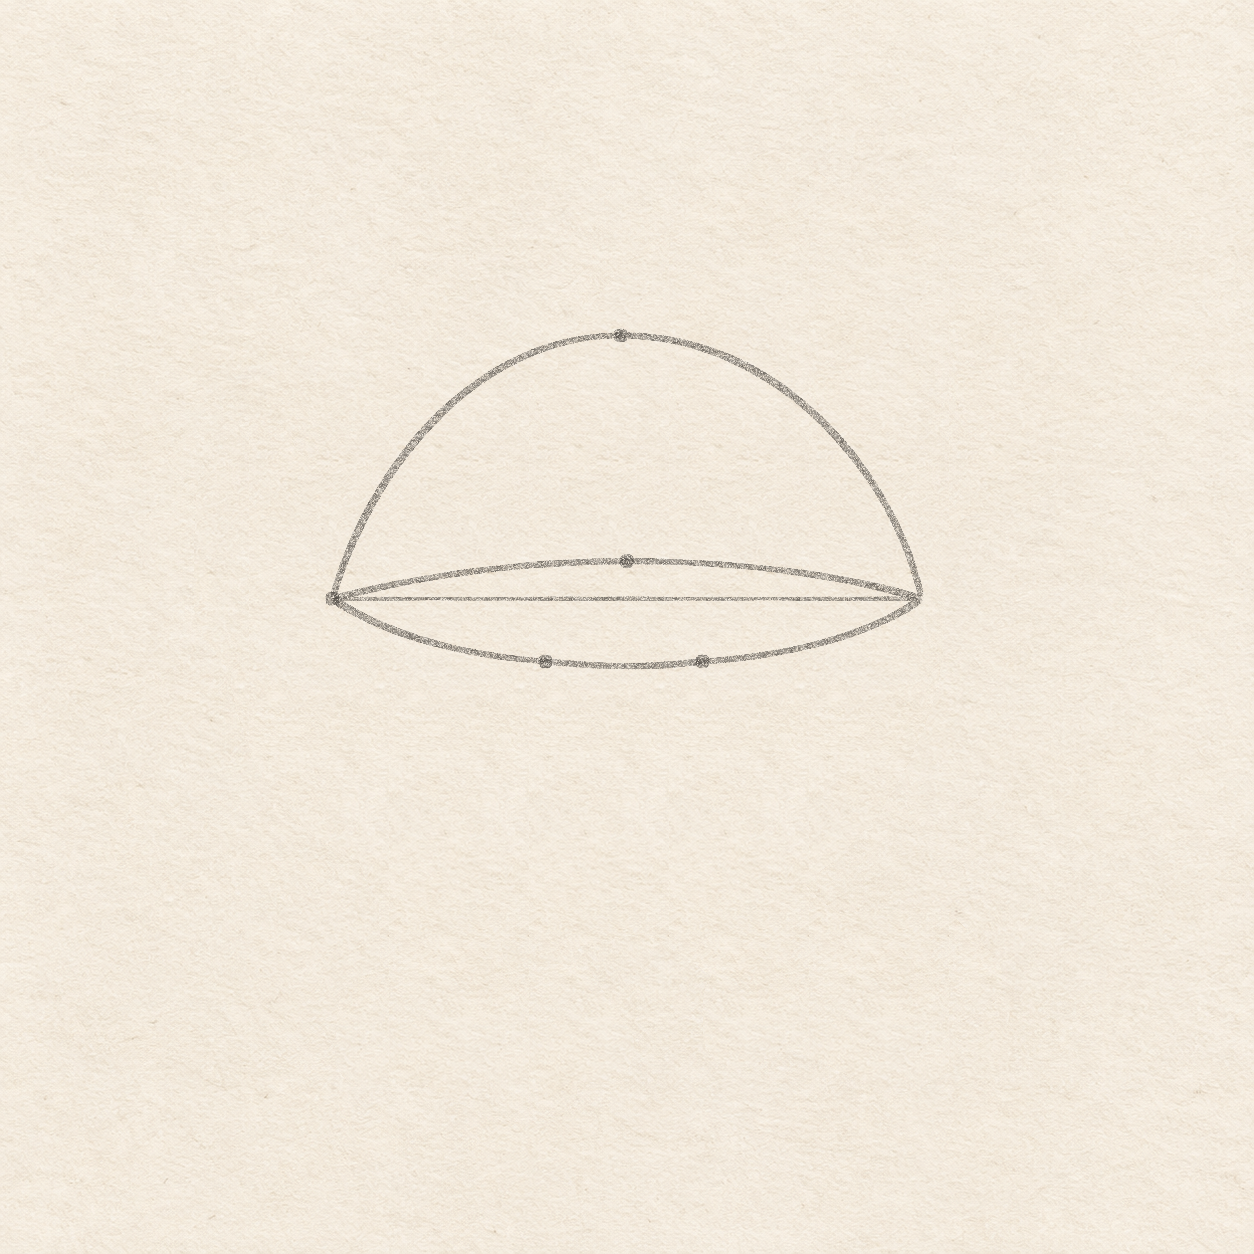
- Freehand a smooth sweep from the left tip up and right to the high dot. Round across the dot, then sweep down and right to the right tip. Keep both sides gently rounded and meet the two tips at the level line.

Drawing 3 — Make the narrow undersideView larger PencilMake the narrow underside
Instructions for Drawing 3 — Make the narrow underside
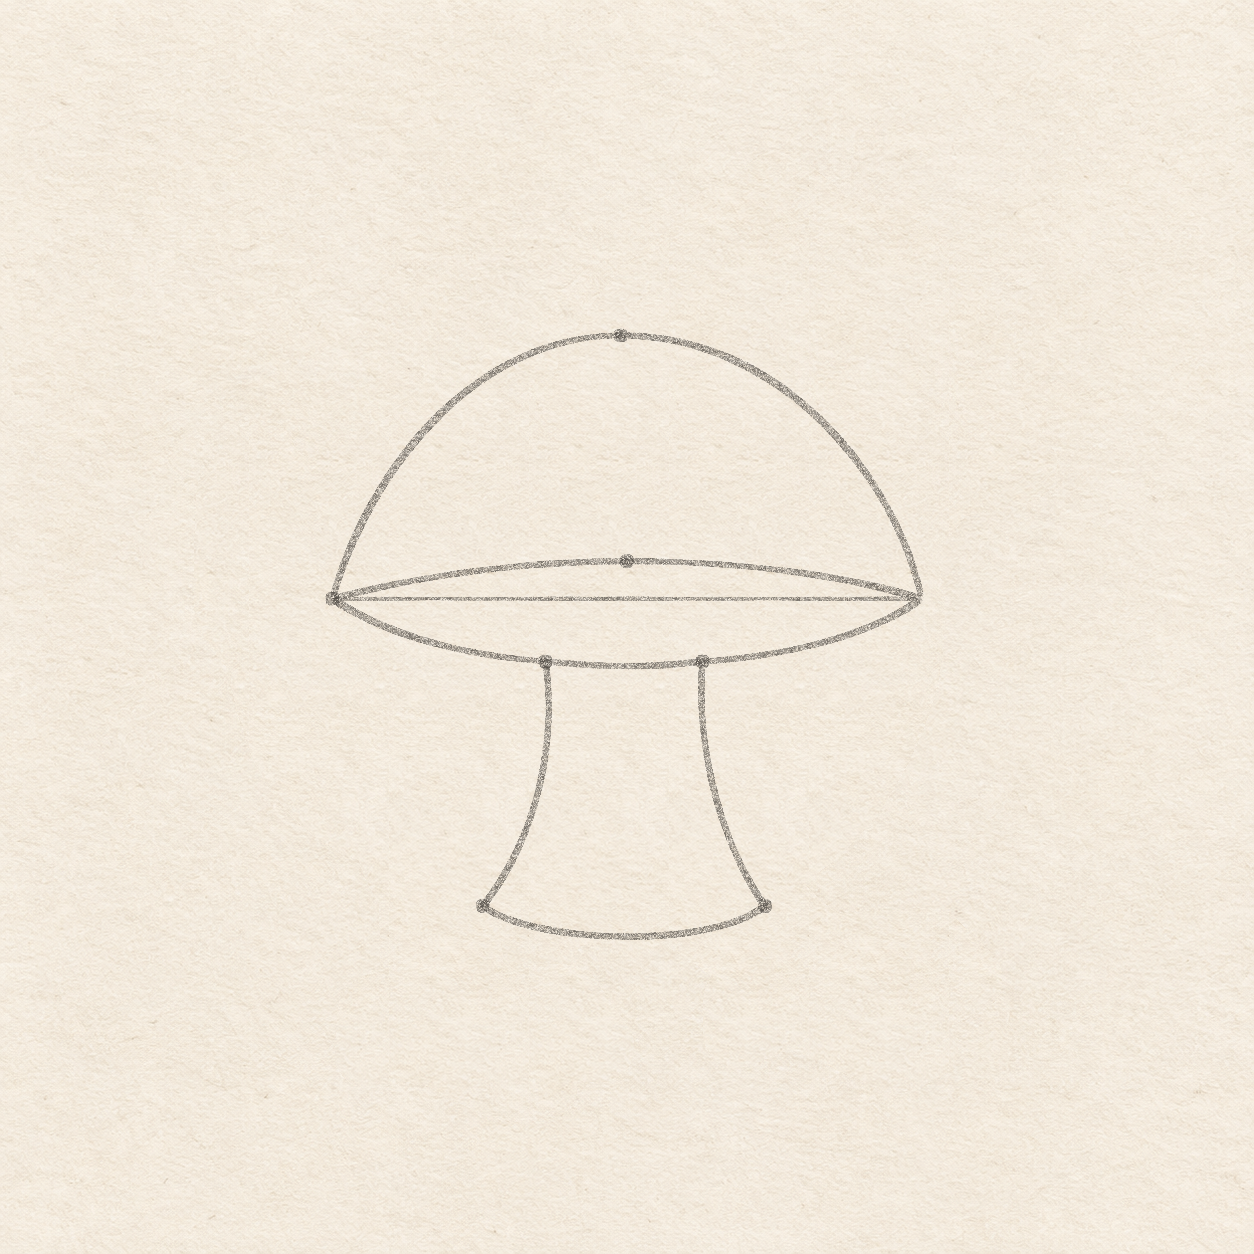
- Measure from the left tip along the faint line. At 4.7 cm right, mark a dot 6 mm up with the square corner. At 3.4 cm and 5.9 cm right of the left tip, mark two more dots 1 cm down. The two lower dots will sit on the bowed edge and show where the stem starts.
- From the left tip, curve gently upward through the high inner dot and back down to the right tip. Keep this bow inside the dome. Start again at the left tip and curve below the span through both lower dots. Dip only slightly between those two dots, then rise to the right tip. Keep both bows separate until they reach the end tips.

Drawing 4 — Flare the stem toward the bottomView larger PencilFlare the stem toward the bottom
Instructions for Drawing 4 — Flare the stem toward the bottom
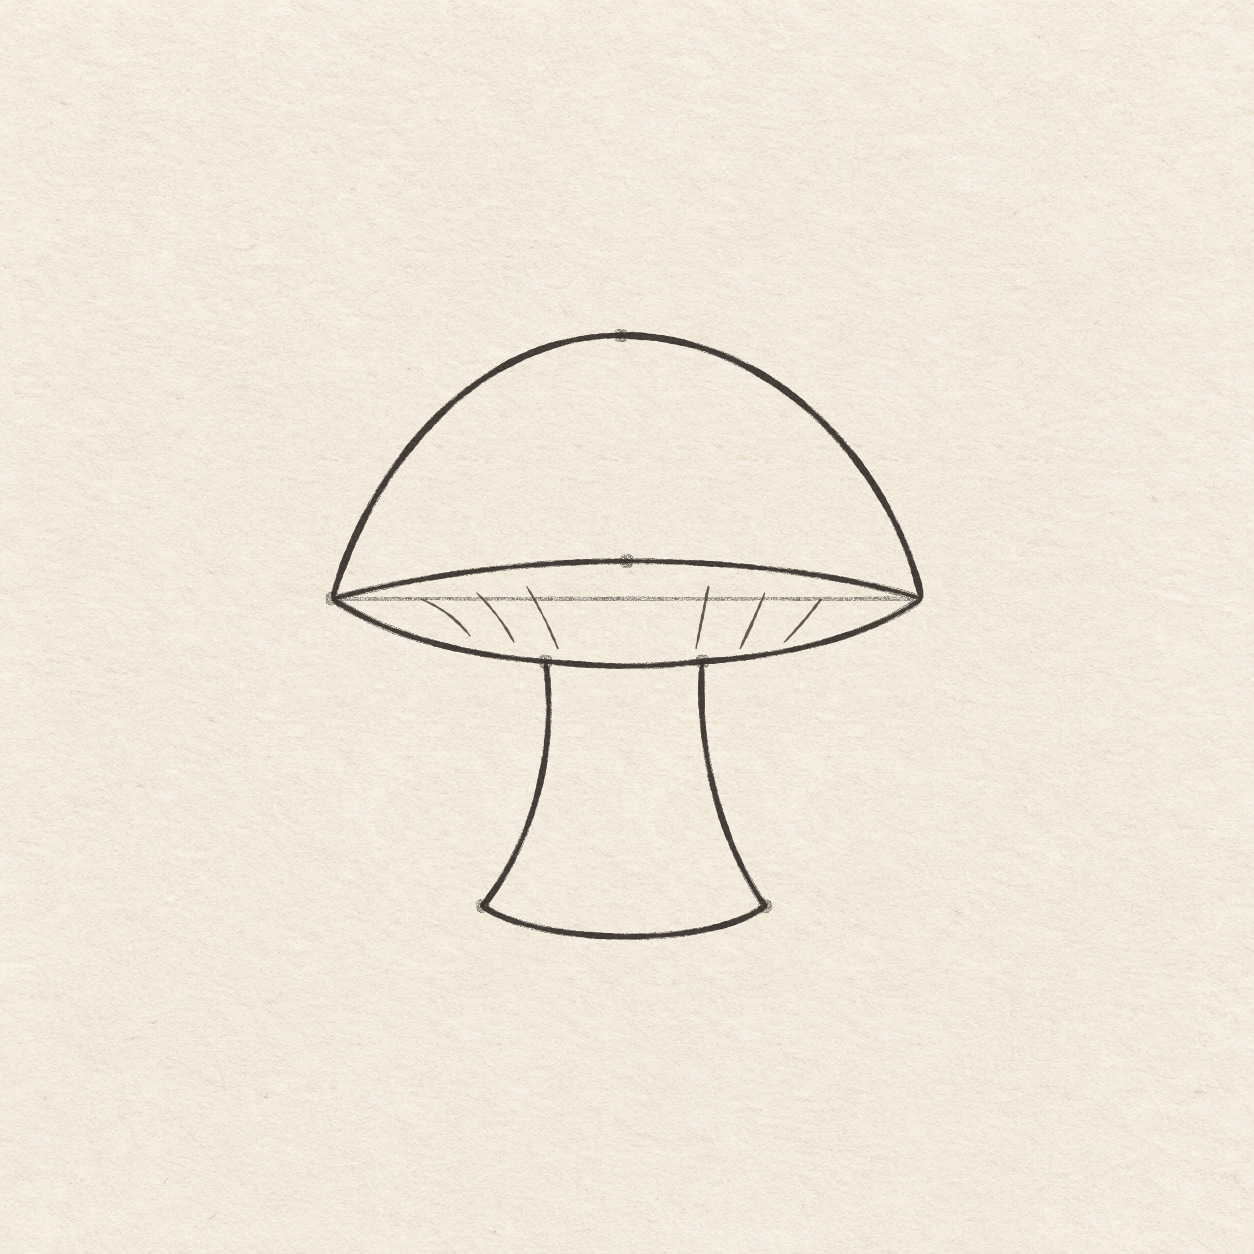
- From the left tip of the cap, measure along the faint line to 2.4 cm and 6.9 cm right. Use the square corner to mark a dot 4.9 cm straight down from each of those spots. Both foot dots sit outside the narrower pair of stem starts.
- Start at the left stem dot on the lower cap edge. Freehand down, then flare left to the left base dot. Bow slightly down and around to the right base dot. Curve back up and left to the right stem dot on the lower edge. Keep the base shallow and let the stem sides meet the edge without carrying them into the cap.

Drawing 5 — Ink the mushroom and add the gillsView larger InkInk the mushroom and add the gills
Instructions for Drawing 5 — Ink the mushroom and add the gills
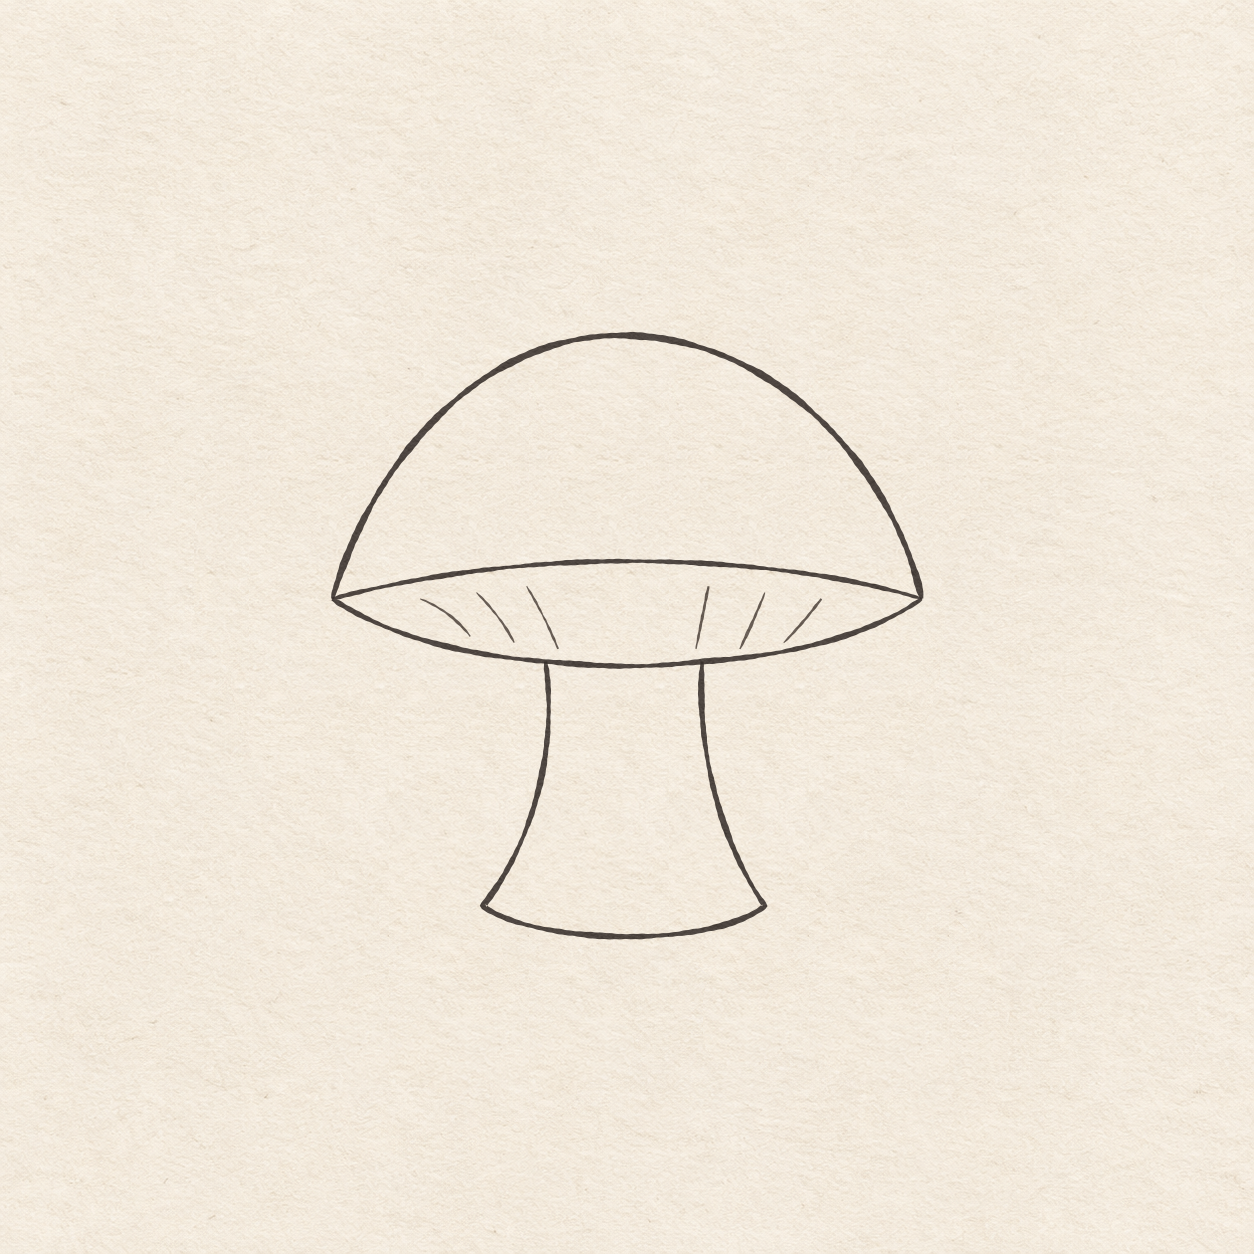
- Follow the domed pencil outline from one cap tip to the other. Slow down as you round the top dot. Turn the paper if the curve is hard to pull.
- Ink the two shallow pencil bows from the left tip to the right tip. Keep the outline of the underside narrow.
- Ink down the left side of the stem, around its base, and back up the right side. Keep the two upper joins separate on the lower cap edge.
- Freehand three short curves inside the left half of the narrow underside, sloping down and right. Add three on the right half sloping down and left. Start each a little below the upper bow. Keep all six little curves clear of both edges. Shorten them if the underside is narrow.

Drawing 6 — Erase the dry pencil guidesView larger CleanupErase the dry pencil guides
Instructions for Drawing 6 — Erase the dry pencil guides
- Fill a small patch on a scrap of the same paper with the same pen. Rub the patch gently with your eraser. If it smears, wait and test again. Once the patch stops smearing, erase the light span, guide dots and any remaining pencil marks beside the dry ink.
If something looks off
If a gill meets the edge
Shorten the remaining gills so their tips stop clear of both edges.