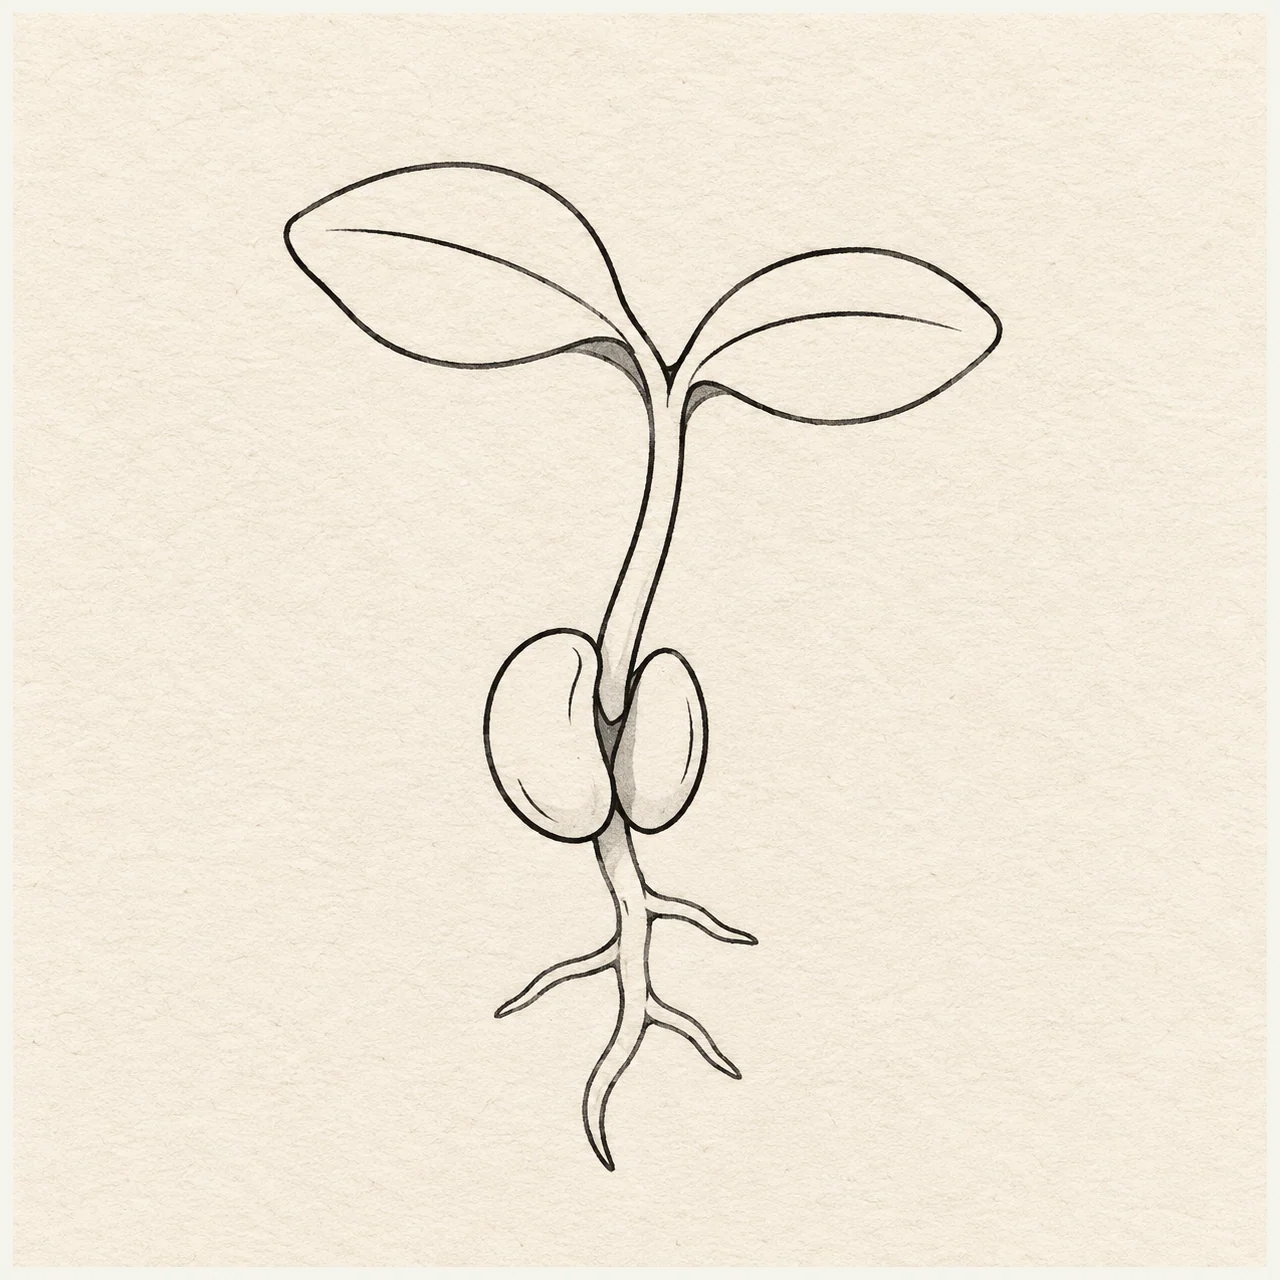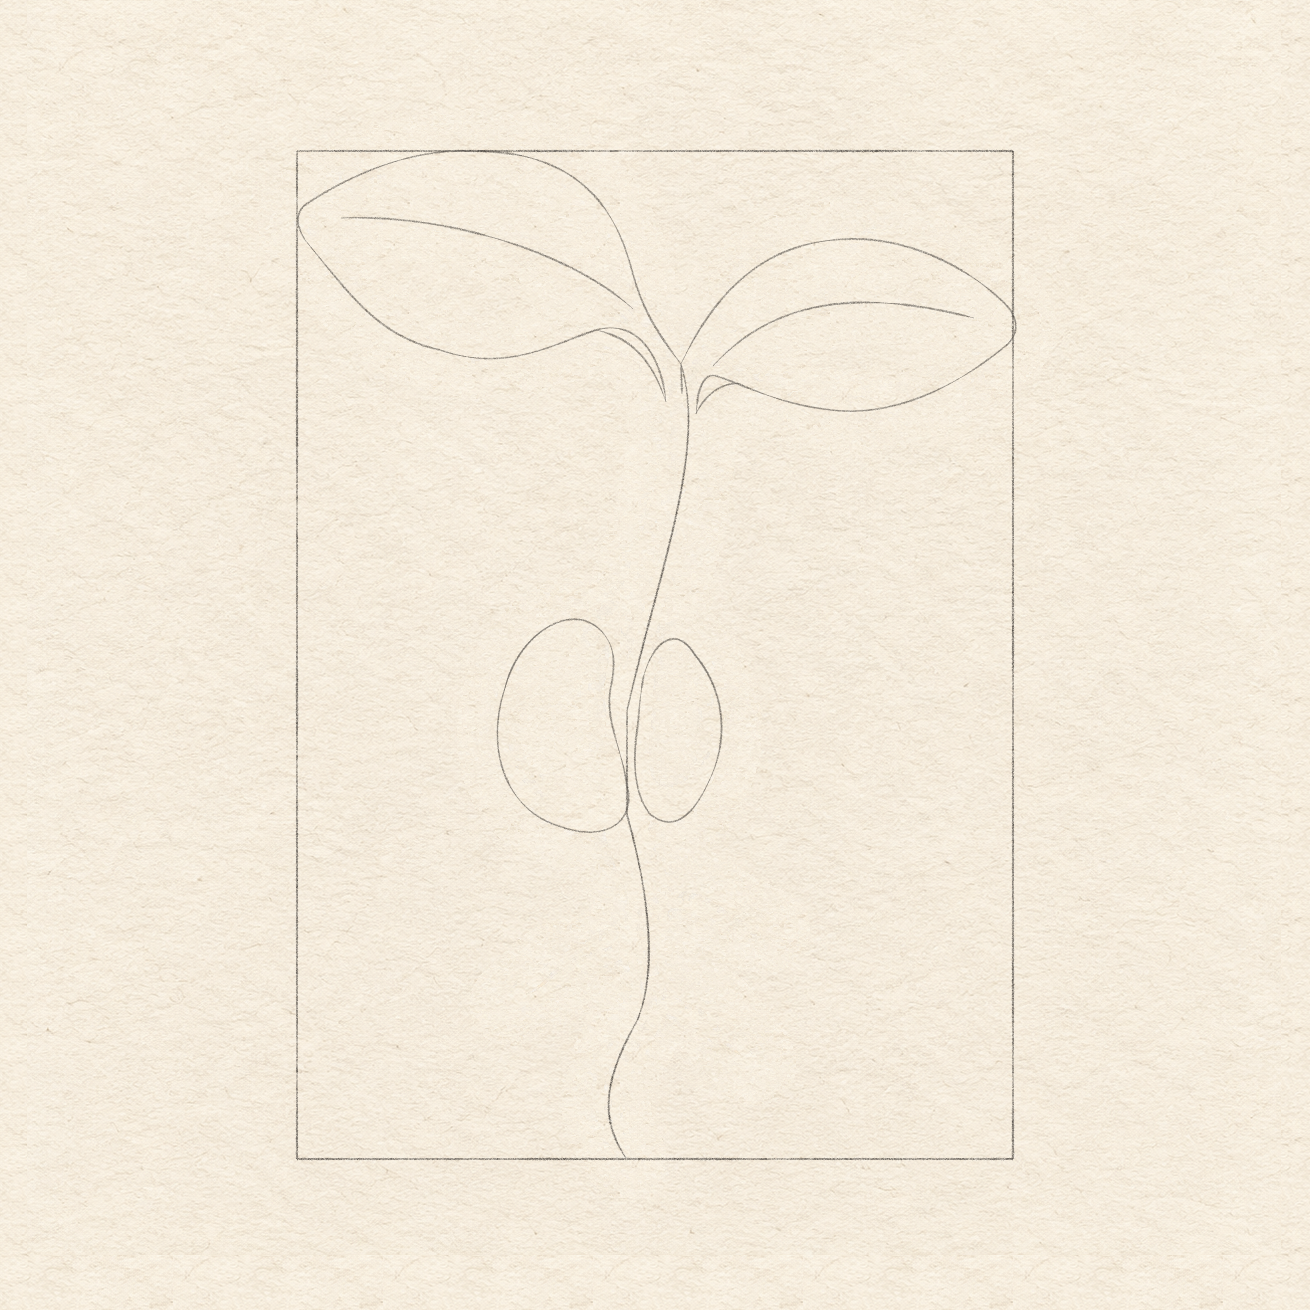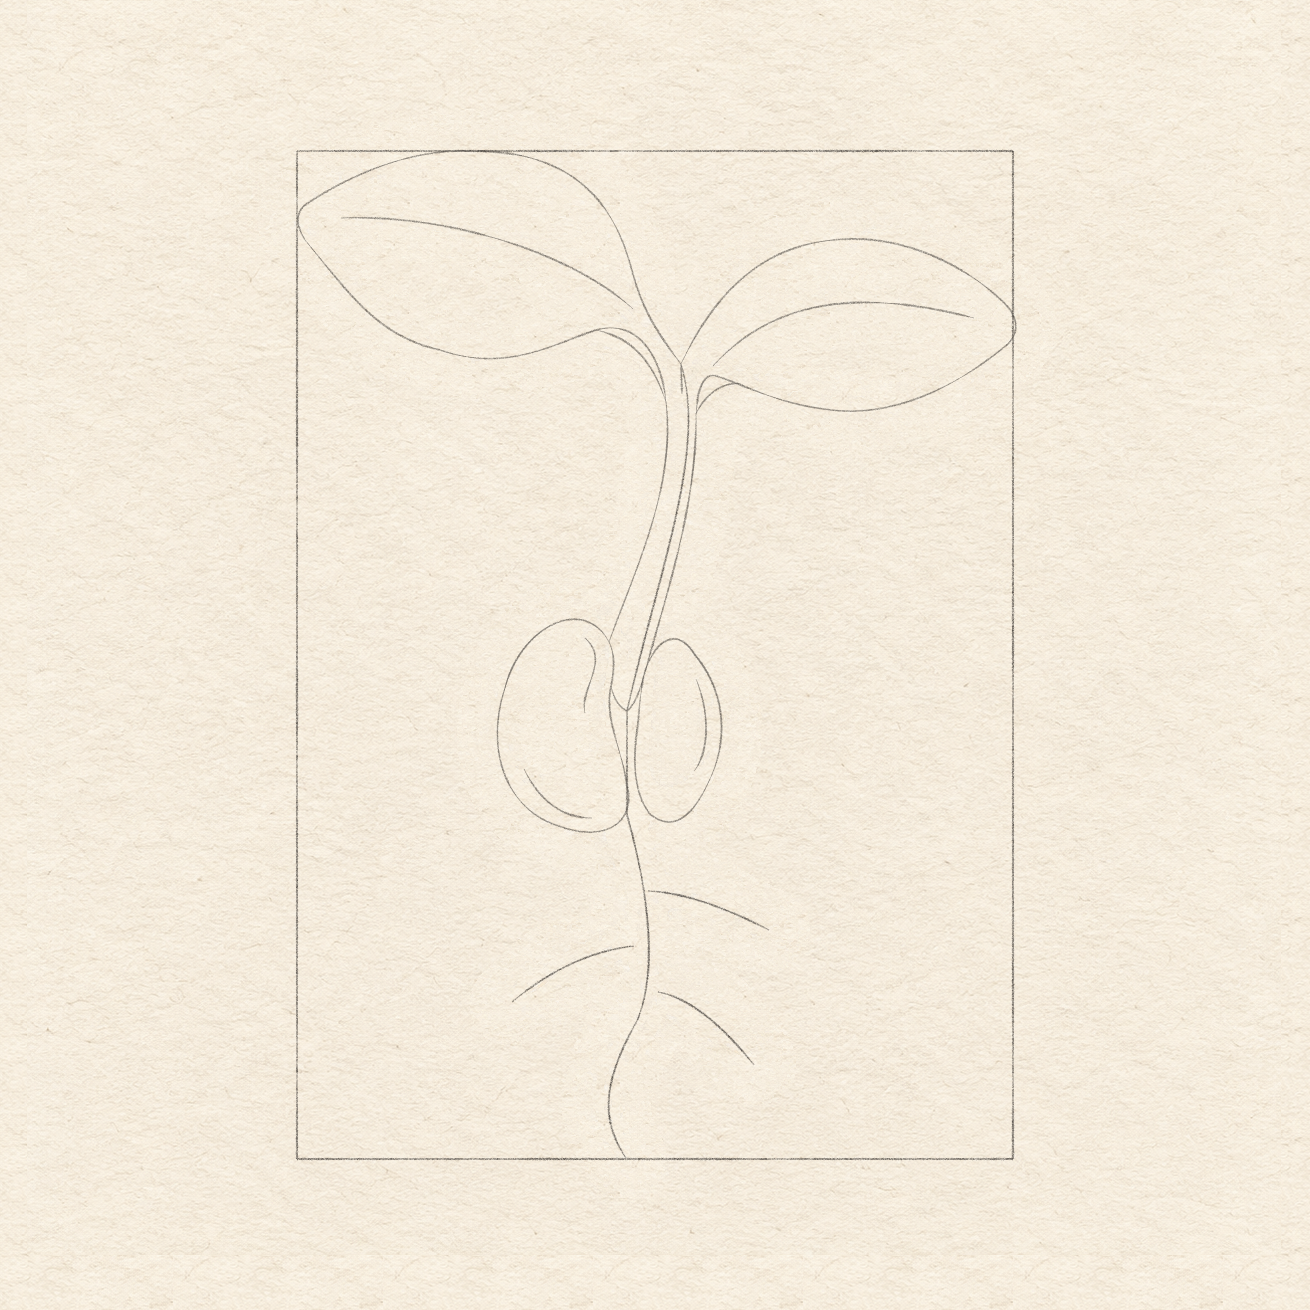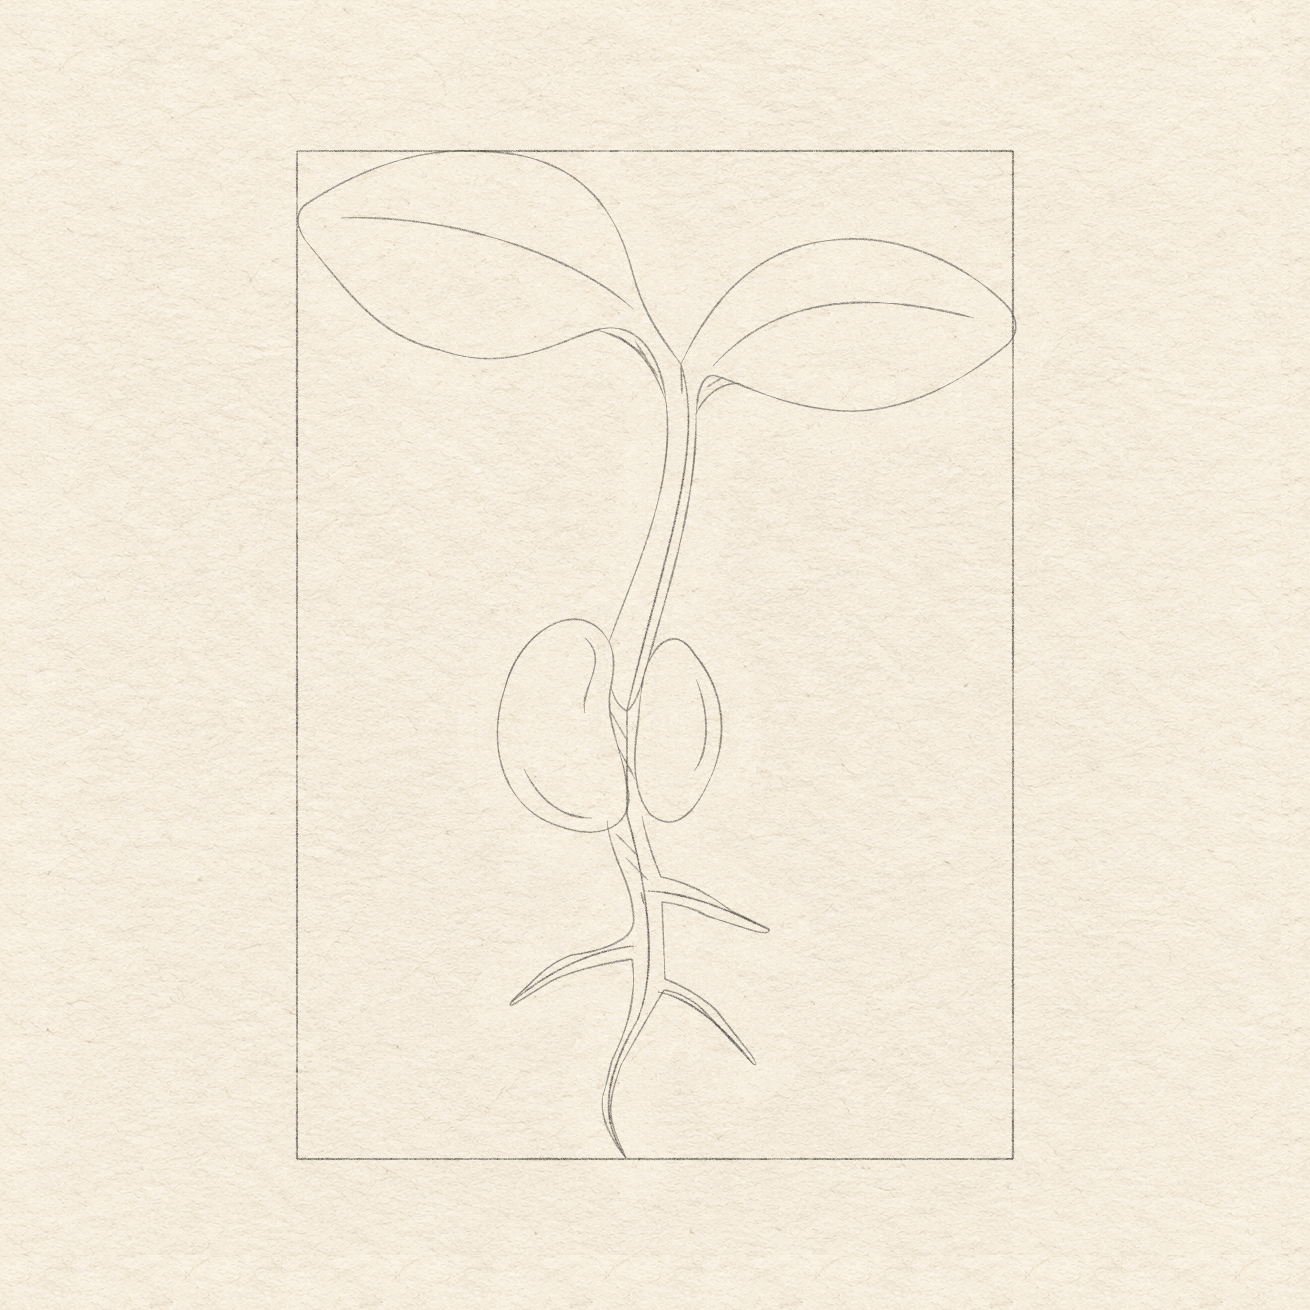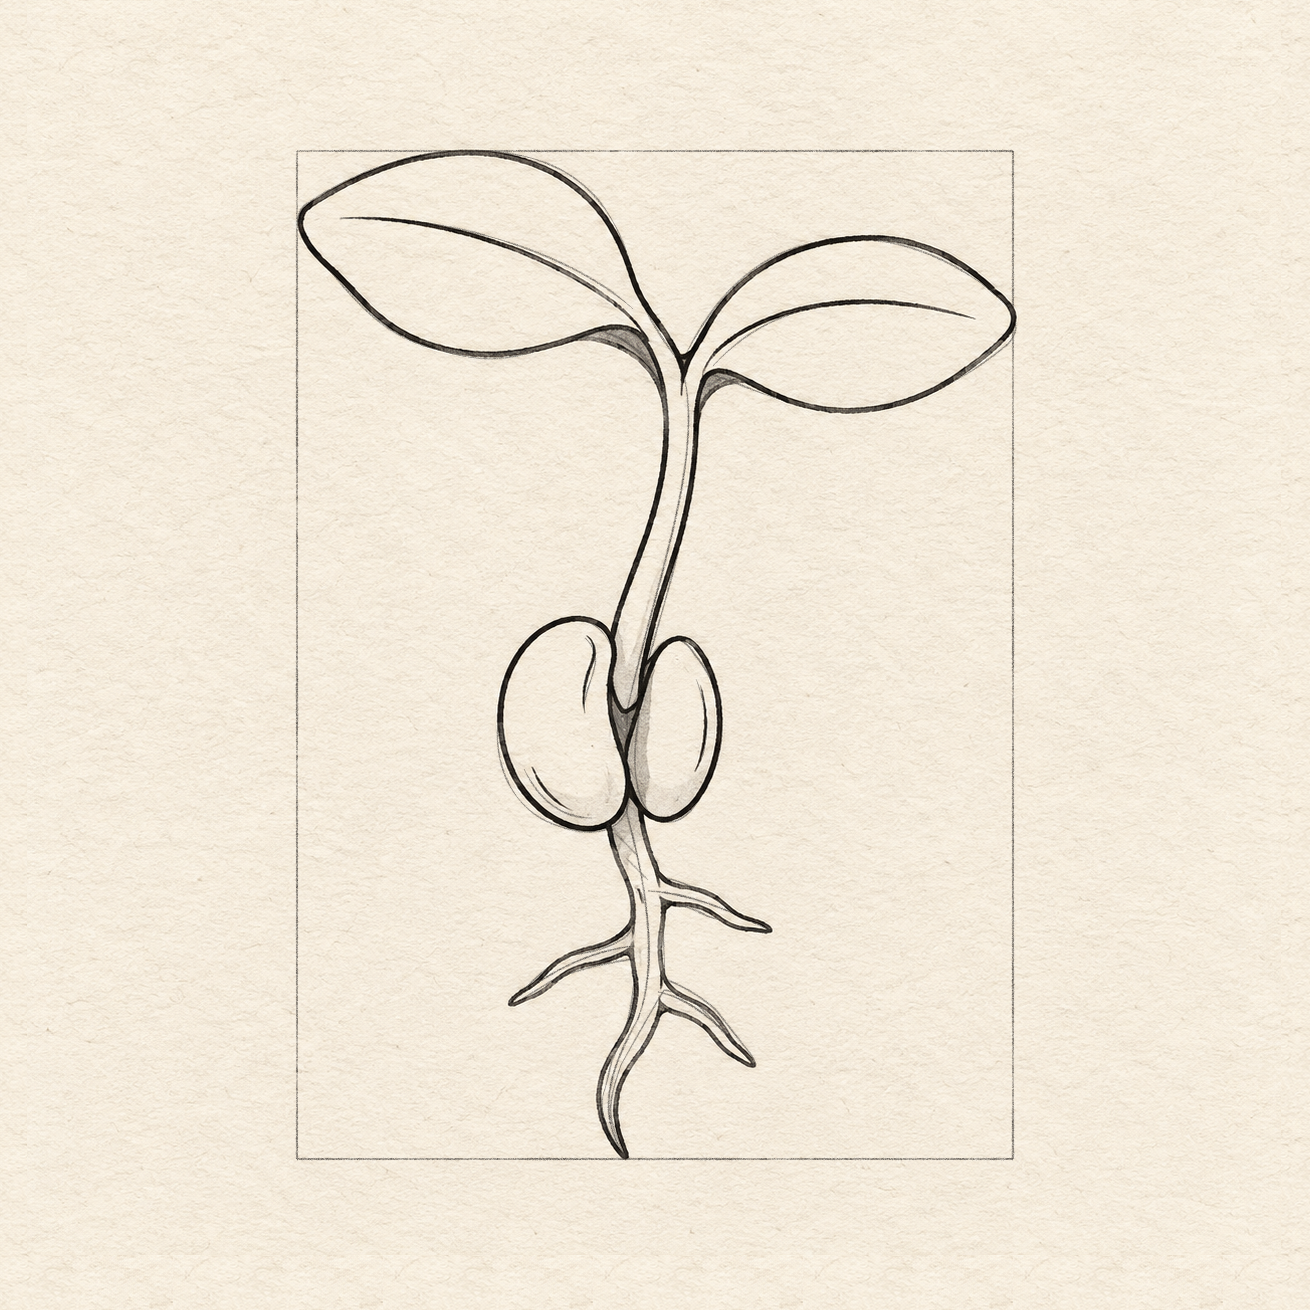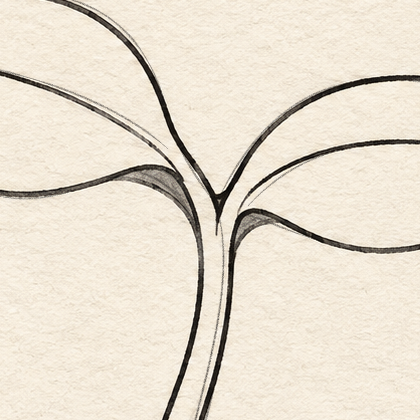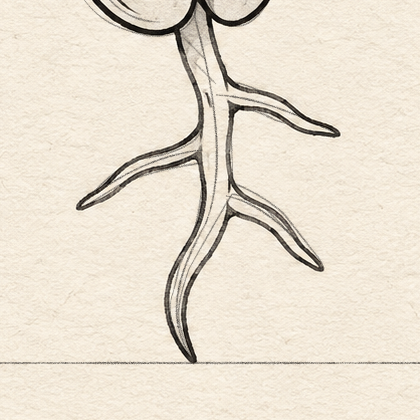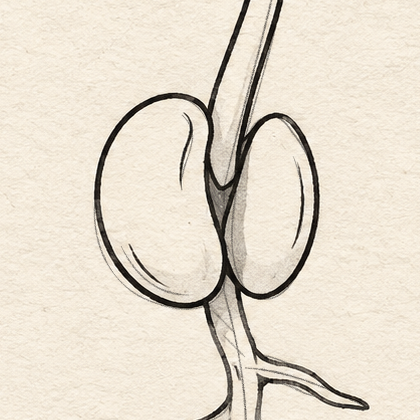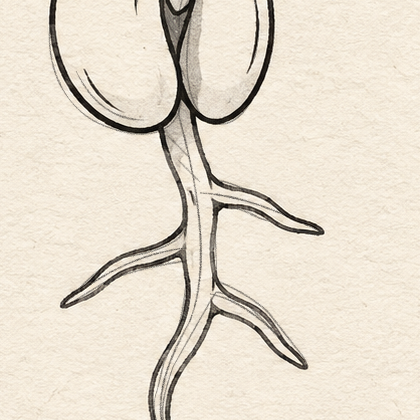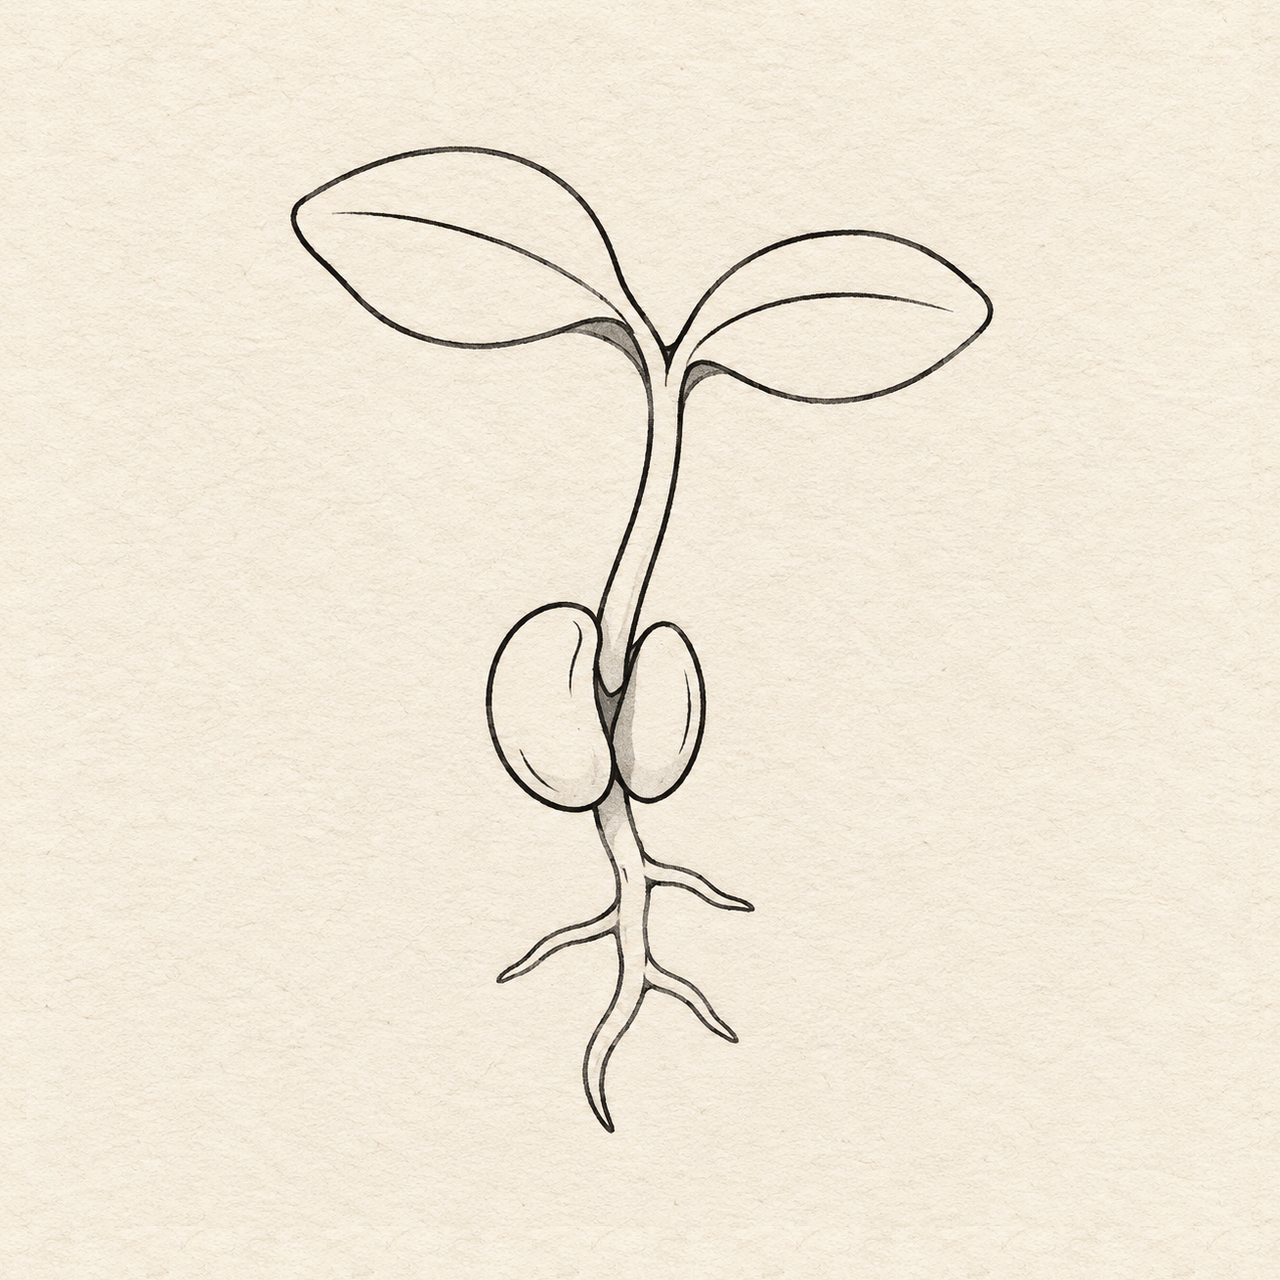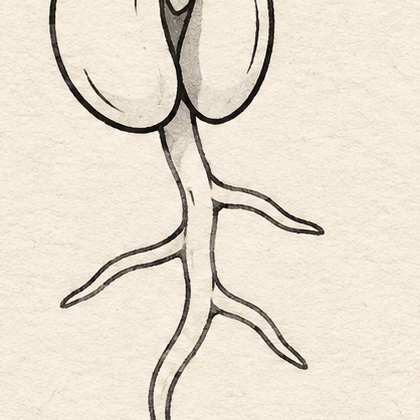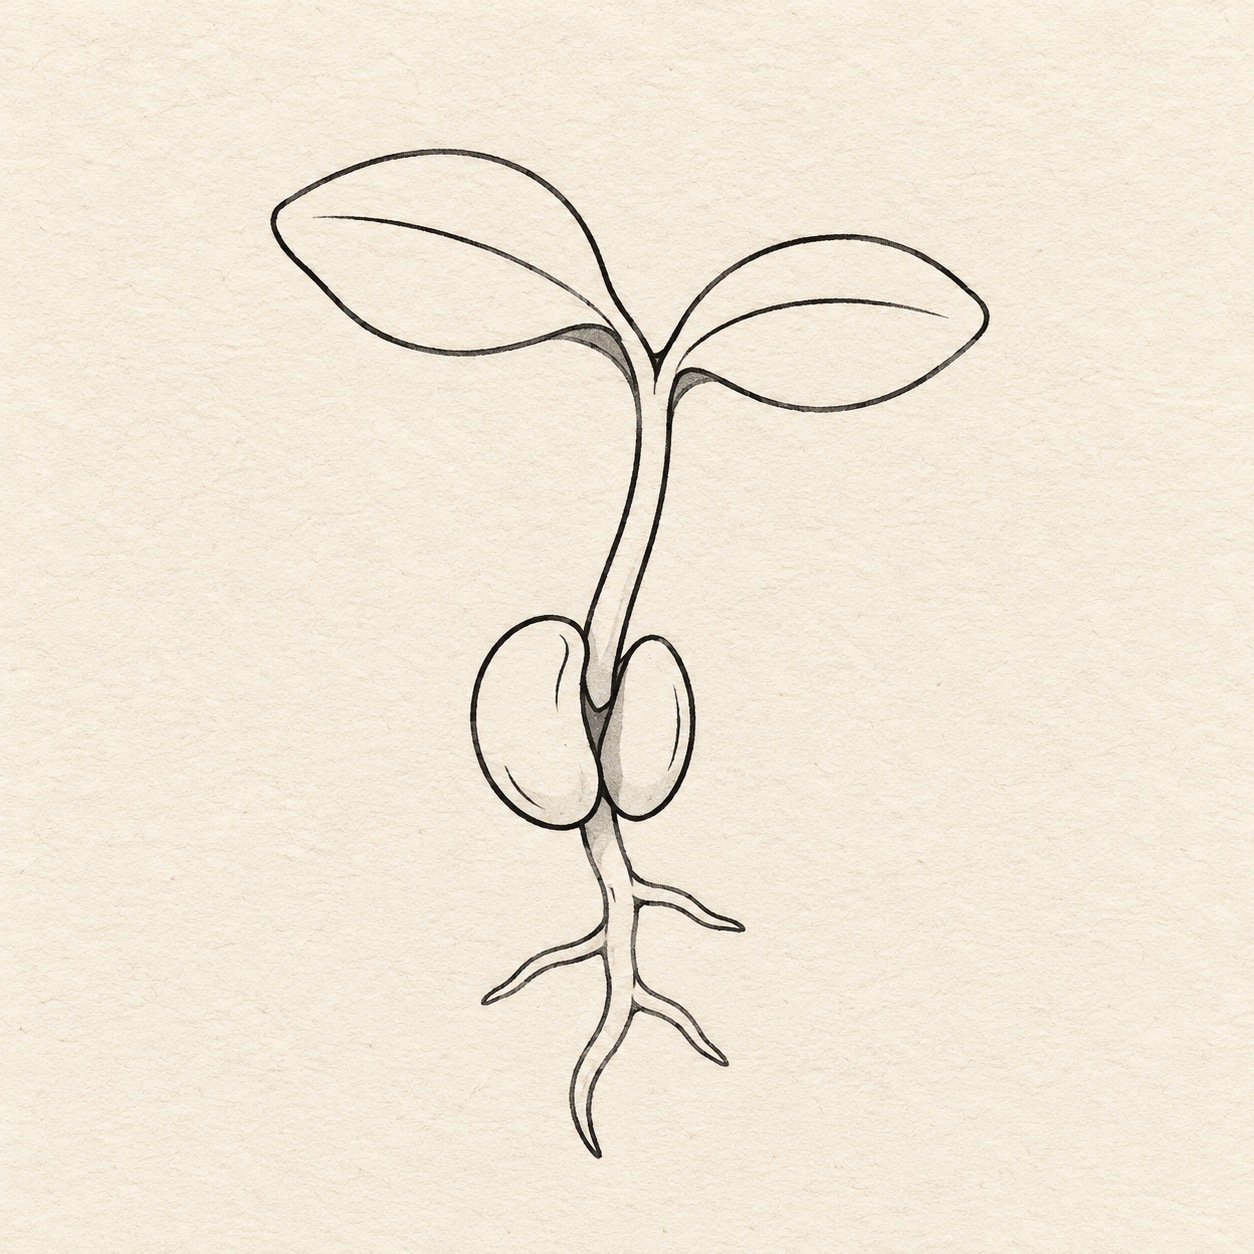
Black marker sketch of a bean seedling with two leaves, a split bean, and a curved root on textured off-white paper.
Drawing referenceAbout reference use

A bean seedling with its first two leaves

Draw a bean seedling from a curved stem, two first leaves, and a split seed. A short root and selected veins keep the plant readable without a fine root network.

Nature & plantsEasyMarkerReference practice: about 15 min
Save reference

Follow the drawing tutorial

Place the curved stem, unequal leaves and seed halves, then build three branching roots and add a few local marker shadows.

Start the 8-step tutorial

A small thing to tryKeep the root thinner than the stem so the young plant’s structure reads clearly.

Draw it, one step at a time

How to draw this bean seedling

Place the curved stem, unequal leaves and seed halves, then build three branching roots and add a few local marker shadows.

8 steps · 14 progress drawings Full tutorial: about 40 minutes, at your pace

What you’ll need

  • HB pencil
  • Ruler marked in centimetres
  • Fine black marker
  • Light gray marker
  • Soft eraser
  • Sketchbook paper
  • Scrap paper for drying tests

Before you start

Left and right mean the sides of your page. Measure across from the box’s left edge and down from its top. Use the centimetre measurements as approximate examples; a few millimetres of variation is fine. Mark the stated contacts with a ruler, then draw the curves freehand. Shape rounded bends by eye within their stated height or width; do not add an unstated dot. Each action group names its Drawing, and its Details use the same code. Put the 10 cm wide, 14 cm high working box where you want the seedling, leaving clear paper around it; centring is optional.

  1. Step 1 of 8 · Pencil

    Place the plant

    One light 10 cm by 14 cm placement rectangle on textured paper, with no plant contours yet.
    Drawing 1A — Plant frameView larger

    Instructions for Drawing 1A — Plant frame
    1. Choose where you want the 10 cm by 14 cm working box, leaving clear paper around it. With a ruler and light pencil, draw a 10 cm horizontal top edge. From each end, draw a 14 cm side straight down, then join their lower ends.
    2. Use a ruler for the first locations. This box holds both leaf tips and the lowest root; keep it light enough to erase.
    3. For the following steps, check each new point from the opposite box edge before drawing its curve. Correct a point while it is light.
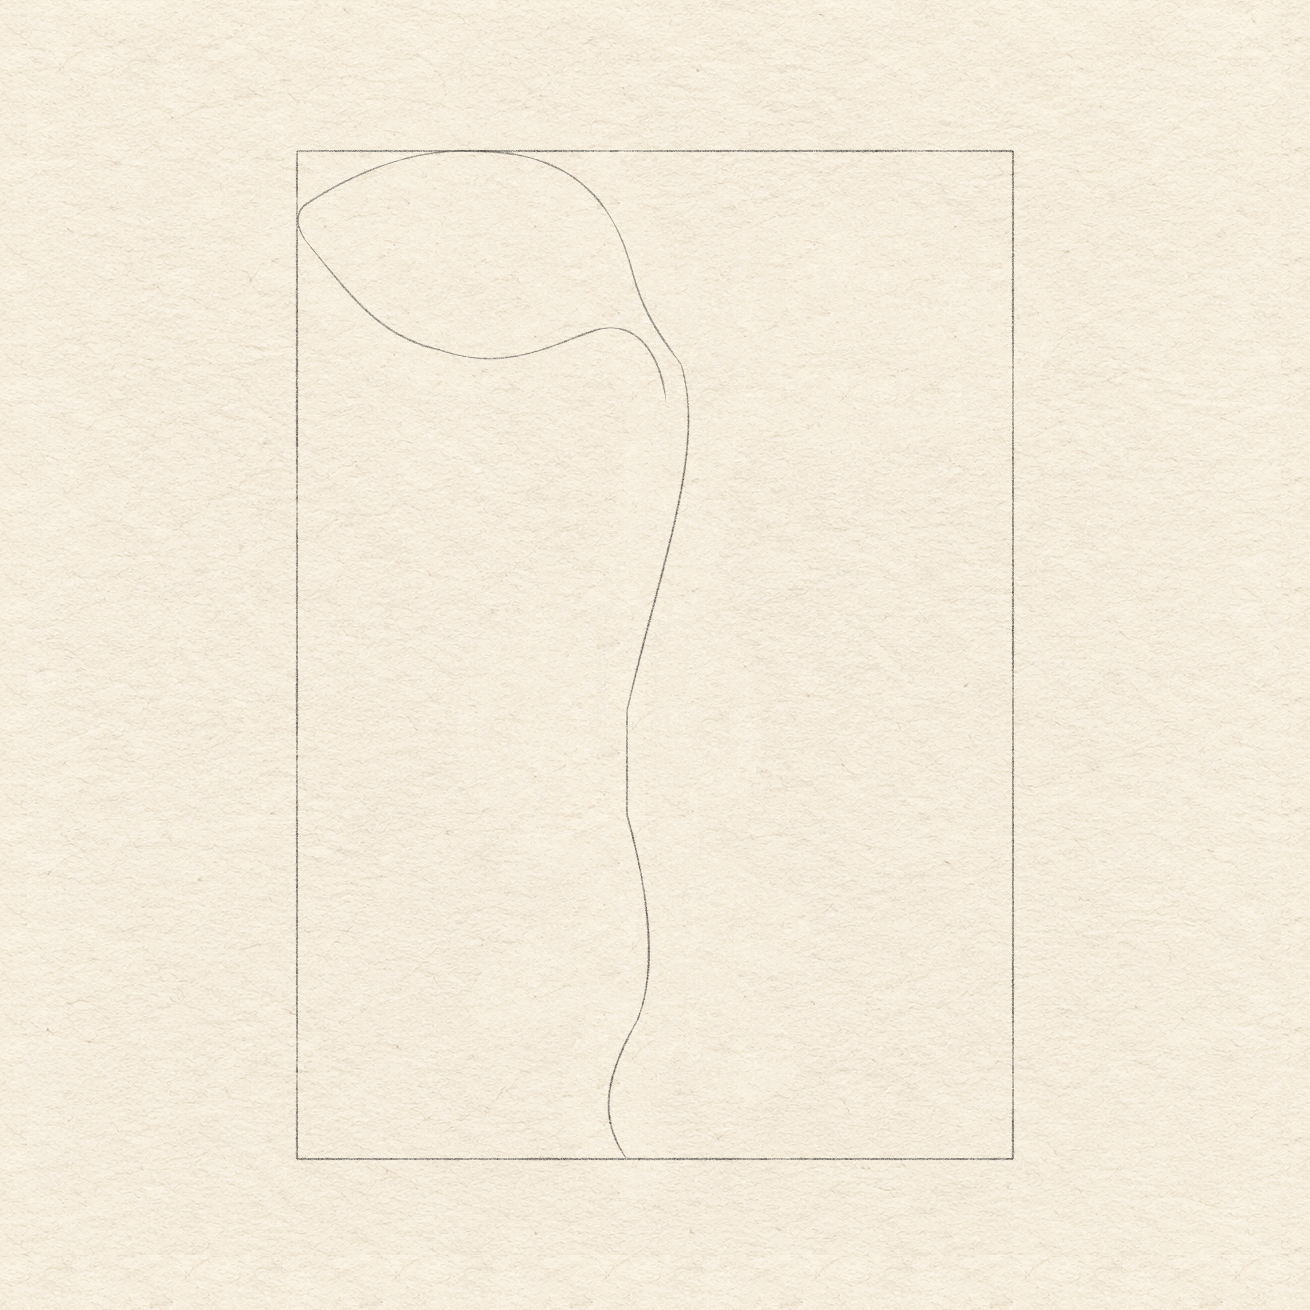
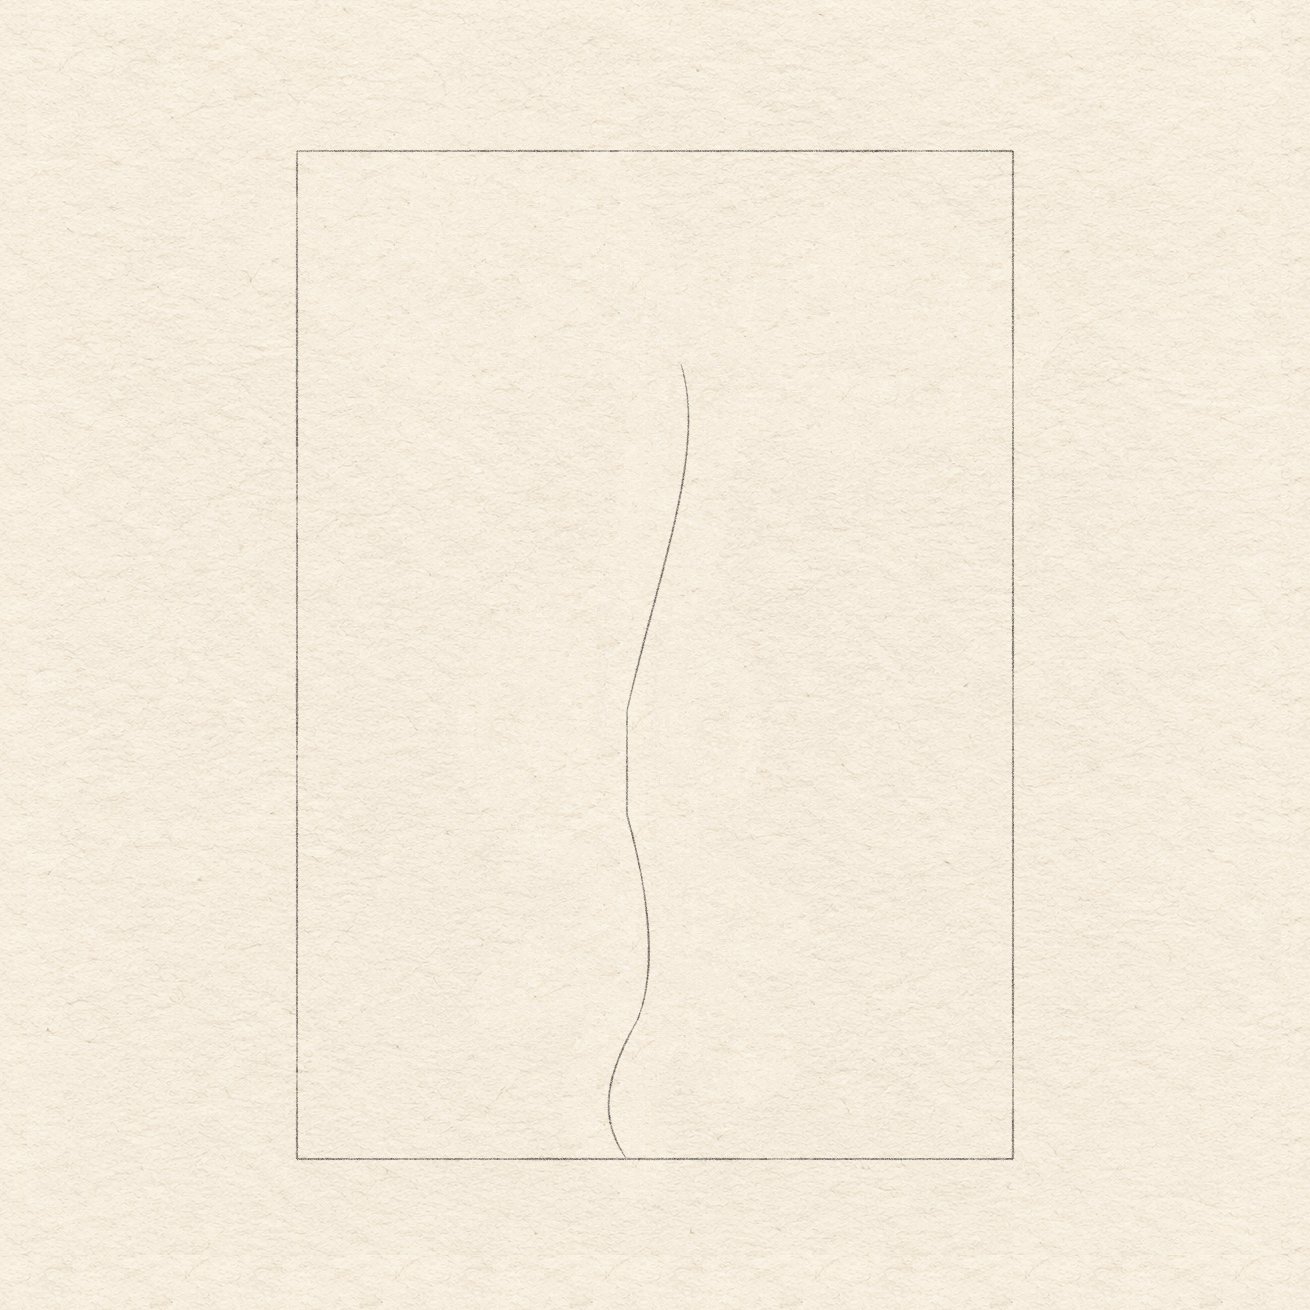
    A faint curved growth-direction line runs from the future leaf junction through the seed area to the root tip inside the retained box.
    Drawing 1B — Stem and root guideView larger

    Instructions for Drawing 1B — Stem and root guide

    1. From the box’s top-left, mark the leaf-junction point 5.4 cm across and 3 cm down. Mark the seed-level point 4.6 cm across and 8 cm down.
    2. Join those points freehand with a light curve that bows gently right. Rehearse the movement first; this guide locates the middle of the stem, not an outside edge.
    3. Mark the lowest root tip 4.6 cm across at the box’s bottom. Mark two guide turns at 5 cm across, 11 cm down, then 4.3 cm across, 13.2 cm down. Continue the guide freehand through those turns to the tip.
    4. Keep the curve light. Its turns will locate the stem and main root; the final plant will have an outside edge on each side of it.
    Next step — Build the two leaves
  2. Step 2 of 8 · Pencil

    Build the two leaves

    The higher left leaf has a broad rounded blade and a narrow open base beside the growth guide.
    Drawing 2A — Left leafView larger

    Instructions for Drawing 2A — Left leaf
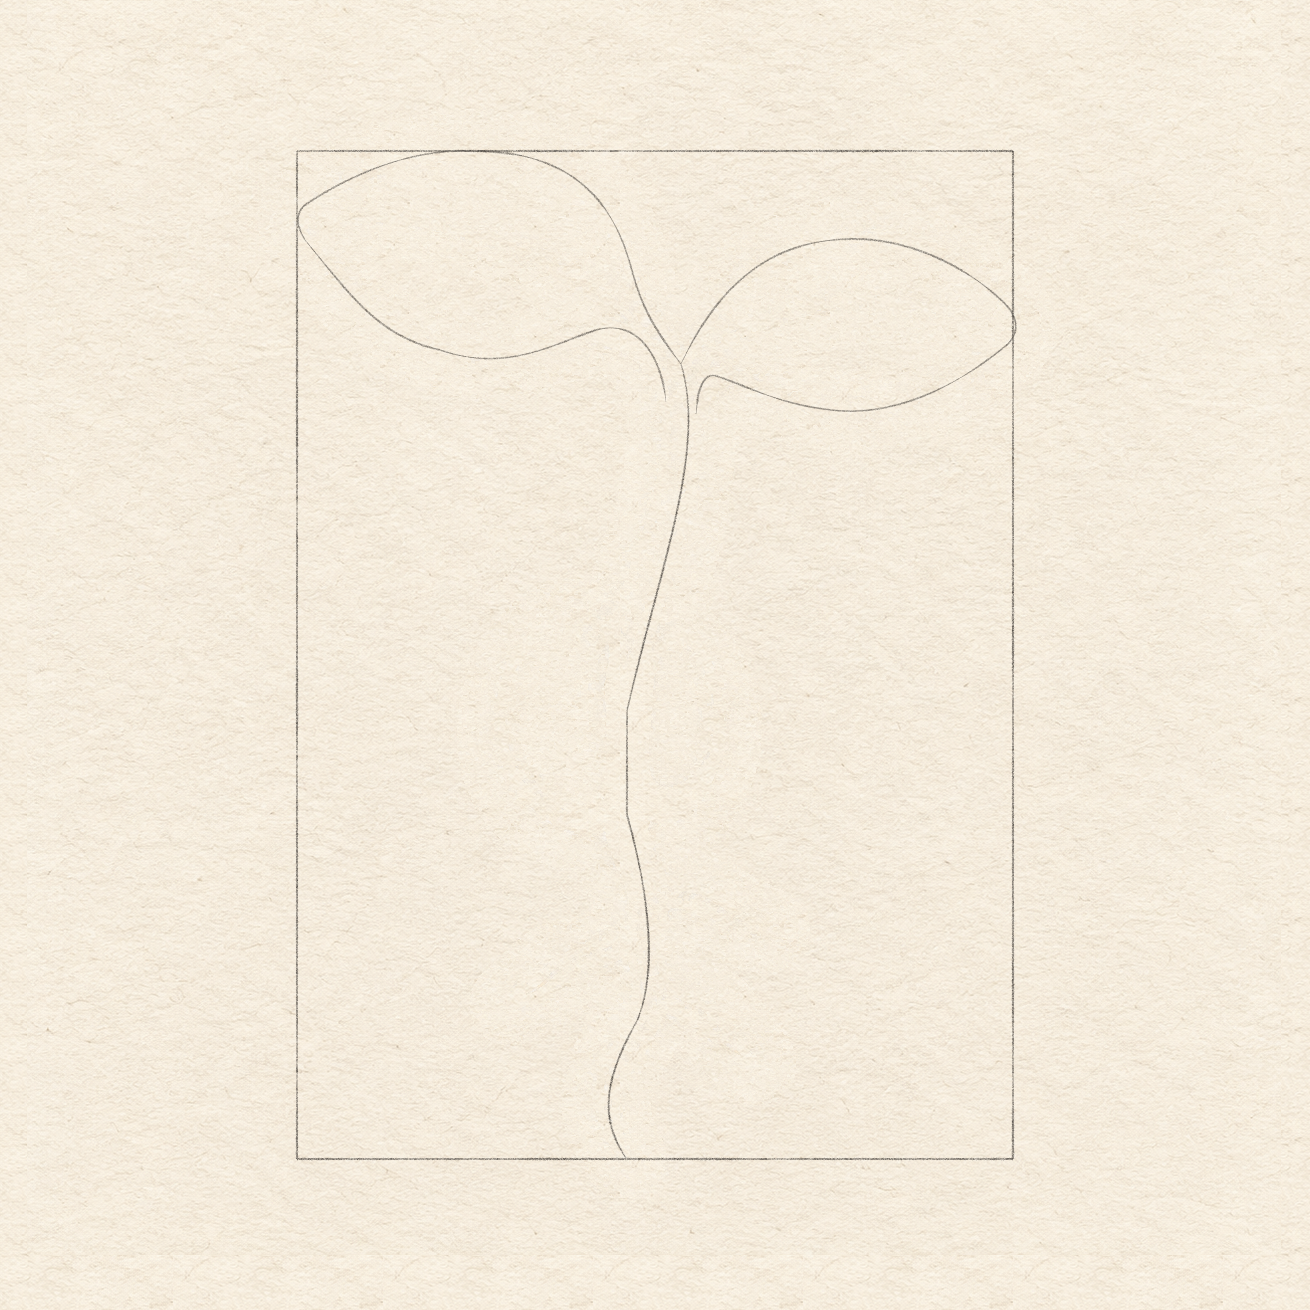
    1. Mark the left leaf tip about 0.1 cm across and 0.9 cm down from the box’s top-left.
    2. Aim for a rounded top touching the box’s top edge near 2.5 cm across. From the leaf-junction point in Drawing 1B, draw the upper edge freehand up-left around that top and down to the marked leaf tip.
    3. From the tip, round the lower edge freehand down-right through about 2 cm across and 2.8 cm down. Curve up-right to a bend about 4.2 cm across and 2.5 cm down, then turn down-right to end 2 mm left and 5 mm below the leaf-junction point. Leave the base open.
    4. The leaf is broad at the left and narrows into its base. Keep the two base contacts separate; do not close them across the future stem.
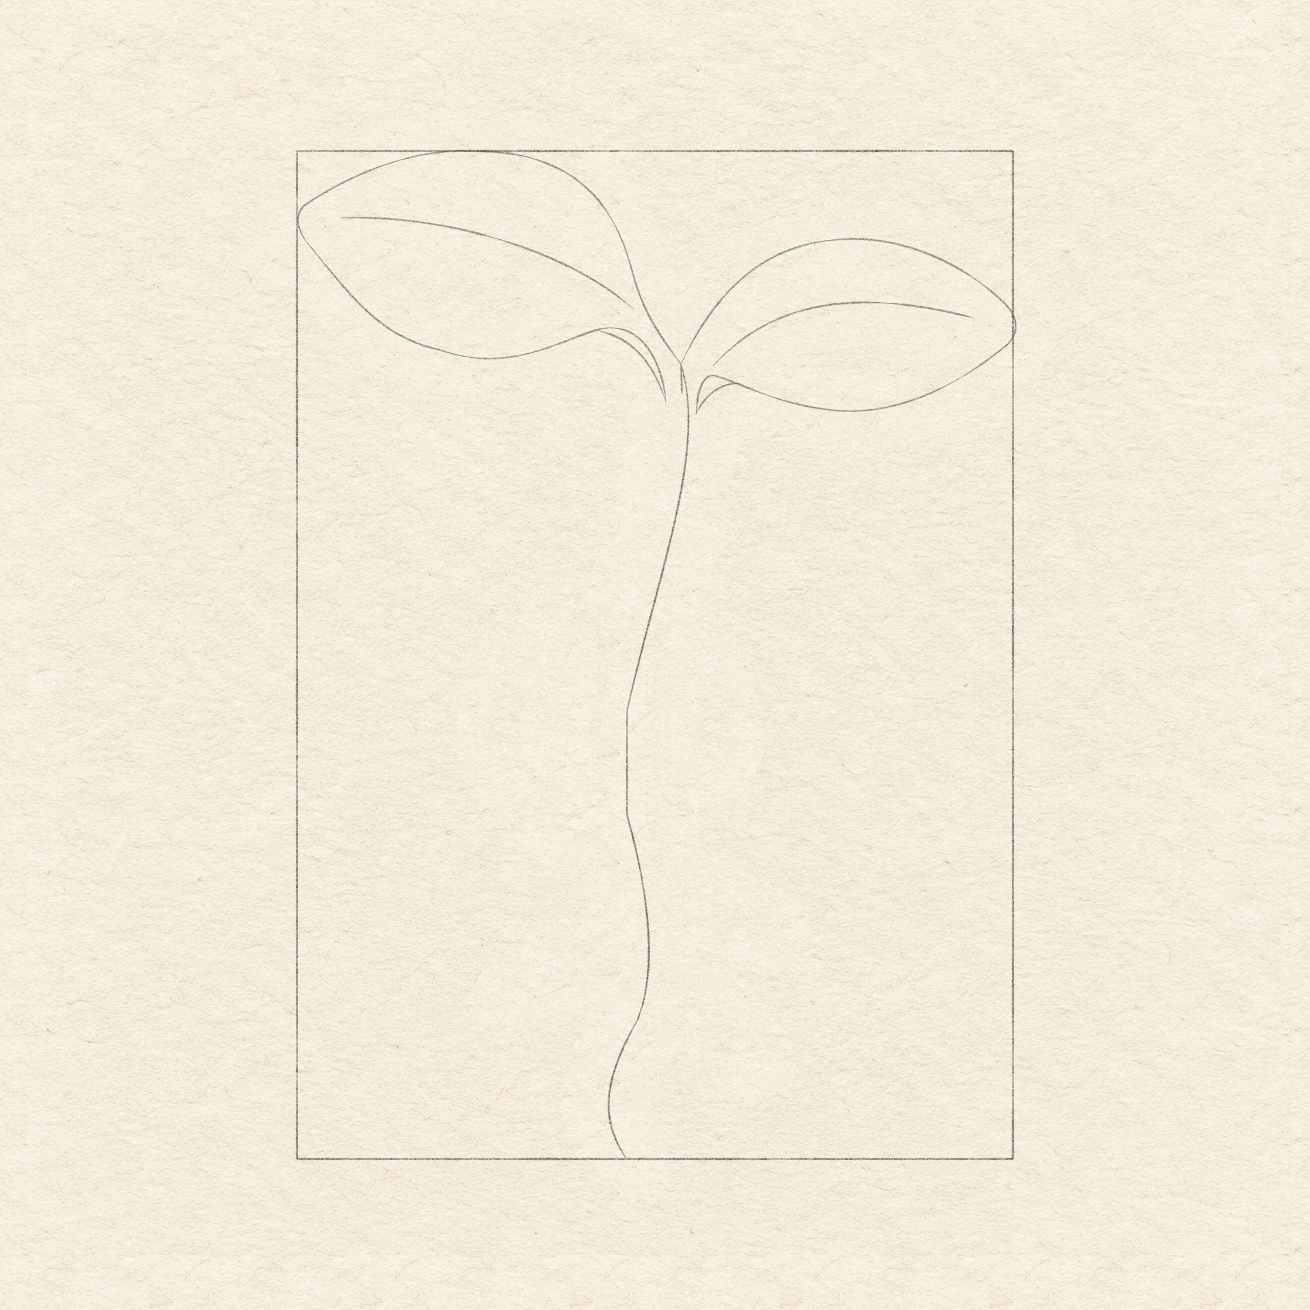
    A lower, smaller right leaf joins the same upper junction; its lower base leaves room for the stem between the blades.
    Drawing 2B — Right leafView larger

    Instructions for Drawing 2B — Right leaf

    1. Mark the right leaf tip near the box’s right edge, about 2.4 cm down. Its rounded top will reach about 7.7 cm across and 1.2 cm down.
    2. From the leaf-junction point in Drawing 1B, draw the upper edge freehand up-right around that rounded top to the marked right tip.
    3. From the right tip, round the lower edge freehand down-left through about 7.4 cm across and 3.6 cm down. Curve up-left through about 6.2 cm across and 3.3 cm down, then turn down-left to end 2 mm right and 7 mm below the leaf-junction point. Leave the base open.
    4. Keep this leaf lower and slightly smaller than the left. Compare both tips and their open bases before adding interior lines.
    Next step — Select the leaf details
  3. Step 3 of 8 · Pencil

    Select the leaf details

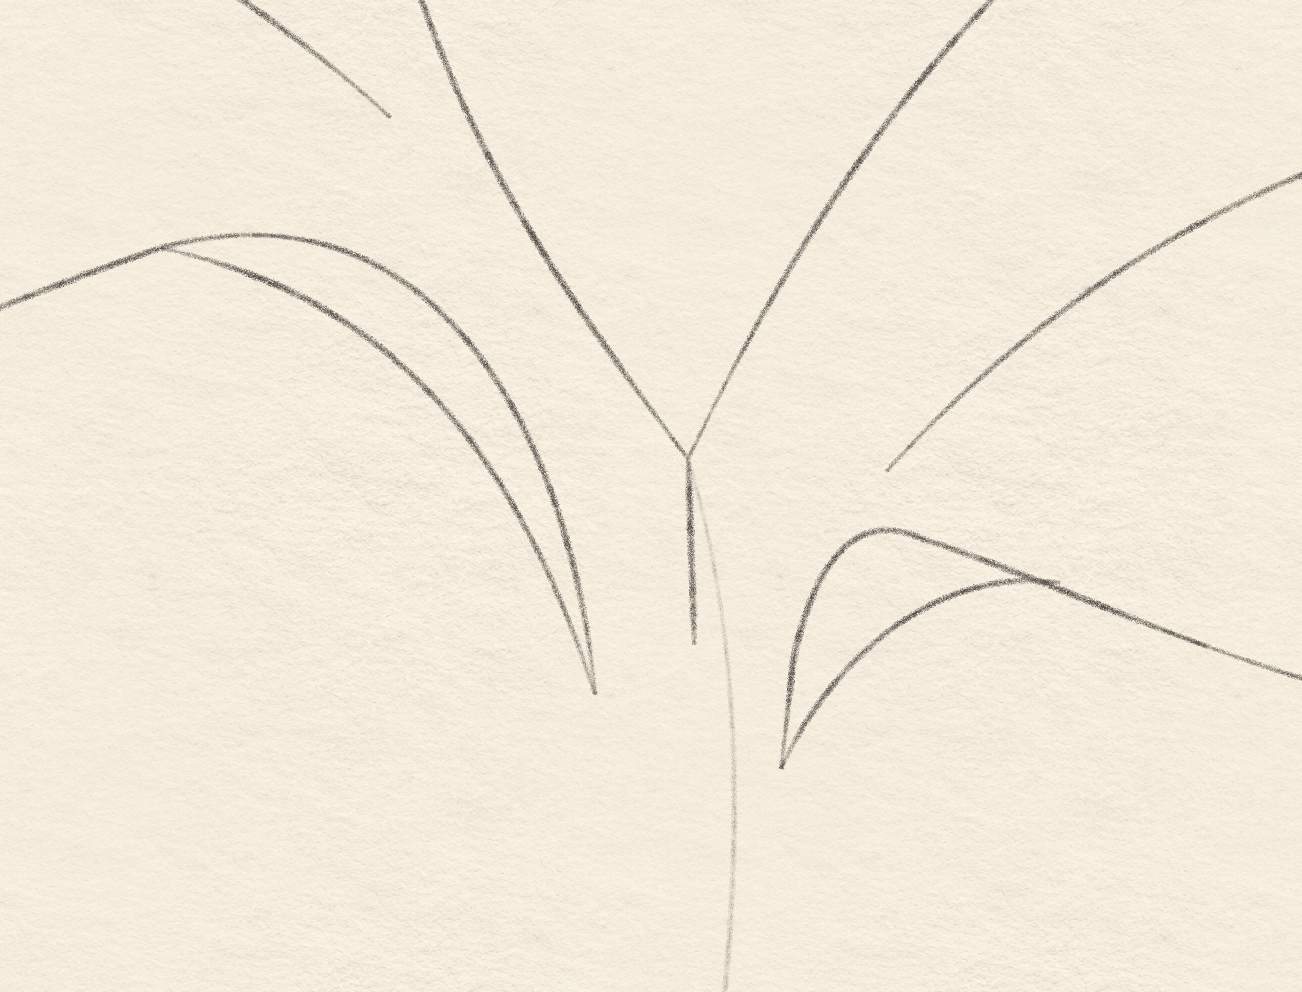
    Each leaf has one open vein, the bases have narrow fold curves, and a short selected line drops from the leaf junction beside the faint growth guide.
    Drawing 3A — Leaf veins and foldsView larger
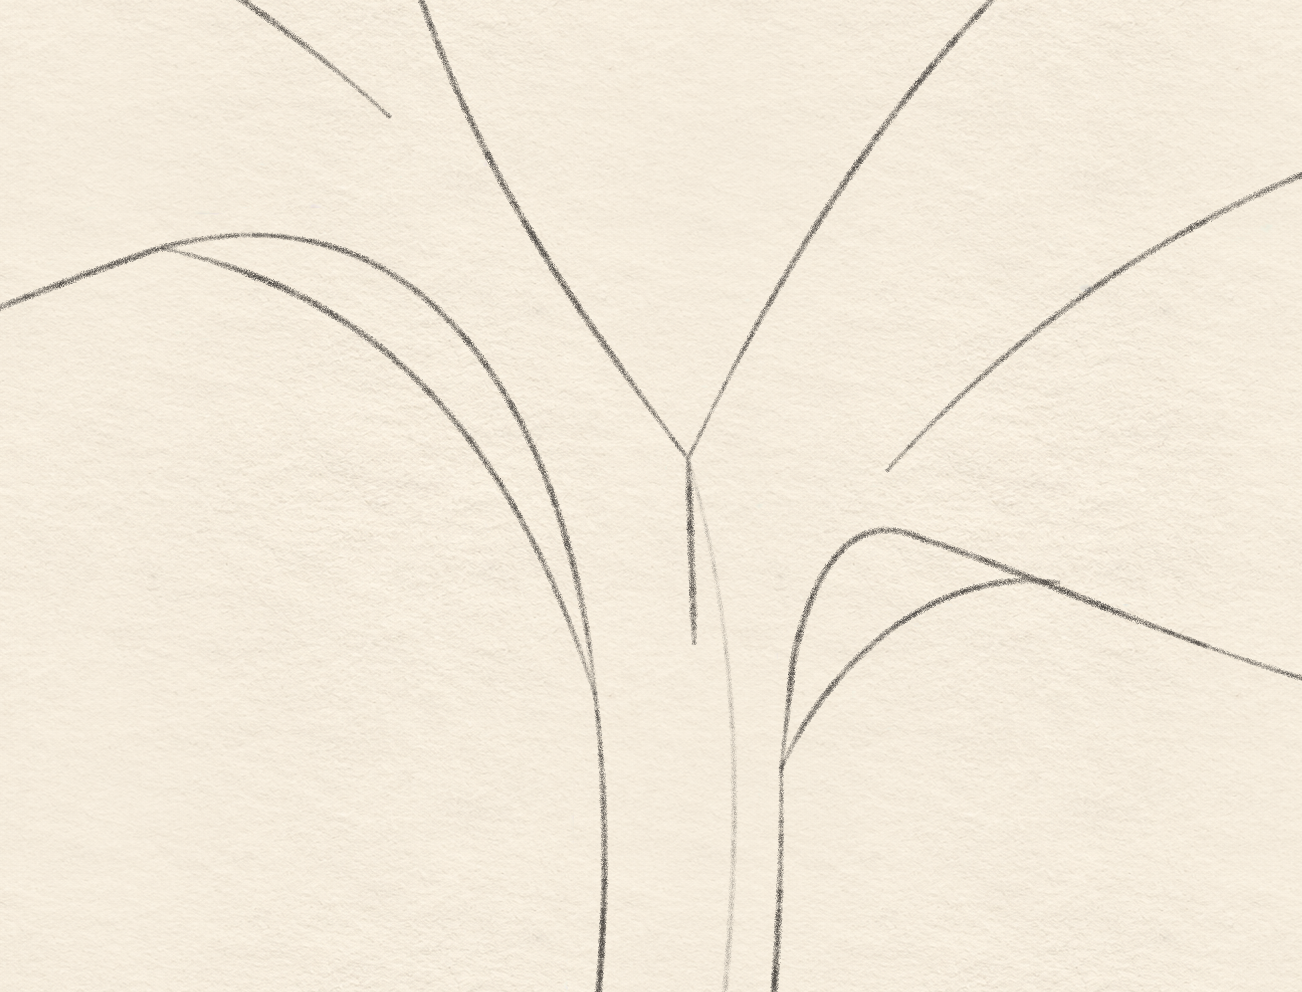
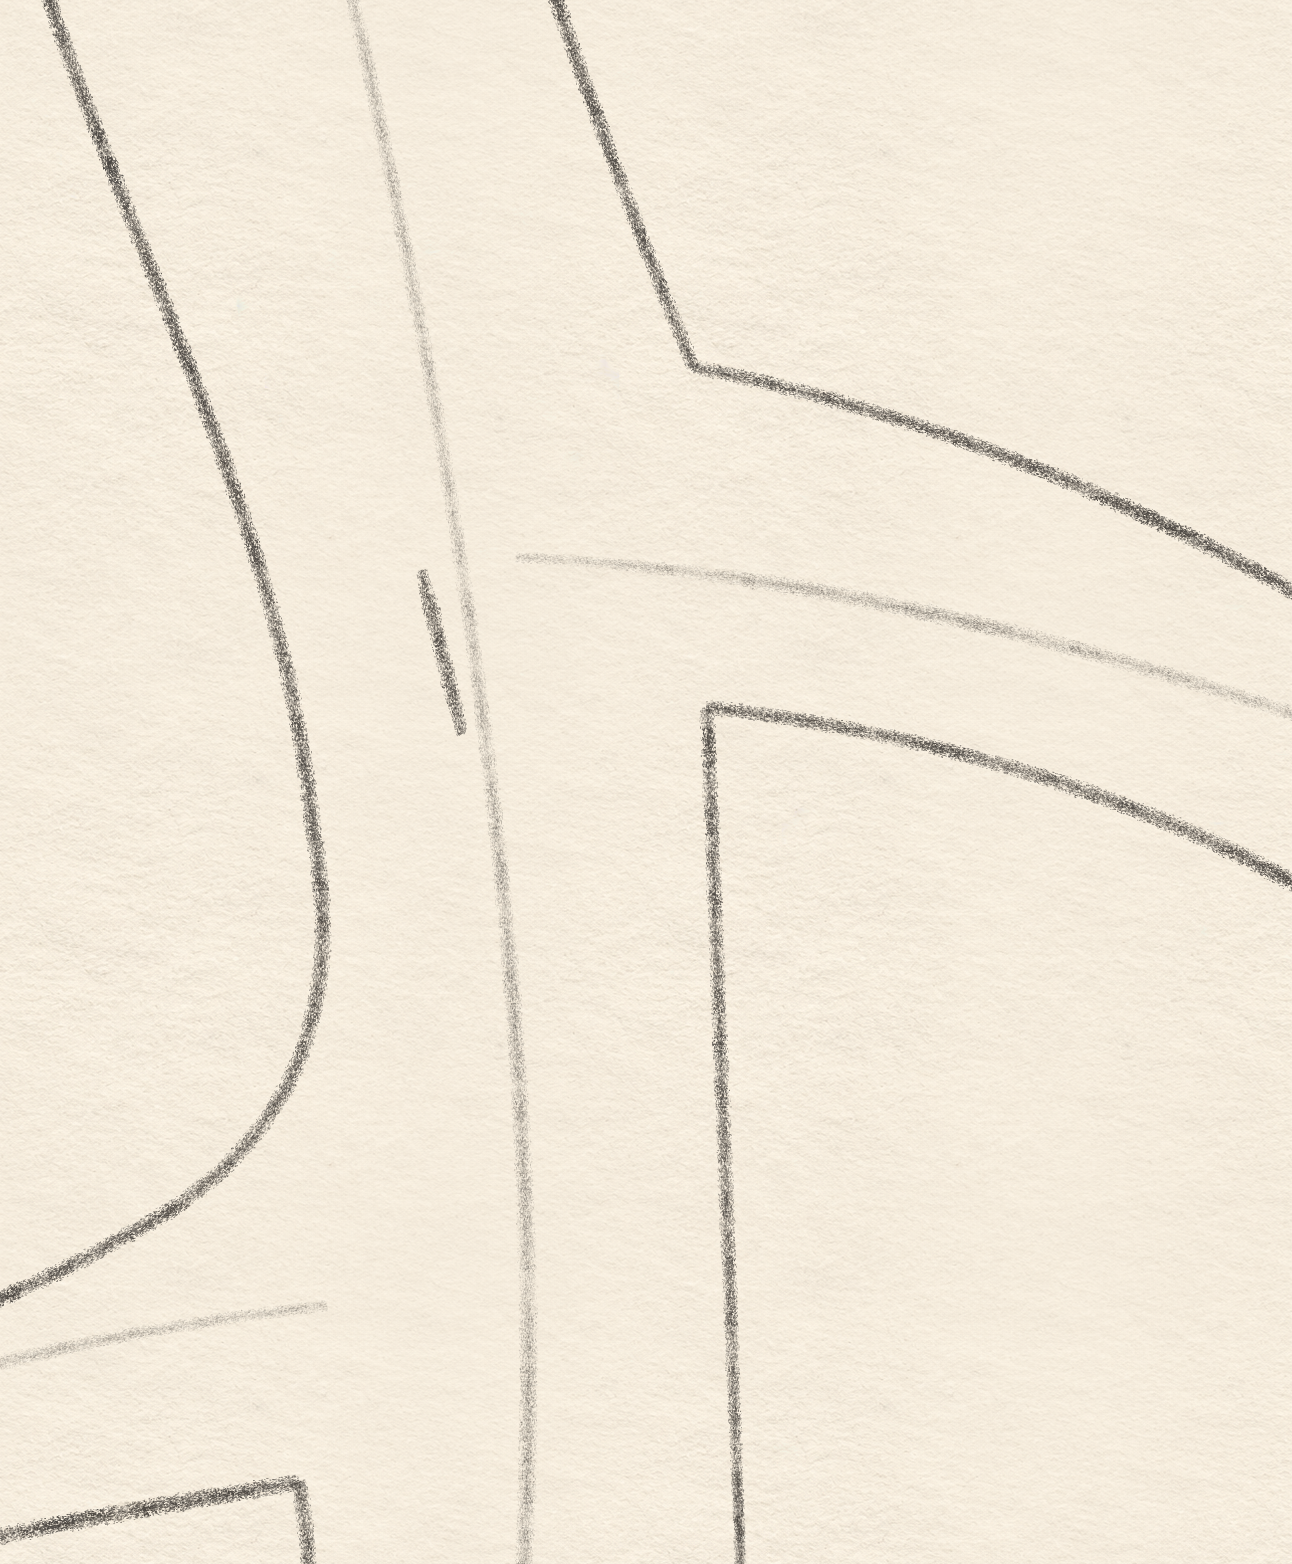
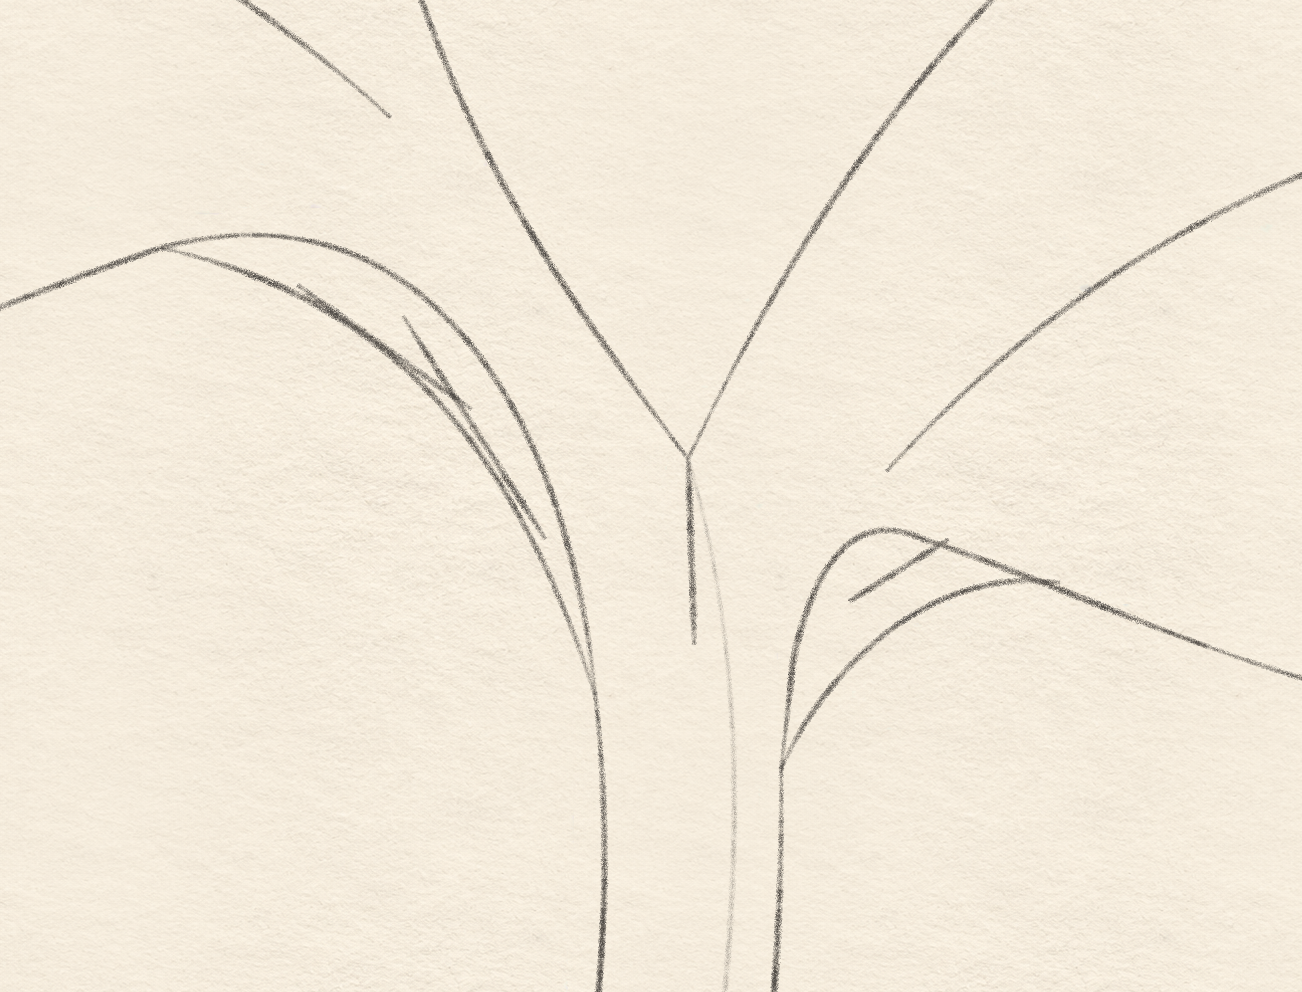
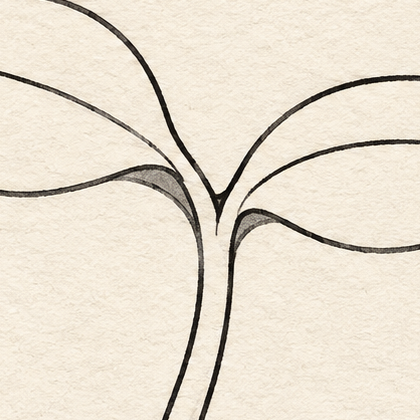
    Same-stage enlarged leaf-base junction, two narrow fold returns and short selected central taper.
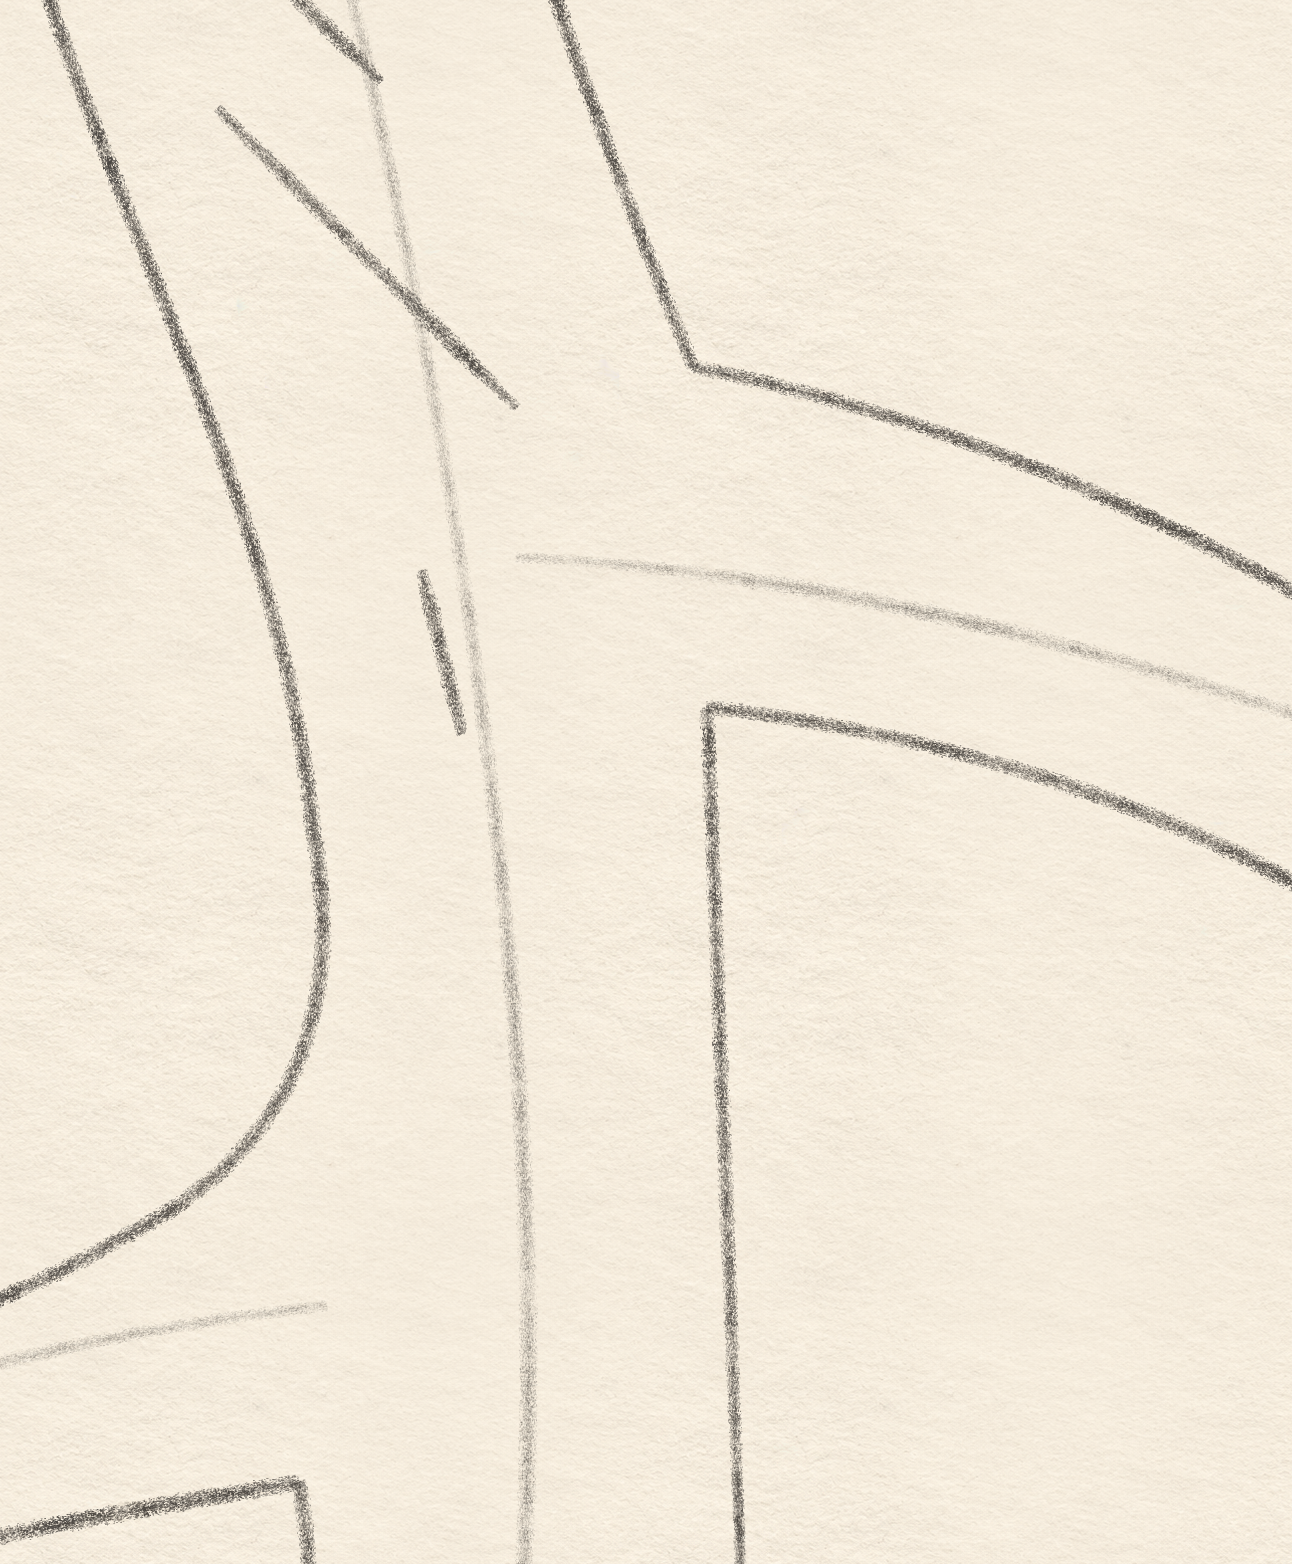
    Detail 3A.1 — Leaf junctionEnlarged from this same stage. Keep the short selected taper separate from the longer temporary growth curve, and follow both fold returns.

    Instructions for Drawing 3A — Leaf veins and folds

    1. For the left vein, start about 7 mm left and 8 mm above the leaf-junction point. Curve freehand towards the left tip, stopping about 6 mm before the outside edge.
    2. For the right vein, start about 4.5 mm right of the leaf-junction point, at the same height. Curve freehand towards the right tip and stop about 5 mm before it; a slightly different bow is fine.
    3. For the left fold, start at the existing lower leaf bend, about 4.2 cm across and 2.5 cm down. Draw a freehand curve below the base curve to the left leaf’s lower endpoint: 2 mm left and 5 mm below the leaf-junction point.
    4. For the right fold, start at the right leaf’s lower endpoint: 2 mm right and 7 mm below the leaf-junction point. Curve freehand up-right to meet the lower blade edge near 6.2 cm across and 3.3 cm down.
    5. At the leaf junction in Drawing 3A, draw a short freehand line about 4 mm down from where the two upper leaf edges meet. Thin it to a point and keep it separate from the long faint growth guide.
    6. Keep the broad leaf interiors open. Check both vein gaps and fold contacts, and erase a misplaced curve before marker; add no fine vein network.
    Next step — Connect seeds and stem
  4. Step 4 of 8 · Pencil

    Connect seeds and stem

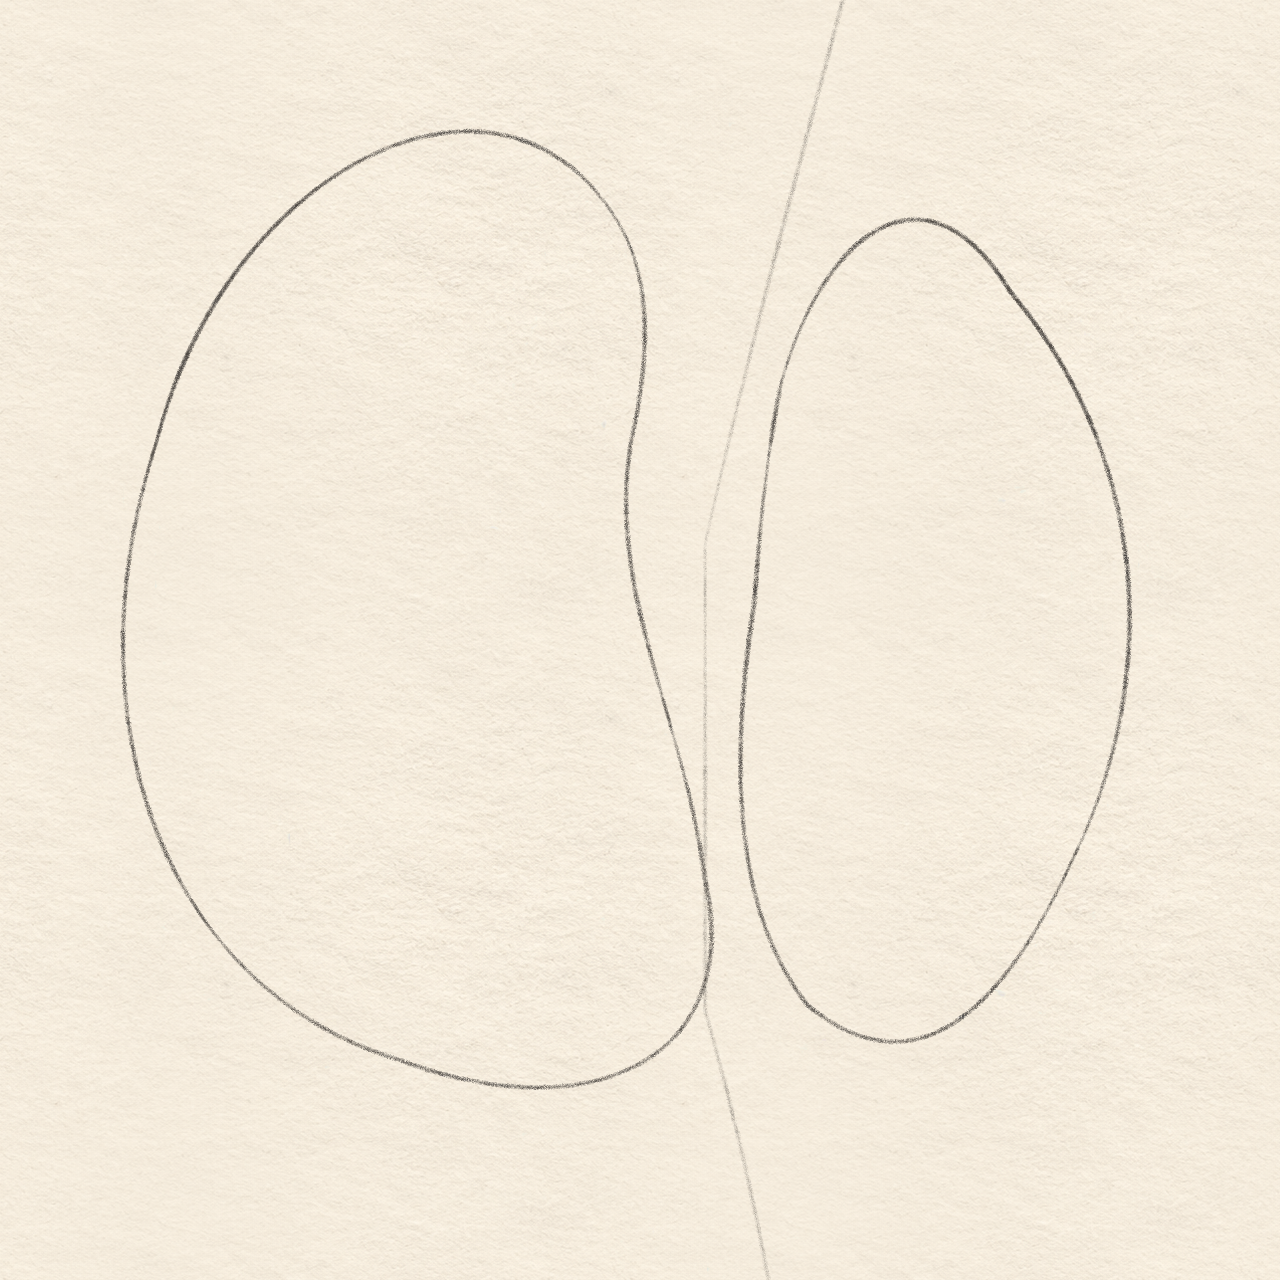
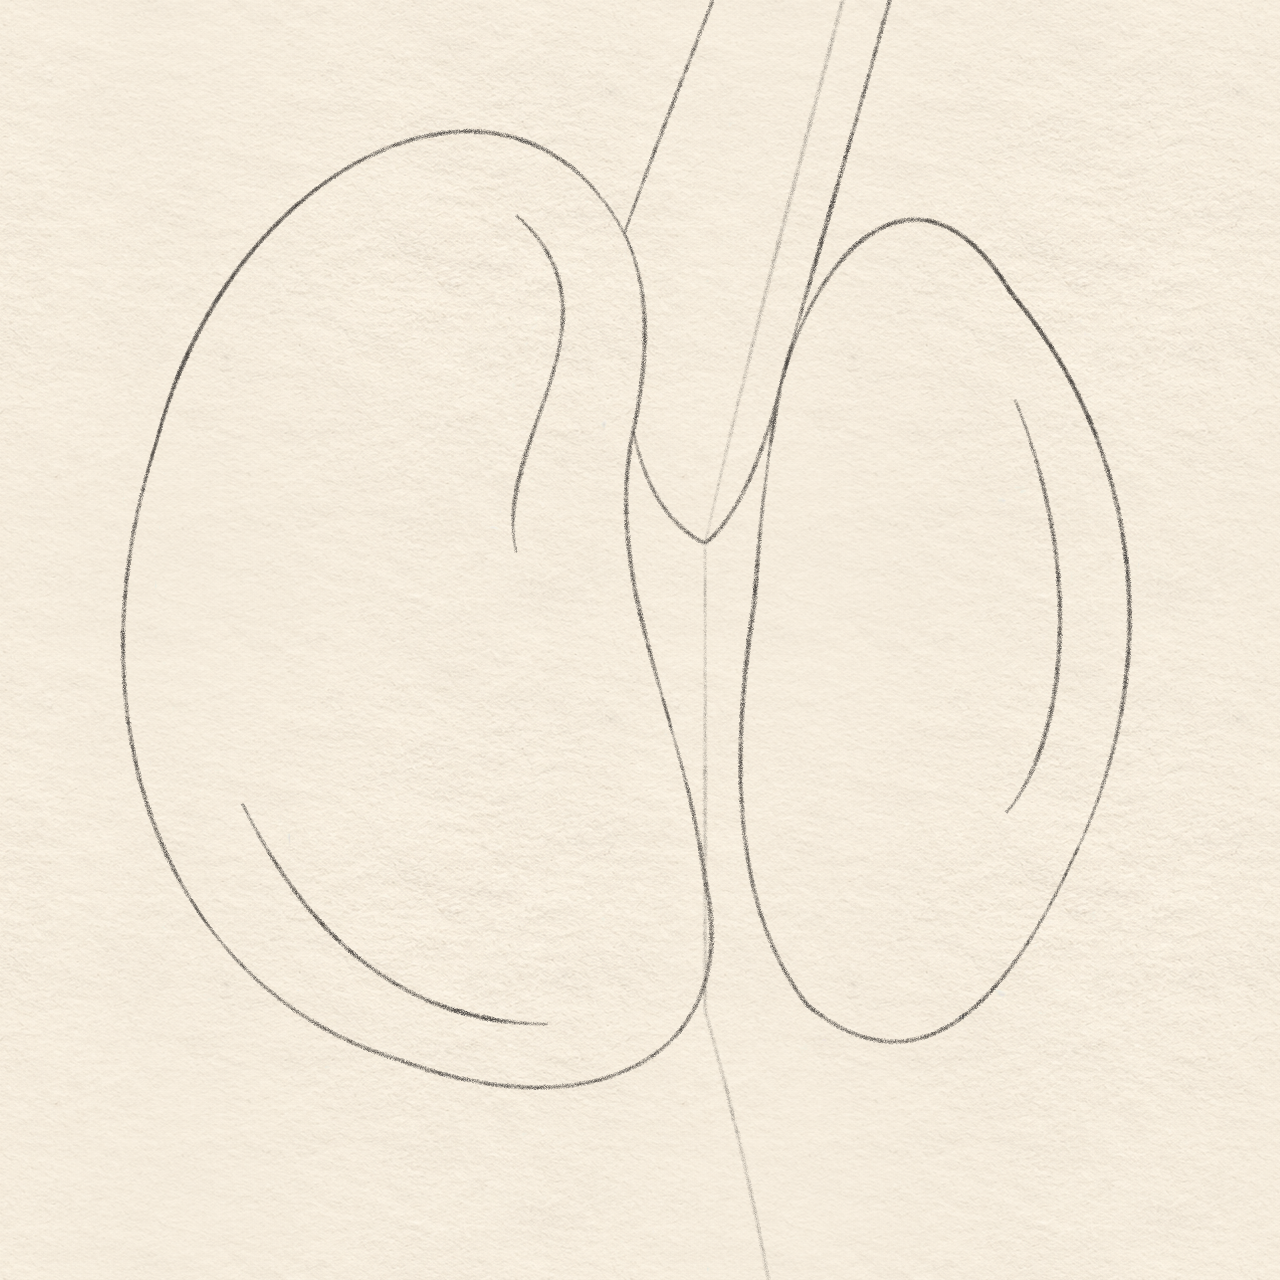
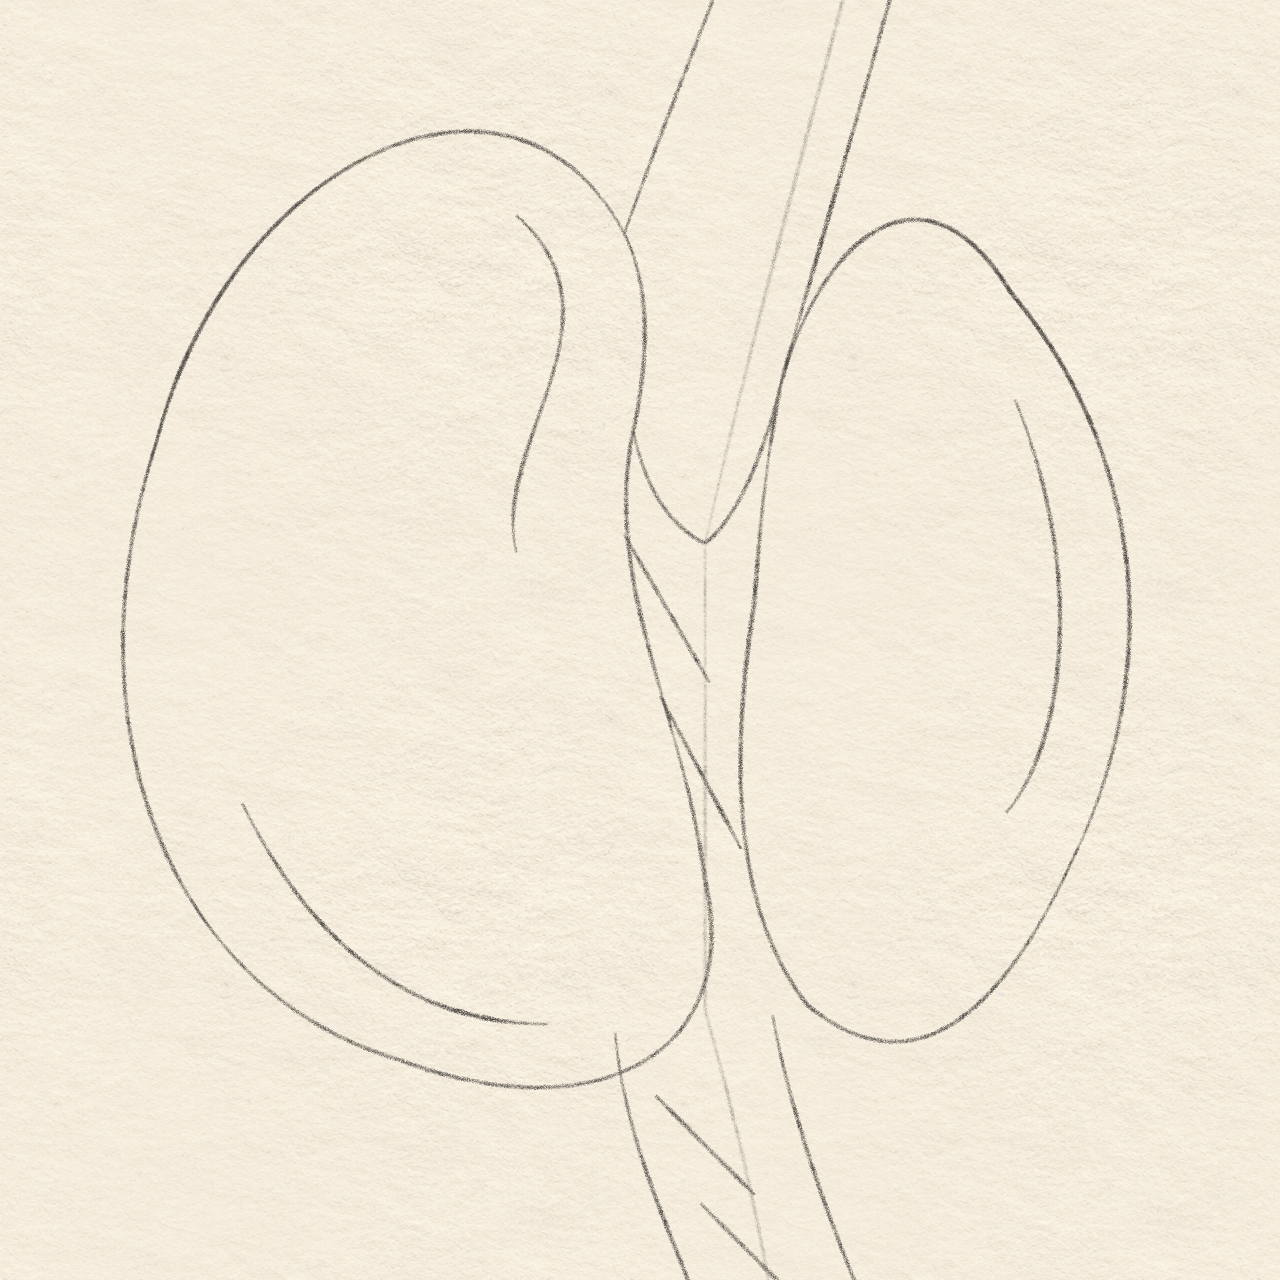
    Two unequal rounded seed halves sit around the lower growth guide, larger on the left, leaving a small central stem gap.
    Drawing 4A — Seed halvesView larger
    Same-stage enlarged unequal seed halves, separate inner bends and central gap before the stem return.
    Detail 4A.1 — Gap between the seed halvesEnlarged from this same stage. The unequal halves leave an open central gap for the stem return added next.

    Instructions for Drawing 4A — Seed halves
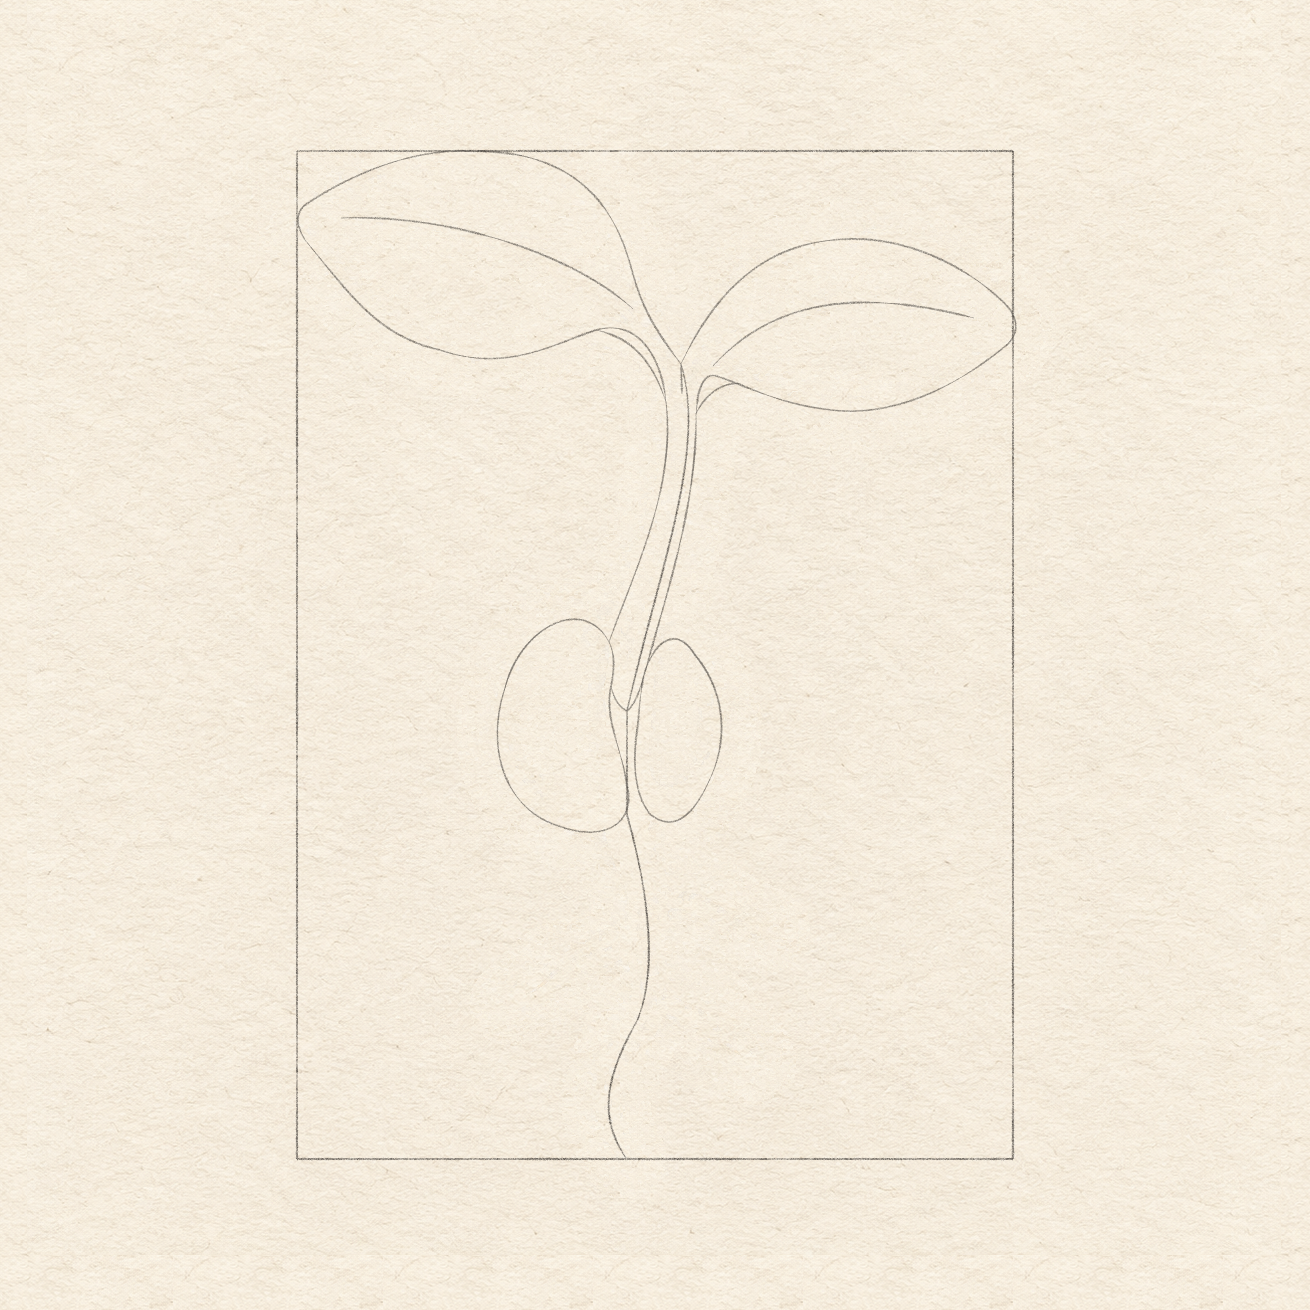
    1. In Drawing 4A — Seed halves, mark the left seed’s upper stem contact near 4.4 cm across and 6.8 cm down. Mark its lower inside turn near 4.6 cm across and 8.8 cm down.
    2. Draw the left seed’s outside edge freehand from the upper contact to the lower inside turn. Round its top about 6.5 cm down, its left side at 2.8 cm across, and its bottom at 9.5 cm down.
    3. Close the inner edge freehand: curve up from the lower inside turn through a bend near 4.4 cm across and 7.5 cm down, then back to the upper contact.
    4. Mark the right seed’s upper inside contact near 4.8 cm across and 7.3 cm down. From there, draw its outline freehand up-right around a top 6.8 cm down, out to 5.9 cm across, around a bottom 9.3 cm down, and back along the inner edge to the marked contact.
    5. Keep the gap between the halves open. The left half is wider and slightly higher; correct the contacts before adding the stem.
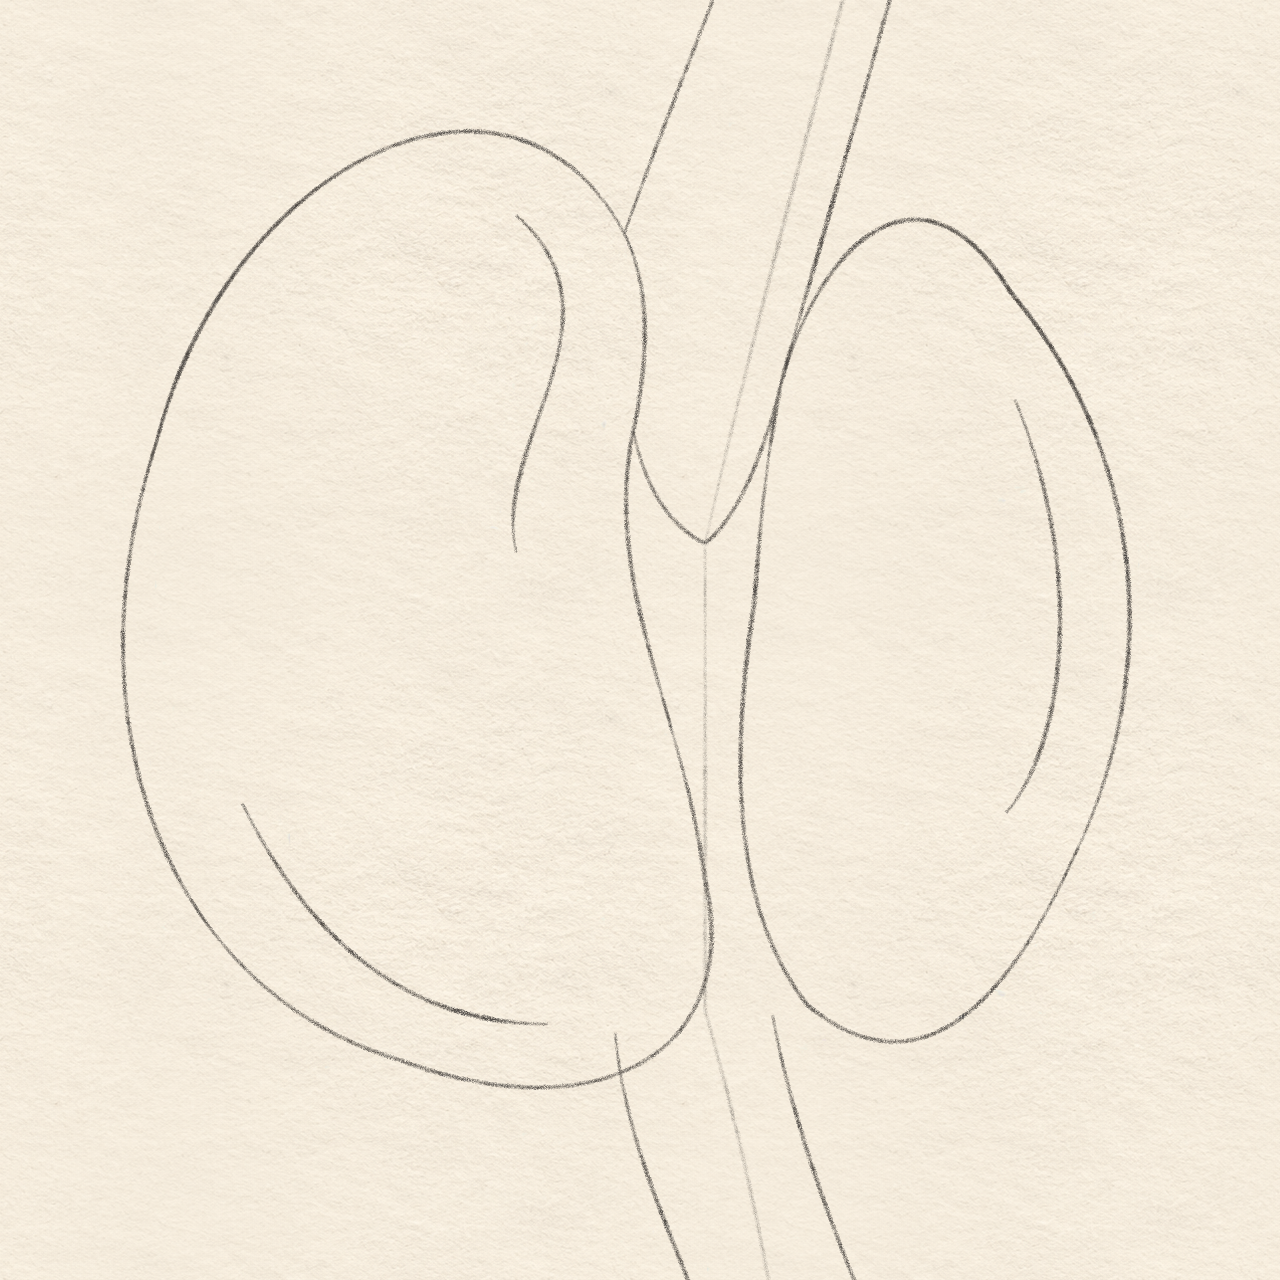
    Two curved stem edges connect the leaf bases to the seed halves, with a short pointed visible return in their central gap.
    Drawing 4B — Stem connectionsView larger
    Same-stage enlarged leaf-base junction, two narrow fold returns and short selected central taper.
    Detail 4B.1 — Leaf junctionEnlarged from this same stage. Keep the short selected taper separate from the longer temporary growth curve, and follow both fold returns.
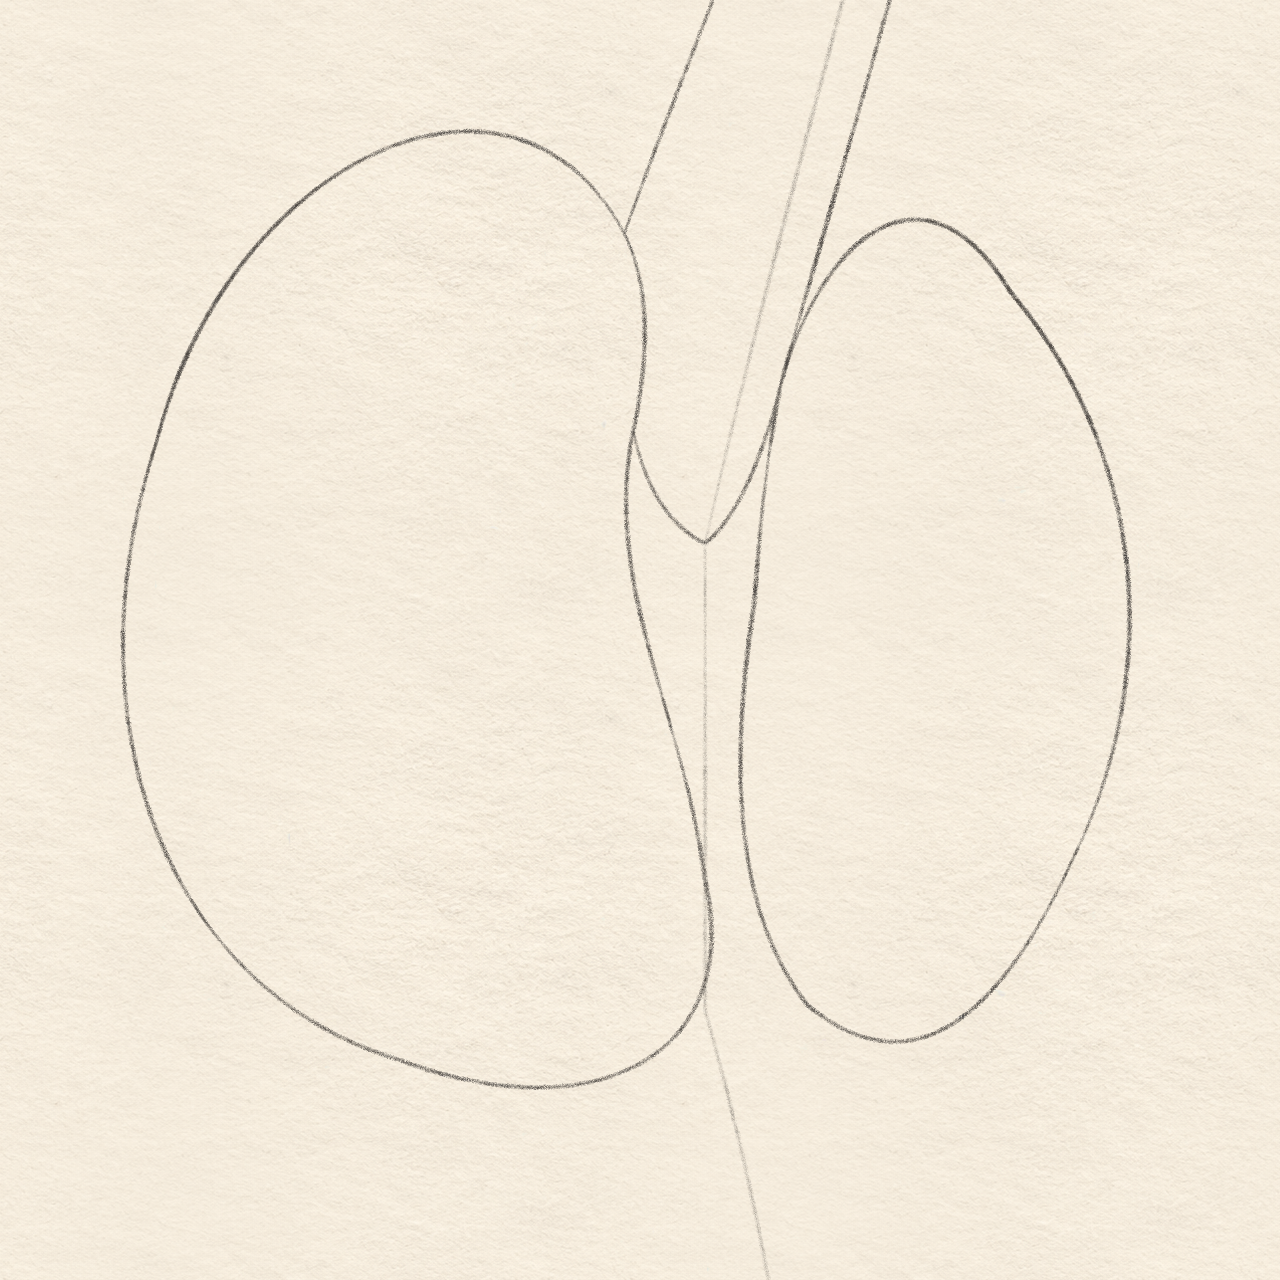
    Same-stage enlarged unequal seed halves, their short central stem return and lower inside contacts.
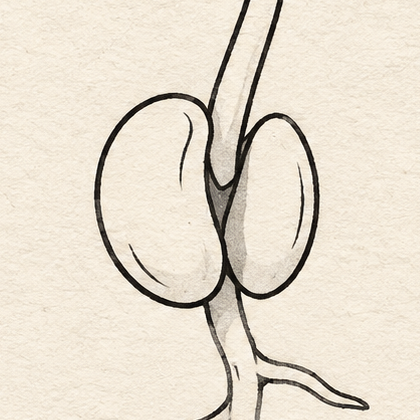
    Detail 4B.2 — Gap between the seed halvesEnlarged from this same stage. Keep the pointed stem tip between the seeds visible between the unequal halves.

    Instructions for Drawing 4B — Stem connections
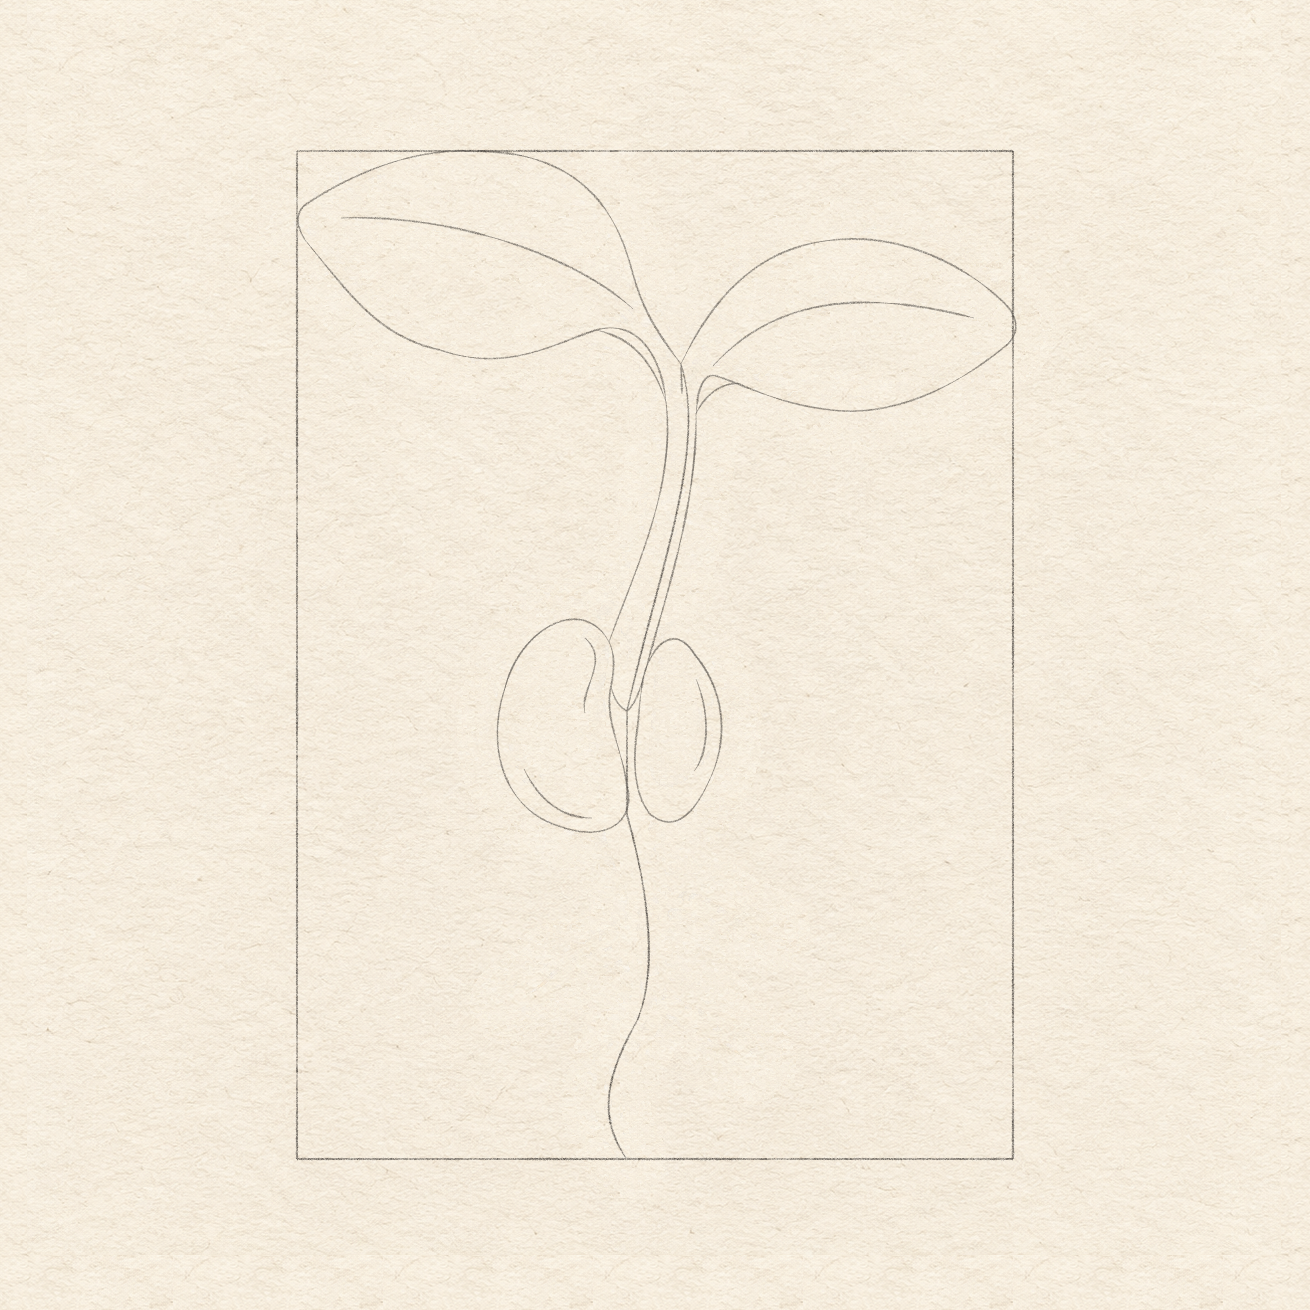
    1. Join the left leaf’s lower endpoint from Drawing 2A to the left seed’s upper stem contact from Drawing 4A with a freehand curve. Keep this stem edge to the left of the faint growth guide.
    2. Join the right leaf’s lower endpoint from Drawing 2B to the right seed’s upper inside contact with a freehand curve. Keep the stem about 4 mm wide through its open middle.
    3. Use Detail 4B.2 — Gap between the seed halves. Draw the pointed stem tip freehand from the left seed’s inner bend, down-right to 4.6 cm across and 7.8 cm down, then up to the right seed’s upper contact.
    4. Stop at the seed outlines wherever they cover the stem. The growth guide locates its middle; it is not another permanent stem edge.
    The left seed half has two short open interior curves and the right half has one, all separated from the outer contours.
    Drawing 4C — Seed detailsView larger
    Same-stage enlarged unequal seed halves, their short central stem return and lower inside contacts.
    Detail 4C.1 — Gap between the seed halvesEnlarged from this same stage. Keep the pointed stem tip between the seeds visible between the unequal halves.

    Instructions for Drawing 4C — Seed details

    1. Inside the left seed half, draw a short freehand curve near the upper-right side, stopping well before the middle. Add another along the lower-left bend, leaving a small gap from the outside edge. Shape both by eye; no new guide points are needed.
    2. Inside the right half, add one short freehand curve near the outside-right edge. Stop before the top and bottom; this accent does not divide the seed into more pieces.
    3. Keep all three curves open and separate from the seed outlines. A small change in their bow is fine; do not add repeated texture.
    Next step — Build the branching roots
  5. Step 5 of 8 · Pencil

    Build the branching roots

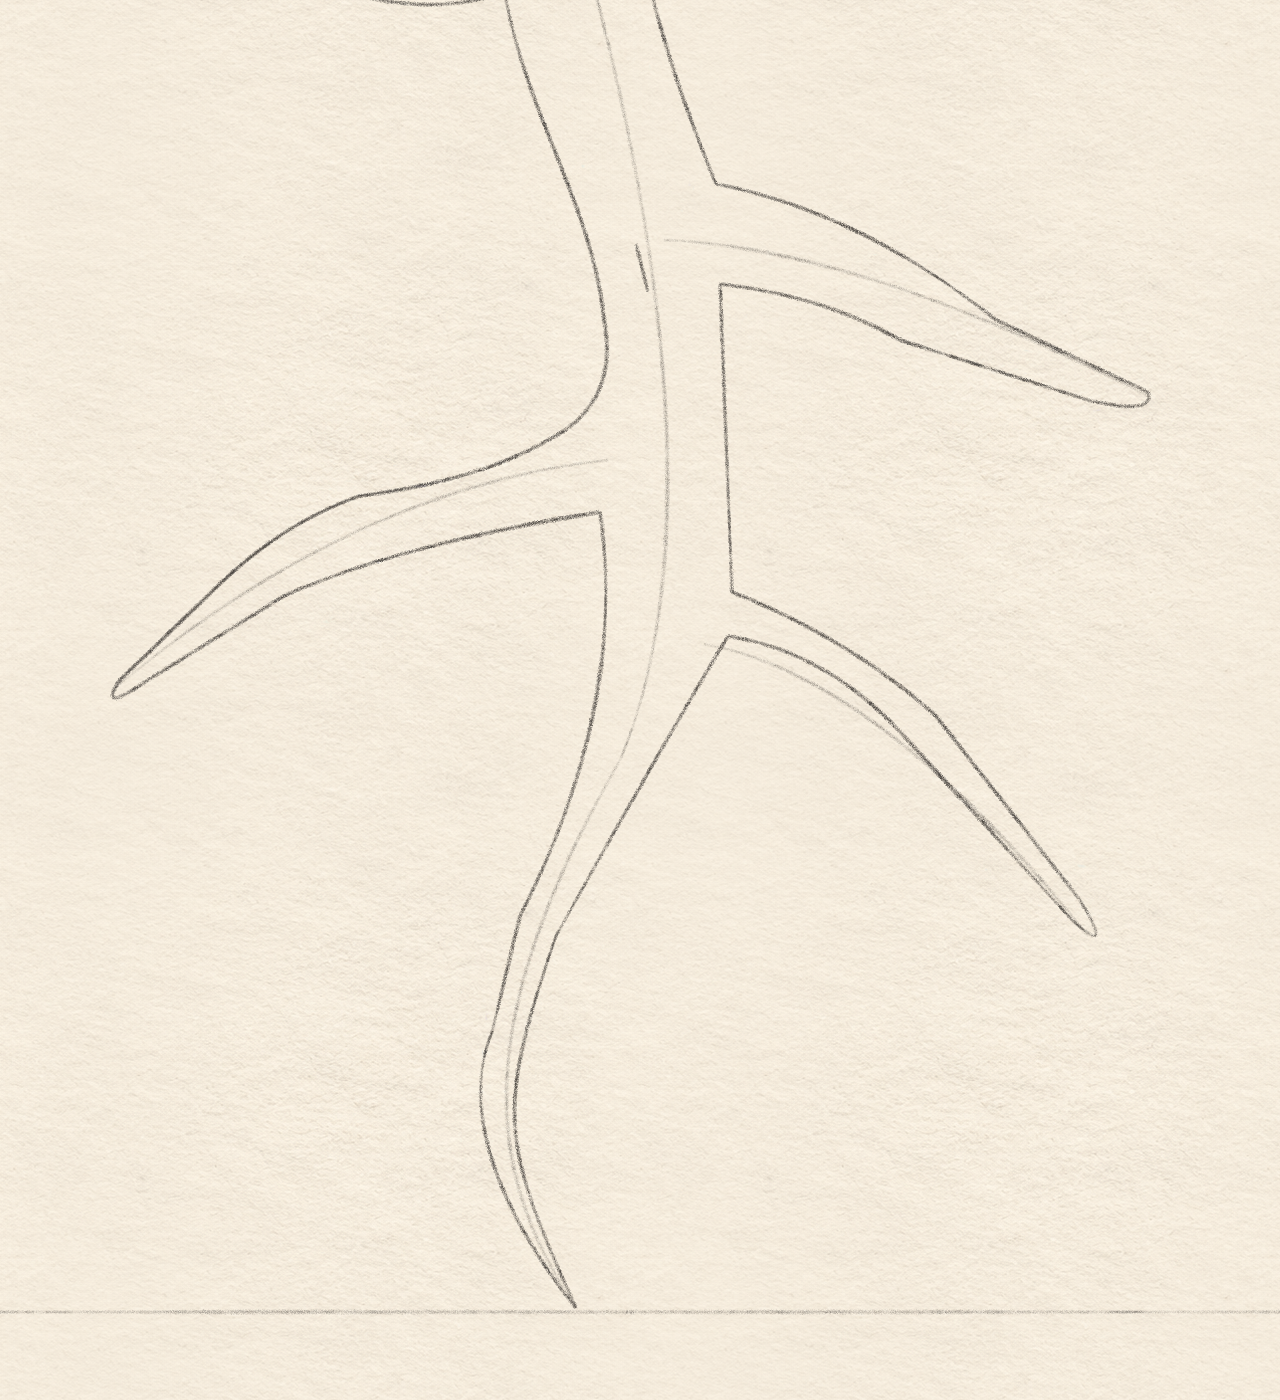
    Three light side-root rays are located around the lower growth guide, one right, one left and one lower-right.
    Drawing 5A — Root direction guidesView larger

    Instructions for Drawing 5A — Root direction guides
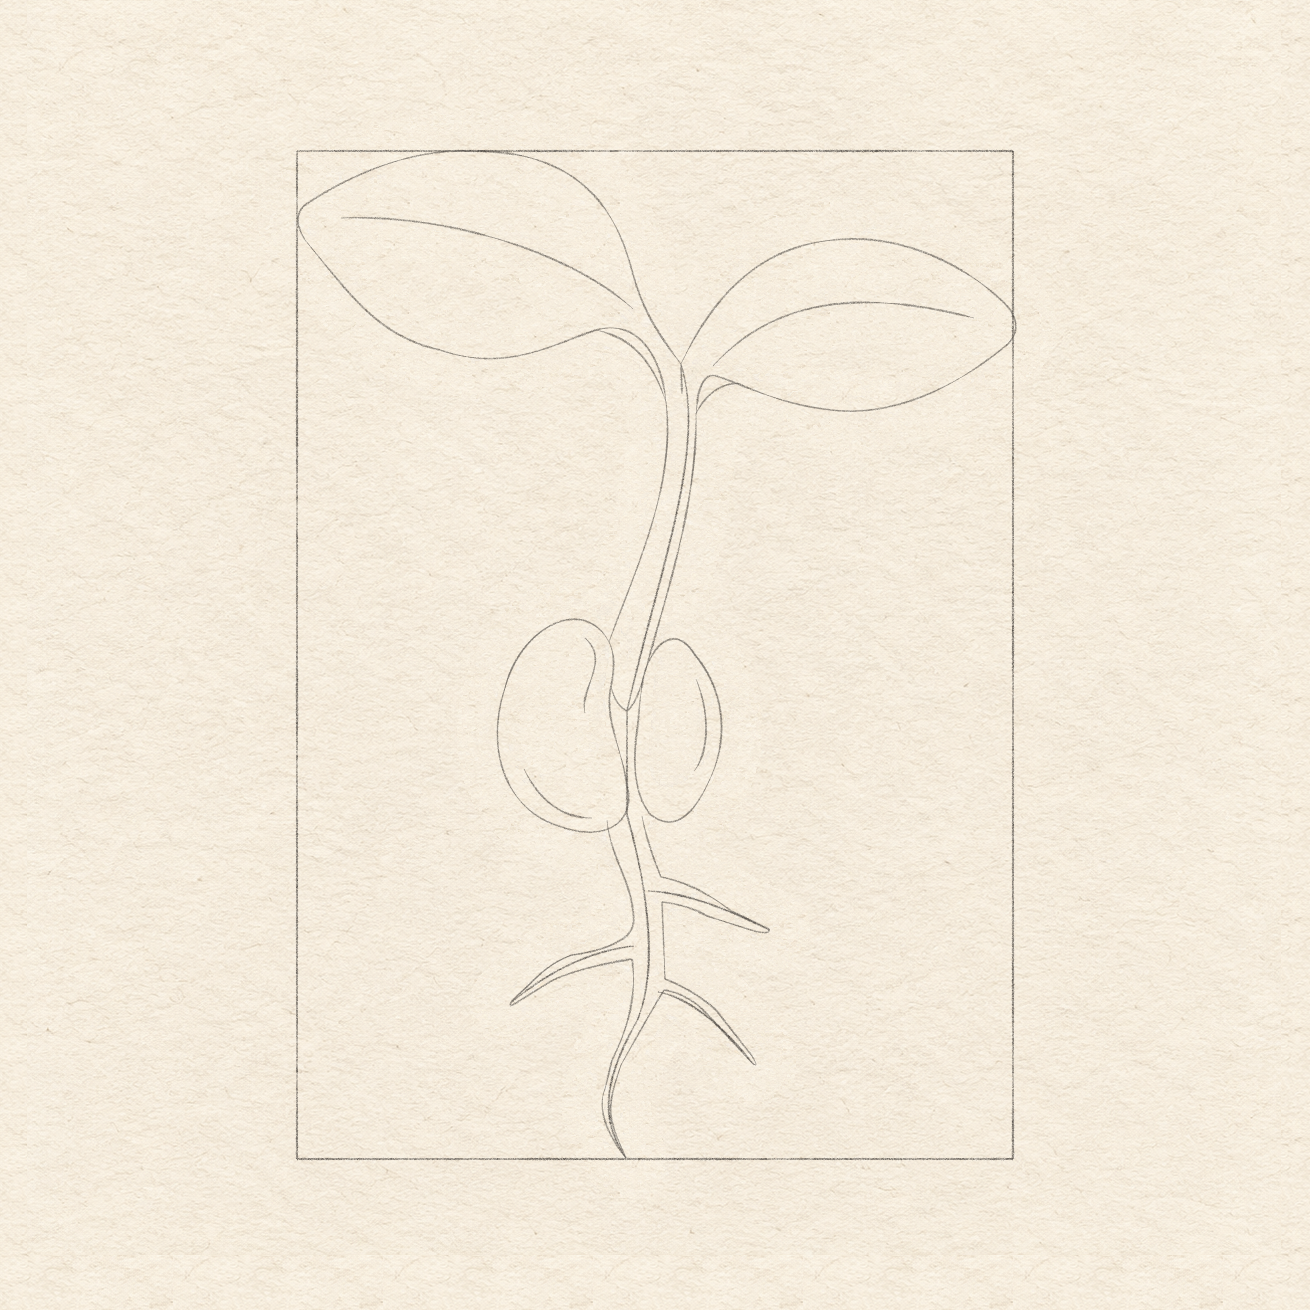
    1. The three faint guides in Drawing 5A aim the side roots; they are temporary centre lines. For the upper-right guide, mark a start 4.9 cm across and 10.3 cm down and a tip 6.6 cm across and 10.9 cm down. Join them freehand.
    2. For the left guide, mark a start 4.7 cm across and 11.1 cm down and a tip 3 cm across and 11.9 cm down. Join them with a light freehand curve.
    3. For the lower-right guide, mark a start 5 cm across and 11.7 cm down and a tip 6.4 cm across and 12.8 cm down. Join them with a light freehand curve.
    4. Each finished root will have an outside edge on each side of its guide. Keep all three guides light enough to erase.
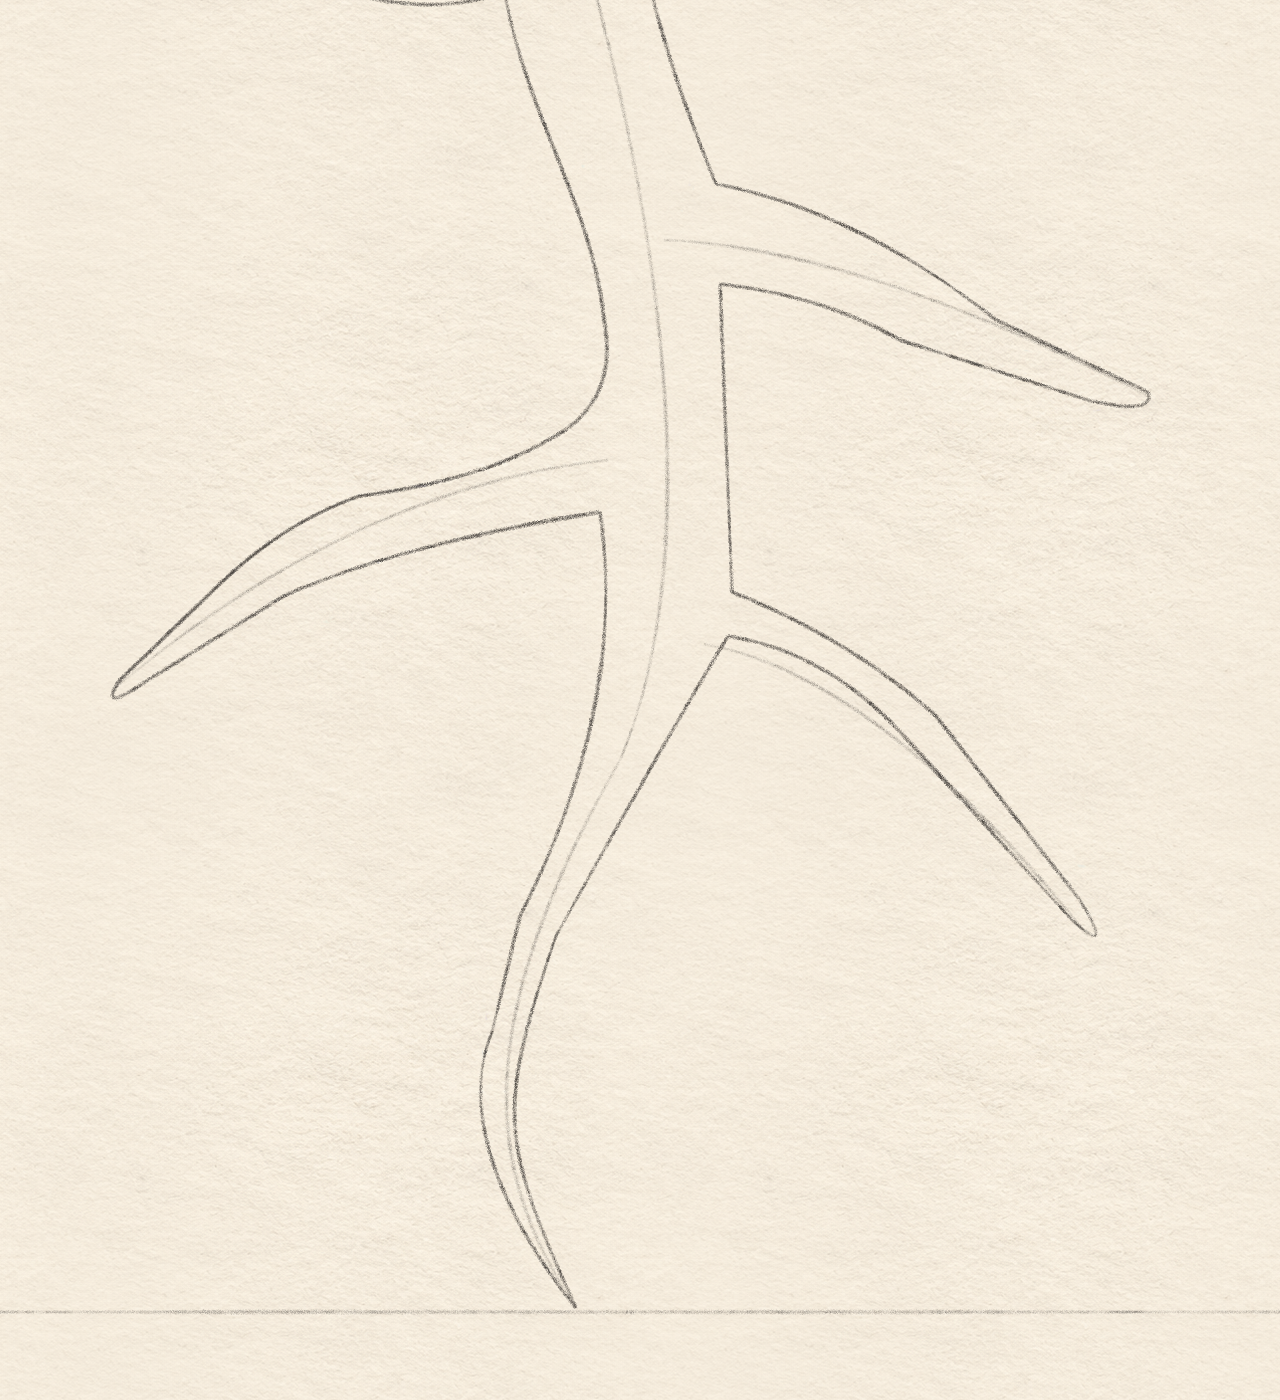
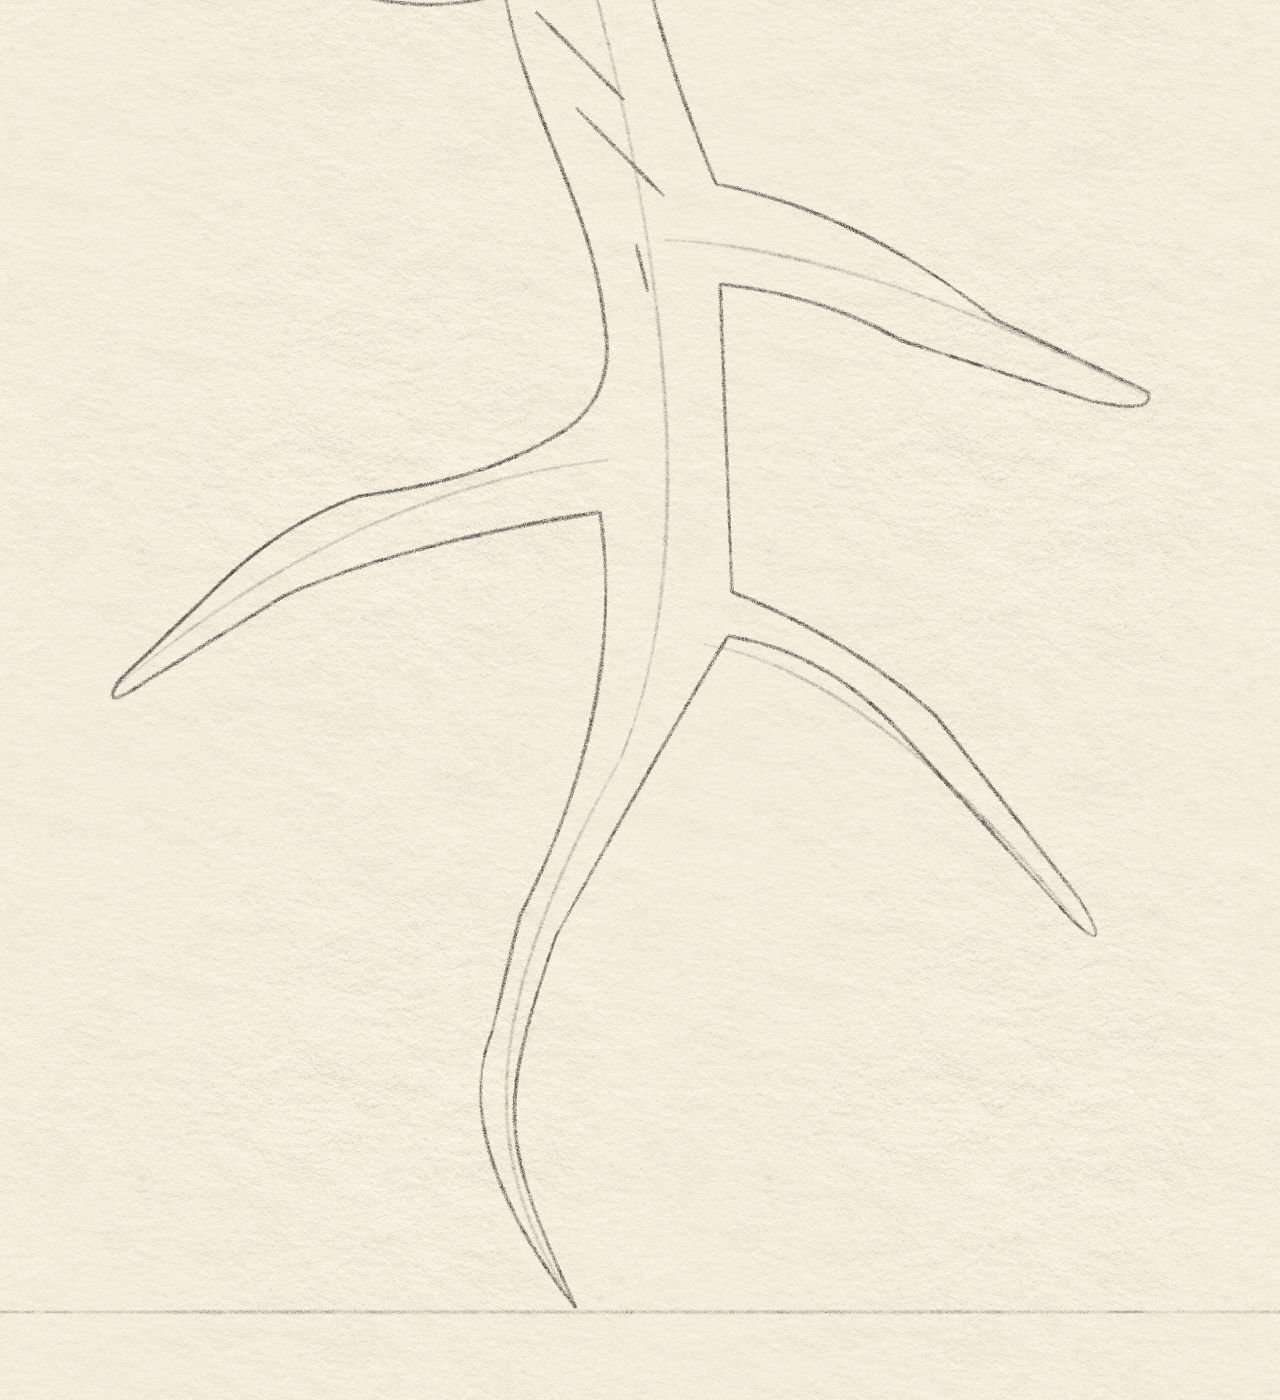
    One main root and three tapered paired-edge side roots surround the retained faint direction guides.
    Drawing 5B — Root outlinesView larger
    Same-stage enlarged main root and its three paired-edge side branches around faint temporary guides; no interior accent has been added yet.
    Detail 5B.1 — Root branchesEnlarged from this same stage. The thin centre and direction lines are temporary; the paired outside edges describe the roots.
    Same-stage enlarged unequal seed halves, their short central stem return and lower inside contacts.
    Detail 5B.2 — Gap between the seed halvesEnlarged from this same stage. The two lower inside seed contacts anchor the paired main-root edges.

    Instructions for Drawing 5B — Root outlines
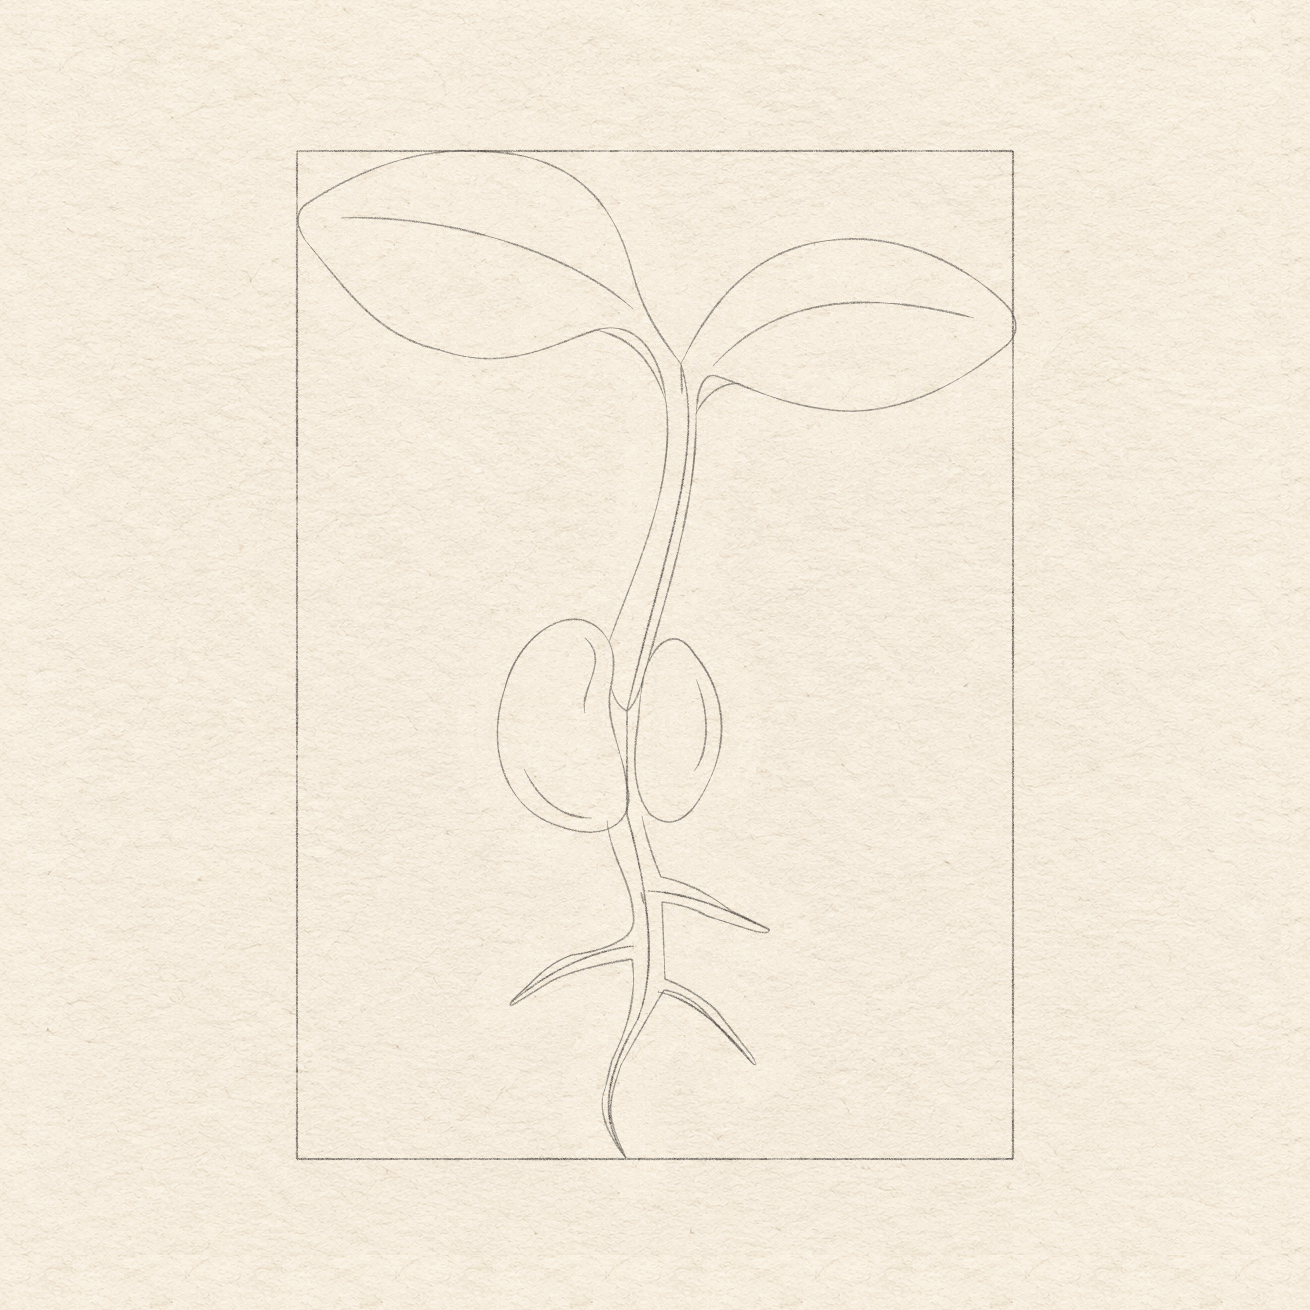
    1. On the existing lower seed edges, locate the left root start about 4.3 cm across and 9.3 cm down, and the right start about 4.8 cm across at the same height.
    2. Draw the main root’s two outside edges freehand around the light centre guide. Start about 5 mm apart and narrow them downward. Stop each edge at the first side-root guide, leaving that branch opening clear.
    3. Make each side root about 3 mm wide where it joins the main root. Draw freehand along one side of its guide, turn at the pointed tip, and return along the other side. Then continue down the main root.
    4. Repeat the freehand turn for all three side roots, leaving their openings connected to the main root.
    5. If a newly drawn outside edge crosses a branch opening, erase only that mistaken edge. Keep the light centre and direction guides until the marker has dried.
    6. Finish both outside edges freehand at the one lowest root tip. Keep the three side tips shorter, and repair a disconnected join in pencil before marker.
    A short selected interior dash appears inside the upper root trunk, distinct from the faint growth and branch guides.
    Drawing 5C — Root accentView larger
    Same-stage enlarged main root, three lateral branch joins and short interior root accent.
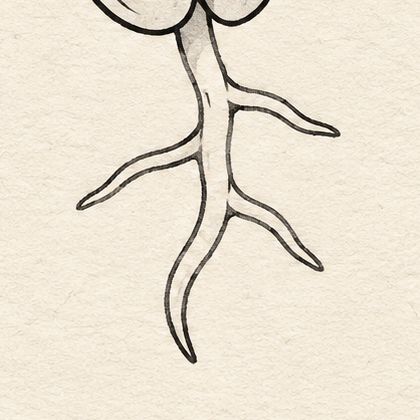
    Detail 5C.1 — Root branchesEnlarged from this same stage. The thin centre and direction lines are temporary; the paired outside edges describe the roots.
    Same-stage tight view of the short interior root accent and its clear paper gaps from the outside edges.
    Detail 5C.2 — Short root dashEnlarged from this same stage. The short selected dash lies beside the longer faint growth guide; they are separate marks.

    Instructions for Drawing 5C — Root accent

    1. Inside the main root, just above the upper-right branch join, add a freehand down-right dash about 2 mm long. Leave clear paper between the dash and both outside edges.
    2. This is a small interior accent, separate from the long faint growth guide. Ink only the short dash later; do not turn the guide into another root edge.
    Next step — Plan the small gray areas
  6. Step 6 of 8 · Pencil

    Plan the small gray areas

    Sparse pencil hatches indicate the leaf-base folds, central seed overlap and upper root, leaving the blades and most seed interiors open.
    Drawing 6A — Shading planView larger
    Same-stage enlarged leaf-base junction, two narrow fold returns and short selected central taper.
    Detail 6A.1 — Leaf junctionEnlarged from this same stage. Keep the short selected taper separate from the longer temporary growth curve, and follow both fold returns.
    Same-stage enlarged main root, three lateral branch joins and short interior root accent.
    Detail 6A.2 — Root branchesEnlarged from this same stage. The thin centre and direction lines are temporary; the paired outside edges describe the roots.
    Same-stage enlarged unequal seed halves, their short central stem return and lower inside contacts.
    Detail 6A.3 — Gap between the seed halvesEnlarged from this same stage. Keep the pointed stem tip between the seeds visible between the unequal halves.
    Same-stage tight view of the short interior root accent and its clear paper gaps from the outside edges.
    Detail 6A.4 — Short root dashEnlarged from this same stage. The short selected dash lies beside the longer faint growth guide; they are separate marks.

    Instructions for Drawing 6A — Shading plan

    1. Use light freehand pencil strokes to plan the shading in Drawing 6A; save the gray marker for Drawing 7A. Hatch only the narrow wedge between each pair of leaf-base fold curves.
    2. Use Detail 6A.3 — Gap between the seed halves. Lightly hatch the gap outside the pointed stem tip, continuing below it. Leave the pointed tip and upper visible stem white.
    3. Leave the pencil as it is. In Drawing 7A, gray will cross the right seed’s inner edge by at most 2–3 mm. It runs from the upper stem contact toward the lower inside contact, widest beside and below the pointed tip, then tapering down. The hatches locate this shadow; they do not bound it.
    4. Add a short freehand strip of pencil hatching just inside the upper root’s left edge, immediately below the left seed. Leave the rest of the root open.
    5. These strokes locate small gray areas; their exact count may vary. Keep the broad leaves and the rest of each seed interior open, with no fine vein pattern or extra roots.
    Next step — Trace and shade
  7. Step 7 of 8 · Marker

    Trace and shade

    Black outlines and small gray shadows follow the chosen plant lines; the light box and direction guides remain until cleanup.
    Drawing 7A — Marker outlines and grayView larger
    Same-stage enlarged leaf-base junction, two narrow fold returns and short selected central taper.
    Detail 7A.1 — Leaf junctionEnlarged from this same stage. Keep the short selected taper separate from the longer temporary growth curve, and follow both fold returns.
    Same-stage enlarged main root, three lateral branch joins and short interior root accent.
    Detail 7A.2 — Root branchesEnlarged from this same stage. The thin centre and direction lines are temporary; the paired outside edges describe the roots.
    Same-stage enlarged unequal seed halves, their short central stem return and lower inside contacts.
    Detail 7A.3 — Gap between the seed halvesEnlarged from this same stage. Keep the pointed stem tip between the seeds visible between the unequal halves.
    Same-stage tight view of the short interior root accent and its clear paper gaps from the outside edges.
    Detail 7A.4 — Short root dashEnlarged from this same stage. The short interior dash is inked; the longer centre guide stays in pencil until cleanup.

    Instructions for Drawing 7A — Marker outlines and gray

    1. Test black and gray markers on scrap paper. With the black tip, trace the existing checked pencil lines: leaf outlines, open veins, base folds and the short line below the leaf junction.
    2. Trace the existing pencil outlines of the seed halves, their three accents, visible stem, paired roots and short interior root dash. Leave the box, growth curve and three direction rays in pencil.
    3. Follow Drawing 6A to add gray in the two leaf-fold wedges and the short upper-root strip below the left seed. Leave the broad leaves open.
    4. Gray the seed gap outside the pointed stem tip. Continue across the right seed’s inner black edge, making the planned strip at most 2–3 mm wide beside and below the tip. Narrow it toward the lower inside contact. Leave the pointed tip, upper stem and the rest of both seed interiors white.
    5. Keep every root join connected and every vein tip open. Leave the graphite until the marker is dry.
    Next step — Dry and erase
  8. Step 8 of 8 · Eraser

    Dry and erase

    Finished bean seedling with two leaves, unequal seed halves and three side roots; the box and all graphite guides are gone.
    Drawing 8A — Finished seedlingView larger
    Same-stage enlarged leaf-base junction, two narrow fold returns and short selected central taper.
    Detail 8A.1 — Leaf junctionEnlarged from this same stage. The short taper and both fold returns remain; the temporary growth curve is gone.
    Same-stage enlarged main root, three lateral branch joins and short interior root accent.
    Detail 8A.2 — Root branchesEnlarged from this same stage. Only the paired outside edges and short interior accent remain.
    Same-stage enlarged unequal seed halves, their short central stem return and lower inside contacts.
    Detail 8A.3 — Gap between the seed halvesEnlarged from this same stage. Keep the pointed stem tip between the seeds visible between the unequal halves.
    Same-stage tight view of the short interior root accent and its clear paper gaps from the outside edges.
    Detail 8A.4 — Short root dashEnlarged from this same stage. Only the short interior accent remains; the temporary centre guide has been erased.

    Instructions for Drawing 8A — Finished seedling

    1. On scrap paper, make freehand black and gray test patches with the same markers used in Drawing 7A. Wait until a gentle eraser pass does not smear either patch; wait longer and retest if needed.
    2. Erase the box, growth curve, three root-direction rays and all remaining pencil selection/tone with light short touches. Brush away crumbs without rubbing the marker.
    3. Only graphite disappears. Keep the same leaf tips, seed gap, paired root joins and short root accent; do not add new details during cleanup.
    Back to the tutorial

If something looks off

My leaves look like twins

Use Drawing 2A — Left leaf and Drawing 2B — Right leaf. Keep the left leaf higher and broader. Locate the right tip separately, then shape its rounded top freehand within the stated height.

The stem disappears between the seeds

Use Drawing 4B — Stem connections. Leave the pointed stem tip between the seed halves white and stop the outer edges where each seed half covers them.

The roots look like thick sticks

Use Drawing 5B — Root outlines. Draw the two outer edges freehand around each direction guide, narrowing them to a shared tip. Erase the guide after the marker dries.