FinelinerEasy

Bell study
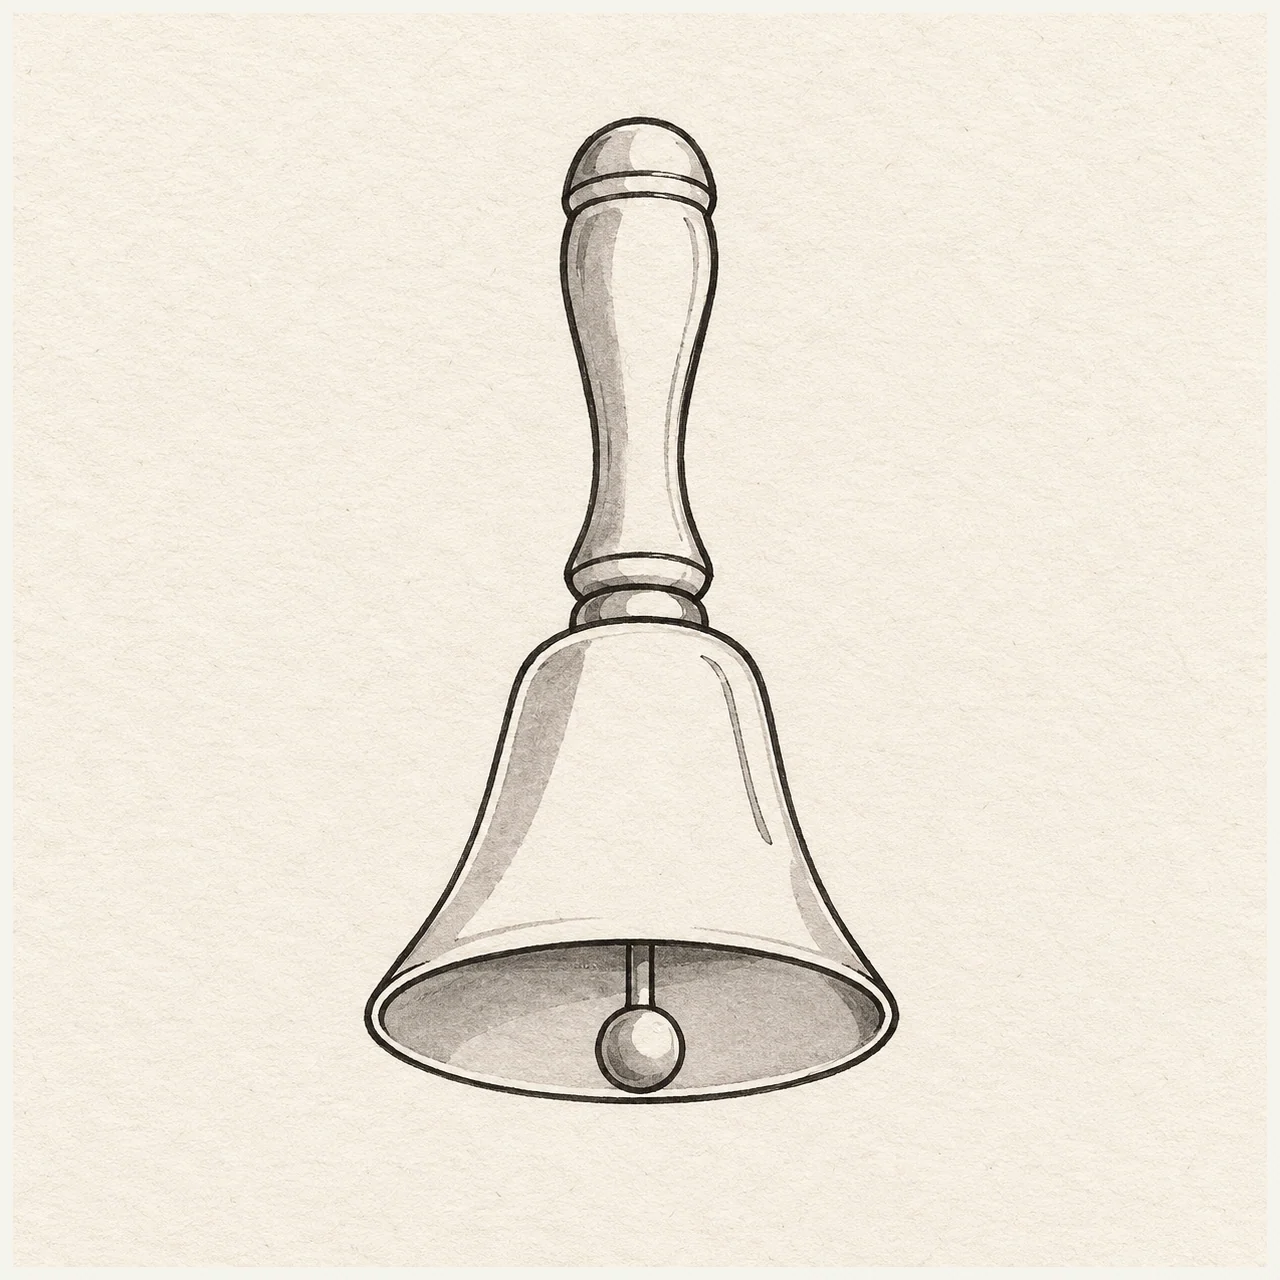
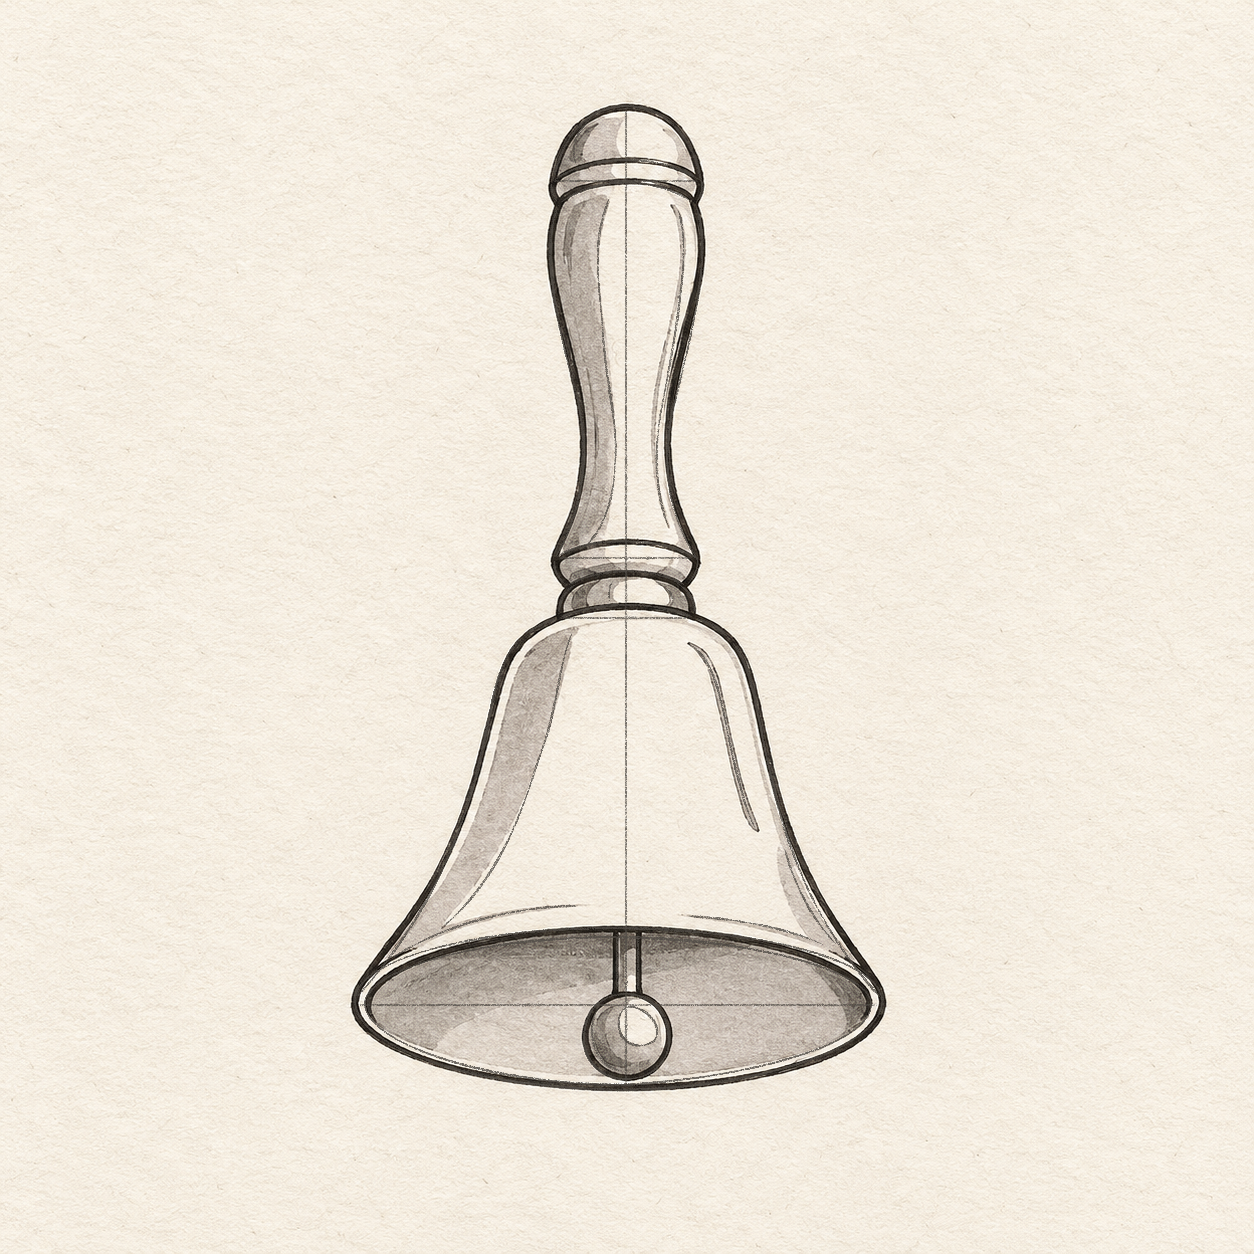
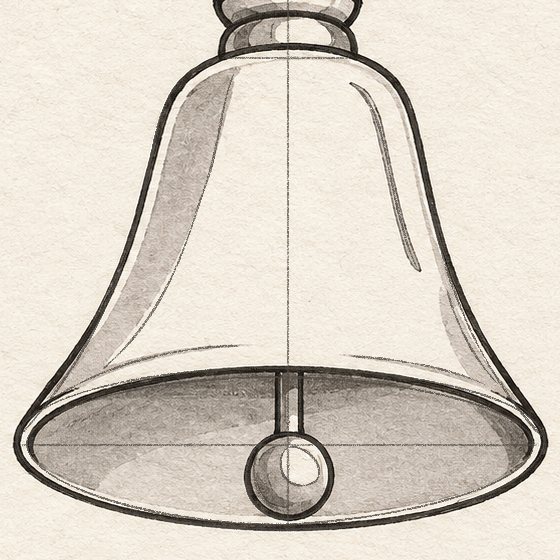
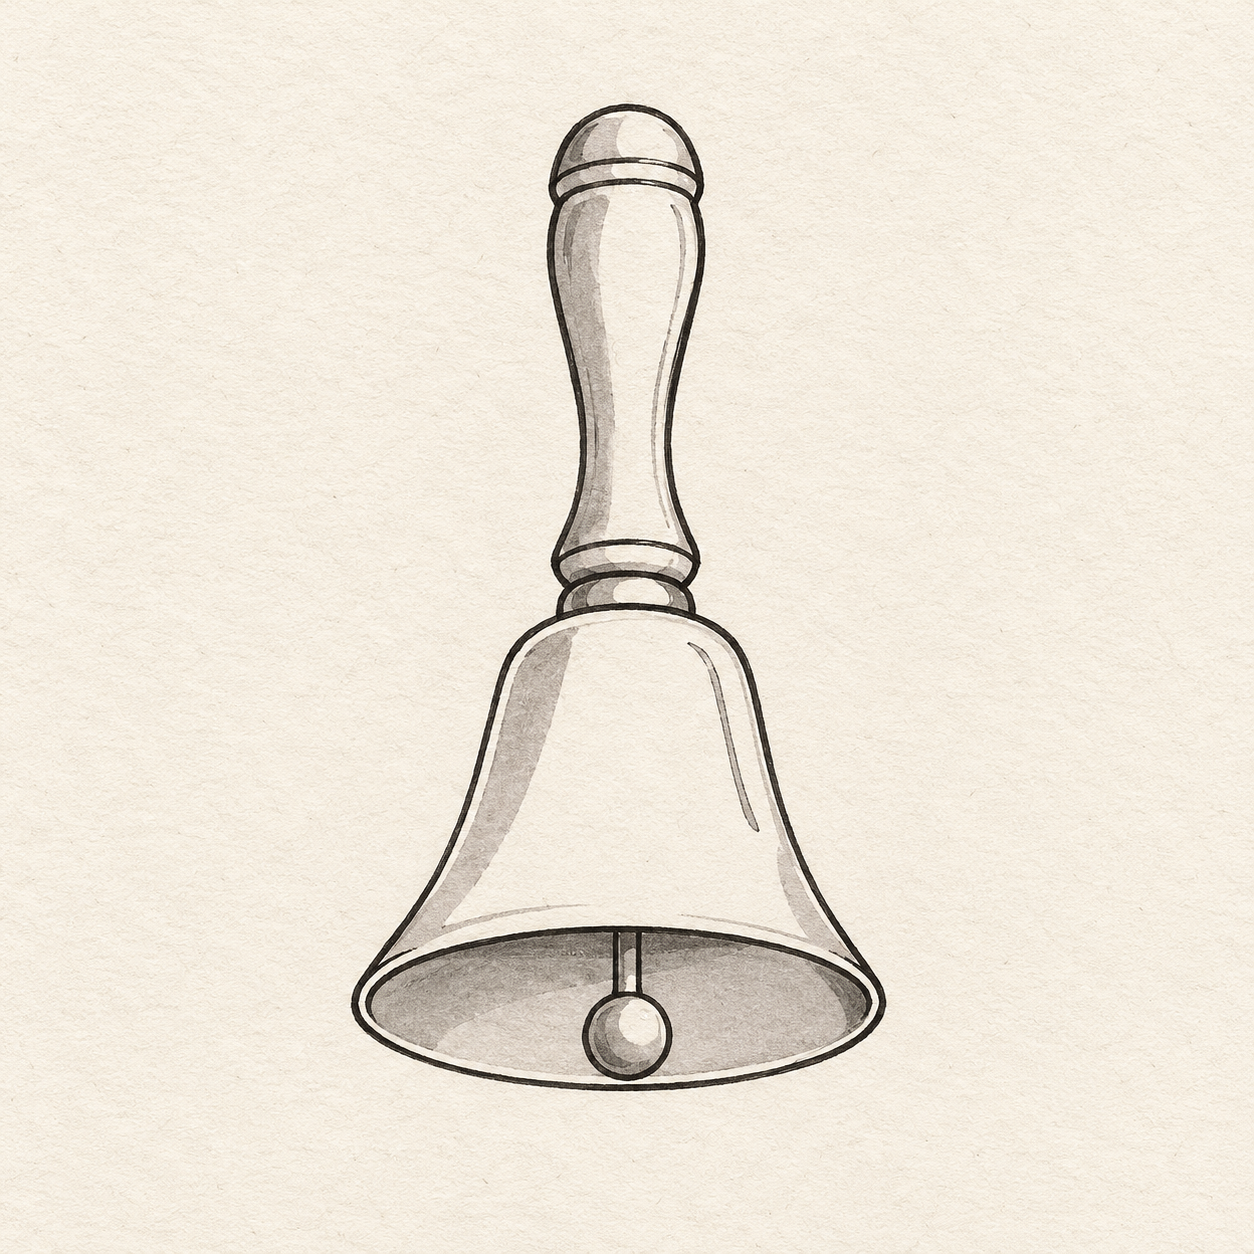
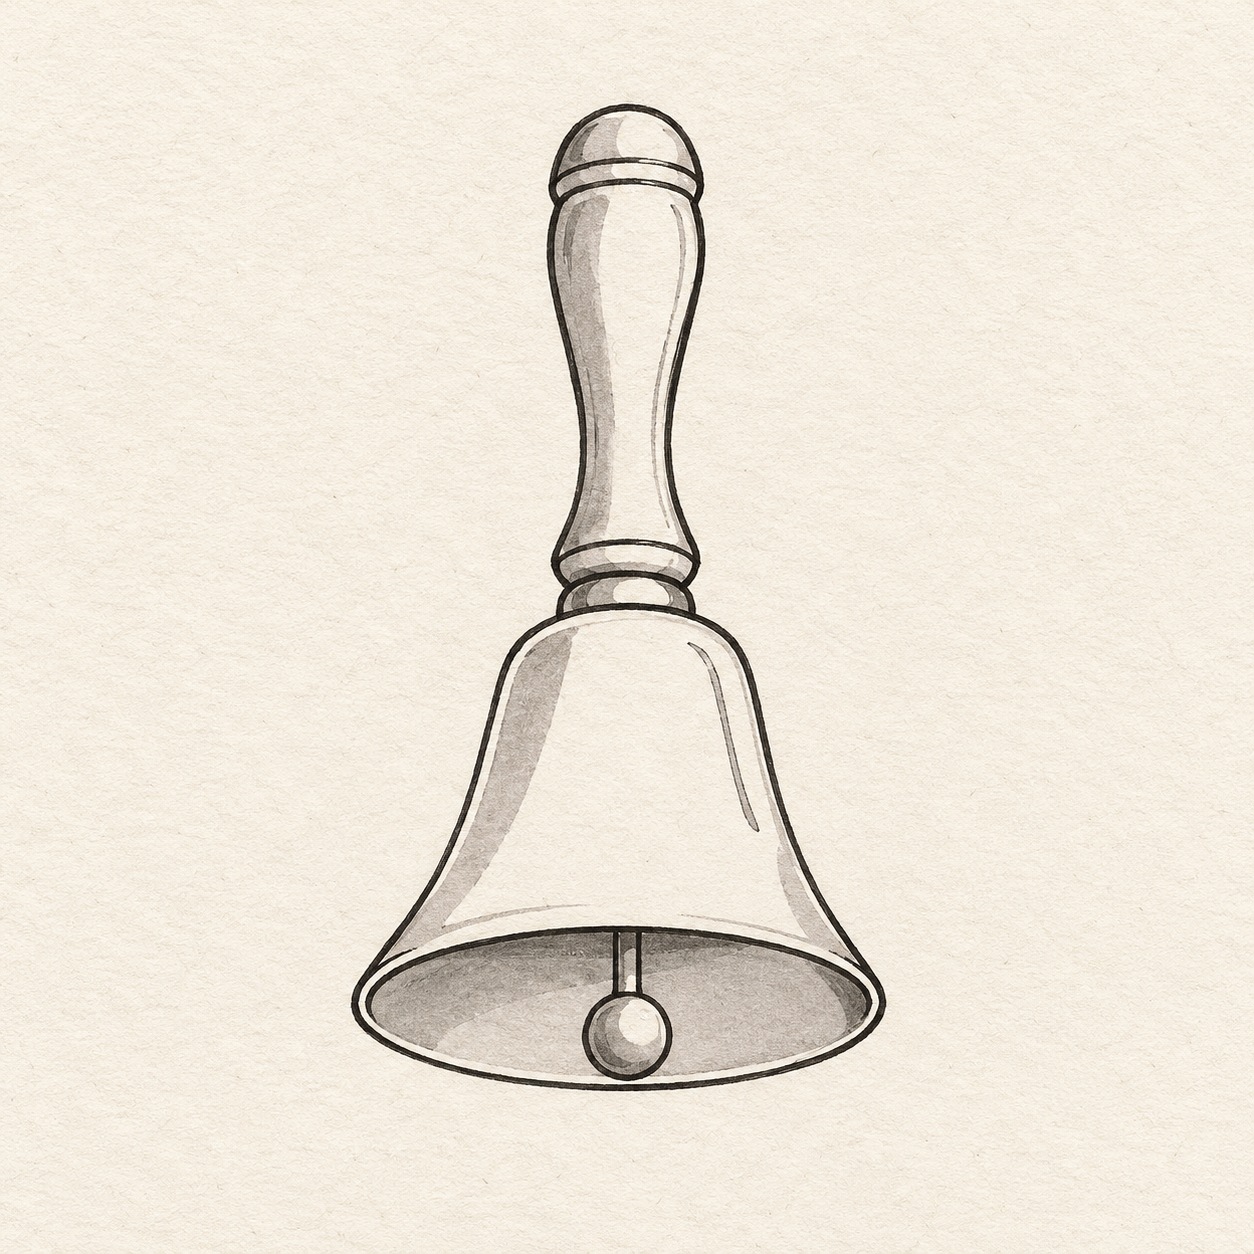
Practice drawing bell with clear contours and a few selected details. Open the bottom with an oval rim and place the clapper inside. Add the handle joint and one curved reflection line with a small gray interior accent.
Follow the drawing tutorial
Draw a handbell from a 10 cm guide, shape its curved handle and flared body, then add the hanging ball and light gray shading.
Start the 8-step tutorialA small thing to tryThe mouth ellipse should share the angle of the flared body.
Draw it, one step at a time
How to draw this handbell
Draw a handbell from a 10 cm guide, shape its curved handle and flared body, then add the hanging ball and light gray shading.
What you’ll need
- HB pencil
- Soft or kneaded eraser
- Ruler marked in centimetres
- Fine black felt-tip marker
- Light gray marker
- Sketchbook paper
Before you start
The example bell is about 5.4 cm wide and 10 cm tall. Use paper large enough to place it where you want, with room around it; centring is optional. The first step makes a 10 cm vertical guide. Measure every height down from that line’s top unless an action names another mark. Left and right mean the sides of the picture. Use a ruler for straight guides and draw curves freehand. Keep the guides light so you can erase them later. For a different drawing size, increase or reduce all distances in the same proportion.
Step 1 of 8 · Pencil
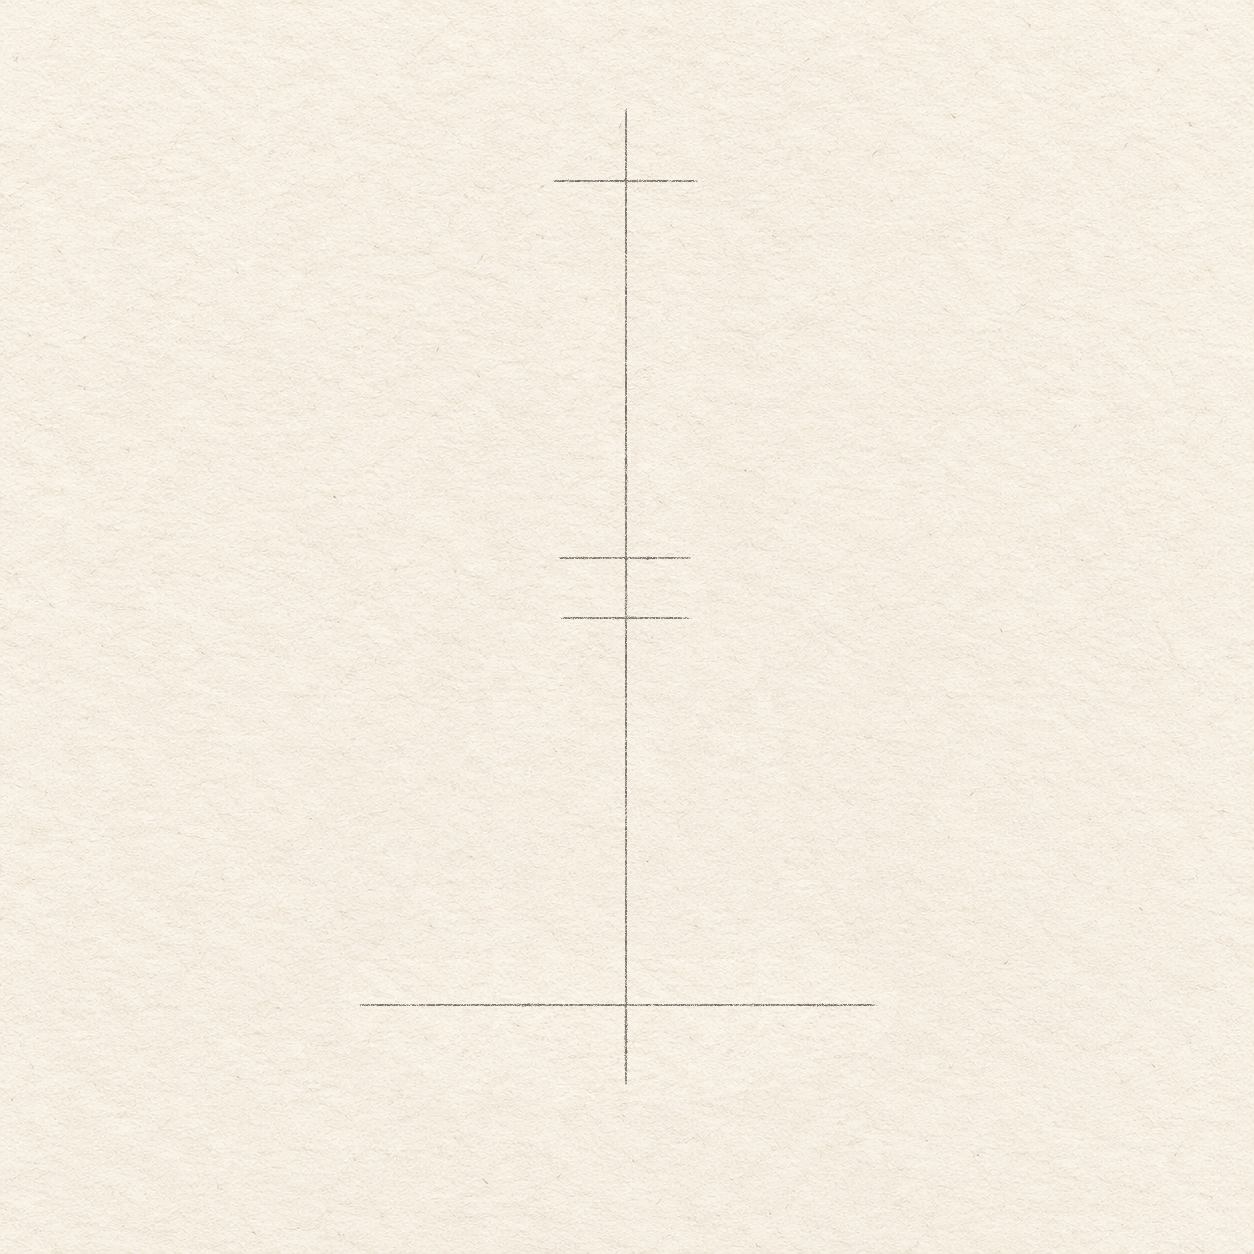
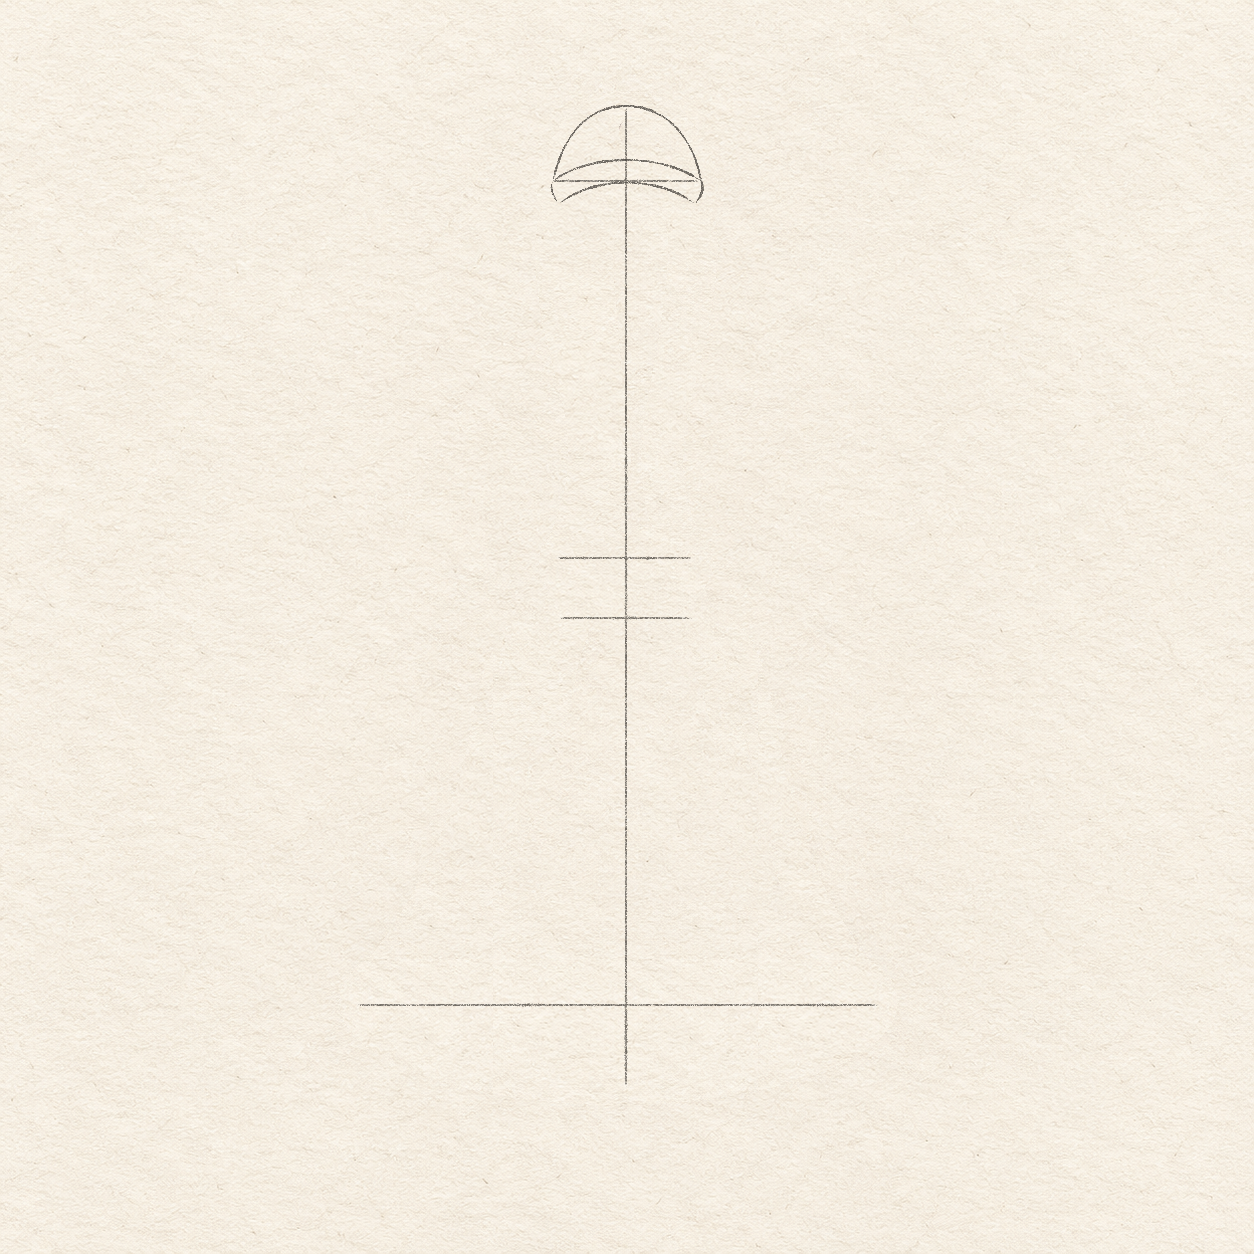
Set the height and widths

Drawing 1A — Set the height and widthsView larger Instructions for Drawing 1A — Set the height and widths
- Choose where you want the 10 cm upright guide, allowing 3 cm of paper on either side and a little above and below it. With a ruler and light pencil, draw the guide straight down from your chosen top for 10 cm. This line aligns the handle, bell and hanging ball.
- Measure 0.8 cm down from the line’s top. Through that point, draw a horizontal bar 1.5 cm wide: half to the left and half to the right. This is the cap’s width.
- Measure 4.6 cm down from the same top. Draw another horizontal bar 1.5 cm wide, centred on the vertical line. This marks the handle’s bottom.
- For the short neck below the handle, draw a bar 1.4 cm wide, 5.2 cm down from the top. Centre it on the vertical line. The 0.6 cm gap above it leaves room for the handle’s lower band and the neck.
- Draw the bell-opening bar 5.4 cm wide, 9.1 cm down from the top. Centre it on the vertical line.
- Keep all four bars horizontal. Before adding curves, correct a sloping bar or a bar that extends farther on one side.
Step 2 of 8 · Pencil
Draw the cap and handle

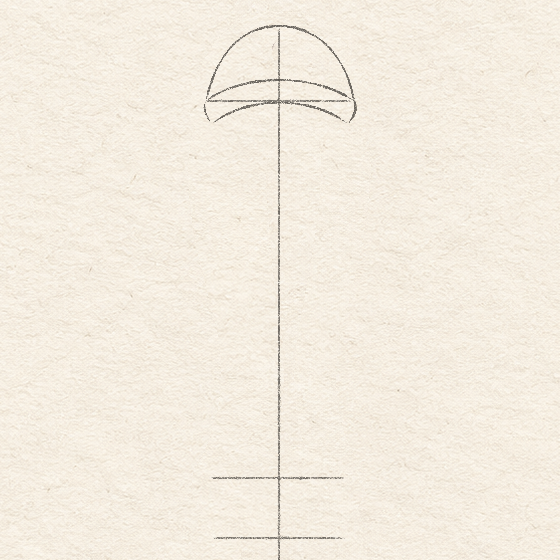
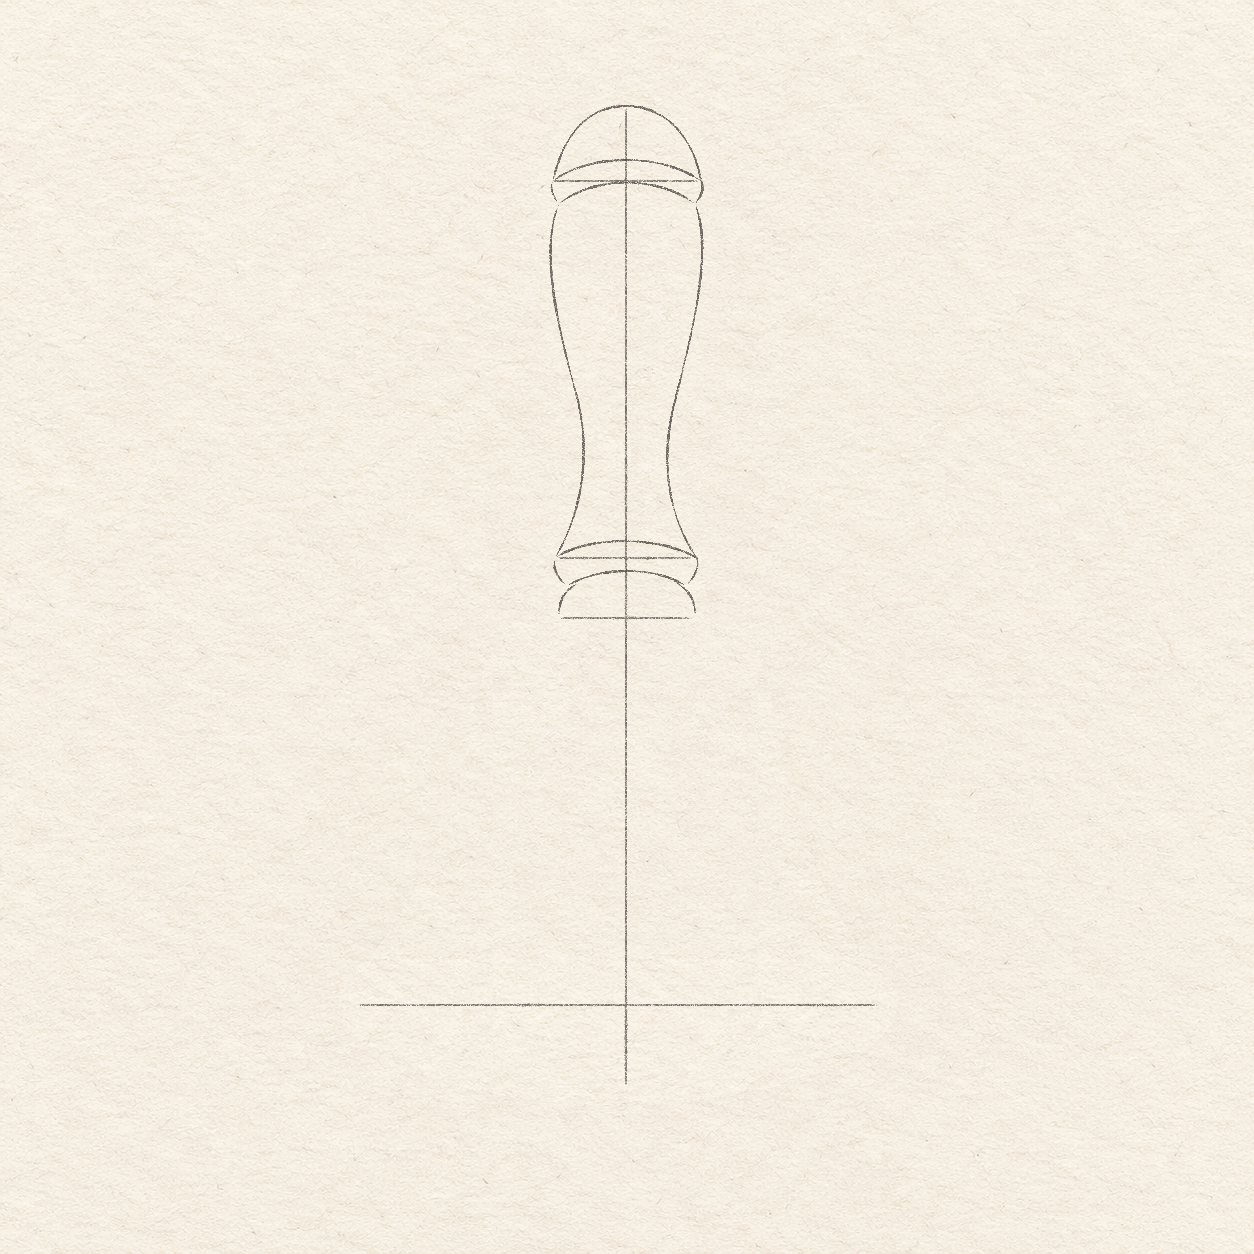
Drawing 2A — Draw the cap and its bandView larger 
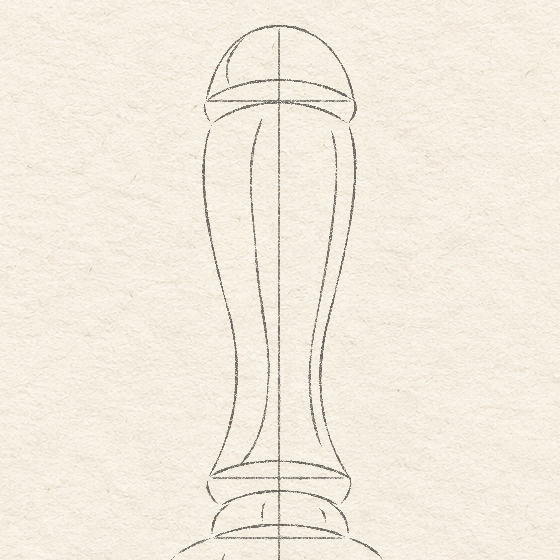
Detail 2A.1 — Cap and curved bandThe rounded cap and two shallow band curves are in pencil. The narrow band between the curves stays unshaded. Instructions for Drawing 2A — Draw the cap and its band
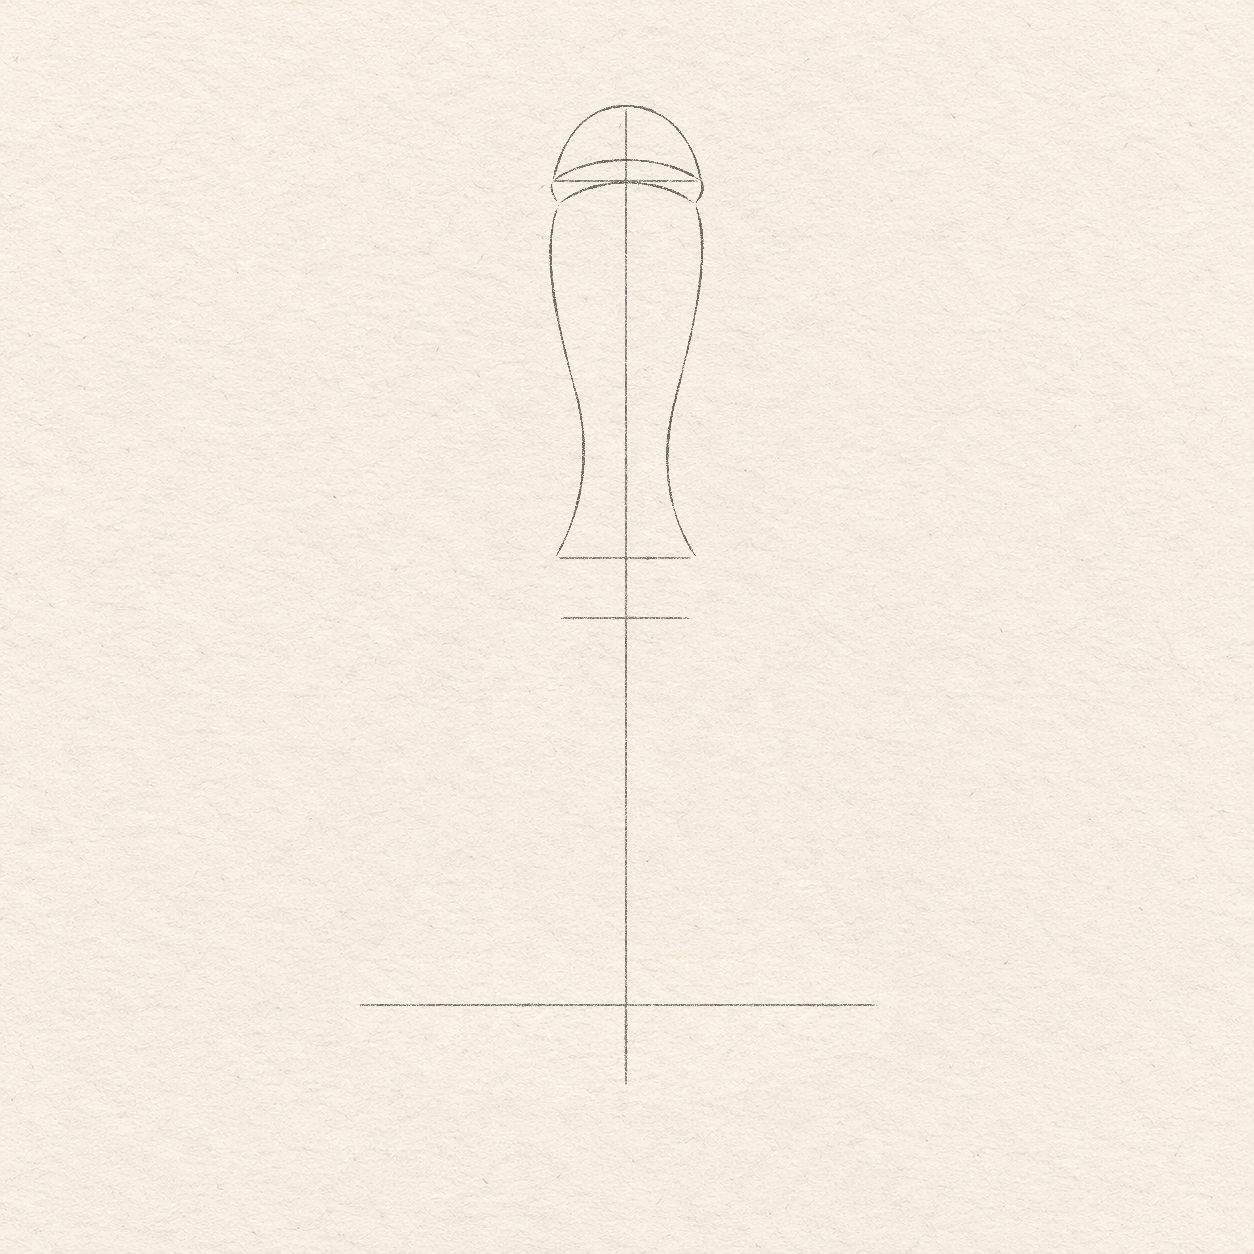
- Use the uppermost bar’s ends and the vertical line’s top as three guide points. Draw a rounded cap freehand from the left bar end, over the top point and down to the right bar end.
- Between the same bar ends, draw a shallow upward-bowing curve freehand. Add a second curve about 2 mm below it. Join their ends with short rounded turns; leave the narrow band between them unshaded.

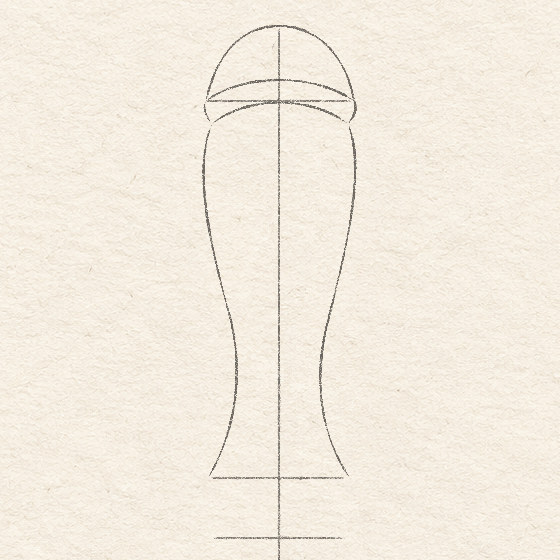
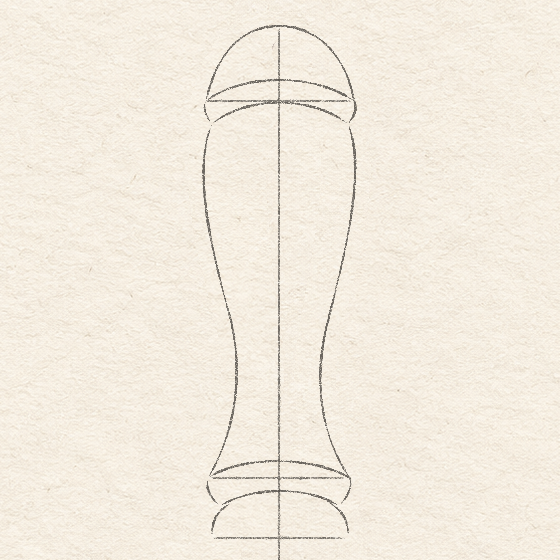
Drawing 2B — Draw the curved handleView larger 
Detail 2B.1 — Curved handle and narrow middleThe handle starts at the cap band, narrows smoothly, then widens to the lower bar. The straight guide remains visible. Instructions for Drawing 2B — Draw the curved handle
- The handle is slightly wider than the cap near its top. It narrows to about 1 cm across, two thirds of the way down, then widens again toward the lower bar.
- Starting at the cap band’s lower ends, draw these two smoothly curved sides freehand down to the ends of the bar 4.6 cm below the guide’s top.
- Keep the sides smoothly curved. Compare their distances from the vertical guide at the narrowest part. Erase and redraw an uneven side while the pencil is light.
Step 3 of 8 · Pencil
Join the handle to the bell

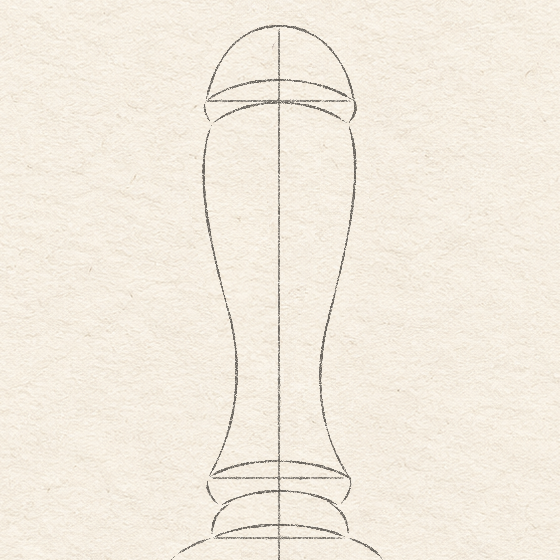
Drawing 3A — Add the lower band and collarView larger 
Detail 3A.1 — Lower band and open collarBoth collar sides stop at the collar bar. The bottom edge has not been drawn yet. Instructions for Drawing 3A — Add the lower band and collar
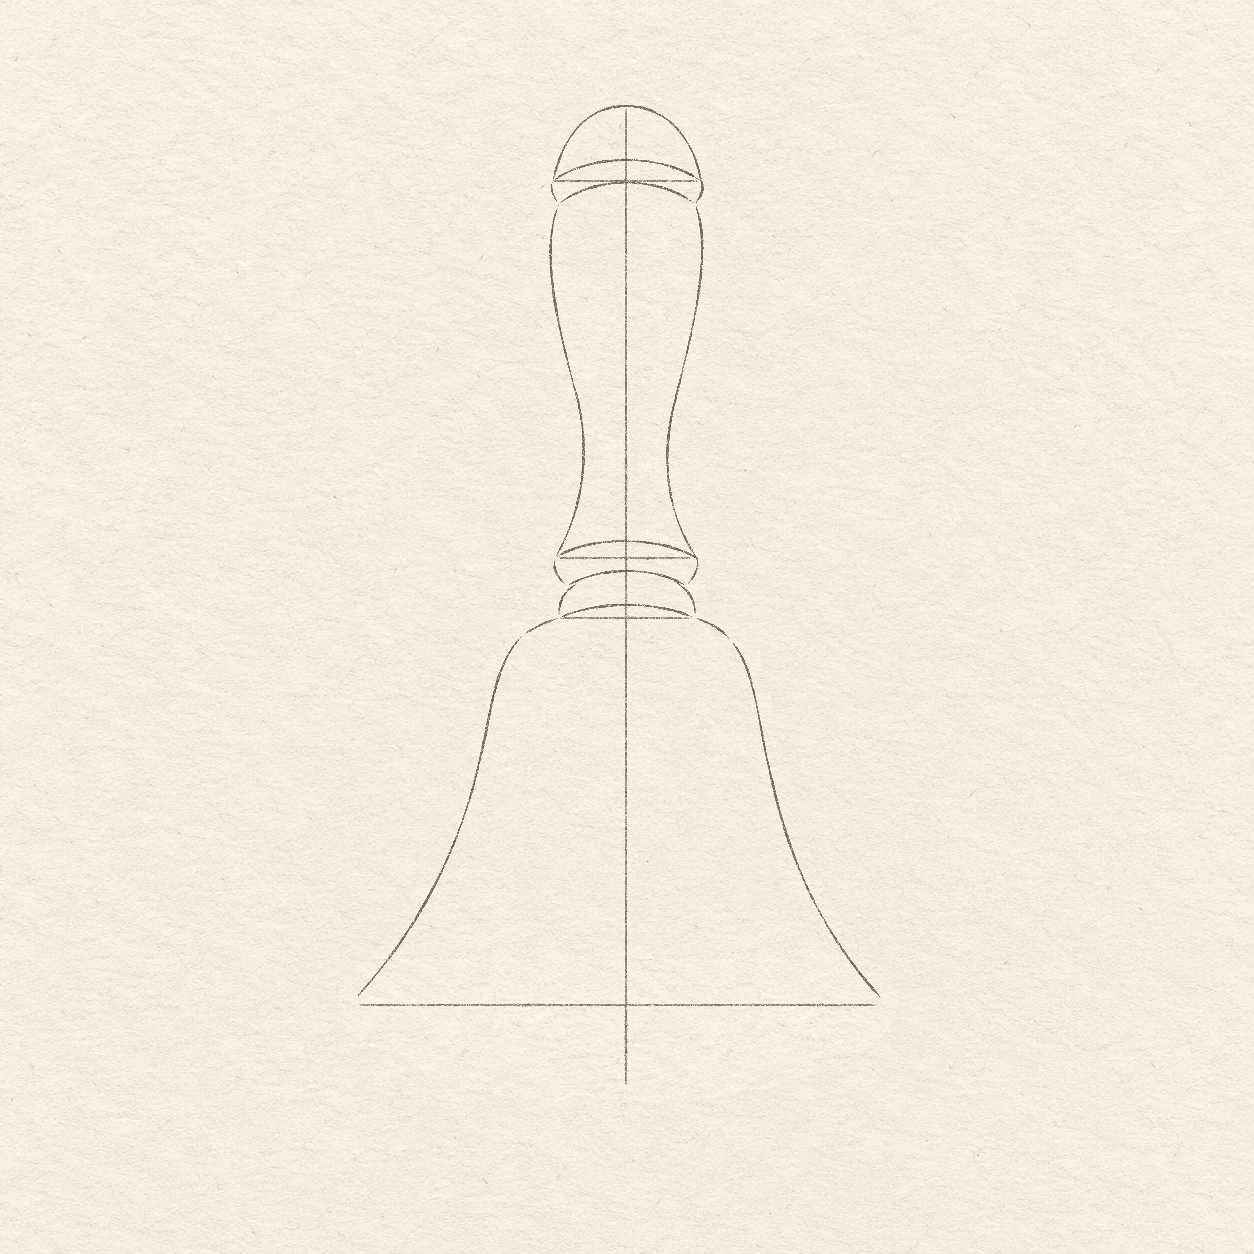
- Between the lower handle bar’s ends, draw a shallow upward-bowing curve. Add another about 3 mm below it. Join the ends with rounded turns to make the handle’s lower band.
- Below this band, add the short neck, called the collar. Start each side just inside a lower band end, curve slightly outward and stop at the corresponding collar-bar end.
- Leave the collar’s bottom open. Drawing 3B adds its bottom edge; the same edge will also form the bell’s top.

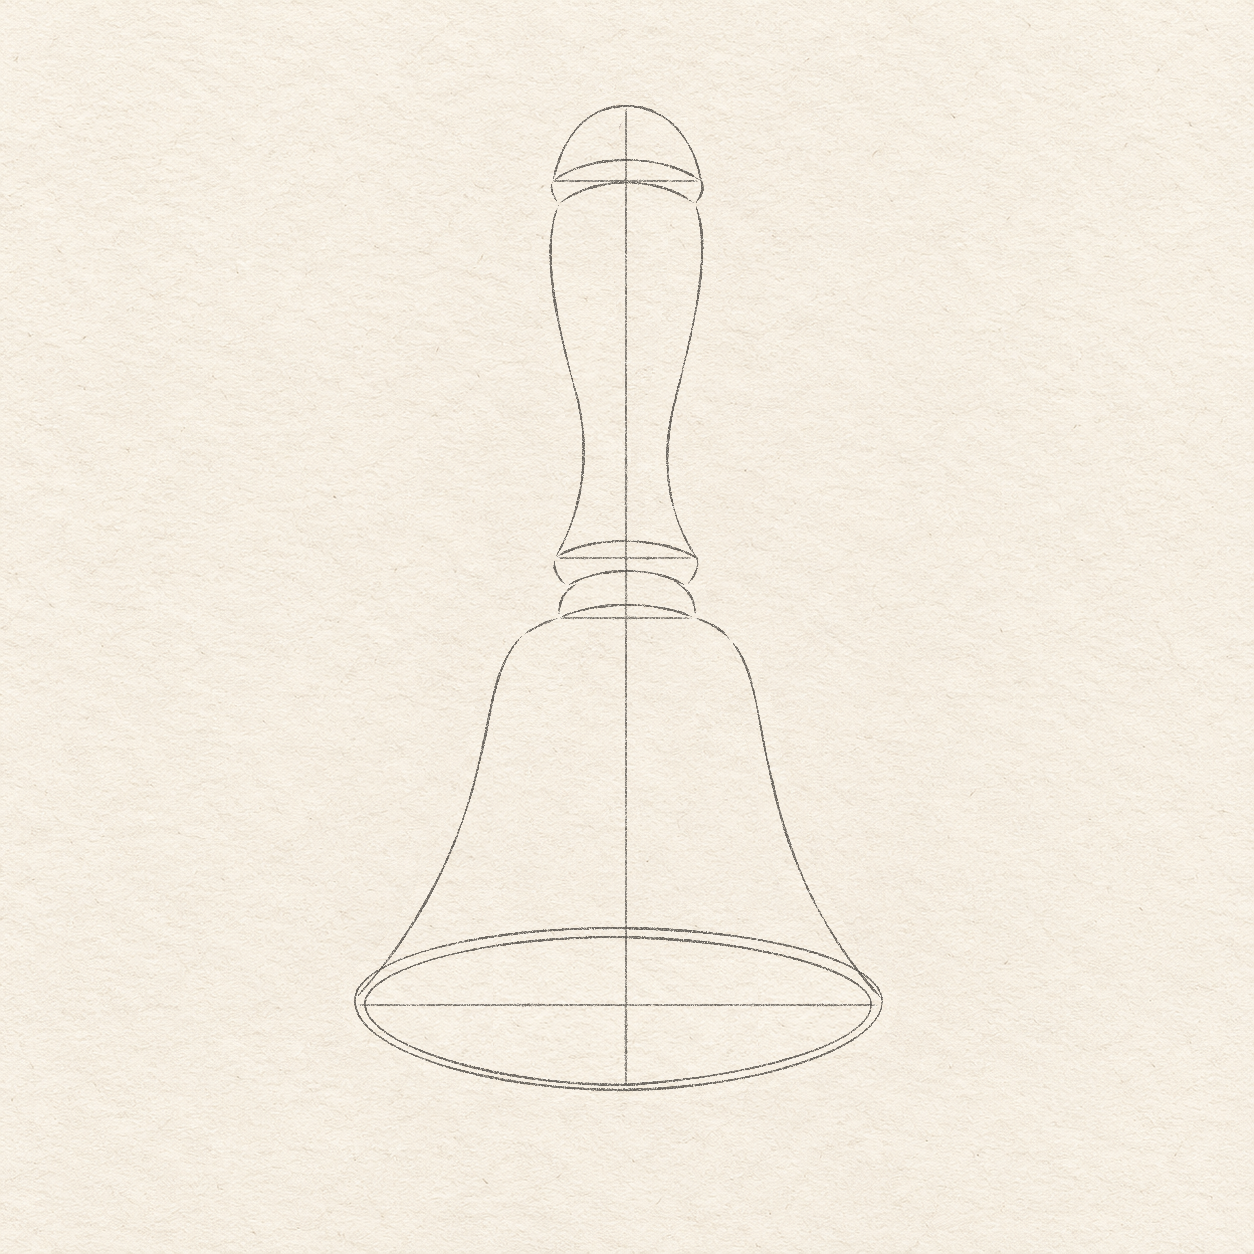
Drawing 3B — Draw the flared bellView larger 
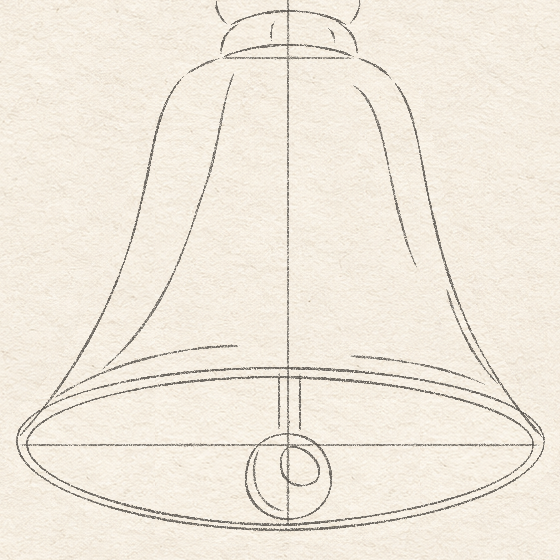
Detail 3B.1 — Shared collar and bell edgeOne curved line joins the collar’s bottom ends. That same line forms the bell’s top. Instructions for Drawing 3B — Draw the flared bell
- Join the collar’s two bottom ends with one shallow upward-bowing curve. Its middle rises to just below the vertical guide’s halfway point. Draw this shared collar-and-bell edge only once.
- From each end of that curve, draw a short rounded line outward and down. End about 1 cm from the vertical guide and 2 mm below the collar bar. These two points start the bell’s wider sides.
- From each new point, draw a freehand side down to its bell-opening bar end. Start nearly upright, then bend farther outward as you approach the opening.
- Compare both sides with the vertical guide. Soften a sudden corner or adjust a misplaced curve before continuing.
Step 4 of 8 · Pencil
Draw the bell’s opening

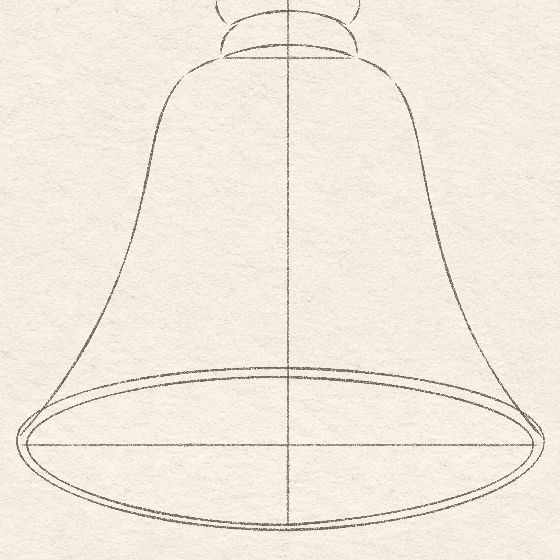
Drawing 4A — Draw the outer rim and inner openingView larger 
Detail 4A.1 — Outer rim and inner openingTwo separate freehand oval curves leave a thin paper rim along the bottom and both ends. Instructions for Drawing 4A — Draw the outer rim and inner opening
- The wide opening bar gives the oval’s left and right tips. The vertical guide’s bottom gives its lowest point. Shape the top by eye, about 8 mm above the opening bar; you do not need another dot.
- Rehearse the oval in the air, then draw it freehand through the two bar ends and the vertical guide’s bottom. Keep it broad and shallow.
- The inner opening leaves a thin paper rim along the bottom and around both ends. Keep this rim slightly wider at the ends than along the bottom.
- With those gaps in mind, draw the second oval freehand just inside the first. Follow its broad, shallow curve around the opening, keeping the rim gaps you just judged. Shape the inner oval by eye rather than copying an exact offset.
Step 5 of 8 · Pencil
Add the hanging ball

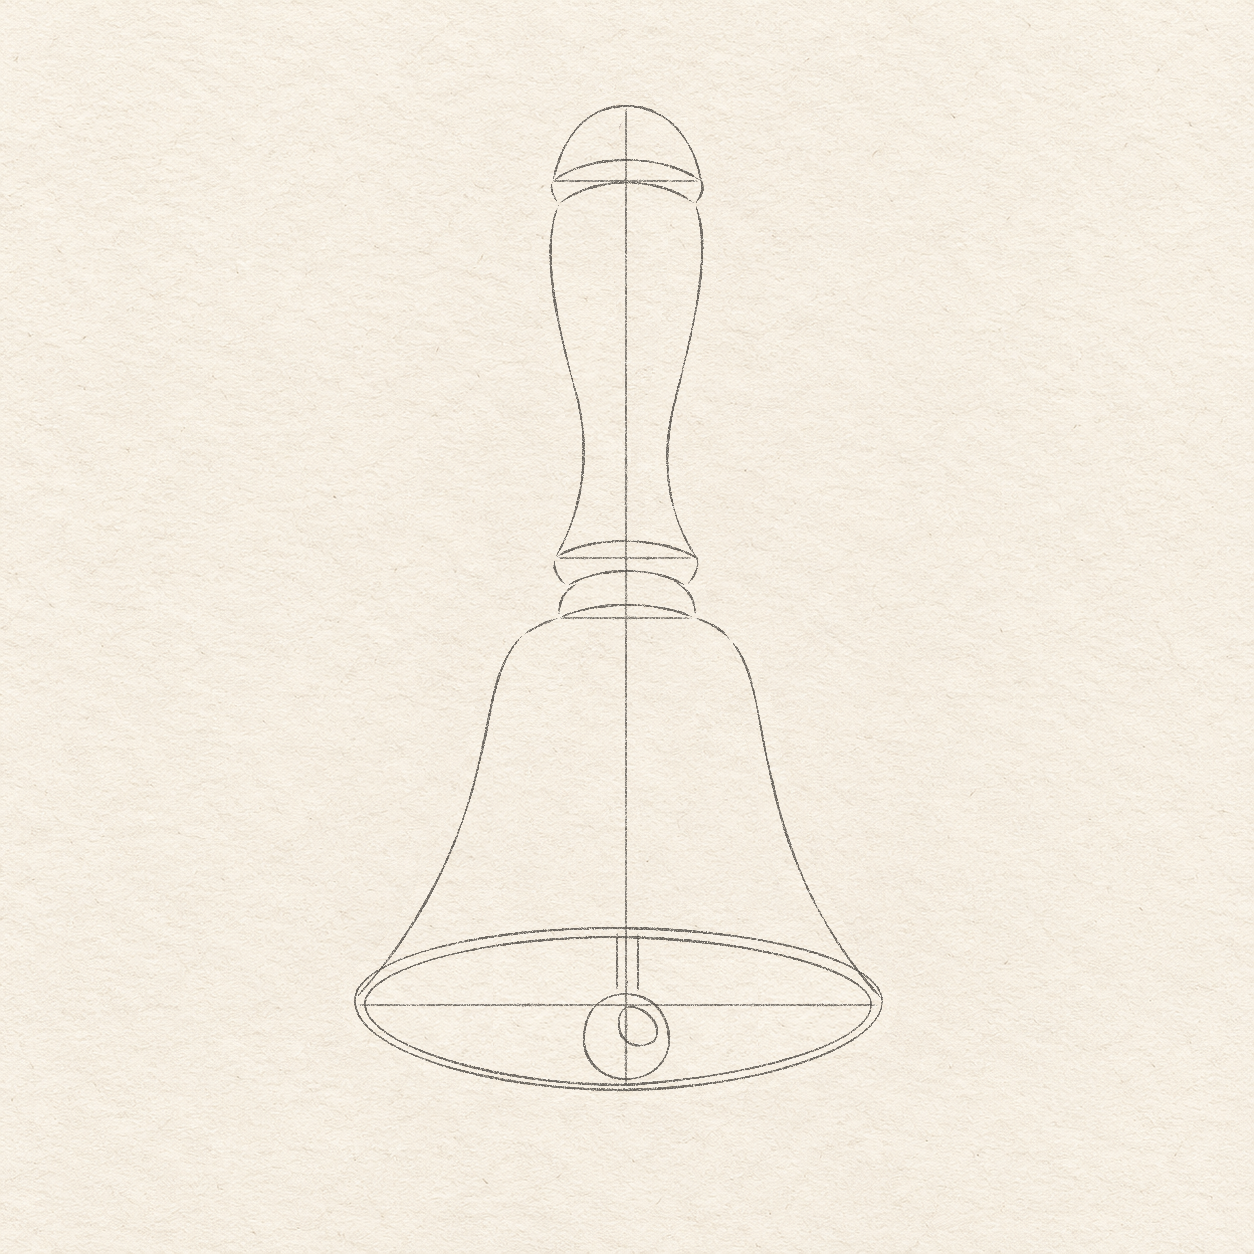
Drawing 5A — Add the hanging ball and white patchesView larger 
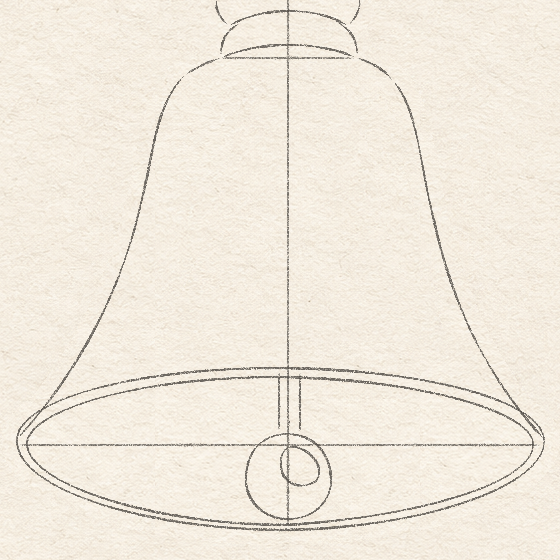
Detail 5A.1 — Hanging ball and white patchesThe ball hangs from the short stem. Keep the upper-right ball patch, tiny stem patch and gap below the ball white. Instructions for Drawing 5A — Add the hanging ball and white patches
- At the middle of the inner oval’s top edge, draw two vertical lines about 2 mm apart. Extend them about 6 mm down into the opening. They form the stem for the hanging ball, called the clapper.
- Below the stem ends, allow a nearly round ball about 9 mm wide and tall, leaving a small paper gap above the inner oval’s lower edge. Shape it by eye: from the left stem end, curve freehand out left, round underneath, then rise around the right side to the right stem end. The ball covers the stem’s bottom ends.
- Before shading, lightly outline a rounded patch on the ball’s upper right, about half the ball’s width. Shape this small loop freehand by eye: curve up one side, round the top, return down the other side and round back to the start. Leave this patch white.
- Between the two stem sides, draw a very light vertical pencil dash about 1.5 mm long, ending just above where the stem meets the ball. This dash marks the tiny stem patch to leave white; do not trace it in marker. Use Detail 5A.1 to distinguish this patch, the ball’s white patch and the gap below the ball.
Step 6 of 8 · Pencil
Mark where the gray will go

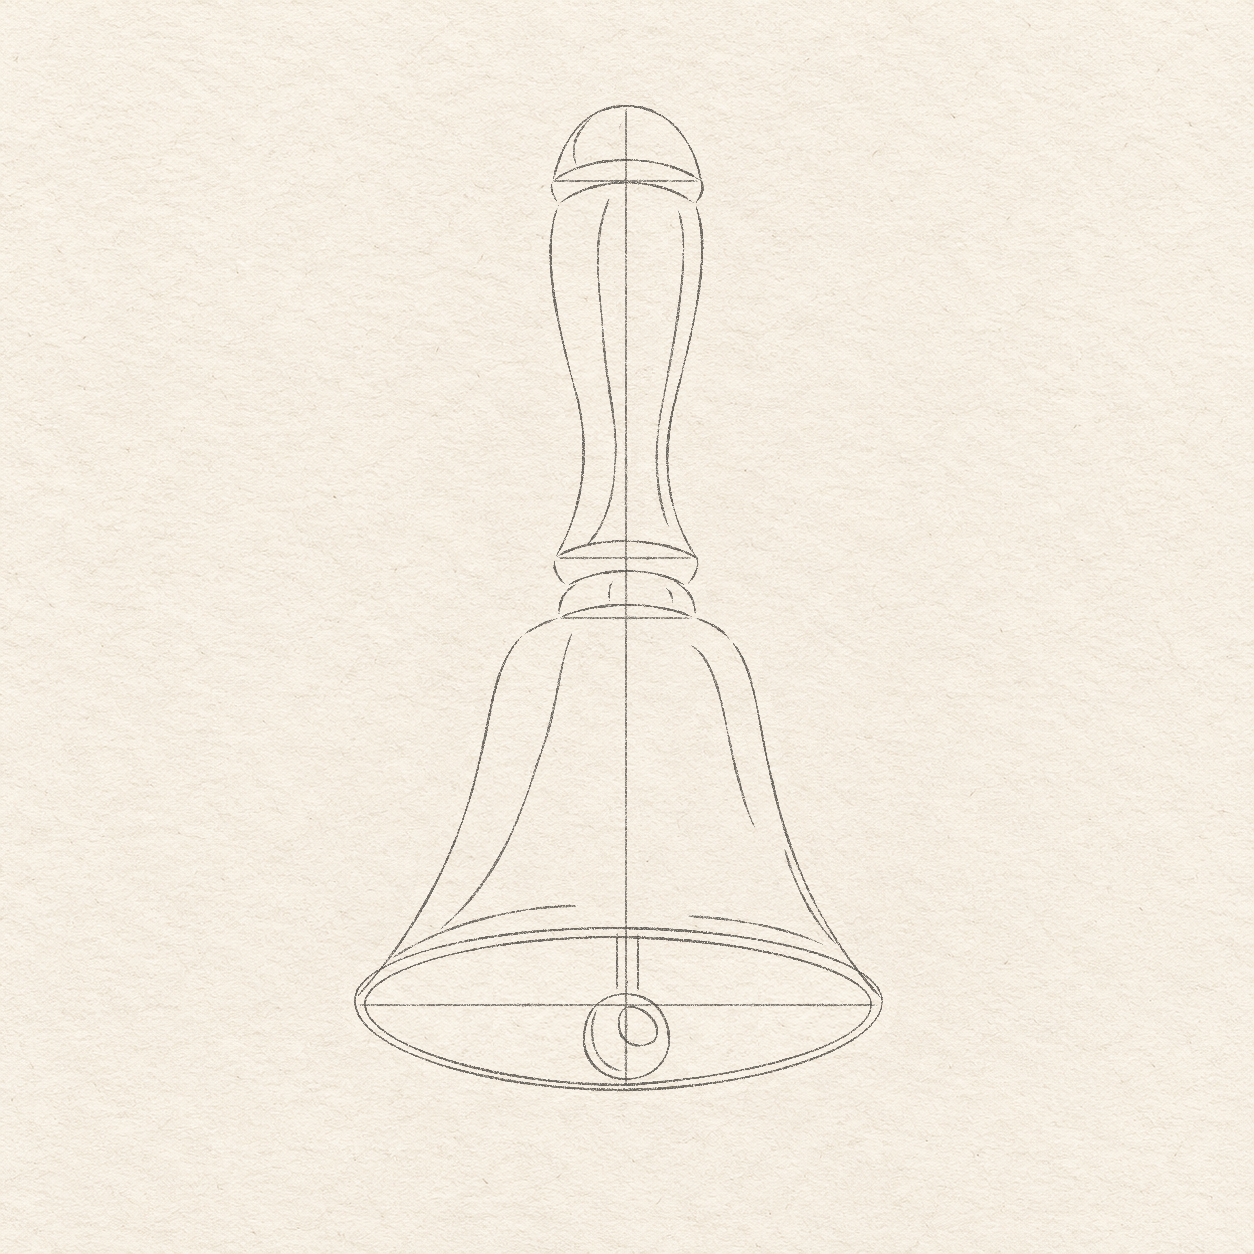
Drawing 6A — Mark where the gray will goView larger 
Detail 6A.1 — Handle and collar shading planLight pencil marks show the planned gray on the cap, handle and collar. Their broad middles stay white; no gray has been added yet. 
Detail 6A.2 — Bell shading and white patchesLight pencil marks show the bell’s side shading and curved accents above the opening. The rim and small ball and stem patches stay white. Instructions for Drawing 6A — Mark where the gray will go
- Lightly mark where the handle’s gray will go: a broad strip along its left side and a narrower, broken strip near its right side. Shape these pencil limits freehand, narrowing them at the handle’s narrowest part. Stop at the lower band and leave the handle’s middle white.
- On the bell, lightly mark a broad left-side strip that widens toward the opening. Add a small wedge near the lower right and a narrow curved strip inside the upper right. Leave the large middle area white; use Detail 6A.2 to see the three separate areas.
- Use Detail 6A.1. Mark a small shadow on the cap’s left and on each side of the collar. Keep their middles white.
- Above the opening, lightly mark the two soft curved gray accents shown in Detail 6A.2. These are shading limits, not extra black outlines.
- Plan gray inside the opening, darkest just below its top edge. Keep the rim, stem light and ball light white. On the ball, gray will cover its left and lower sides. Shape these gray edges by eye.
Step 7 of 8 · Marker and gray
Trace the edges and add gray

Drawing 7A — Trace the edges and add grayView larger 
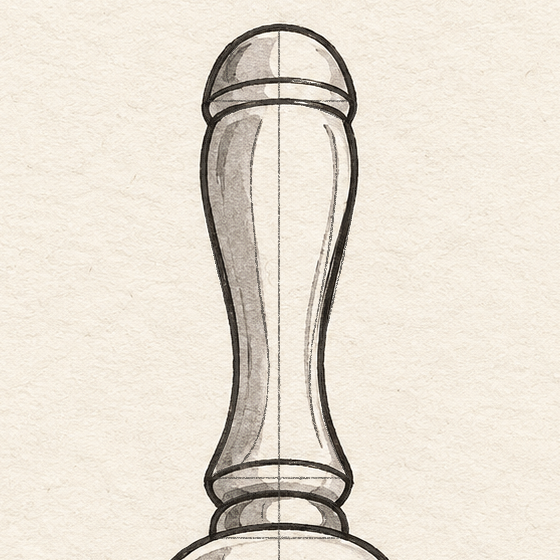
Detail 7A.1 — Cap, handle and collar in markerThe edges are now in black marker with a little gray shading. The temporary pencil remains until cleanup. 
Detail 7A.2 — Shaded opening and ballGray shading surrounds the ball’s white patch. The tiny stem patch, narrow paper rim and gap below the ball stay open. Instructions for Drawing 7A — Trace the edges and add gray
- With black marker, trace the chosen cap, bands, handle and collar edges. Then trace the bell’s sides and both opening curves. Keep the straight bars and vertical guide in pencil; do not ink them.
- Trace the stem sides from the opening’s upper edge to the ball. Outline the ball. Do not continue a stem line or opening curve through it, and keep both white light patches open.
- Add light gray inside the planned cap, handle and collar shadows. Leave their middles white.
- Shade the bell’s three planned side areas and the soft curved accents above the opening. Follow their illustrated tapers; do not outline the shading limits in black.
- Shade inside the opening with light gray, going around the ball, white stem patch and paper rim. Darken the area just below the opening’s top edge and at the far right.
- Shade the ball’s left and lower sides, leaving its upper-right patch white. Stop if a white gap is closing. Let the gray dry before adding another pass.
Step 8 of 8 · Finish
Let the marker dry, then erase

Drawing 8A — Let the marker dry and erase pencilView larger 
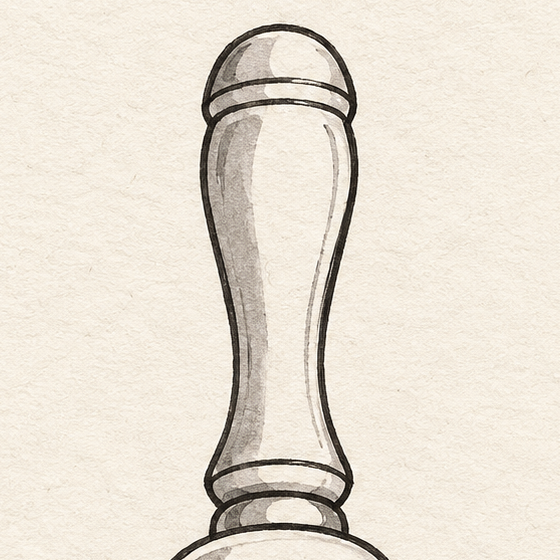
Detail 8A.1 — Finished cap, handle and collarThe pencil has been erased after the markers dried. The marker edges, gray shading and white middles remain. 
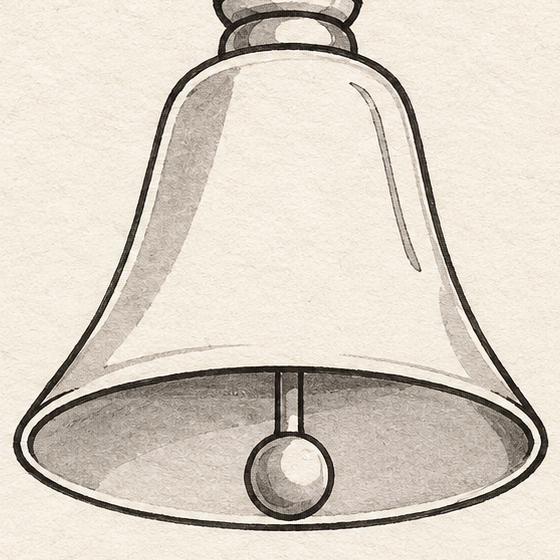
Detail 8A.2 — Finished opening and ballThe ball’s white patch and the small gap above the rim remain visible after the pencil guide is erased. Instructions for Drawing 8A — Let the marker dry and erase pencil
- Make black and gray test patches with the same markers on scrap paper. When they seem dry, gently rub each patch with the eraser. If either smears, wait longer and test again.
- Once the drawing is dry, erase the vertical guide, four horizontal bars, remaining pencil outlines, shading limits and the tiny stem-light pencil dash. Keep the marker edges and gray shading.
- Keep the handle’s and bell’s broad middles white. Check that the thin rim, tiny stem light, ball light and gap below the ball remain open. Leave natural variation in the gray instead of filling these white areas.
If something looks off
The handle looks uneven
Compare both handle sides with the vertical guide at the narrowest part. Keep the top and bottom widths fixed, then erase and redraw the uneven curve before marker.
The opening looks too round
Use the wide opening bar for the left and right tips and the vertical guide’s bottom for the lowest point. Keep the oval broad and shallow; draw the inner opening separately.
The ball touches the rim
Use Detail 5A.1. Before shading, move a misplaced pencil edge so a small strip of white paper separates the ball’s bottom from the inner opening’s lower curve.
Too much of the bell is gray
Follow the few planned side strips and small shadows. Keep the broad handle and bell middles white; do not fill them to make the shading even.