FinelinerEasy

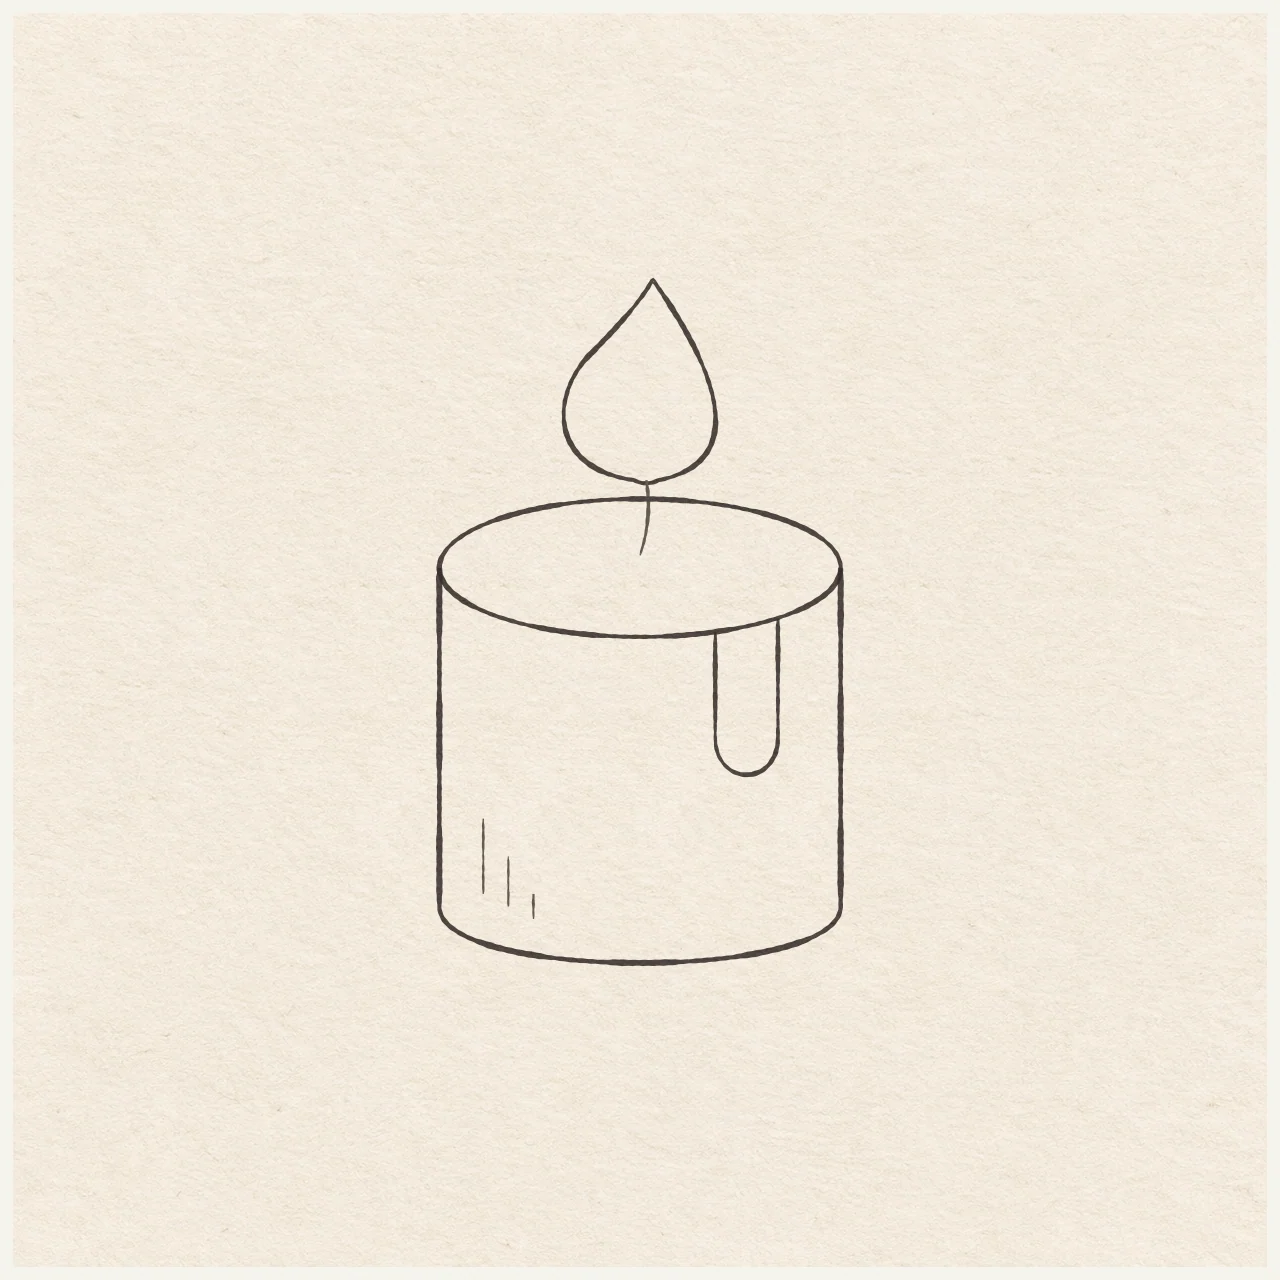
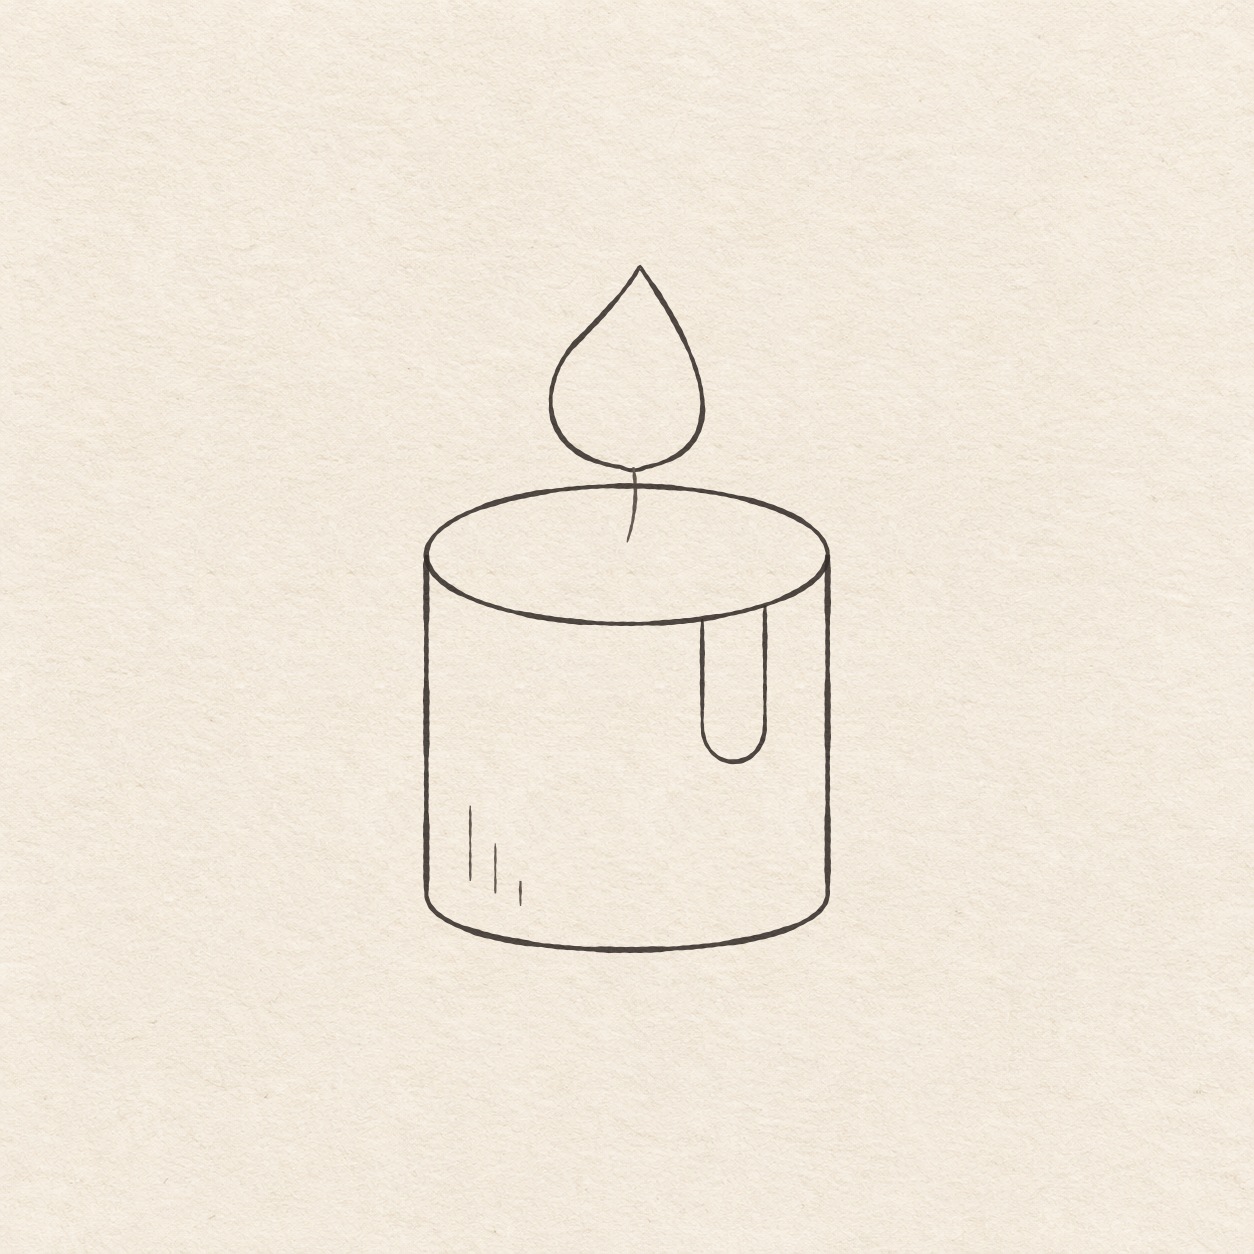
Lit pillar candle
Curve the top and base, add a leaning flame and draw a single hanging drip of wax.
Follow the drawing tutorial
Curve the top and base, add a leaning flame and draw a single hanging drip of wax.
Start the 7-step tutorialA small thing to tryIn pencil, round the front arc through its low dot. Make the back arc reach its high dot with the same gentle bend.
Draw it, one step at a time
Draw a lit pillar candle
Curve the top and base, add a leaning flame and draw a single hanging drip of wax.
What you’ll need
- HB pencil
- Eraser
- Ruler
- Scrap of paper with a square corner
- Fine black pen
- Drawing paper
Before you start
This example is about 6.4 cm wide and 10.9 cm high. Choose the place for the center of the candle’s oval top and leave more space for the wax below it.
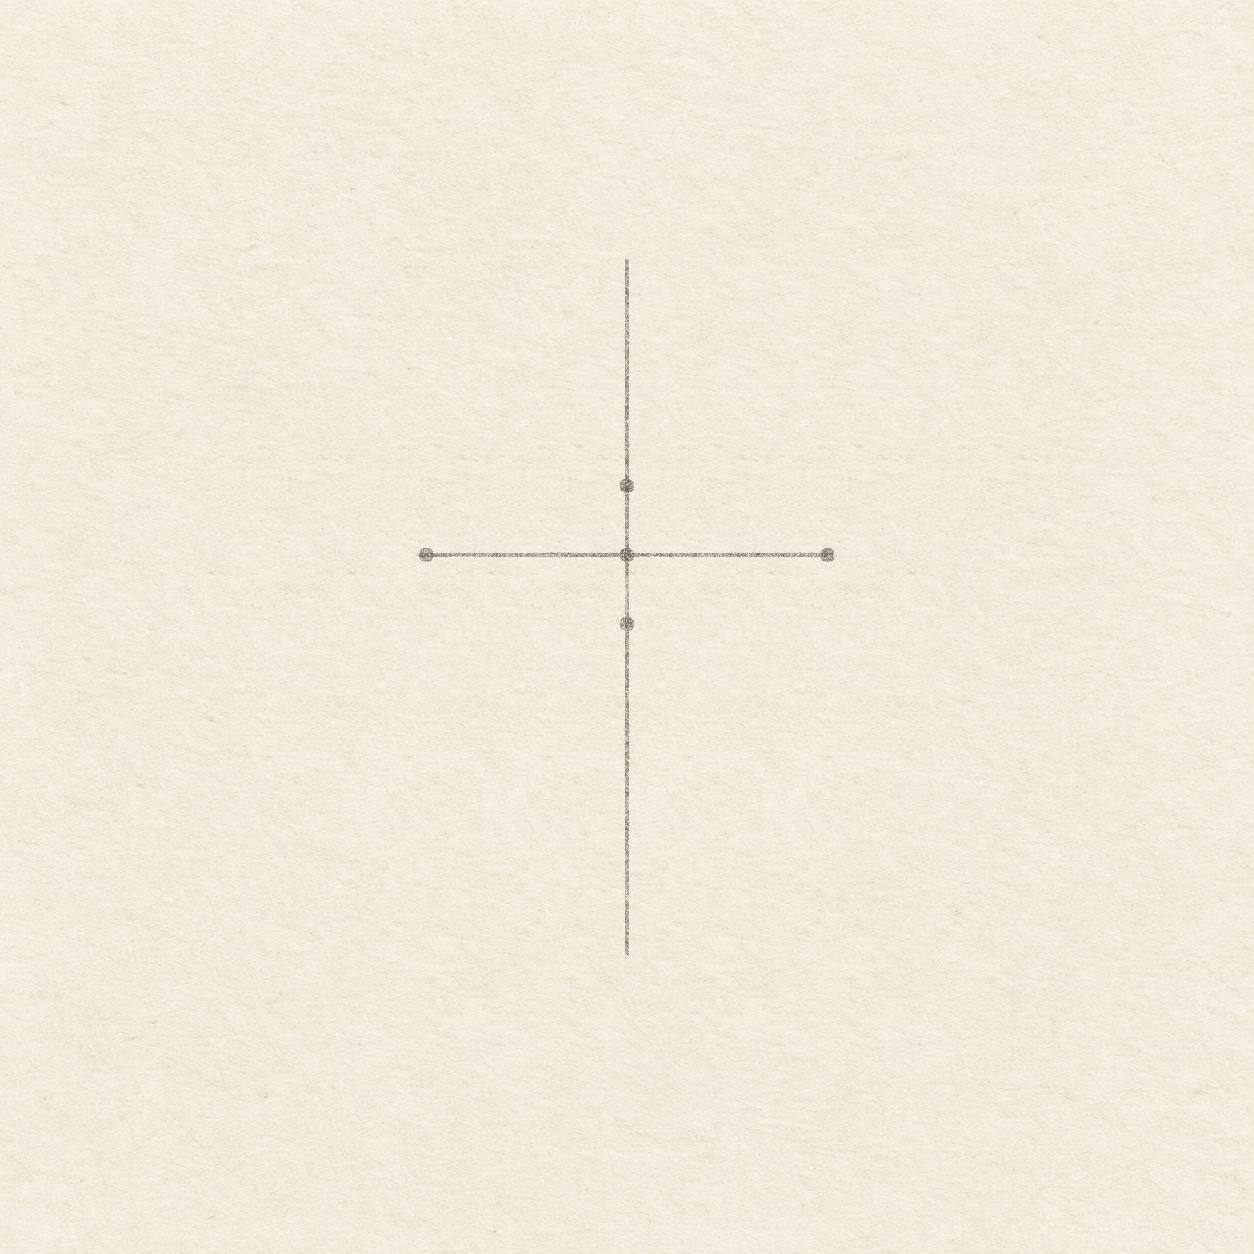
Drawing 1 — Place four stops for the top ovalView larger PencilPlace four stops for the top oval
Instructions for Drawing 1 — Place four stops for the top oval
- Choose a place for the center of the top and put a small dot. Leave 3.5 cm to each side, 5 cm above and 6.6 cm below, plus a margin. Move the dot before drawing if the flame or wax body would crowd the edge.
- Rule a faint level line 3.4 cm each way from the dot. Seat a square scrap corner at the dot with one edge on the line. Rule upright through it 4.8 cm above and 6.5 cm below. Keep the axes light because they will be erased.
- Mark 3.2 cm to each side on the level line. Mark another two dots 1.1 cm up and 1.1 cm down on the upright. The four dots should form a much wider shape than it is high.

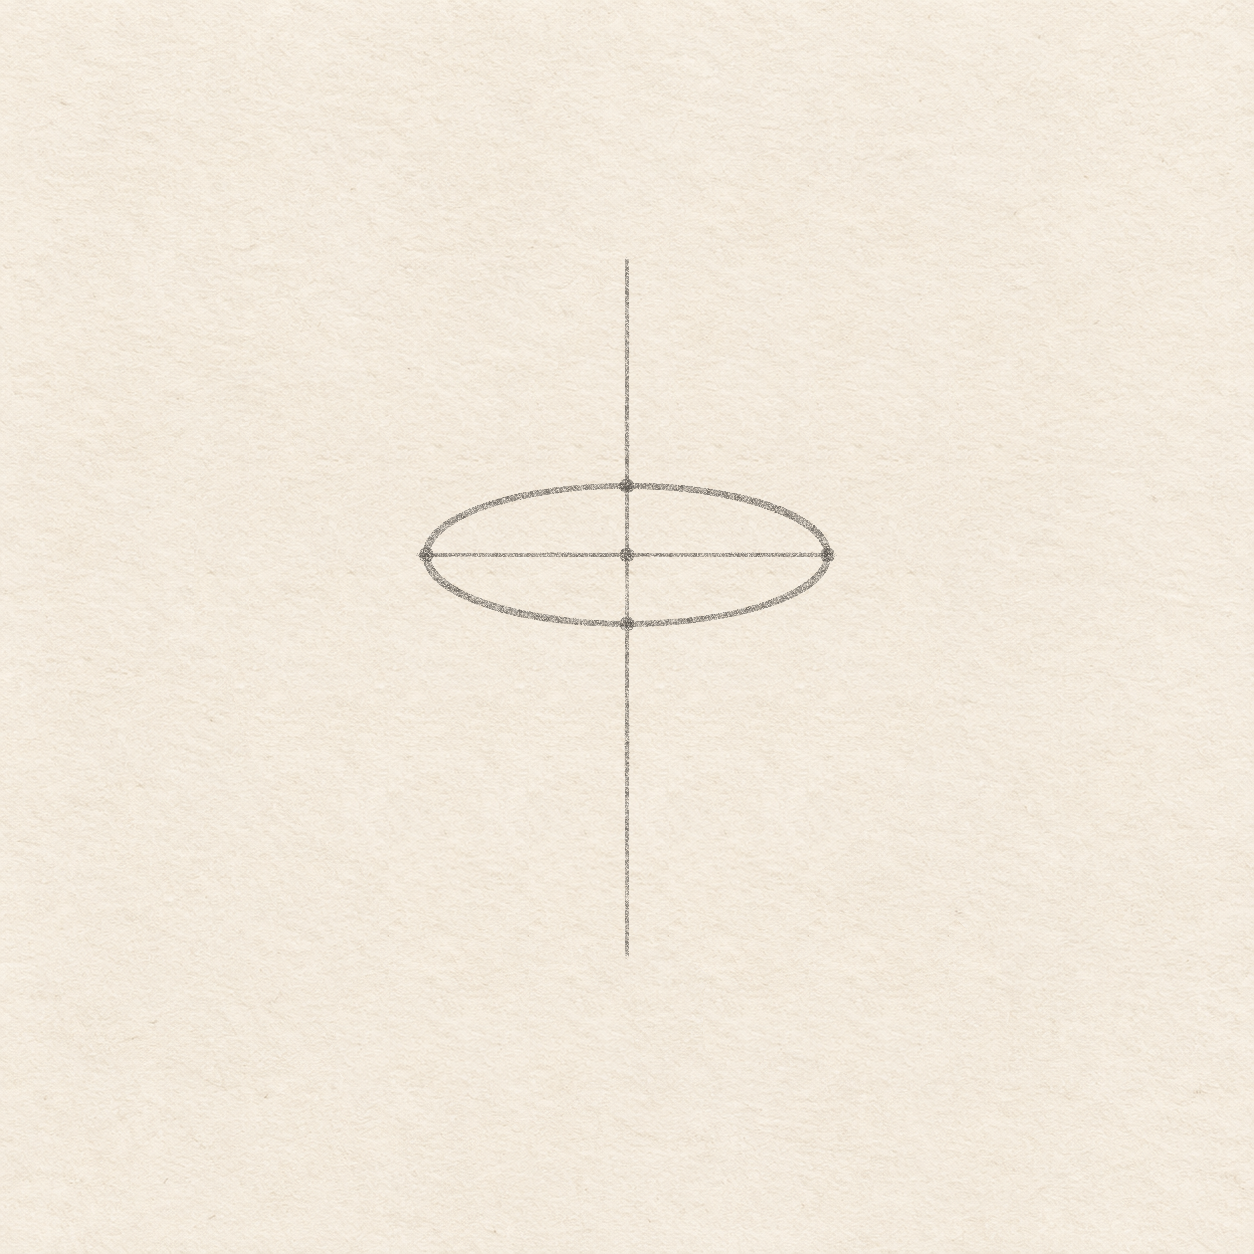
Drawing 2 — Sweep the shallow ovalView larger PencilSweep the shallow oval
Instructions for Drawing 2 — Sweep the shallow oval
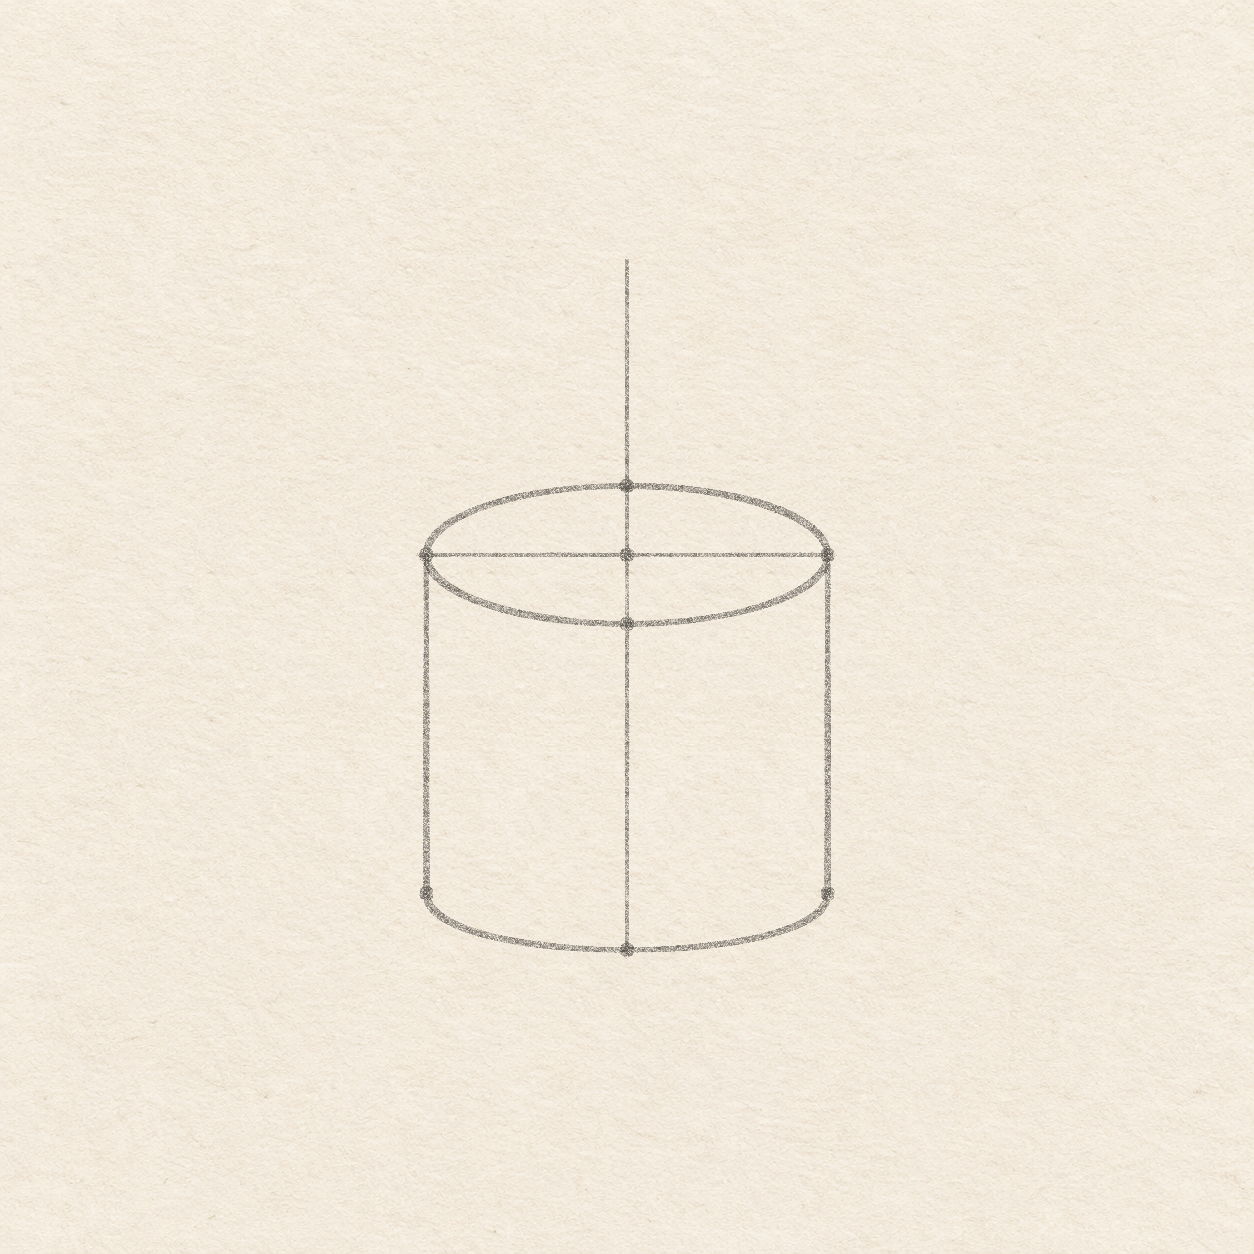
- Freehand from the left dot up to the high dot and down to the right dot. Curve below the line to the low dot and back to the left dot. Round through all four dots and keep the two halves gently curved.

Drawing 3 — Rule the sides and round the baseView larger PencilRule the sides and round the base
Instructions for Drawing 3 — Rule the sides and round the base
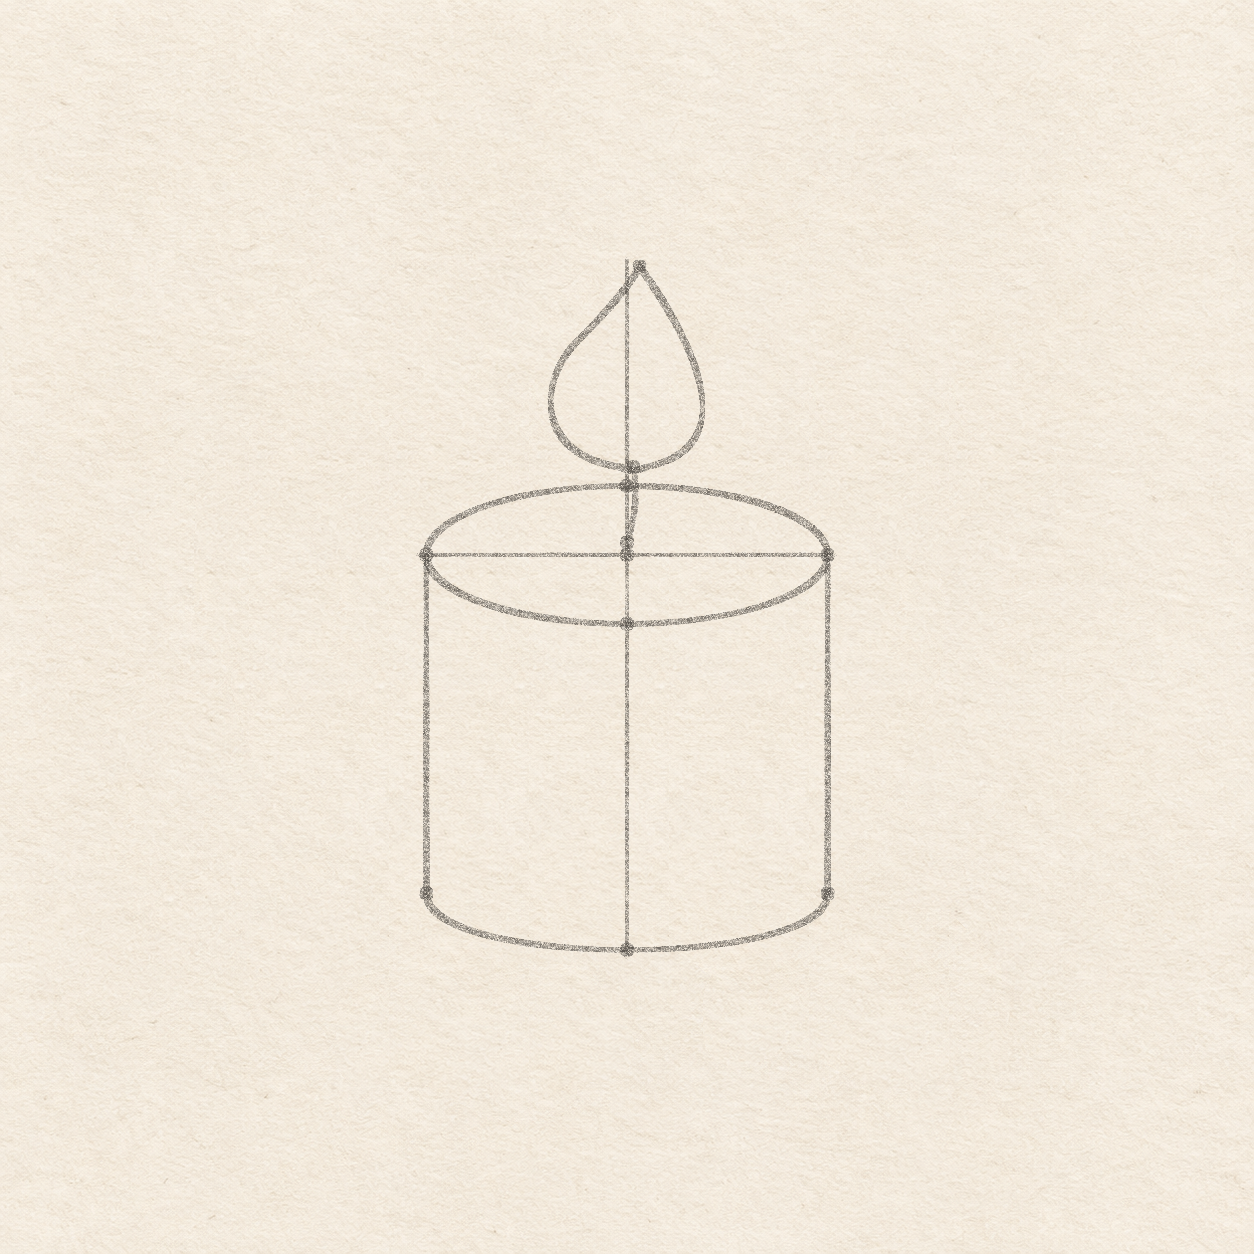
- From each side dot on the level line, use the square corner to mark a dot 5.4 cm straight down. Put one more dot 6.3 cm below the center on the upright line. Check that the two side dots sit level with each other.
- Rule straight down from each end of the oval to the lower dot on that side. In one freehand arc, round from the left side dot down through the low center dot and back up to the right dot. Smooth the two joins and keep the lowest point at the middle.

Drawing 4 — Place the flame and connect the wickView larger PencilPlace the flame and connect the wick
Instructions for Drawing 4 — Place the flame and connect the wick
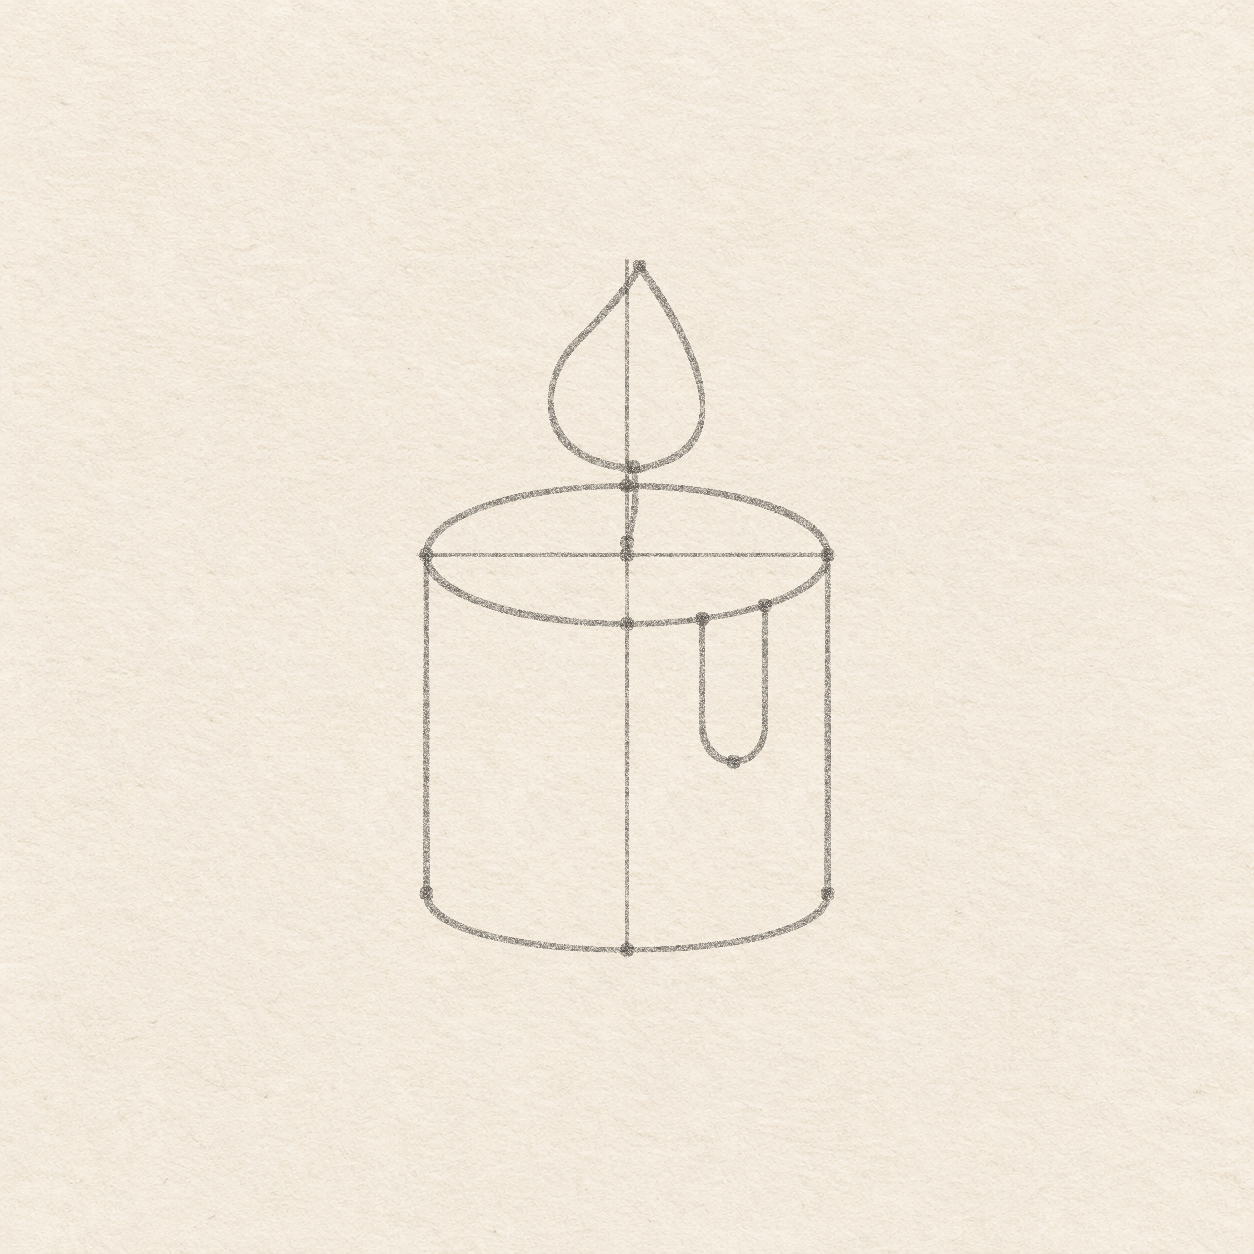
- Hold the square corner on the level line. Mark the flame tip 2 mm right of the center and 4.6 cm straight up. Mark the bottom of the flame 1 mm right and 1.4 cm up. Mark the wick foot on the upright line 2 mm above the center, inside the oval.
- Freehand a small flame about 2.5 cm across. Start at its bottom dot, round up the left side and climb to the tip. Curve down the right side so it is a little narrower, and round back to the bottom dot. From the wick foot, curve a short line up to the bottom of the flame. Keep this wick inside the oval at its lower end.

Drawing 5 — Hang the drip from the front rimView larger PencilHang the drip from the front rim
Instructions for Drawing 5 — Hang the drip from the front rim
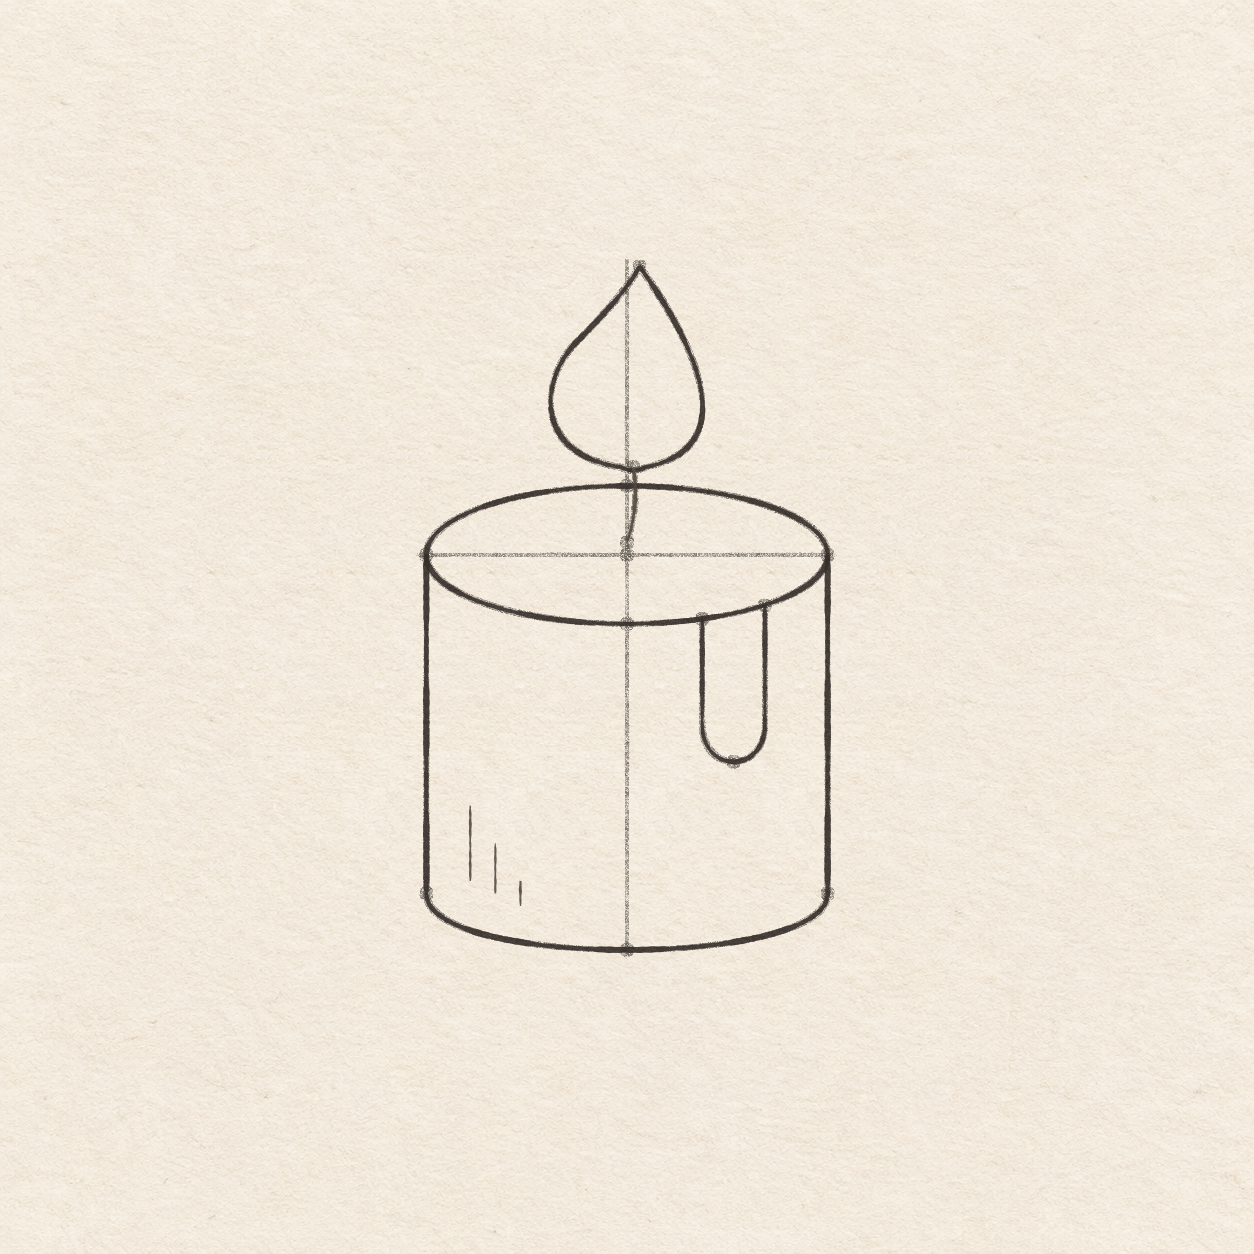
- From the center, measure 1.2 cm and 2.2 cm right along the faint level line. At each spot, hold the ruler upright and put a dot where it crosses the front arc of the oval, below the line. Mark a low dot 3.3 cm down from a spot 1.7 cm right of the center.
- Freehand down from the left rim dot, following an upright path. Round down through the low dot, then sweep back up along a narrow upright path to the right rim dot. Stop at the oval and keep the drip about 1 cm wide.

Drawing 6 — Ink the candle and add three wax marksView larger InkInk the candle and add three wax marks
Instructions for Drawing 6 — Ink the candle and add three wax marks
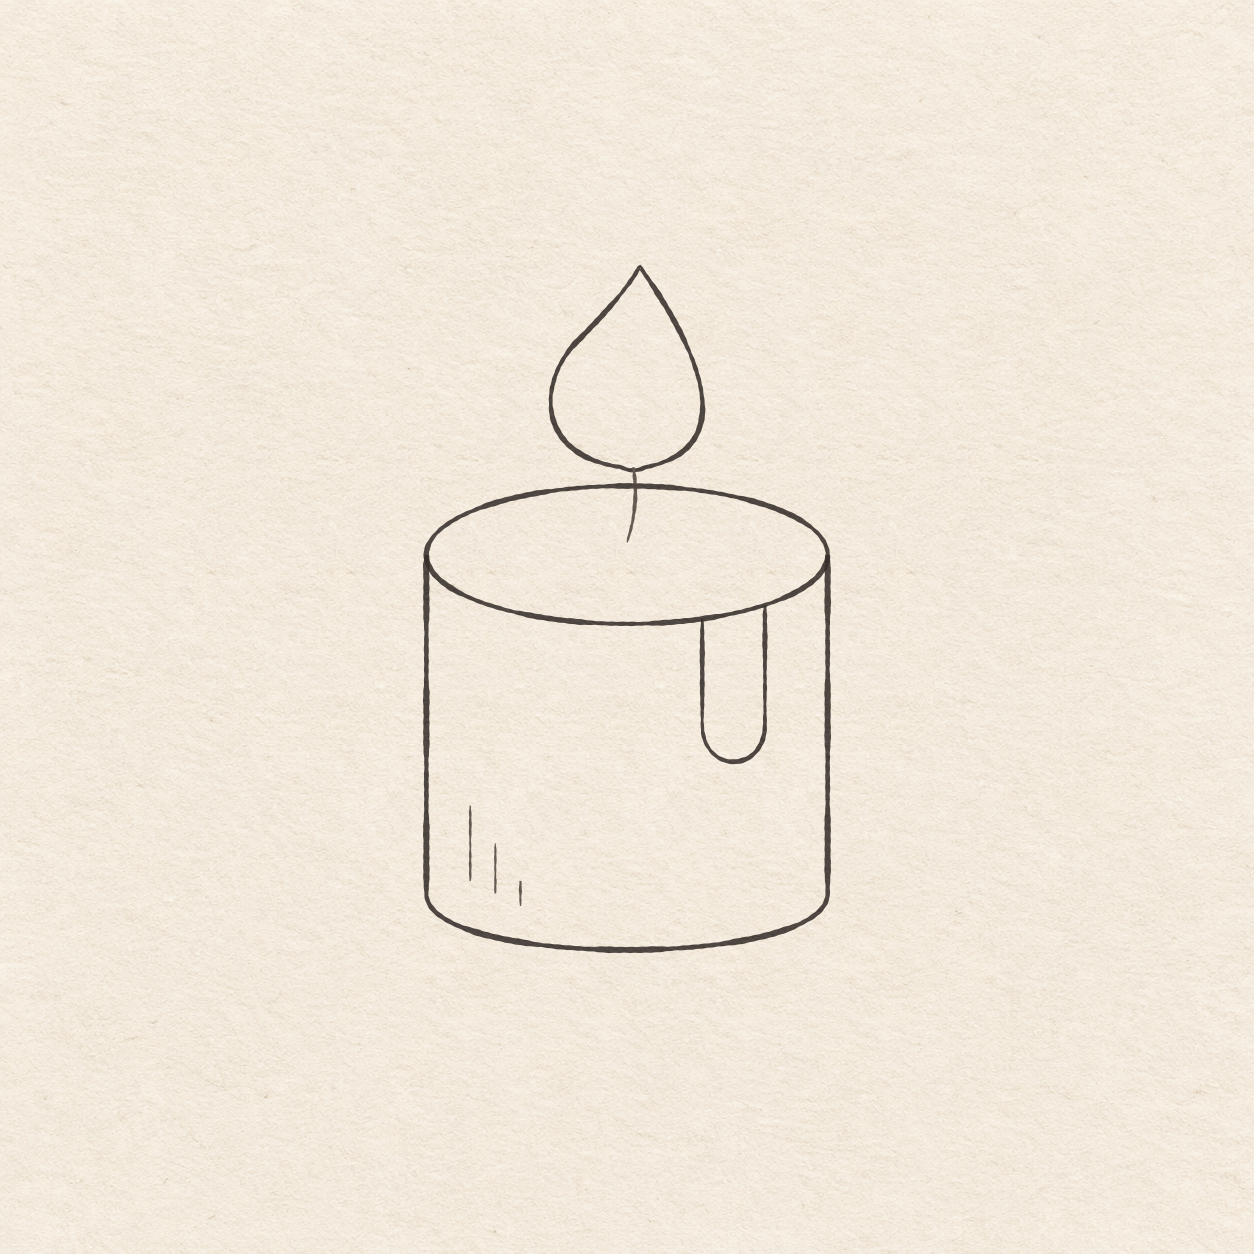
- Follow both sides and rounded base in pen. Stop the side strokes at the rim so they stay out of the wax top.
- Trace the whole pencil oval in ink all the way around the wax top. Use one gentle curve for each half so they touch at both sides.
- Ink the thin wick from the oval’s interior, then follow the outline of the closed flame. Let the wick touch the flame at its lower edge. Keep the short curved line thinner than the flame boundary.
- Follow the narrow wax drip in ink from the first rim dot around the curve to the other. Join both ends against the actual front arc and lift to leave the upper oval clear.
- Freehand three short, nearly upright strokes inside the lower-left edge of the wax. Make the first longest and shorten the next two. Leave paper between them and stop before the rounded base.

Drawing 7 — Erase the dry pencil guidesView larger CleanupErase the dry pencil guides
Instructions for Drawing 7 — Erase the dry pencil guides
- Fill a small patch on a scrap of the same paper with the same pen. Rub the patch gently with your eraser. If it smears, wait and test again. Once the patch stops smearing, erase the measuring cross, plotted dots and any remaining pencil marks beside the dry ink.
If something looks off
If the front rim looks flat
In pencil, round the front arc through its low dot. Make the back arc reach its high dot with the same gentle bend.