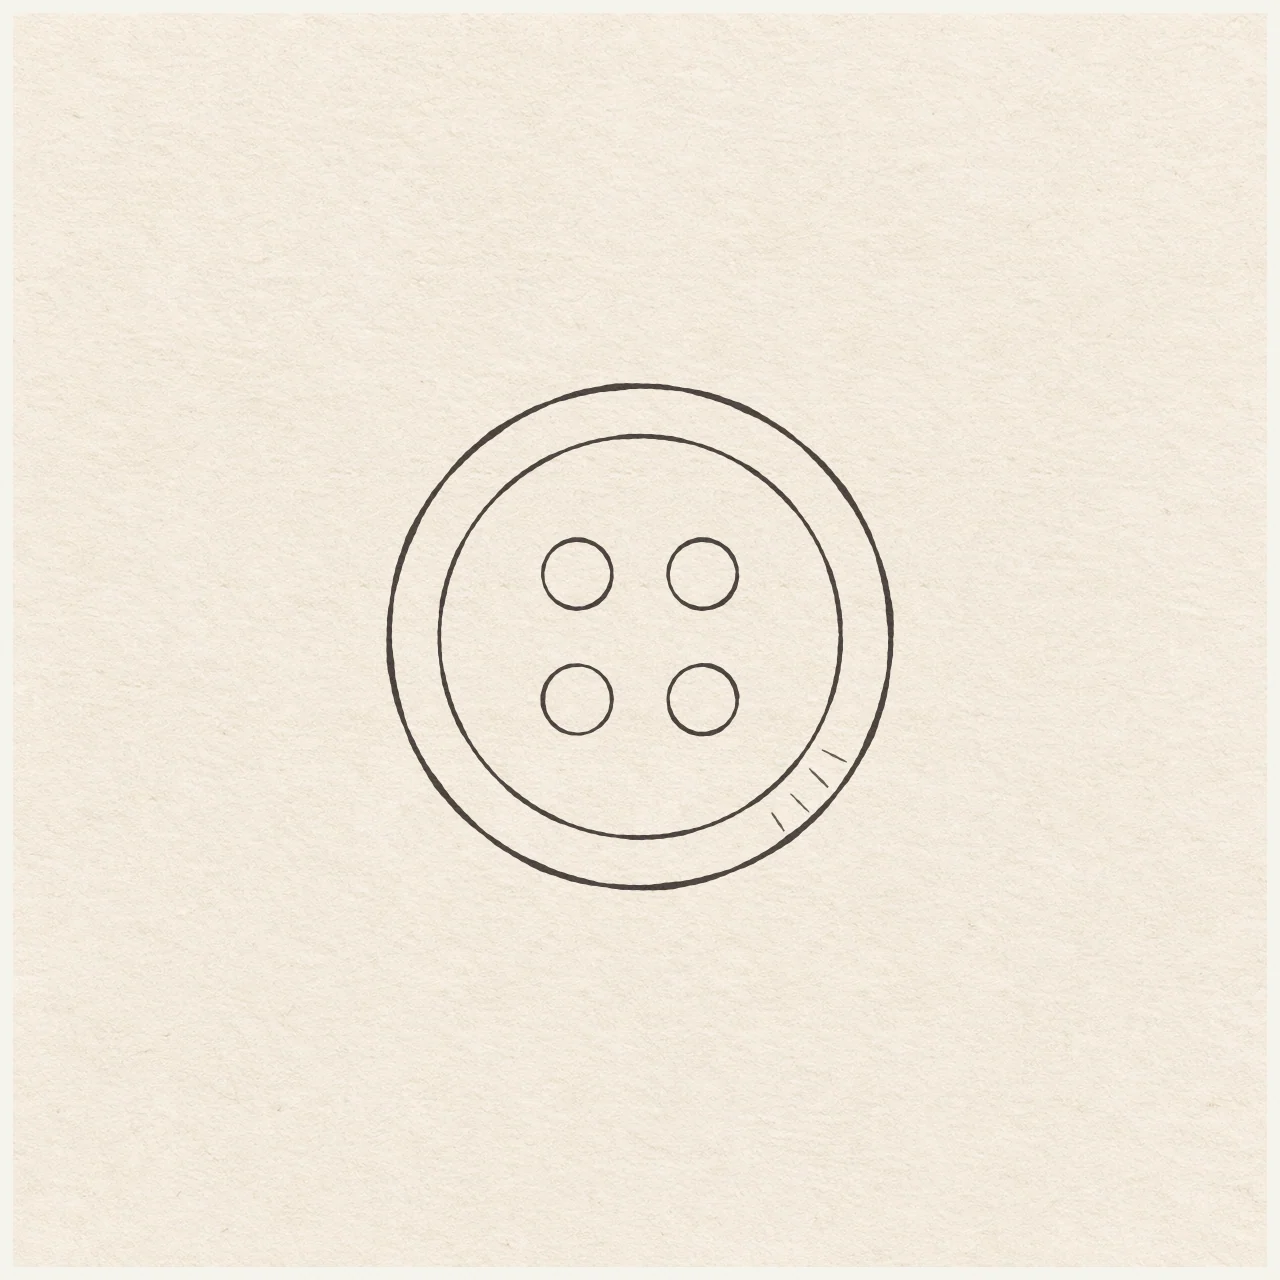
Fineliner drawing of a four-hole sewing button viewed from above, with four open holes and a lightly hatched rim.
Drawing referenceAbout reference use

Four-hole sewing button

Use a compass for the rim and open sewing holes, then add a few fine strokes to suggest the raised edge.

Everyday objectsEasyFinelinerReference practice: about 20 min
Save reference

Follow the drawing tutorial

Use a compass for the rim and open sewing holes, then add a few fine strokes to suggest the raised edge.

Start the 5-step tutorial

A small thing to tryWhile the marks are still in pencil, check that each hole has its own center dot and that the compass setting was the same for all four.

Draw it, one step at a time

Draw a four-hole button

Use a compass for the rim and open sewing holes, then add a few fine strokes to suggest the raised edge.

5 illustrated steps Full tutorial: about 20 minutes, at your pace

What you’ll need

  • HB pencil
  • Eraser
  • Ruler
  • Scrap of paper with a square corner
  • Drawing compass
  • Fine black pen
  • Drawing paper

Before you start

This example is 8 cm across. Choose a place for the button with a little room around it. Use a compass that can hold a setting of 5.5 mm.

  1. A light horizontal and vertical cross on the chosen center dot.
    Drawing 1 — Place the center and measuring linesView larger
    Pencil

    Place the center and measuring lines

    Instructions for Drawing 1 — Place the center and measuring lines

    1. Make a small dot where you want the middle of the button. Leave at least 4.5 cm around it. Move the center before drawing if the circle will crowd a paper edge.
    2. Rule a faint level line 2.2 cm each way from the center. Put a square scrap corner on the dot, with one edge along the line. Rule a faint upright line 2.2 cm up and down through the dot. Both lines must cross at the same dot. Keep them light for erasing.
    Next step
  2. Two large nested pencil circles share one center. The short measuring cross remains inside.
    Drawing 2 — Draw the two circles of the rimView larger
    Pencil

    Draw the two circles of the rim

    Instructions for Drawing 2 — Draw the two circles of the rim

    1. Set the compass points 4 cm apart on a ruler. Rest its needle on the center dot and sweep a full circle with light pressure. Hold the compass setting until the pencil returns to where it began.
    2. Set the compass points 3.2 cm apart. Leave the needle on the same center dot and sweep the smaller circle. A narrow ring of equal width should show between the two circles.
    Next step
  3. Four separate round holes sit in a square around the center.
    Drawing 3 — Plot and draw the four holesView larger
    Pencil

    Plot and draw the four holes

    Instructions for Drawing 3 — Plot and draw the four holes

    1. Find a spot 1 cm left of the center along the level line. Put a square scrap corner there with one edge on the line. Mark a dot 1 cm up and another 1 cm down. Repeat 1 cm right of the center. The four dots should make a square with the original center in the middle.
    2. Set the compass points 5.5 mm apart. Rest the needle on one hole dot and sweep a small circle. Keep that setting for the other three holes. Check that all four small circles are complete and separated by paper.
    Next step
  4. A dark outer edge, thin inner edge and four ringed holes. Short hatches shade the lower-right rim.
    Drawing 4 — Ink the circles and shade the rimView larger
    Ink

    Ink the circles and shade the rim

    Instructions for Drawing 4 — Ink the circles and shade the rim

    1. Follow the largest pencil circle with the pen. Turn the paper when it helps you pull a smooth arc. Keep the outer line on its own pencil circle without crossing into the rim.
    2. Trace the smaller rim circle in pen with a lighter touch. Leave a strip of paper between the two closed circles.
    3. Follow each of the four small circles with the pen. Turn the paper to pull short arcs if a full circle is awkward. Keep the holes open and leave the dots and cross in pencil until cleanup.
    4. Freehand four short slanting strokes across part of the lower-right ring. Begin just inside the outer edge and aim up and left toward the inner circle. Leave a little space at both ends of each stroke so it stays clear of both circles.
    Next step
  5. The finished four-hole button has two concentric outlines, four open center holes and restrained rim marks.
    Drawing 5 — Erase the dry pencil guidesView larger
    Cleanup

    Erase the dry pencil guides

    Instructions for Drawing 5 — Erase the dry pencil guides

    1. Fill a small patch on a scrap of the same paper with the same pen. Rub the patch gently with your eraser. If it smears, wait and test again. Once the patch stops smearing, erase the measuring cross, five center dots and any remaining pencil marks beside the dry ink.
    Back to the steps

If something looks off

If the holes look uneven

While the marks are still in pencil, check that each hole has its own center dot and that the compass setting was the same for all four.