FinelinerEasy

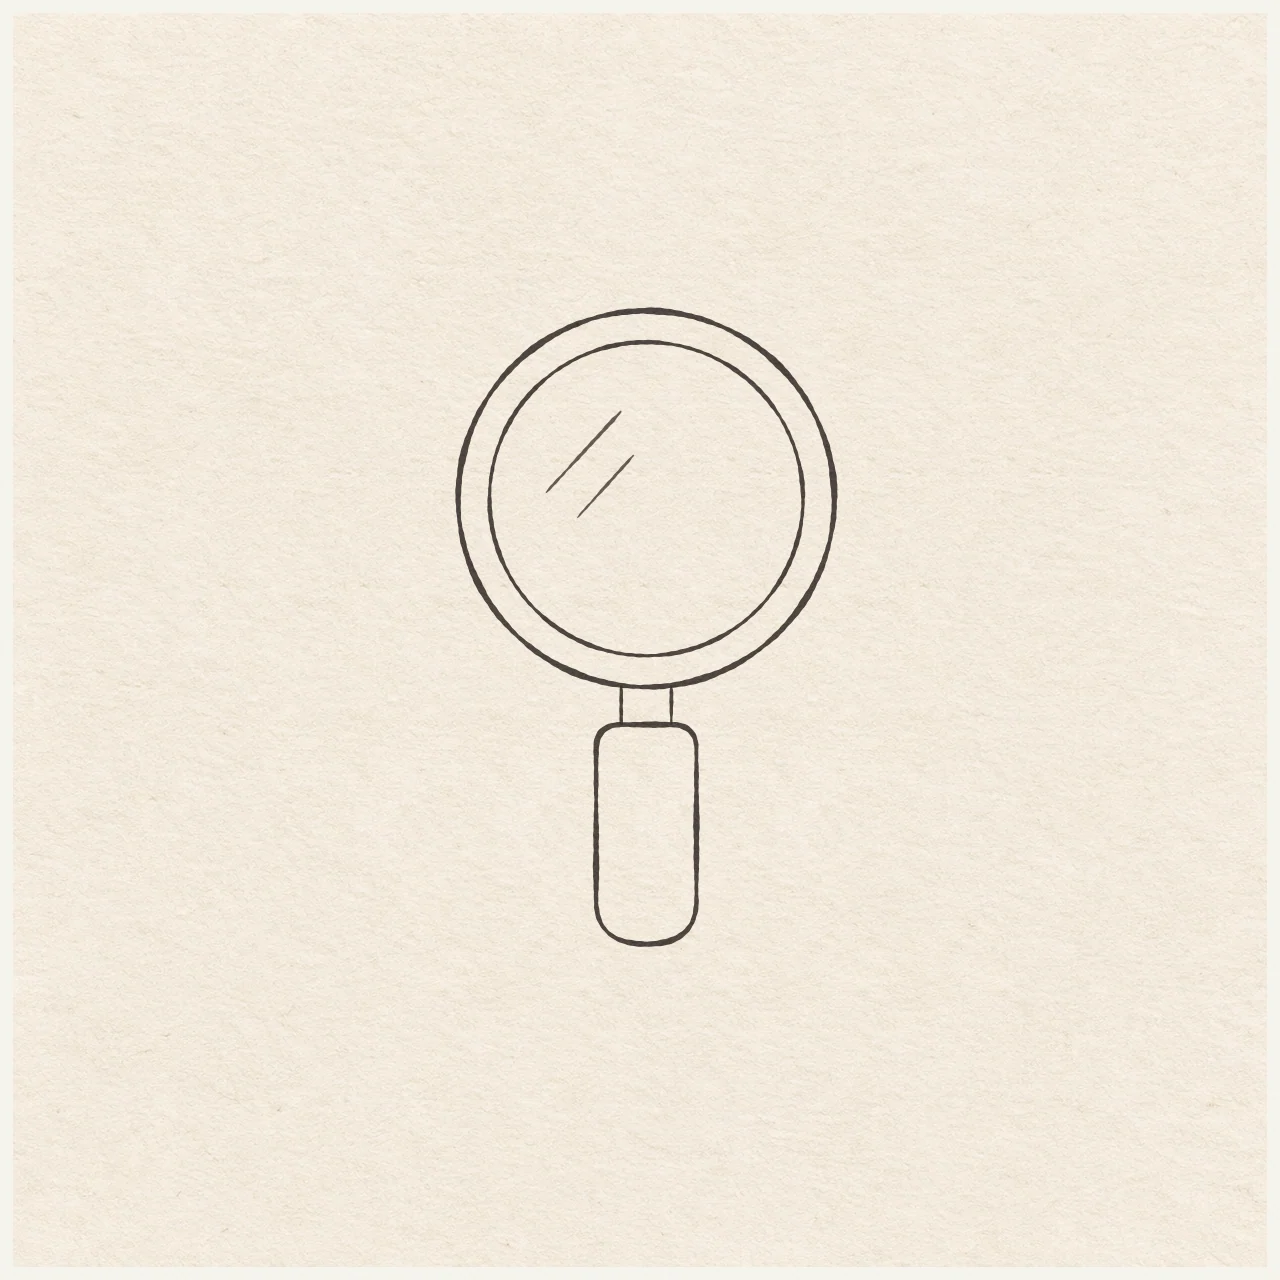
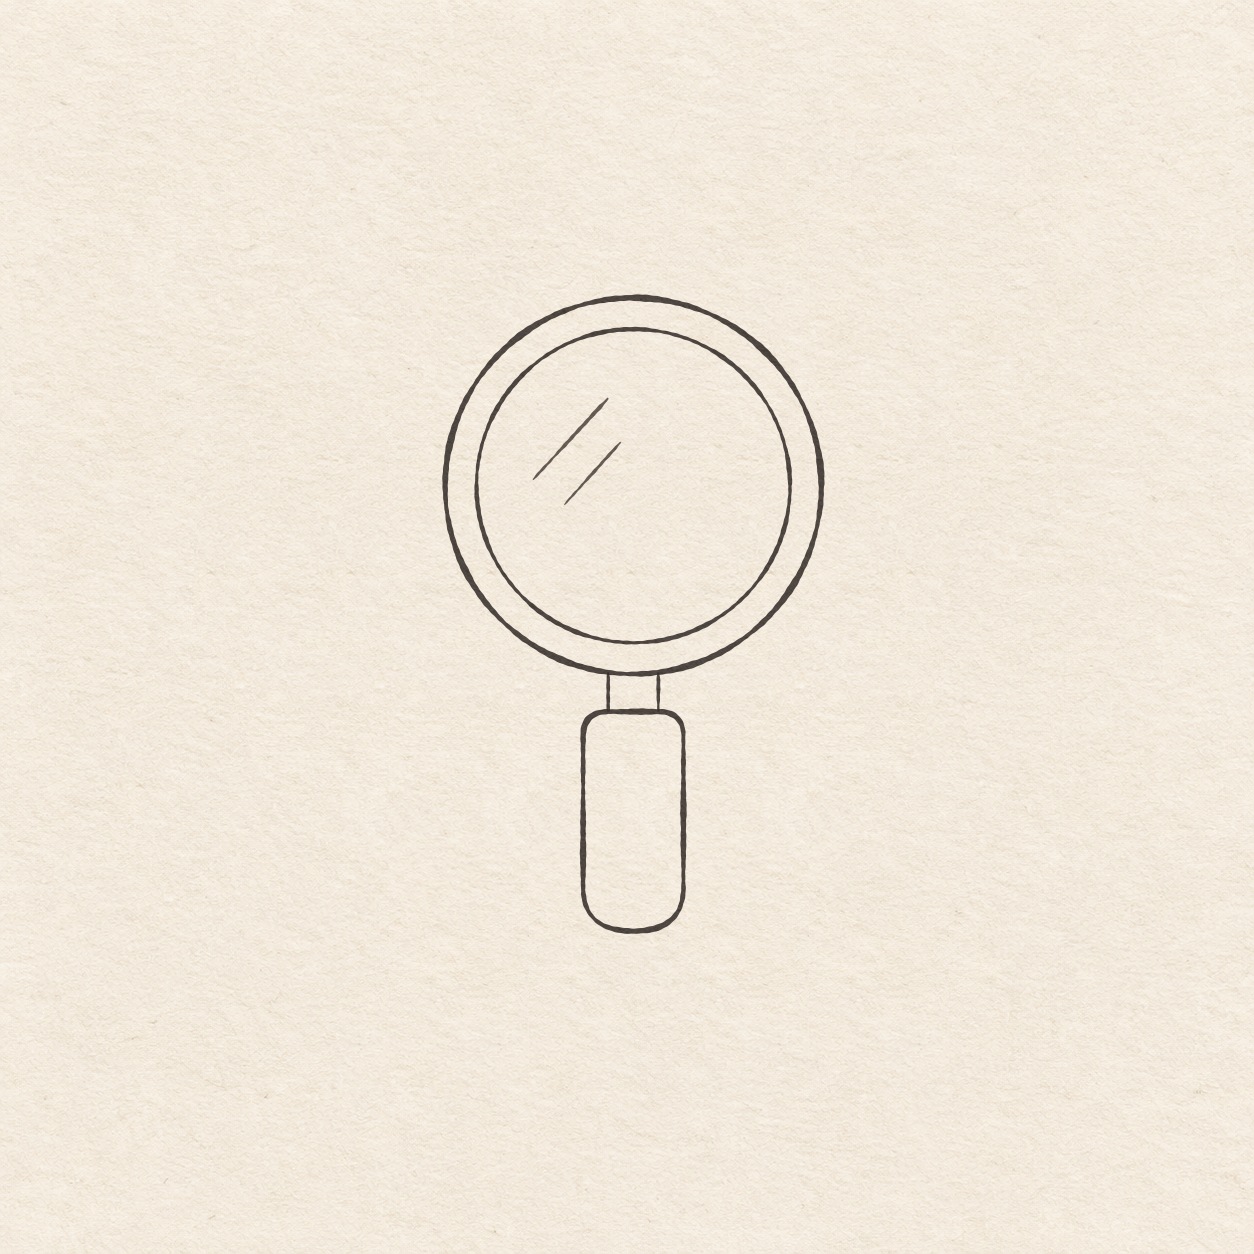
Round magnifying glass
Draw two nested circles, attach a short mount and round the end of the handle.
Follow the drawing tutorial
Draw two nested circles, attach a short mount and round the end of the handle.
Start the 5-step tutorialA small thing to tryIn pencil, check that the outside edges are equally far from the upright measuring line. Fix the wider side before inking.
Draw it, one step at a time
Draw a magnifying glass
Draw two nested circles, attach a short mount and round the end of the handle.
What you’ll need
- HB pencil
- Eraser
- Ruler
- Scrap of paper with a square corner
- Drawing compass
- Fine black pen
- Drawing paper
Before you start
This example is 6 cm wide and about 10.1 cm high. Choose the center of the glass first. Leave more space below it for the handle.
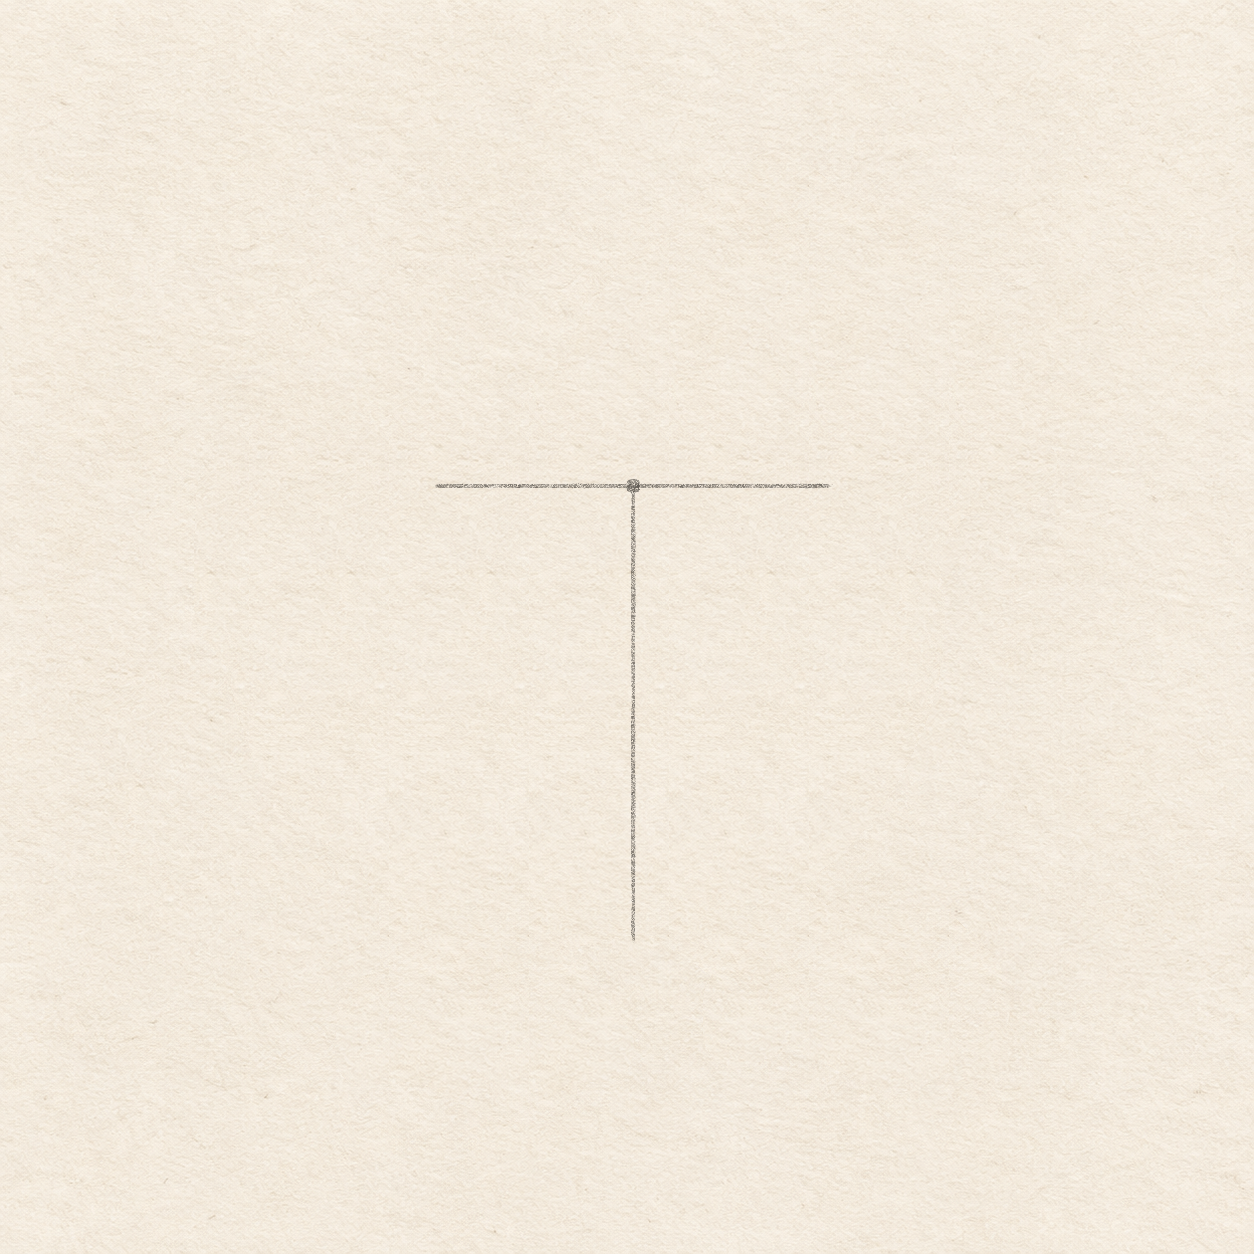
Drawing 1 — Place the glass and its handle axisView larger PencilPlace the glass and its handle axis
Instructions for Drawing 1 — Place the glass and its handle axis
- Choose a place for the middle and make a small dot. Leave 3.2 cm to each side and above, and 7.5 cm below, plus a margin. Move the dot before drawing if the handle would crowd an edge.
- Rule a faint horizontal line 3.2 cm each way from the dot. Place one edge of your square scrap corner along it and rule a faint perpendicular from the dot 7.3 cm down. The upright line should go straight down through the future handle.

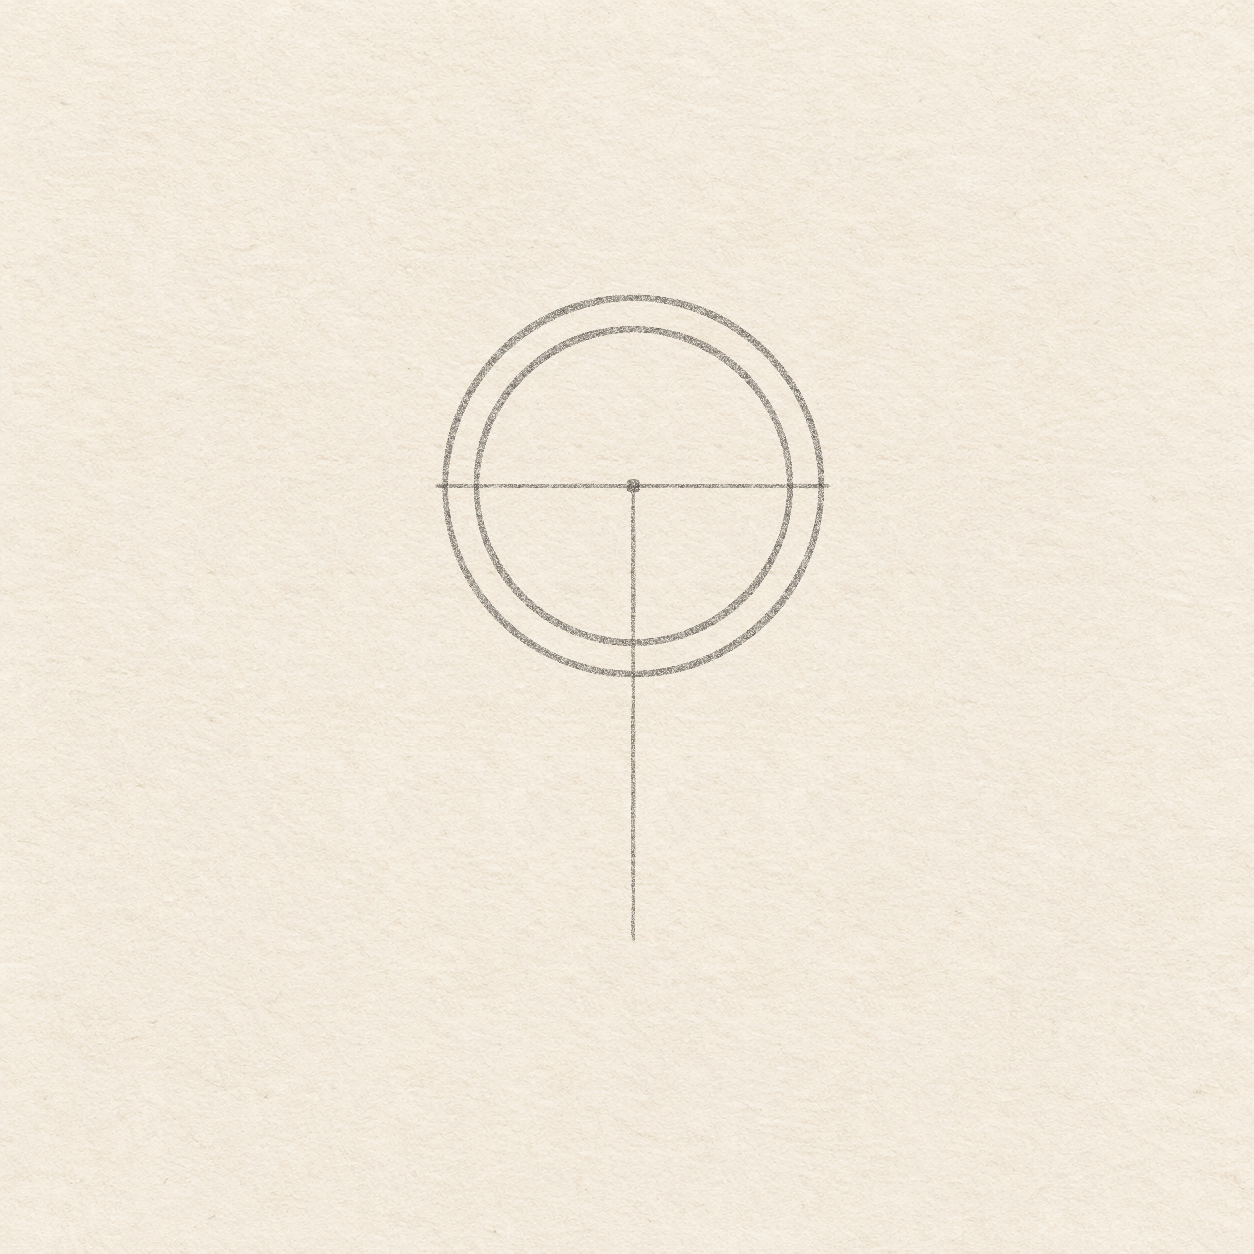
Drawing 2 — Draw two circles around the same pointView larger PencilDraw two circles around the same point
Instructions for Drawing 2 — Draw two circles around the same point
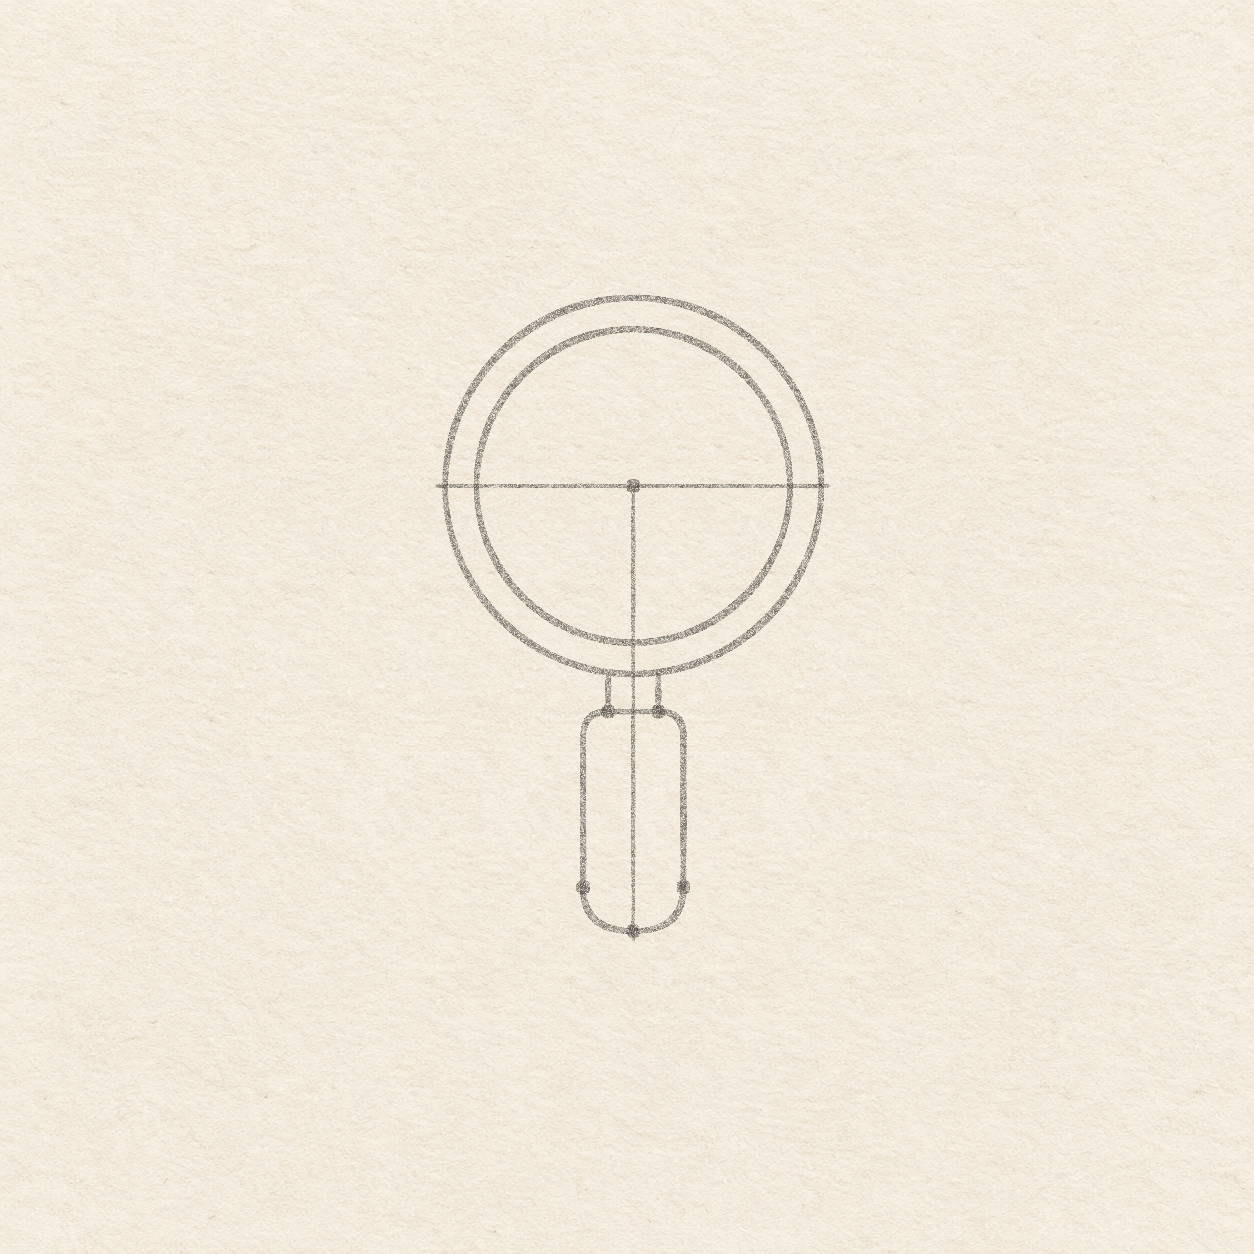
- Use the ruler to set the compass 3 cm open. Put its needle on the center dot and sweep one complete circle. Set it 2.5 cm open and sweep a second circle from the same dot. Keep both circles closed with a narrow even band between them.

Drawing 3 — Attach the mount and round the handleView larger PencilAttach the mount and round the handle
Instructions for Drawing 3 — Attach the mount and round the handle
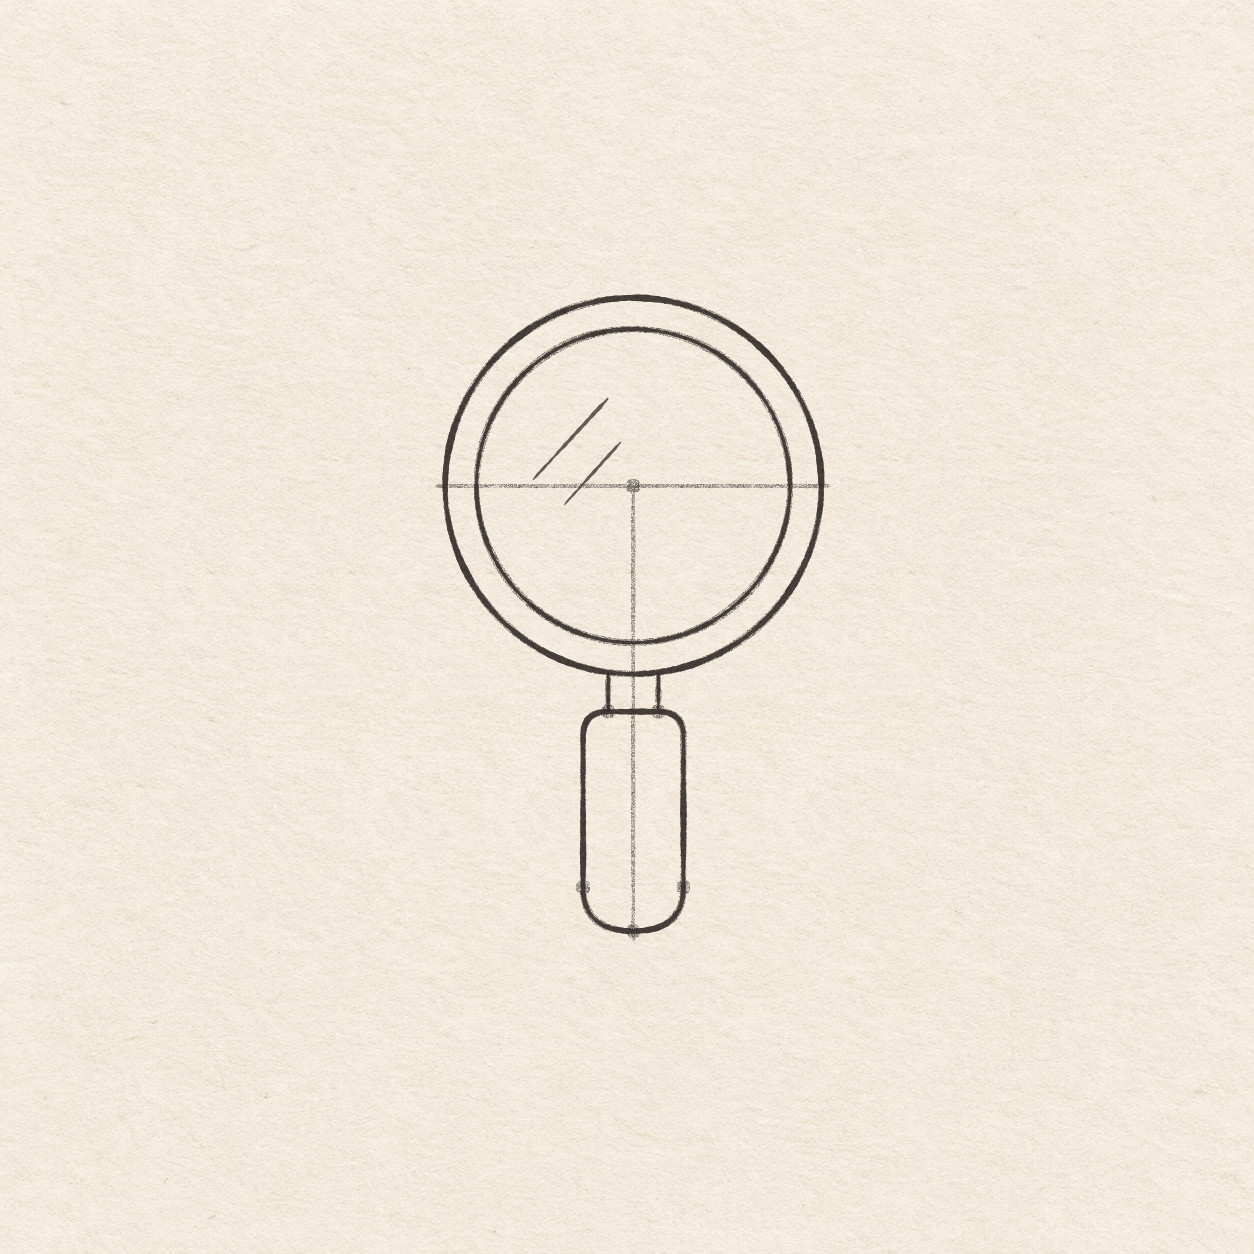
- From the center of the level line, measure 4 mm each way and use the square corner to mark dots 3.6 cm down at both spots. From the same center, measure 8 mm each way and mark dots 6.4 cm down. Put the last dot on the upright line 7.1 cm under the center. This is the round bottom of the handle.
- Set the ruler upright using the square corner on the level line. From each of the upper pair of handle dots rule upward to the outer circle. Stop both lines at the actual outer rim and keep the space between them open.
- Rule a short level line between the two mount ends. Freehand a small rounded turn at each end, ending about 4 mm below the shoulder and directly above its lower grip dot. Rule down from each turn to its lower dot. Round from the left lower dot through the last dot, then up to the right lower dot. Keep both sides straight above the bottom turn.

Drawing 4 — Ink the glass and add two reflectionsView larger InkInk the glass and add two reflections
Instructions for Drawing 4 — Ink the glass and add two reflections
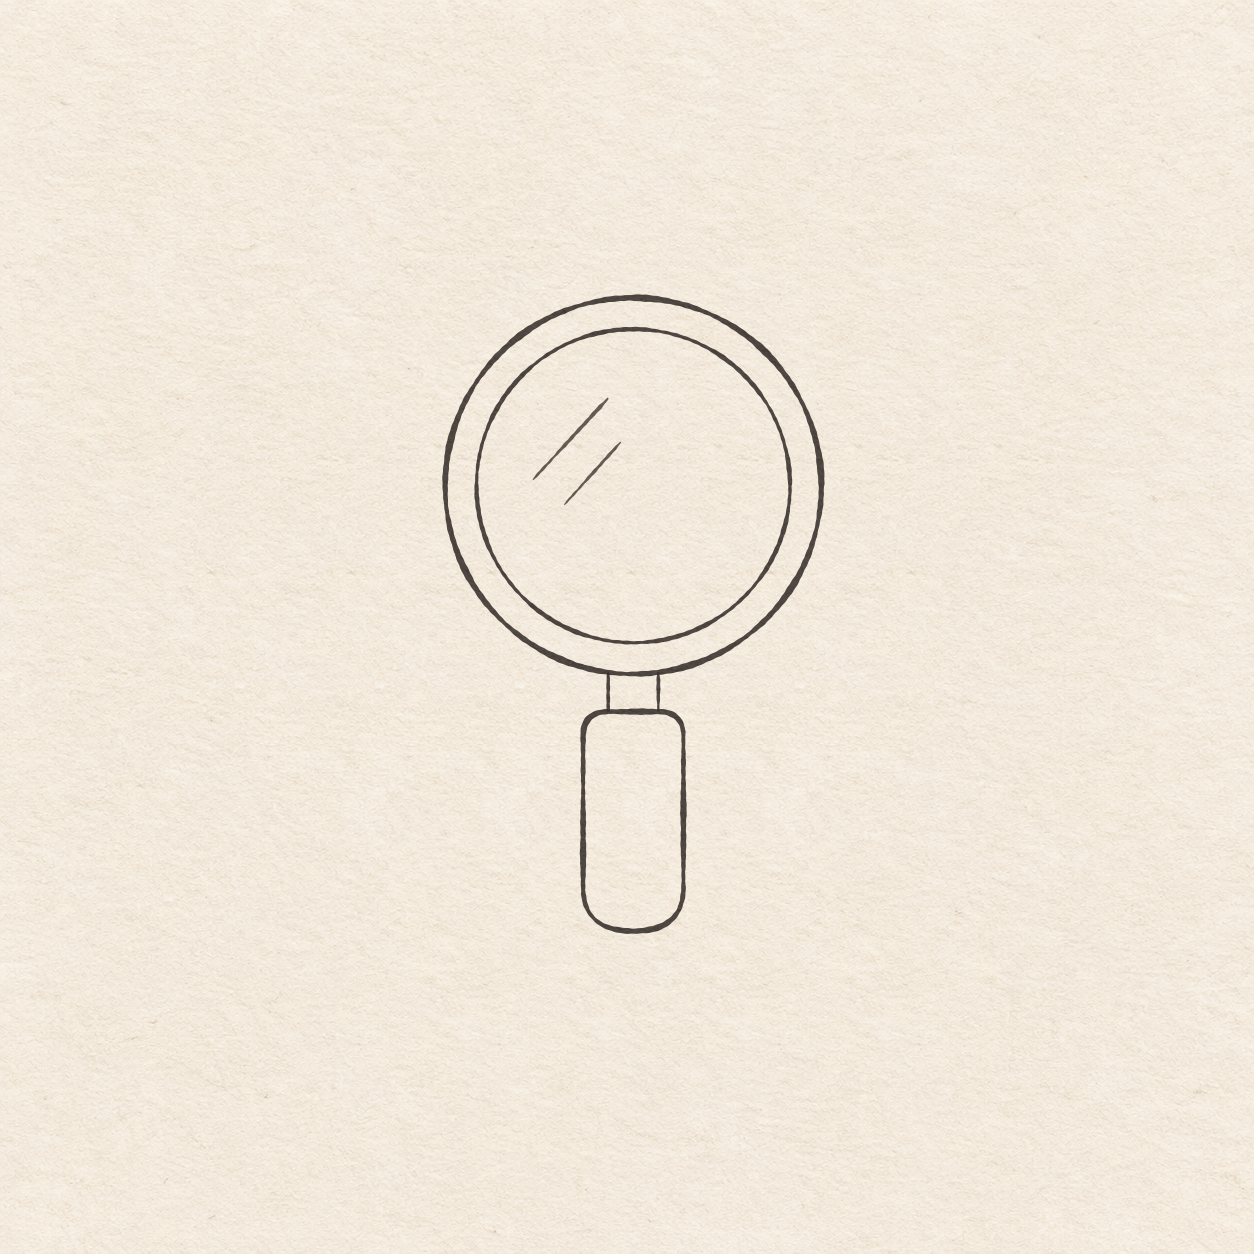
- Trace both pencil circles with the pen, following the outer rim first and then the smaller circle. Turn the paper to pull short arcs if that helps you keep the curve smooth.
- Ink the two short neck sides from the outer circle down to the grip. Touch the outer lens circle and the handle on both sides. Lift at each existing contact.
- Follow the rounded handle, including the flat top between the neck ends. Stop and turn the paper if you need to pull a cleaner curve near the bottom.
- Freehand a short slanted stroke up and right in the upper-left part of the lens. Add a shorter parallel slant just below and to its right. Keep both detached and well inside the smaller circle.

Drawing 5 — Erase the dry pencil guidesView larger CleanupErase the dry pencil guides
Instructions for Drawing 5 — Erase the dry pencil guides
- Fill a small patch on a scrap of the same paper with the same pen. Rub the patch gently with your eraser. If it smears, wait and test again. Once the patch stops smearing, erase the measuring cross, plotted dots and any remaining pencil marks beside the dry ink.
If something looks off
If the handle looks crooked
In pencil, check that the outside edges are equally far from the upright measuring line. Fix the wider side before inking.