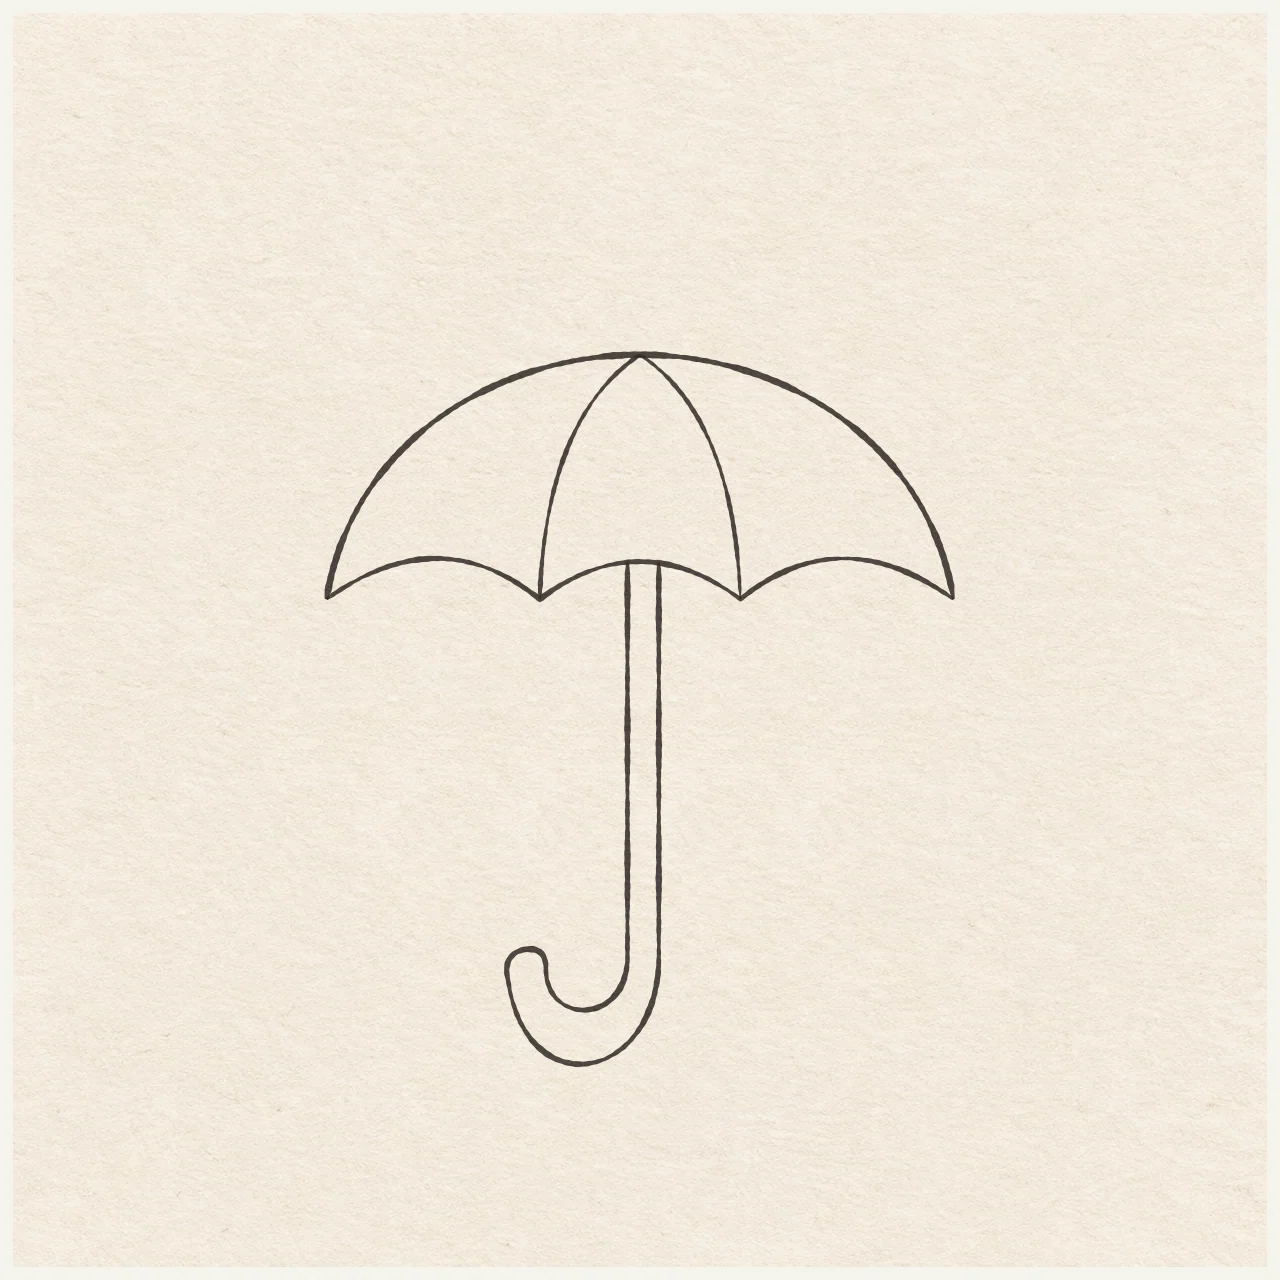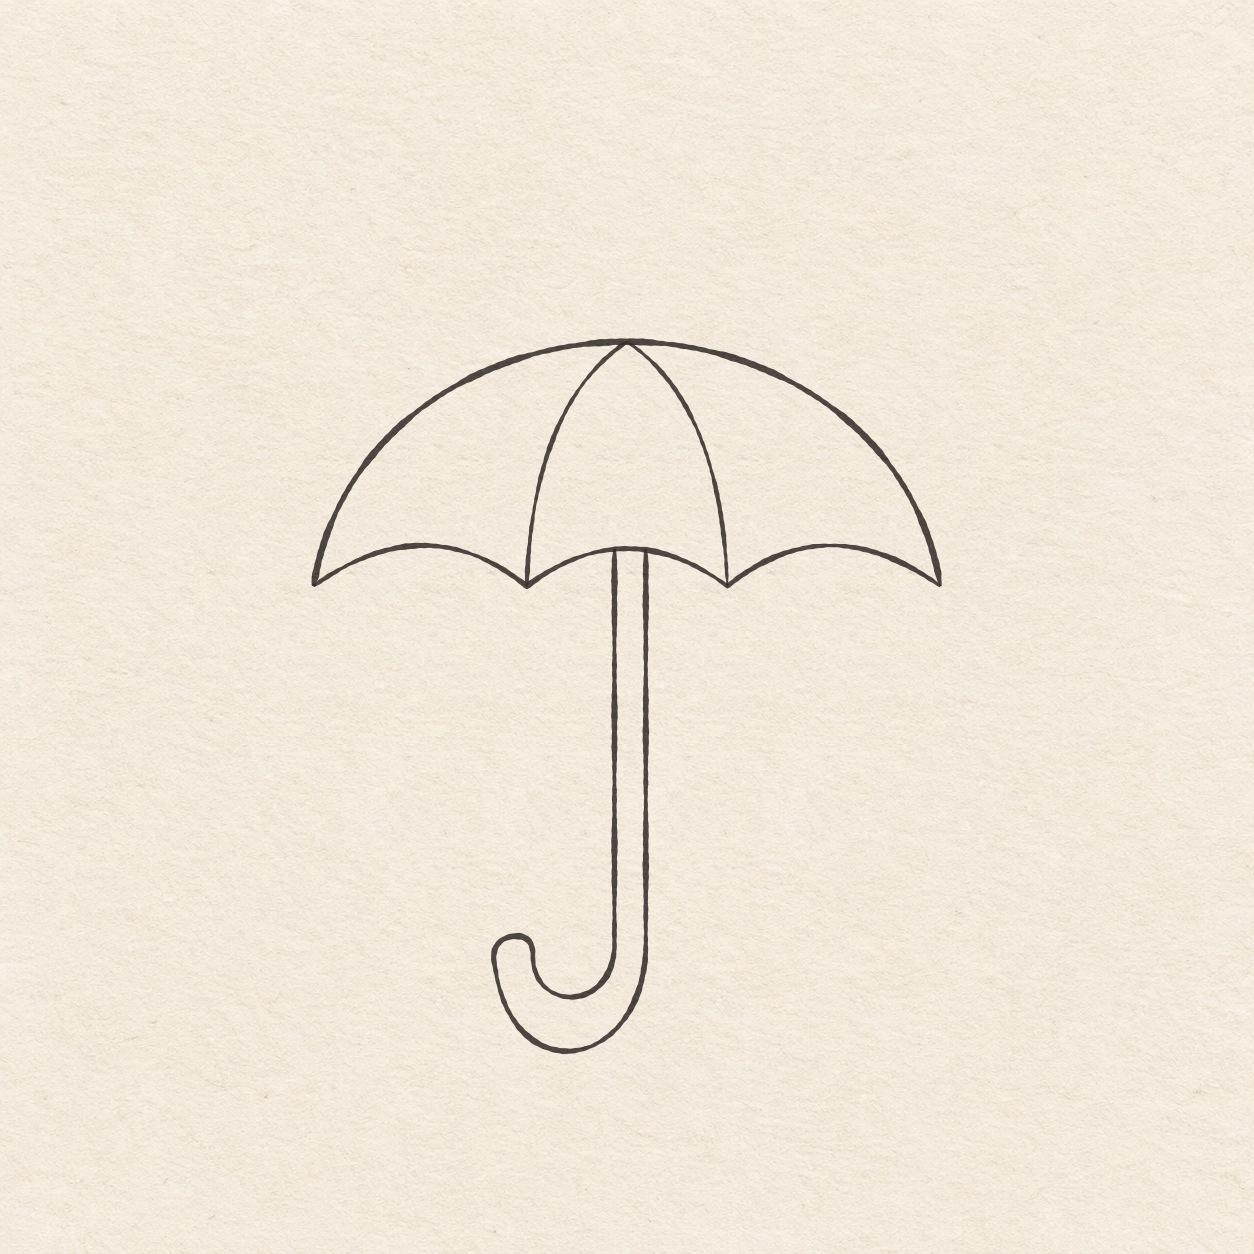
Fineliner drawing of an open umbrella with a rounded three-panel canopy and a narrow shaft curving into a hook.
Drawing referenceAbout reference use

Umbrella with a hooked handle

Draw a rounded canopy, divide it into three panels and add a slim hook handle.

Everyday objectsEasyFinelinerReference practice: about 23 min
Save reference

Follow the drawing tutorial

Draw a rounded canopy, divide it into three panels and add a slim hook handle.

Start the 6-step tutorial

A small thing to tryWhile it is still in pencil, check that the outer bend reaches below the inside bend and leaves room between the two lines.

Draw it, one step at a time

Draw an umbrella with a hooked handle

Draw a rounded canopy, divide it into three panels and add a slim hook handle.

6 illustrated steps Full tutorial: about 23 minutes, at your pace

What you’ll need

  • HB pencil
  • Eraser
  • Ruler
  • Scrap of paper with a square corner
  • Fine black pen
  • Drawing paper

Before you start

This example is about 10 cm wide and 11.5 cm high. Put the umbrella wherever you have room for the canopy and the hook.
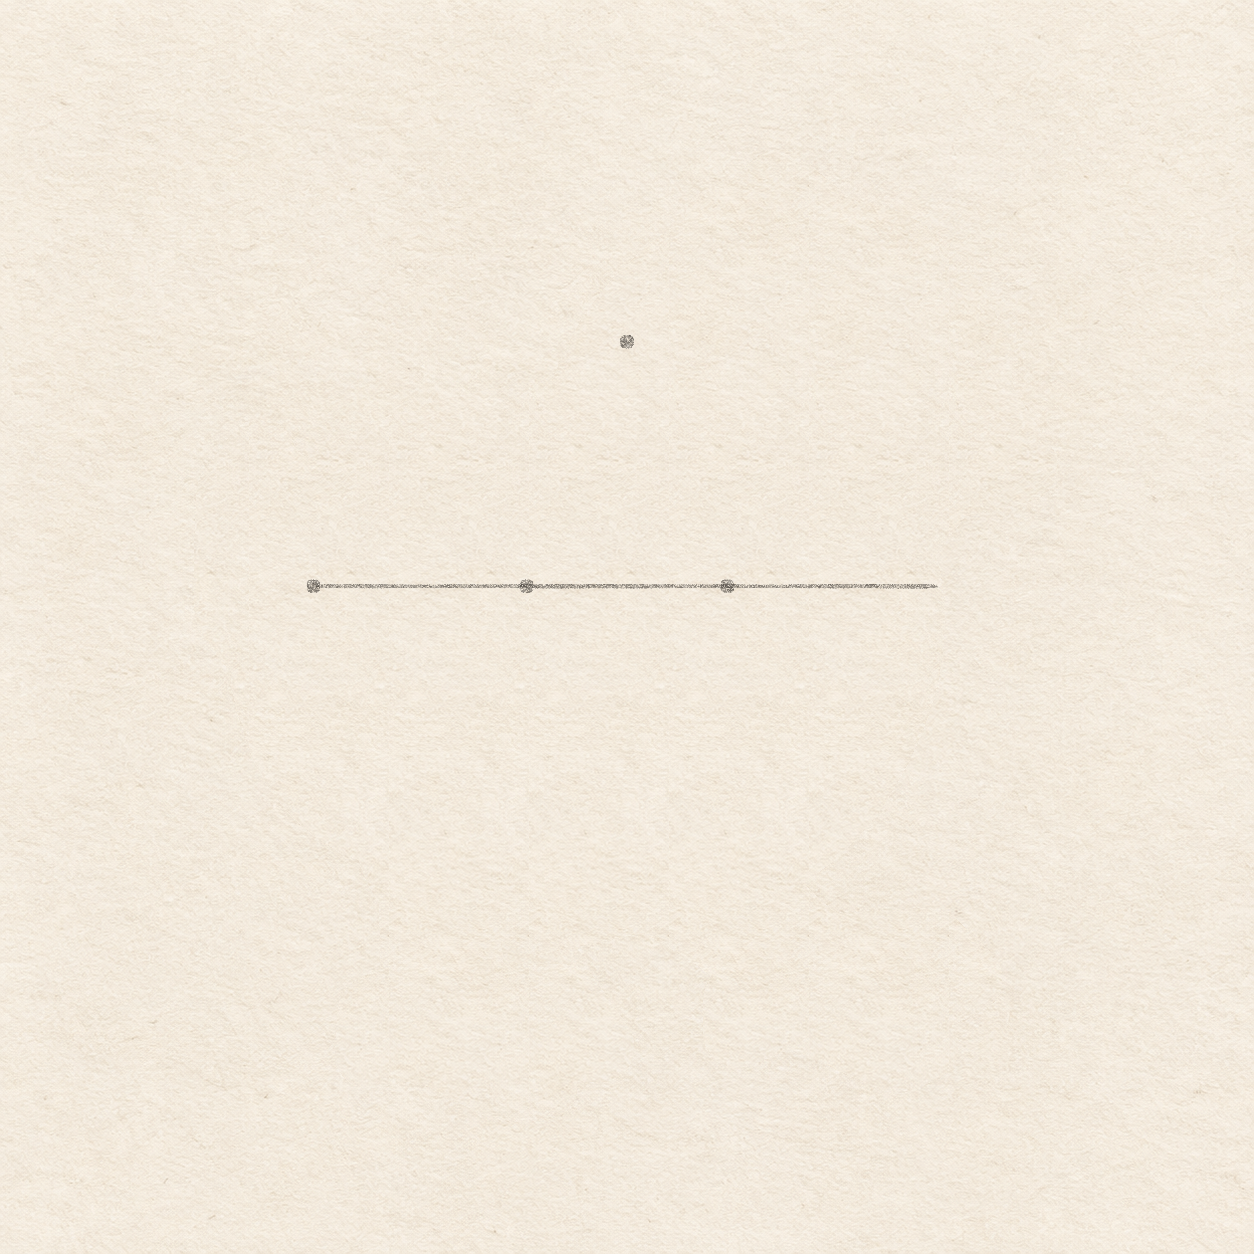
  1. A faint level line runs between the canopy tips. Two panel points sit on it and a high dot stands above its middle.
    Drawing 1 — Place the canopy pointsView larger
    Pencil

    Place the canopy points

    Instructions for Drawing 1 — Place the canopy points
    1. Mark a dot where you want the left canopy tip. Leave 10 cm to its right, 4 cm above and 7.7 cm below, plus a margin. Move the dot if the hook or dome will crowd the paper.
    2. Rule a faint horizontal line 10 cm right from the dot. Its other end is the right tip of the canopy. Keep it light because it will be erased later.
    3. Find the middle of the line, 5 cm from the left tip. Put one edge of the square corner along the line and mark a dot 3.9 cm straight up. The dot sits directly over the middle of the line.
    4. On the line, mark two dots at 3.4 cm and 6.6 cm from the left tip. These mark the two places where the curved hem returns to the line.
    Next step
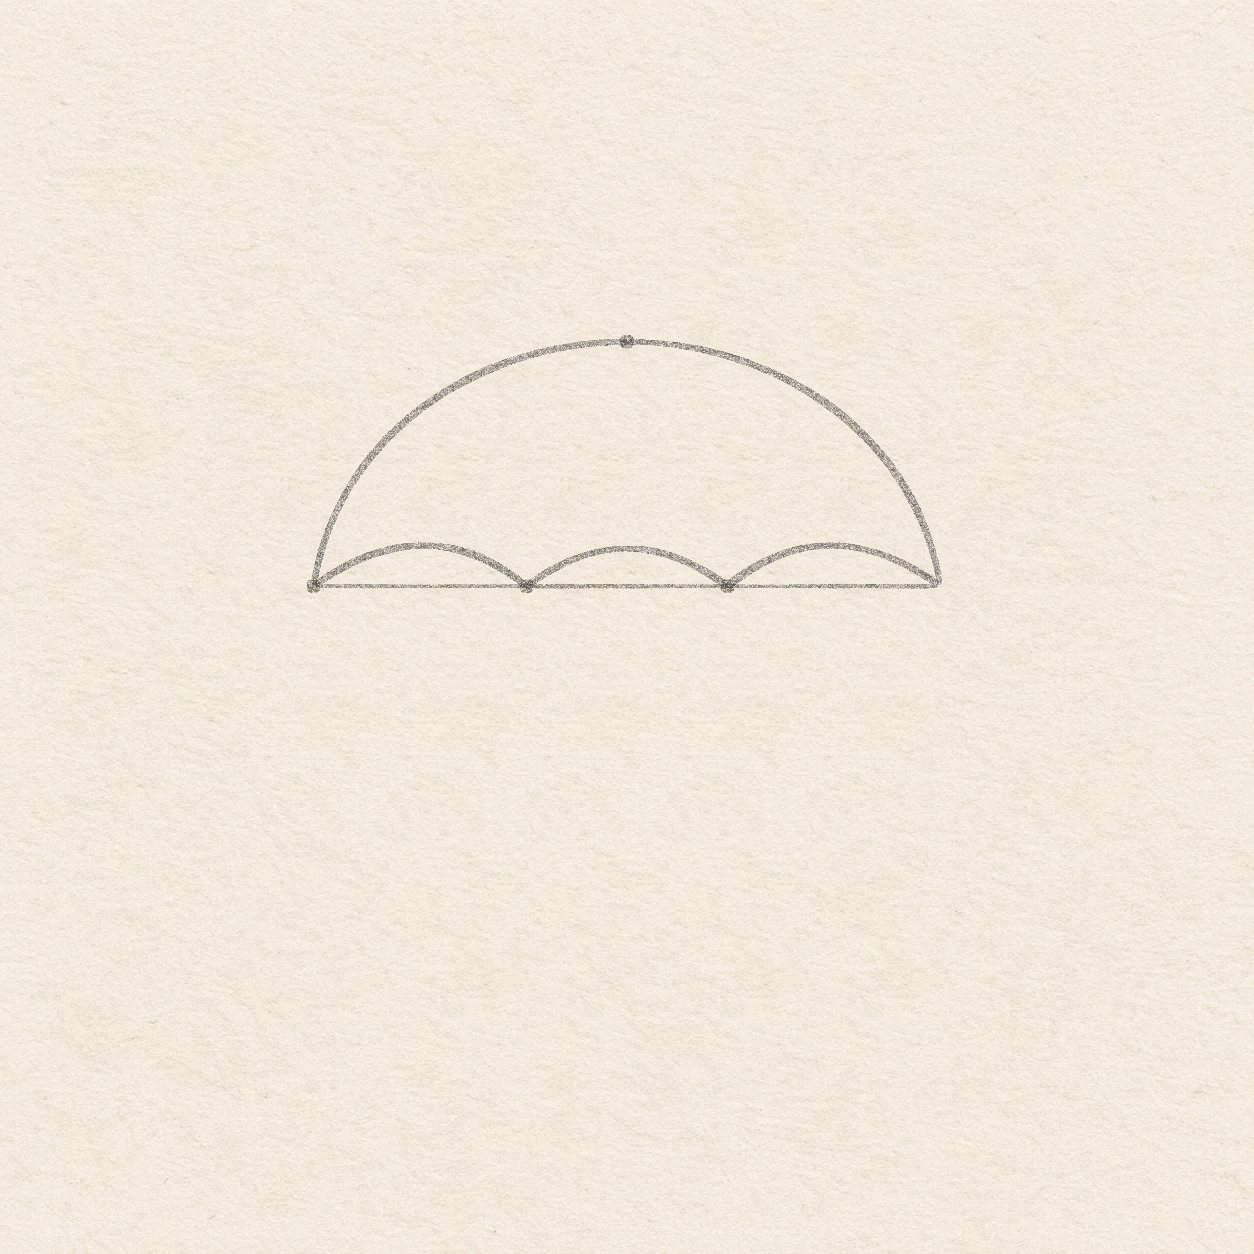
  2. A rounded dome sits above three shallow upward arches along the hem.
    Drawing 2 — Draw the dome and three scallopsView larger
    Pencil

    Draw the dome and three scallops

    Instructions for Drawing 2 — Draw the dome and three scallops
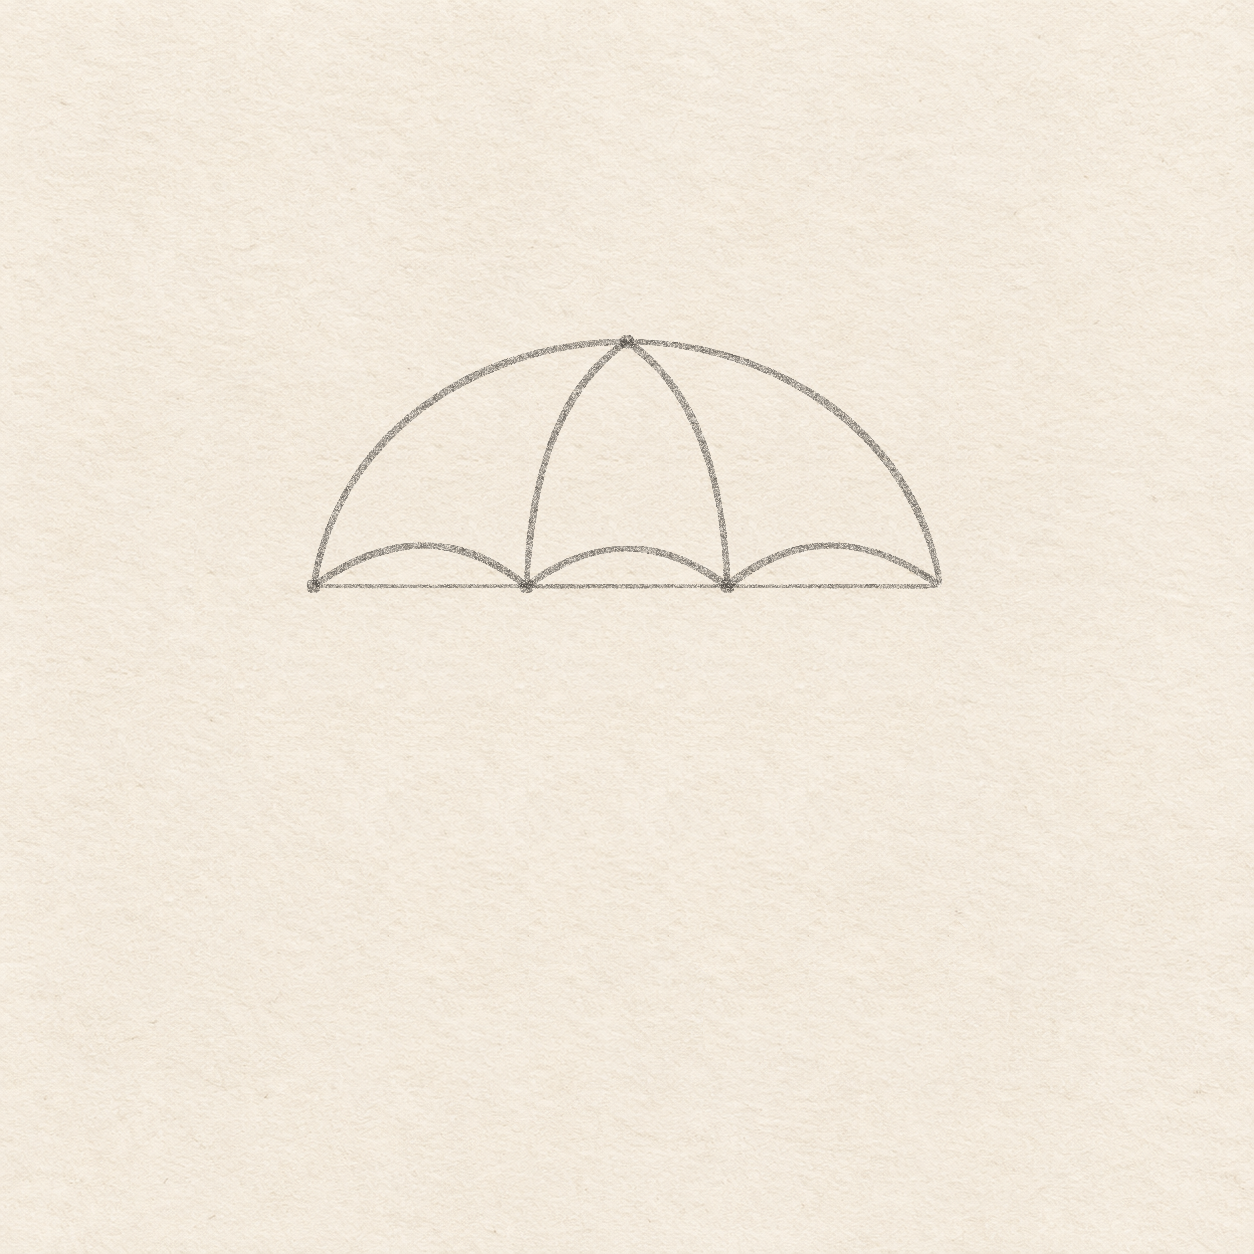
    1. Freehand from the left tip up and right to the high dot. Round across the dot and sweep down and right to the right tip. Keep the dome rounded, with its two ends on the line.
    2. Freehand three shallow arches between neighboring marks on the line. Start at the left tip, bow up about 6 mm in the middle, then down to the first low dot. Repeat to the second dot and to the right tip. Let each arch meet the next at a dot. If a low point drifts, erase that end and bring it back to its dot.
    Next step
  3. Two bowed panel seams run from the dome peak to the two low points of the hem.
    Drawing 3 — Divide the canopy into panelsView larger
    Pencil

    Divide the canopy into panels

    Instructions for Drawing 3 — Divide the canopy into panels
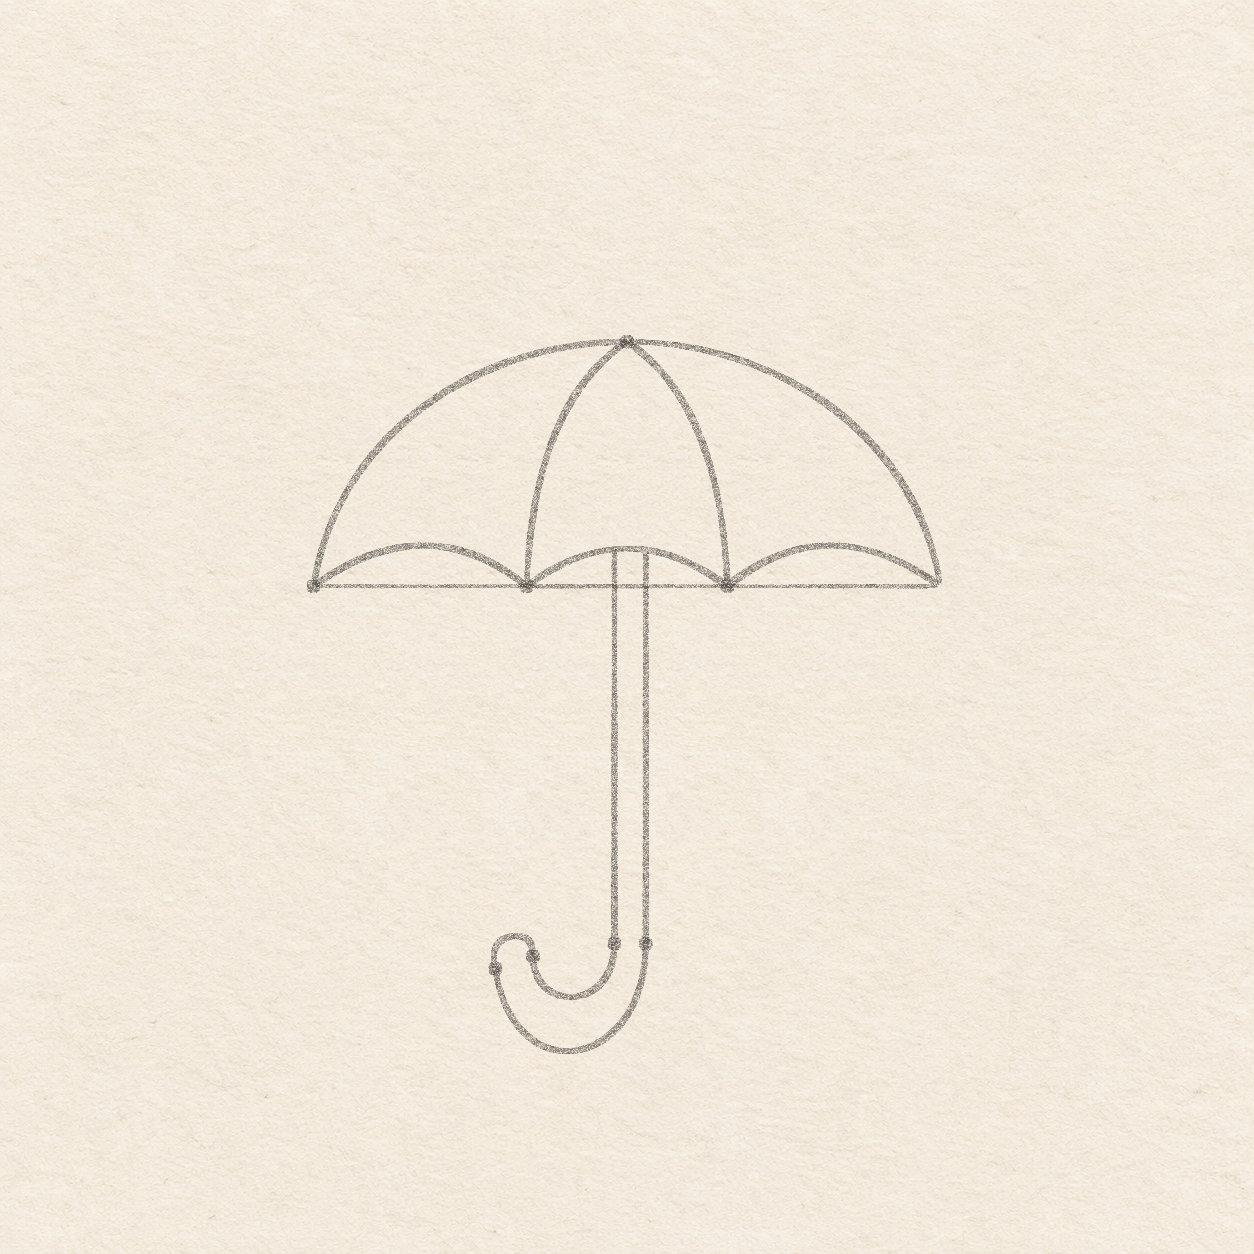
    1. Freehand a curve from the high dot to the left low dot, bowing it left as it descends. Start again at the high dot. Bow the second curve right to the right low dot. Let each curve steepen on the way down and stop when it touches the hem.
    Next step
  4. Two straight shaft sides start at the middle scallop and round into a closed tip at the left end of the hook.
    Drawing 4 — Place and draw the hook handleView larger
    Pencil

    Place and draw the hook handle

    Instructions for Drawing 4 — Place and draw the hook handle
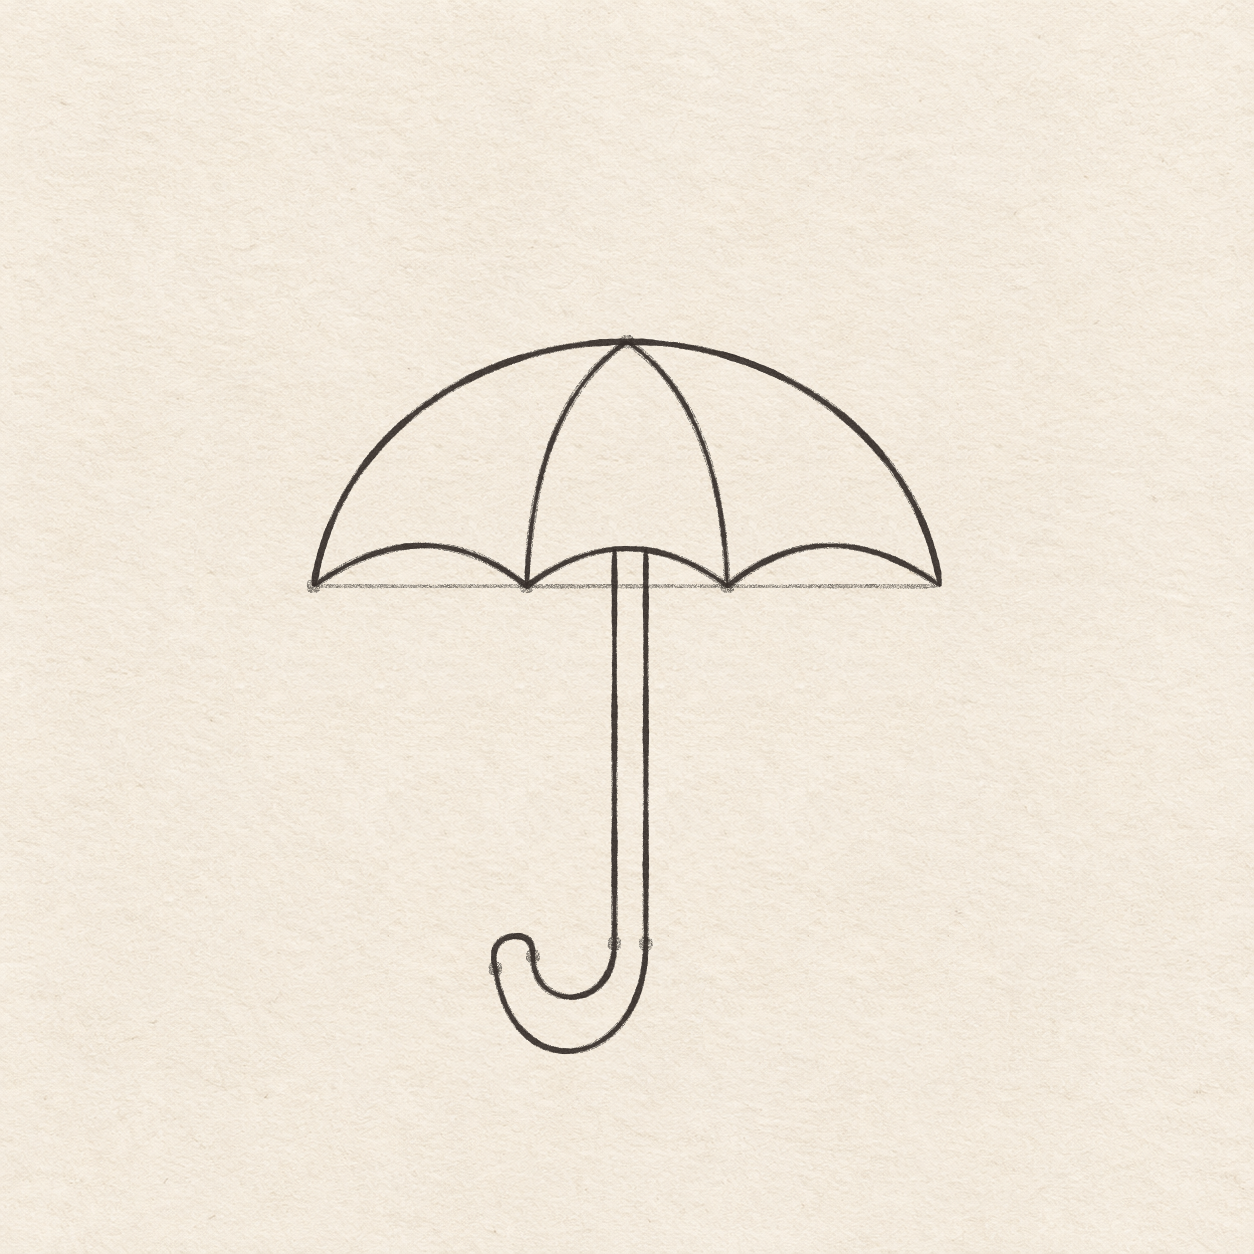
    1. Find the midpoint of the faint line again. Measure 2 mm left and 3 mm right of it. Set the square corner at each spot and mark a dot 5.7 cm straight down. These dots are the same height and 5 mm apart.
    2. From the left canopy tip, measure 3.5 cm right along the faint line. With the square corner, mark a dot 5.9 cm straight down. At 2.9 cm right of that same left tip, mark a dot 6.1 cm straight down. Check that the left dot is 2 mm lower. If the dots are level, measure down again from the faint line.
    3. Use the square corner on the faint line to hold the ruler upright. From each shaft dot, rule up to the middle scallop. From the left shaft dot, freehand a bend about 8 mm below the dot, then curve up to the right tip dot. Round over to the left tip dot. From there, freehand a wider bend about 1.7 cm below the shaft dots and back up to the right shaft dot. Leave open paper between the bends. If they crowd together, erase the outer bend and redraw it slightly lower.
    Next step
  5. The dome, three scallops, two seams and J-shaped handle are inked over the light pencil guides.
    Drawing 5 — Ink the panels and handleView larger
    Ink

    Ink the panels and handle

    Instructions for Drawing 5 — Ink the panels and handle
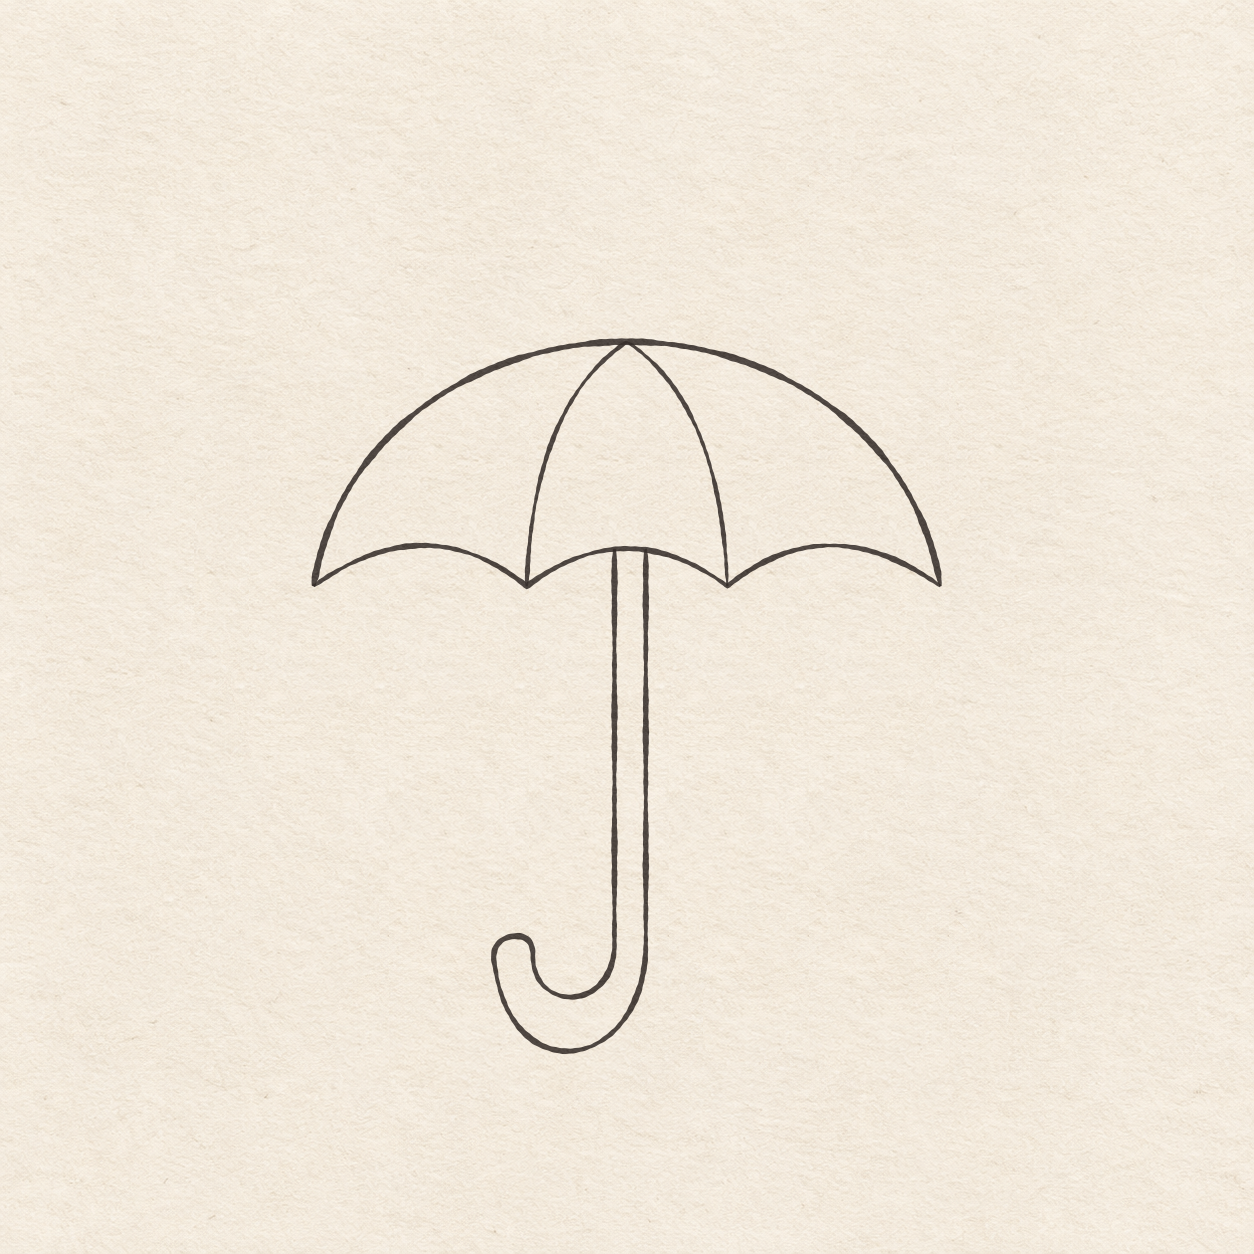
    1. Follow the rounded pencil dome from left tip to right tip. Ease around the top dot so the dome stays round. Turn the paper if it helps you control the curve.
    2. Follow the three small arches along the hem. Let the arches meet cleanly at the two low dots. Lift the pen at each dot if it helps you turn.
    3. Ink from the high point down each curved seam. Slow as the seams reach their low dots. Lift the pen at the hem to preserve its edge.
    4. Ink the two straight sides down from the middle scallop. Follow the two bends and rounded tip of the hook. Keep both upper ends on the scallop and leave open paper between the edges of the handle.
    Next step
  6. The finished fineliner umbrella has three distinct canopy panels and a slim shaft with a rounded hook.
    Drawing 6 — Erase the dry pencil guidesView larger
    Cleanup

    Erase the dry pencil guides

    Instructions for Drawing 6 — Erase the dry pencil guides

    1. Fill a small patch on a scrap of the same paper with the same pen. Rub the patch gently with your eraser. If it smears, wait and test again. Once the patch stops smearing, erase the faint measuring line, guide dots and any remaining pencil marks beside the dry ink.
    Back to the steps

If something looks off

If the hook looks pinched

While it is still in pencil, check that the outer bend reaches below the inside bend and leaves room between the two lines.