FinelinerEasy

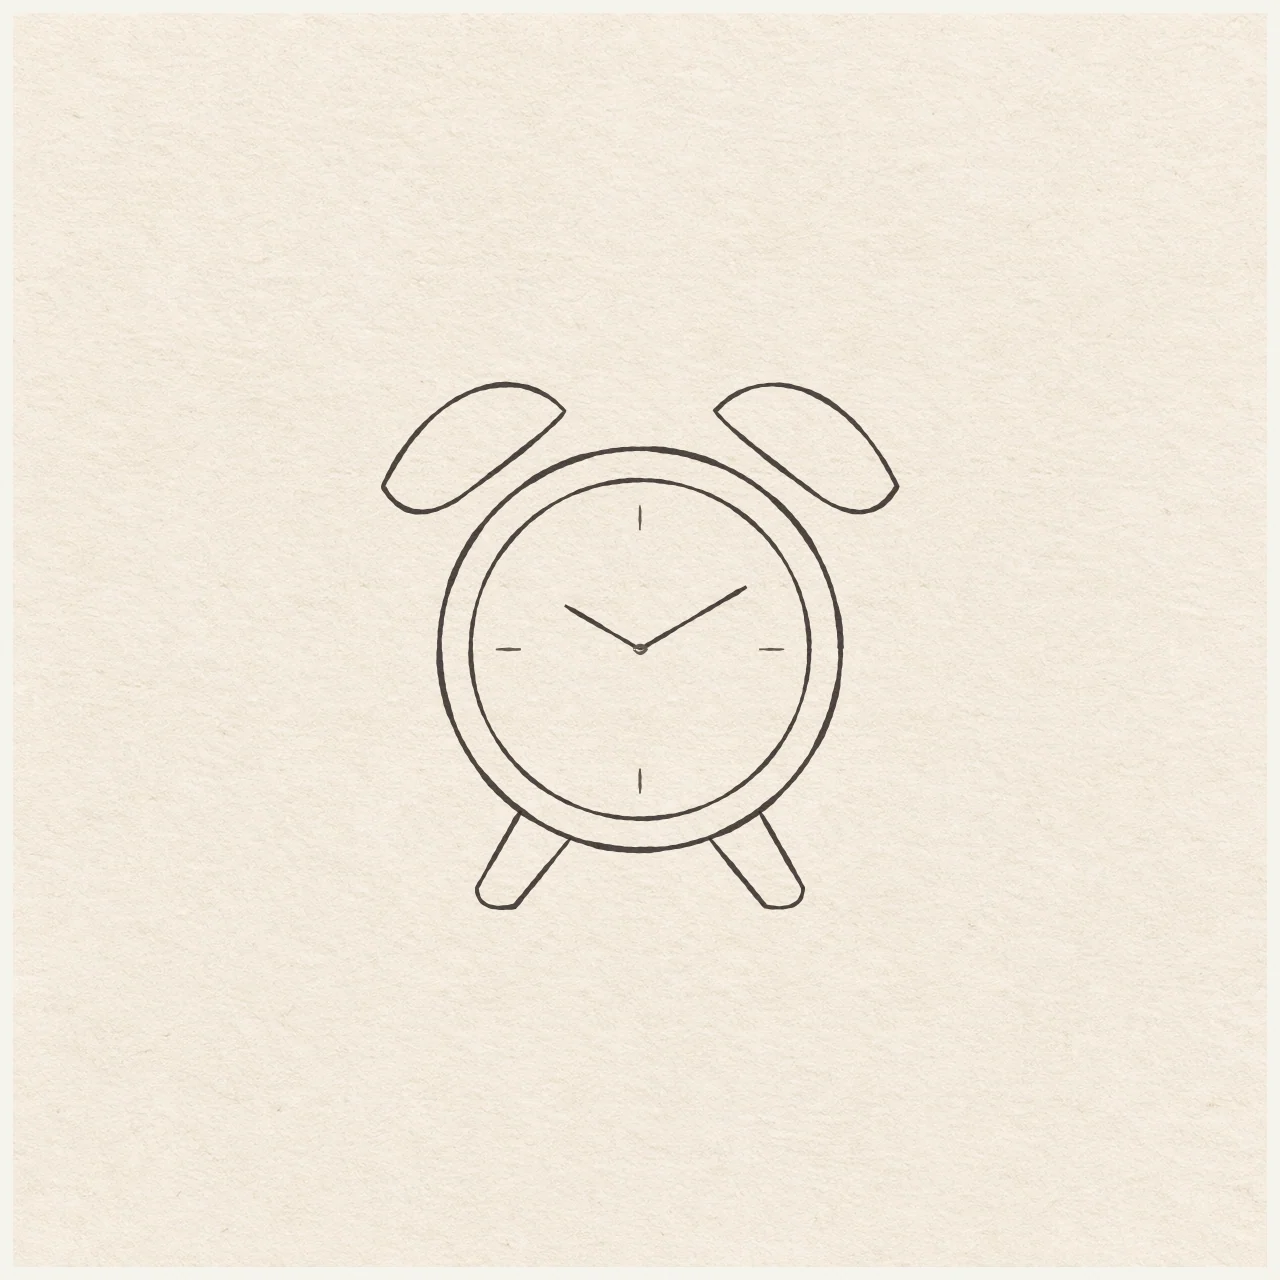
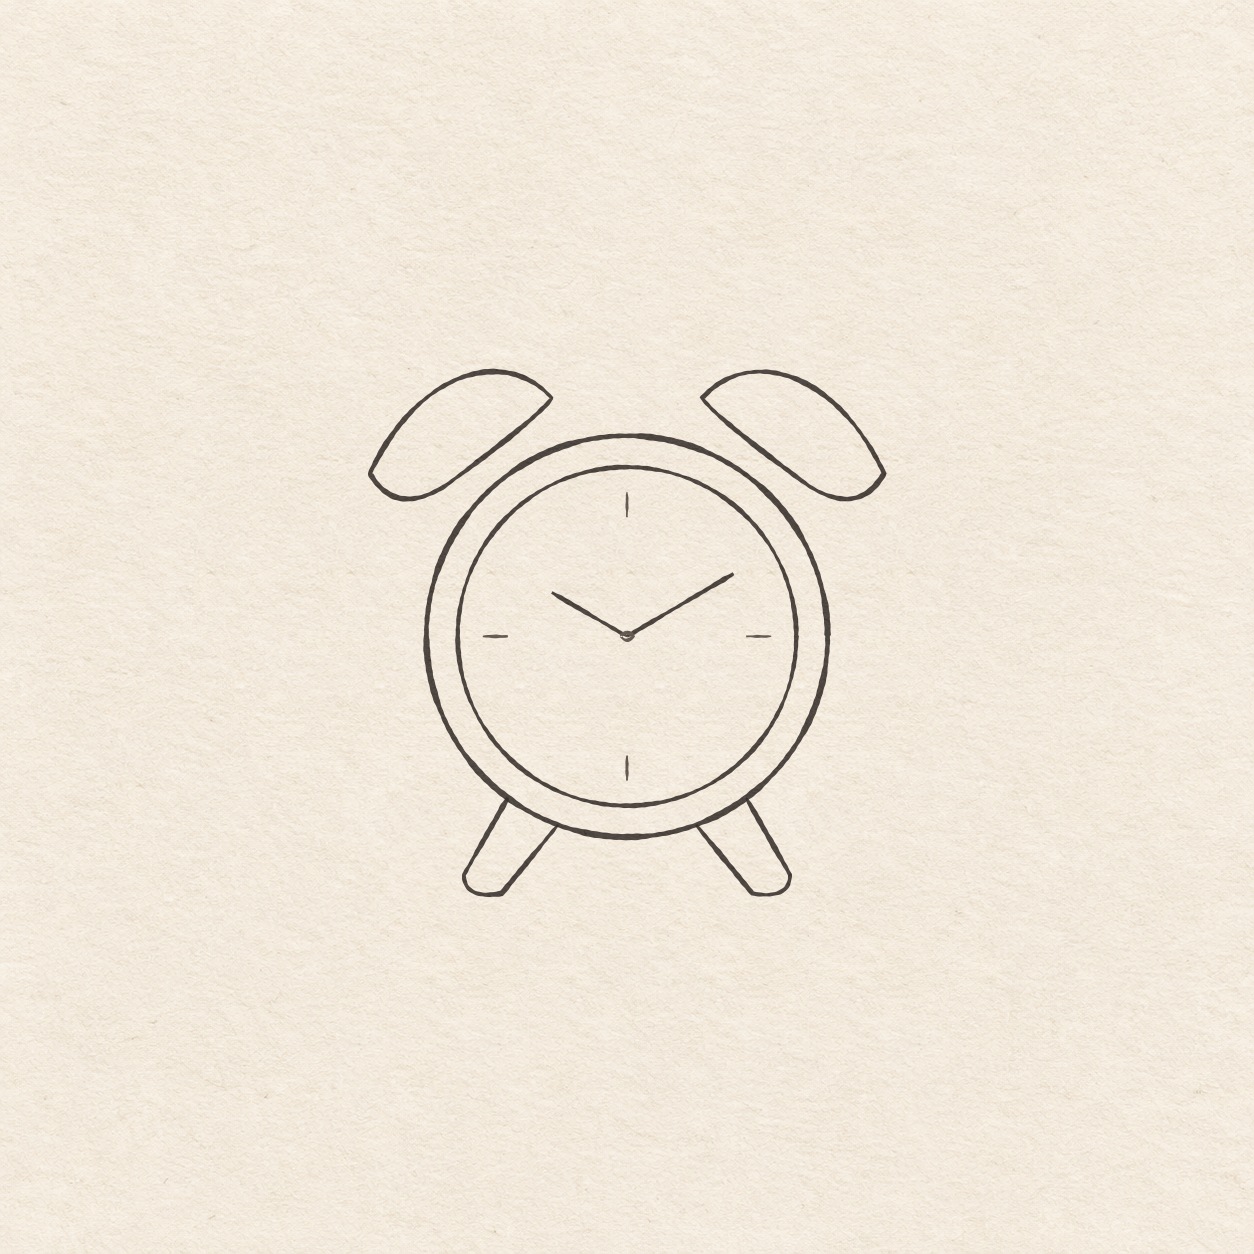
Twin-bell alarm clock
Use a compass for the face, give the clock two small bells and set its hands to ten past ten.
Follow the drawing tutorial
Use a compass for the face, give the clock two small bells and set its hands to ten past ten.
Start the 7-step tutorialA small thing to tryLeave clear paper between the hands and the dial edge. Keep just the four short marks for twelve, three, six and nine.
Draw it, one step at a time
Draw a twin-bell alarm clock
Use a compass for the face, give the clock two small bells and set its hands to ten past ten.
What you’ll need
- HB pencil
- Eraser
- Ruler
- Scrap of paper with a square corner
- Drawing compass
- Fine black pen
- Drawing paper
Before you start
This example is about 8.5 cm wide and 9 cm high. Choose where the dial will sit. The bells and feet extend above and below the rim.

Drawing 1 — Choose the dial center and axesView larger PencilChoose the dial center and axes
Instructions for Drawing 1 — Choose the dial center and axes
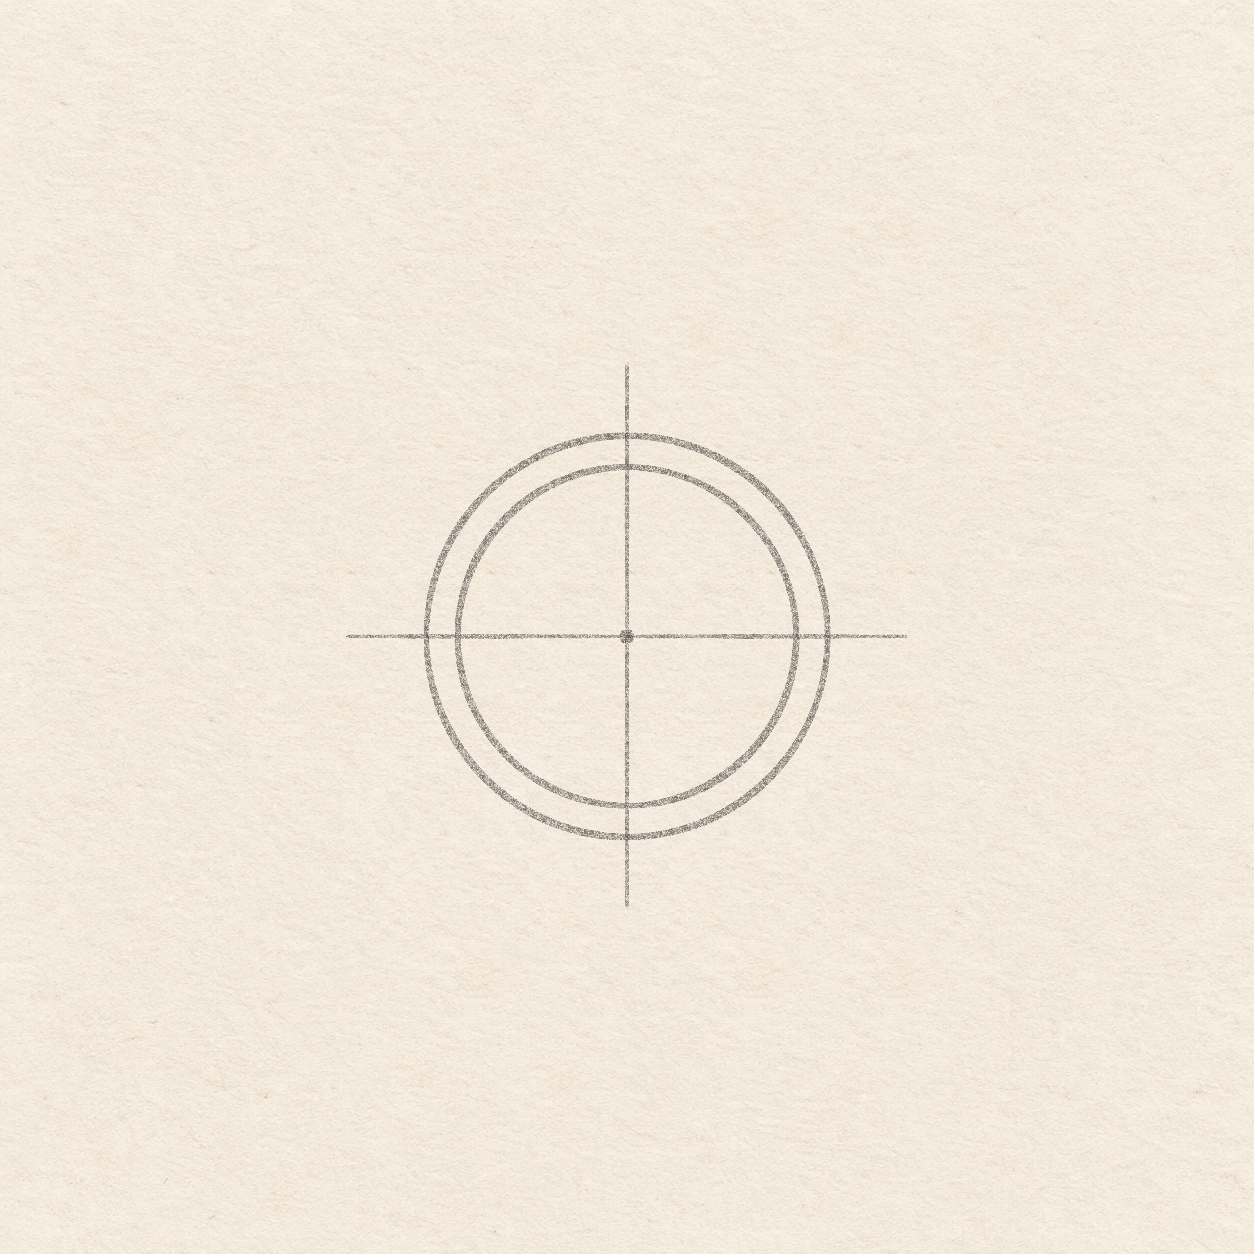
- Choose a center dot. Leave 4.5 cm to each side, 4.5 cm above and 4.5 cm below, plus a margin. Move the dot before ruling if there is not enough room.
- Rule a faint level line 4.5 cm each way from that dot. Put the square corner on the dot with one edge on the line, then rule a faint upright line 4.4 cm up and down. If the upright leans, reseat the square corner so the two lines cross at the dot.

Drawing 2 — Sweep the two circles of the faceView larger PencilSweep the two circles of the face
Instructions for Drawing 2 — Sweep the two circles of the face
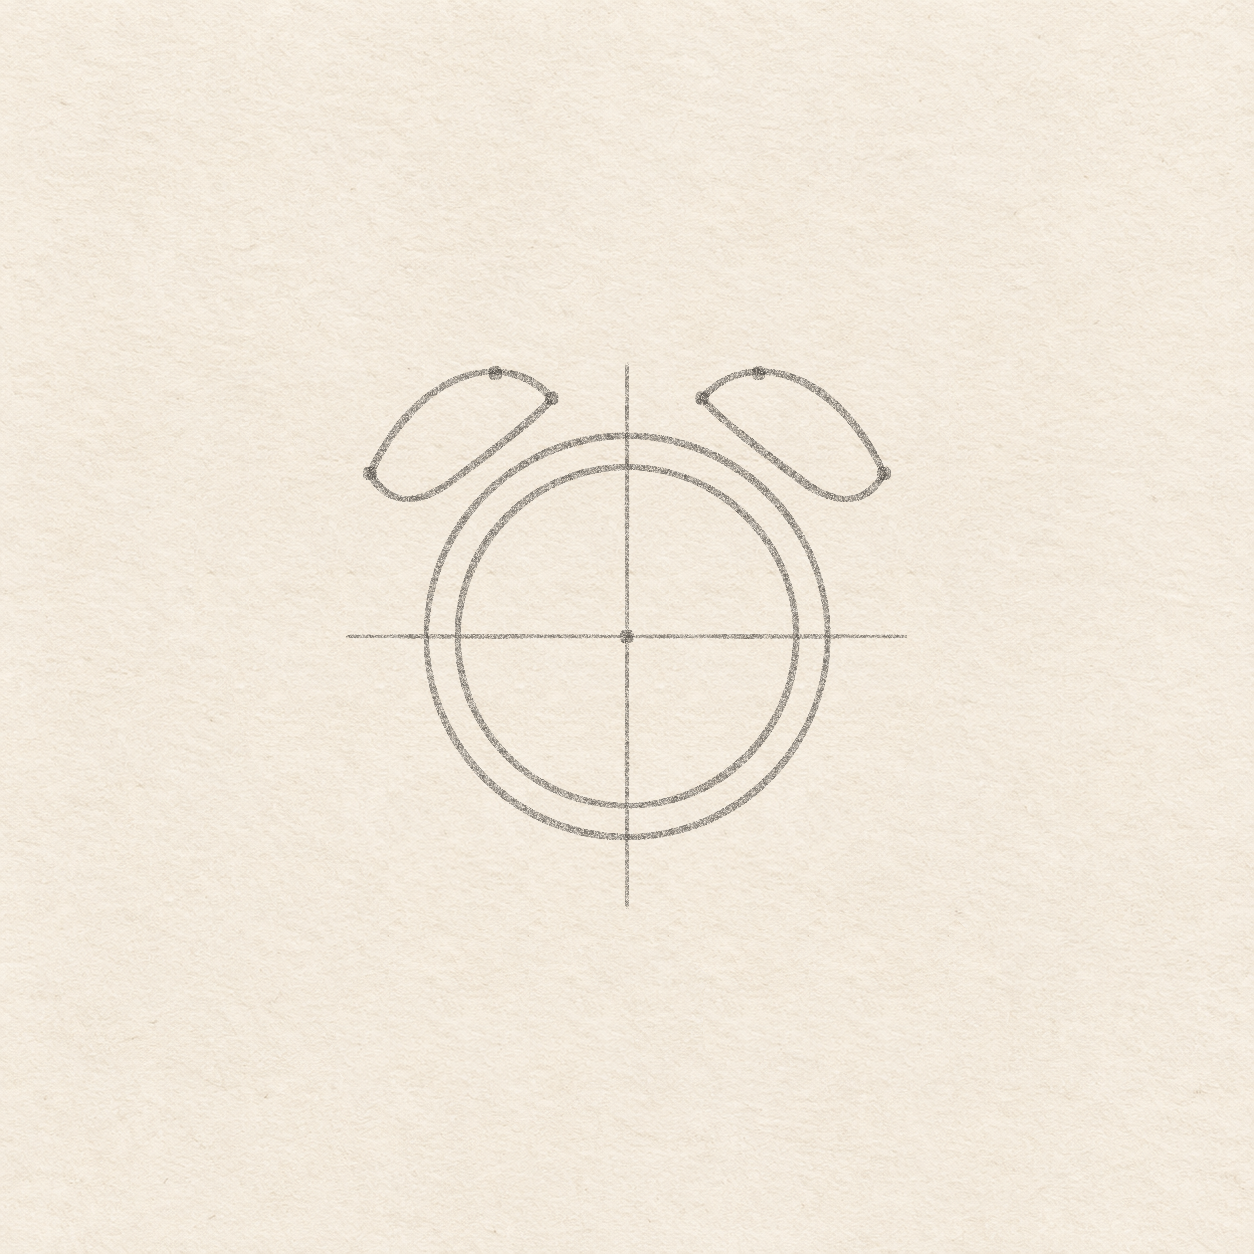
- Set the compass to 3.2 cm using the ruler. With the needle on the center dot, sweep a full circle. Reduce the compass setting to 2.7 cm and sweep the inner circle from the same dot. Check that the strip between the two circles stays even.

Drawing 3 — Set the two bell shapes above the rimView larger PencilSet the two bell shapes above the rim
Instructions for Drawing 3 — Set the two bell shapes above the rim
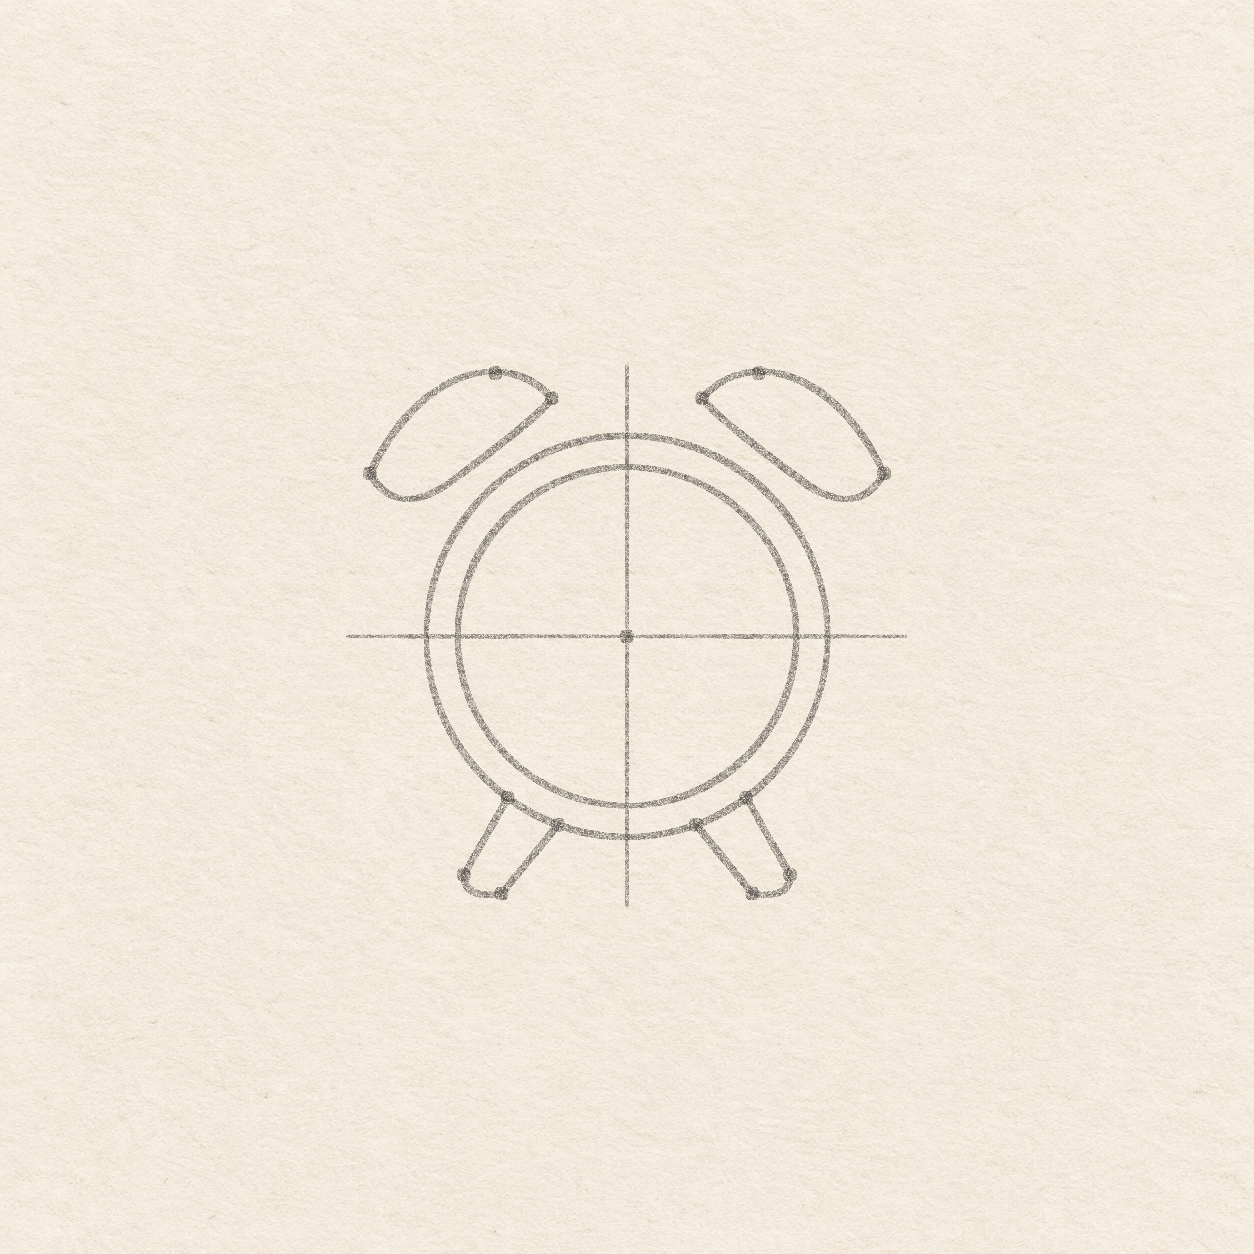
- From the center, use a square corner held along the level line. For the left bell, put a dot 4.1 cm left and 2.6 cm up, another 2.1 cm left and 4.2 cm up, and a third 1.2 cm left and 3.8 cm up. For the right bell, repeat the same three distances to the right of the center. The two inner dots sit closest to the upright line.
- Freehand up from the leftmost dot through the raised dot and down to the inner dot. From the inner dot curve back down and left to the first dot, closing the bell. Repeat on the right: start at the rightmost dot and arch up through its raised dot toward its inner dot, then close the shape toward the right. Leave paper between both bells and the rim.

Drawing 4 — Set the feet against the actual rimView larger PencilSet the feet against the actual rim
Instructions for Drawing 4 — Set the feet against the actual rim
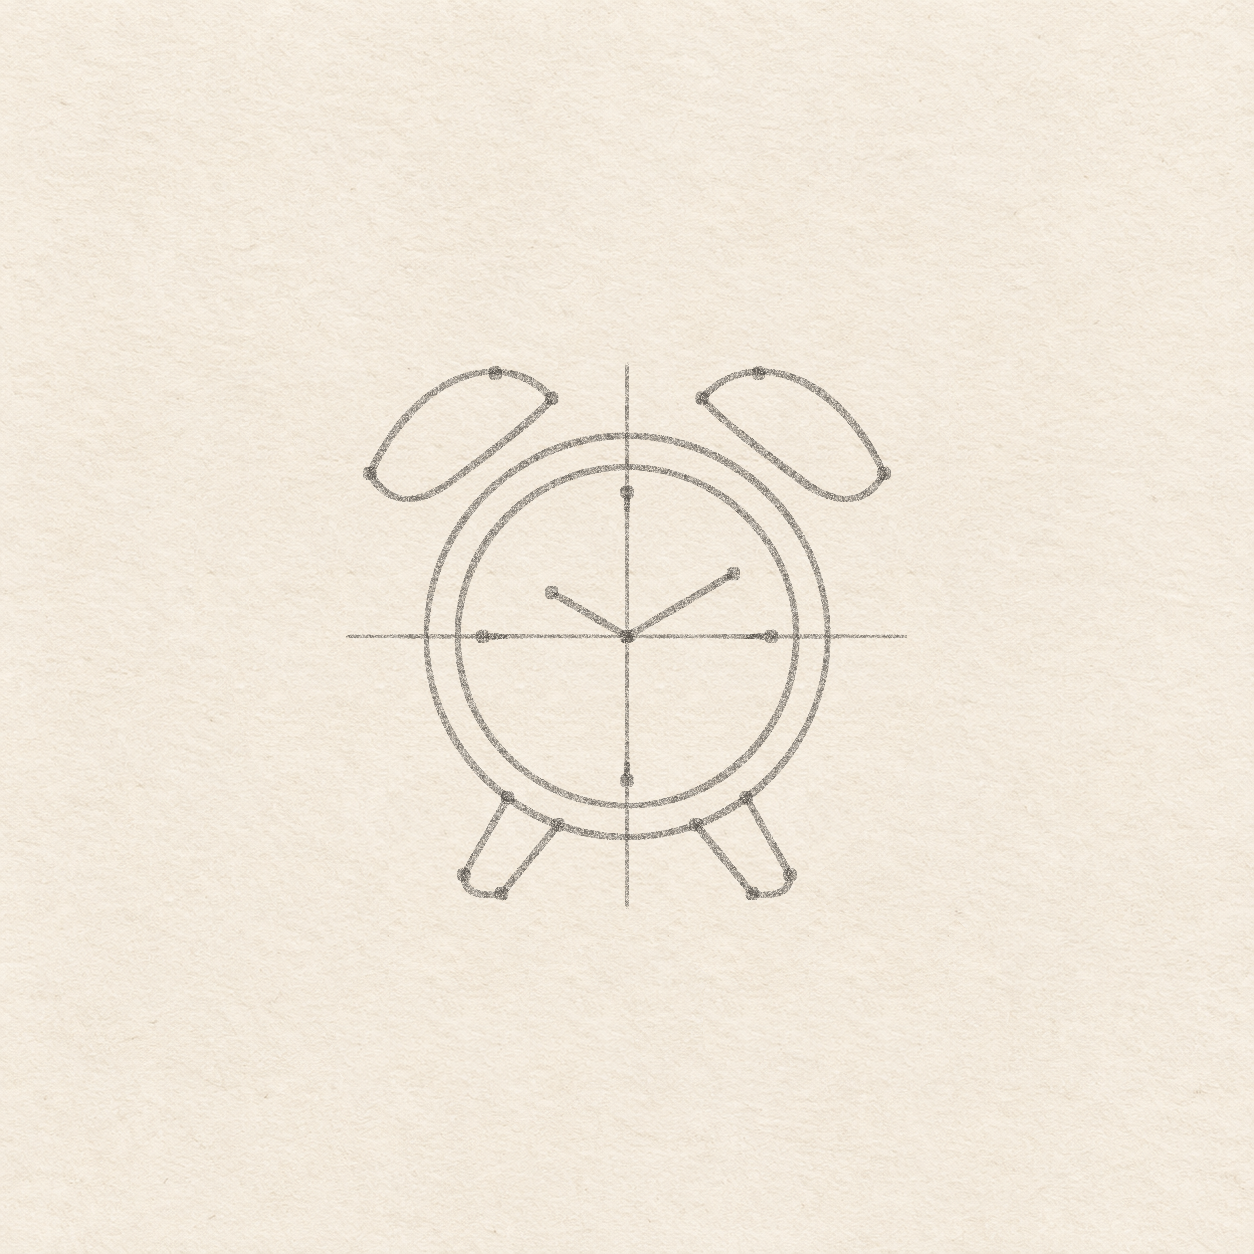
- Hold the ruler level 2.6 cm below the center. Where it meets both sides of the outer circle, make two dots. Repeat at 3 cm below for two inner contacts. From the center line, mark the outer toe stops 2.6 cm to either side and 3.8 cm down. Mark the inner toe stops 2 cm to either side and 4.1 cm down.
- On the left, rule from the outer contact down and out to its outer toe dot. Round down and inward to the inner toe dot, then rule back to the inner rim contact. Make the right foot the same way on its side. Keep the feet separate under the dial.

Drawing 5 — Place the four marks and two handsView larger PencilPlace the four marks and two hands
Instructions for Drawing 5 — Place the four marks and two hands
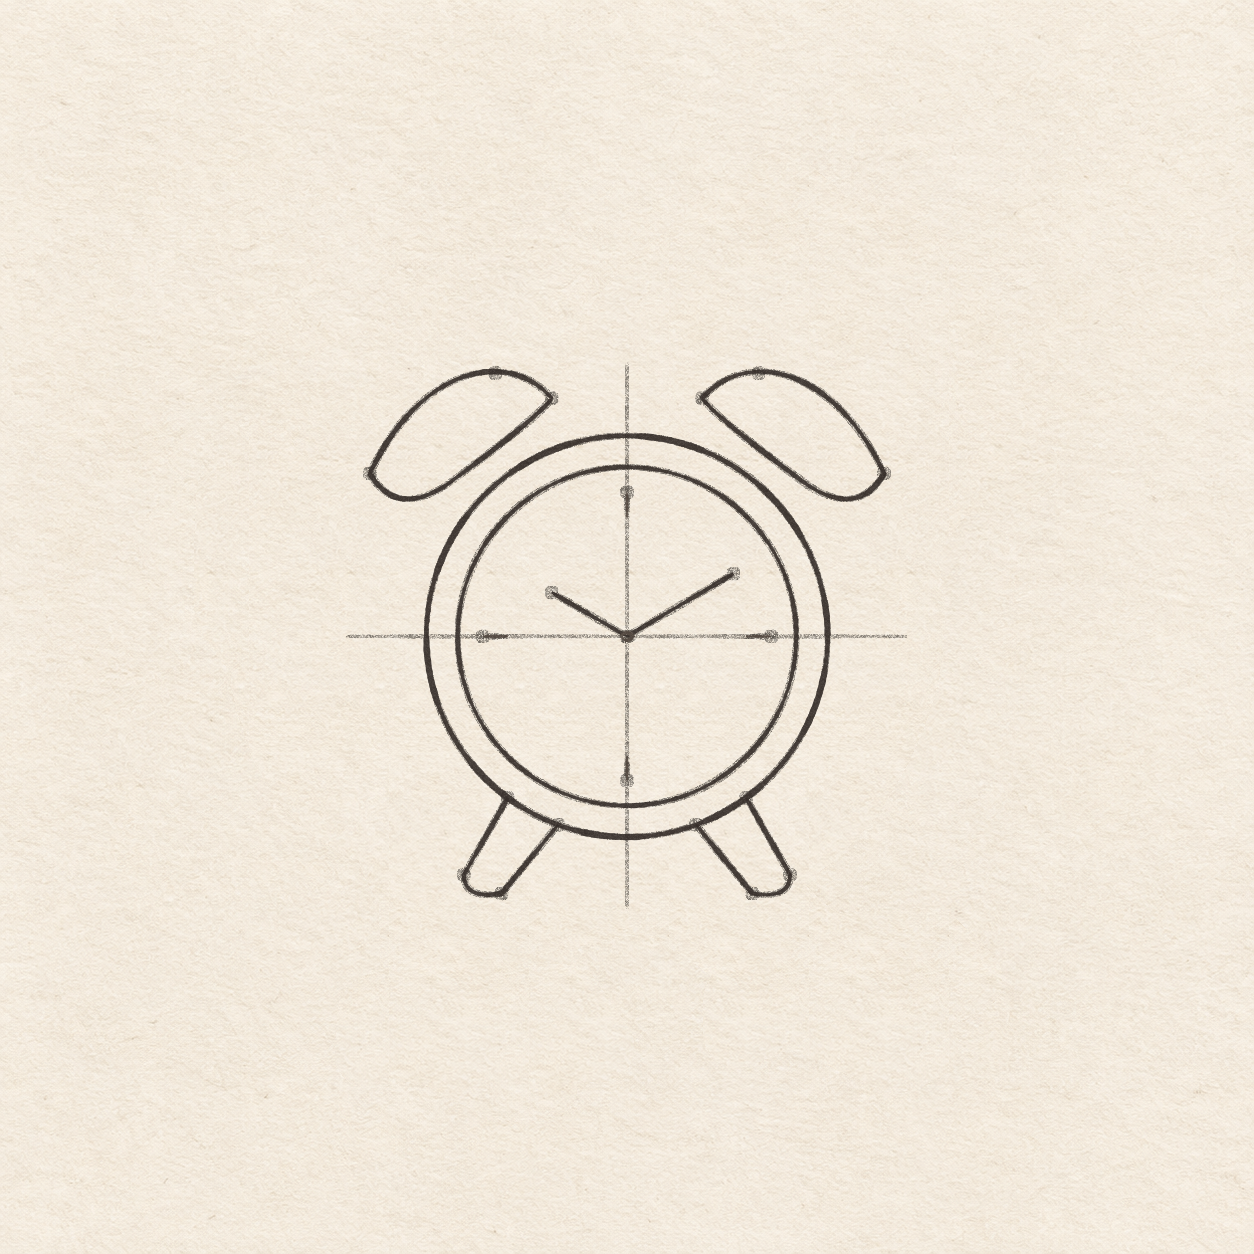
- Put a small dot 2.3 cm from the center in each direction on the pencil cross. Use the ruler so all four are evenly spaced from the center.
- From each dot, rule 4 mm toward the center with the pencil. Keep four separate marks, with paper inside the pencil circles.
- From the center, use the square corner to mark a dot 1.2 cm left and 7 mm up. Mark the other dot 1.7 cm right and 1 cm up. The right hand tip is a little higher and farther from the center.
- Rule from the center dot to each hand tip so the two lines meet at the dot. Then draw a tiny oval about 2 mm wide around that dot. Keep the lower half of the oval open. The two hands cross its upper sides.

Drawing 6 — Ink the bell clock and dialView larger InkInk the bell clock and dial
Instructions for Drawing 6 — Ink the bell clock and dial
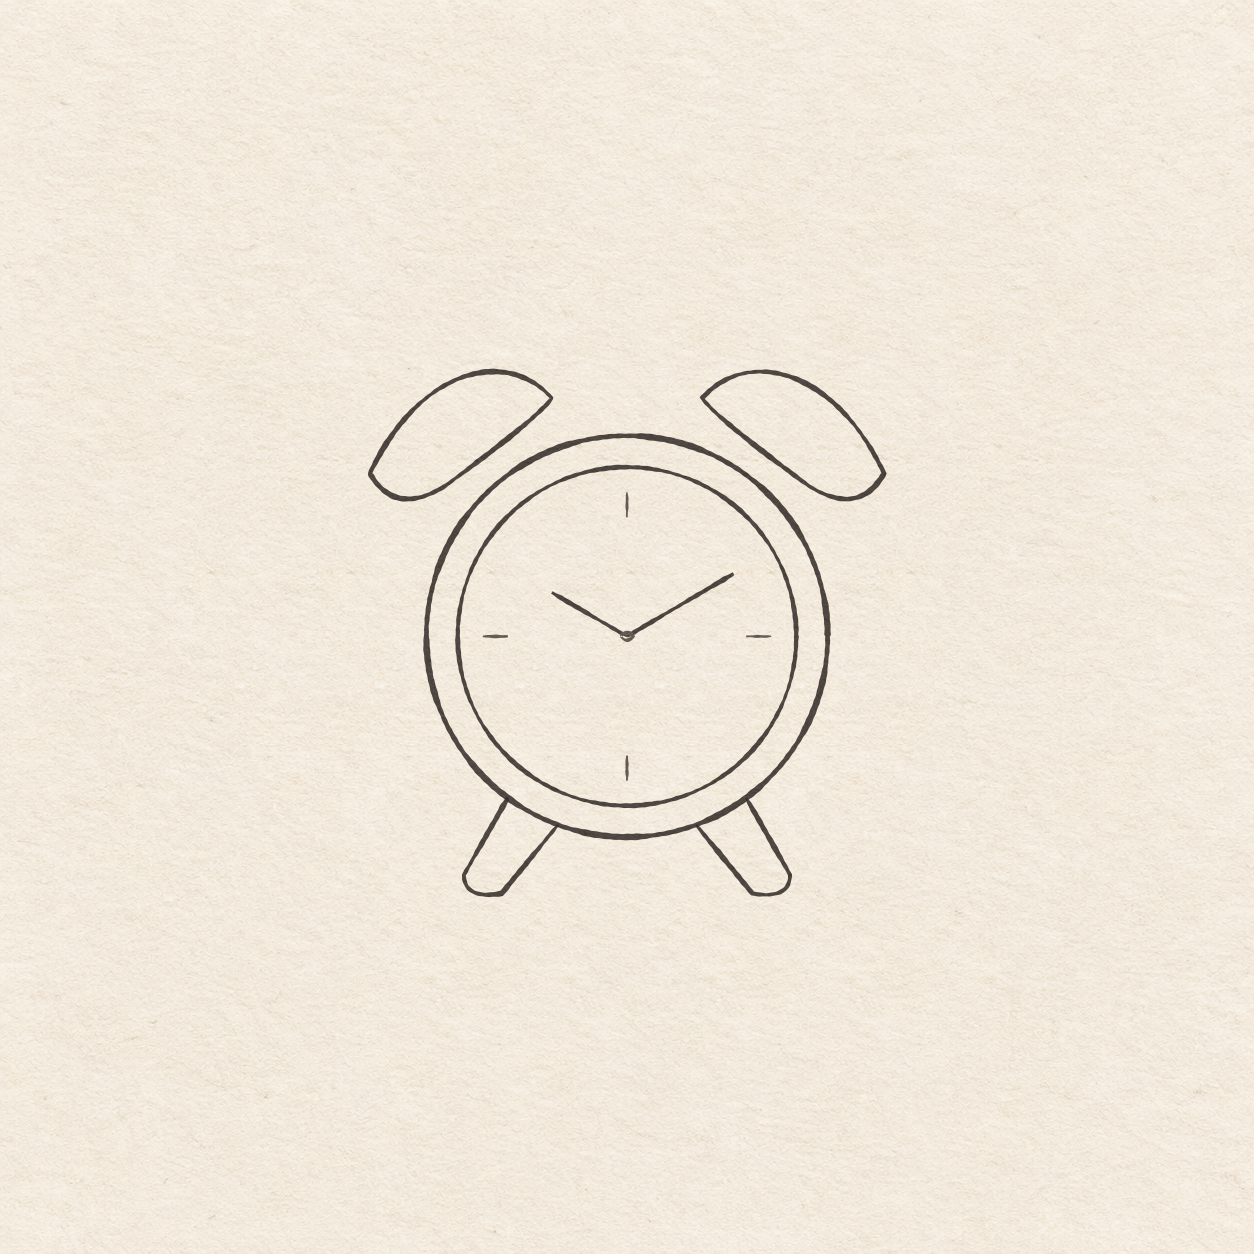
- Follow the outer circle first, then the inner circle in a continuous ink line. Work in short arcs and turn the paper if needed.
- Trace both closed bell shapes from their outer turns around to the ends near the center. Leave a strip of paper between each bell and the dial.
- Trace both feet from their outer contact around the toe to the inner contact. Stop both ends at the dial edge and keep the open paper between the two feet.
- Ink each of the four little marks from its outer dot toward the center. Leave a little bare paper between each tick and the inner rim. Lift toward the center.
- Trace each hand from its tip to the same center point. Trace the tiny oval with the pen tip. Leave paper showing below the point where the hands meet.

Drawing 7 — Erase the dry pencil guidesView larger 
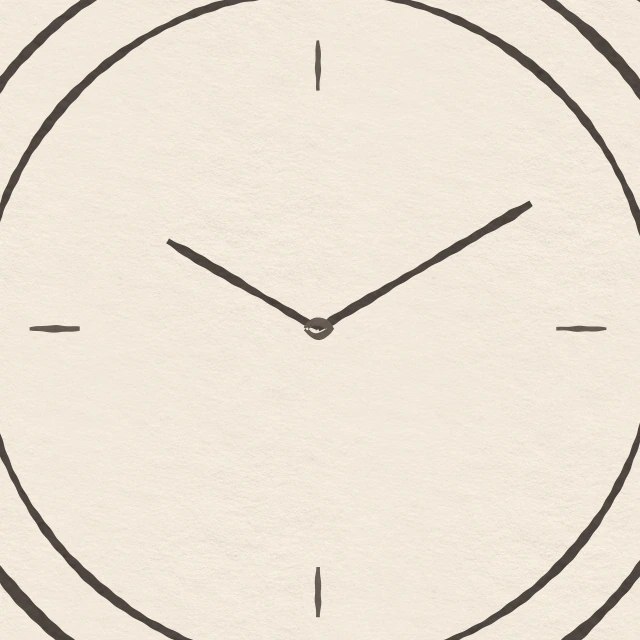
Detail 7.1 — The open loop at the handsThe two hands meet around a small ink loop. The pale measuring cross has been erased. CleanupErase the dry pencil guides
Instructions for Drawing 7 — Erase the dry pencil guides
- Fill a small patch on a scrap of the same paper with the same pen. Rub the patch gently with your eraser. If it smears, wait and test again. Once the patch stops smearing, erase the measuring cross, plotted dots and any remaining pencil marks beside the dry ink.
If something looks off
If the dial gets crowded
Leave clear paper between the hands and the dial edge. Keep just the four short marks for twelve, three, six and nine.