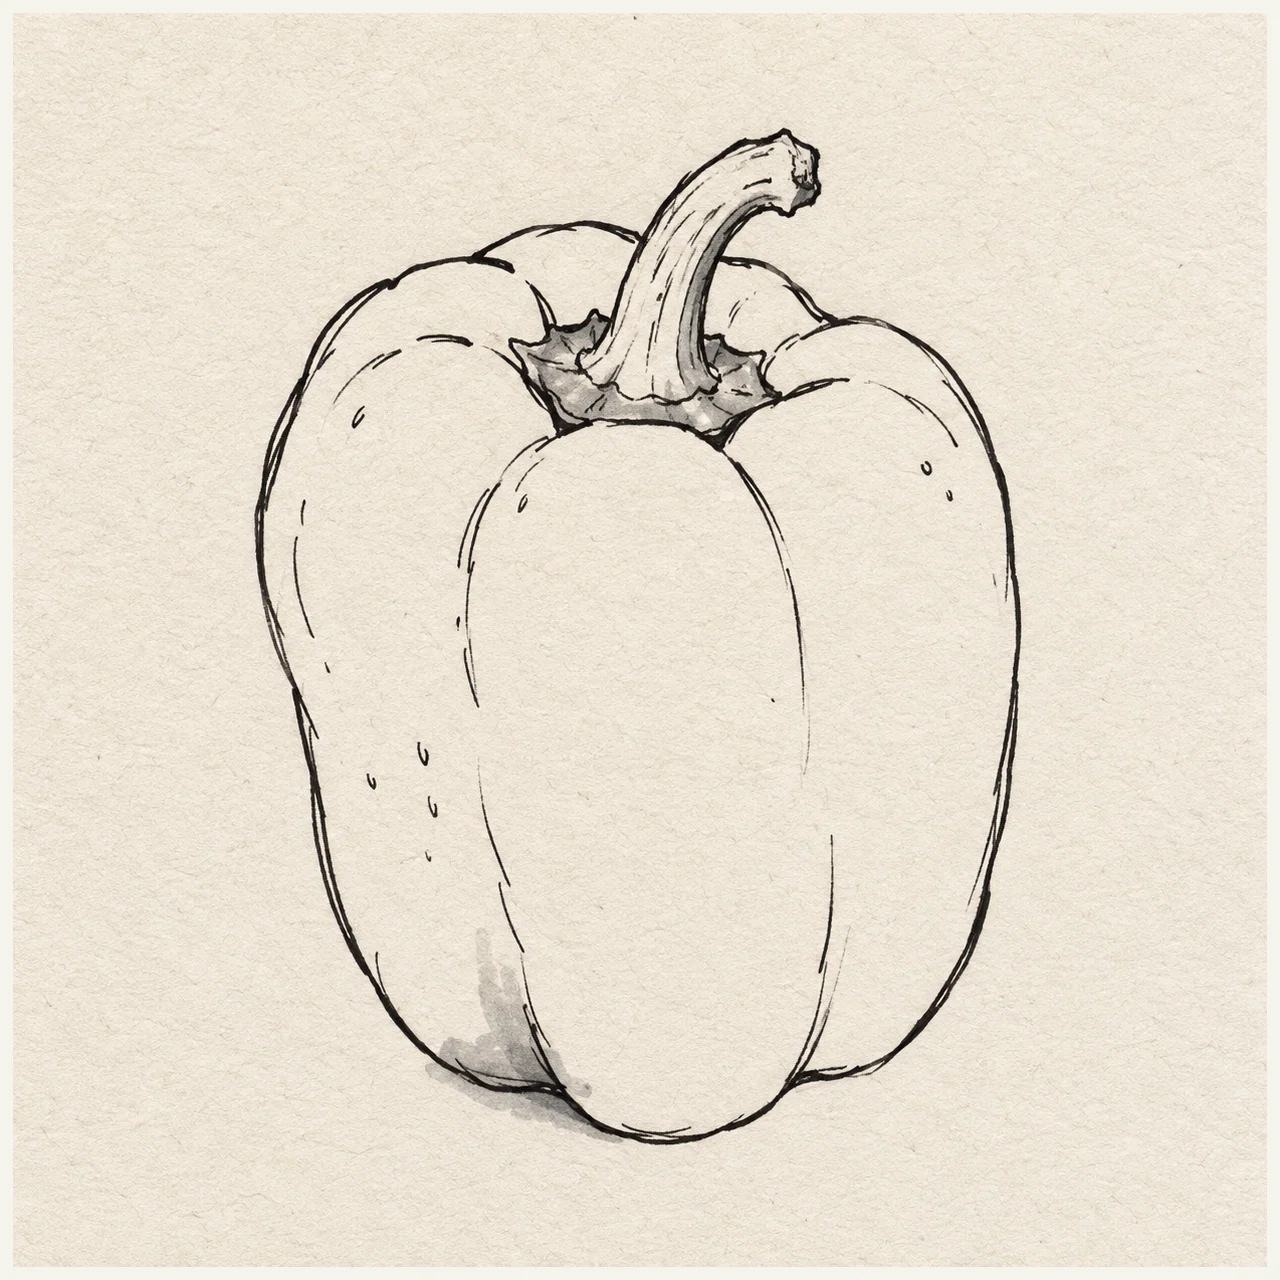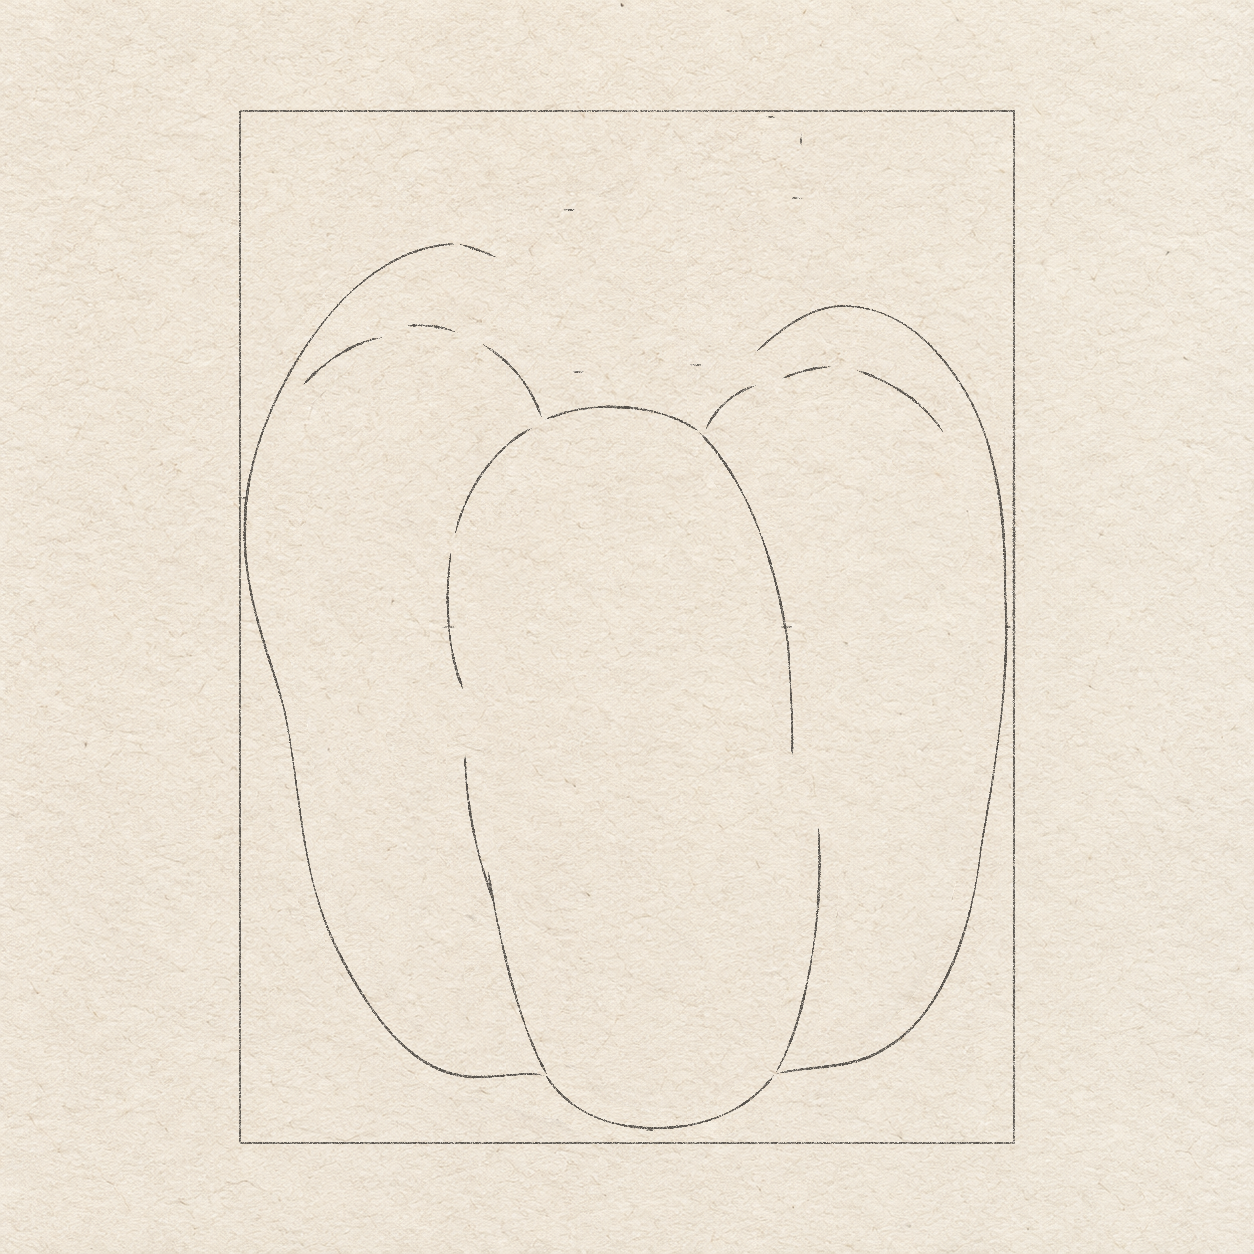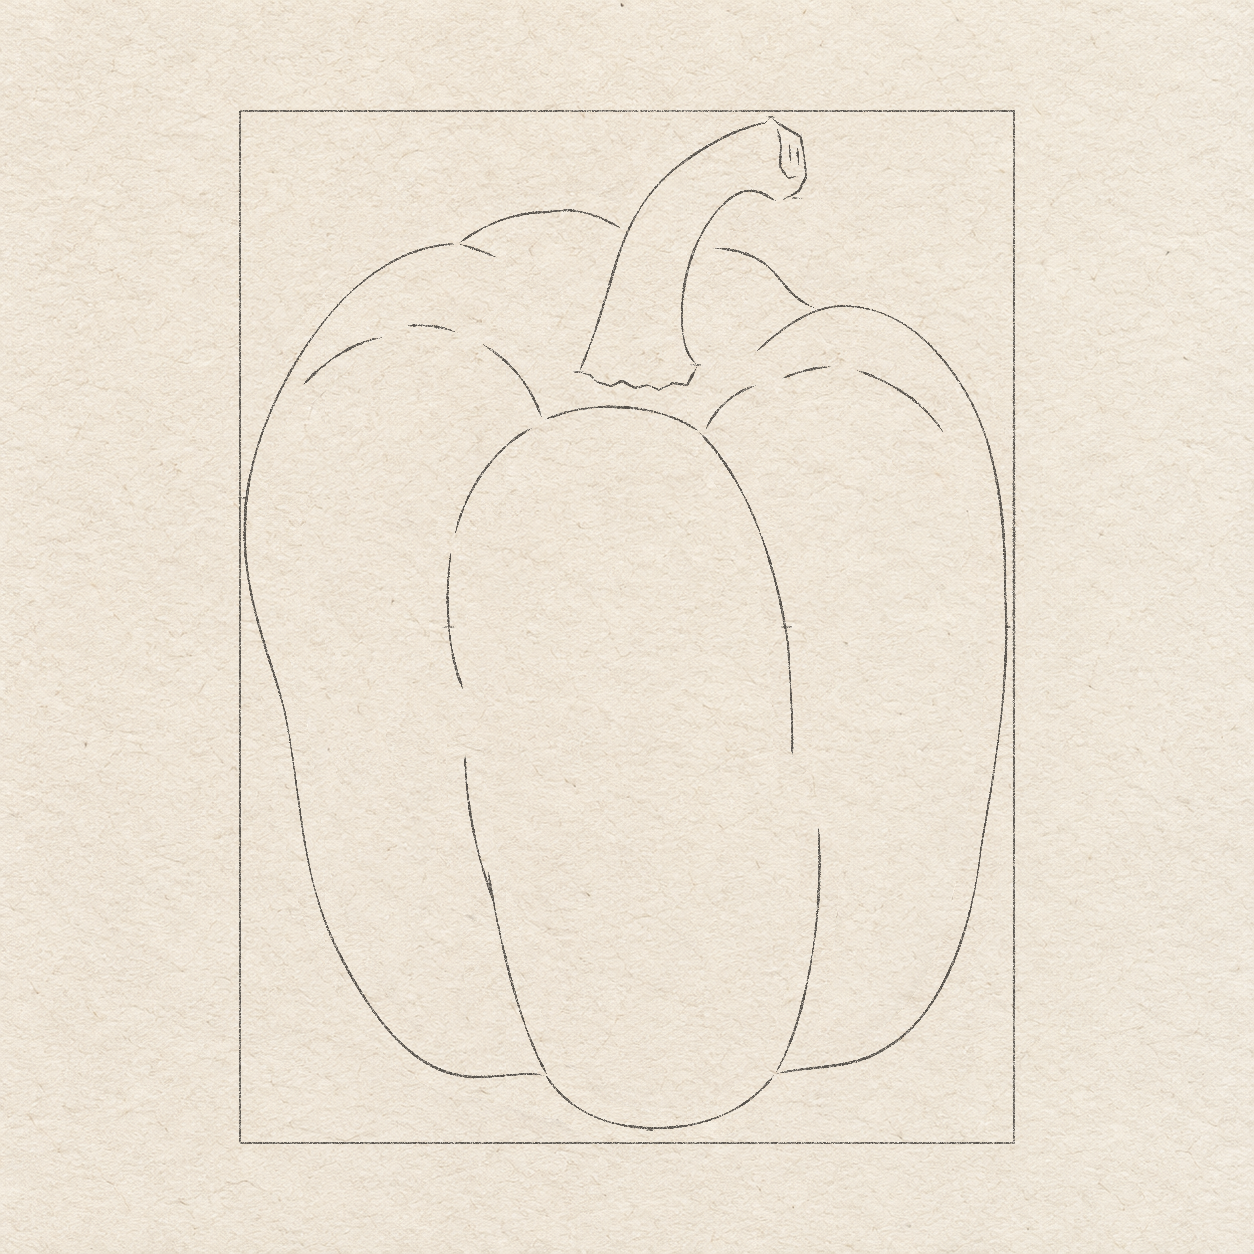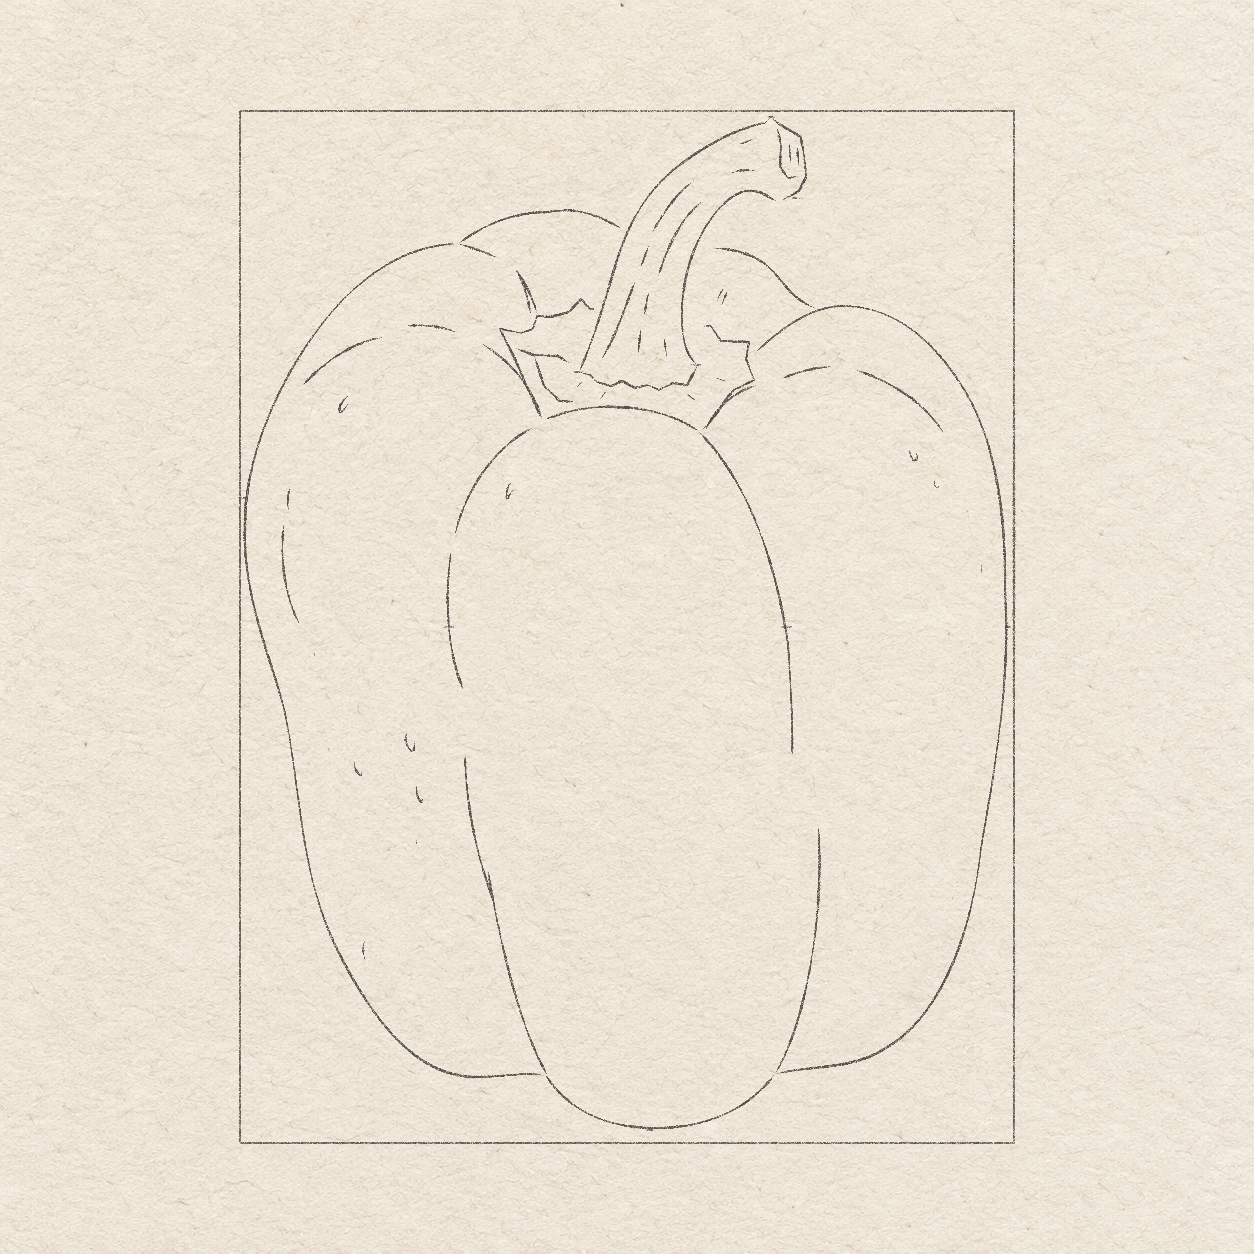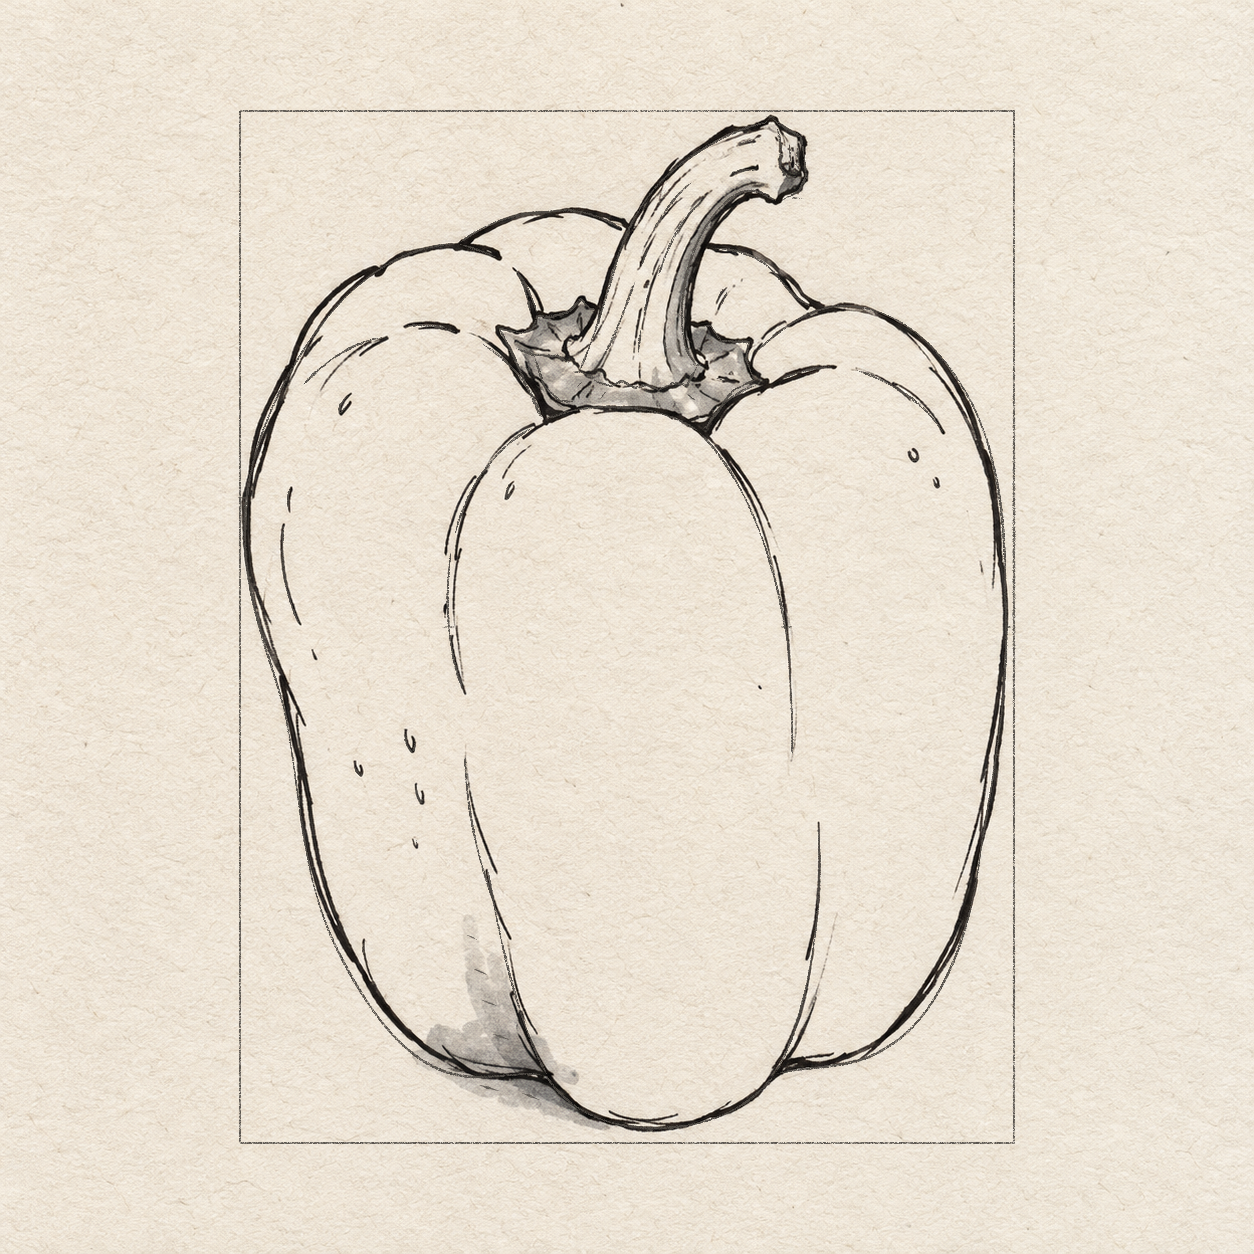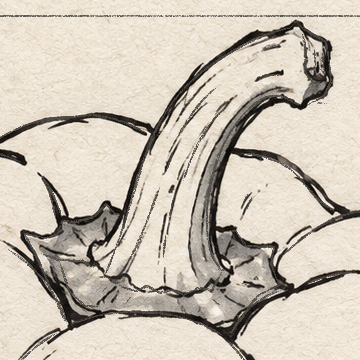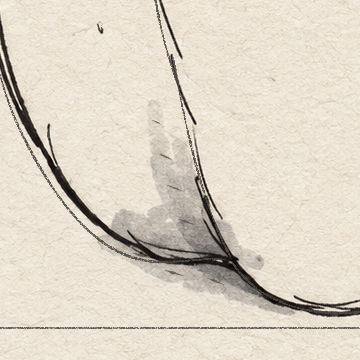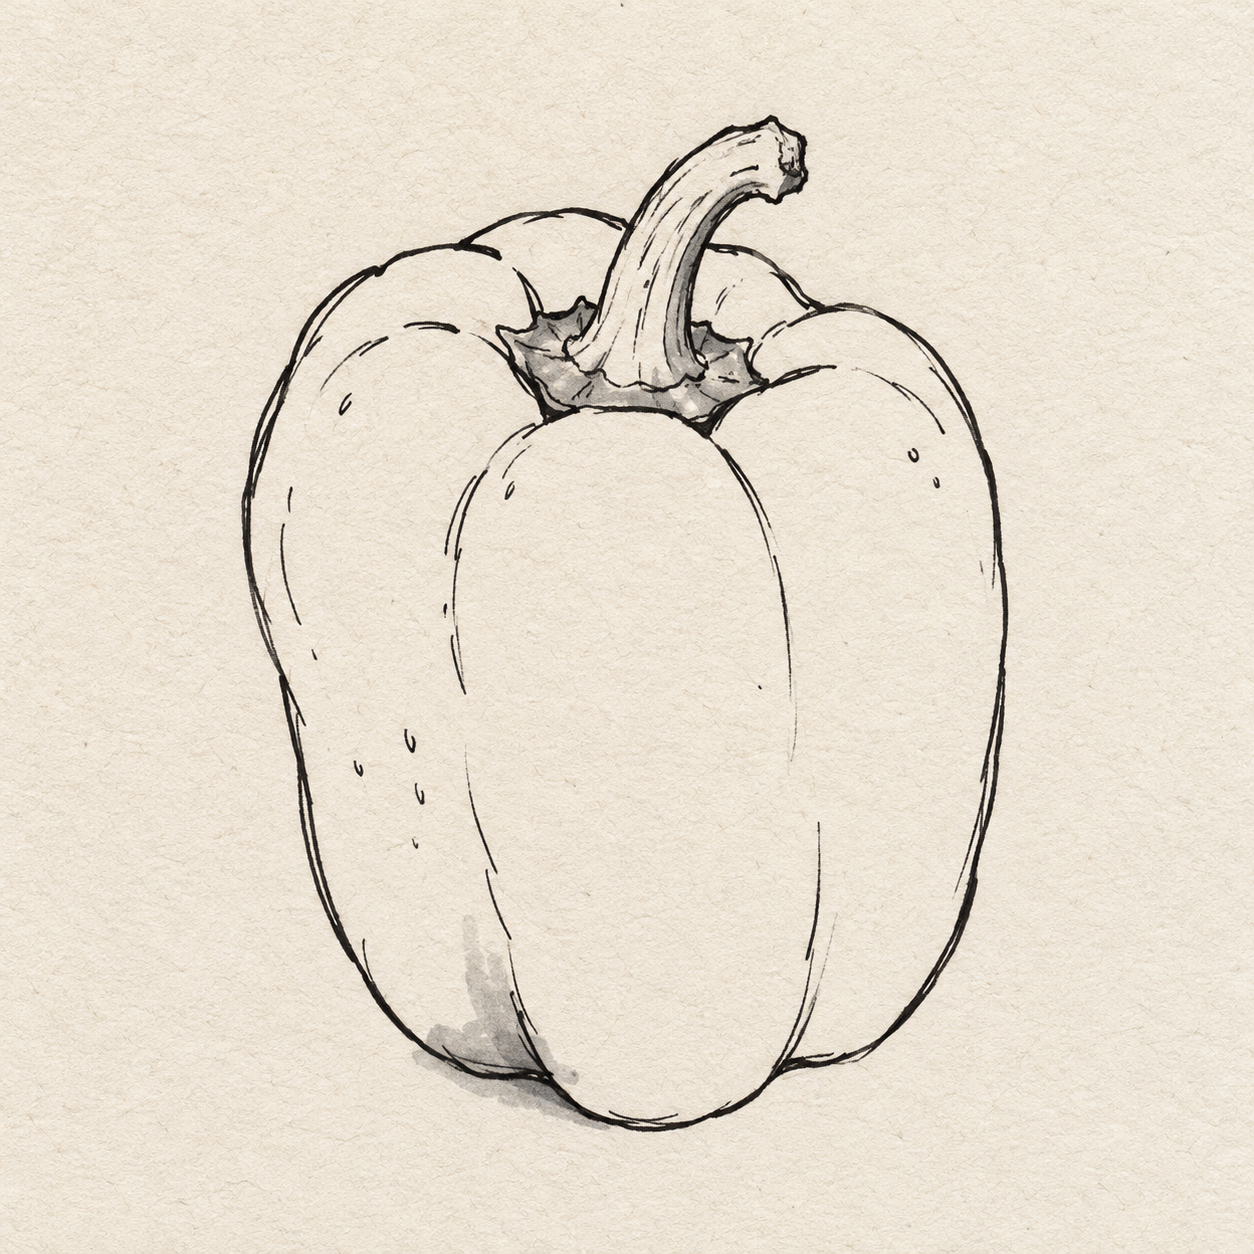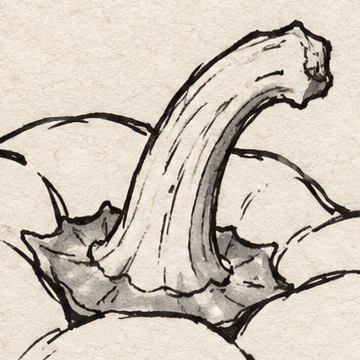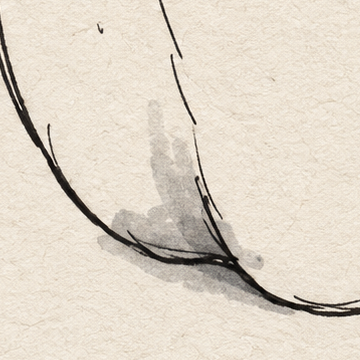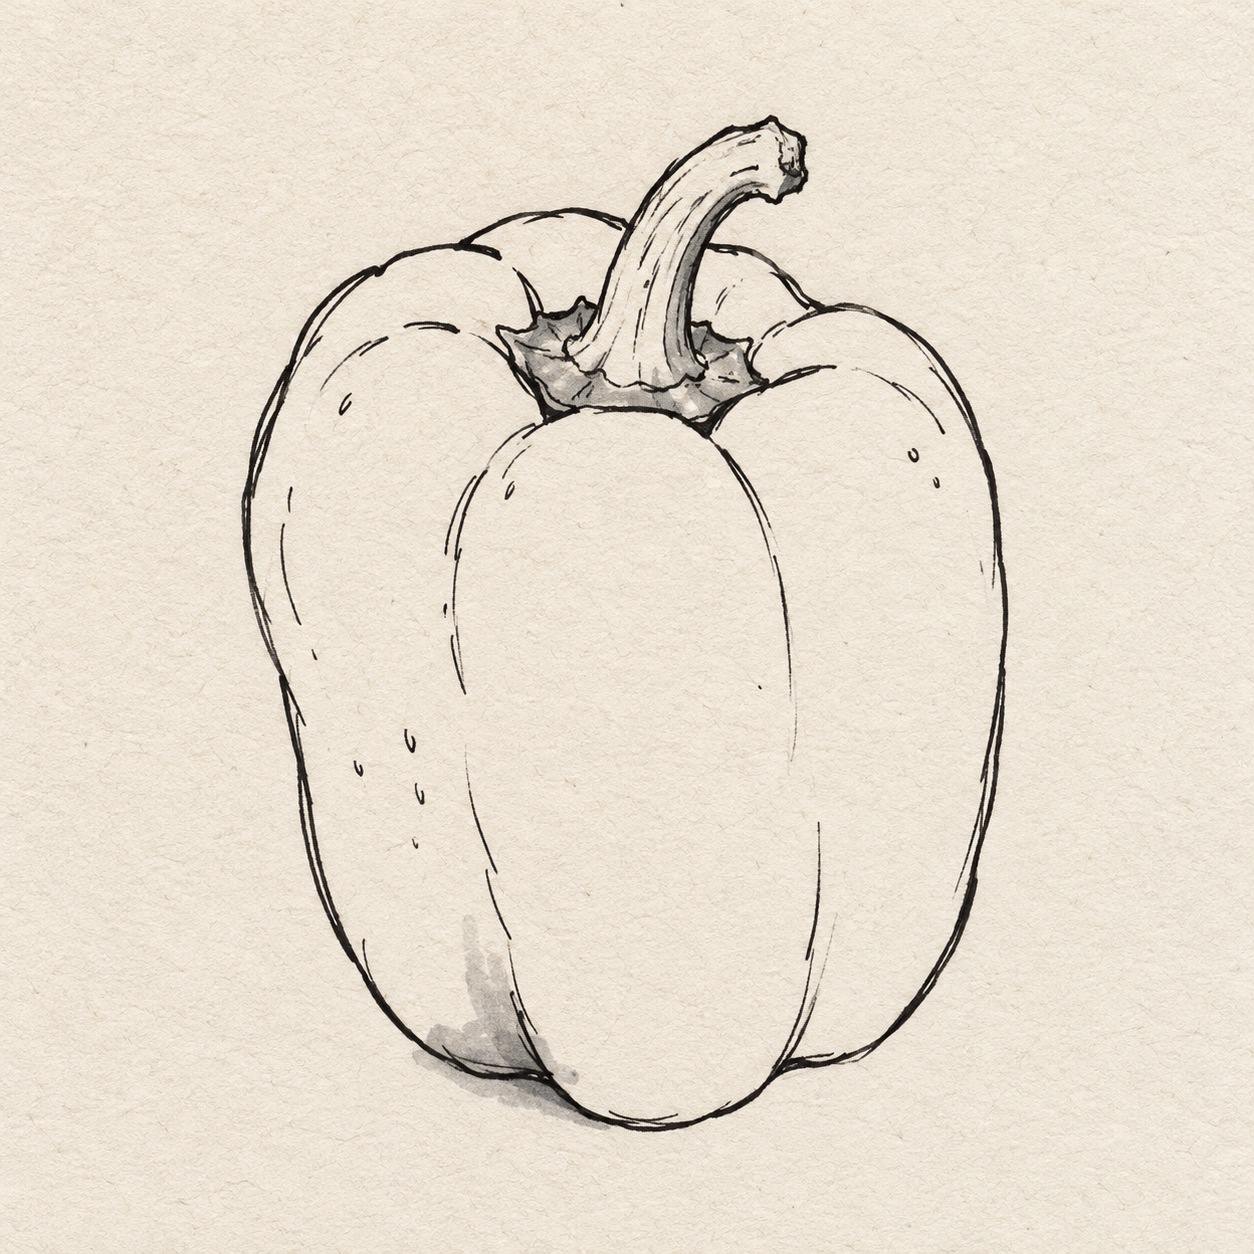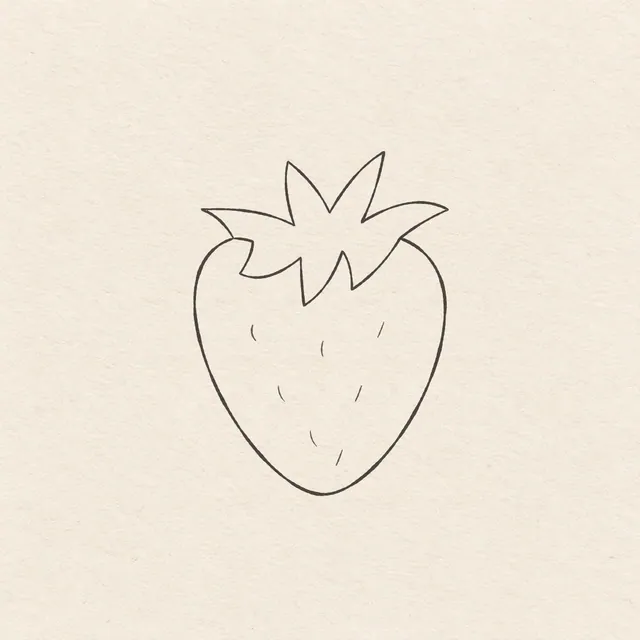
Black marker sketch of a whole bell pepper with broad rounded lobes, a bent stem, sparse surface marks, and limited gray accents on textured off-white paper.
Drawing referenceAbout reference use

A bell pepper with a bent stem

Build a bell pepper from three broad lobes and a bent stem. Use a few curved creases and small gray accents instead of filling its entire surface.

Food & drinkEasyMarkerReference practice: about 15 min
Save reference

Follow the drawing tutorial

Build the unequal lobes, bent stem and jagged collar of this bell pepper, then trace selected contours and add a little local marker gray.

Start the 8-step tutorial

A small thing to tryLet the crease lines fade before reaching the bottom. Continuous heavy divisions can flatten the pepper.

Draw it, one step at a time

How to draw this bell pepper

Build the unequal lobes, bent stem and jagged collar of this bell pepper, then trace selected contours and add a little local marker gray.

8 steps · 13 progress drawings Full tutorial: about 45 minutes, at your pace

What you’ll need

  • Pencil
  • Soft or kneaded eraser
  • Ruler for the light working box and measured contacts
  • Black felt-tip marker
  • Light gray marker
  • Sketchbook paper

Before you start

Draw this pepper in light pencil, then trace the chosen lines in black marker and add a little gray. Left and right mean the sides of the picture. The example uses a 12 × 16 cm box for the whole drawing. Put it where you want on paper large enough to leave room around it. Each lobe is a rounded section of the pepper’s body. The jagged collar sits around the stem’s base. Shape these curves freehand within the stated bounds. Keep the reference visible and use the named Details for small marks. Correct a misplaced pencil curve before marker; keep the box and ticks until the final dry cleanup. You can pause after any action.

  1. Step 1 of 8 · Pencil

    Place the whole pepper

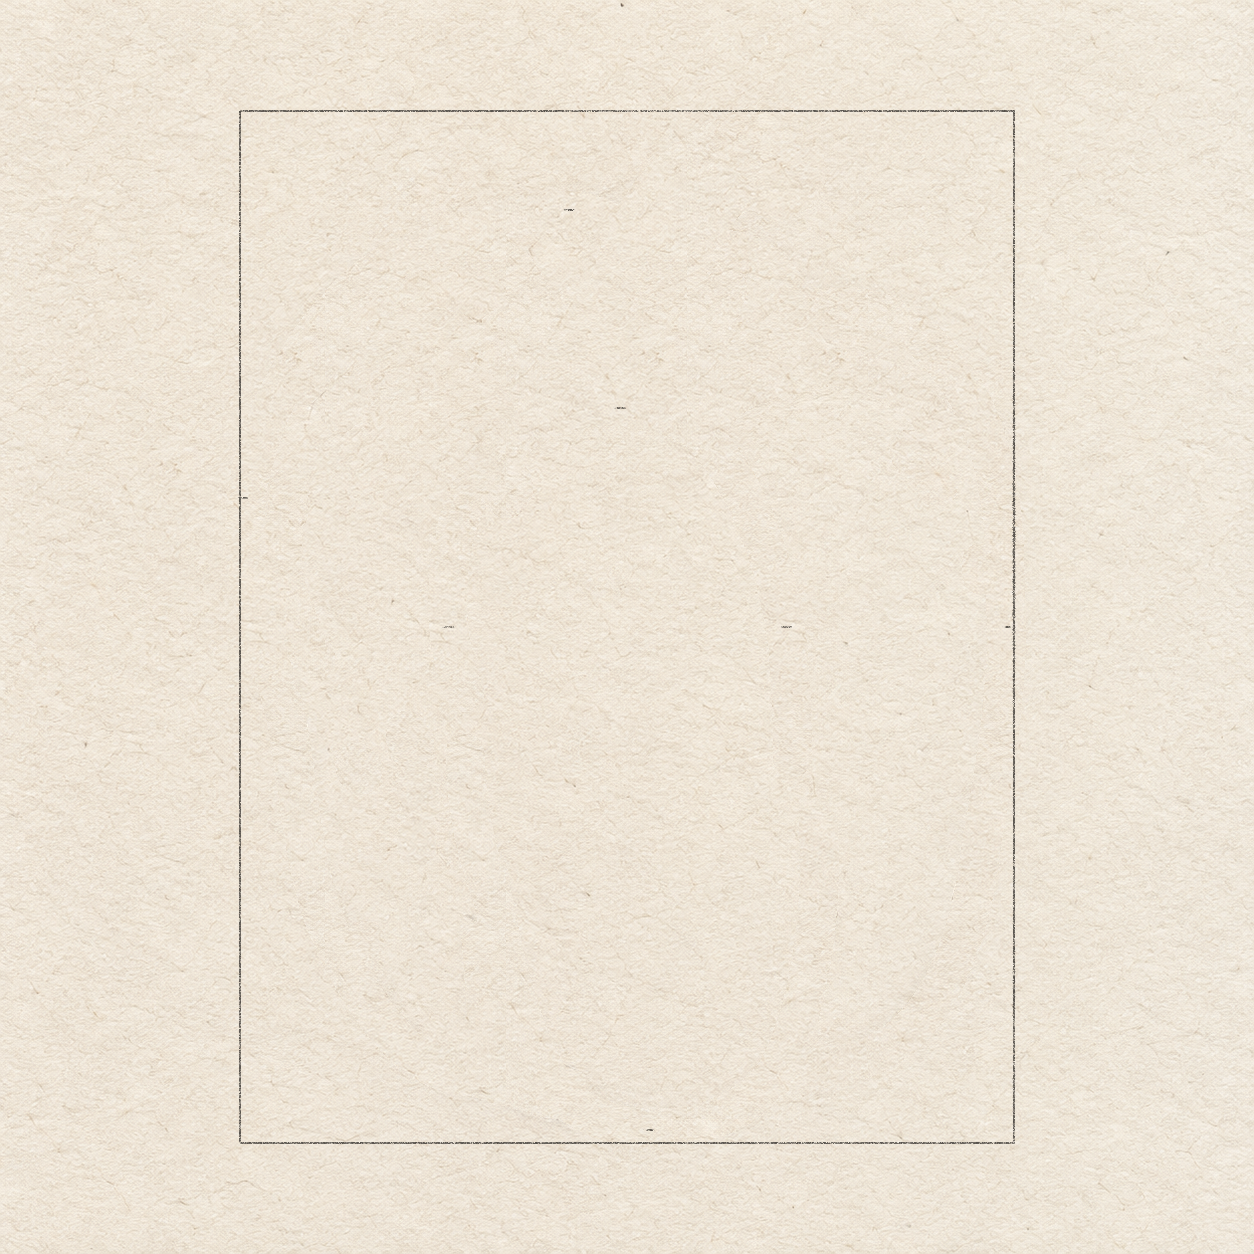
    In this example, a centred light pencil working box has four small body-limit ticks at unequal heights; no pepper contour yet.
    Drawing 1A — Whole-pepper limitsView larger
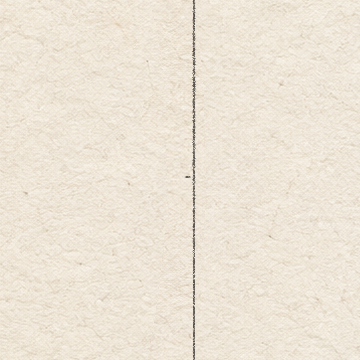
    Upper body tick inside the light working box before any pepper contour.
    Detail 1A.1 — Top body tickThe small upper tick locates the body’s highest back shoulder; the complete drawing shows its position inside the whole-pepper box.
    Bottom body tick just above the retained lower box edge.
    Detail 1A.2 — Bottom body tickThe lower tick will locate the front lobe’s lowest point, a little above the box bottom and right of its middle.
    Small body-width tick on the left side of the working box.
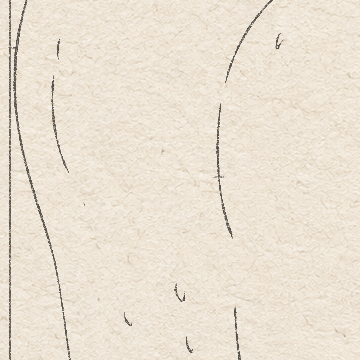
    Detail 1A.3 — Left body tickThis short tick crosses the left box edge at the body’s widest left-side height; it is a placement mark, not a pepper edge.
    Small body-width tick on the right box edge at its independently placed height.
    Detail 1A.4 — Right body tickThe right-side tick is lower than the left-side tick; keep their unequal heights when shaping the two side lobes.

    Instructions for Drawing 1A — Whole-pepper limits

    1. Choose where you want the 12 × 16 cm upright box, leaving paper around it; centring is optional. With light pencil and a ruler, draw its 12 cm horizontal top edge. From each end, draw a 16 cm side straight down. Join their lower ends. This temporary box holds the whole pepper, including its stem.
    2. Use Detail 1A.1 and Detail 1A.2. For the body’s top, make a short tick 5 cm from the box’s left side and 1½ cm below its top. Mark the body’s bottom just above the bottom edge, a little right of the middle.
    3. Use Detail 1A.3 and Detail 1A.4. On the box’s left edge, mark a tick 6 cm below its top. On the box’s right edge, mark another 8 cm below the top. These ticks bound the body; keep the box until cleanup.
    Next step — Build the front lobe
  2. Step 2 of 8 · Pencil

    Build the front lobe

    Three new front-lobe placement ticks inside the working box with the existing low-body tick retained.
    Drawing 2A — Front-lobe contactsView larger
    Three small pencil placement ticks before selecting the front-lobe curves.
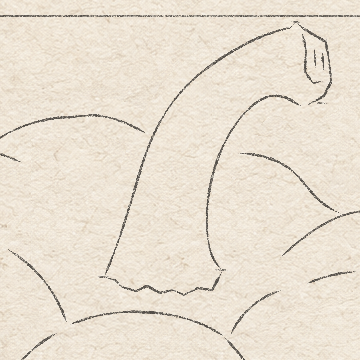
    Detail 2A.1 — Three front-lobe contactsThese are the front lobe’s top and two width ticks. Its bottom uses the existing lower-body tick in the complete drawing; no oval is drawn yet.

    Instructions for Drawing 2A — Front-lobe contacts
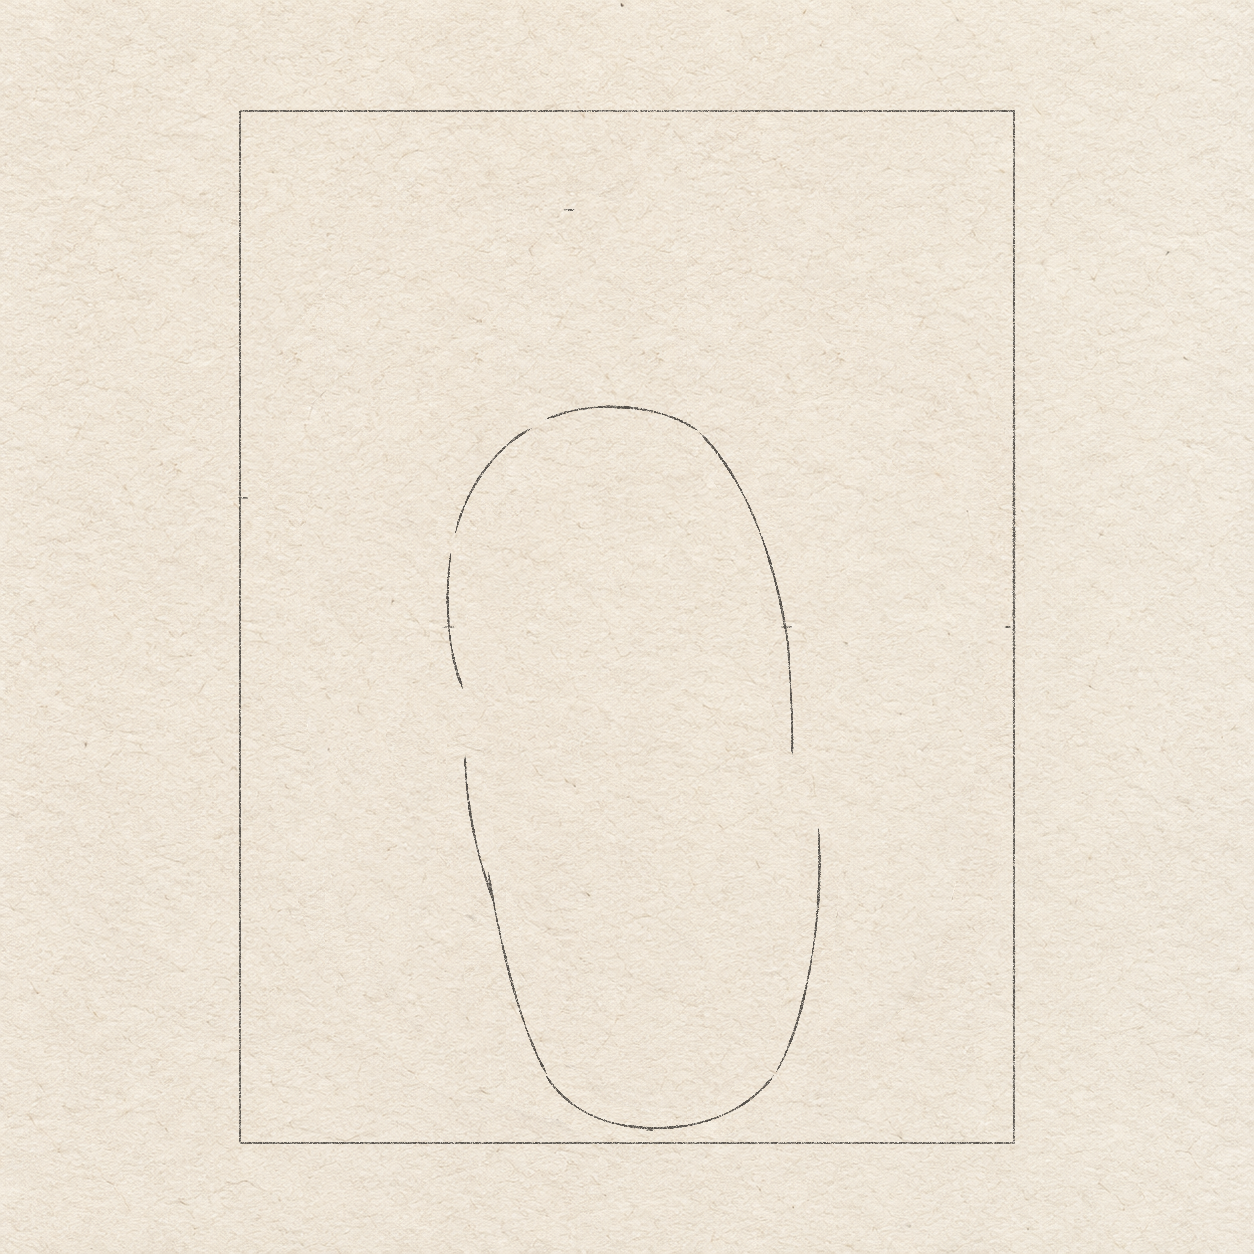
    1. Use Detail 2A.1. Use the existing bottom tick for the front lobe’s lowest point. Mark its top about 4½ cm below the box top, just left of the middle.
    2. At the box’s half-height, mark the lobe’s left limit about 3¼ cm from the box’s left side and its right limit about 8½ cm from that side. These are width limits, not corners for straight lines.
    Selected pencil front arch, broken descending sides and rounded base over the unchanged placement ticks.
    Drawing 2B — Front-lobe curvesView larger
    Selected pencil front arch and side curves at their retained width contacts.
    Detail 2B.1 — Front arch and width contactsThe chosen front arch and upper side curves now use those contacts. The full drawing retains the lower narrowing and rounded bottom.

    Instructions for Drawing 2B — Front-lobe curves

    1. Allow a shallow arch about 2½ cm wide around the top tick, with both ends a little below its middle. Shape it by eye: curve freehand up from the left end toward the top tick, then down to the right end.
    2. These curves divide the rounded body sections. Leave a few short gaps rather than drawing a clean closed oval.
    3. From the front arch’s left end, draw freehand out to the left width tick, then inward toward the bottom tick.
    4. From the arch’s right end, draw through the right width tick and narrow the curve toward the base.
    5. Round the bottom freehand. If the base spreads too wide, erase the chosen pencil curve and narrow it before continuing.
    Next step — Add the unequal side lobes
  3. Step 3 of 8 · Pencil

    Add the unequal side lobes

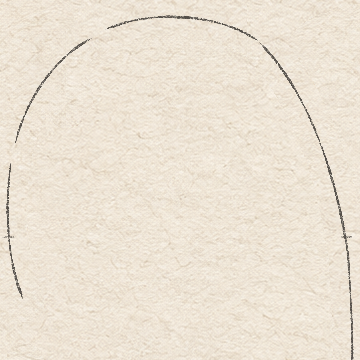
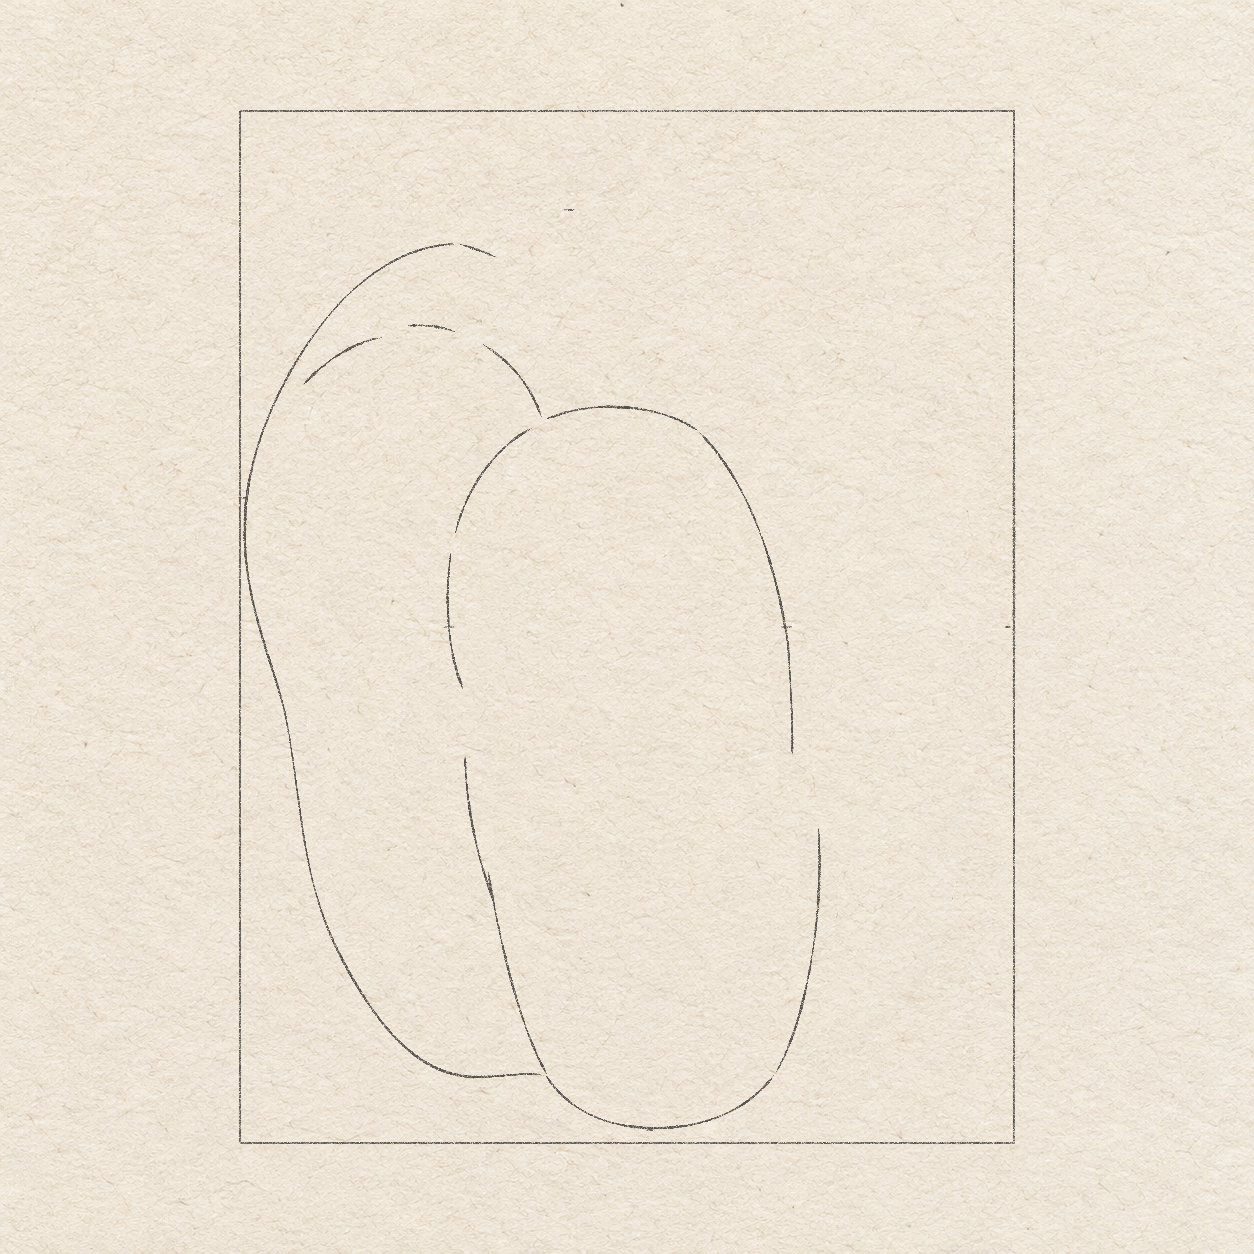
    A broad selected left lobe and broken upper inside arch join the existing foreground lobe.
    Drawing 3A — Left lobeView larger

    Instructions for Drawing 3A — Left lobe
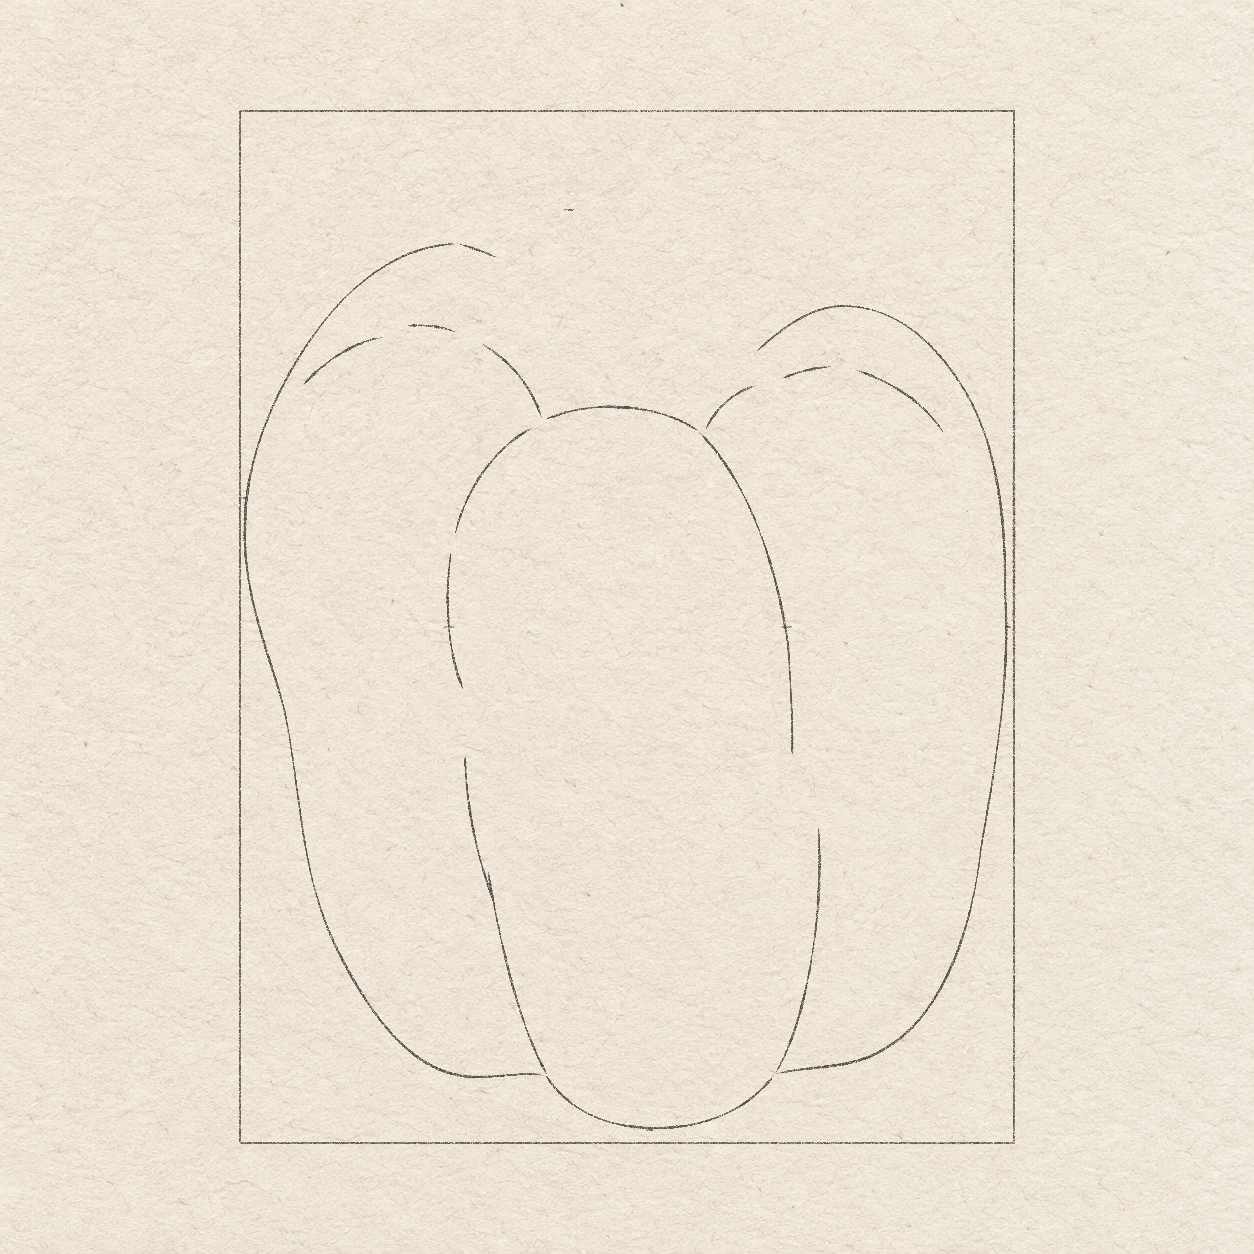
    1. Mark the left lobe’s top about 3¼ cm from the box’s left side and 2 cm below its top.
    2. Freehand its outside edge down-left through the left body tick. Round the broad lower foot into the front lobe’s lower-left side, about 1 cm above the front lobe’s bottom.
    3. From the left-lobe top, add a short return about ½ cm right and ¼ cm down. This does not close the back of the lobe.
    4. Inside the upper-left body, freehand a broken arch from just inside the outside edge, about 4 cm below the box top, to the front lobe’s upper-left end. Bow it upward and keep most of the lobe as open paper.
    The independent right crest, outside wall and two separate inside curves complete the unequal side lobes.
    Drawing 3B — Right lobeView larger

    Instructions for Drawing 3B — Right lobe

    1. Mark the right lobe’s top about 2½ cm from the box’s right side and 3 cm below its top.
    2. The right lobe’s exposed upper-left end starts about ¾ cm right and 1¼ cm above the front arch’s right end. Freehand a broad curve up-right from that start into the right-lobe top tick. Keep its left end stopped for the later collar; do not extend it down through that area.
    3. Freehand its outside edge down-right through the right body tick. Round its lower foot into the front lobe’s lower-right side, about 1 cm above the front bottom; do not mirror the left lobe.
    4. From the front lobe’s upper-right end, freehand a short broken arch up-right, ending about 1 cm below the right-lobe top. Lift before reaching the outside edge.
    5. Just right of that arch’s end, add a separate shallow curve about 1½ cm across and 1 cm down-right. Stop it well above the body’s middle; it is an inside curve, not another outside edge.
    Next step — Draw the bent stem
  4. Step 4 of 8 · Pencil

    Draw the bent stem

    Five small stem-foot and cut-bound ticks appear above the selected pepper lobes; no stem outline yet.
    Drawing 4A — Stem feet and cut-end limitsView larger
    Five stem-placement ticks above the selected pepper lobes.
    Detail 4A.1 — Stem feet and cut boundsTwo lower ticks locate the separate stem feet; the three upper marks bound the cut end. They do not form a stem outline yet.

    Instructions for Drawing 4A — Stem feet and cut-end limits
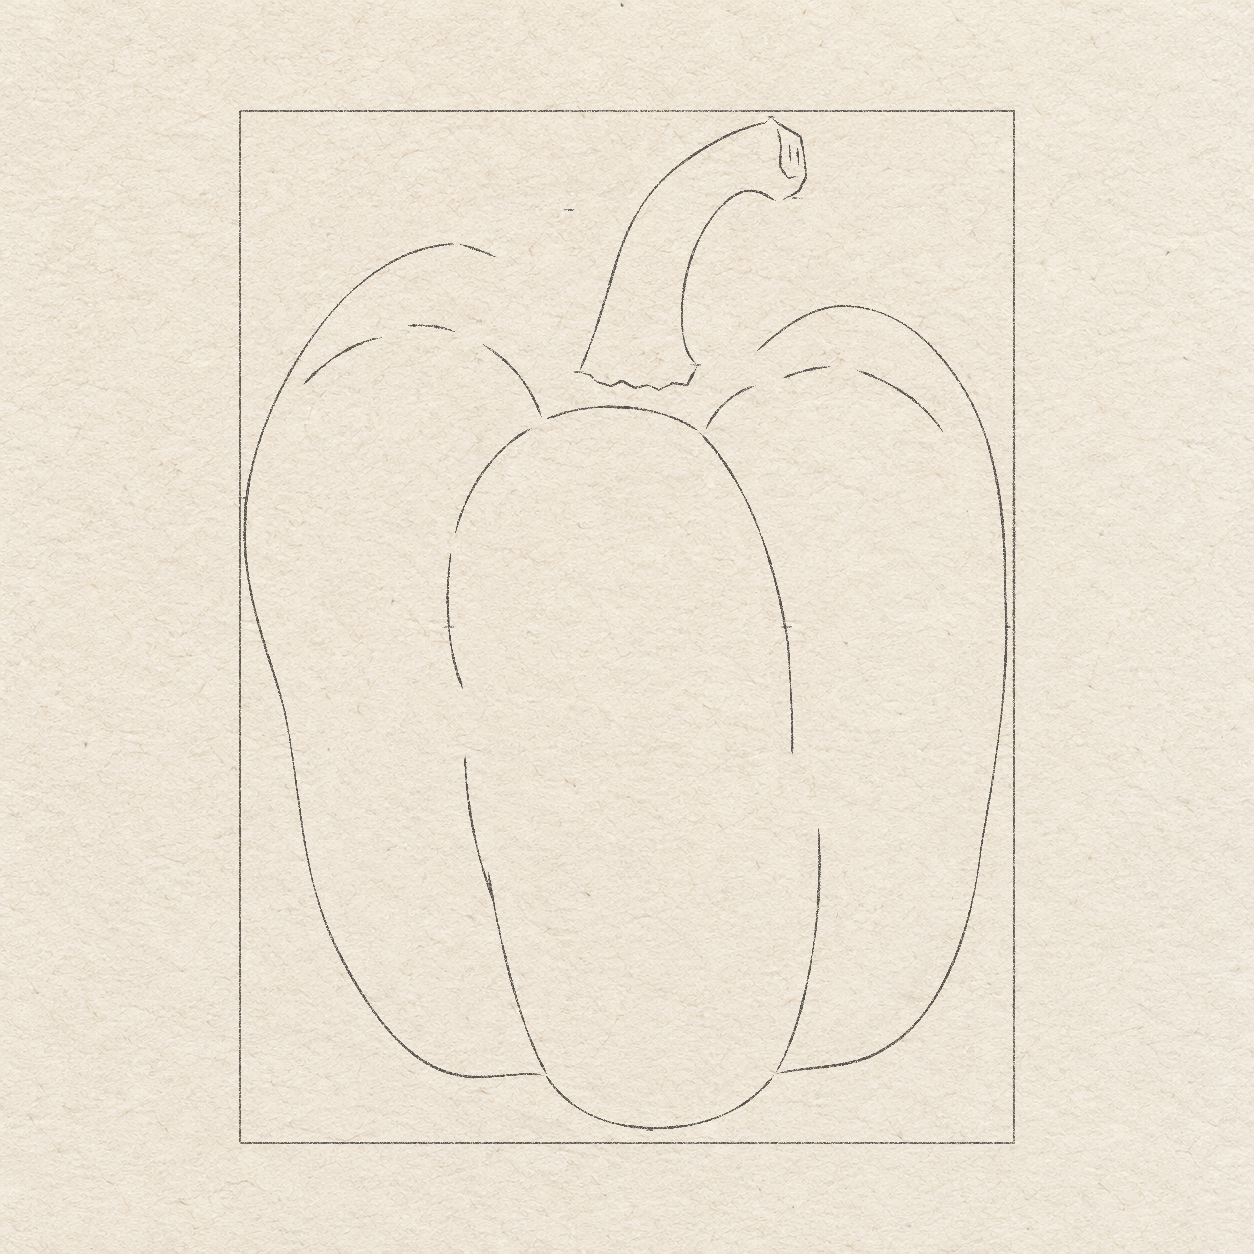
    1. Use Detail 4A.1. Mark the stem’s left foot about ½ cm right and ¾ cm above the front arch’s left end. Mark the right foot almost 2 cm to its right, at nearly the same height.
    2. Near the box top, mark the cut end’s upper-left limit about 3¾ cm from the box’s right side. Give the irregular cut end about ½ cm of width and 1¼ cm of height; mark those bounds before shaping it.
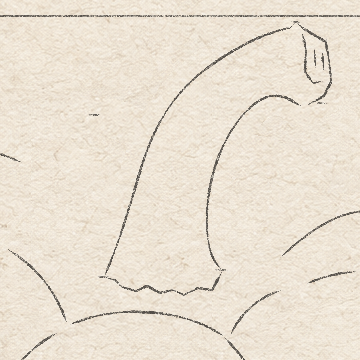
    Two bent pencil stem sides enclose an uneven cut face with a rim, two short accents and a low wavy base.
    Drawing 4B — Bent stemView larger
    Selected pencil bent stem, cut rim, two small face accents and wavy base.
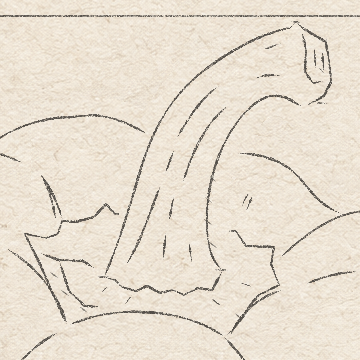
    Detail 4B.1 — Bent stem and cut faceThe two chosen sides bend right into the cut face. Its narrow rim and two short downward face accents are separate marks.

    Instructions for Drawing 4B — Bent stem

    1. From the left foot, freehand the stem’s left side upward and then right to the cut end’s upper-left limit. Start almost upright, then bend right near the top; avoid a straight diagonal.
    2. From the right foot, curve up and a little left before bending right into the cut end’s lower edge. At the stem’s middle, leave about 1¼ cm between the two sides; adjust the chosen curve if that gap pinches shut.
    3. Freehand the uneven cut face inside its marked bounds and add its narrow inside rim. Join the two feet with a low wavy edge, leaving several shallow points along it.
    4. Inside the cut face, add two short downward marks freehand, about ⅓ cm long. Let them lean slightly right and leave paper between them; they are face accents, not another rim.
    Next step — Connect the shoulders and collar
  5. Step 5 of 8 · Pencil

    Connect the shoulders and collar

    Two short unequal rear shoulder arcs stop beside the selected stem and preserve a small right-side gap.
    Drawing 5A — Short back shouldersView larger
    Back-shoulder endings beside the already selected bent stem.
    Detail 5A.1 — Shoulder stops beside the stemThis view shows where the back shoulders stop beside the stem, including the small right-side gap. Their full starts remain visible in the complete drawing.

    Instructions for Drawing 5A — Short back shoulders
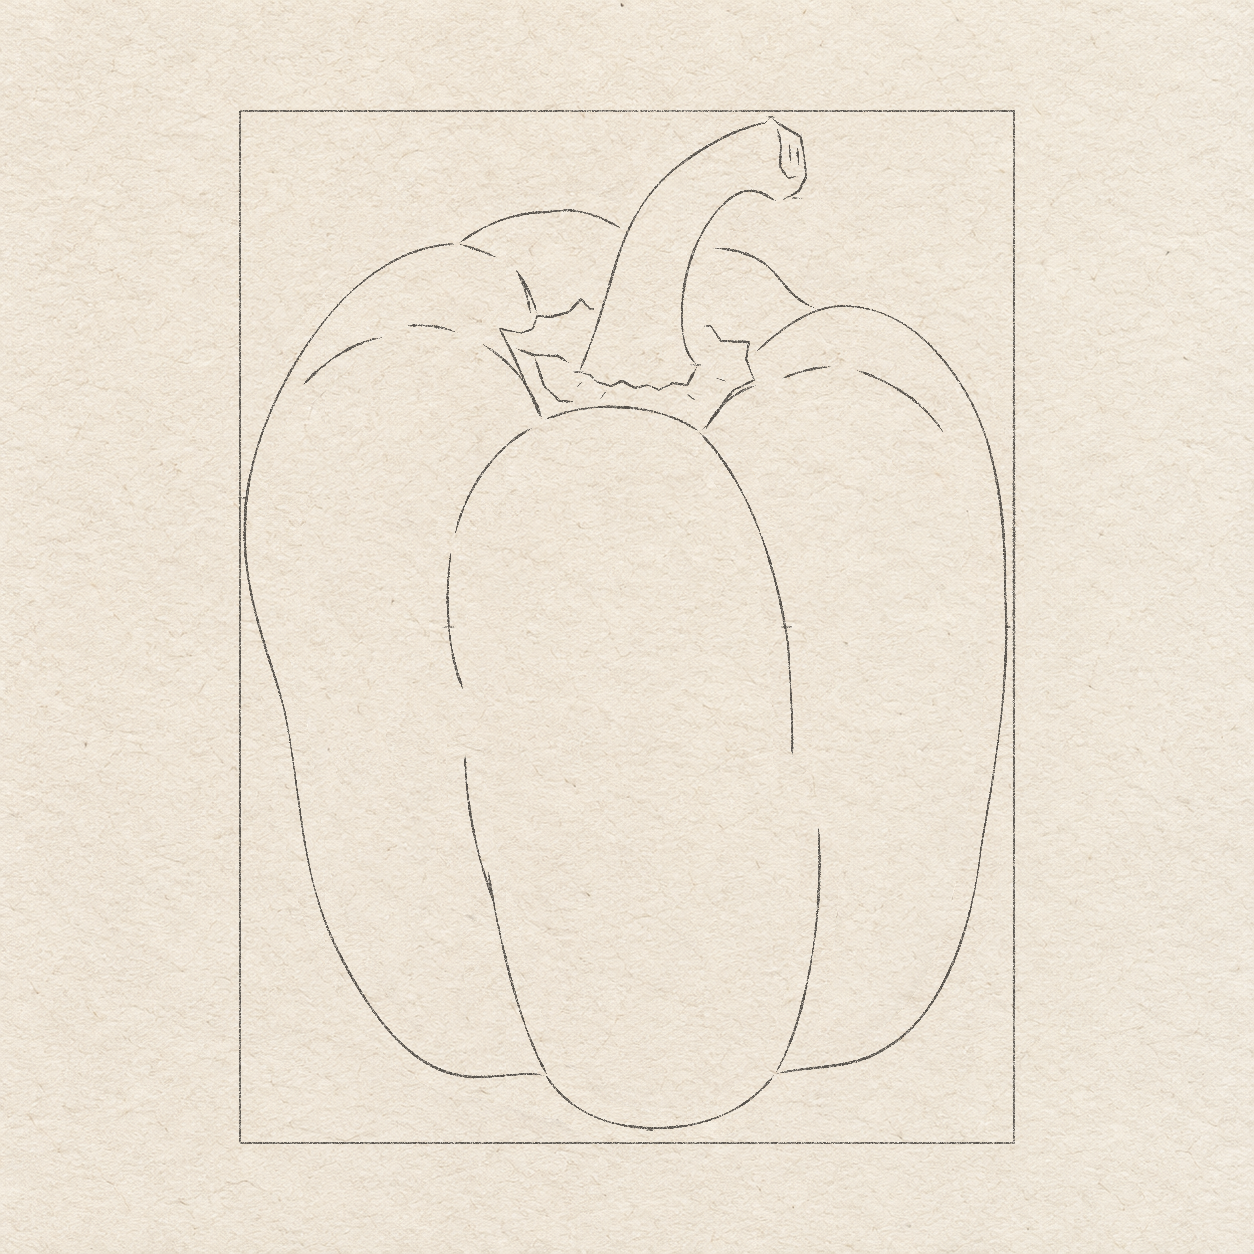
    1. From the left-lobe top, freehand a broad back shoulder through the body-top tick and down-right to the stem’s left edge. Stop at the stem; do not draw a hidden line across it.
    2. Start the other back shoulder just right of the stem, about 1¾ cm above its feet. Leave the small gap beside the stem, then curve down-right into the upper-left side of the right lobe’s top.
    A tall narrow back point and unequal collar contours meet the single retained front arch around the stem base.
    Drawing 5B — Jagged collar around the stemView larger
    Selected collar points and small folds around the stem with one retained front arch.
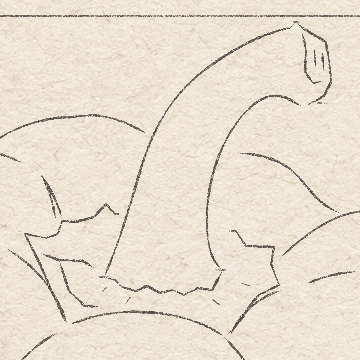
    Detail 5B.1 — Collar, back point and shared archThe tall thin back point and unequal collar sides join the existing front arch. Keep the wavy stem base in front; no second lower arch is added.

    Instructions for Drawing 5B — Jagged collar around the stem

    1. One narrow back point beside the collar rises about 1½ cm above the left stem foot and about 1 cm to its left. Most other collar points reach about 1 cm above the feet. Allow about 4 cm of width and 2½ cm of height overall; the lower edge remains the existing front arch.
    2. Keep the stem’s wavy base visible in front of the jagged collar. For that tall back point, start at its high tip. Draw two close curves freehand down-right, ending about 7 mm below and 3 mm right of the tip. Leave about 1 mm between their lower ends. Then draw the unequal collar points beside the stem.
    3. Fit the collar’s outer right turn beside the open left end of the right section’s top. Join the two lower corners to the ends of the front arch.
    4. Keep that one existing arch. Do not draw another lower curve or continue collar lines across the stem.
    5. Add a few short angular lines inside this collar, mostly below and left of the stem feet. Use short straight strokes, joining a few into small bends. Shape their angles by eye and leave small paper gaps between the corner areas that will become dark.
    Next step — Plan sparse accents and gray
  6. Step 6 of 8 · Pencil

    Plan sparse accents and gray

    Sparse broken stem, shoulder and left-body accents and a few skin dashes lie inside the selected pepper contours.
    Drawing 6A — Sparse surface accentsView larger
    Sparse broken pencil accents inside the stem and on the small shoulder to its right.
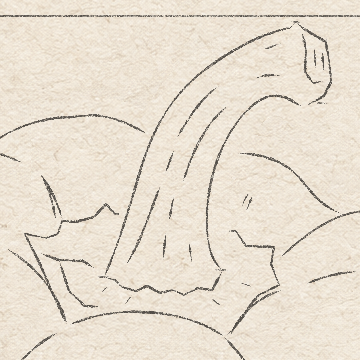
    Detail 6A.1 — Broken stem and shoulder accentsBroken lengthwise stem lines and two short shoulder marks stay inside their selected regions, separate from the outside stem contour.
    Representative broken left-lobe surface line and a few short natural dashes.
    Detail 6A.2 — Left lengthwise line and sparse dashesThis representative left-body area shows the broken lengthwise line and a few loose surface dashes; the full drawing keeps the broad interiors open.

    Instructions for Drawing 6A — Sparse surface accents
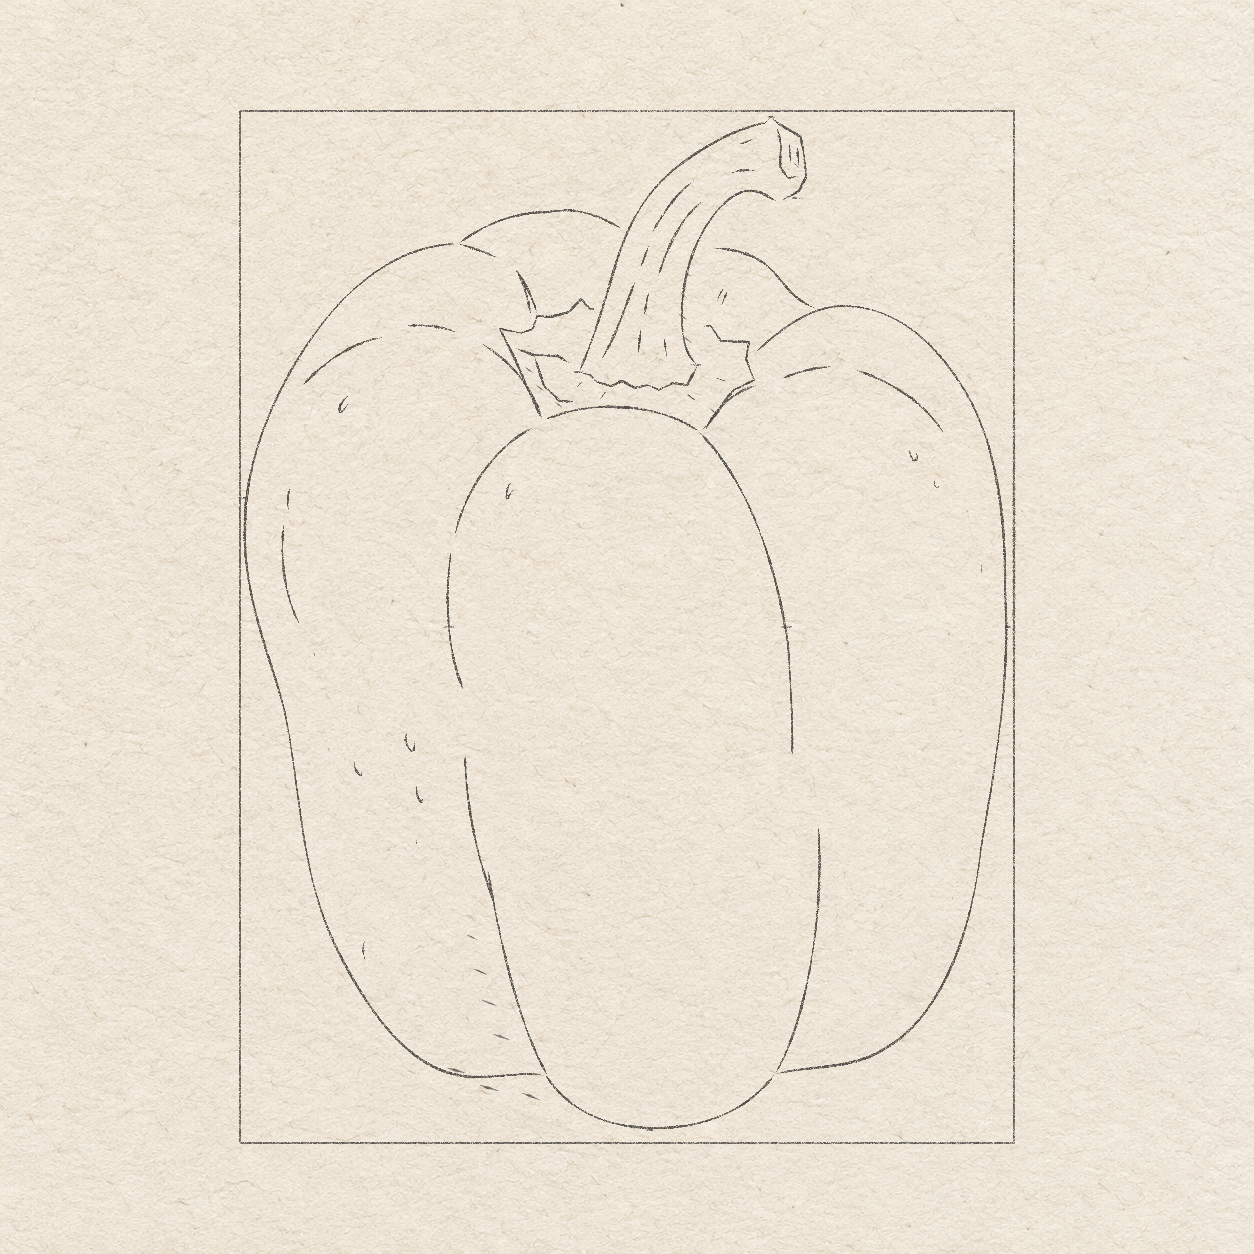
    1. Inside the stem, freehand two or three broken lines upward through its bend; lift before the cut face. Leave a broad light strip along the stem’s left side.
    2. Follow the left outside edge’s bend with a broken freehand line about ½ cm inside it, from about 6 cm to 8½ cm below the box top. Leave a short gap near its lower end rather than drawing a second outside border.
    3. On the short back shoulder just right of the stem, add two short slanting marks down-left by eye. Keep them separate from the stem edge and shoulder outline.
    4. Add only a few short curved dashes by eye on the pepper: mostly in the left lobe’s lower half, a pair high on the right lobe, and one near the front lobe’s upper-left side. Tiny natural flecks may vary; keep the broad interiors empty.
    Light pencil hatches plan local stem, cut, collar and lower-left foot/contact gray while broad lobes stay unshaded.
    Drawing 6B — Local gray limitsView larger
    Pencil hatches planning local stem, cut-face and collar gray before marker.
    Detail 6B.1 — Stem, cut and collar gray-shading cuesLight hatches plan gray on the stem’s right side, in the cut face and inside the collar. Keep the left stem face and small collar paper gaps light.
    Pencil gray-planning hatches at the lower-left crease, foot and shallow contact shadow.
    Detail 6B.2 — Lower-left gray and contact cuesThe hatches run beside the lower front crease and onto the left foot/contact area. The front lobe’s lowest point stays clear.

    Instructions for Drawing 6B — Local gray limits

    1. Use Detail 6B.1. Use a few light pencil hatches to plan gray along the stem’s right side, plus one tiny diagonal hatch in the cut face’s right-hand half. These hatches mark gray-shading areas, not extra outlines; keep the left stem face as paper.
    2. Plan small gray patches inside the jagged collar, mainly its left underside and lower corners. Keep the narrow paper areas beside the stem’s wavy base and the small central gaps light; the chosen base contour itself will be inked.
    3. Use Detail 6B.2. Start about 3 cm above the front section’s bottom and plan a narrow gray patch just left of its lower-left crease. Widen the patch onto the rounded base of the left section.
    4. Add a shallow shadow just under that base. Stop before the front section’s lowest point; keep the front and right sections unshaded.
    Next step — Trace and add local gray
  7. Step 7 of 8 · Marker and gray

    Trace and add local gray

    Black marker and restrained local gray match the pepper reference while the temporary pencil layers remain visible.
    Drawing 7A — Marker contours and local grayView larger
    Marker stem and collar with restrained gray and retained temporary pencil.
    Detail 7A.1 — Marker stem and collarBlack selected contours and local gray now follow the pencil plan; the temporary pencil guides remain visible until cleanup.
    Local lower-left marker gray and contact shadow before pencil cleanup.
    Detail 7A.2 — Lower-left marker grayThe lower-left gray and shallow contact shadow are in place while the broad front lobe remains paper and the pencil helpers remain visible.

    Instructions for Drawing 7A — Marker contours and local gray

    1. With black marker, trace the chosen pepper, stem, cut-face and collar contours. Keep the lobe and stem lines broken; leave the box, ticks and gray hatches in pencil.
    2. Trace a few planned surface dashes. Skip extra texture rather than filling the open paper.
    3. Let the black ink dry, then add light gray to the planned right stem side and cut face. Keep the broad left stem strip light.
    4. Add small gray patches inside the collar and deepen its lower corner contacts, preserving the little paper gaps.
    5. Add the planned lower-left gray and shallow contact shadow. Keep most of the pepper as paper, and lift the gray marker before the front lobe’s lowest point.
    Next step — Dry and erase the helpers
  8. Step 8 of 8 · Finish

    Dry and erase the helpers

    The exact finished marker pepper retains its local gray and open paper after dry-tested pencil cleanup.
    Drawing 8A — Dry cleanupView larger
    Finished stem and collar after removing the temporary graphite.
    Detail 8A.1 — Clean stem and collarAfter dry-tested cleanup, the stem and collar retain their black contours, local gray and small paper gaps; the pencil helpers are gone.
    Finished lower-left gray and open front-lobe base after cleanup.
    Detail 8A.2 — Clean lower-left grayThe final lower-left crease, foot and contact shadow remain unchanged after erasing, with open paper at the front lobe’s lowest point.

    Instructions for Drawing 8A — Dry cleanup

    1. Make black and gray test patches on scrap paper with the same markers used in Drawing 7A.
    2. Wait until a gentle eraser pass smears neither patch. If either smears, wait longer and test again.
    3. Erase only the light box, ticks, gray-planning hatches and pencil contours visible beside the ink.
    4. Keep the broken black lines and gray patches. Use a clean eraser lightly so the open paper and reserved lights stay clear.
    Back to the tutorial

If something looks off

The pepper looks like three equal ovals

Keep the foreground lobe rounded and narrow at the bottom. Locate the left and right tops separately and use their unequal body-width ticks; do not mirror the side lobes or close their hidden backs.

The small placement ticks are hard to see

Use Detail 1A.1, Detail 1A.2, Detail 1A.3 and Detail 1A.4 for the first body limits. Use Detail 2A.1 for the front contacts and Detail 4A.1 for both stem feet and cut bounds. The complete drawings preserve their page position.

The stem looks straight or pinched

Use Detail 4B.1. Keep the independently placed feet, let the left side rise before turning right and let the right side begin slightly leftward before its bend. Widen a pinched chosen pencil curve before marker.

The collar becomes a solid star

Use Detail 5B.1. Retain the single existing front arch, keep the wavy stem base in front and leave the small paper gaps when adding local gray.

Too much of the pepper is gray

Use Detail 6B.1 and Detail 6B.2. Gray belongs on the stem’s right side, small cut/collar areas and the lower-left crease/foot/contact; leave the broad front and right lobes as paper.