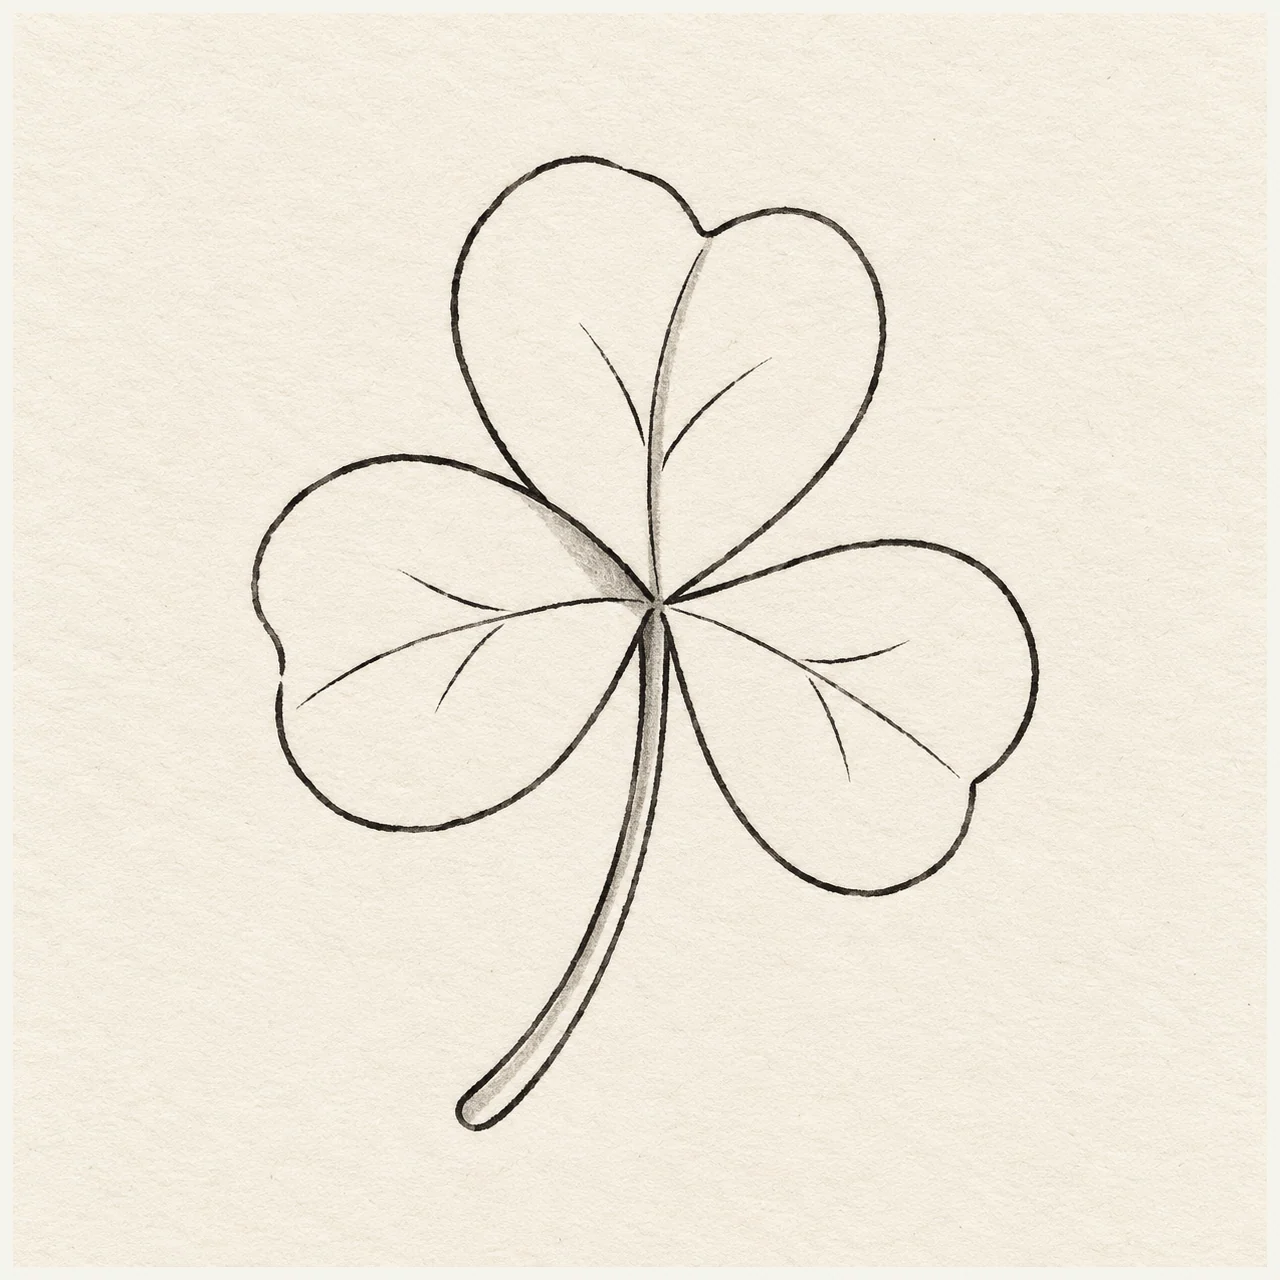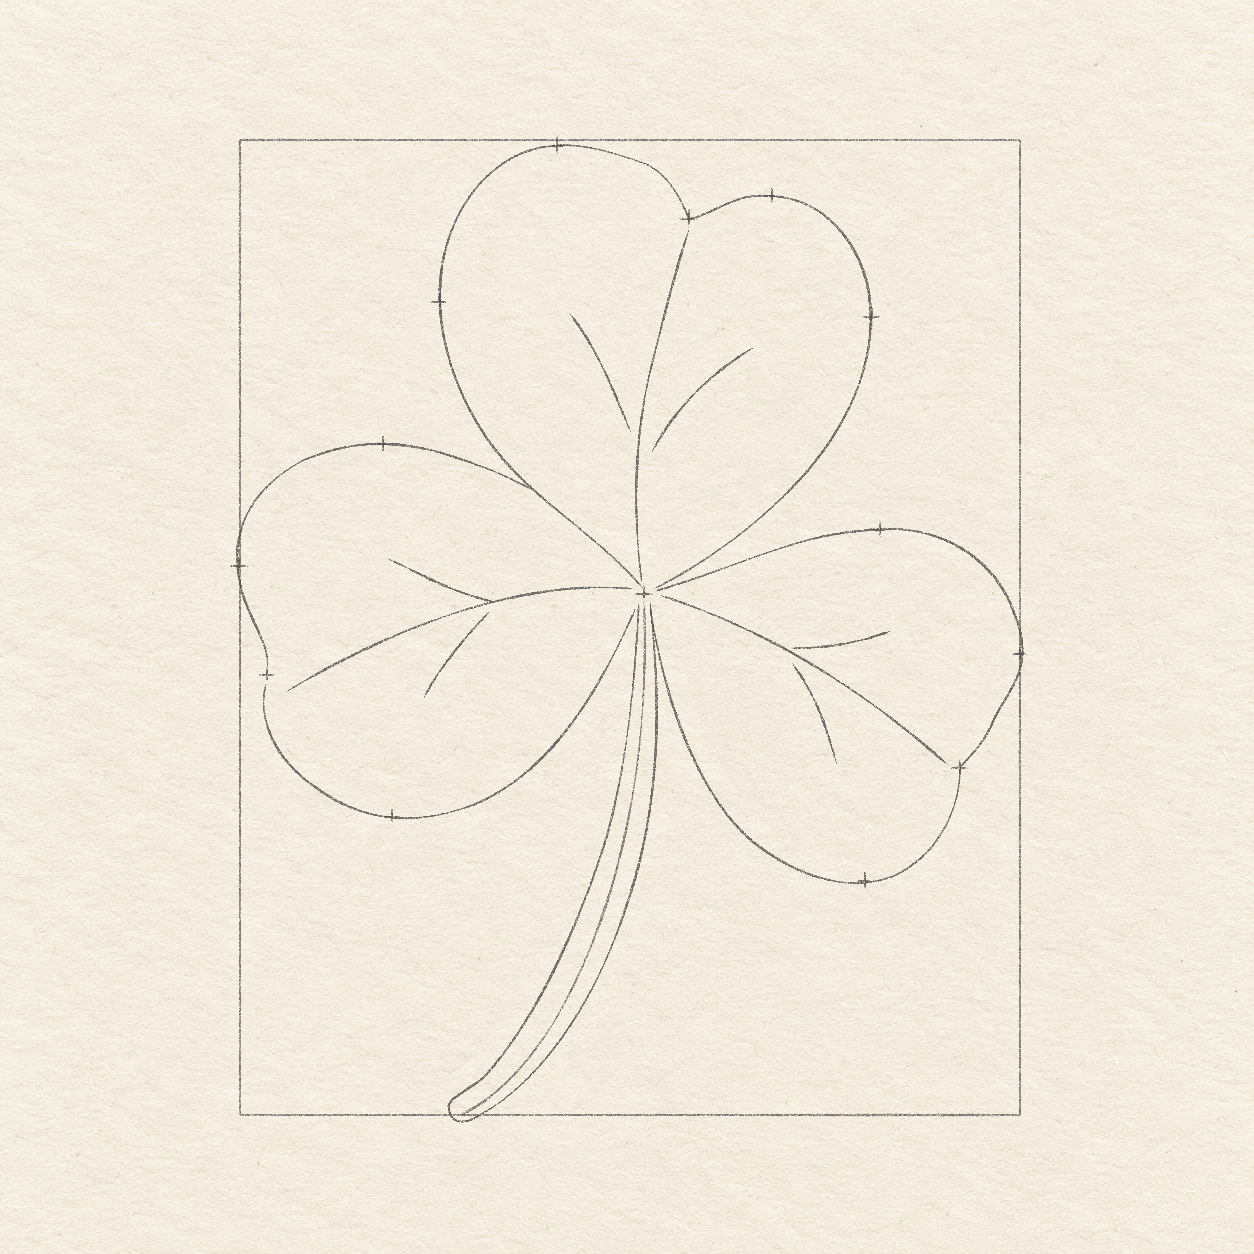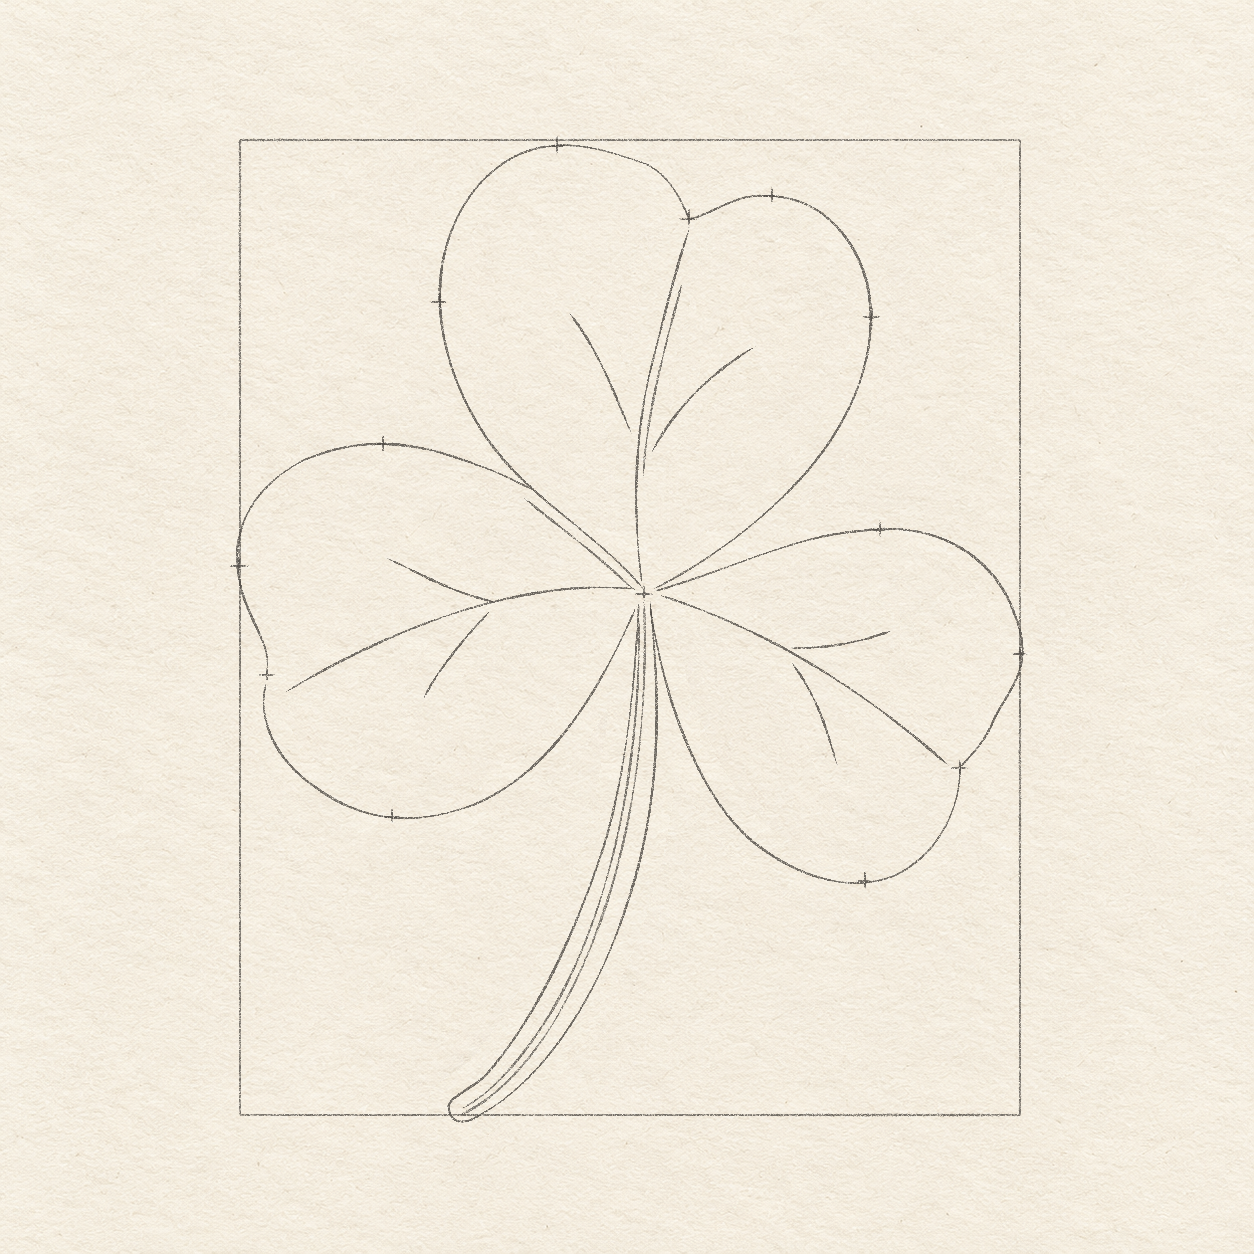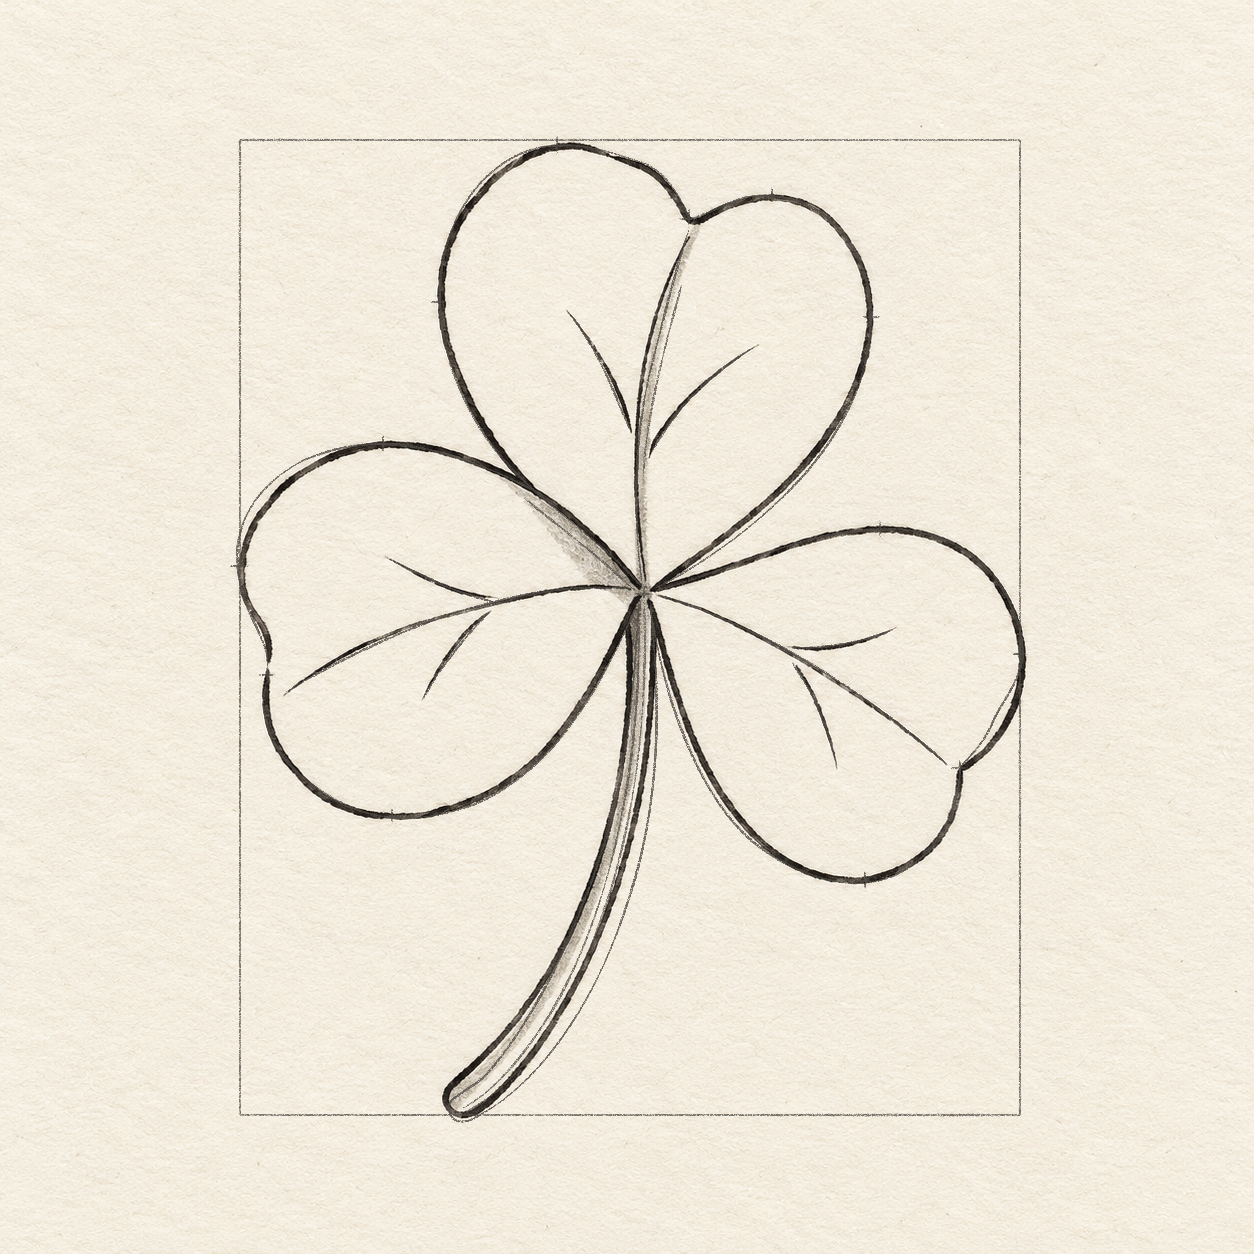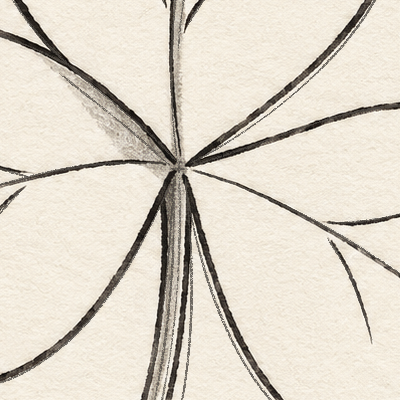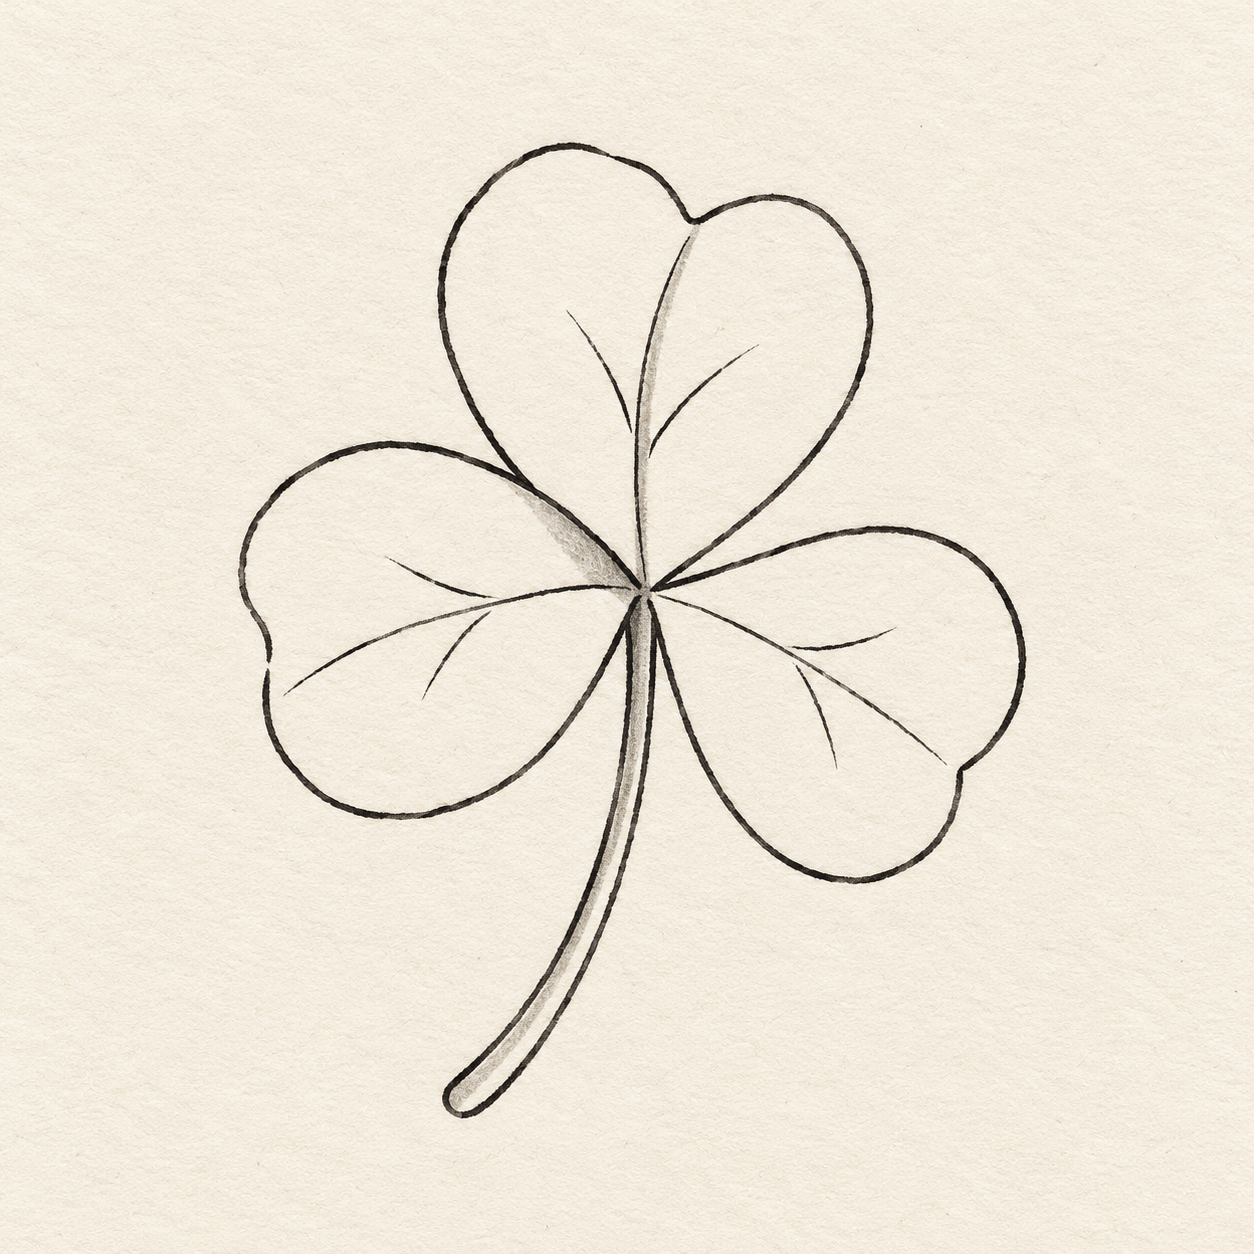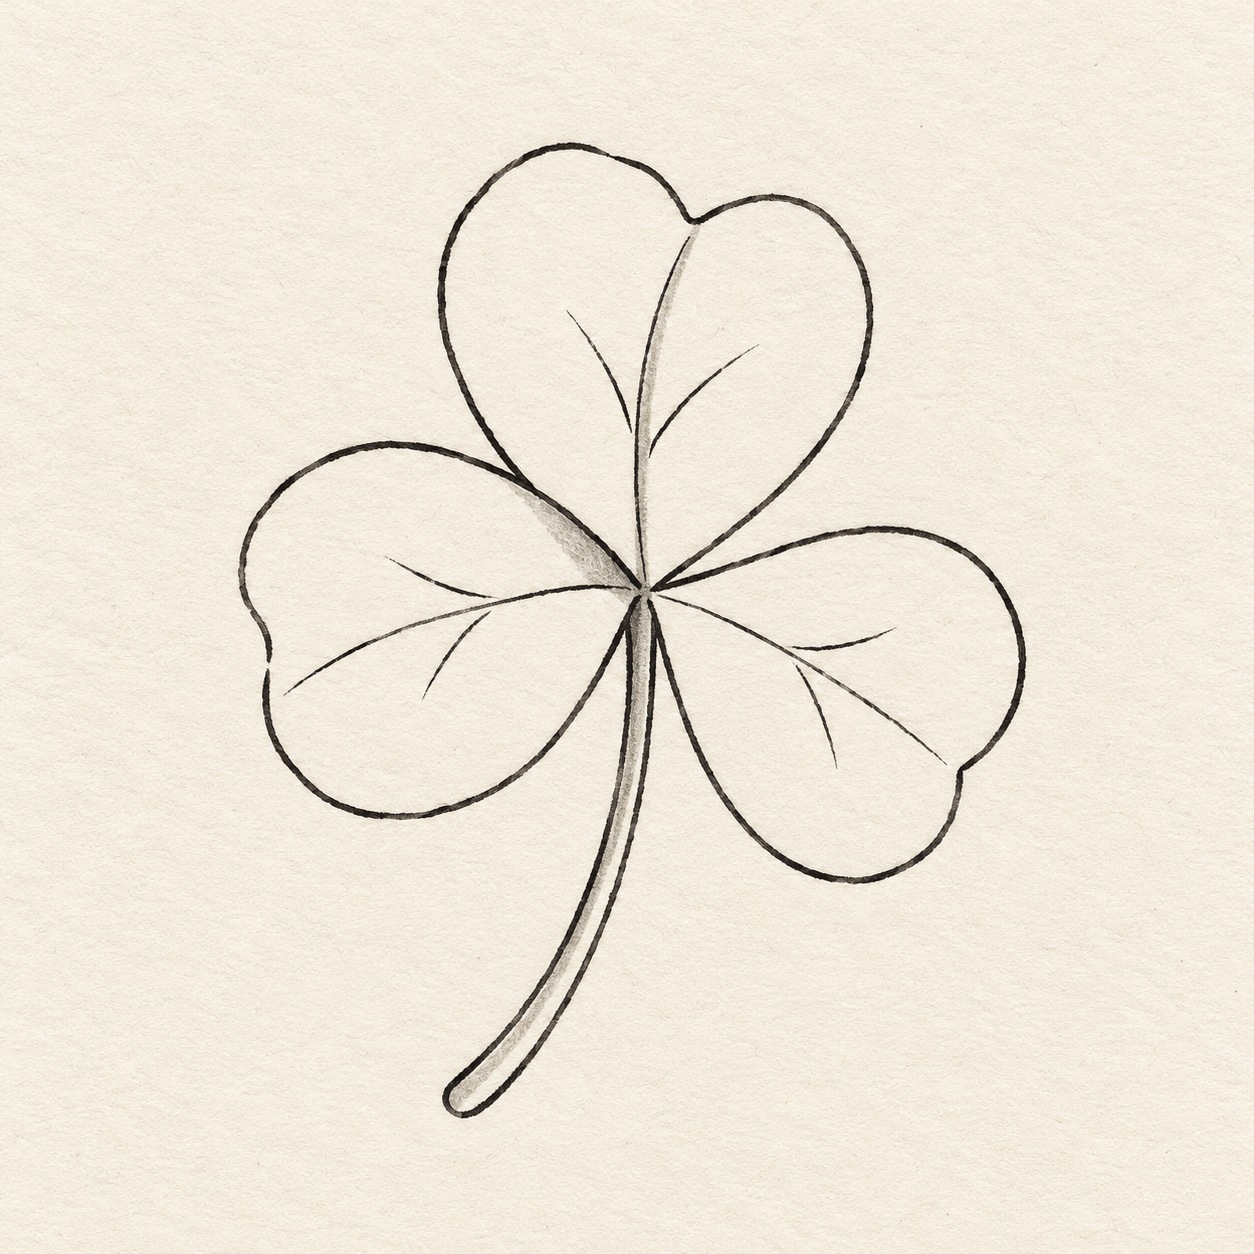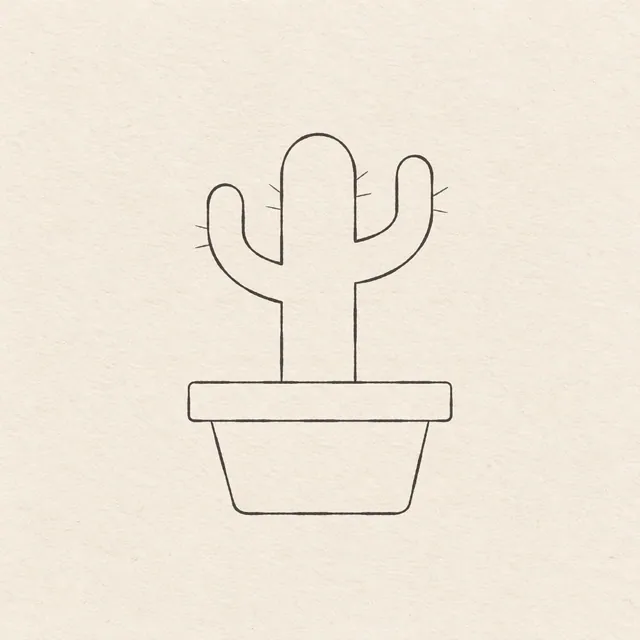
Black marker sketch of clover on textured off-white paper, with heart leaflets and shared junction.
Drawing referenceAbout reference use

A clover with three folded leaflets

Practice a clover with clear forms and selected overlaps. Place three soft heart-shaped leaflets around one central junction. Let one overlap its neighbor slightly. Add a center fold and only a few short veins. Use small gray at the junction and one folded edge.

Nature & plantsEasyMarkerReference practice: about 15 min
Save reference

Follow the drawing tutorial

Place three unequal heart-shaped leaflets around one junction, give the curved stem its width, then add fine folds, a few branches and local marker gray.

Start the 10-step tutorial

A small thing to tryVary the angle of each leaflet while keeping all three attached to the same point.

Draw it, one step at a time

How to draw this three-leaf clover

Place three unequal heart-shaped leaflets around one junction, give the curved stem its width, then add fine folds, a few branches and local marker gray.

10 steps · 15 progress drawings Full tutorial: about 30 minutes, at your pace

What you’ll need

  • HB pencil
  • Ruler marked in centimetres and millimetres
  • Soft eraser
  • Fine black felt-tip marker
  • Light gray marker
  • Sketchbook paper large enough for an 8 cm by 10 cm working box

Before you start

Across means right and down means toward the bottom of your page. All across/down measurements begin at the working box’s top-left corner unless an existing mark is named. Keep placement crosses light and draw curves freehand between their stated limits; the crosses are not corners. Rehearse each curve above the paper, then gently erase and redraw a misplaced pencil section before marker. Keep every guide until the cleanup task. Each named Drawing shows the marks after its nearby actions; each Detail enlarges that same Drawing. Put the 8 cm wide, 10 cm high working box where you want the clover, leaving paper around it; centring is optional.

  1. Step 1 of 10 · Pencil

    Place the working box and junction

    A light upright eight by ten centimetre working rectangle on the warm textured paper; no clover yet.
    Drawing 1A — Working boxView larger

    Instructions for Drawing 1A — Working box
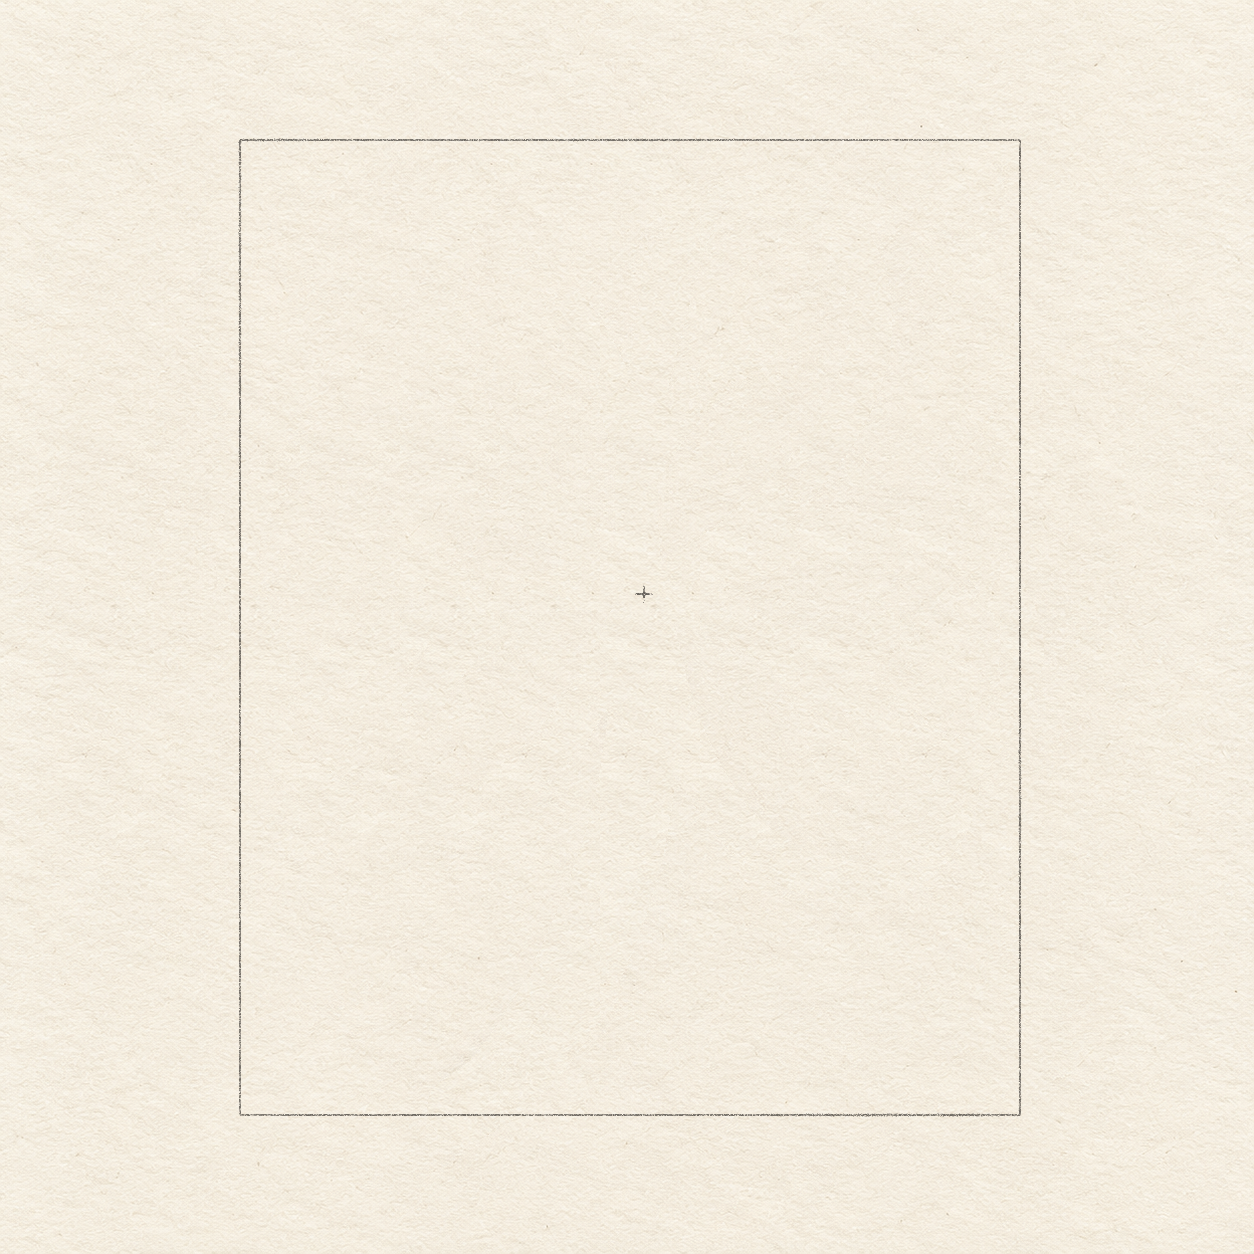
    1. Choose where you want the 8 cm by 10 cm working box, leaving paper around it. With a ruler and light HB pencil, draw an 8 cm horizontal top edge. From each end, draw a 10 cm side straight down, then join their lower ends. This rectangle sets the clover’s approximate width and height.
    One tiny light cross marks the shared clover junction slightly above the middle of the working box.
    Drawing 1B — Shared leaflet junctionView larger

    Instructions for Drawing 1B — Shared leaflet junction

    1. Measure from the box’s top-left corner: mark a tiny cross 4.1 cm across and 4.7 cm down. This is the junction where all three leaflets and the stem approach; keep it small and light.
    Next step — Draw the upper leaflet
  2. Step 2 of 10 · Pencil

    Draw the upper leaflet

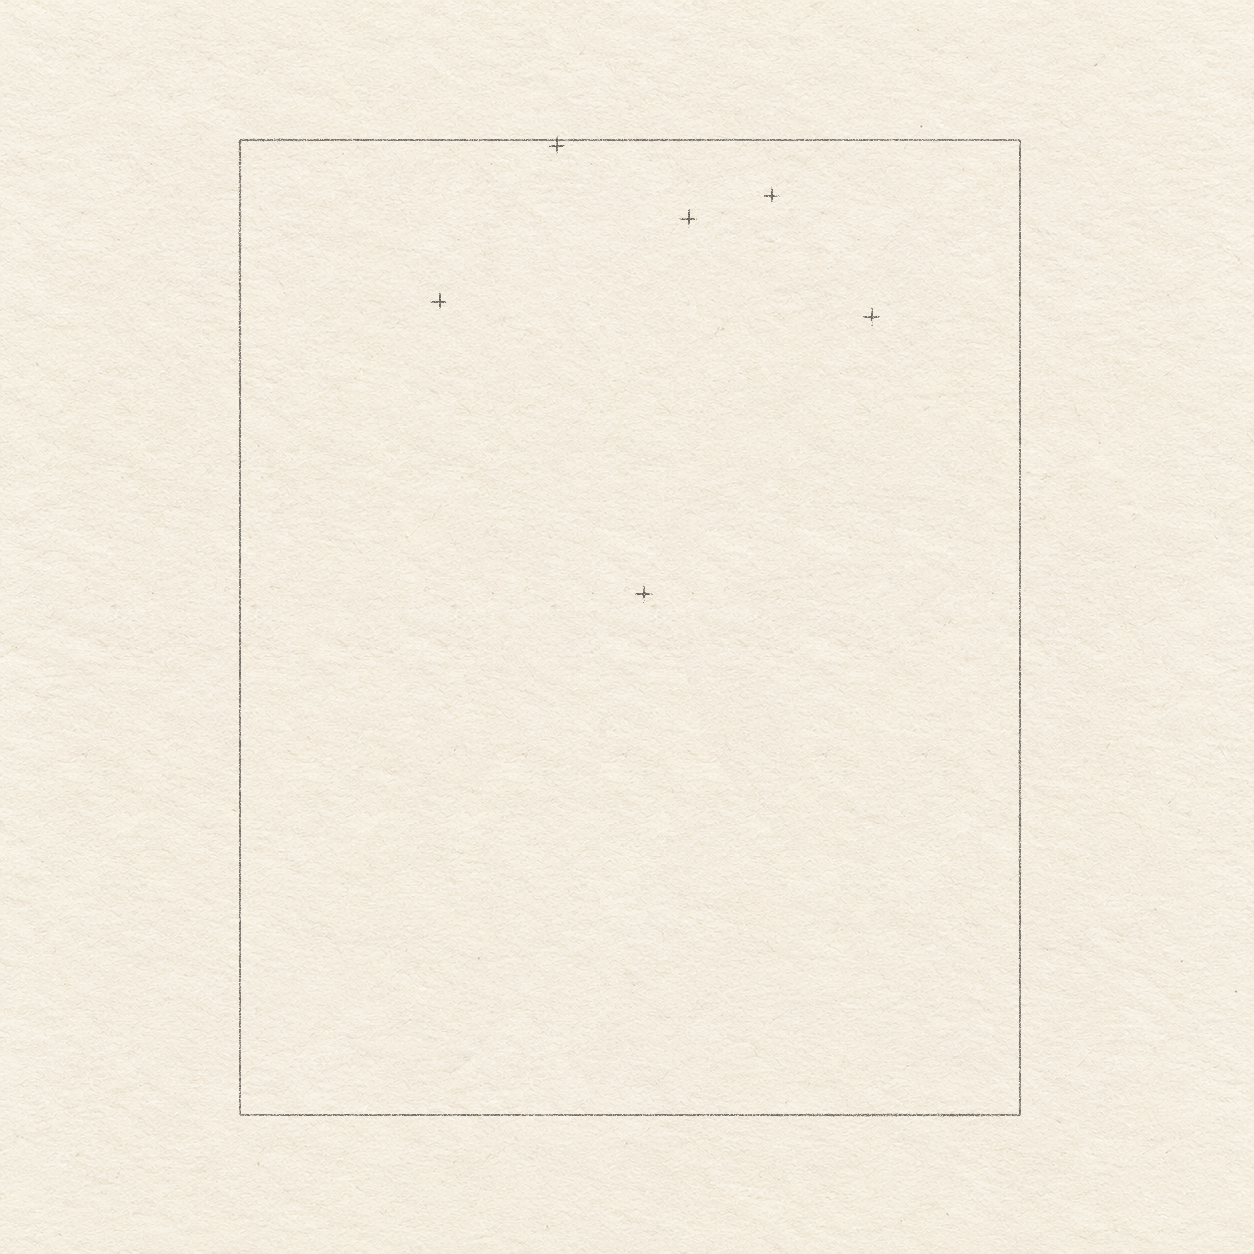
    Five light crosses locate the upper leaflet’s notch, two lobe tops and two widest side positions above the retained junction.
    Drawing 2A — Upper leaflet limitsView larger

    Instructions for Drawing 2A — Upper leaflet limits
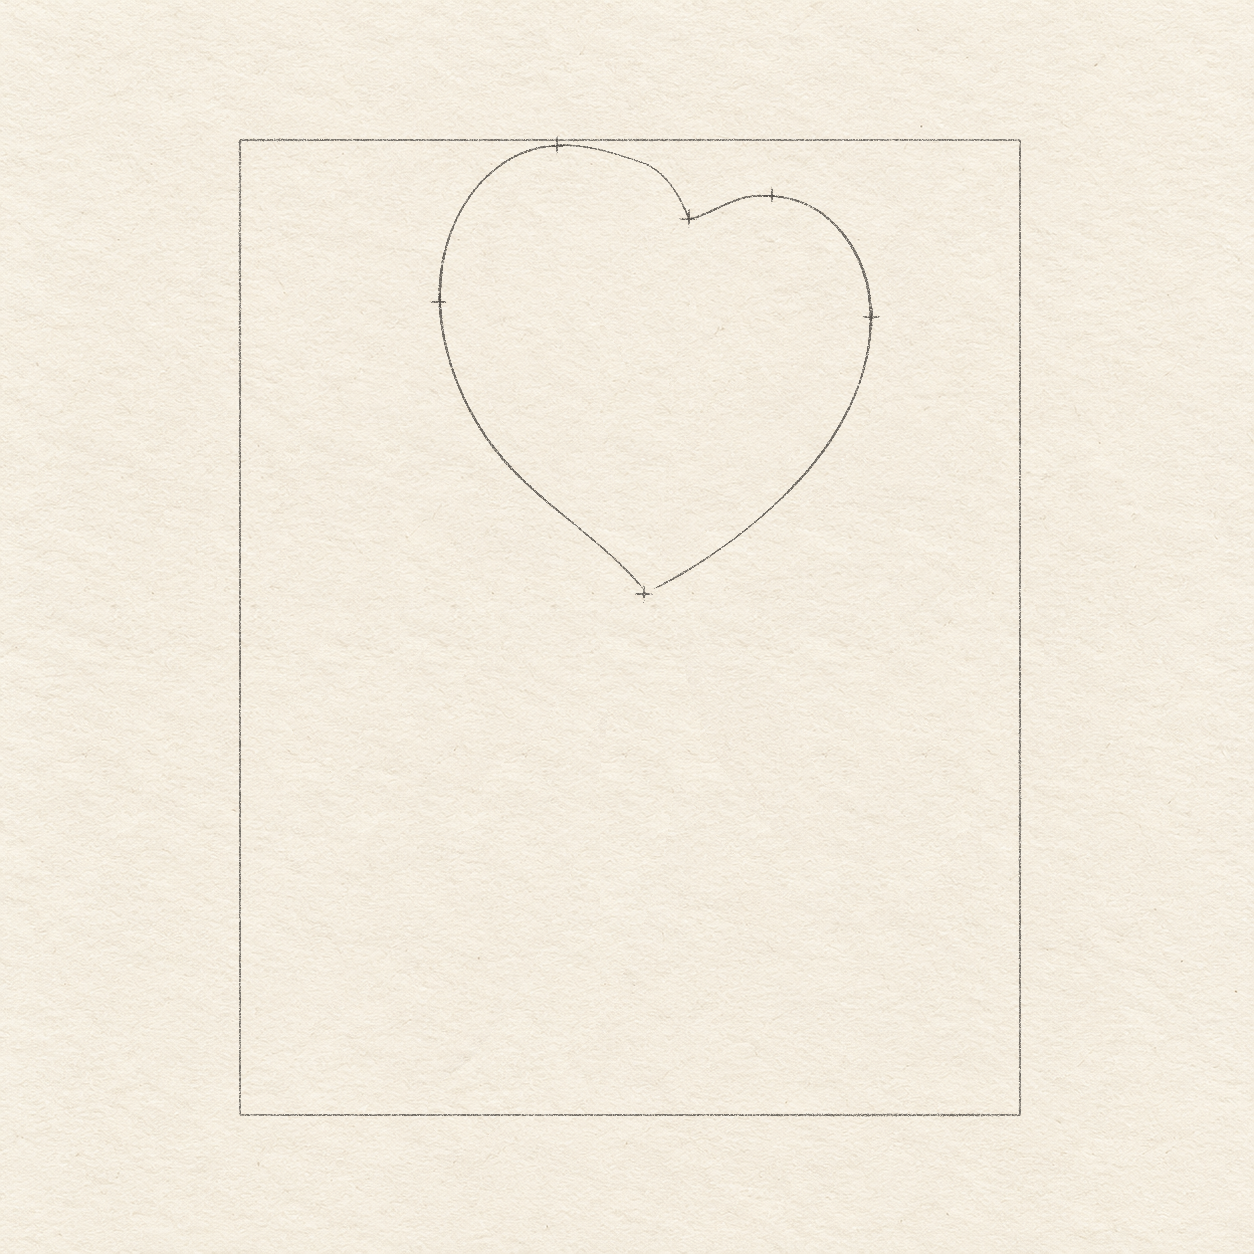
    1. For the upper heart-shaped leaflet, mark its outer notch at 4.6 cm across and 8 mm down from the box corner. This shallow inward dip is above and a little right of the junction.
    2. Mark the two rounded lobe tops: the left at 3.3 cm across and 1 mm down, and the right at 5.5 cm across and 6 mm down. The left lobe is higher; do not level the two marks.
    3. Mark the leaflet’s widest sides at 2.1 cm across and 1.7 cm down on the left, and 6.5 cm across and 1.8 cm down on the right. These are curve limits, not corners to join with straight lines.
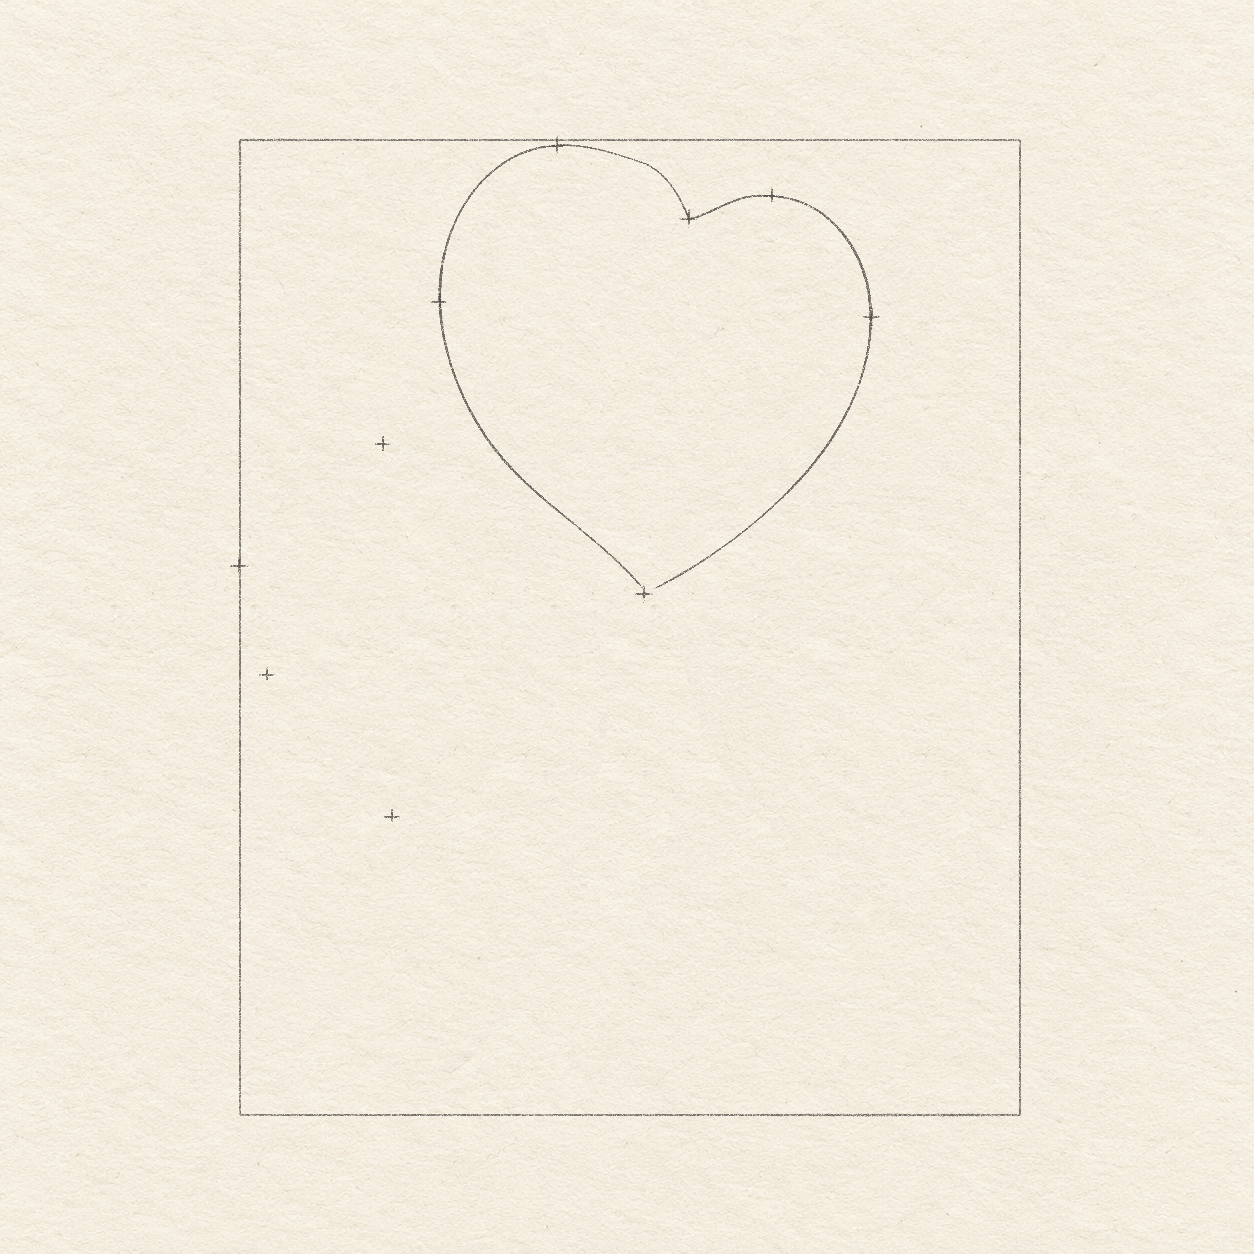
    A light freehand heart-shaped upper leaflet passes through its unchanged crest and side marks and narrows to the shared junction.
    Drawing 2B — Upper heart-shaped leafletView larger

    Instructions for Drawing 2B — Upper heart-shaped leaflet

    1. Rehearse a rounded curve above the paper first. From the junction, draw the left half freehand through the left side limit and higher lobe top, then turn down into the notch. Make a smooth lobe, not straight segments between the marks.
    2. From the notch, round the lower right lobe through its top and right side marks, then taper down to the junction. Let both outline ends approach the junction without crossing through it; keep the middle of the leaflet open.
    Next step — Draw the left leaflet
  3. Step 3 of 10 · Pencil

    Draw the left leaflet

    Four light crosses locate the left leaflet’s outward notch, upper and lower bulges and far-left limit.
    Drawing 3A — Left leaflet limitsView larger

    Instructions for Drawing 3A — Left leaflet limits
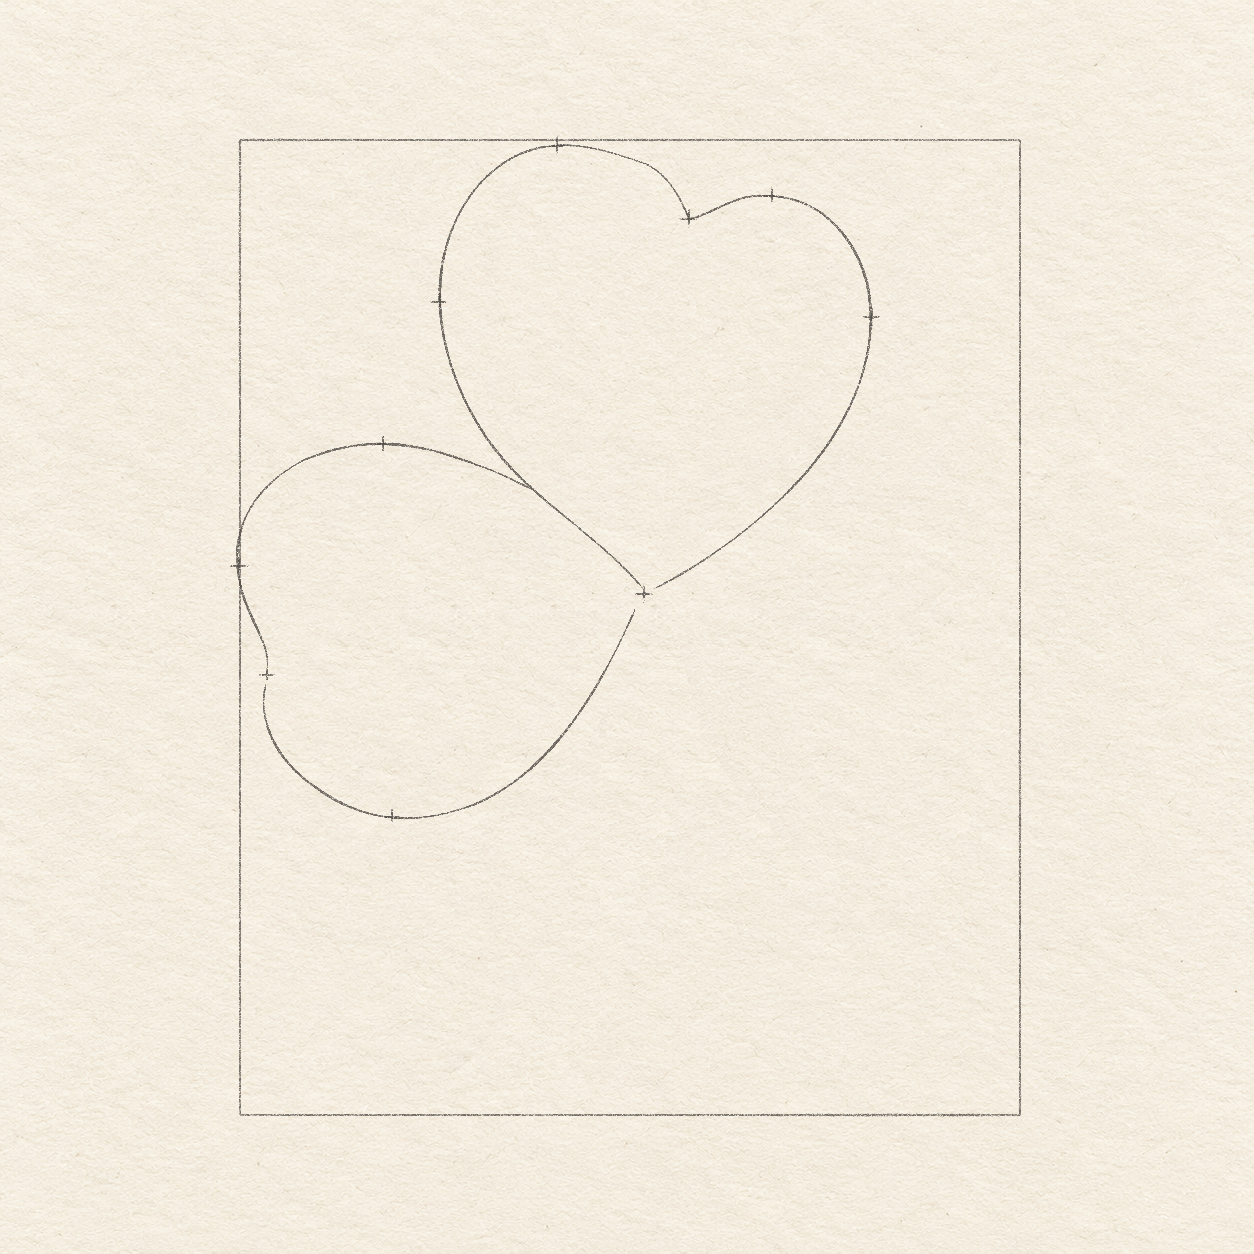
    1. For the left leaflet, mark the outward notch 3 mm across and 5.5 cm down from the box corner. It sits left of and slightly below the junction.
    2. Mark the upper bulge at 1.5 cm across and 3.1 cm down, and the lower bulge at 1.6 cm across and 6.9 cm down. These two rounded limits sit on opposite sides of the notch’s height.
    3. On the box’s left edge, mark the widest side about 4.4 cm down from its top. The upper lobe will pass this mark before turning inward to the notch; keep the box edge as a guide, not part of the leaf.
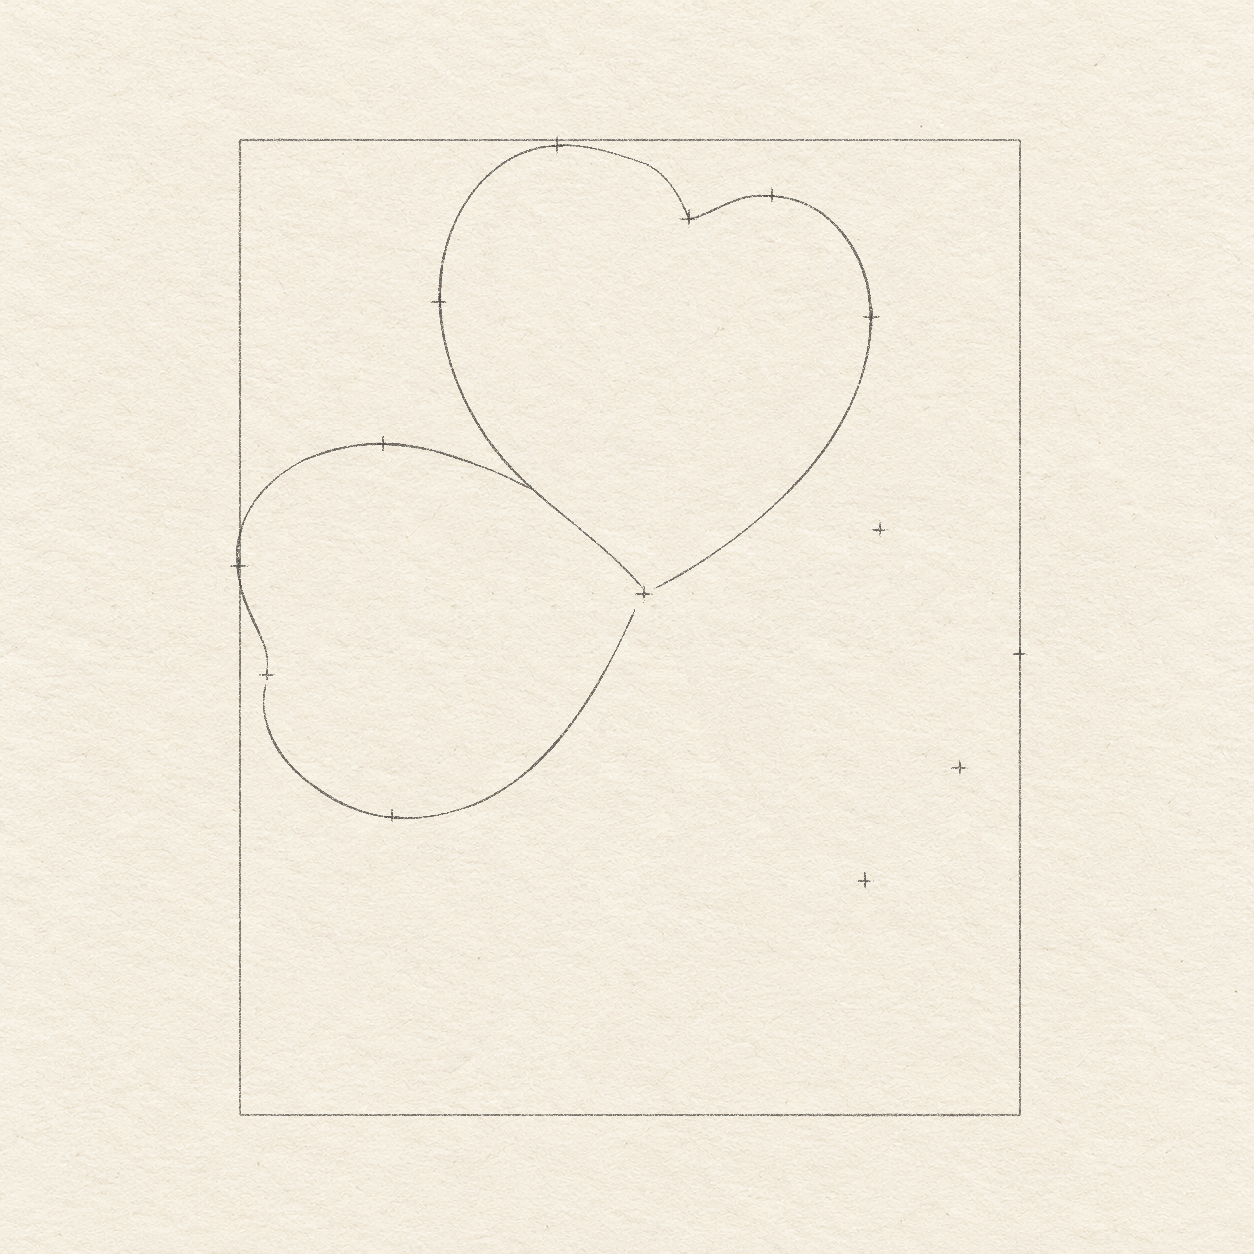
    The sideways left heart branches from the existing shared sloping edge, rounds through its two lobes and leaves a small deliberate outer-notch gap; placement crosses remain light.
    Drawing 3B — Left leaflet with an open notchView larger
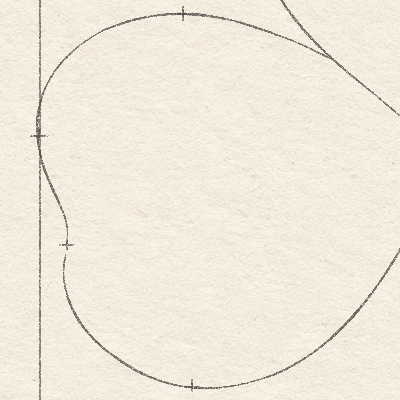
    The outer left notch has a short break. Its tiny placement cross is temporary and will be erased; the final marker does not bridge the opening.
    Detail 3B.1 — Small break in the left notchThe outer left notch has a short break. Its tiny placement cross is temporary and will be erased; the final marker does not bridge the opening.

    Instructions for Drawing 3B — Left leaflet with an open notch

    1. The left leaflet shares the existing sloping edge down to the junction. From about 3 cm across and 3.6 cm down on that edge, draw its rounded upper lobe freehand through the upper bulge and far-left limit, stopping half a millimetre above the notch cross.
    2. Start about half a millimetre below that notch cross, leaving a 1 mm break between the two ends. Round the lower lobe freehand through its low mark, then taper back up to the junction. Leave the notch cross light for cleanup rather than joining the break.
    Next step — Draw the right leaflet
  4. Step 4 of 10 · Pencil

    Draw the right leaflet

    Four light crosses locate the right leaflet’s high bulge, widest right edge, lower-right notch and low bulge.
    Drawing 4A — Right leaflet limitsView larger

    Instructions for Drawing 4A — Right leaflet limits
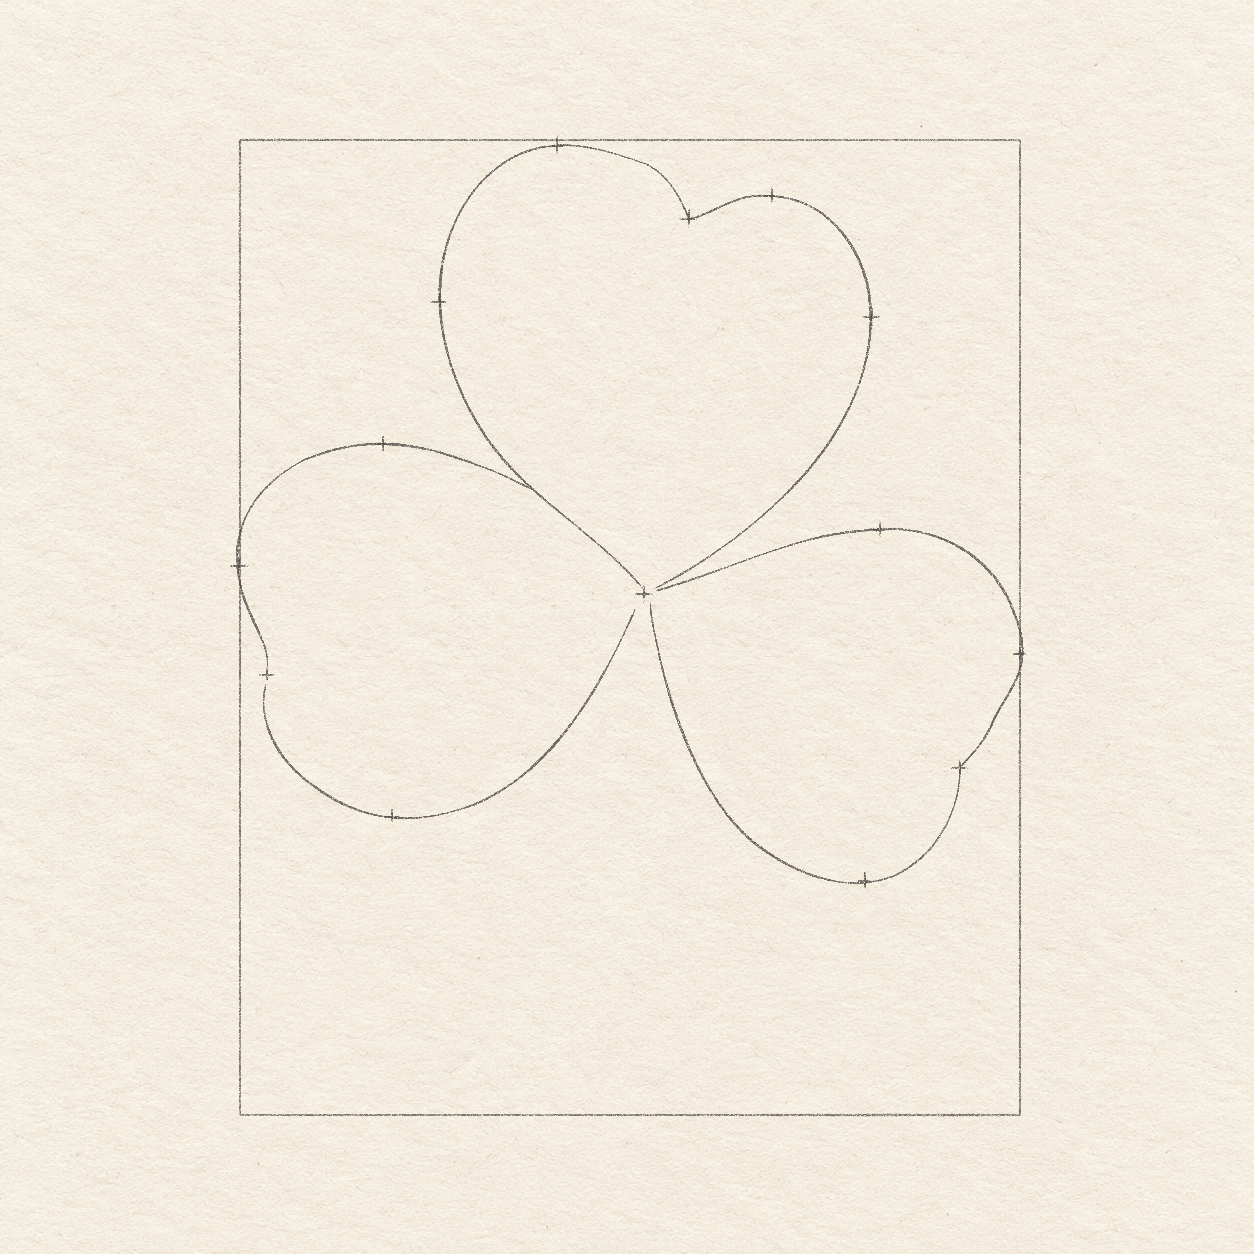
    1. Mark the right leaflet’s upper bulge 6.6 cm across and 4 cm down, and its low bulge 6.4 cm across and 7.6 cm down. Use the same box corner; this leaflet hangs lower than the left one.
    2. On the box’s right edge, mark the widest side about 5.3 cm down. The finished curve may touch just outside this approximate width guide.
    3. Mark the outer notch at 7.4 cm across and 6.4 cm down. Unlike the left notch, this one turns inward near the lower-right side; it is not a gap.
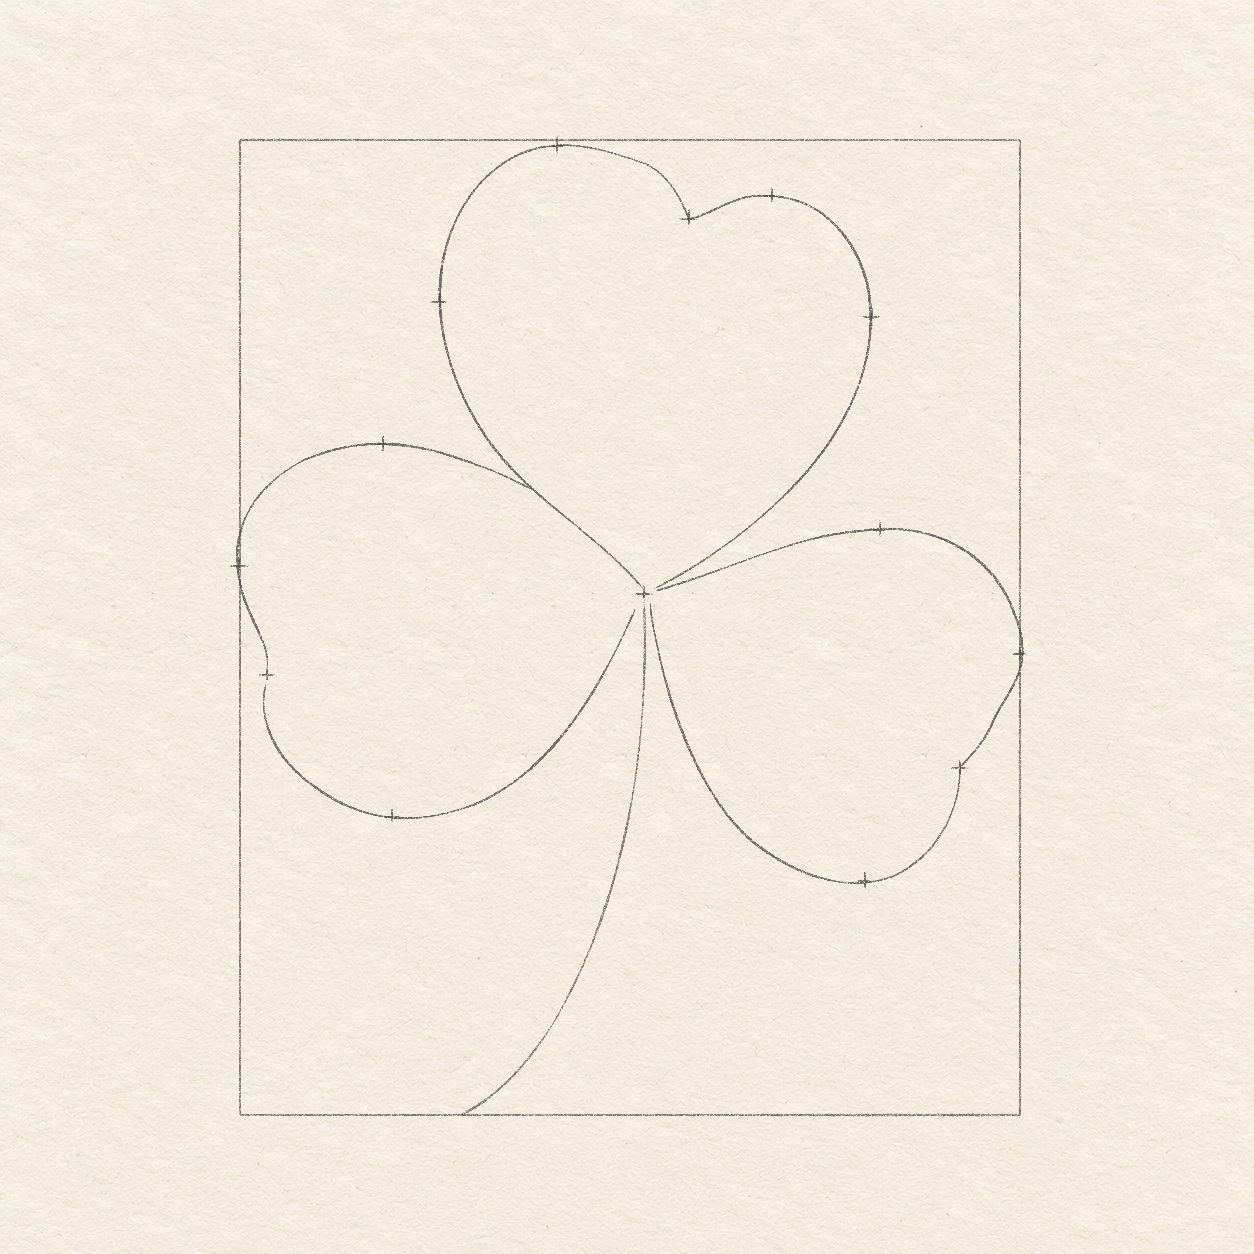
    The right leaflet rounds through its high and far-right limits, turns inward at the lower-right notch and returns through its low bulge.
    Drawing 4B — Lower-hanging right leafletView larger

    Instructions for Drawing 4B — Lower-hanging right leaflet

    1. From the junction, draw a freehand curve up-right through the upper bulge and around the widest right mark. Turn inward to the lower-right notch, keeping the lobe rounded and the notch shallow.
    2. Without a gap at this notch, round downward through the low bulge, then curve up-left to the junction. Keep the low edge below the left leaflet’s low edge; gently redraw the pencil curve now if the two leaflets look like matching copies.
    Next step — Give the curved stem its width
  5. Step 5 of 10 · Pencil

    Give the curved stem its width

    One light stem-direction curve falls from the junction, bends gently left through a stated middle position and ends at the bottom of the box.
    Drawing 5A — Curved stem directionView larger

    Instructions for Drawing 5A — Curved stem direction
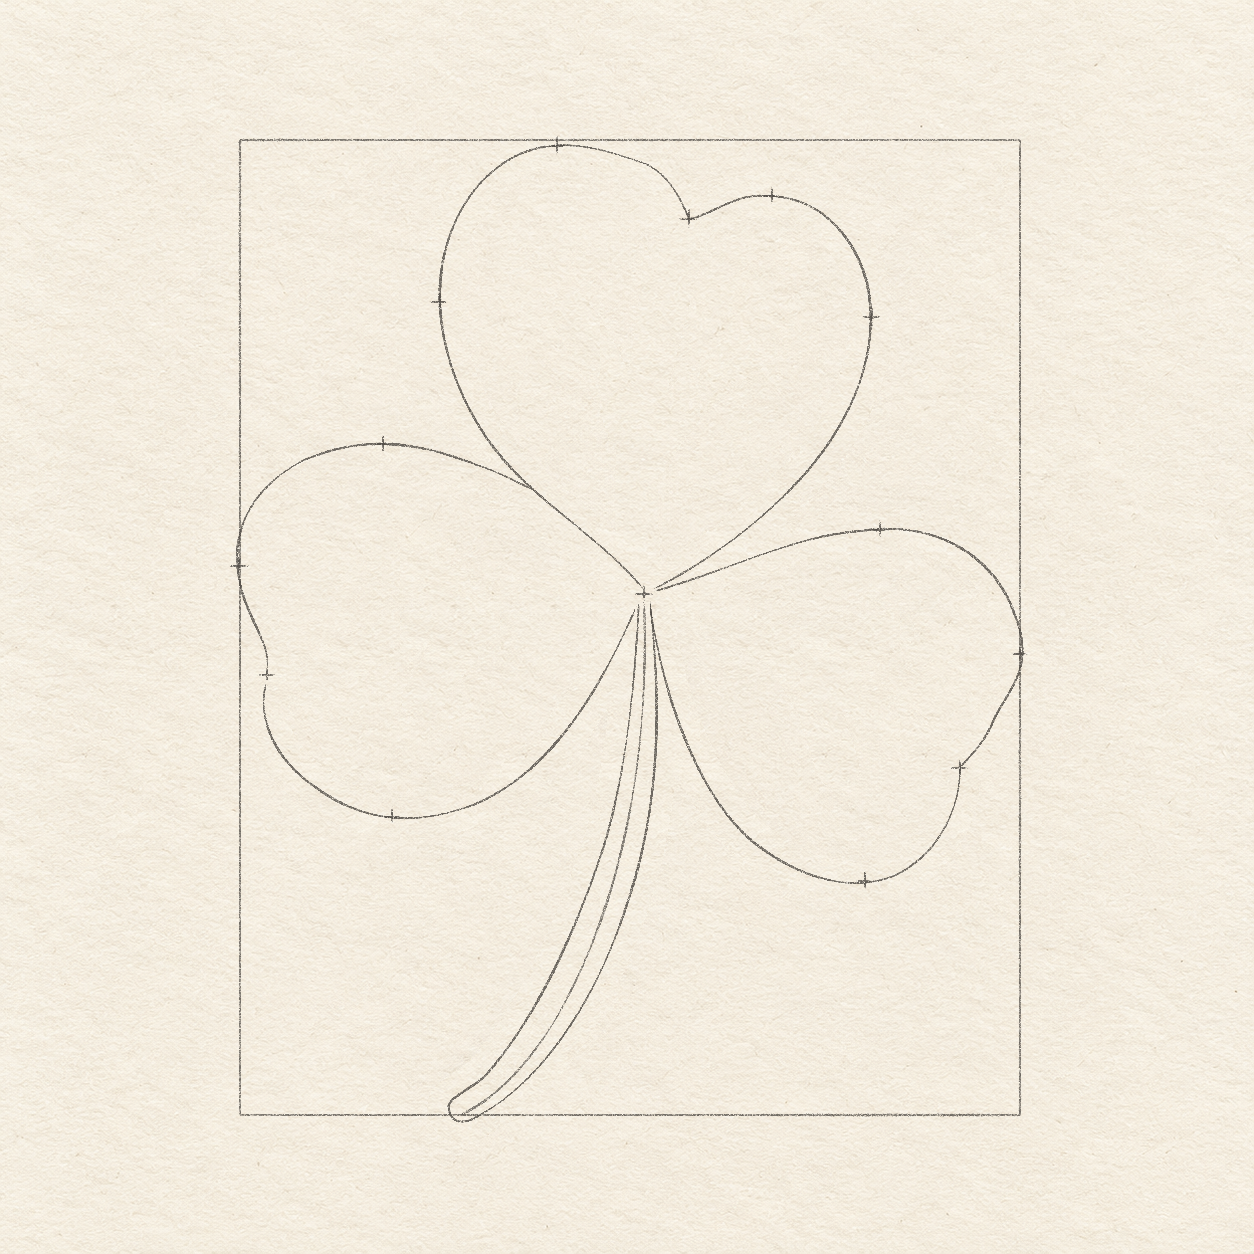
    1. The stem needs a centre route before its two edges. From the junction, rehearse a curve downward through about 3.7 cm across and 7.9 cm down, then bending left to 2.2 cm across at the box’s bottom edge; draw it lightly freehand. These are curve bounds, not extra dots to plot.
    Two selected pencil edges follow the curved stem route, narrow below the junction and join in a rounded bottom turn.
    Drawing 5B — Two stem edges and rounded tipView larger

    Instructions for Drawing 5B — Two stem edges and rounded tip

    1. Keep a narrow paper throat about 1 mm wide just below the junction. Around the centre route, draw the stem’s two edges freehand, widening gently to about 2–3 mm along the lower bend; the route stays inside, not as either edge.
    2. At the route’s bottom end, join the two edges with a small rounded turn. Check the open strip between them; if it pinches shut, erase that light section and widen it before using marker.
    Next step — Draw the three centre folds
  6. Step 6 of 10 · Pencil

    Draw the three centre folds

    Three thin centre folds radiate inside the leaves; the upper and right folds stop short of their outer notches, and the left fold ends below and right of its notch.
    Drawing 6A — Three leaflet centre foldsView larger
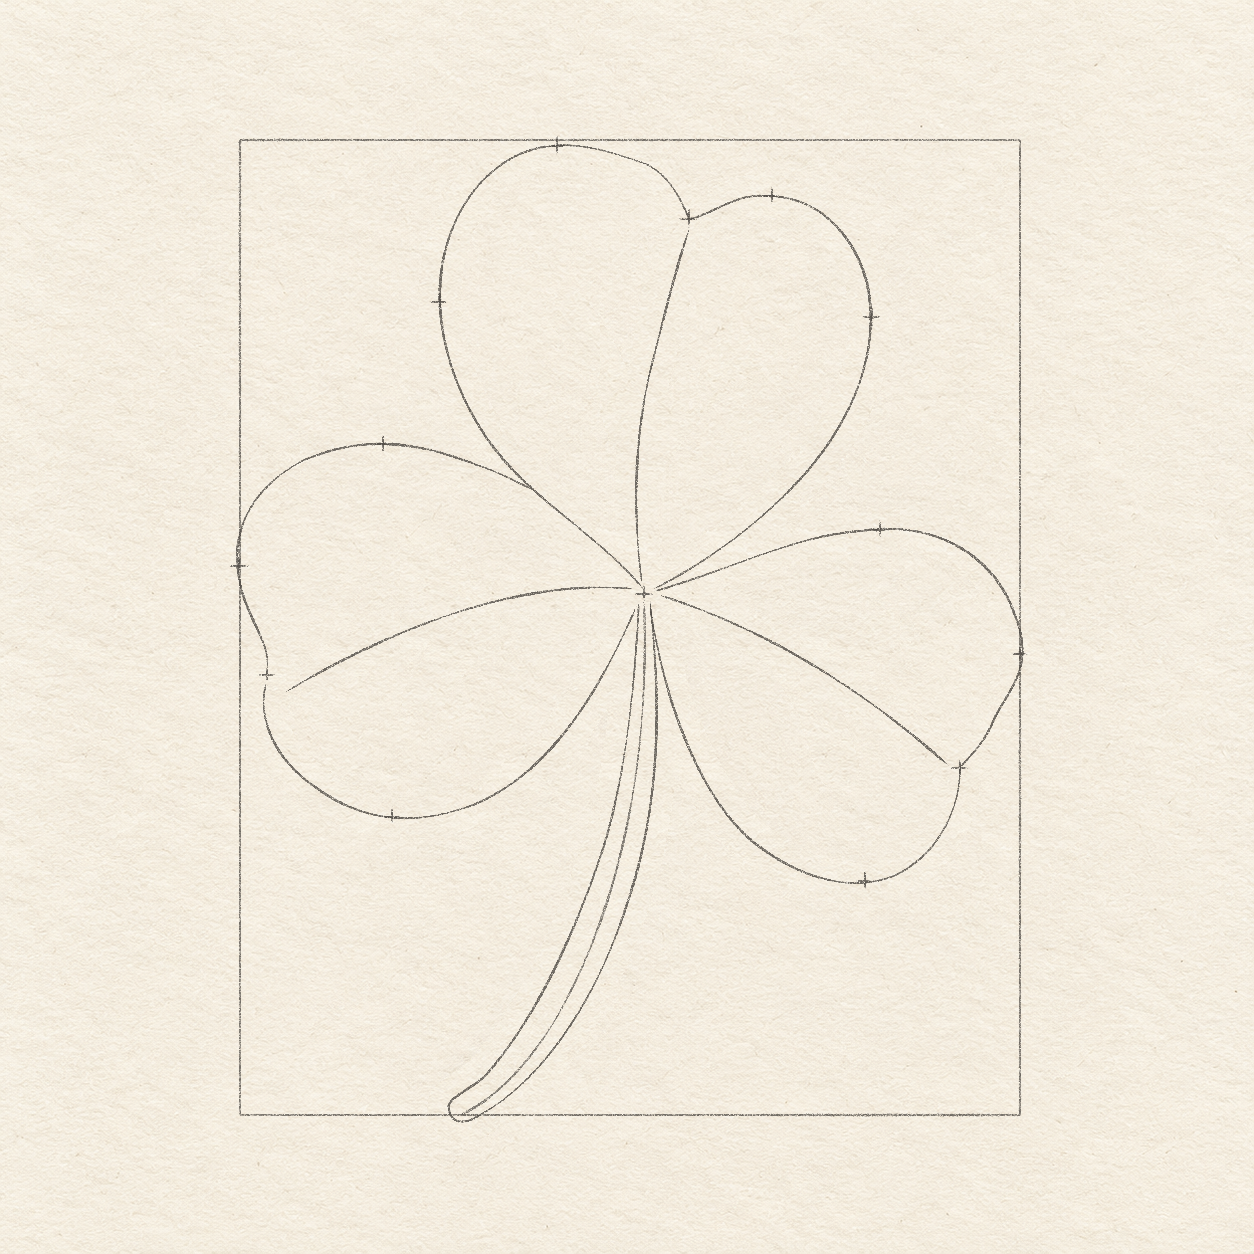
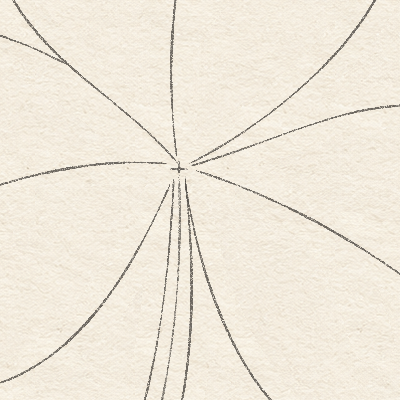
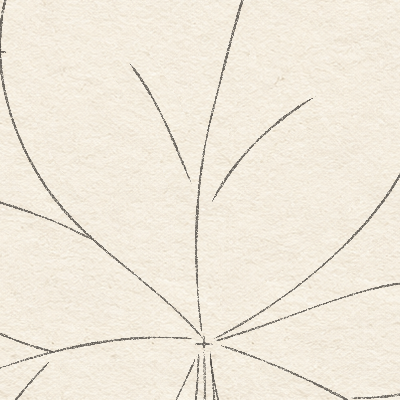
    Three separate folds approach the shared junction. Their outer ends stop inside the leaflets rather than automatically joining each outer notch.
    Detail 6A.1 — Centre folds around the junctionThree separate folds approach the shared junction. Their outer ends stop inside the leaflets rather than automatically joining each outer notch.

    Instructions for Drawing 6A — Three leaflet centre folds

    1. Inside the upper leaflet, draw a thin freehand fold from just above the junction toward the outer notch. Bow slightly left in the lower half, then right near the top; stop about 1 mm before the notch instead of joining it.
    2. From just left of the junction, curve the left fold gently down-left. End about 2 mm right and 2 mm below the left notch, keeping a small paper gap to the outer edge. This fold does not run straight into the notch’s break.
    3. From just right of the junction, curve the right fold down-right through the leaflet’s middle. Stop about 1 mm before its lower-right notch; keep this inside line much lighter than the eventual outer marker edge.
    Next step — Add the sparse side branches
  7. Step 7 of 10 · Pencil

    Add the sparse side branches

    Each centre fold now has two short unequal side branches, with broad leaf interiors left as paper.
    Drawing 7A — Two sparse branches per leafletView larger
    Both fine branches stay inside the upper leaflet. Their narrow starts sit beside the centre fold; the fold itself is a separate curved line.
    Detail 7A.1 — Upper leaflet’s two short branchesBoth fine branches stay inside the upper leaflet. Their narrow starts sit beside the centre fold; the fold itself is a separate curved line.

    Instructions for Drawing 7A — Two sparse branches per leaflet

    1. Use the upper fold’s halfway area. Starting just beside it, draw two fine curves freehand outward toward the top-left and top-right, each about 1.5 cm long; leave their tips well inside the leaflet. Their small starts may stop just short of the fold, as in Detail 7A.1 — Upper leaflet’s two short branches.
    2. Around the left fold’s halfway area, add one short curve up-left and another down-left, each about 1 cm long. The upper branch meets the fold; leave a tiny gap at the lower branch’s start. Shape the curves freehand and keep their tips inside the leaf.
    3. Around the right fold’s halfway area, add a short branch curving right and slightly up, then another curving down-right, each about 1 cm long. Start them just beside the fold and leave their tips inside the leaf; do not add more branches.
    Next step — Plan the small gray accents
  8. Step 8 of 10 · Pencil

    Plan the small gray accents

    Three light pencil routes bound the small planned gray accents near the upper fold, central shared edge and inside the curved stem; no gray fill yet.
    Drawing 8A — Limits for the few gray accentsView larger
    The faint boundary lies below the single shared sloping edge, planning a small gray wedge inside the left leaflet. The stem throat and other broad leaf faces stay open.
    Detail 8A.1 — Small gray wedge and narrow stem throatThe faint boundary lies below the single shared sloping edge, planning a small gray wedge inside the left leaflet. The stem throat and other broad leaf faces stay open.

    Instructions for Drawing 8A — Limits for the few gray accents

    1. Below the shared sloping edge of the upper and left leaflets, draw a faint freehand boundary 1–2 mm into the left leaflet, tapering toward the junction. This plans a small gray wedge; leave the broad leaf faces as paper.
    2. Draw a faint curve alongside the middle part of the upper fold, about 1 mm to its right, following its bend. Let it fade at both ends; it plans a slim gray strip, not a second black fold line.
    3. Inside the stem, mark a faint curve roughly 1 mm from its left edge, following the bend almost to the rounded tip. This bounds a slim gray strip; keep the remaining stem interior as paper.
    Next step — Add marker and local gray
  9. Step 9 of 10 · Marker and gray

    Add marker and local gray

    Black marker follows the selected leaflet and stem edges, fine folds and sparse branches; light gray stays in the three planned local strips, with pencil guides still present.
    Drawing 9A — Marker contours and local grayView larger
    The marker contours and small gray wedge are finished. Temporary pencil still surrounds them; the small pale central contacts and stem throat remain visible.
    Detail 9A.1 — Marker joins with pencil retainedThe marker contours and small gray wedge are finished. Temporary pencil still surrounds them; the small pale central contacts and stem throat remain visible.

    Instructions for Drawing 9A — Marker contours and local gray

    1. Keep the left notch’s 1 mm break, small central gaps and open stem throat. With a fine black marker, follow the selected leaflet and stem edges, tracing their shared sloping edge only once; leave the box, crosses and centre route in pencil.
    2. Use a lighter touch for the three inside folds and six short branches, following their selected pencil curves and stopping gaps. Do not ink any gray-limit line or turn a branch into another outer edge.
    3. With a light gray marker, fill only the small central wedge, slim strip beside the upper fold and narrow strip inside the stem. Follow their faint limits with gentle tapered ends; keep the broad leaf faces and the rest of the stem as paper. Leave all pencil in place until the next task.
    Next step — Erase the temporary pencil
  10. Step 10 of 10 · Finish

    Erase the temporary pencil

    The finished three unequal heart-shaped marker leaflets meet above a curved narrow stem, with fine folds, six short branches and a few gray accents; temporary pencil is gone.
    Drawing 10A — Finished three-leaf cloverView larger
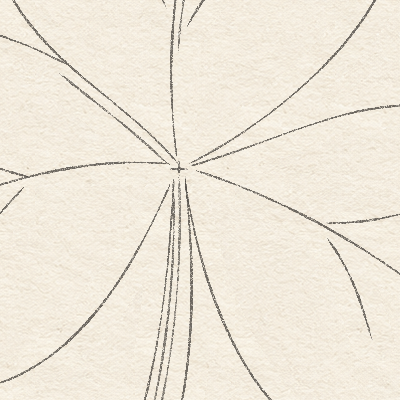
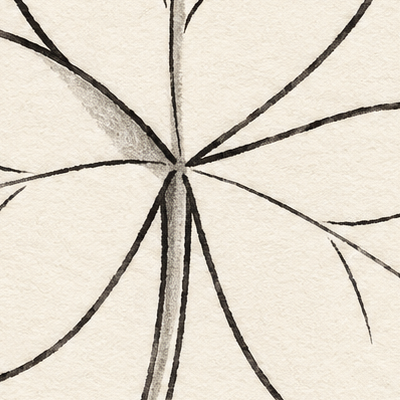
    After dry-tested cleanup, the temporary marks are gone. The three leaflet approaches, small gray wedge and narrow stem throat remain distinct.
    Detail 10A.1 — Finished open central contactsAfter dry-tested cleanup, the temporary marks are gone. The three leaflet approaches, small gray wedge and narrow stem throat remain distinct.

    Instructions for Drawing 10A — Finished three-leaf clover

    1. Test the black and gray markers on matching scrap paper and let both dry. When gentle erasing no longer smears either mark, remove the box, placement crosses, stem centre route, gray limits and exposed selected pencil, working carefully around the marker.
    2. Keep the left notch break, small central gaps and broad pale leaf faces. Leave the soft gray accents uneven at their tapered ends rather than adding extra branches or a solid blanket of shading.
    Back to the tutorial

If something looks off

The leaves look like matching hearts

Keep their separate lobe marks. The upper left lobe is higher than its right lobe; the sideways left leaf is flatter, and the right leaf hangs lower. Redraw a misplaced light curve before marker.

The junction has become a black blob

Let the leaflet outlines approach the small junction without crossing through it. Keep the narrow stem throat and small pale gaps; do not fill every pencil crossing with black.

The folds run into the wrong notch

The upper and right folds stop short of their outer notches. The left fold ends below and right of its notch, rather than entering its deliberate short outline break.

Too much is gray

Use only the planned central wedge, slim upper-fold accent and inside stem strip. Leave the broad leaflet interiors and the rest of the stem as paper.