FinelinerEasy

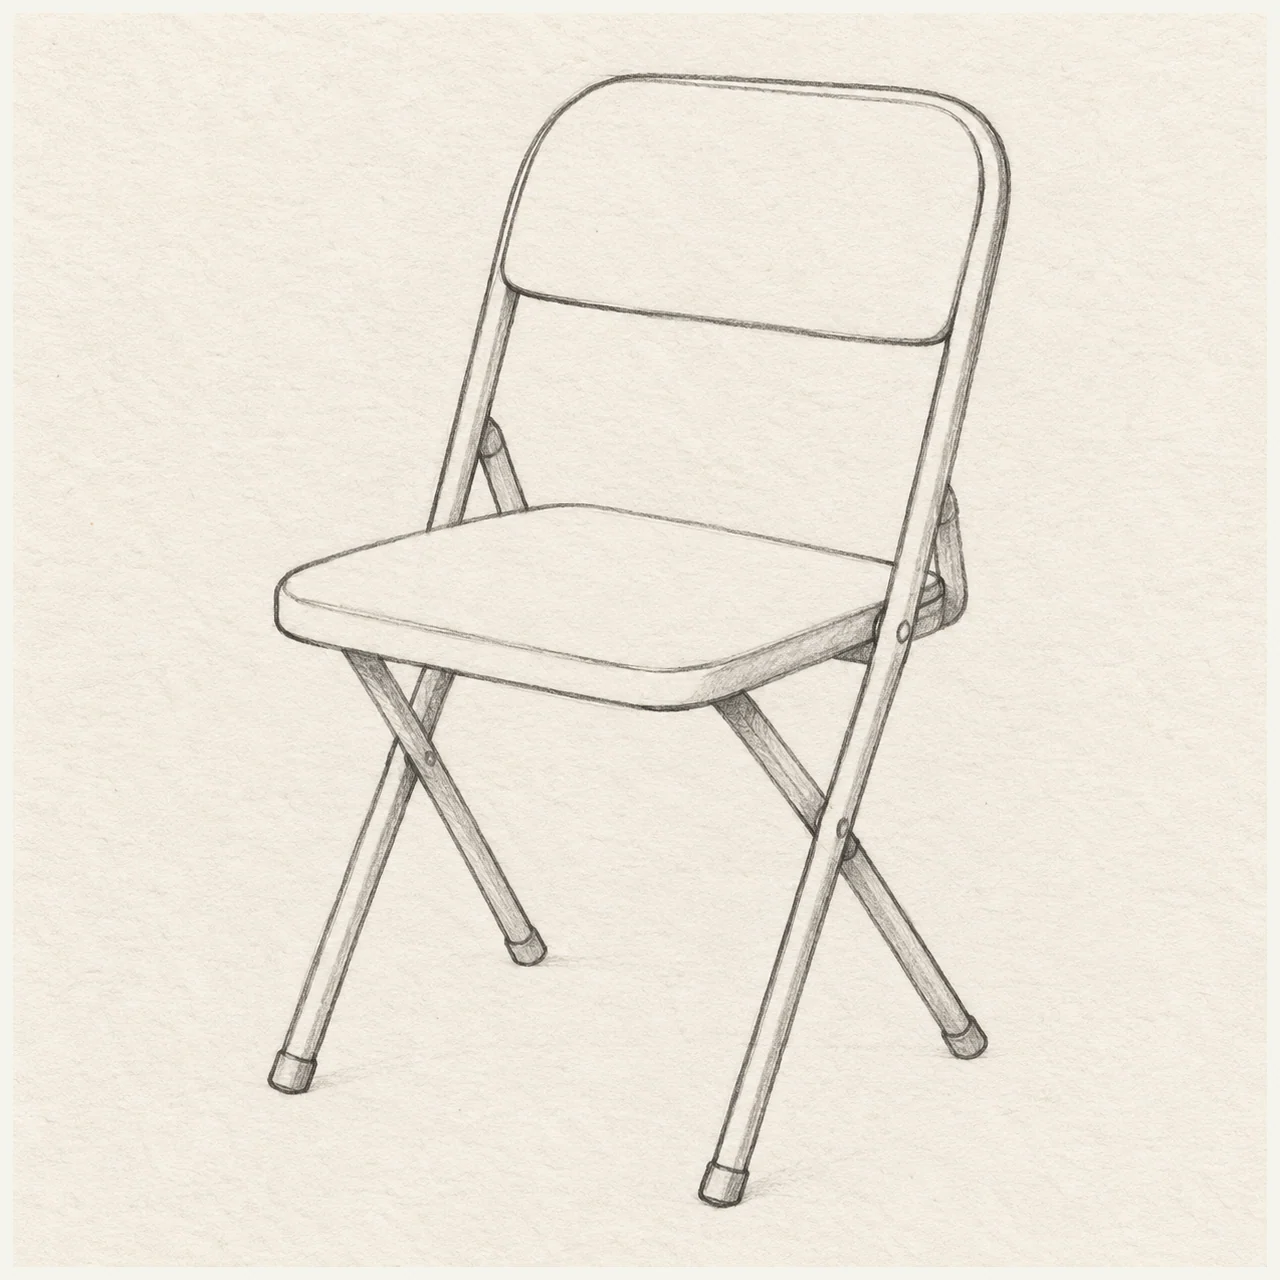
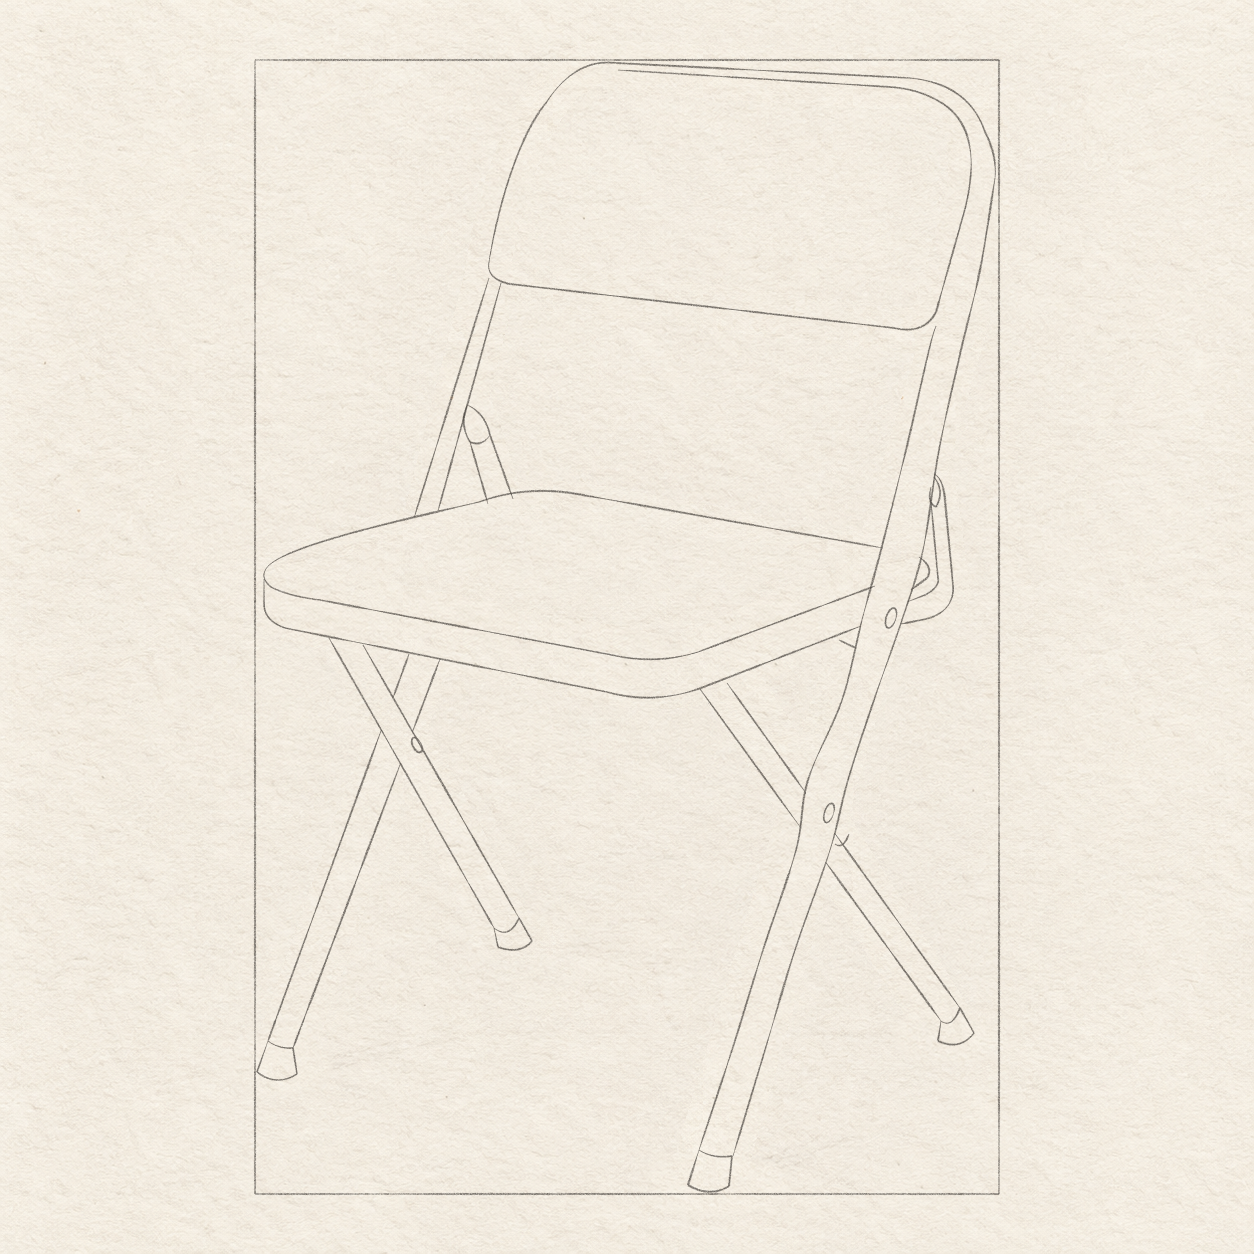
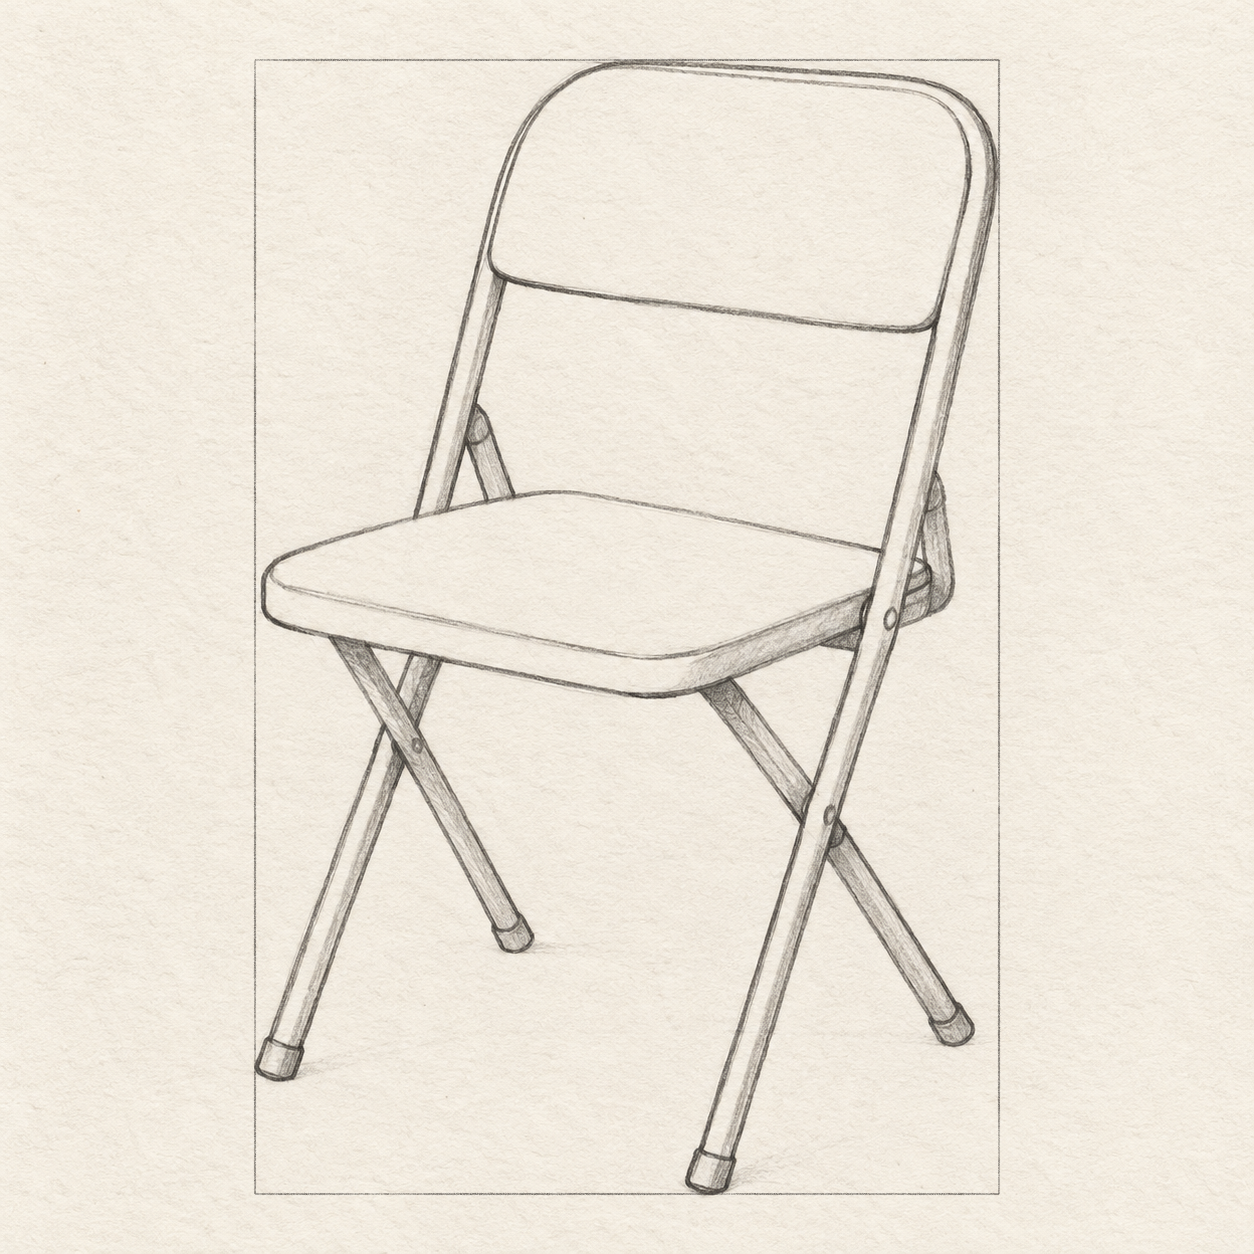
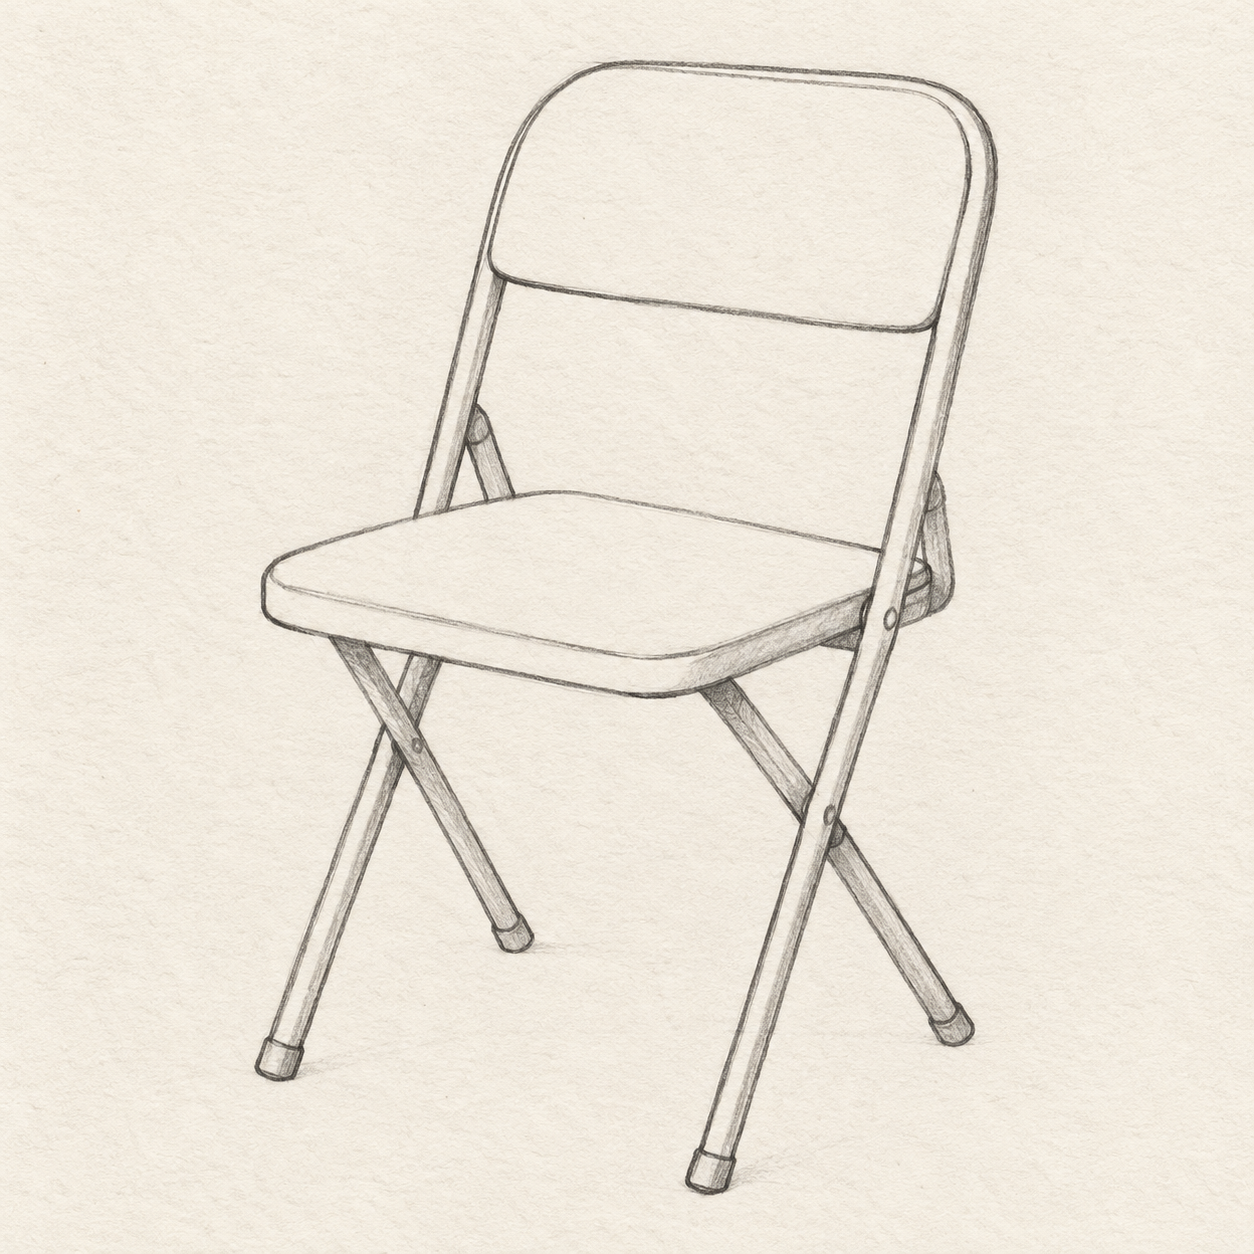
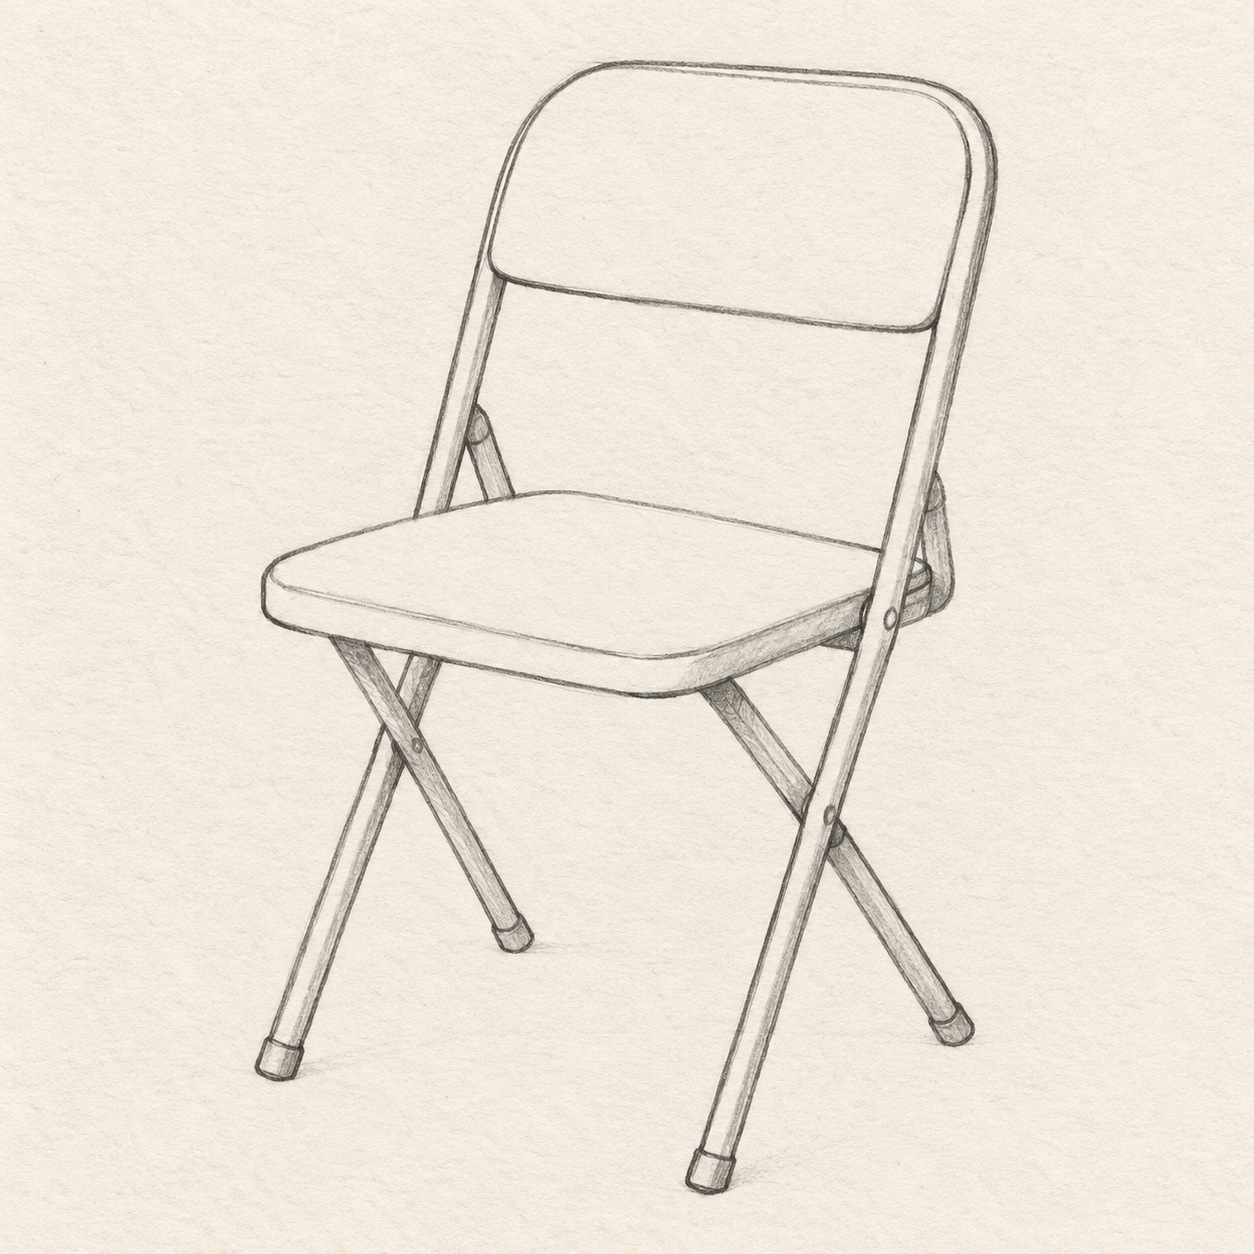
A folding chair with crossed supports
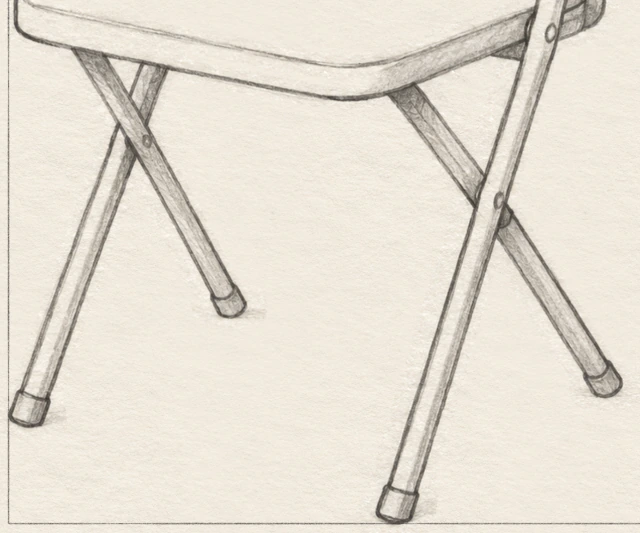
Practice a folding chair with clear forms and selected overlaps. Place the simple leg pairs beneath the seat. Show the near and far overlaps clearly at their crossings. Join the backrest to the frame and add small shadows beneath the seat. Keep the broad planes open.
Follow the drawing tutorial
Place a sloping seat and rounded back, connect the unequal crossed supports, then refine the pencil and add restrained local tone.
Start the 11-step tutorialA small thing to tryPlace the four feet on one implied ground plane before adding the leg-crossing accents.
Draw it, one step at a time
How to draw this folding chair
Place a sloping seat and rounded back, connect the unequal crossed supports, then refine the pencil and add restrained local tone.
What you’ll need
- HB pencil
- 2B pencil for selected contact edges
- Soft eraser
- Ruler marked in centimetres
- Sketchbook paper
Before you start
Picture-left and picture-right mean the sides of your page. All centimetre positions begin at the top-left of the same 8-by-12 cm light box unless an action names another existing mark. The measurements are rounded from this reference; a millimetre or two of variation is fine. Mark points lightly, then draw the curves by hand. The box and straight seat/back directions are temporary guides. Draw the chosen chair lines lightly at first, then refine them before the final box cleanup. Put the working box where you want the chair, leaving paper around it; centring is optional.
Step 1 of 11 · Pencil
Place the whole chair

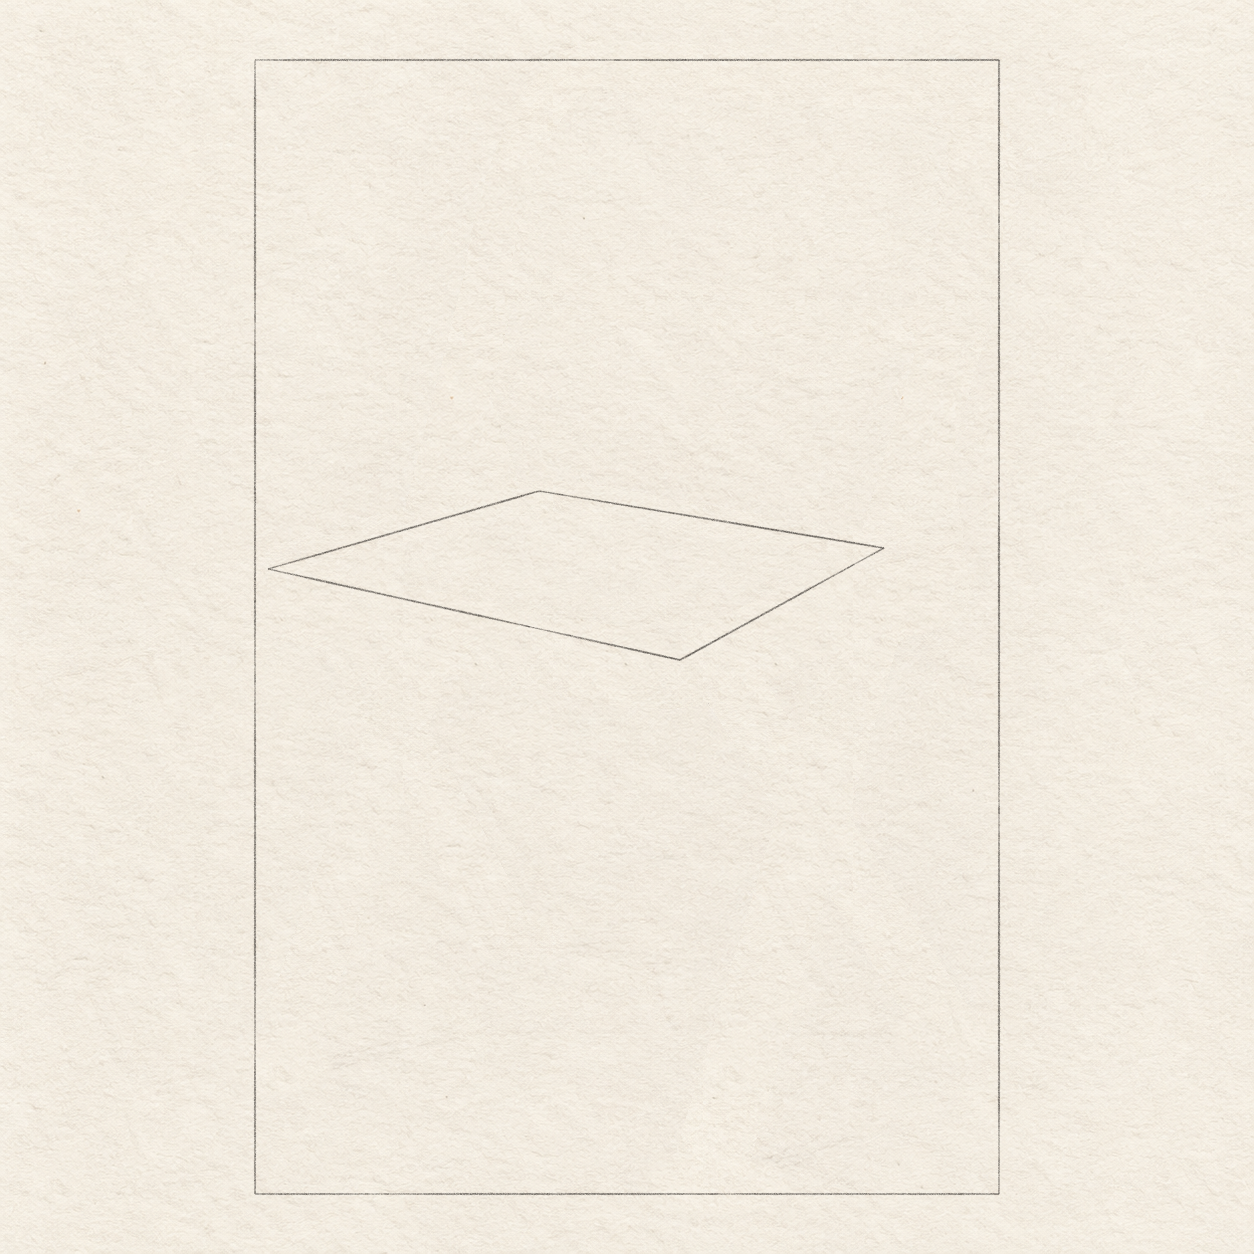
Drawing 1A — Place the whole chairView larger Instructions for Drawing 1A — Place the whole chair
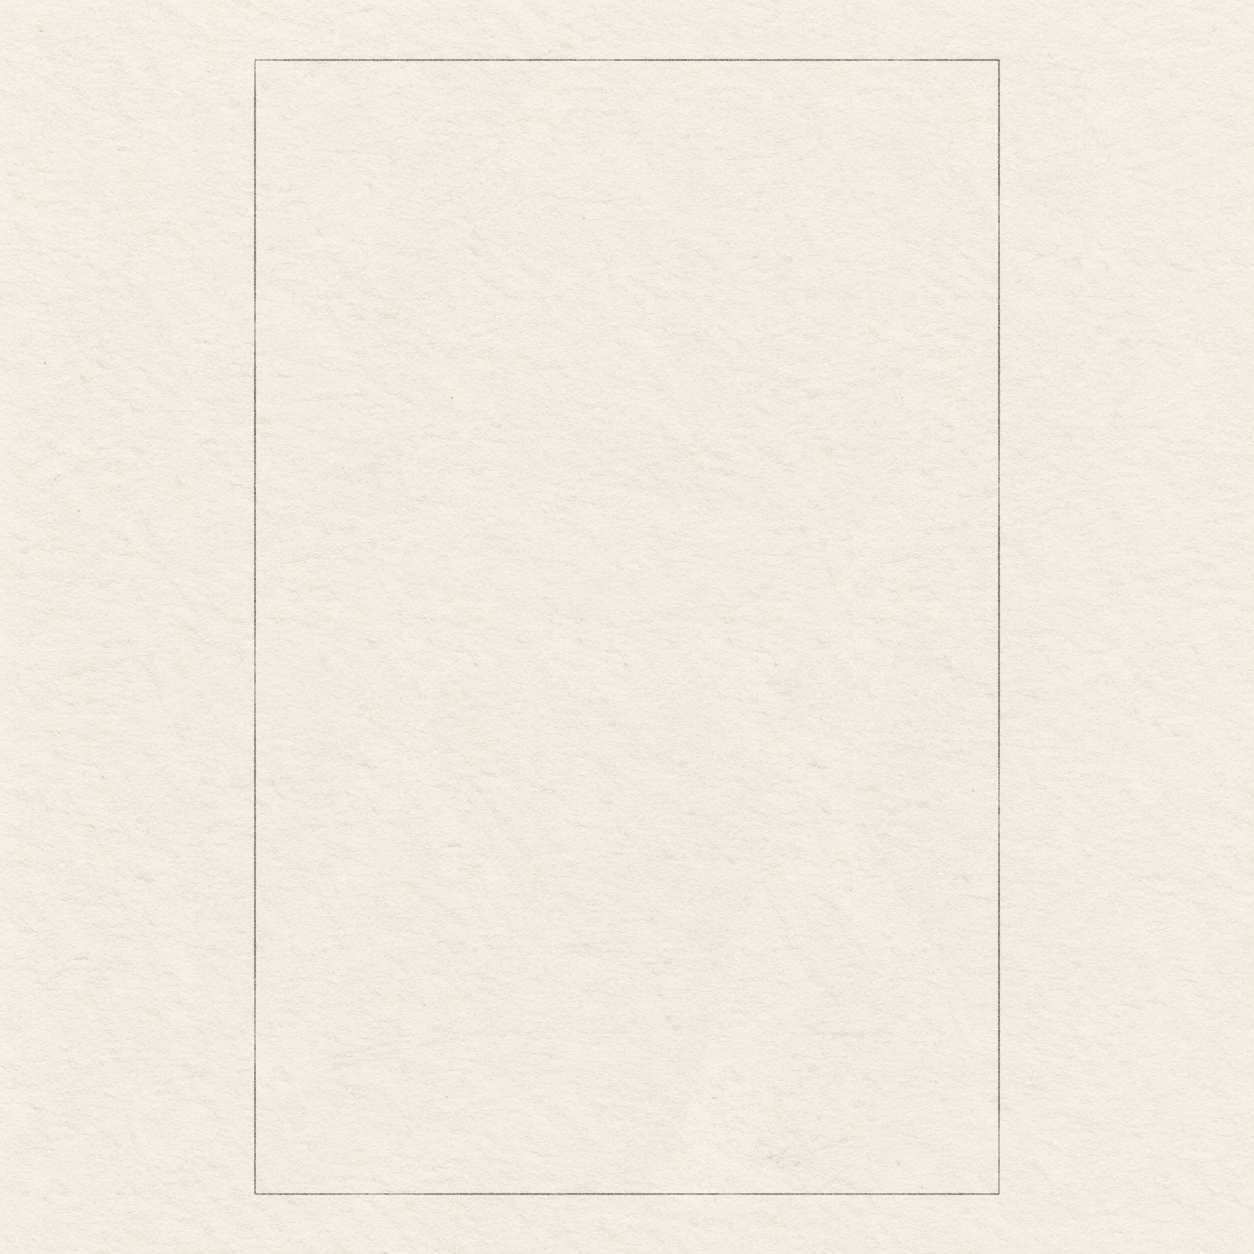
- Choose where you want the 8 cm by 12 cm working box, leaving paper around it. With a ruler and light HB pencil, draw an 8 cm horizontal top edge. From each end, draw a 12 cm side straight down, then join their lower ends.
- This box holds the whole chair. Keep its four sides visible until the last step; a slightly taller box is fine, but correct a leaning side now.
Step 2 of 11 · Pencil
Build the sloping seat

Drawing 2A — Locate the four seat cornersView larger Instructions for Drawing 2A — Locate the four seat corners
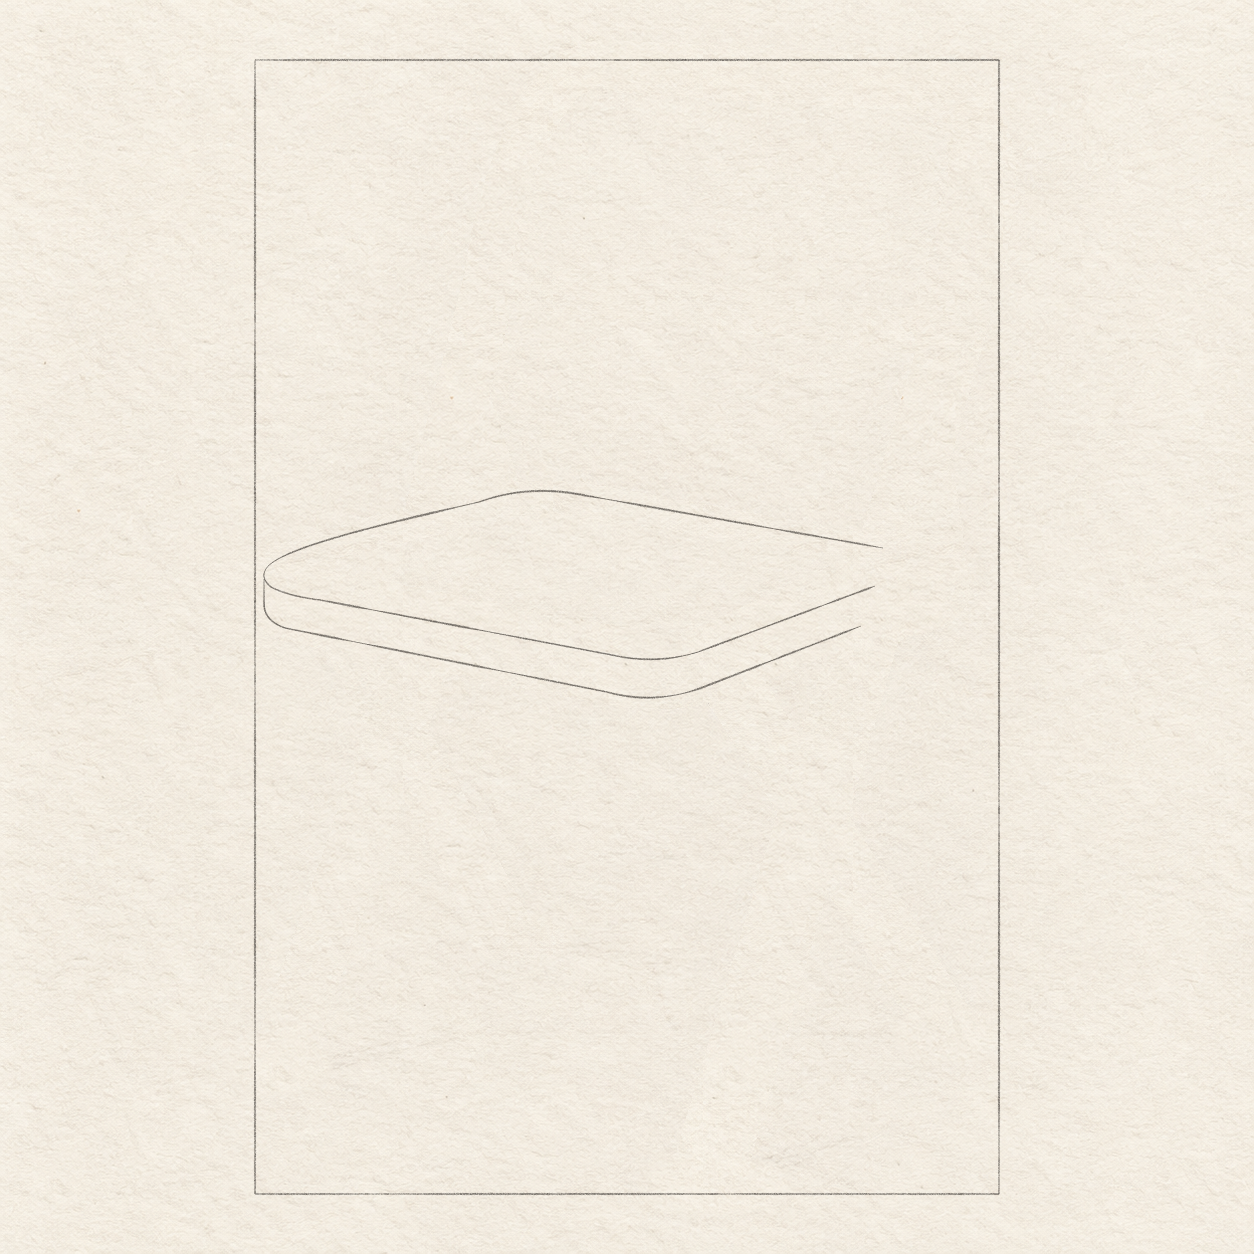
- The seat needs a broad sloping shape. Measure from the box’s top-left corner: mark its back-left point 3 cm across and 4.6 cm down.
- Mark the back-right point 6.7 cm across and 5.2 cm down. Mark the front-left point just inside the left side, 5.4 cm down.
- Mark the front-right point 4.6 cm across and 6.35 cm down. These are dots, not rounded corners yet.
- Join front-left, back-left, back-right, front-right and front-left with light straight guides. The front-right point is the lowest; repair a flat or twisted shape before continuing.

Drawing 2B — Round the seat and add thicknessView larger 
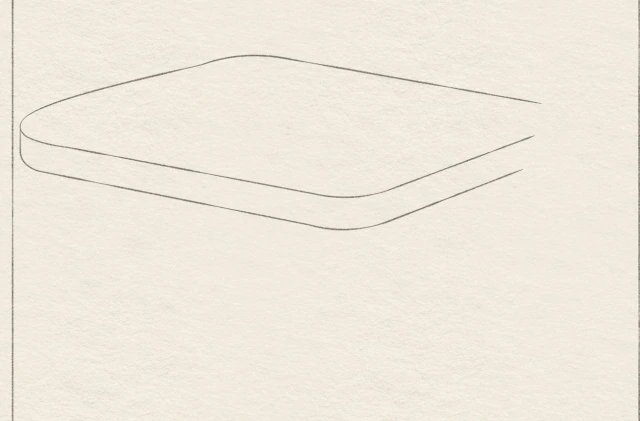
Detail 2B.1 — Seat slopes and thicknessEnlarged from this same drawing. The top and narrow front/right faces remain light; the selected contours establish the shallow slab before tone. Instructions for Drawing 2B — Round the seat and add thickness
- Start at the front-left guide point. Draw freehand up-right through the high back-left turn, then bow gently down-right to the back-right point. Shape the bends by eye between these guide points. Stop there; leave the right-hand opening for the long rail.
- From the front-left point, freehand a rounded near corner and a gentle bow through the lowest front-right point. Turn back up-right, shaping this bend by eye; stop about 6.7 cm across and 5.6 cm down in the box. Do not join this end to the back-right end.
- Freehand the lower lip about 3 mm below the front edge you just drew, rounding the left turn by eye. At the right, turn back up-right and stop about 6.5 cm across and 6 cm down. Leave all three right-hand ends open for the rail.
- With the soft eraser, gently remove the old straight seat guides, including the right side. Keep the selected rounded seat edges and the working box. Leave the broad seat faces as paper for now; local pencil shading comes after the whole chair is planned.
- The seat should read as a shallow slab. Correct a pointed corner or a thick front rim before darkening its lower edge.
Step 3 of 11 · Pencil
Place the rounded back

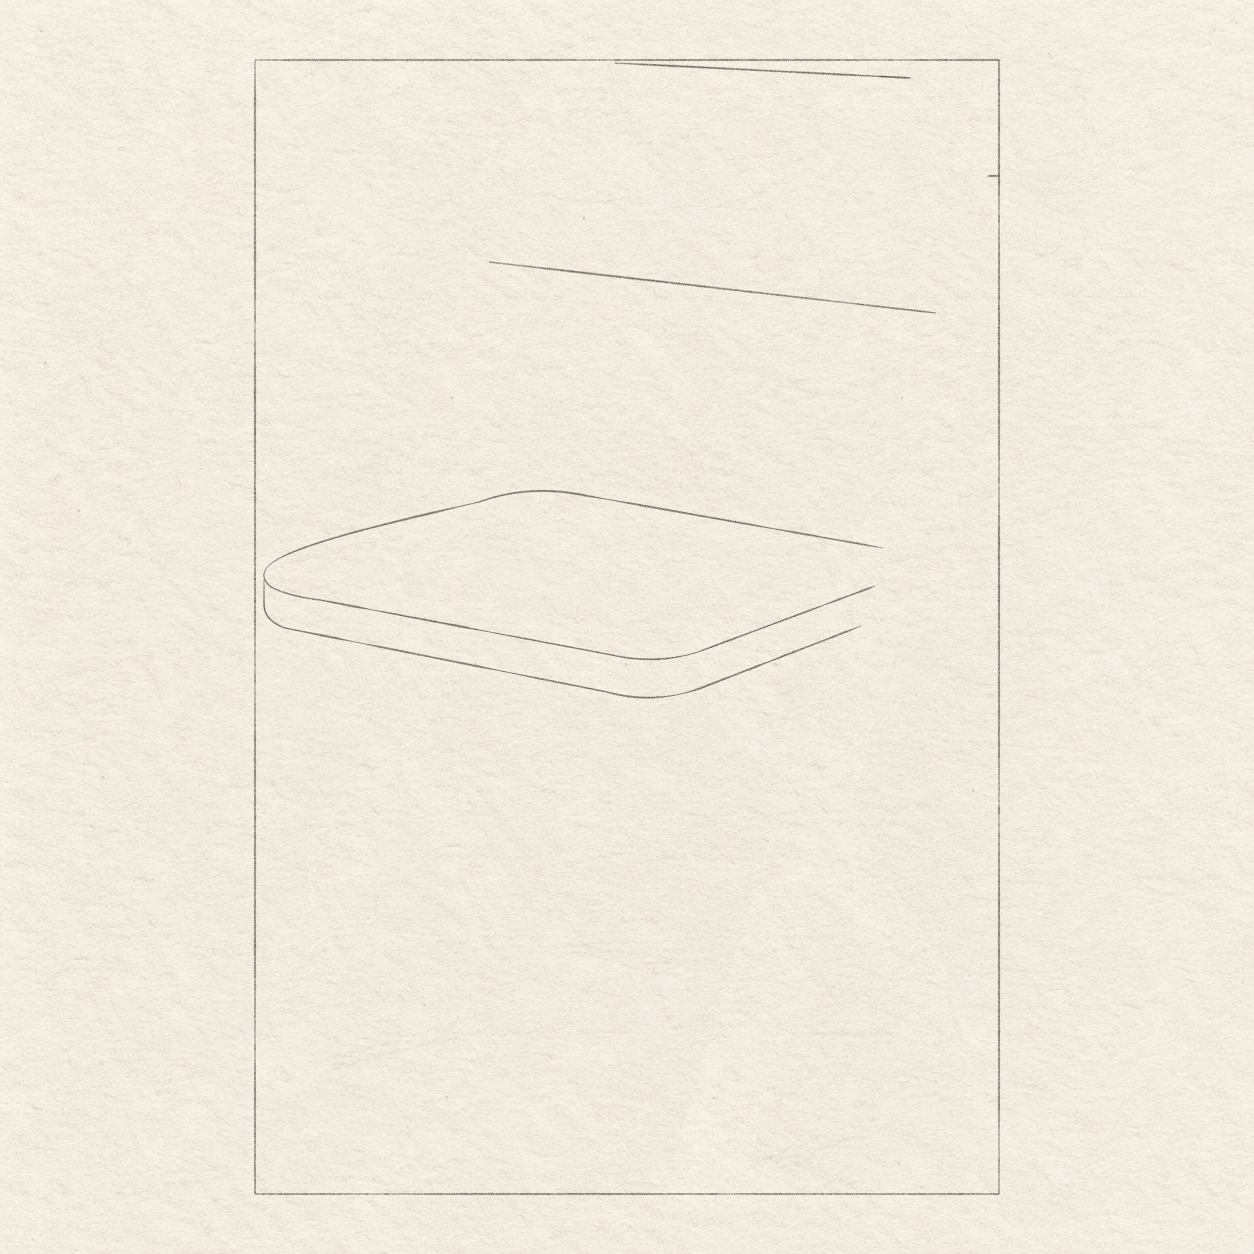
Drawing 3A — Bound the back panelView larger Instructions for Drawing 3A — Bound the back panel
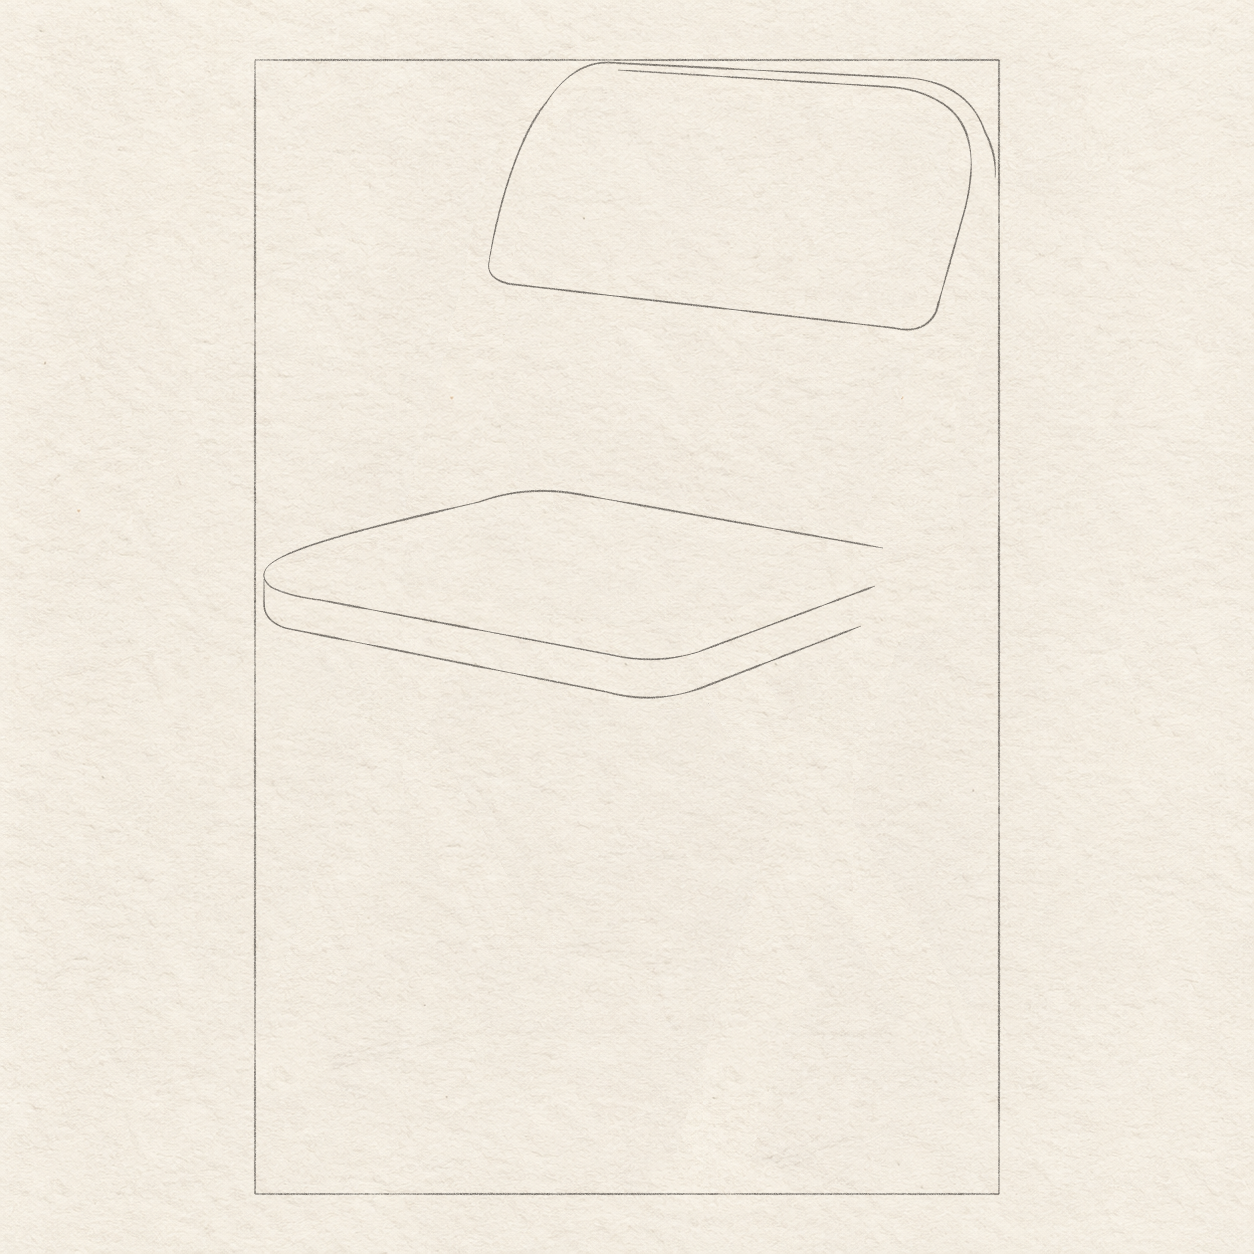
- For the back’s top direction, mark one point 3.9 cm across the box’s top edge. Mark another 7 cm across and 2 mm down from the box’s top-left; join those two points lightly.
- For its lower edge, mark two more points:2.5 cm across and 2.1 cm down, then 7.3 cm across and 2.7 cm down. Join these two points with a separate light line.
- Mark a short horizontal tick across the box’s right side, 1.2 cm below the top. It locates the back’s widest rounded right turn; it is not an extra panel edge.
- The two long lines fall slightly to the right. Keep the large paper opening between the lower line and the back seat edge; correct an uphill slope now.

Drawing 3B — Round the back panelView larger Instructions for Drawing 3B — Round the back panel
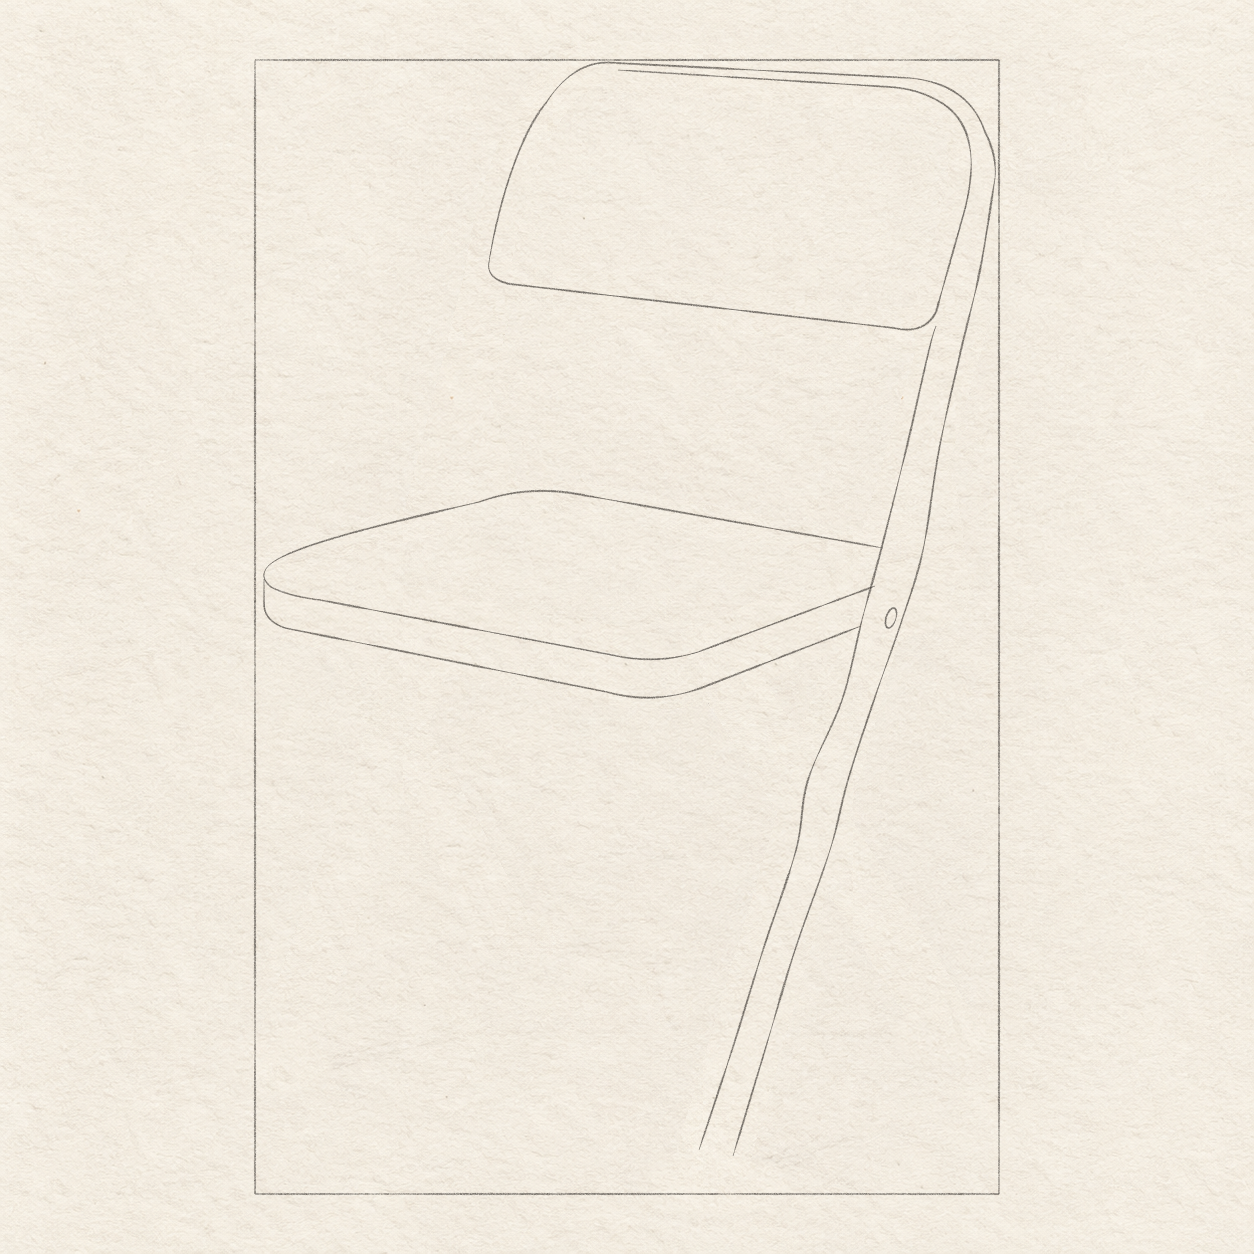
- From the lower guide line’s left end, draw freehand upward and right to the upper line’s left end. Follow the upper line toward its right end, then round outward through the short right-side tick. Shape this round turn by eye and stop at the tick.
- From the same lower-left turn, freehand the gently falling lower panel edge toward the lower guide line’s right end. Round upward there by eye and continue the inside right curve toward the upper-right area.
- Continue that inside curve freehand around the upper-right turn, then left just below the top edge. Shape the thin inset by eye and end near the upper guide line’s left end; keep the broad panel centre open.
- With the soft eraser, gently remove the two straight back guides and the short turn tick. Keep both selected top lines and the working box; the outer right turn continues into the long rail next.
- The lower edge should fall gently to the right and stay well above the seat. Repair its width or tilt before strengthening it.
Step 4 of 11 · Pencil
Continue the long right rail

Drawing 4A — Continue the long right railView larger Instructions for Drawing 4A — Continue the long right rail
- Continue the back’s outer right turn freehand downward and left. Aim for a foot position 4.8 cm across the box’s bottom edge; stop about 3 mm above that edge for its cap. Shape the long gentle bow by eye.
- From the panel’s lower-right turn, freehand the inside edge toward the same foot position. Keep this band about 3–4 mm wide, a little wider beside the seat, and shape its gentle outward bow by eye from the reference.
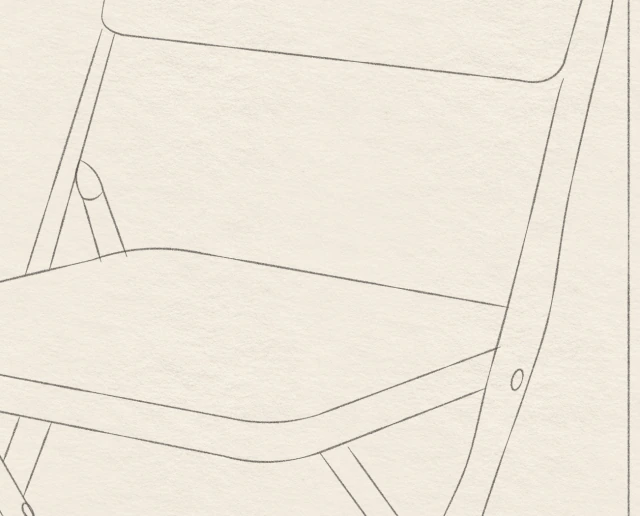
- Let the band pass in front of the seat’s right side. Just below that seat join, freehand a narrow oval pivot near the band’s right edge. This is the upper pivot on the long rail; align it with the band and make it about half the band’s width. Shape this short loop by eye within the band: curve along one side, round its end and return along the other side to close it.
- The foot lies below and slightly right of the seat’s lowest corner. Correct the paired edges or a detached oval while they are light; the lengthwise tone comes later.
Step 5 of 11 · Pencil
Add the far rail and lower leg

Drawing 5A — Add the far rail and lower legView larger 
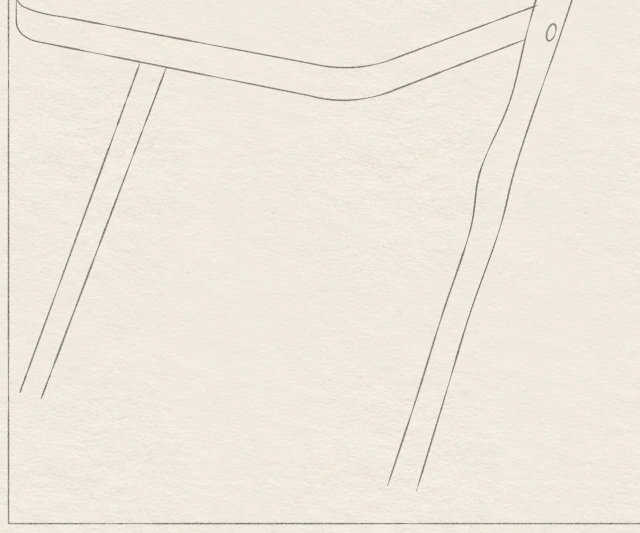
Detail 5A.1 — Seat and crossed supportsEnlarged from this same drawing. The lower far leg is still continuous; the next front member will establish which short rear pieces to lift. Instructions for Drawing 5A — Add the far rail and lower leg
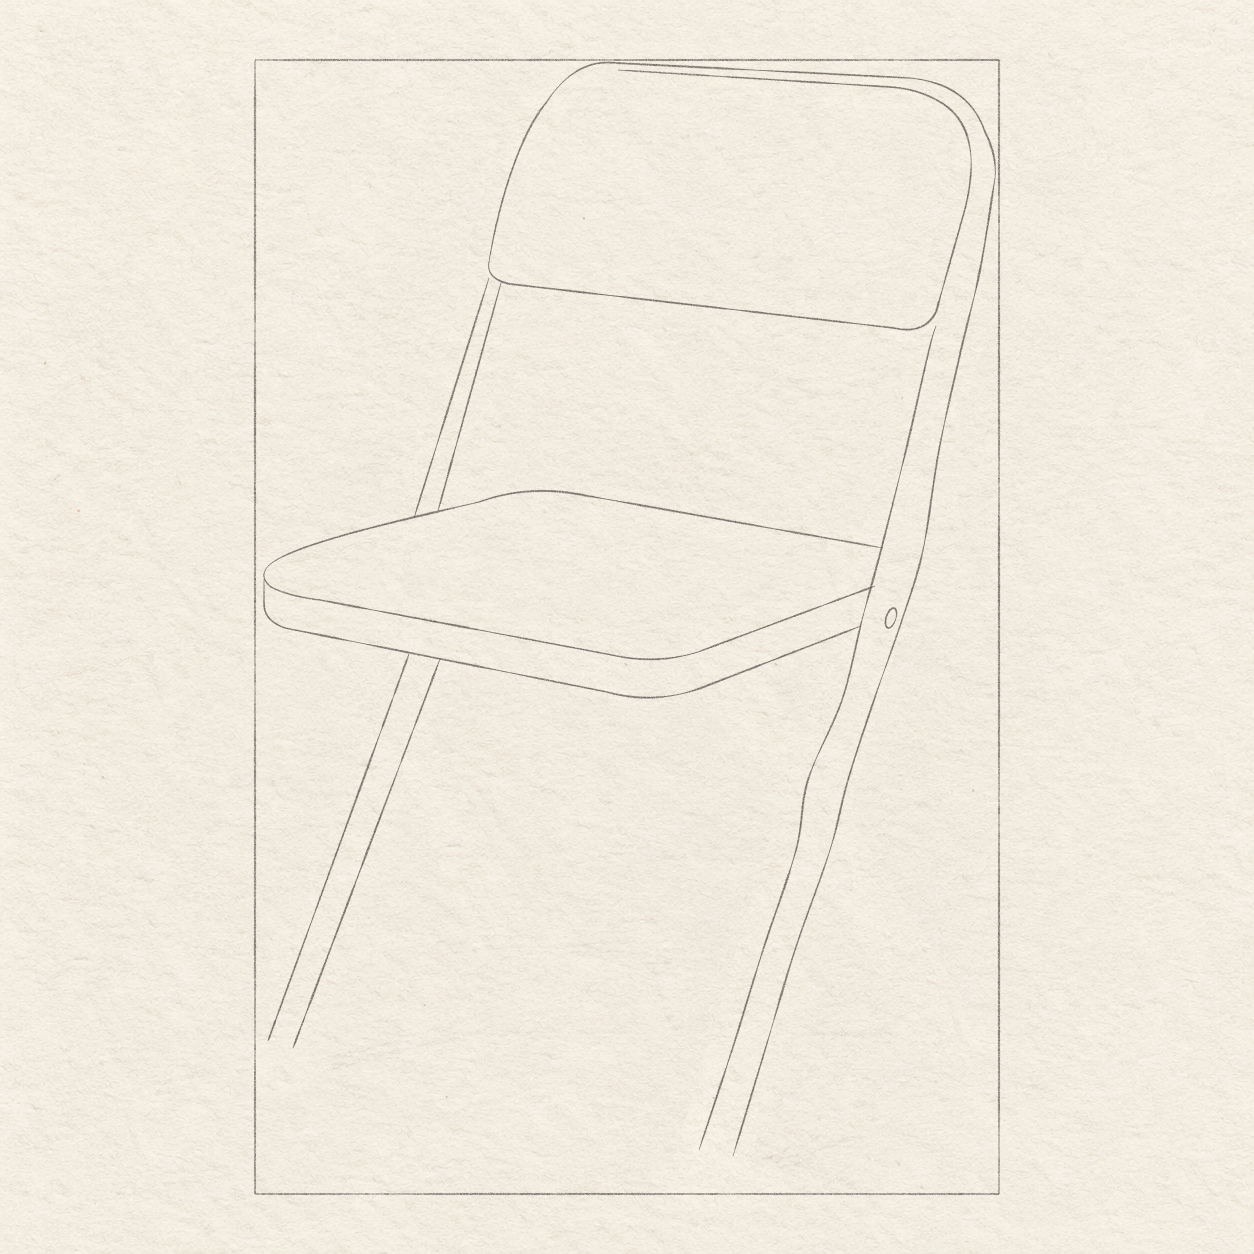
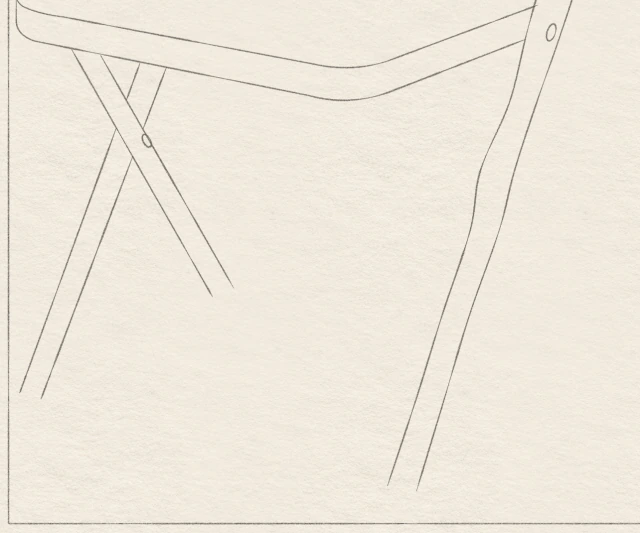
- From the back panel’s lower-left turn, freehand a narrow band down-left to the seat’s back-left edge. Stop where the seat covers it; keep its width about 2 mm.
- For the lower far leg, use the front rim about 1.8 cm from the box’s left side as the start. Its foot aims at the box’s left side, about 1.3 cm above the bottom; leave about 3 mm before that position for the cap.
- Freehand both lower-leg edges along that direction, making one continuous light band about 3 mm wide. The next front member will cross these light pencil edges; you will then use the soft eraser to remove only the covered pieces.
- Check that both lower edges aim toward the same foot point. Correct a changed direction while the lines are light.
Step 6 of 11 · Pencil
Cross the left supports

Drawing 6A — Cross the left supportsView larger 
Detail 6A.1 — Seat and crossed supportsEnlarged from this same drawing. The down-right member stays continuous in front of the far leg, with its oval pivot on the foreground band. Instructions for Drawing 6A — Cross the left supports
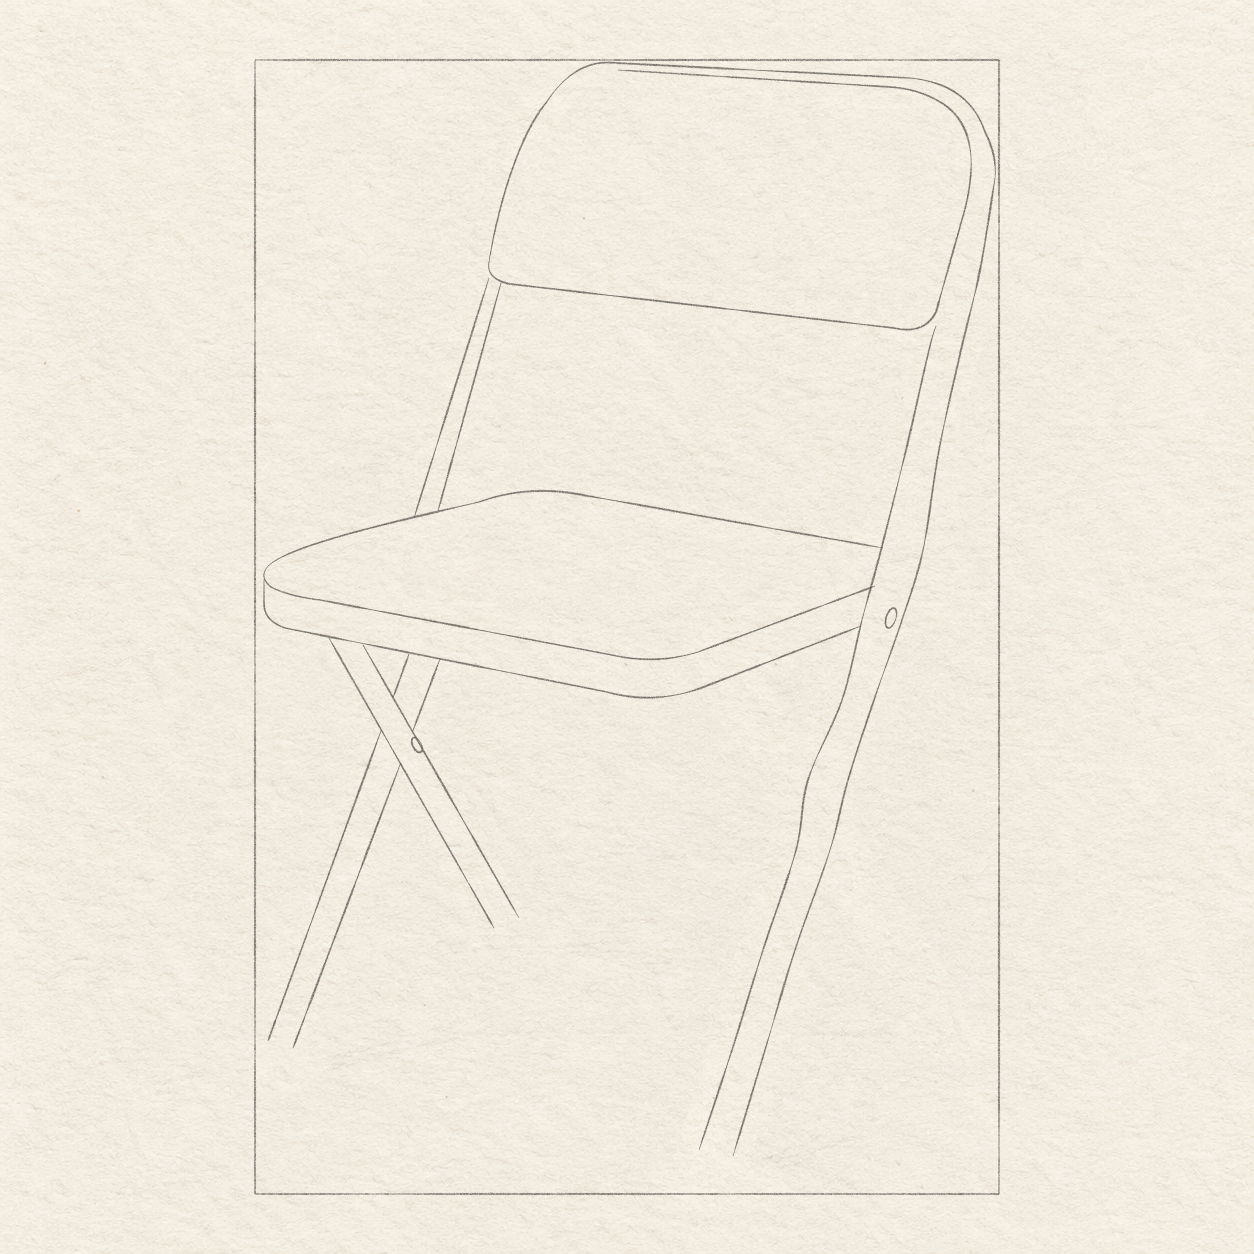
- Use the front rim about 8 mm from its left end as this support’s start. Its foot will be 2.7 cm across and 2.7 cm above the box’s bottom-left corner, so the support slopes down-right.
- Freehand a band about 3 mm wide along that direction, passing in front of the far leg. Then use the soft eraser to gently remove only the two short rear-leg line pieces inside this front band; keep the rear edges outside it.
- At this crossing, freehand a narrow oval pivot on the front band, aligned with that band. Keep the oval about half the band’s width. Shape this short loop by eye within the front band: curve along one side, round its end and return along the other side to close it.
- The two left members form an uneven X. The front band stays continuous and the rear leg stops exactly at its edges; repair an overhanging rear tip before continuing.
Step 7 of 11 · Pencil
Add the right rear support

Drawing 7A — Add the right rear supportView larger 
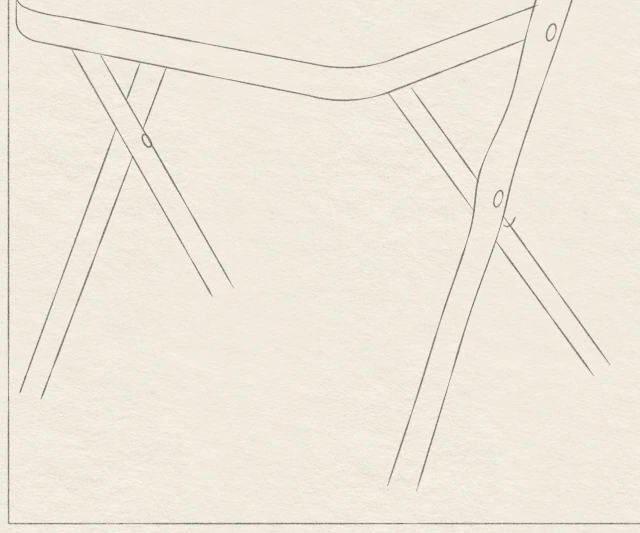
Detail 7A.1 — Seat and crossed supportsEnlarged from this same drawing. The right rear band stops at the long near rail and restarts below it; the near rail stays continuous. Instructions for Drawing 7A — Add the right rear support
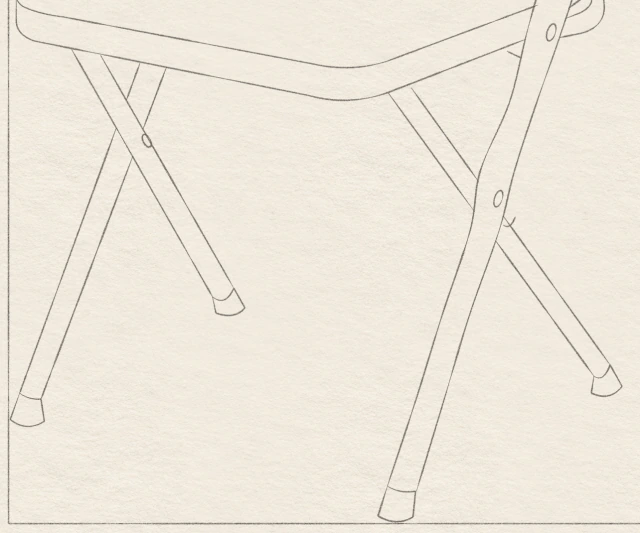
- Use a spot under the seat, just right of its lowest front corner, as this support’s start. Its foot will be about 7.5 cm across and 1.8 cm above the box’s bottom-left, so the support slopes down-right.
- Freehand this band about 3 mm wide. Stop both edges where the long right rail covers them; restart immediately below that rail and continue to the short foot end.
- At this new crossing, freehand a small narrow oval on the long rail, following the rail’s slant. Shape this short loop by eye within the rail: curve along one side, round its end and return along the other side to close it. This is the lower pivot shown in Detail 7A.1; keep the rail continuous in front of the new rear support.
- Keep the wide paper opening between the right feet. In Detail 7A.1, find the short exposed curve immediately below the lower pivot. Freehand that small return along the rear support’s contact with the front rail; do not extend it across the front band.
- The right crossing sits lower than the left crossing. Repair a line that runs through the foreground rail before strengthening its edge.
Step 8 of 11 · Pencil
Add the two short rear braces

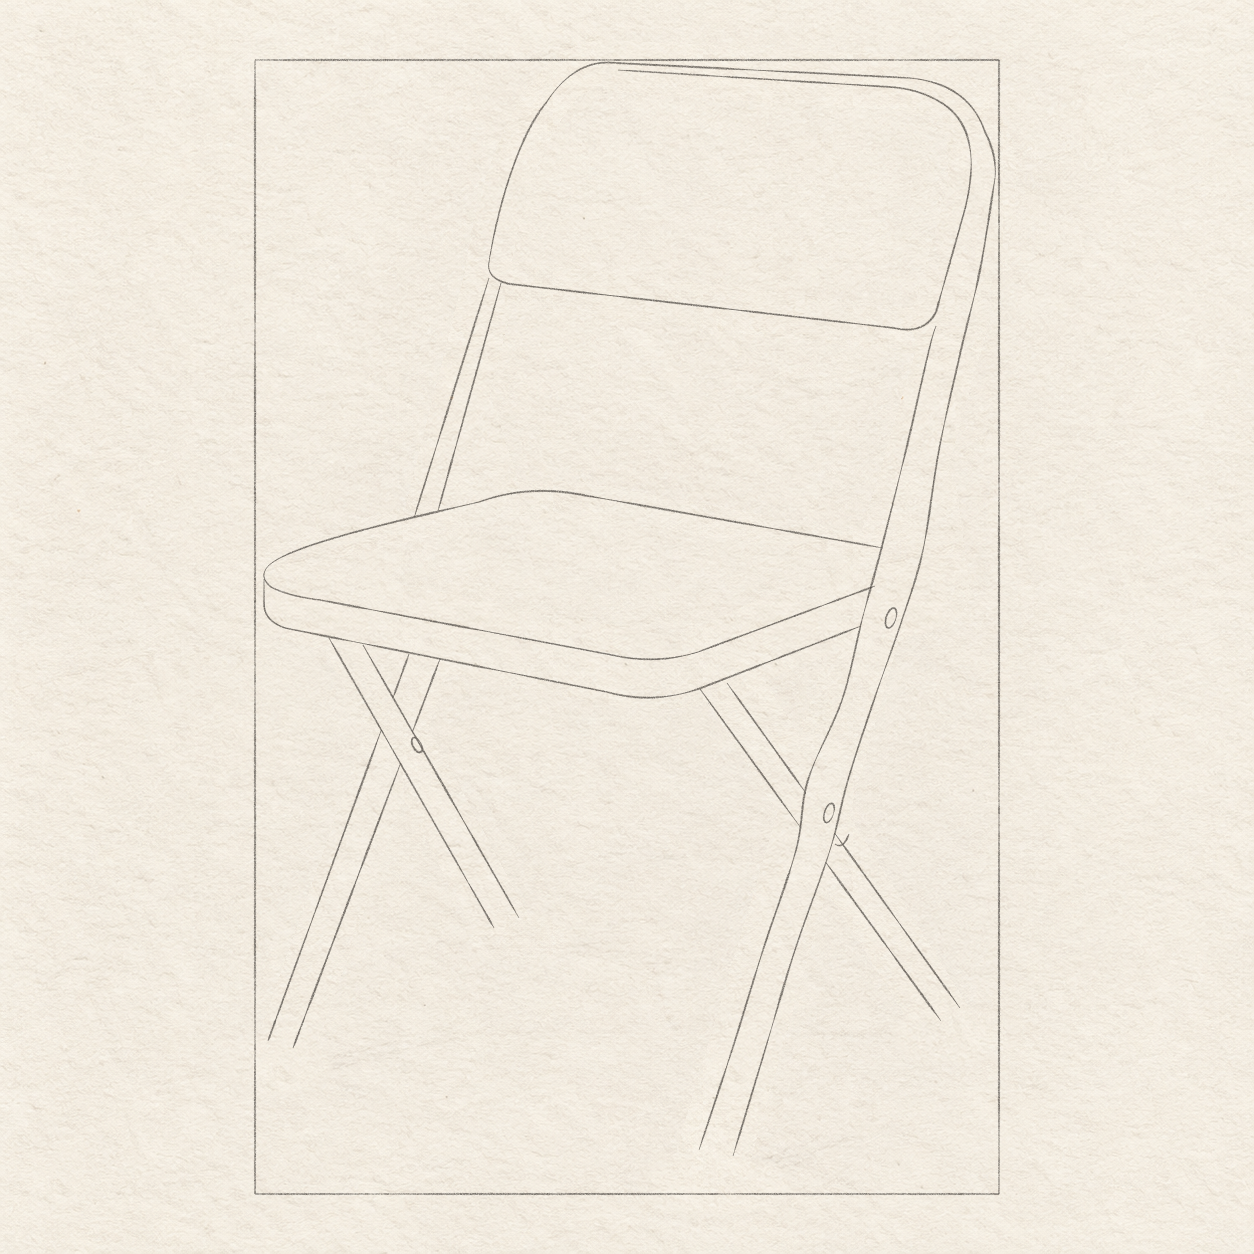
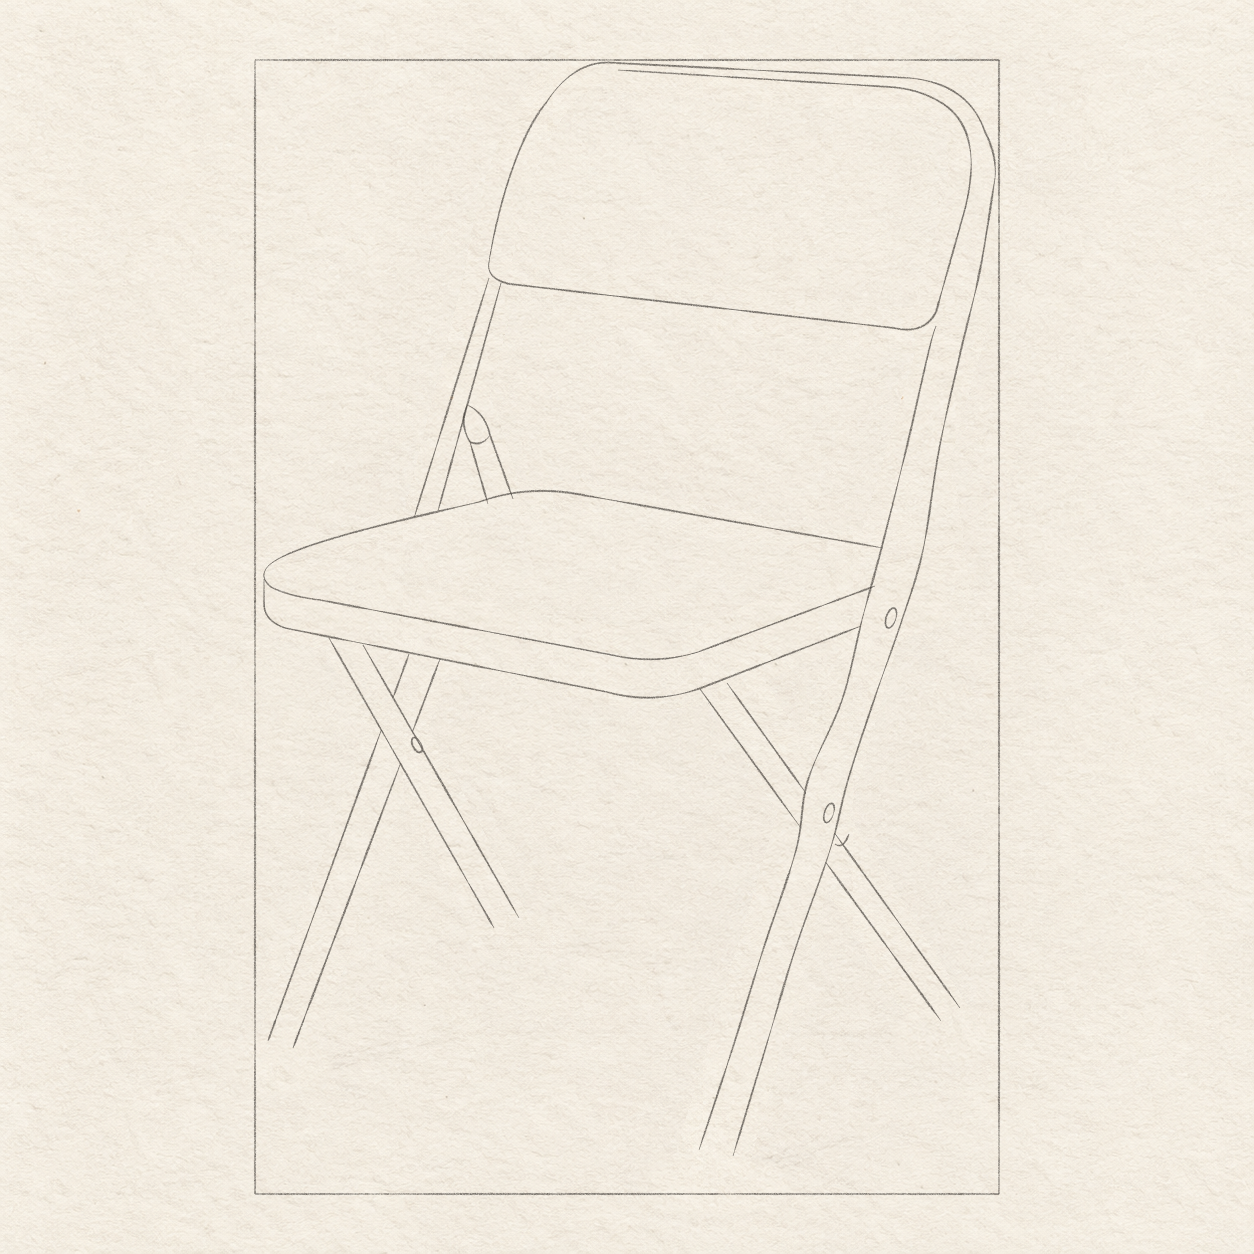
Drawing 8A — Add the short left braceView larger 
Detail 8A.1 — The small upper braceEnlarged from this same drawing. The brace starts on the far rail and ends behind the seat; the large opening remains bare paper. Instructions for Drawing 8A — Add the short left brace
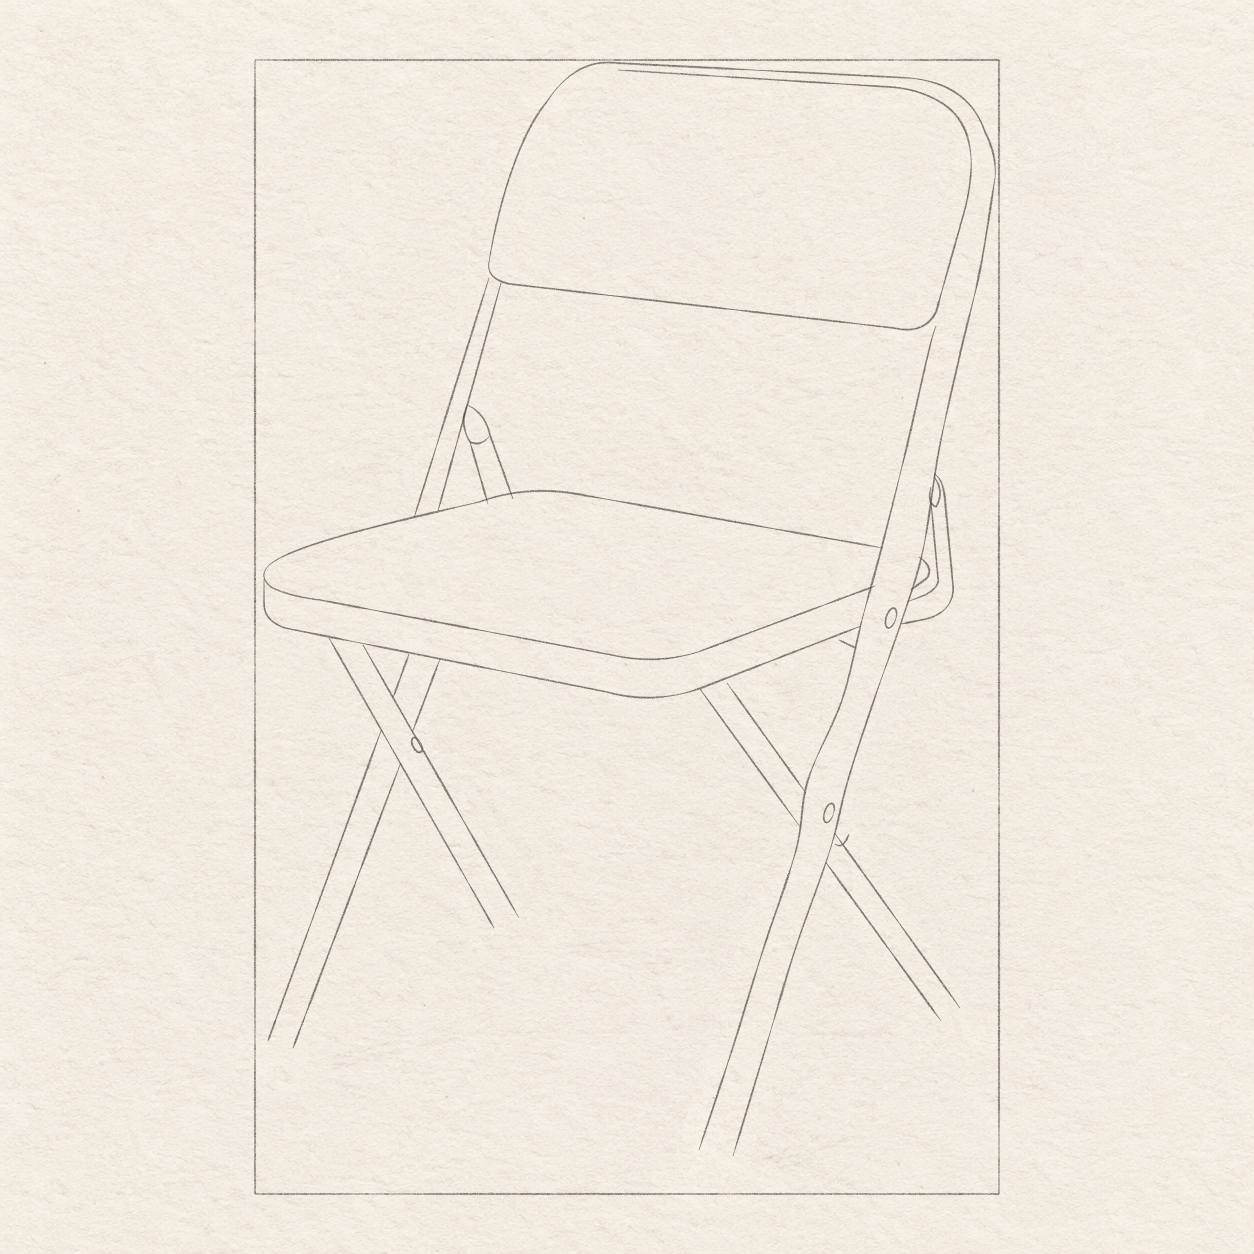
- On the far upper rail, start the short left brace about 1 cm above the seat’s back-left edge. Freehand a small rounded top out to the right, as shown in Detail 8A.1; shape that round turn by eye.
- Freehand two close lines down-right to the back seat edge, making a narrow strip about 2 mm wide. Stop at the seat and close the little rounded top against the far rail.
- Keep the far rail in front of this brace. With the soft eraser, gently remove any accidental brace line that crosses the open paper beside it; keep the rail and working box.

Drawing 8B — Add the curved right braceView larger 
Detail 8B.1 — Different left and right brace shapesEnlarged from this same drawing. The right brace curves behind the near rail; its short inside return stays separate from the seat edge. Instructions for Drawing 8B — Add the curved right brace
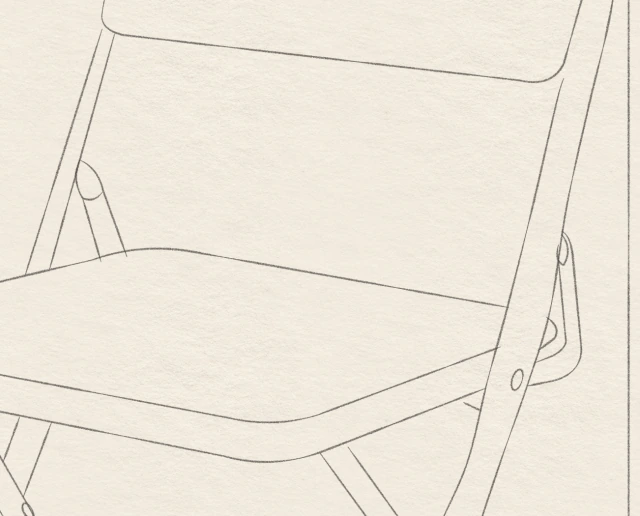
- Behind the long right rail, start the short right brace about 8 mm above the seat’s back-right level. Freehand its small rounded top by eye, as shown in Detail 8B.1.
- Freehand its paired edges down to a bend just below the seat’s side face, then turn back left behind the long rail. Shape that lower bend by eye within this height; keep the rail’s front edge unbroken.
- In Detail 8B.1, freehand the short inside return at the seat’s right-side level, stopping at the long rail. Just below the seat side, add the small underside accent toward the rail’s left edge; this bounds the little darker area added in the finishing pass.
- This brace is curved and lower than the left one. Correct a detached return before making its outside edge darker.
Step 9 of 11 · Pencil
Close the four feet

Drawing 9A — Close the four feetView larger 
Detail 9A.1 — Seat and crossed supportsEnlarged from this same drawing. Each foot has its own light closed cap outline; the darker contact accents come in the finishing step. Instructions for Drawing 9A — Close the four feet
- At the four open foot ends, freehand caps extending about 2–3 mm along each foot’s slant. Round their outer corners by eye. Give the left outer foot and lowest near foot flatter bottoms; let the two short inner/rear caps tilt with their diagonals.
- Draw each cap from its own existing band end instead of copying one cap. Recheck the flatter left outer and lowest near bottoms against the two tilted short feet.
- Close each freehand cap with a light lower edge. Leave the darker contact accents for the finishing pass; keep the surrounding paper clear.
- Keep the lowest near foot on the box’s bottom edge; the left outer foot is about 1.3 cm higher. Repair a floating or detached cap before cleanup.
Step 10 of 11 · Pencil
Refine the pencil and add local tone

Drawing 10A — Refine the pencil and add local toneView larger 
Detail 10A.1 — Refined crossings and local pencil toneEnlarged from this same drawing. The chosen routes have become firmer pencil; the broad paper gaps remain open and tone stays inside the members. Instructions for Drawing 10A — Refine the pencil and add local tone
- Work around the chair one short section at a time. With HB or 2B, refine the chosen seat, back, paired rails, braces, small ovals and caps along their existing routes; keep every hidden-line break.
- Once a firmer edge is set, use the soft eraser to gently remove any pale duplicate beside it. Keep one clear contour and retain the working box.
- Use light freehand lengthwise strokes to build a little tone inside the rails, cross supports and two braces. Keep a lighter strip down each member. Choose the stroke spacing by eye instead of filling solid black; the exact spacing may vary.
- With light freehand strokes, shade the seat’s right side and the small underside area beside the long rail a little more. Strengthen the existing tiny pivots and each cap’s lower contact edge; keep any soft contact shade touching its foot. The exact amount of tone may vary.
- Leave the back panel, seat top and broad front face mostly open paper. Lift an overly dark patch with the soft eraser before adding more graphite.
Step 11 of 11 · Pencil
Lift the working box

Drawing 11A — Lift the working boxView larger Instructions for Drawing 11A — Lift the working box
- Gently lift the four sides of the working box with a soft eraser. Keep the refined chair edges, small pivots, caps and light lengthwise pencil tone.
- Compare the open paper below the back, between the crossed supports and between the feet. Keep those spaces clear; strengthen only a missing selected contact edge rather than filling the chair dark.
If something looks off
The seat looks flat
Check the four plane corners before rounding them. The front-right corner is the lowest; the back-left is the highest.
The legs pass through one another
Keep the front left diagonal continuous across the far-leg gap. On the right, keep the long near rail continuous and stop/restart the rear support behind it.
The chair looks dark and heavy
Keep broad seat/back interiors as paper. Use only a few soft strokes along the thin members and darker local contact edges.