FinelinerEasy

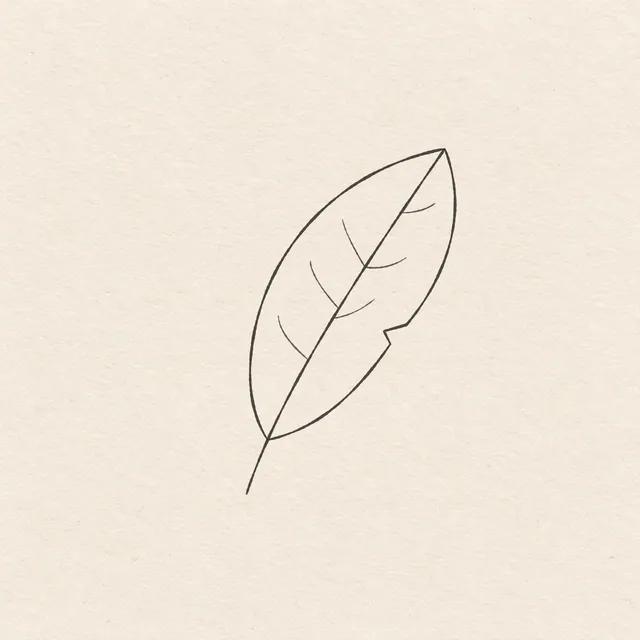
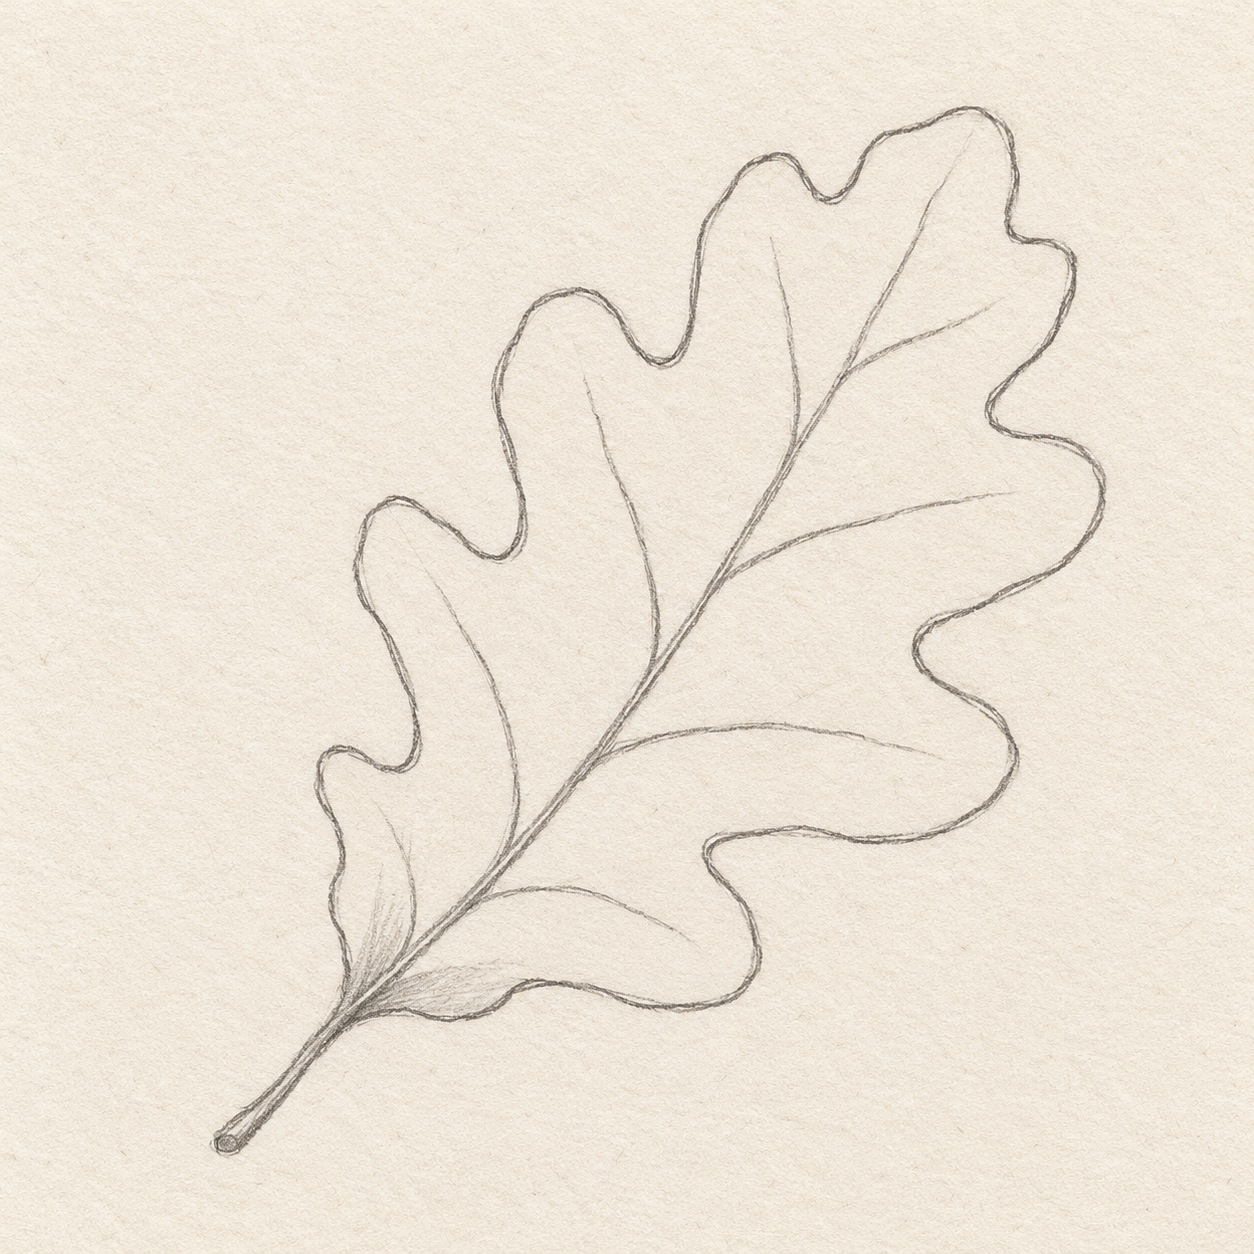
One oak leaf and its stem
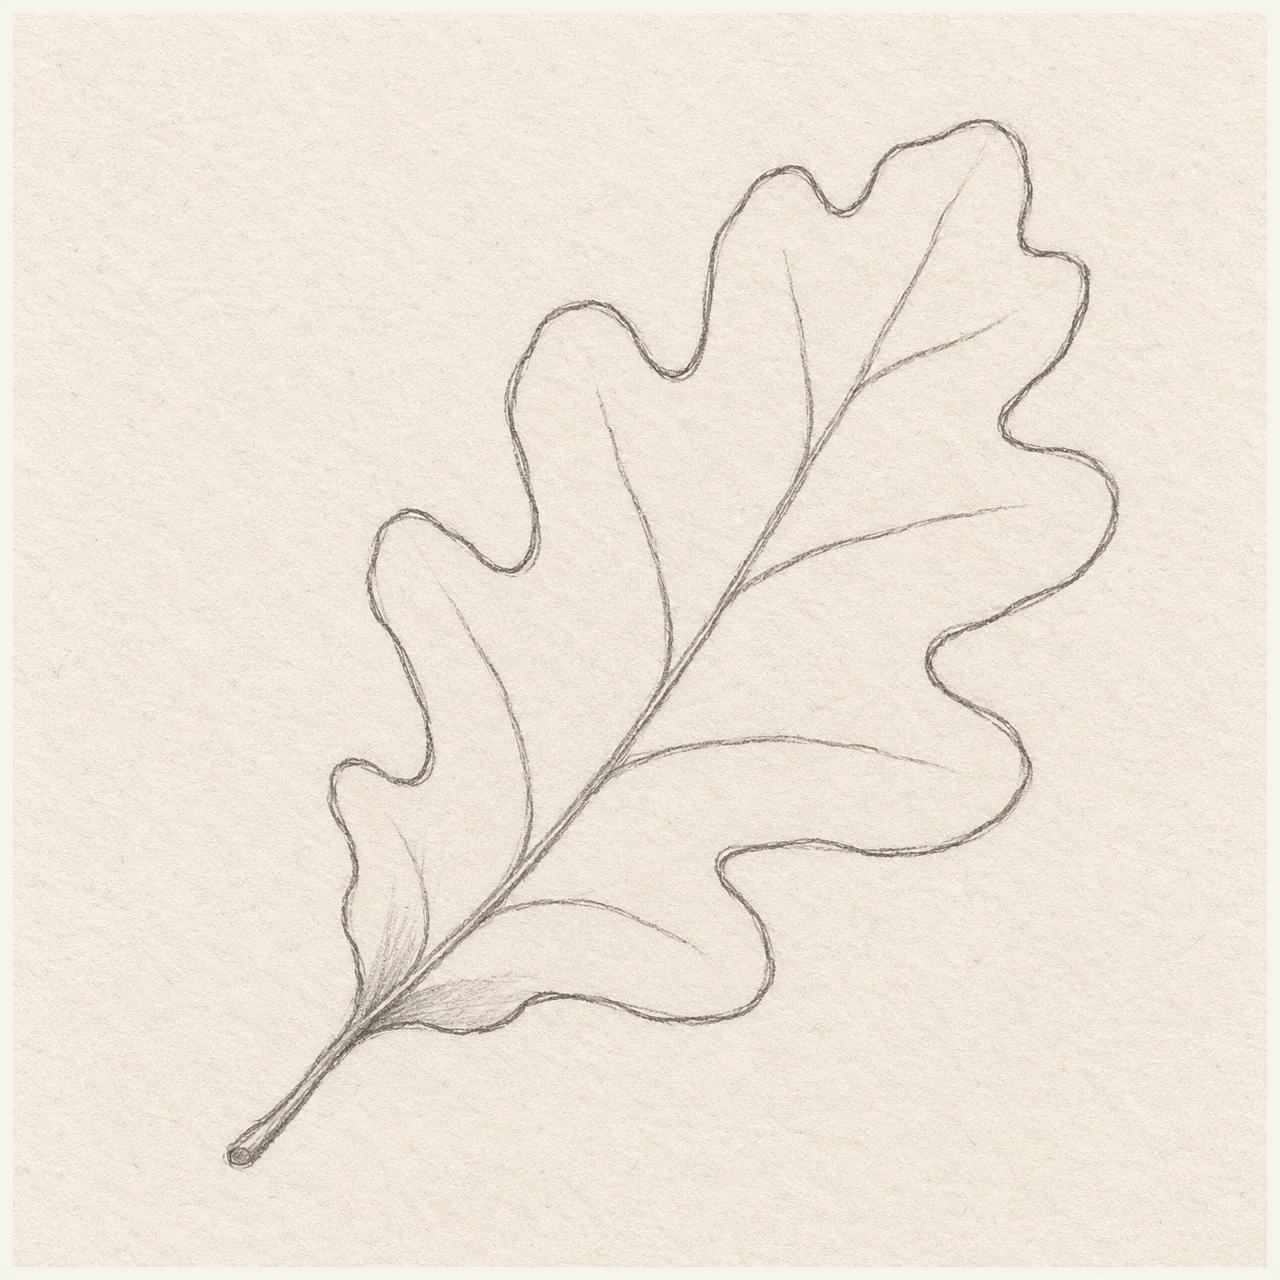
Follow the broad lobes of an oak leaf, then add a central vein and a few side veins. Slightly uneven curves make this a useful contour exercise.
Follow the drawing tutorial
Build this diagonal oak leaf with a measured direction route, unequal rounded lobes, sparse veins and a small graphite fan at its base.
Start the 8-step tutorialA small thing to tryLook at the spaces between the lobes. Their shapes help you avoid a row of identical bumps.
Draw it, one step at a time
How to Draw an Oak Leaf in Pencil
Build this diagonal oak leaf with a measured direction route, unequal rounded lobes, sparse veins and a small graphite fan at its base.
What you’ll need
- HB pencil
- Kneaded eraser
- Ruler marked in centimetres and millimetres
- Paper with room for a 10 cm wide, 11 cm high working box and comfortable margins
Before you start
Place the whole working box where you want the study on your sheet. Across means right and down means toward the bottom, measured from that box’s top-left corner unless another existing mark is named. Keep the box, crosses and first sketch light. Draw the rounded curves freehand between their physical supports; gently lift and redraw a misplaced light section before strengthening it. Named Drawings show the nearby actions completed, while Details show a closer view of the same stage.
Step 1 of 8 · Pencil
Place the leaf and its direction

Drawing 1A — Movable working boxView larger Instructions for Drawing 1A — Movable working box
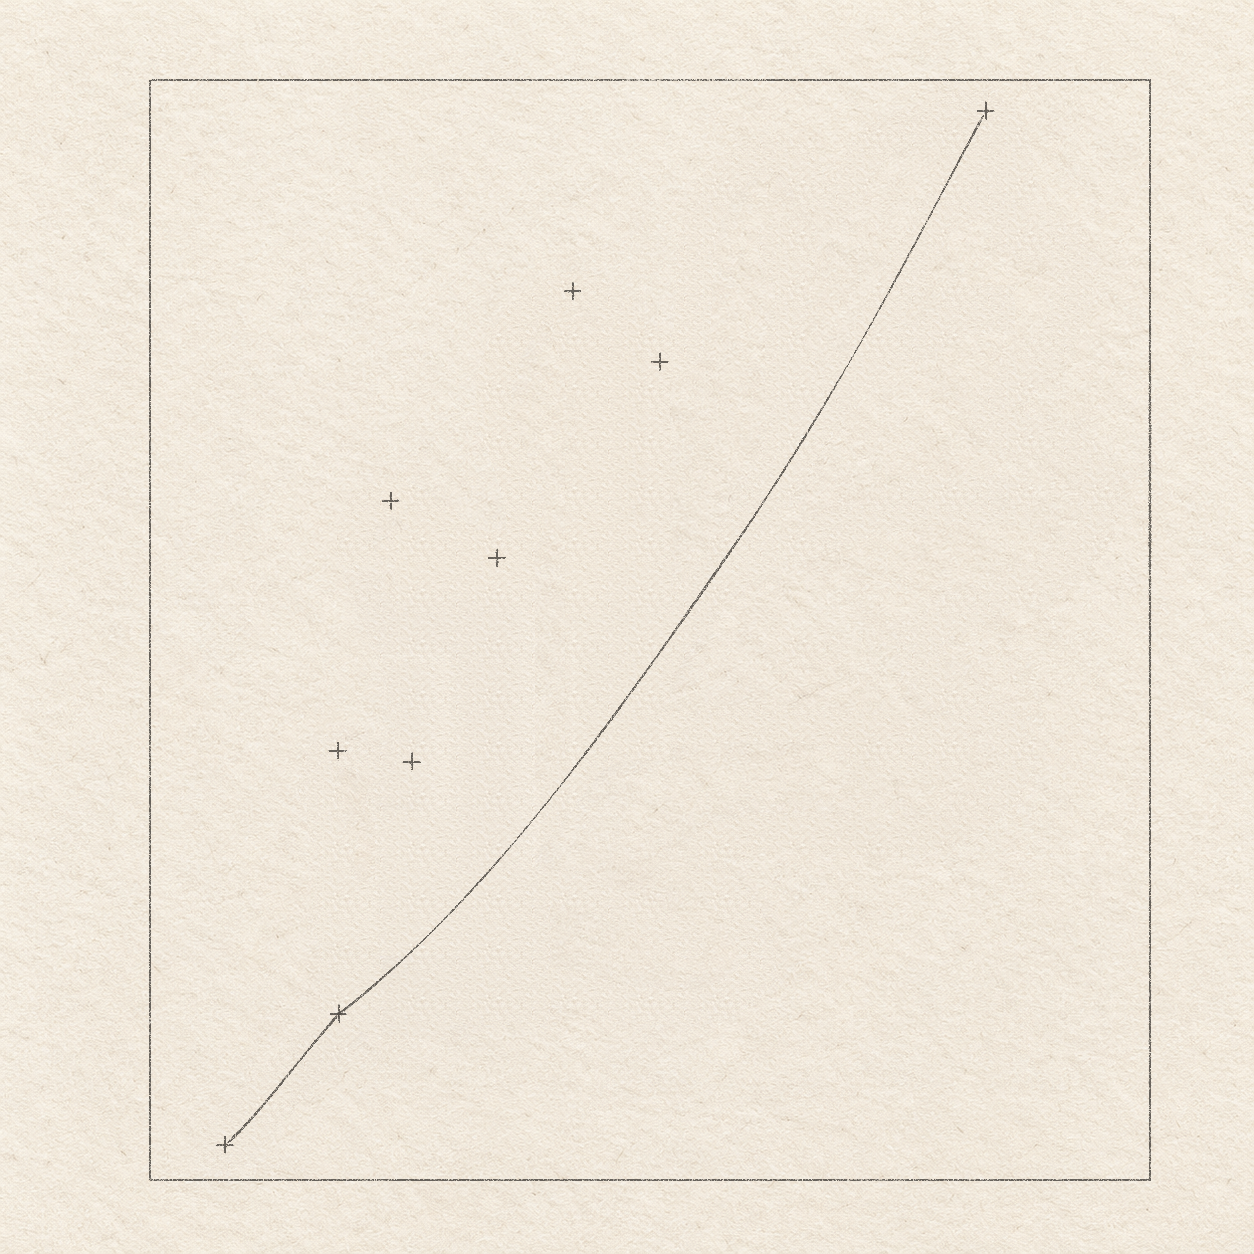
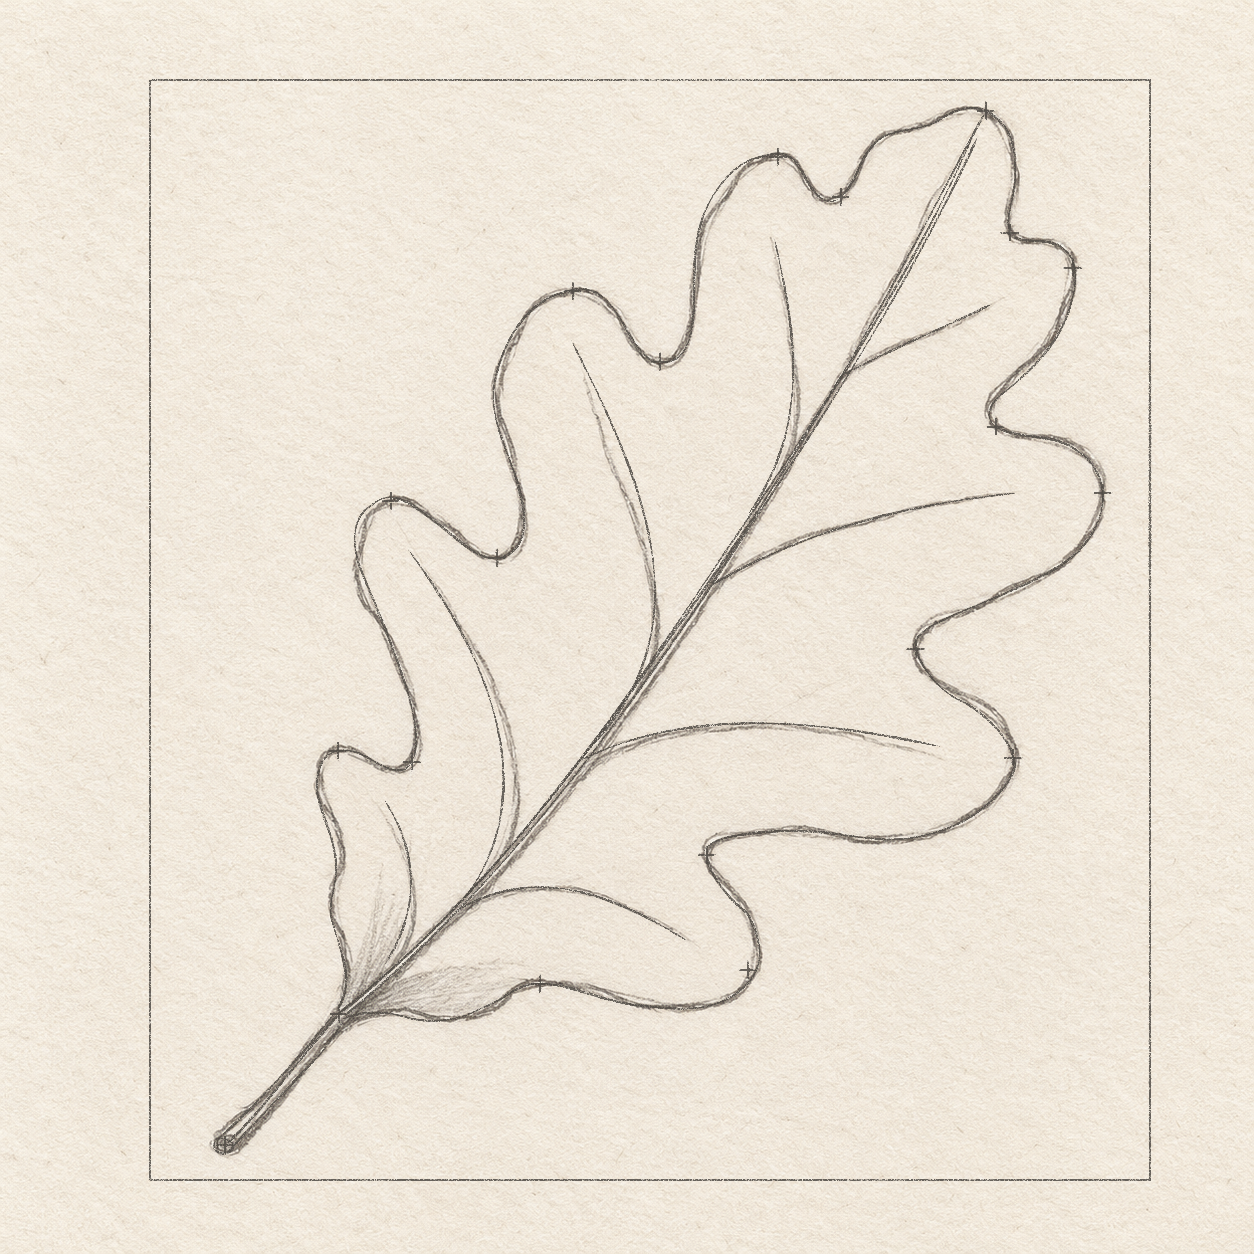
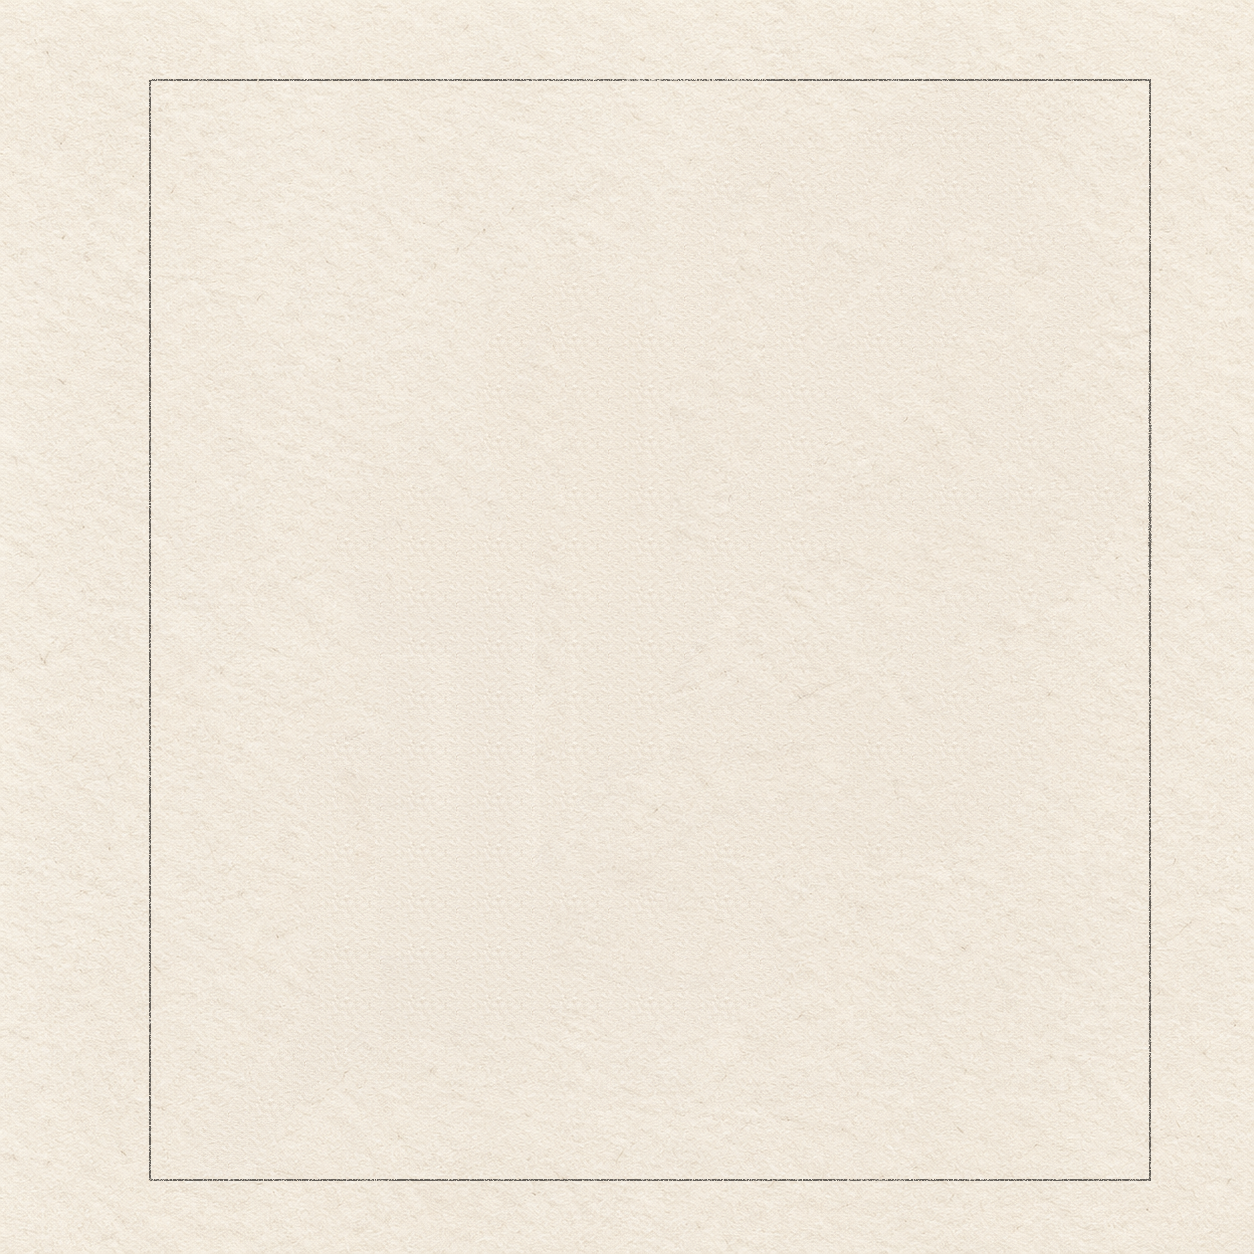
- Choose where you want the leaf on your sheet. With a ruler and light HB pencil, draw a working rectangle 10 cm wide and 11 cm high: make its top edge, draw both 11 cm sides downward, then join their lower ends. This rectangle can sit in the center of your sheet or elsewhere. Compare Drawing 1A — Movable working box.

Drawing 1B — Stem, leaf base and tip marksView larger Instructions for Drawing 1B — Stem, leaf base and tip marks
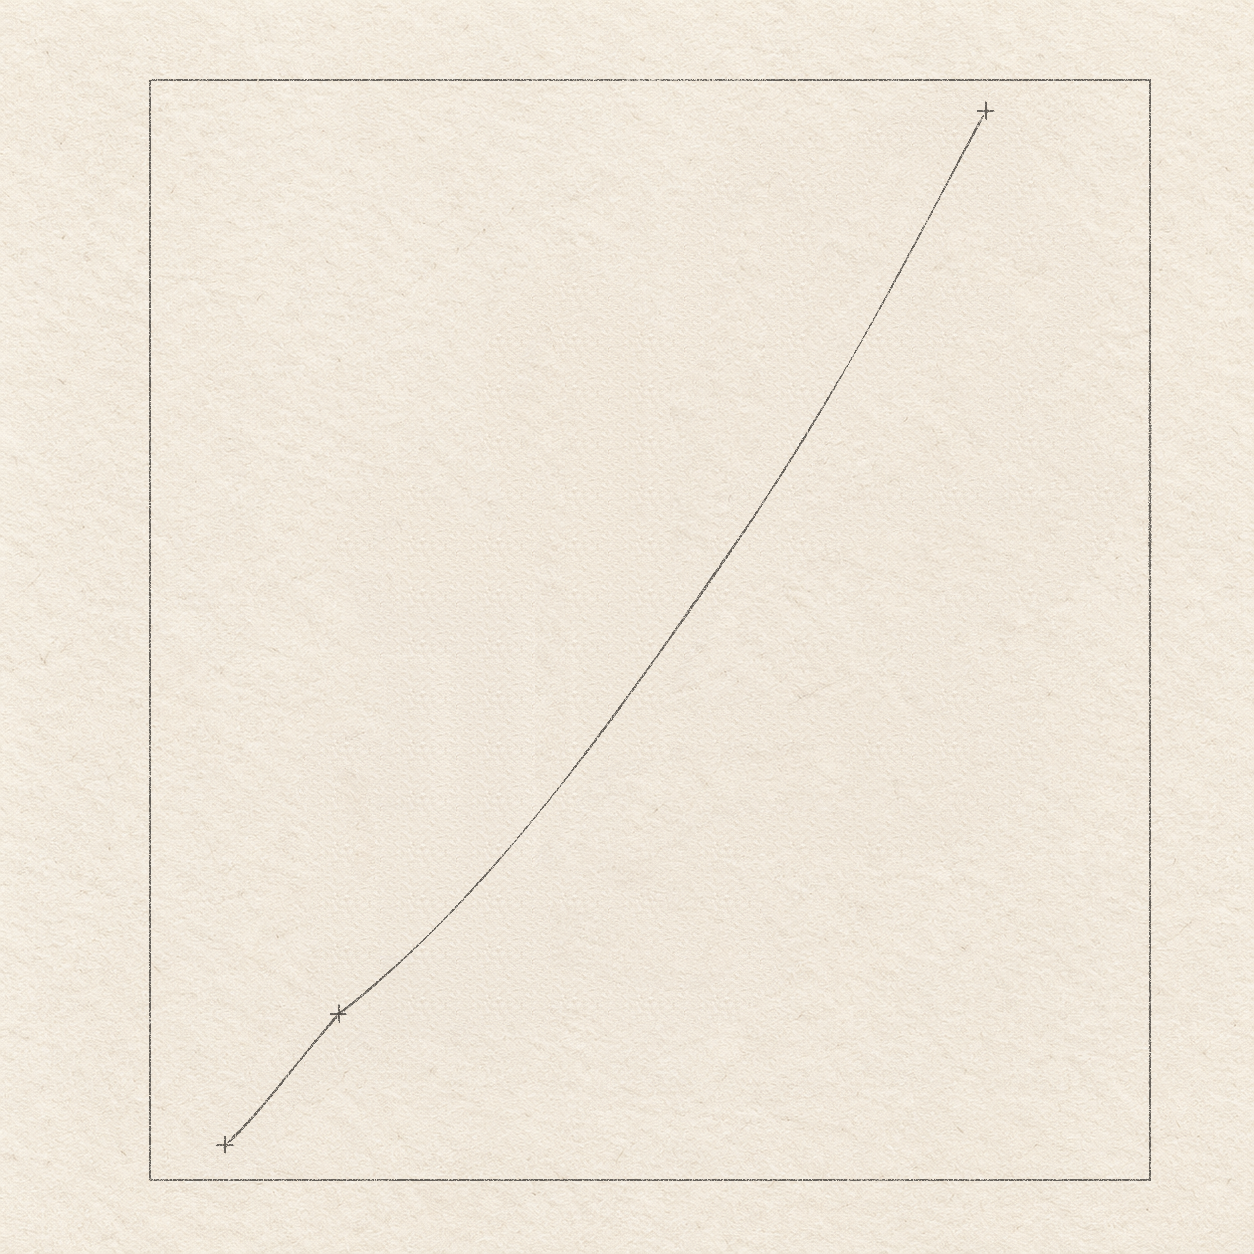
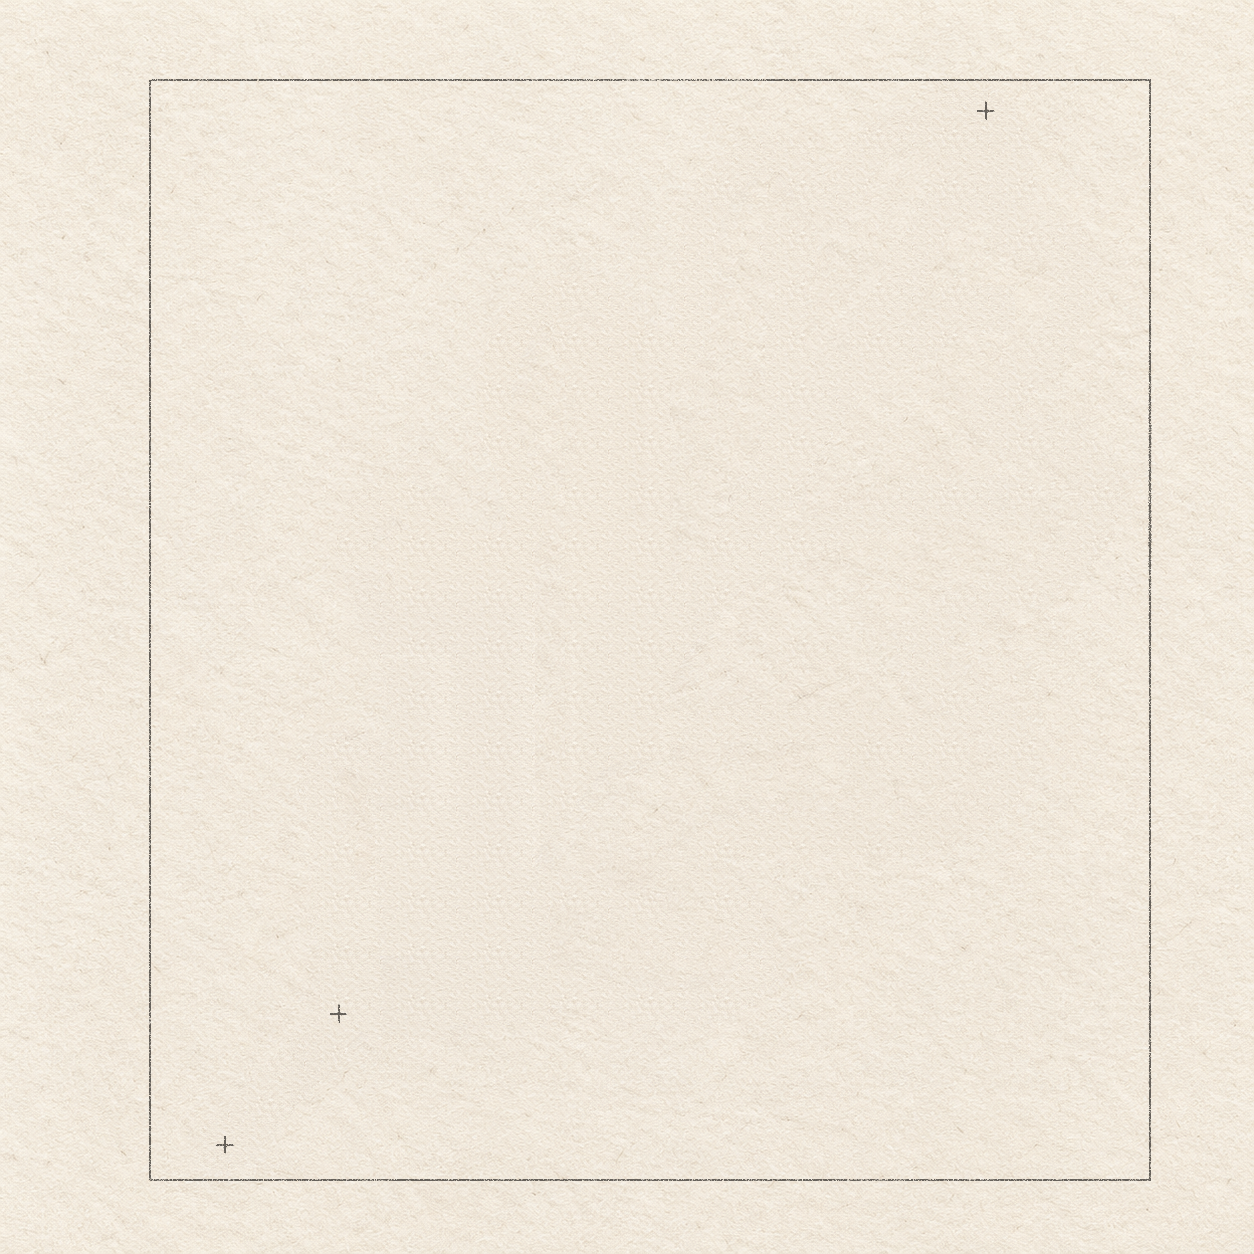
- Use two light 2 mm strokes for each cross, crossing at its measured point. Measure from the box’s top-left corner. Mark three crosses: the stem end 7.5 mm across and 10.65 cm down; the leaf base 1.9 cm across and 9.35 cm down; and the tip 8.35 cm across and 3 mm down. The stem end is the lowest mark. Compare Drawing 1B — Stem, leaf base and tip marks.

Drawing 1C — Light central directionView larger Instructions for Drawing 1C — Light central direction
- Starting at the stem-end cross, sweep a light freehand curve through the leaf-base cross to the existing tip cross. Bend it gently to the right as it rises; near the box’s middle height, keep it about 5.3 cm across from the box’s left side. This route sets the leaf’s direction, not its outside edge. Compare Drawing 1C — Light central direction.
Step 2 of 8 · Pencil
Draw the three lower left lobes

Drawing 2A — Three lower left lobes - limitsView larger Instructions for Drawing 2A — Three lower left lobes - limits
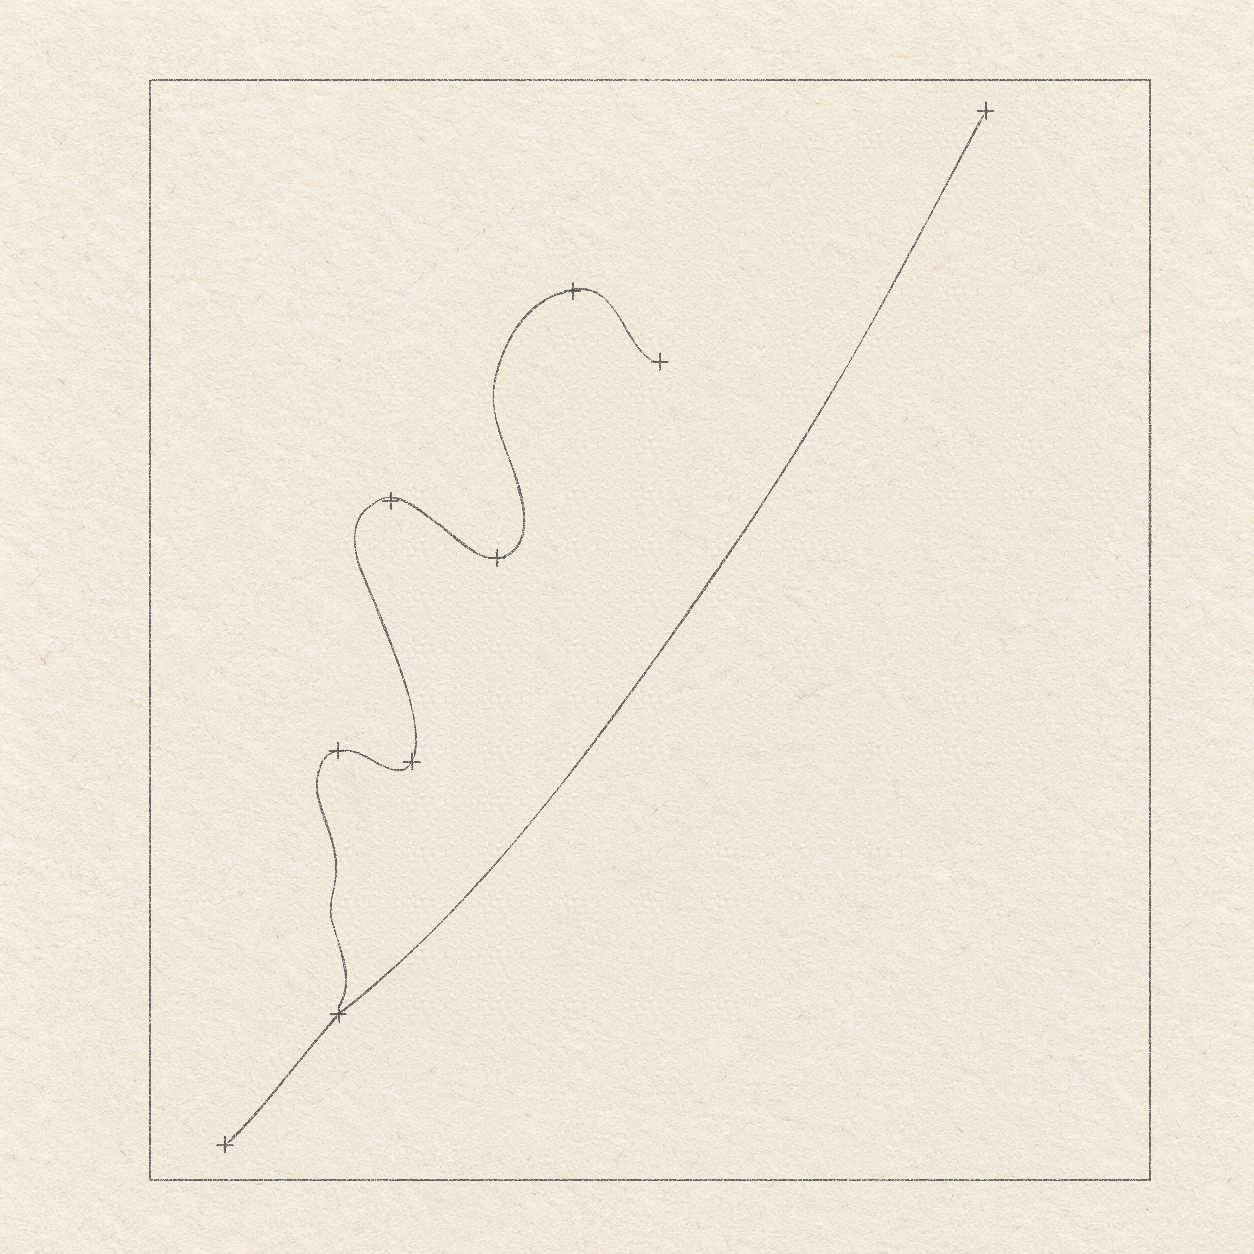
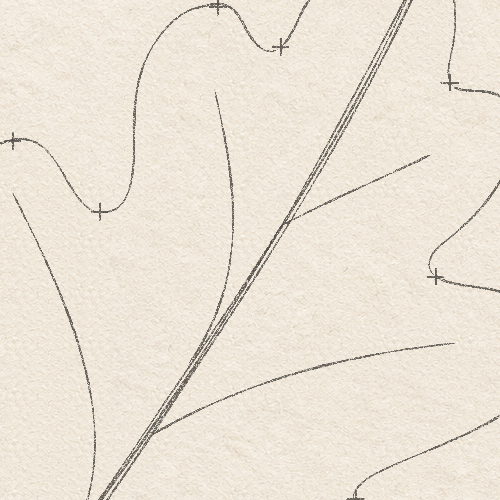
- Mark the lowest left lobe’s outer tip 1.9 cm across and 6.7 cm down from the box corner. Mark its inward dip 2.6 cm across and 6.8 cm down. These are two separate crosses; the tip lies farther left.
- For the next left lobe up, mark its rounded tip 2.4 cm across and 4.2 cm down. Mark its inward dip 3.5 cm across and 4.8 cm down. Keep these marks separate from the first pair.
- For the third left lobe, mark its tip 4.2 cm across and 2.1 cm down. Mark its inward dip 5.1 cm across and 2.8 cm down. The dips are rounded valleys between lobes, not pointed cuts. Compare Drawing 2A — Three lower left lobes - limits.

Drawing 2B — Three lower left rounded lobesView larger 
Detail 2B.1 — Unequal left lobes and their inward dipsThe three freehand outer turns are broad and rounded. Each returns to its own already marked inward dip; the central route is a different guide. Instructions for Drawing 2B — Three lower left rounded lobes
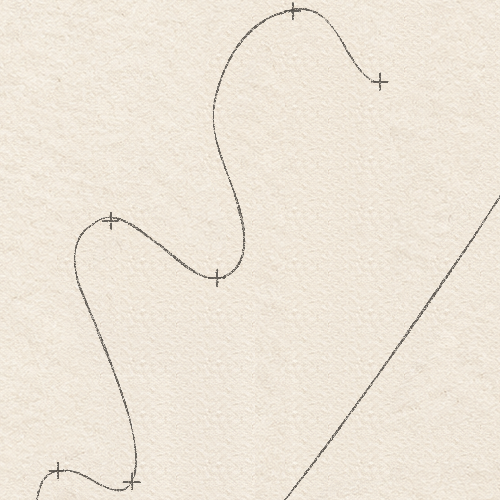
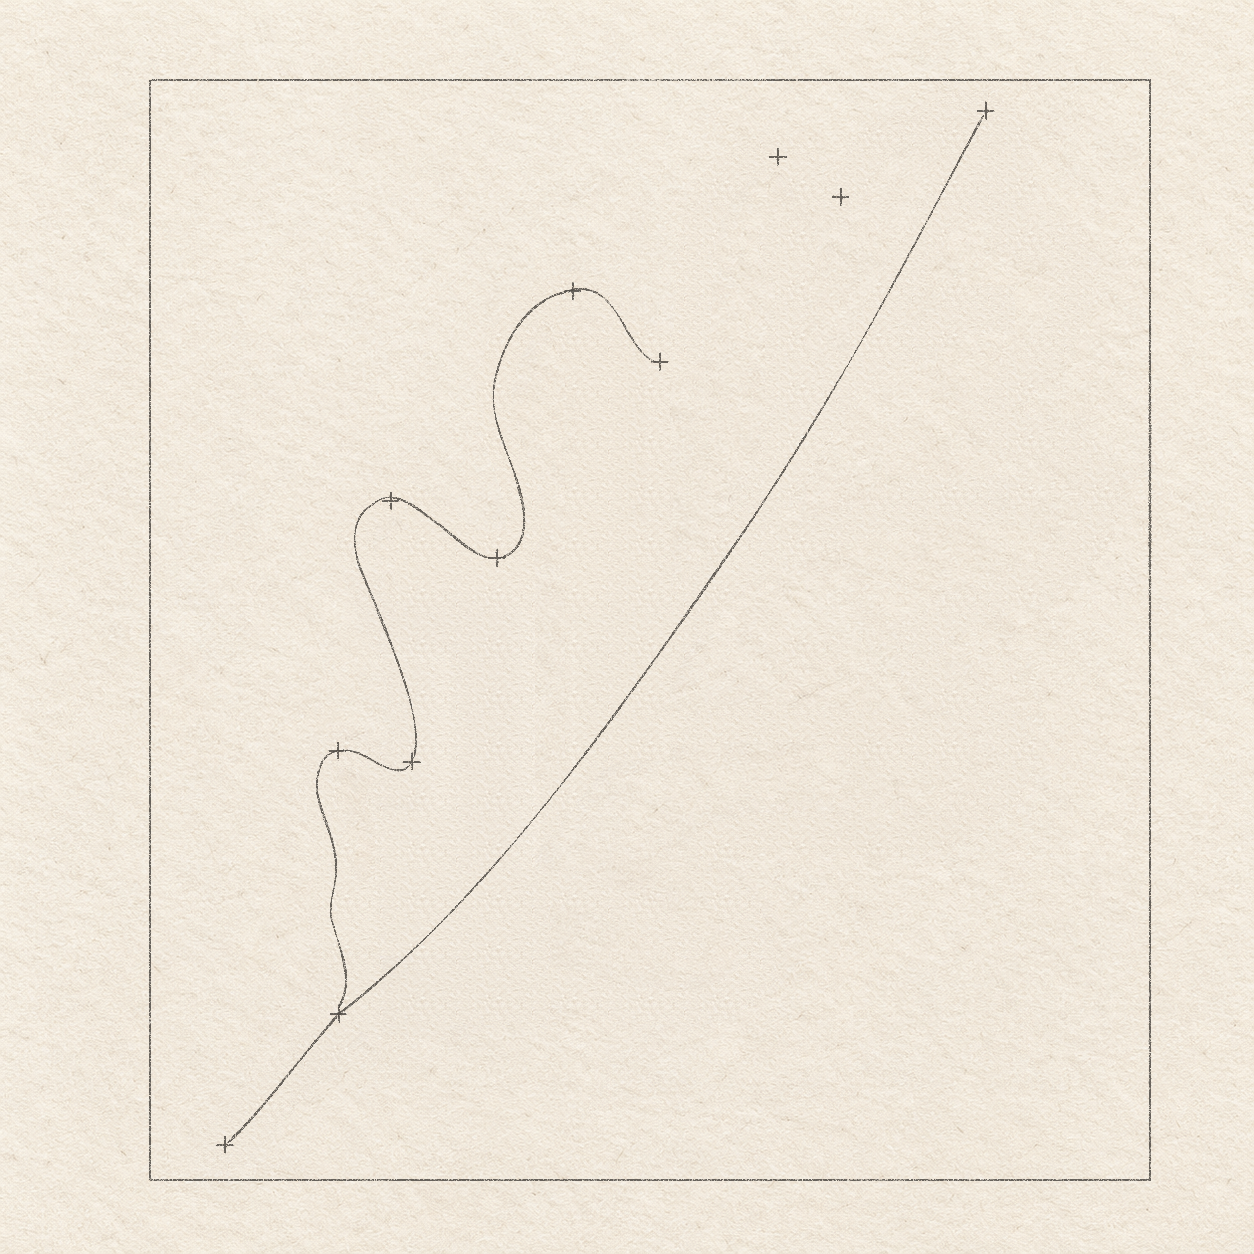
- From the leaf-base cross, draw the lowest left lobe freehand. Sweep up-left, keeping the edge just left of 2 cm across; round through the lowest tip cross, then bend right into its dip cross. Make the outer turn broad and rounded, not a pointed corner.
- Continue upward from that first dip. Bow left through the second tip cross, then round inward to the second dip cross. Keep the lobe’s outer side about 2.1 cm across at its widest; draw this uneven curve freehand between the existing marks.
- From the second dip, curve up-left through the third tip cross, then down-right into the third dip. Let this freehand lobe swell left to about 3.5 cm across before turning upward. Leave all placement crosses visible for now. Compare Drawing 2B — Three lower left rounded lobes.
Step 3 of 8 · Pencil
Draw the upper left and terminal lobes

Drawing 3A — Upper lobe and terminal tip - limitsView larger Instructions for Drawing 3A — Upper lobe and terminal tip - limits
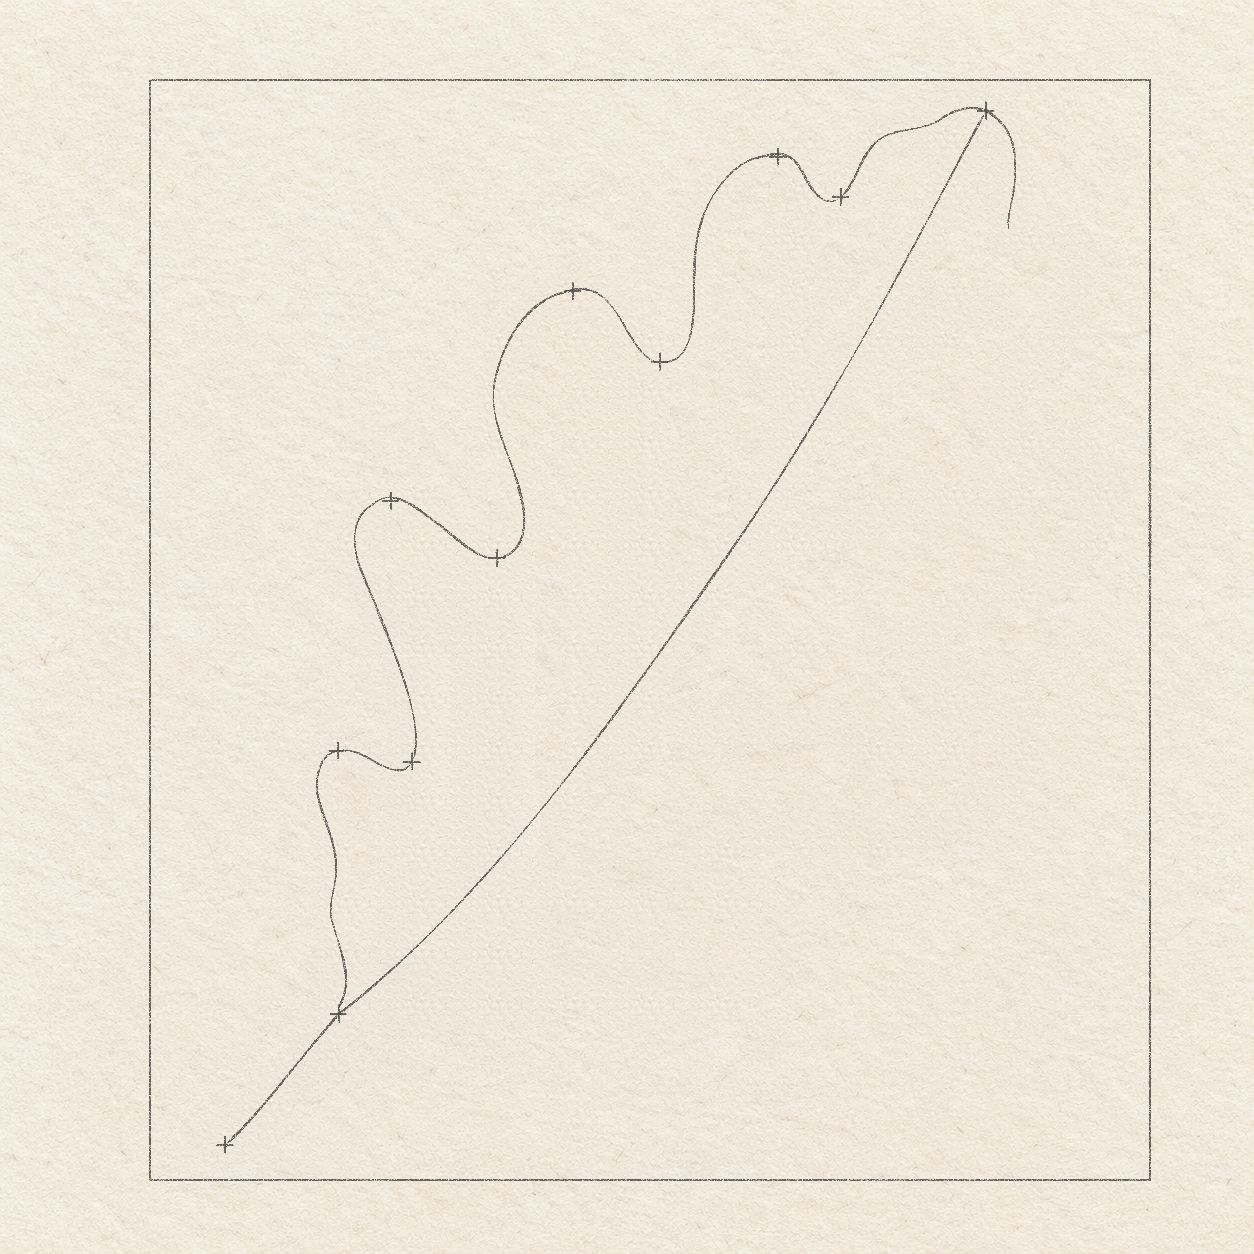
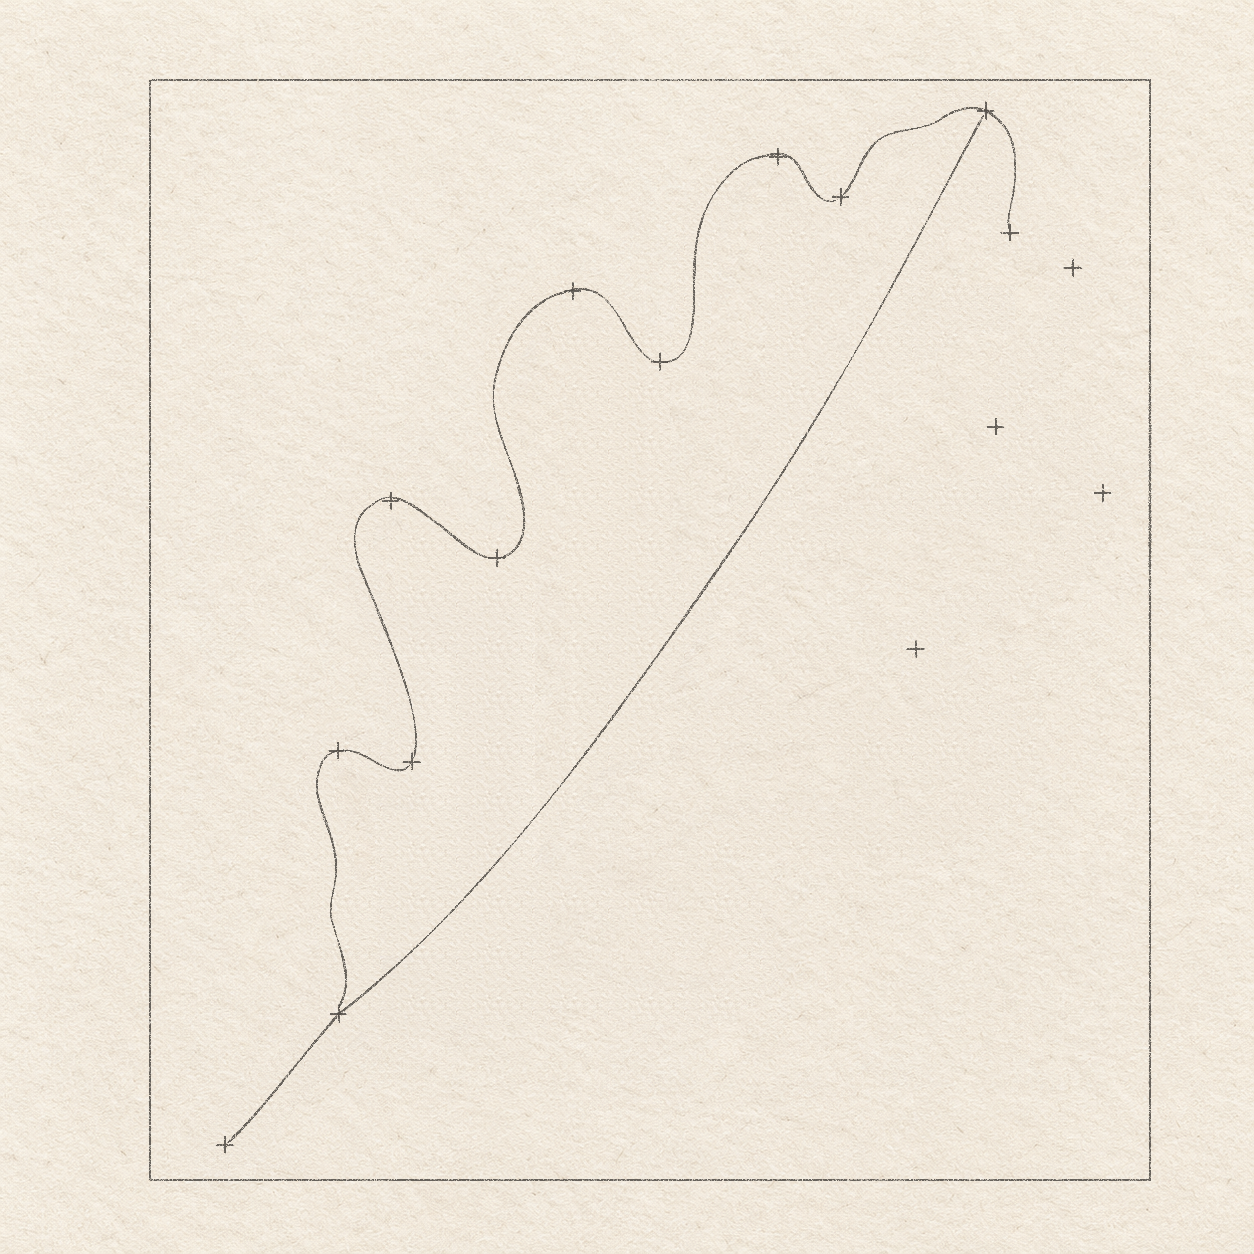
- From the box corner, mark the fourth left lobe’s rounded tip 6.3 cm across and 8 mm down, then its inward dip 6.9 cm across and 1.2 cm down. Use the existing leaf-tip cross for the terminal lobe; do not add a second nearby tip mark. Compare Drawing 3A — Upper lobe and terminal tip - limits.

Drawing 3B — Fourth left lobe and terminal lobeView larger Instructions for Drawing 3B — Fourth left lobe and terminal lobe
- From the third left dip, rise freehand into the fourth tip cross, rounding the lobe as its left side reaches about 5.5 cm across. Bend down-right into the new upper dip. Keep this fourth lobe narrower than the lower three.
- From that upper dip, rise freehand toward the terminal tip cross. Round across the top; then bow slightly right and descend to a dip about 8.6 cm across and 1.5 cm down from the box corner. Keep this terminal lobe broad and rounded. Compare Drawing 3B — Fourth left lobe and terminal lobe.
Step 4 of 8 · Pencil
Draw the two upper right lobes

Drawing 4A — Two upper right lobes - limitsView larger Instructions for Drawing 4A — Two upper right lobes - limits
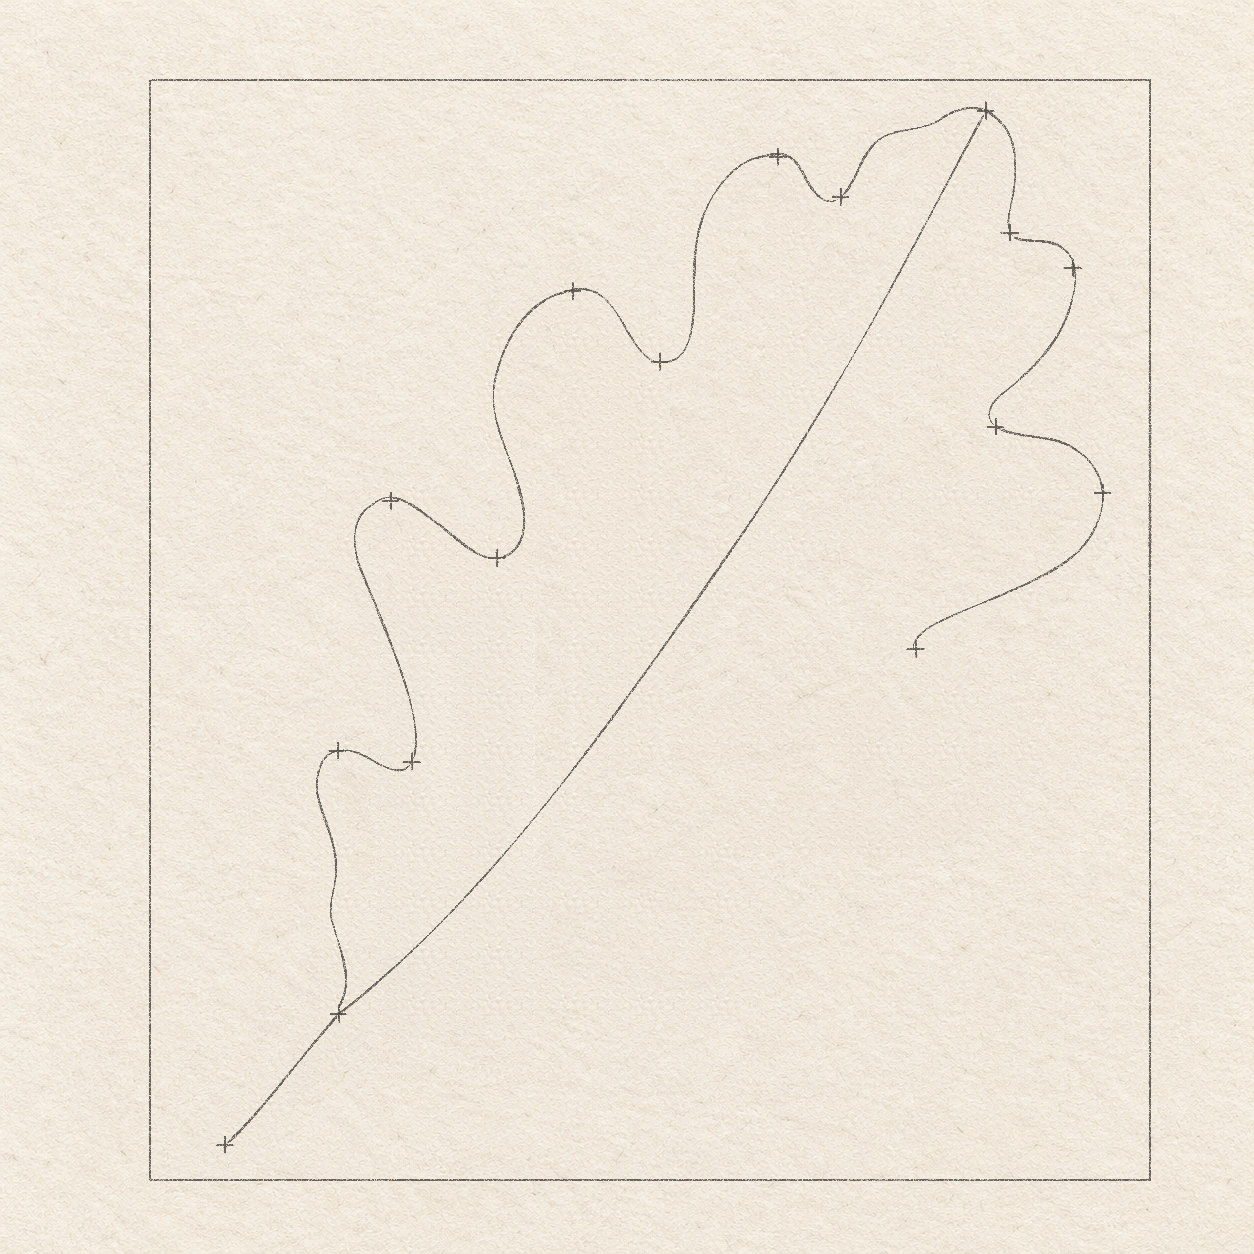
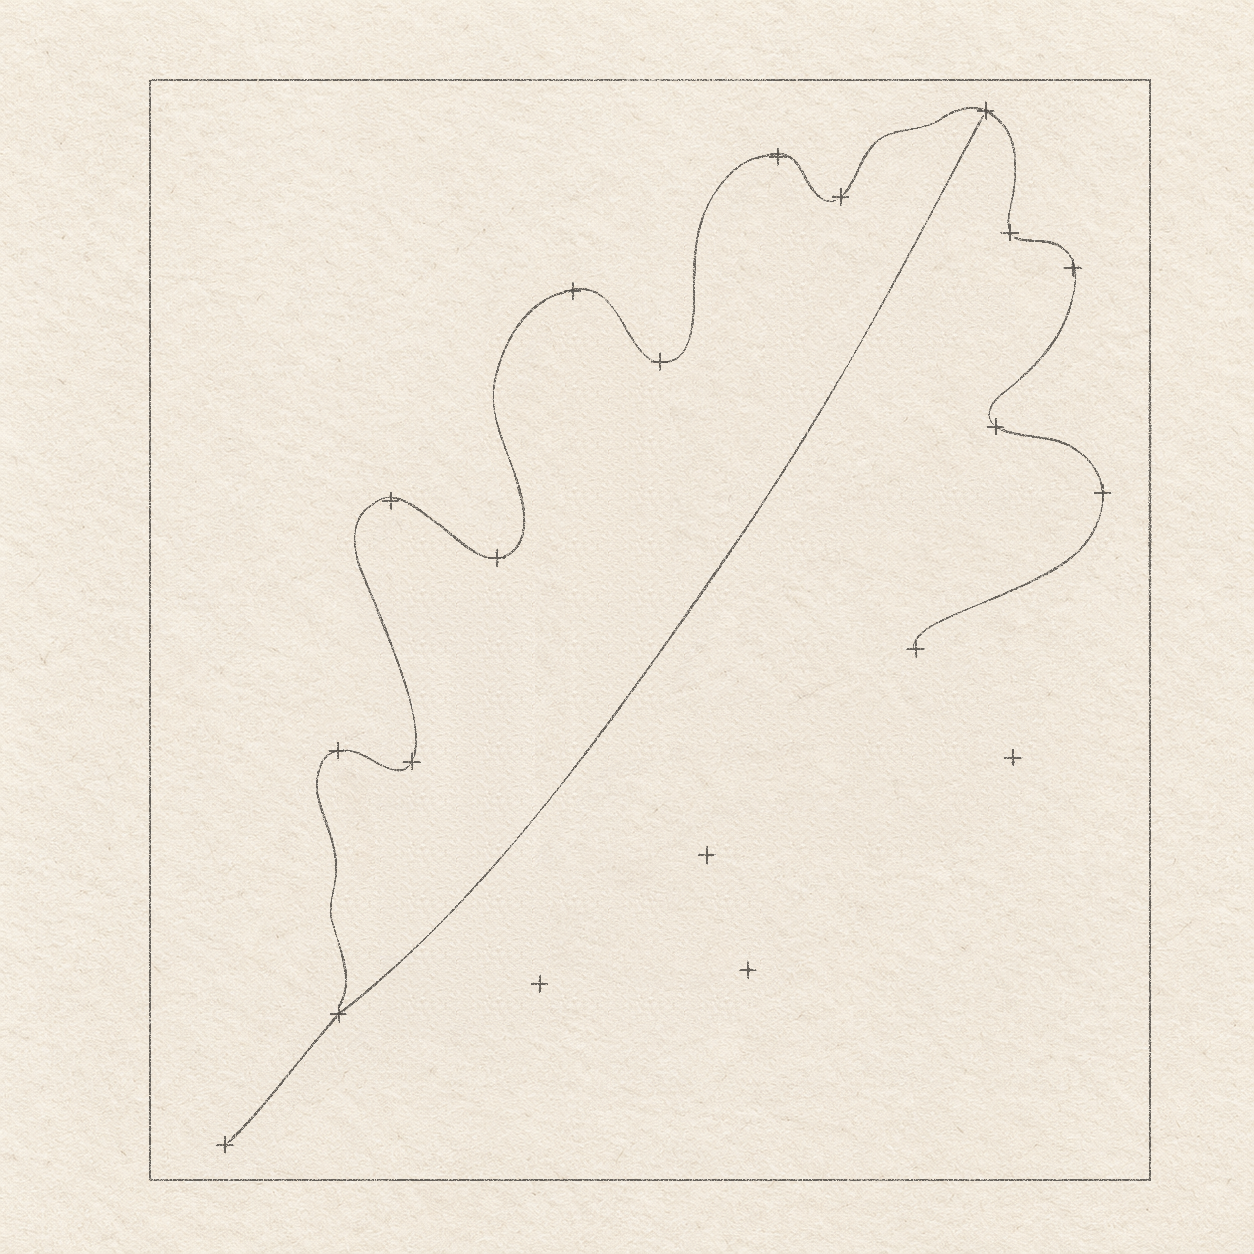
- Mark the upper-right lobe’s tip 9.2 cm across and 1.9 cm down from the box corner, then its following dip 8.5 cm across and 3.5 cm down. Put a light cross on the existing upper-right dip too; it is about 8.6 cm across and 1.5 cm down.
- For the second right lobe, mark the tip 9.5 cm across and 4.1 cm down. Mark its following dip 7.7 cm across and 5.7 cm down. This lobe is wider than the upper-right one. Compare Drawing 4A — Two upper right lobes - limits.

Drawing 4B — Two upper right rounded lobesView larger Instructions for Drawing 4B — Two upper right rounded lobes
- From the existing upper-right dip, bow out-right through the first tip cross. Curve down-left into its following dip, rounding the tip and the valley freehand. Keep the outer side inside the box’s right edge.
- From that dip, bow out through the second tip cross, then sweep down-left into its following dip. Round both turns freehand rather than joining the crosses with straight lines. Leave room below for two more right lobes. Compare Drawing 4B — Two upper right rounded lobes.
Step 5 of 8 · Pencil
Close the two lower right lobes

Drawing 5A — Two lower right lobes - limitsView larger Instructions for Drawing 5A — Two lower right lobes - limits
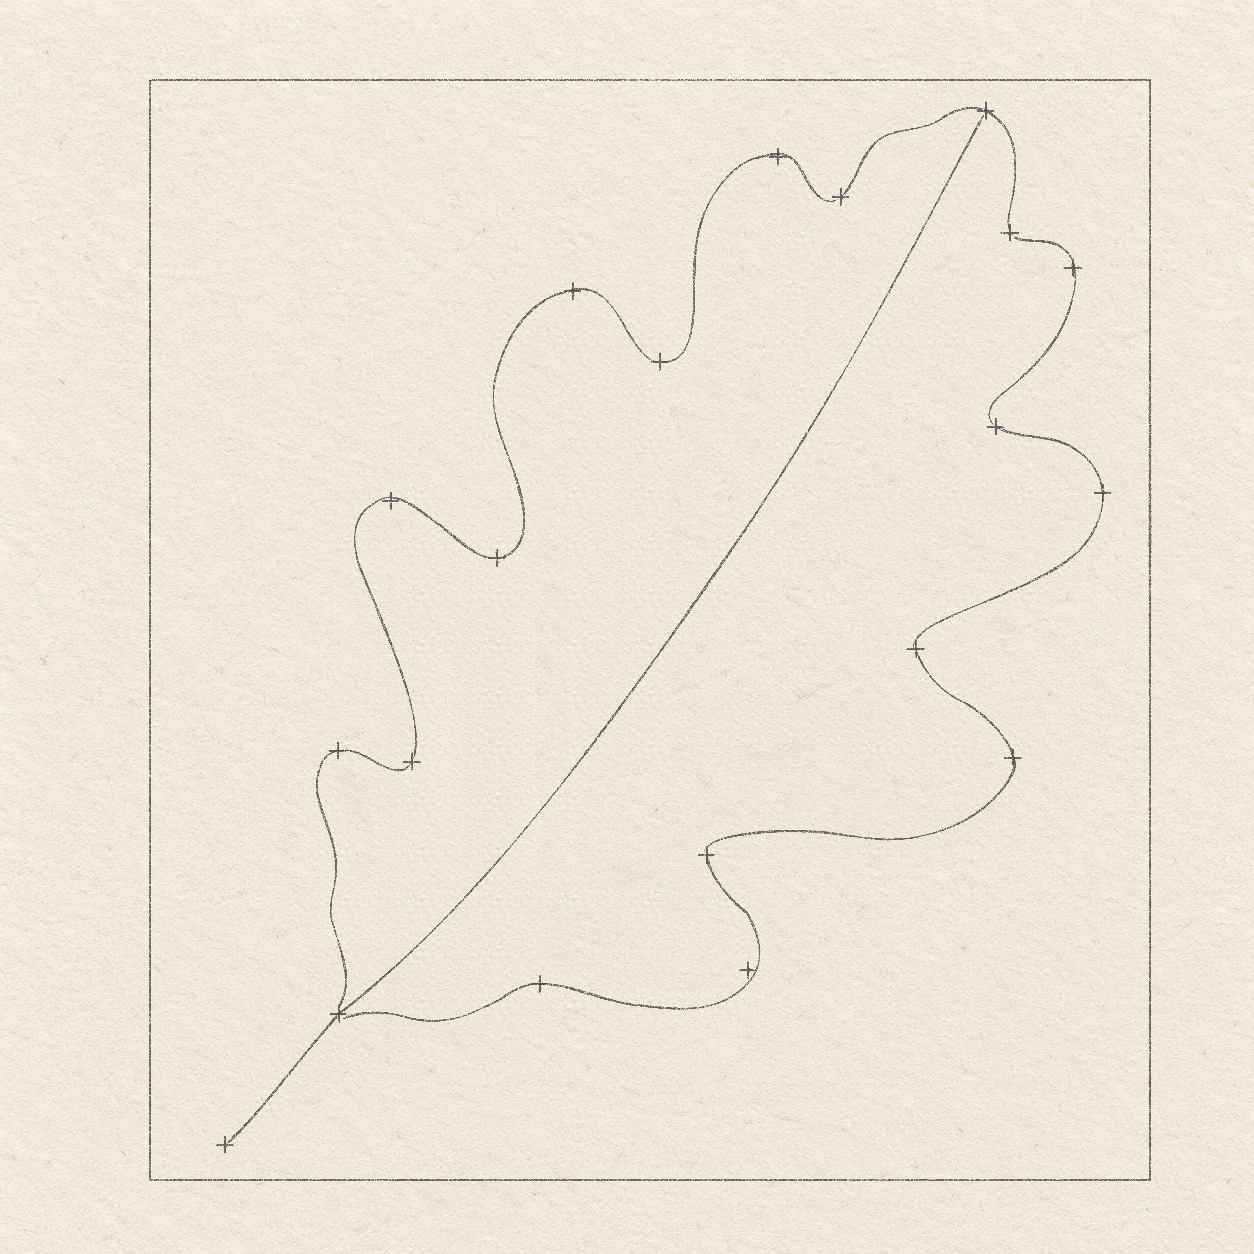
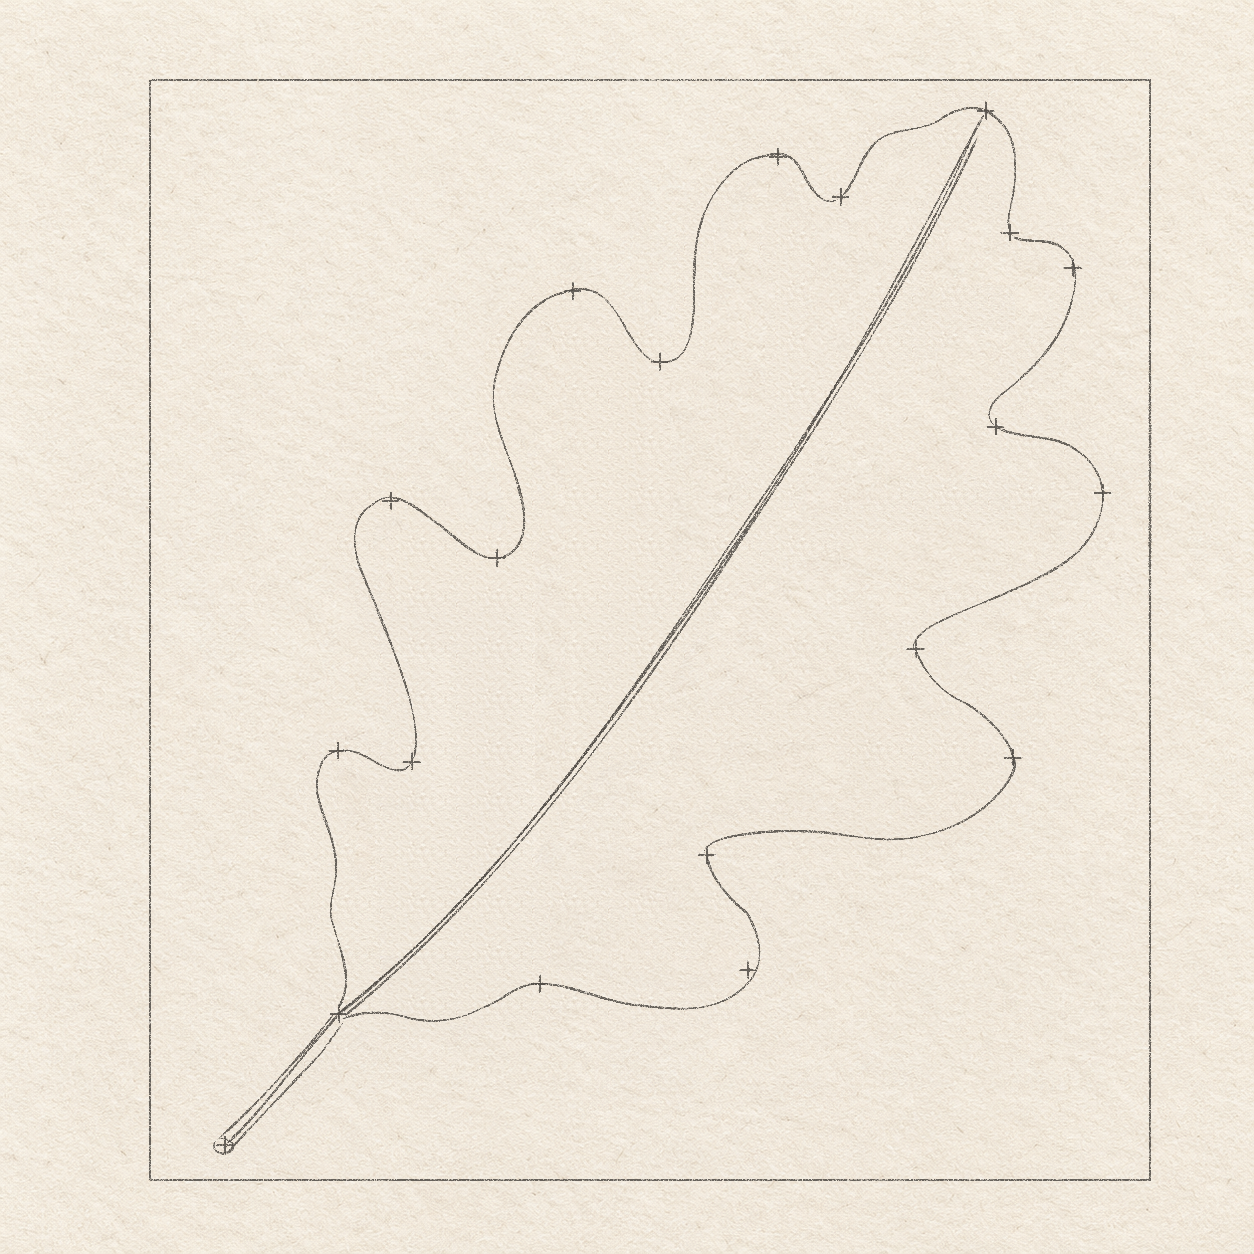
- For the third right lobe, mark its rounded tip 8.6 cm across and 6.8 cm down from the box corner. Mark its following dip 5.6 cm across and 7.8 cm down. This is a deep inward bend toward the central route.
- Mark the lowest right lobe’s rounded tip 6 cm across and 8.9 cm down. Mark its inward dip 3.9 cm across and 9 cm down. The leaf-base cross already drawn is the final joining point below and left of this pair. Compare Drawing 5A — Two lower right lobes - limits.

Drawing 5B — Two lower right lobes and baseView larger Instructions for Drawing 5B — Two lower right lobes and base
- From the last upper-right dip, bow out-right through the third tip cross. Curve down-left and gently inward to its deep dip cross. Keep the rounded lobe freehand; its long lower return should stay below the tip.
- From that deep dip, curve down-right through the lowest tip cross. Round left into the last inward dip, then sweep left to the original leaf-base cross. Make this freehand return gently wavy rather than a straight bottom edge. Compare Drawing 5B — Two lower right lobes and base.
Step 6 of 8 · Pencil
Sketch the stem and veins

Drawing 6A — Stem and central vein sketchView larger Instructions for Drawing 6A — Stem and central vein sketch
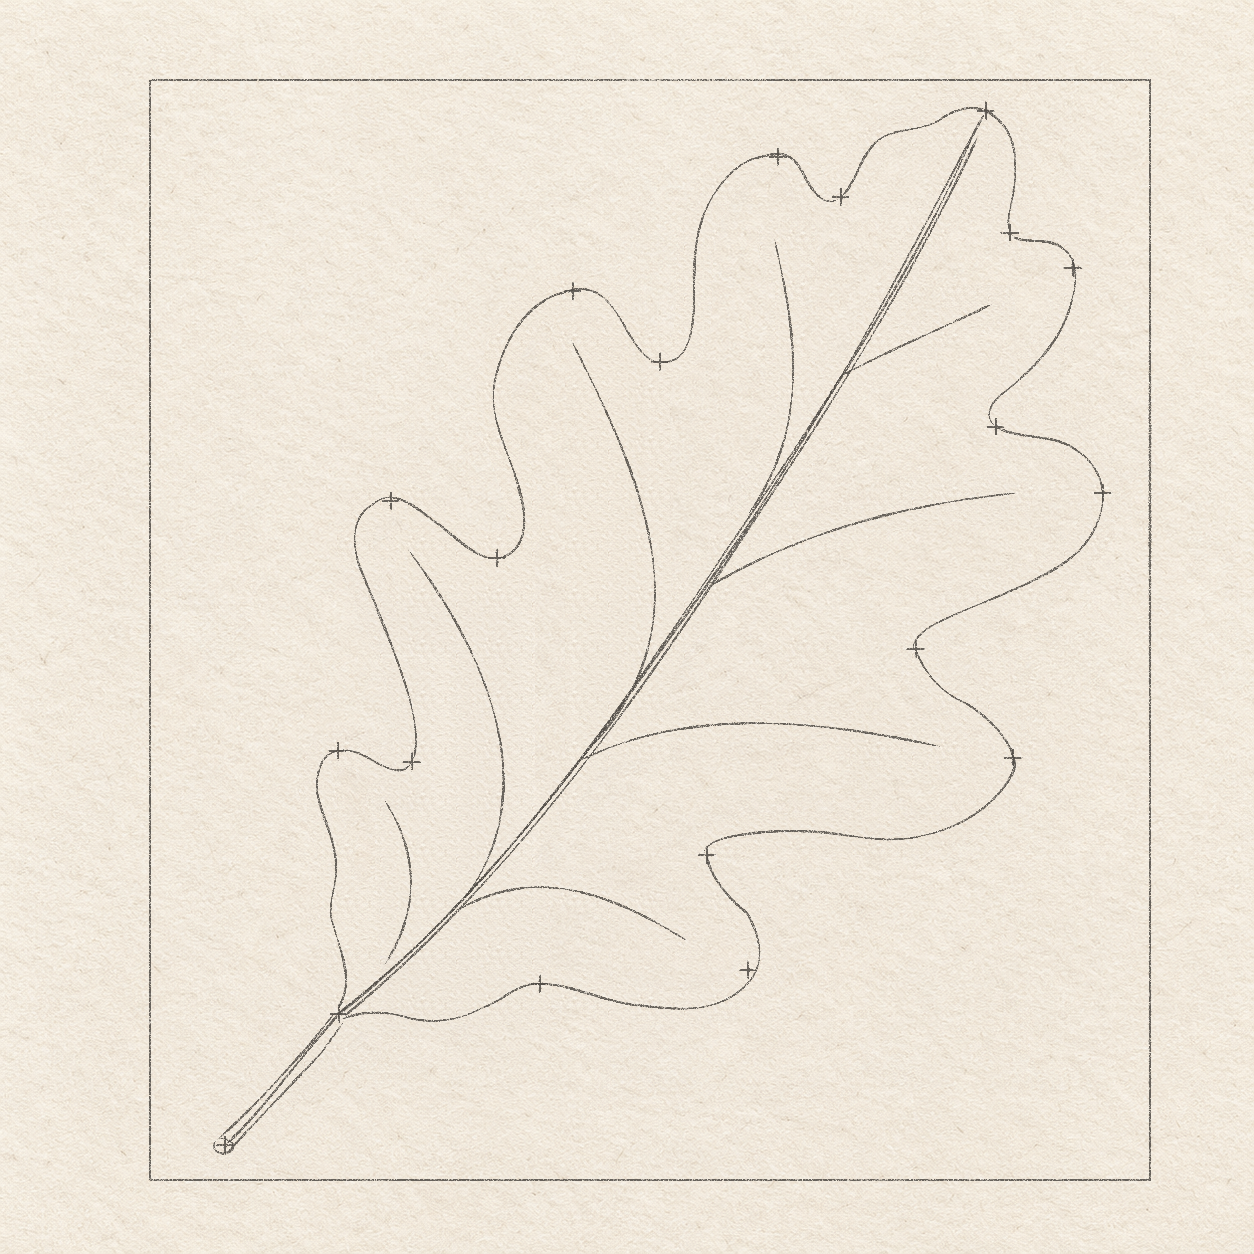
- Around the lowest part of the direction line, follow the existing route with two freehand stem edges from its bottom cross to the leaf base. Keep it about 1–2 mm wide, with two gently curved sides and a small rounded cut end at the bottom. The leaf base joins the stem, not the box.
- From the leaf base, sketch a thin central vein rising along the direction route. Keep its two close pencil passes roughly 0.5 mm apart and taper them together near the top. Stop about 2 mm inside the terminal lobe’s edge; the direction line’s last section remains temporary. Compare Drawing 6A — Stem and central vein sketch.

Drawing 6B — Eight sparse side veinsView larger 
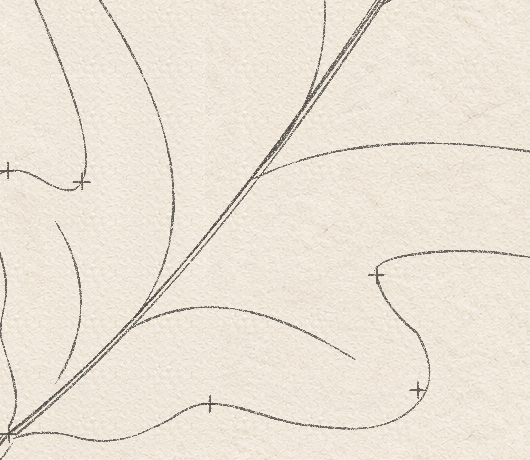
Detail 6B.1 — Lower branch origins and stopping gapsThe lowest left branch starts just beside the central vein. The other lower branches meet it. Their tapering ends stop inside their own lobes, leaving pale paper before the edge. 
Detail 6B.2 — Upper branch routesThese thin branches rise from the existing central vein toward the upper lobes. Keep their separate origins and stop short of the rounded outside edge. Instructions for Drawing 6B — Eight sparse side veins
- Add two light freehand side veins to the left of the central vein. About 5 mm above the leaf base, start the lower one just left of the central vein, leaving a hairline of paper at its inner end. Curve toward the lowest left lobe and stop about 7 mm before its tip. Start the next on the central vein about 1.1 cm above the base and curve toward the second left lobe, stopping about 6 mm before its tip.
- Add the other two left veins freehand. From the central vein about 2.6 cm and 5 cm above the base, curve outward toward the third and fourth left lobes. Stop roughly 4 mm and 8 mm before their rounded tips. Keep these thin; they are branches, not new leaf edges.
- On the right, add two light freehand branches toward the lowest two right lobes. Start about 1 cm and 2.5 cm above the leaf base on the central vein. Let the lowest bend slightly downward toward its lobe; let the next sweep right in a shallow arch. Stop 6–8 mm before the outside edge.
- Add the two upper-right branches freehand from the central vein, about 4.3 cm and 6.4 cm above the leaf base. Sweep them upward-right toward the two upper-right lobes, stopping 7–10 mm before the outside edge. Keep broad paper gaps between all eight branches. Compare Drawing 6B — Eight sparse side veins.
Step 7 of 8 · Graphite finish
Strengthen the drawing and add local graphite

Drawing 7A — Stronger contours, veins and basal graphiteView larger 
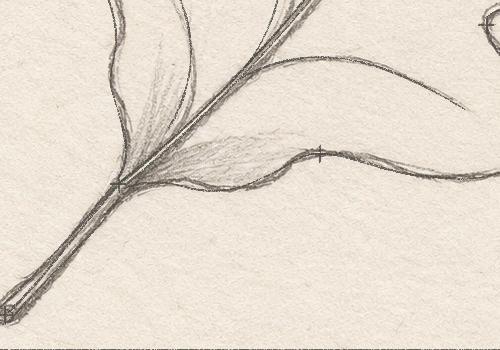
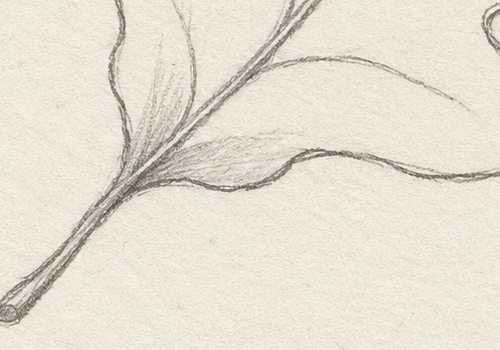
Detail 7A.1 — Stem, leaf base and small graphite fanThe two-edged stem joins the leaf at its base. The small graphite fan belongs inside that base; leave the broad lobes unshaded. Instructions for Drawing 7A — Stronger contours, veins and basal graphite
- Using the complete light sketch, strengthen the stem and leaf’s outside edge with short overlapping pencil passes. Follow each rounded lobe and inward dip; correct small wobbles without changing their placed tips. Leave the unused light rehearsal lines visible for cleanup.
- Strengthen the central vein and the eight side branches with a little more pencil pressure. Follow each existing curve with short overlapping passes, easing pressure toward its outer end. Keep the inner end of the lowest left branch light so it can fade into the soft graphite near the base. Preserve the pale gaps before the leaf edge. Keep the same eight branches.
- Only after those stronger edges and veins exist, add a small fan of short, light graphite strokes inside the leaf base. Let them rise about 5–10 mm from the base beside the central vein, with a few shorter strokes spreading right along the lowest lobe. Choose their spacing by eye and leave the rest of the leaf open. Compare Drawing 7A — Stronger contours, veins and basal graphite.
Step 8 of 8 · Finish
Lift the temporary guides

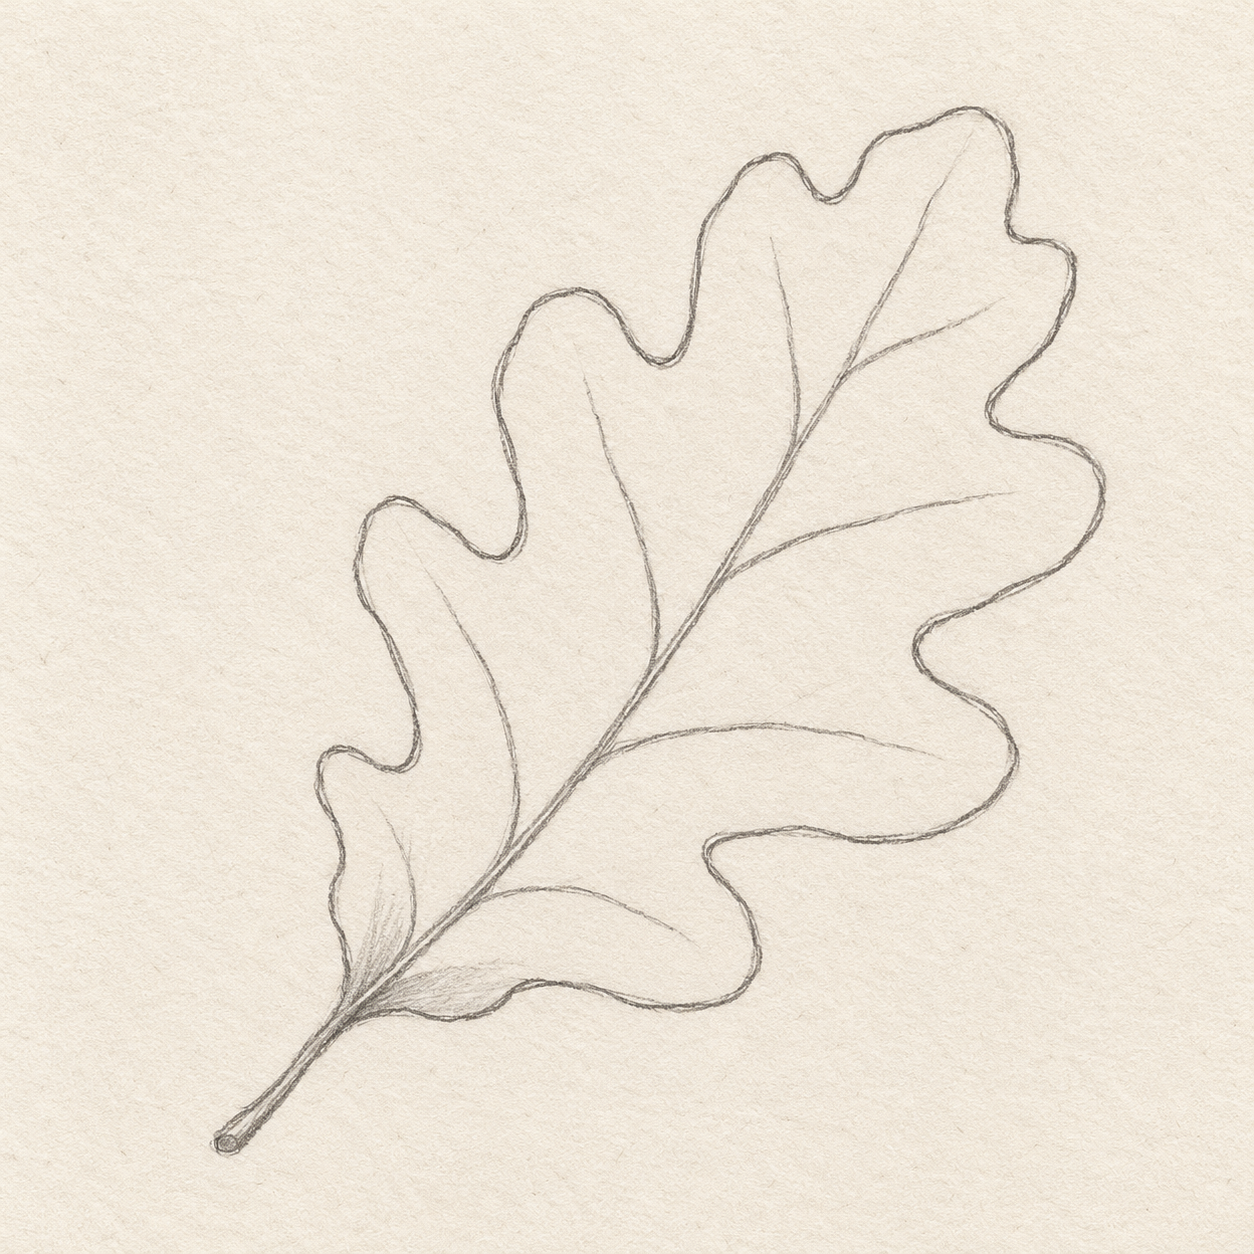
Drawing 8A — Finished oak leafView larger 
Detail 8A.1 — Stem, leaf base and small graphite fanThe two-edged stem joins the leaf at its base. The small graphite fan belongs inside that base; leave the broad lobes unshaded. Instructions for Drawing 8A — Finished oak leaf
- With a kneaded eraser, gently lift the working box, all placement crosses, the temporary central direction line and any light rehearsal lines outside the stronger contours. Work in short sections beside the stronger drawing, not across its dark veins or basal graphite. Keep the rounded lobes and the small pale branch-end gaps. If lifting a guide softens a chosen edge, restore only that short edge with the pencil. Compare Drawing 8A — Finished oak leaf.
If something looks off
The lobes look like pointed teeth
Round the outward turns and the inward valleys freehand. The small crosses locate turns; they are not corners to connect with straight segments.
The two sides look mirrored
Keep their separate measured tip and dip marks. This leaf has unequal lobes, especially the deeper lower-right valley; do not mirror the left side.
The veins run through the edge
Stop each side vein within its existing lobe. Leave the stated pale gap instead of extending every branch to the outside contour.