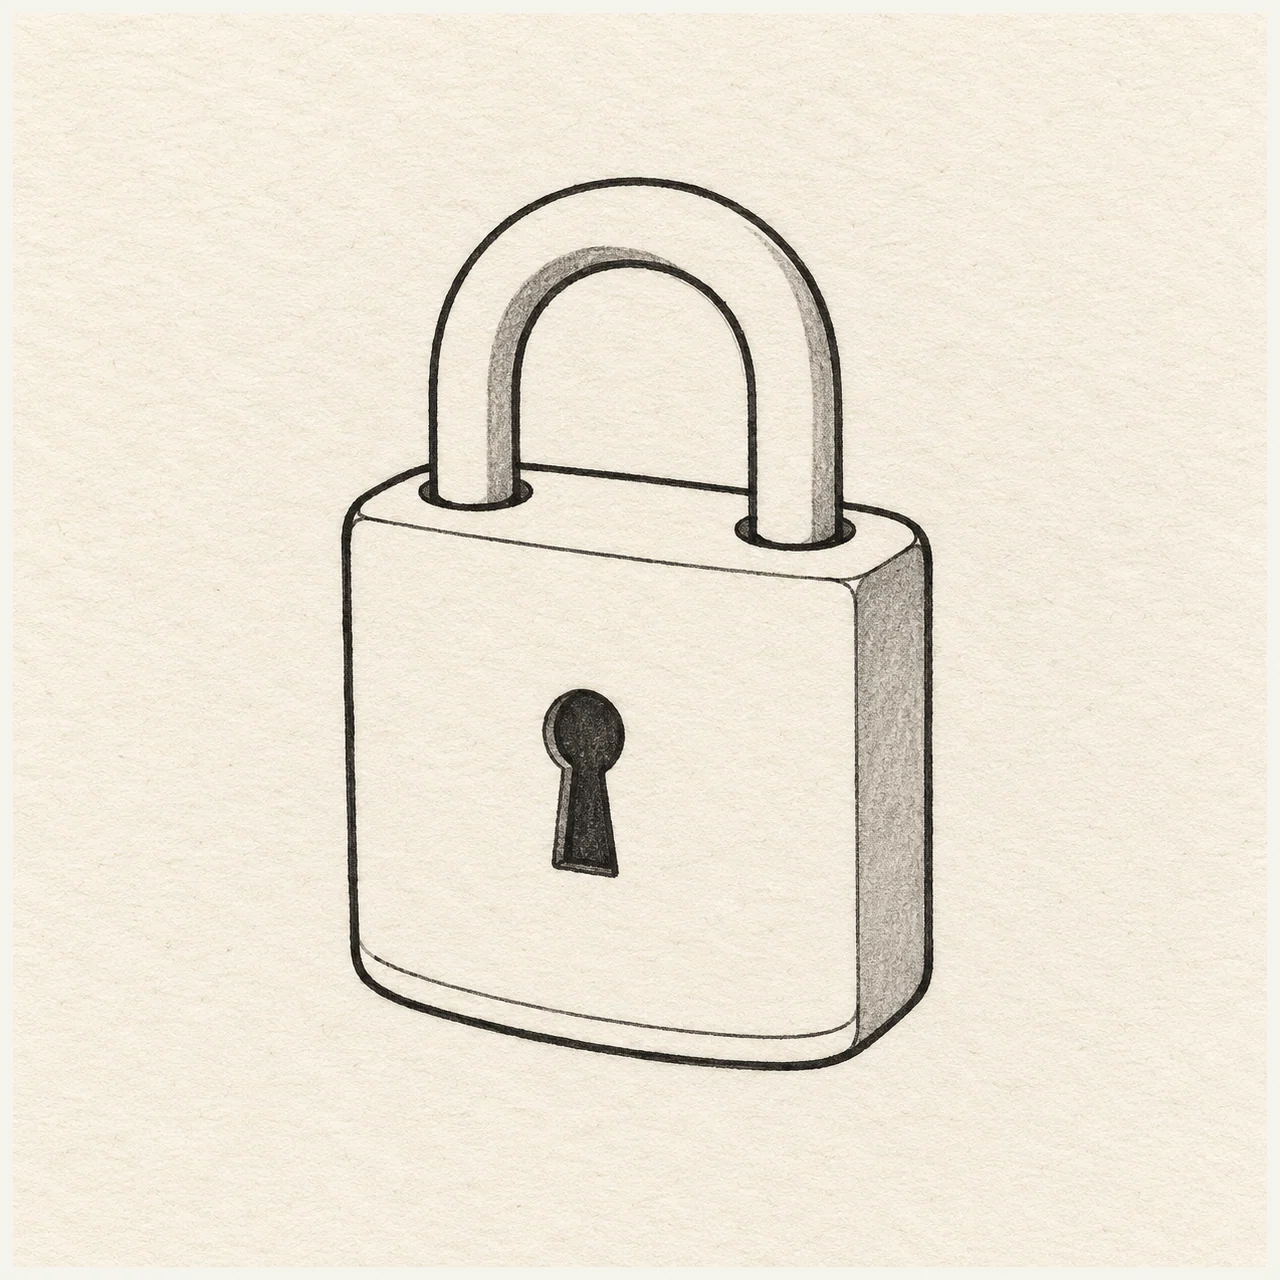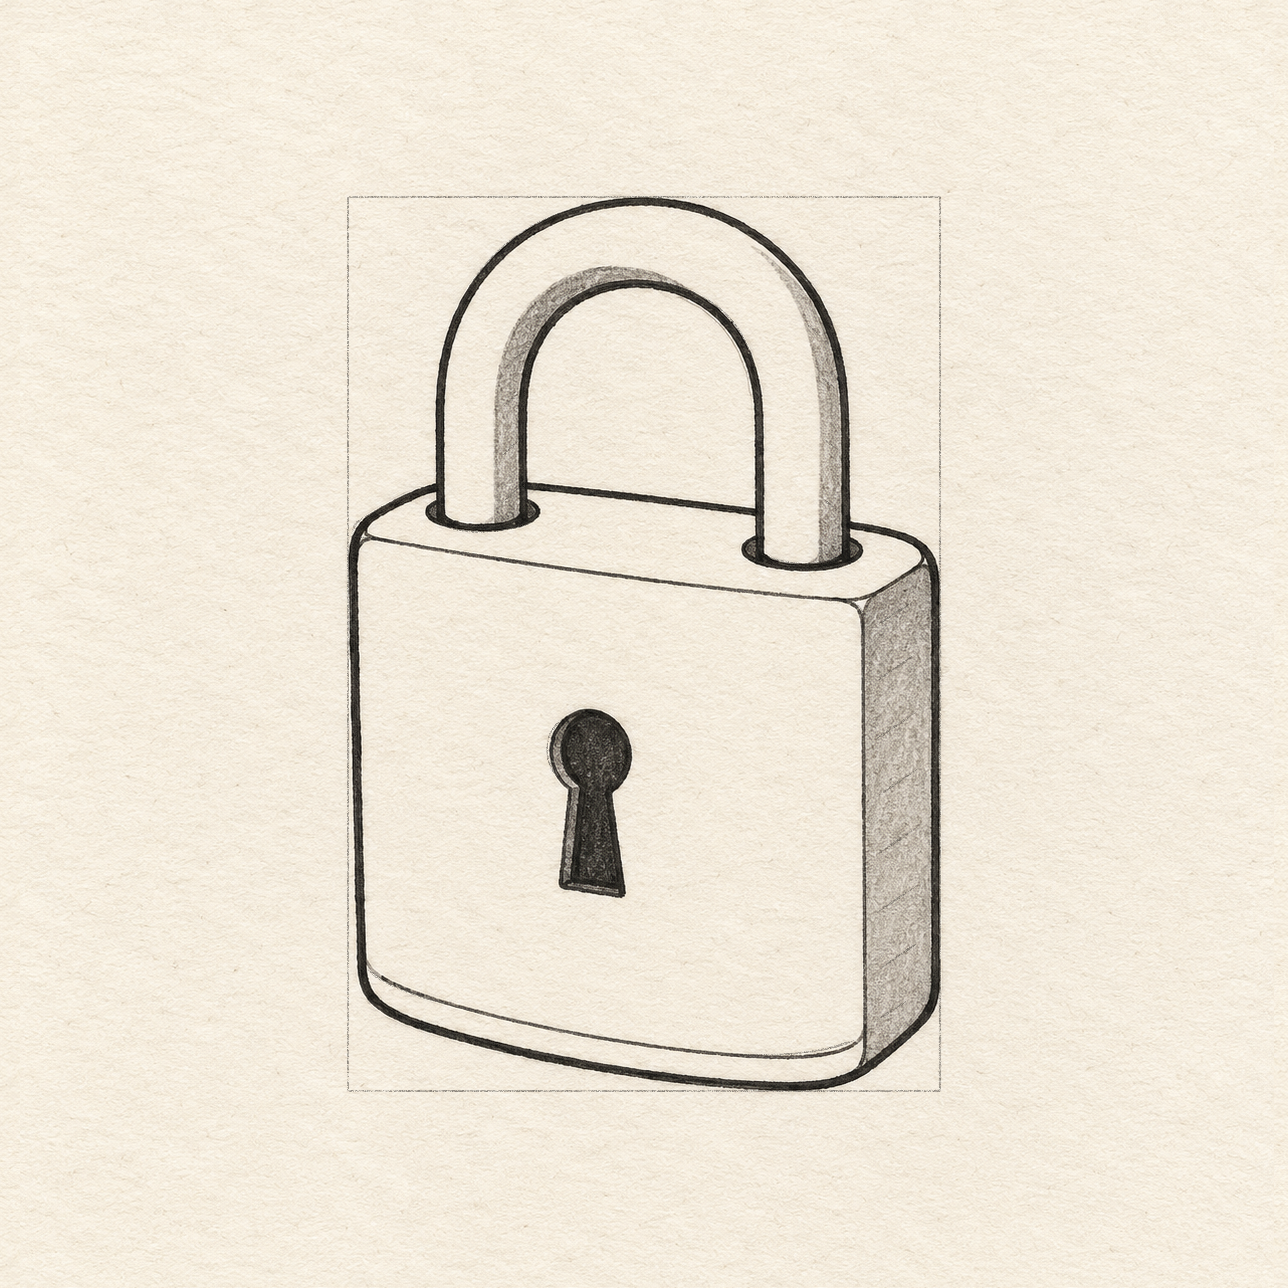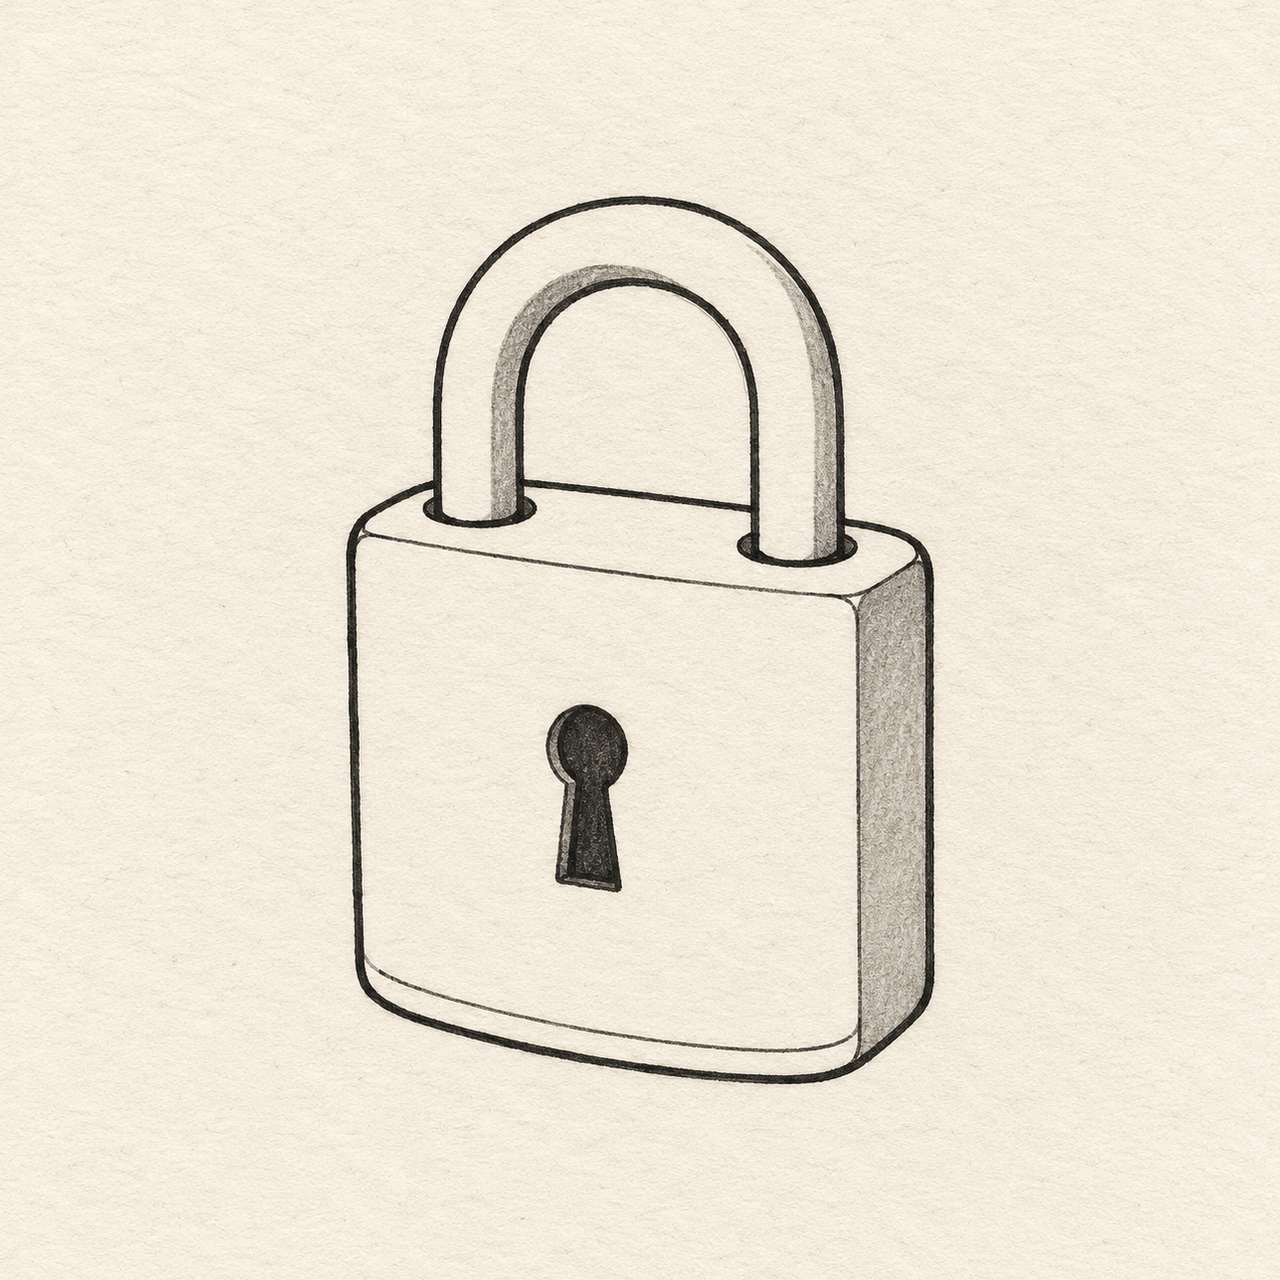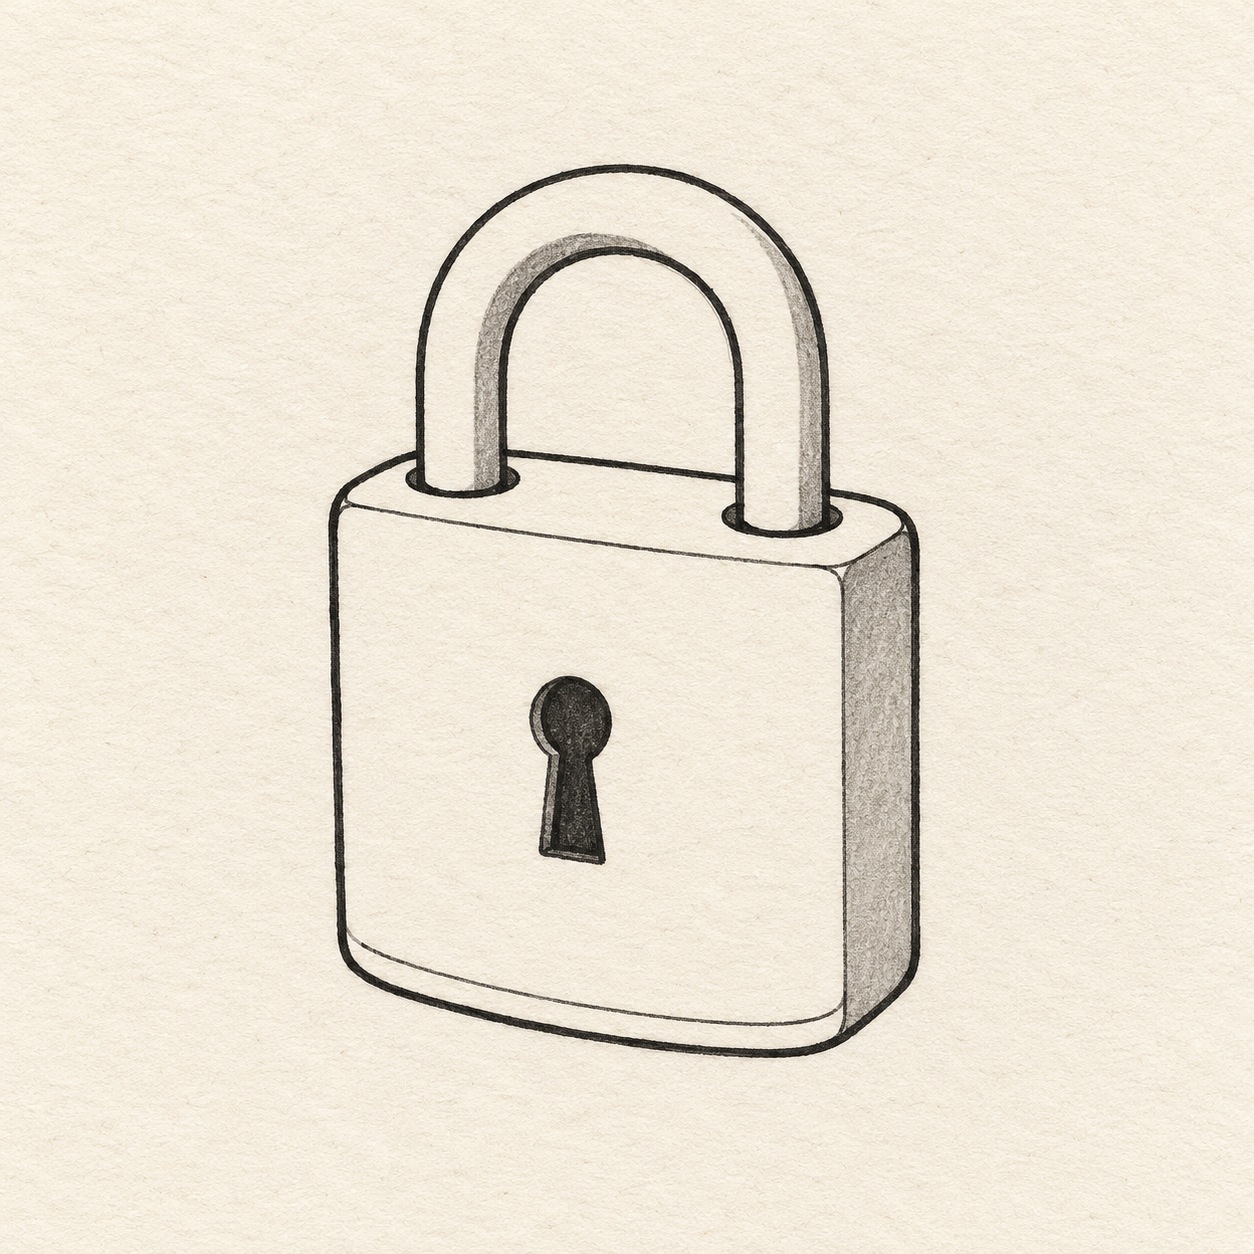
Black marker sketch of a padlock with a rounded shackle, plain keyhole, and narrow side face on textured off-white paper.
Drawing referenceAbout reference use

A padlock with a rounded shackle

Draw a small padlock in three-quarter view with a rounded shackle and plain keyhole. A narrow side face and selected shadow show its thickness.

Everyday objectsEasyMarkerReference practice: about 15 min
Save reference

Follow the drawing tutorial

Build the front and side planes, fit the curved shackle, then preserve the small light rims while adding black and gray marker.

Start the 7-step tutorial

A small thing to tryKeep the two sides of the shackle similar in thickness so the arch feels solid.

Draw it, one step at a time

How to draw this padlock

Build the front and side planes, fit the curved shackle, then preserve the small light rims while adding black and gray marker.

7 steps · 11 progress drawings Full tutorial: about 35 minutes, at your pace

What you’ll need

  • HB pencil
  • Ruler marked in centimetres
  • Fine black marker
  • Light gray marker
  • Soft eraser
  • Sketchbook paper
  • Scrap paper for drying tests

Before you start

Picture-left and picture-right mean the sides of your page. Across/down measurements start from the top-left corner of the same light rectangle; they are approximate. Use the ruler for locations, then rehearse and draw smooth curves by hand. A few millimetres of variation is fine; correct misplaced joins in pencil before marker. Put the 10 cm wide, 15 cm high working rectangle where you want the lock, leaving clear paper around it; centring is optional.

  1. Step 1 of 7 · Pencil

    Set the size

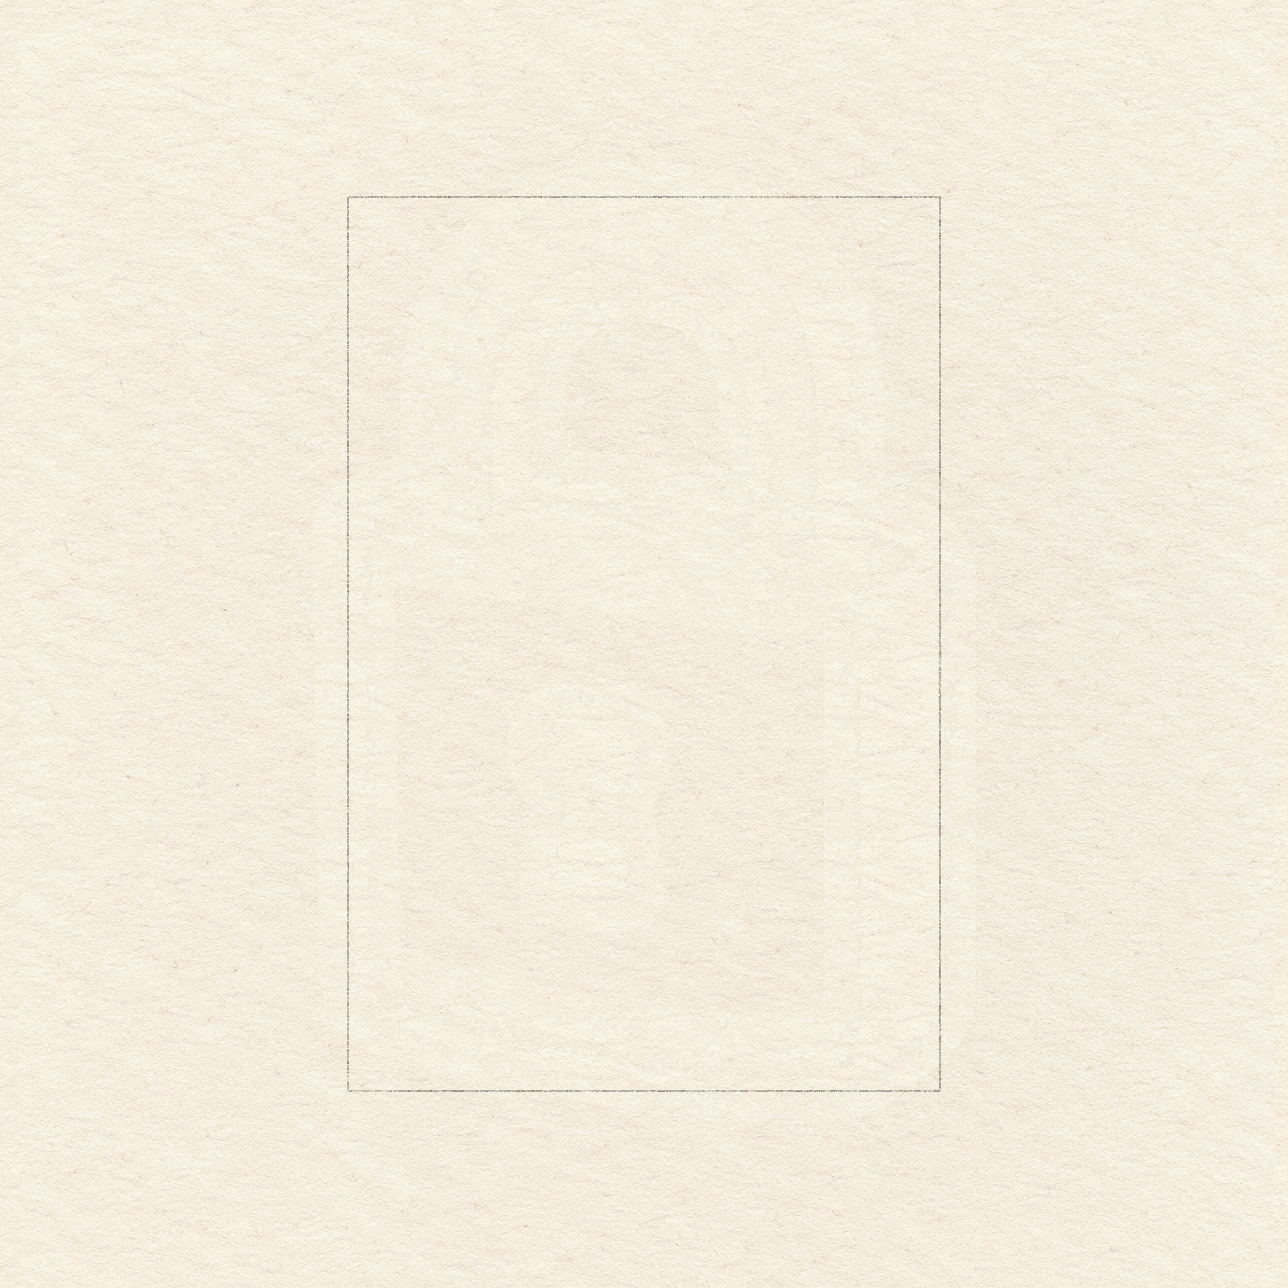
    One light pencil working rectangle on warm textured paper; the lock has not been drawn yet.
    Drawing 1A — Set the overall sizeView larger

    Instructions for Drawing 1A — Set the overall size

    1. Choose where you want the 10 cm by 15 cm working rectangle, leaving clear paper on every side. With a ruler and light pencil, draw a 10 cm horizontal top edge. From each end, draw a 15 cm side straight down, then join their lower ends.
    2. Use a ruler for these first measurements. The rectangle holds the whole lock, including the arch; keep it light enough to erase.
    Next step — Build the lock body
  2. Step 2 of 7 · Pencil

    Build the lock body

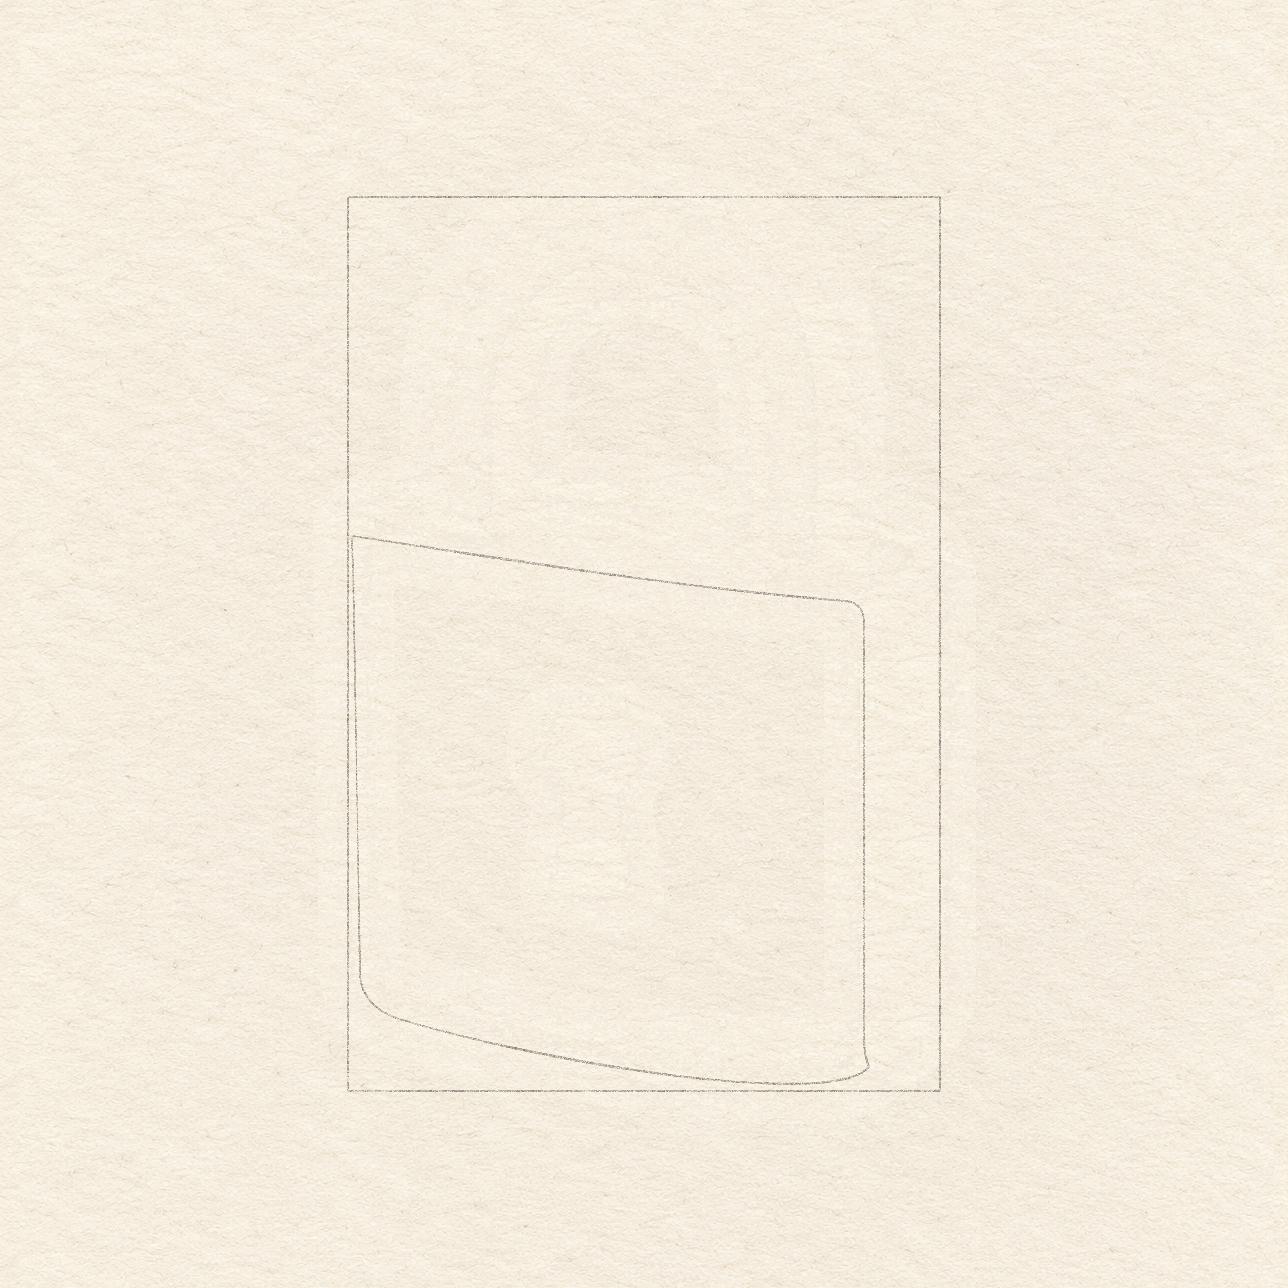
    A rounded front face with a top edge sloping down to the right inside the retained placement rectangle.
    Drawing 2A — Draw the rounded frontView larger

    Instructions for Drawing 2A — Draw the rounded front
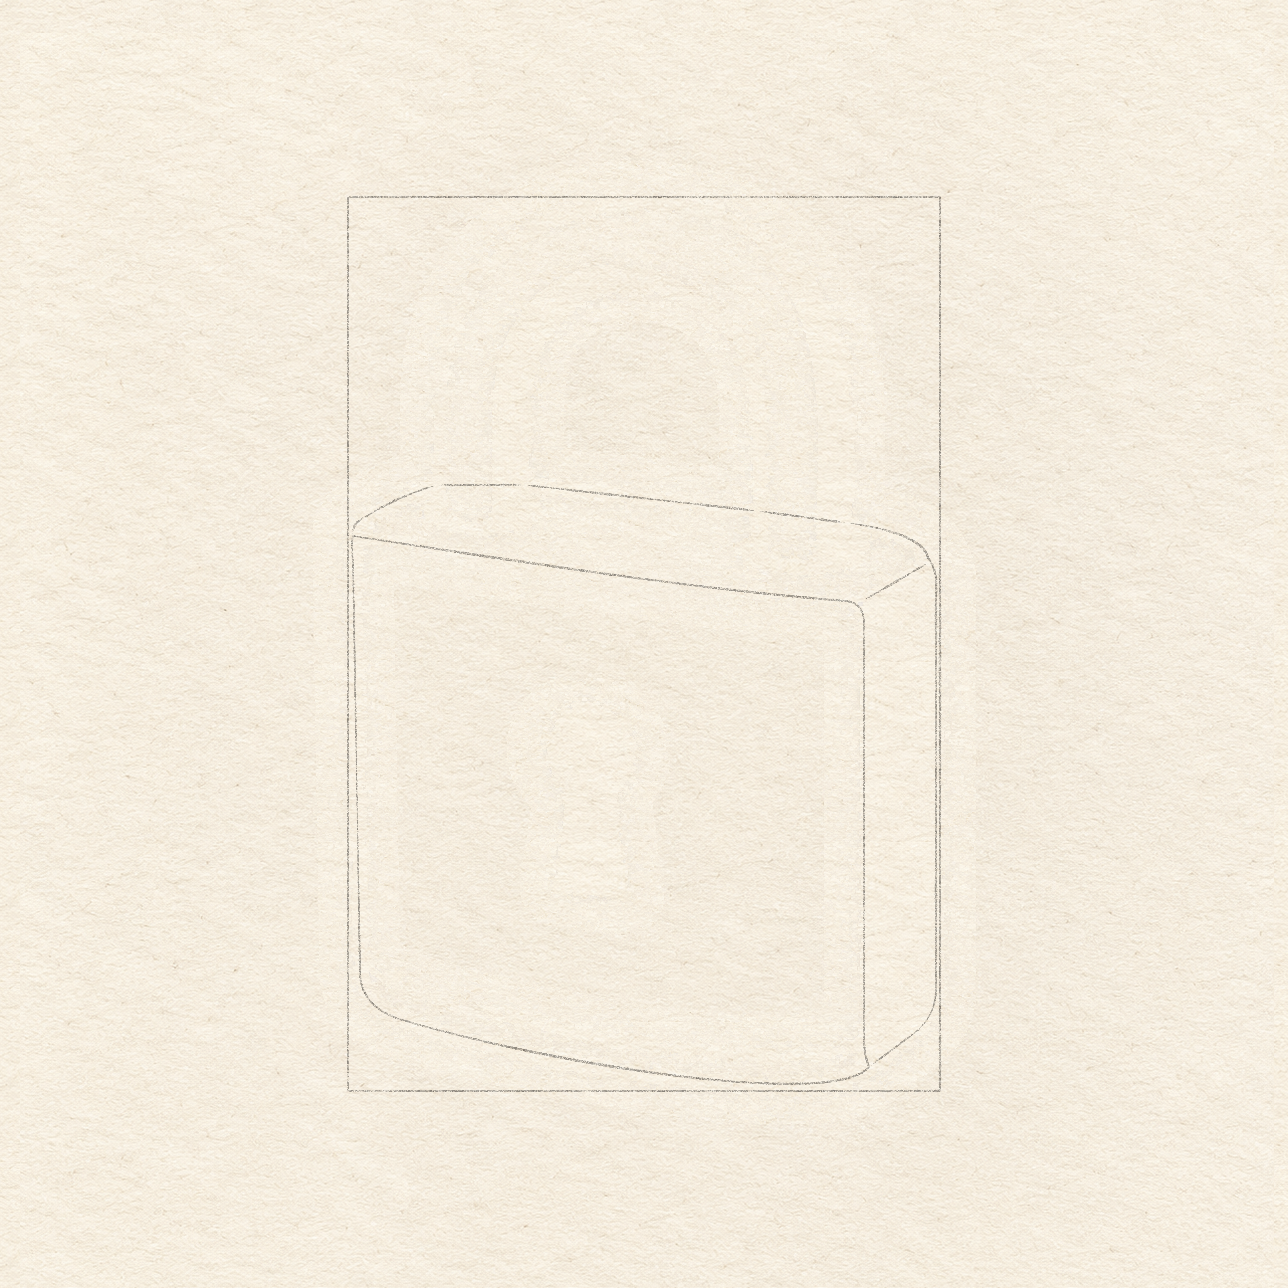
    1. From the rectangle’s top-left corner, mark a point 0.1 cm across and 5.7 cm down. Mark another 8.7 cm across and 6.8 cm down; join them freehand with a gently down-bowing curve for the front’s sloping top.
    2. Below the first point, draw the left edge freehand down to about 13.2 cm from the rectangle’s top. Bring the right edge down to about 14.2 cm. Shape both rounded lower corners by eye within these bounds.
    3. Join the lower corners freehand with a shallow curve that bows down about 0.5 cm near its middle. Keep the front broad and its right edge nearly upright.
    4. The top and bottom both descend towards the right. Compare their slope before continuing; erase and redraw a misplaced corner while it is light.
    The front now has a narrow right side and a shallow top plane; two top-edge pencil segments will later be erased beneath the shackle legs.
    Drawing 2B — Add the top and sideView larger

    Instructions for Drawing 2B — Add the top and side

    1. Locate the back-left top corner 1.5 cm across and 4.9 cm down from the rectangle’s top-left. Join the front’s upper-left corner up-right to this point with a light freehand curve.
    2. Place the back-right top corner 9.8 cm across and 6.1 cm down. Join the back corners freehand with a gentle down-right line, then join the right back corner to the front’s upper-right corner.
    3. From the back-right corner, draw the outside right edge freehand down to about 13.5 cm below the rectangle’s top. Round its bottom by eye into the front’s lower-right corner.
    4. Keep this side face narrow. The back top edge is pencil construction: we will erase the parts hidden by the arch after placing its two legs.
    Next step — Fit the curved arch
  3. Step 3 of 7 · Pencil

    Fit the curved arch

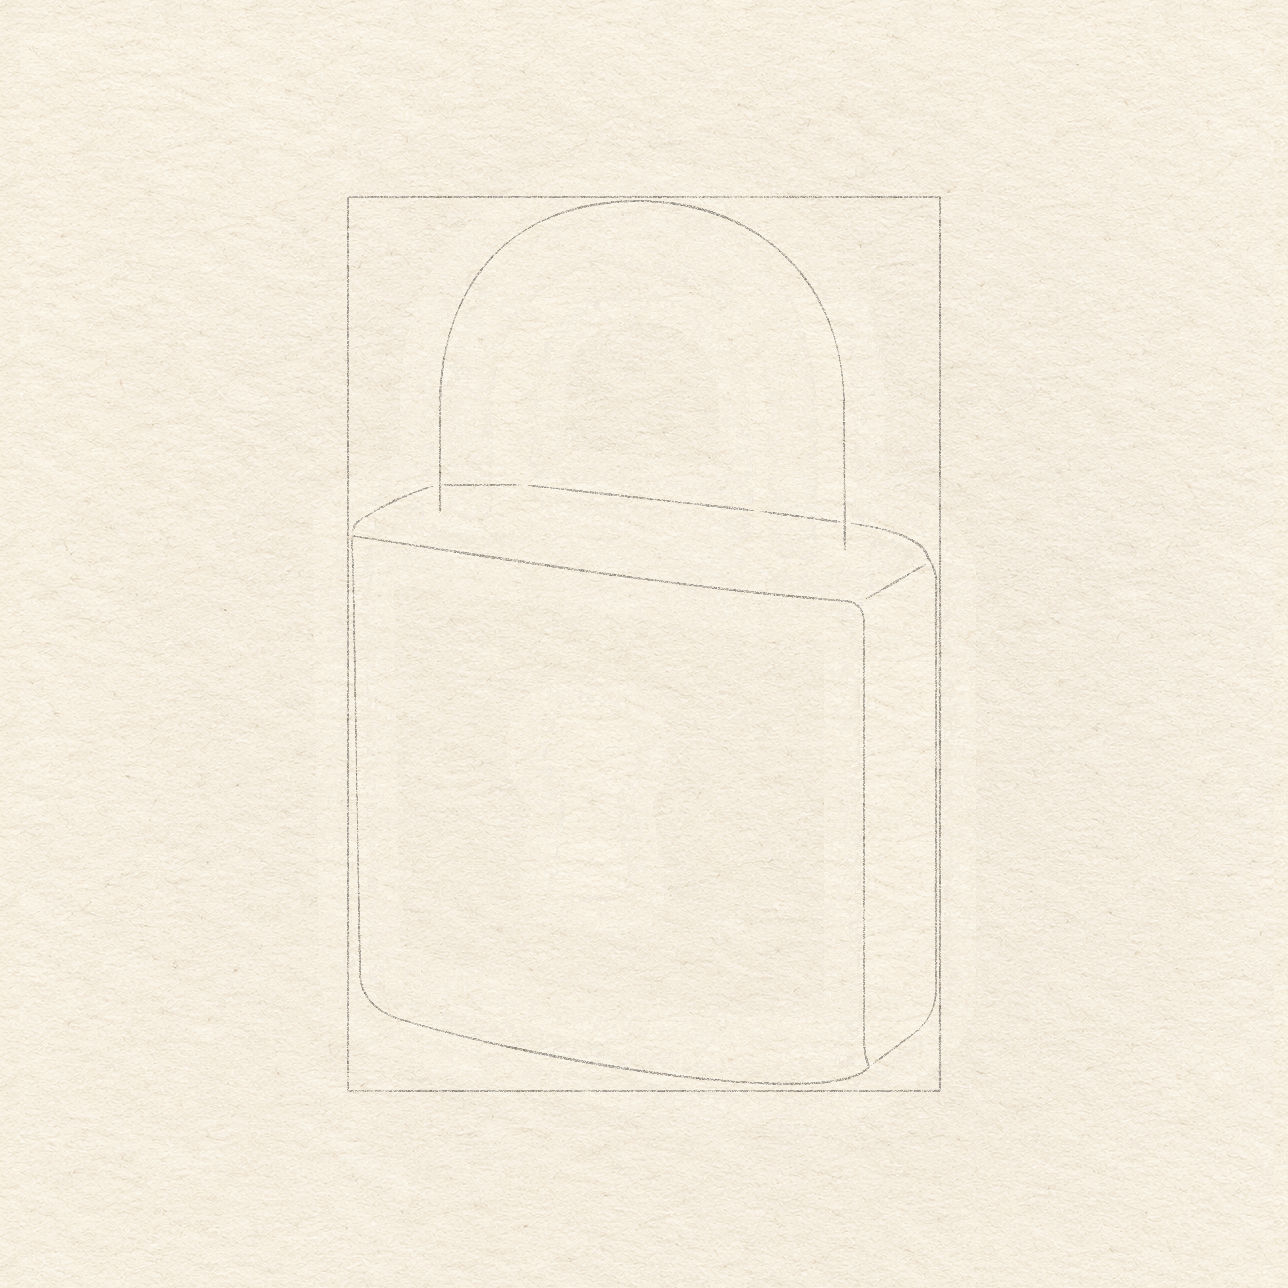
    One outside arch rises above the body; its two feet sit at different heights on the sloping top plane.
    Drawing 3A — Place the outside archView larger

    Instructions for Drawing 3A — Place the outside arch
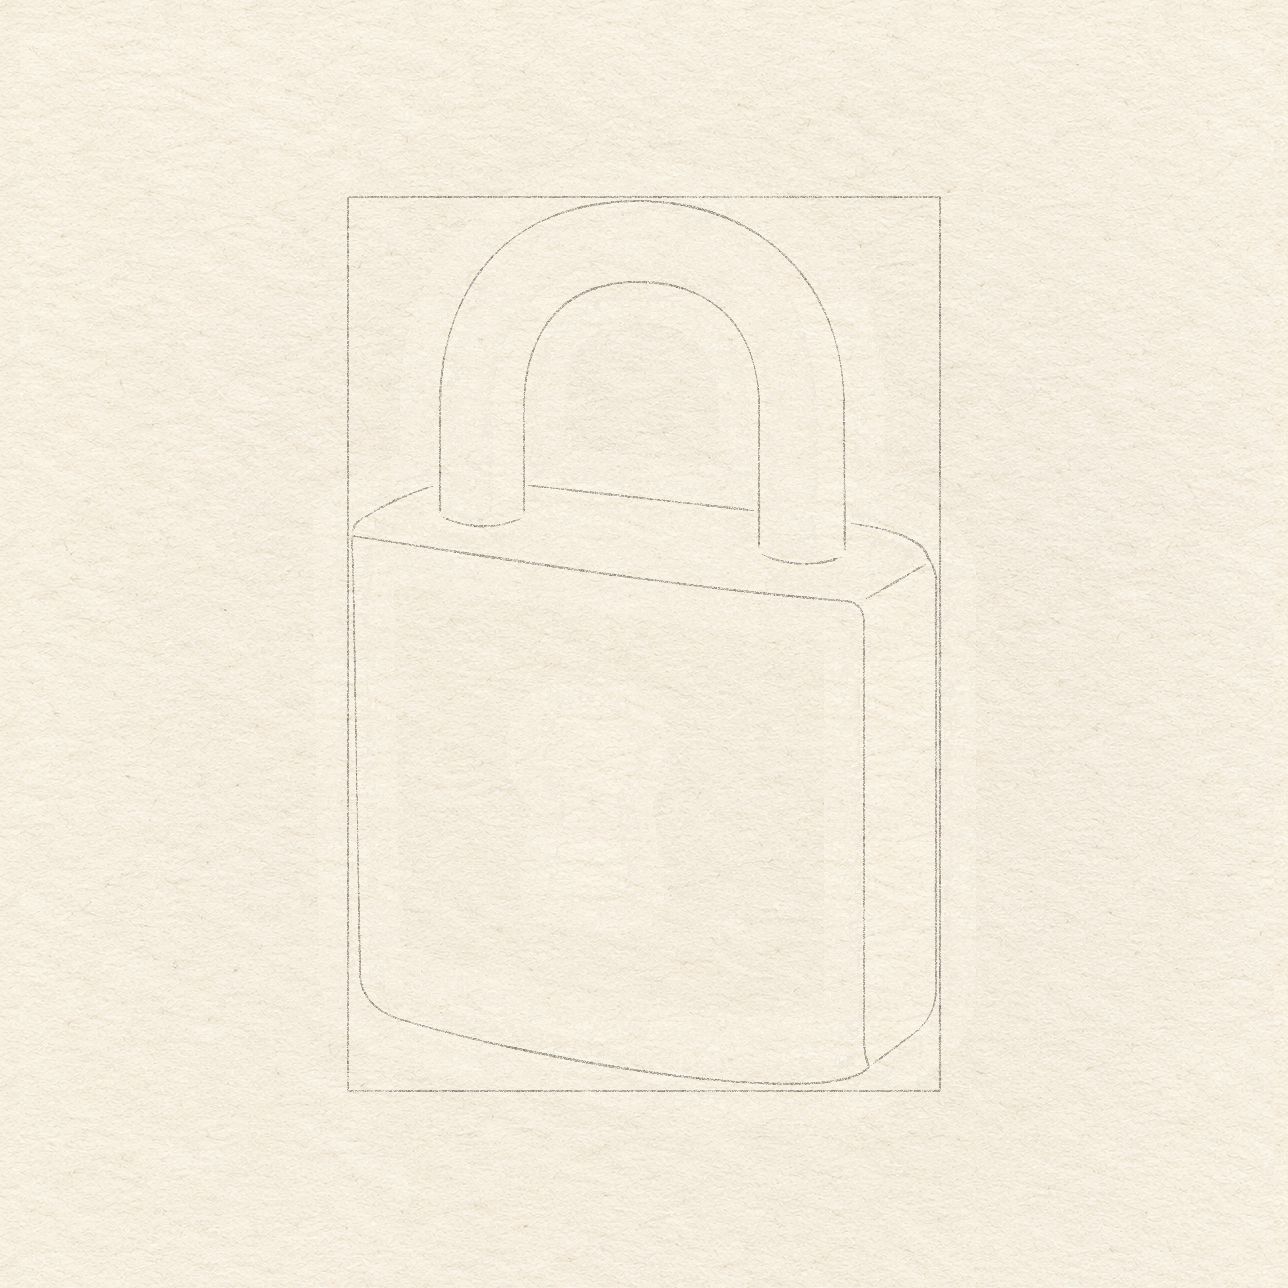
    1. On the top face, mark the left arch foot 1.6 cm across and 5.4 cm down from the rectangle’s top-left. Mark the right foot 8.4 cm across and 6.1 cm down.
    2. The arch top is near the rectangle’s top edge, about 5 cm across. From each foot, draw an upright to about 3.5 cm below the rectangle’s top edge. Shape the rounded upper arch freehand between these bounds.
    3. Keep the left foot slightly higher than the right to match the sloping lock top. Do not make the two feet share a horizontal baseline.
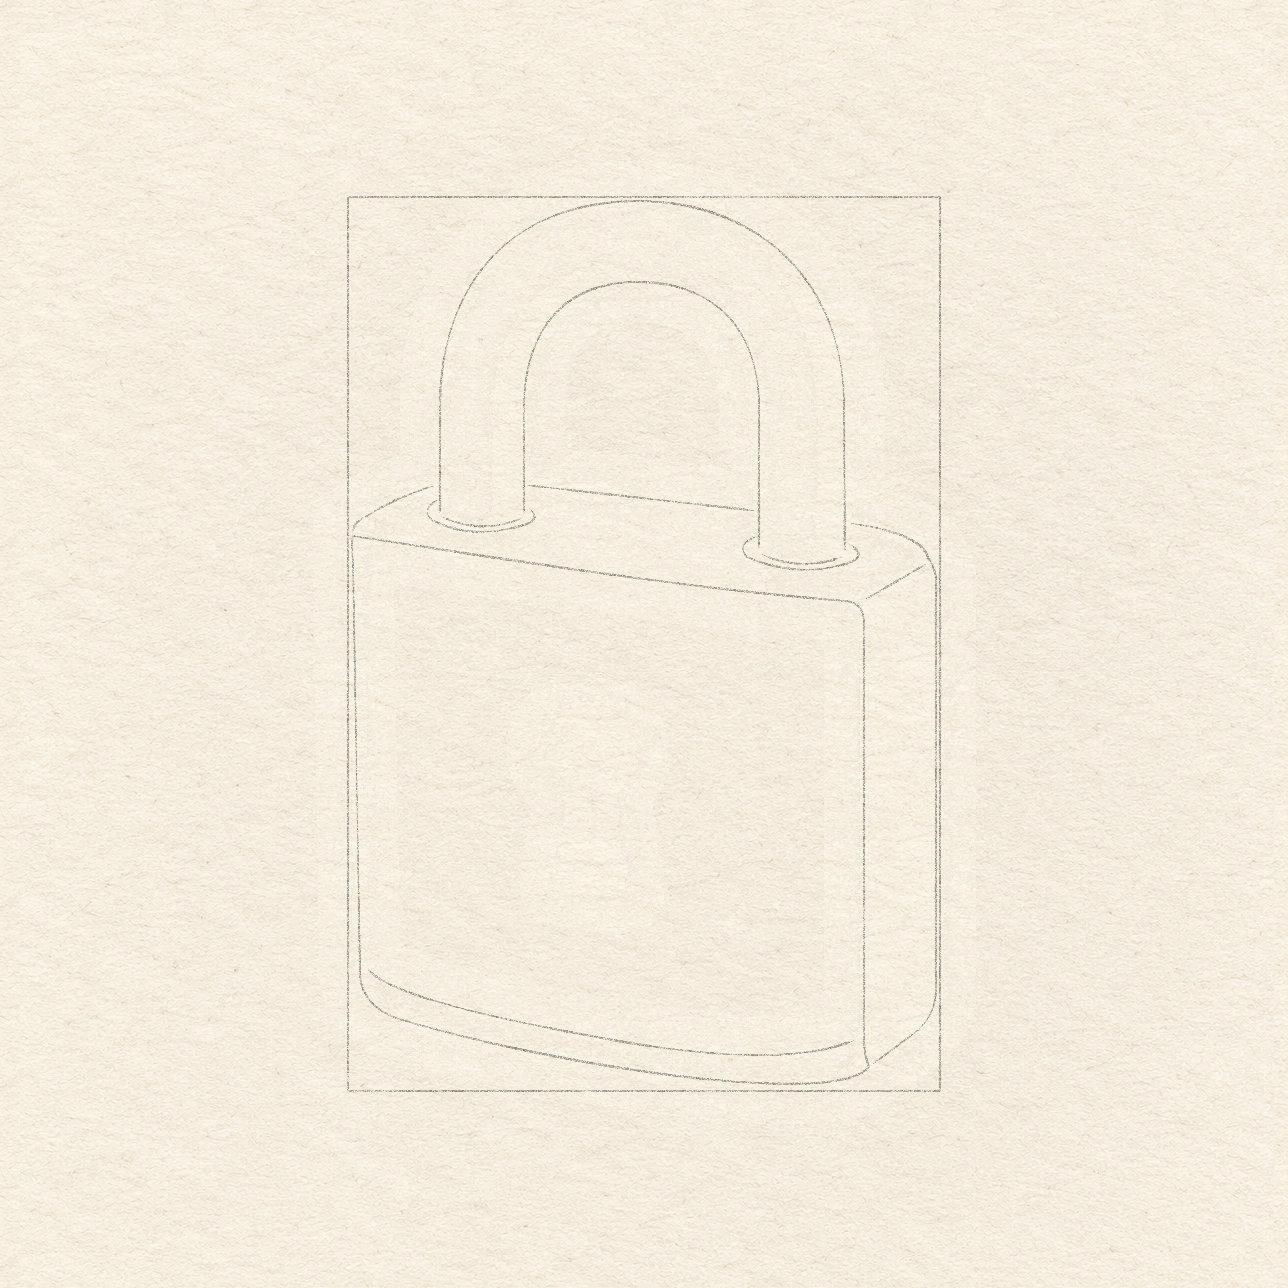
    A second arch creates the opening and two curved foot ends; the hidden top-edge pencil pieces have been erased.
    Drawing 3B — Give the arch thicknessView larger

    Instructions for Drawing 3B — Give the arch thickness
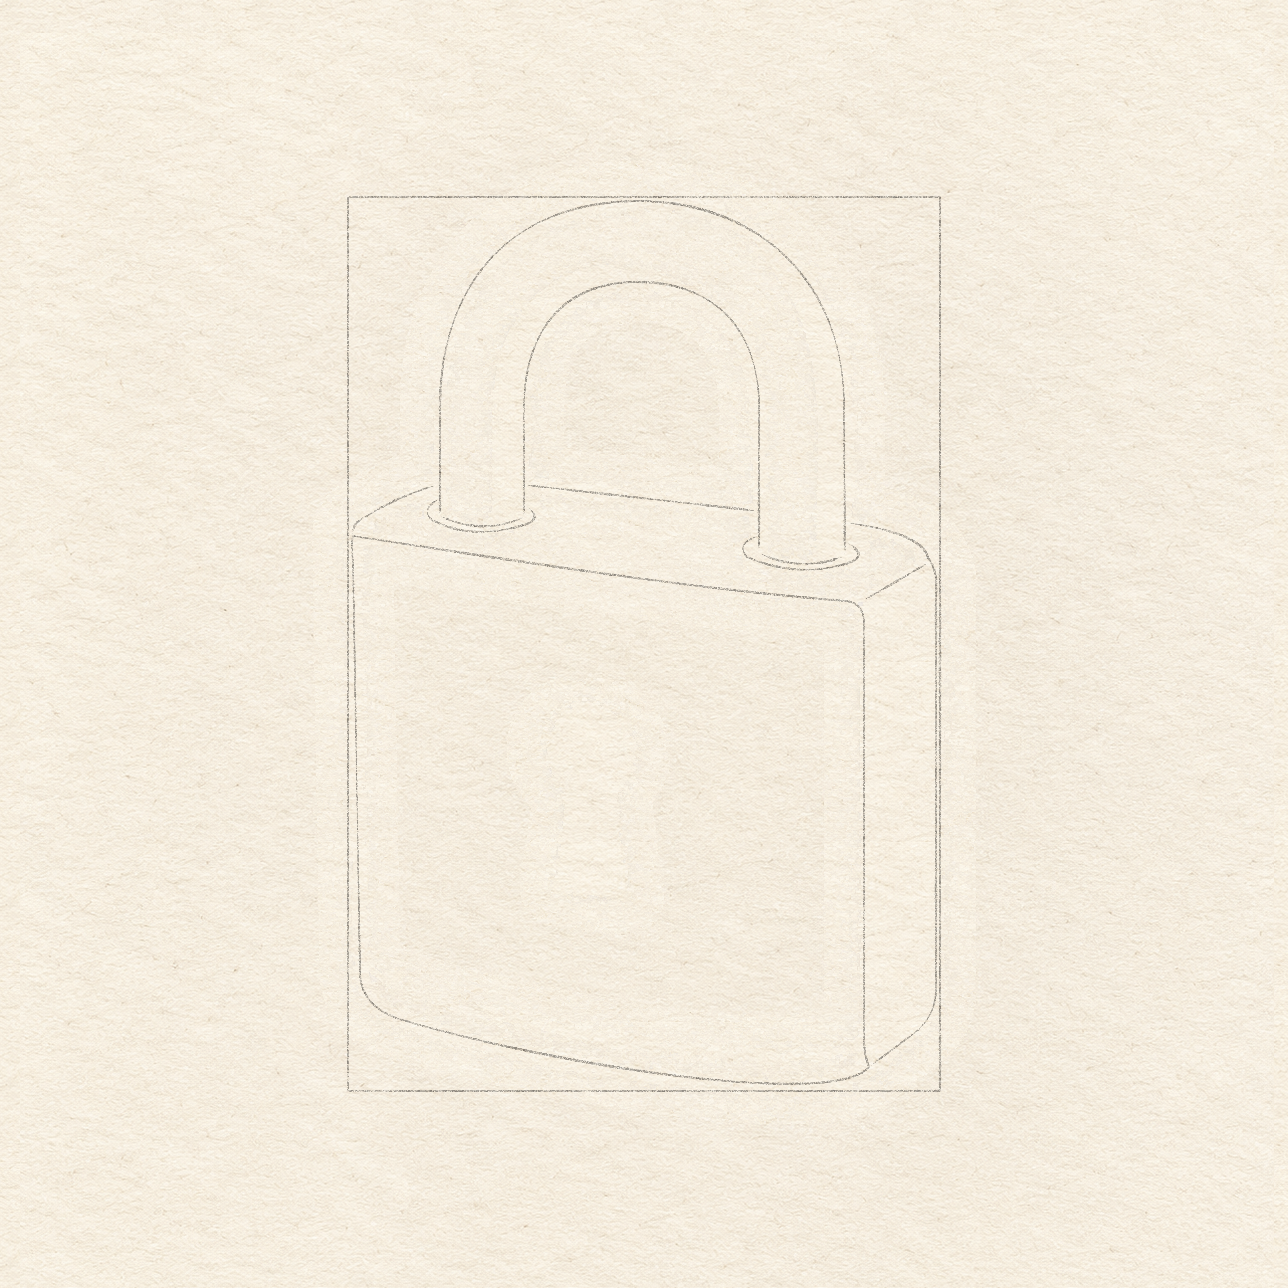
    1. Mark the inner left foot about 3 cm across and 5.4 cm down. Mark the inner right foot about 7 cm across and 6 cm down, using the same rectangle origin.
    2. Keep the inner arch’s highest curve about 1.4 cm below the outer top. Draw it freehand into the two marked inner feet, shaping the curve by eye to leave roughly similar thickness around the arch.
    3. Join each inner foot to its outside foot with a small freehand down-bowing curve. These are the two solid metal leg ends, not a line across the whole opening.
    4. Erase only the back top-edge pieces inside the two arch legs. Keep the top edge visible between the legs and on each outside, and keep the large rectangle.
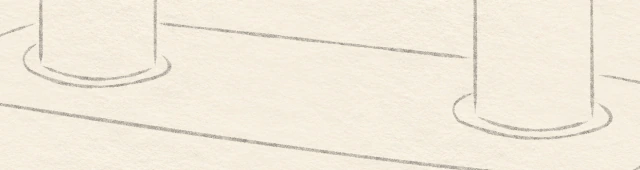
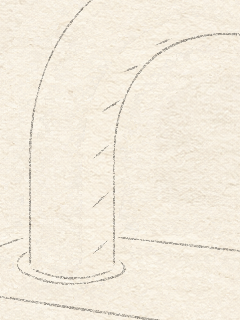
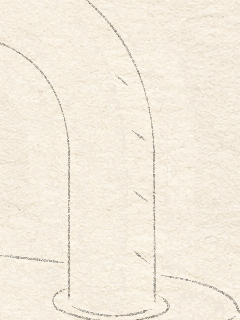
    Short oval rim returns surround the two arch feet on the top face, stopping where the solid legs hide them.
    Drawing 3C — Seat the arch in the bodyView larger
    Same-stage enlarged arch feet, exposed insertion rims and interrupted top back edge.
    Detail 3C.1 — Arch feet and visible rimsEnlarged from this same stage. Each rim stops where its metal leg hides it.

    Instructions for Drawing 3C — Seat the arch in the body

    1. Around each arch foot, draw freehand only the exposed sides and lower part of a narrow oval rim. Stop where the metal leg hides it; do not draw across the leg. Let the rim extend about 2 mm beyond each side of the foot.
    2. Keep the right rim slightly lower than the left, following their existing feet.
    3. Both rims must wrap around their feet. If a rim floats away, erase it and reconnect the visible returns before marker.
    Next step — Place the body details
  4. Step 4 of 7 · Pencil

    Place the body details

    A shallow inner seam follows the bottom of the front face with a thin pale band below it.
    Drawing 4A — Add the lower front seamView larger

    Instructions for Drawing 4A — Add the lower front seam
    1. Inside the front face, start about 3 mm above its bottom-left turn. Draw the seam freehand along the outside bottom curve, leaving a narrow pale band beneath it, and stop at the right front edge before the side face.
    2. Keep this seam inside the body; do not add another outside base.
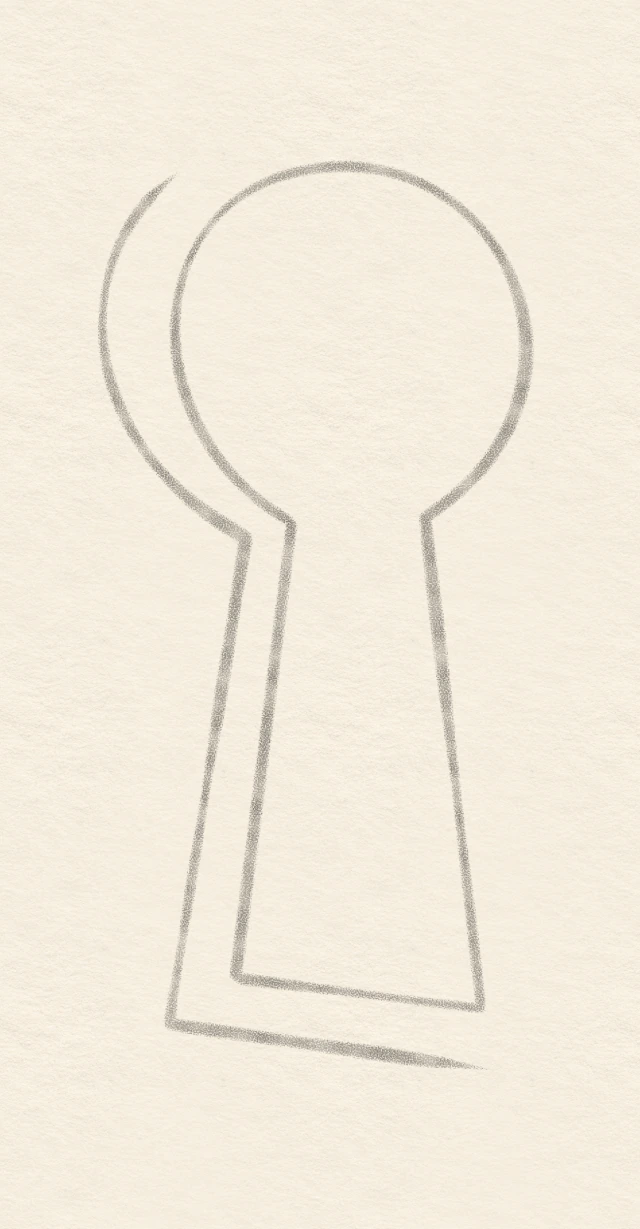
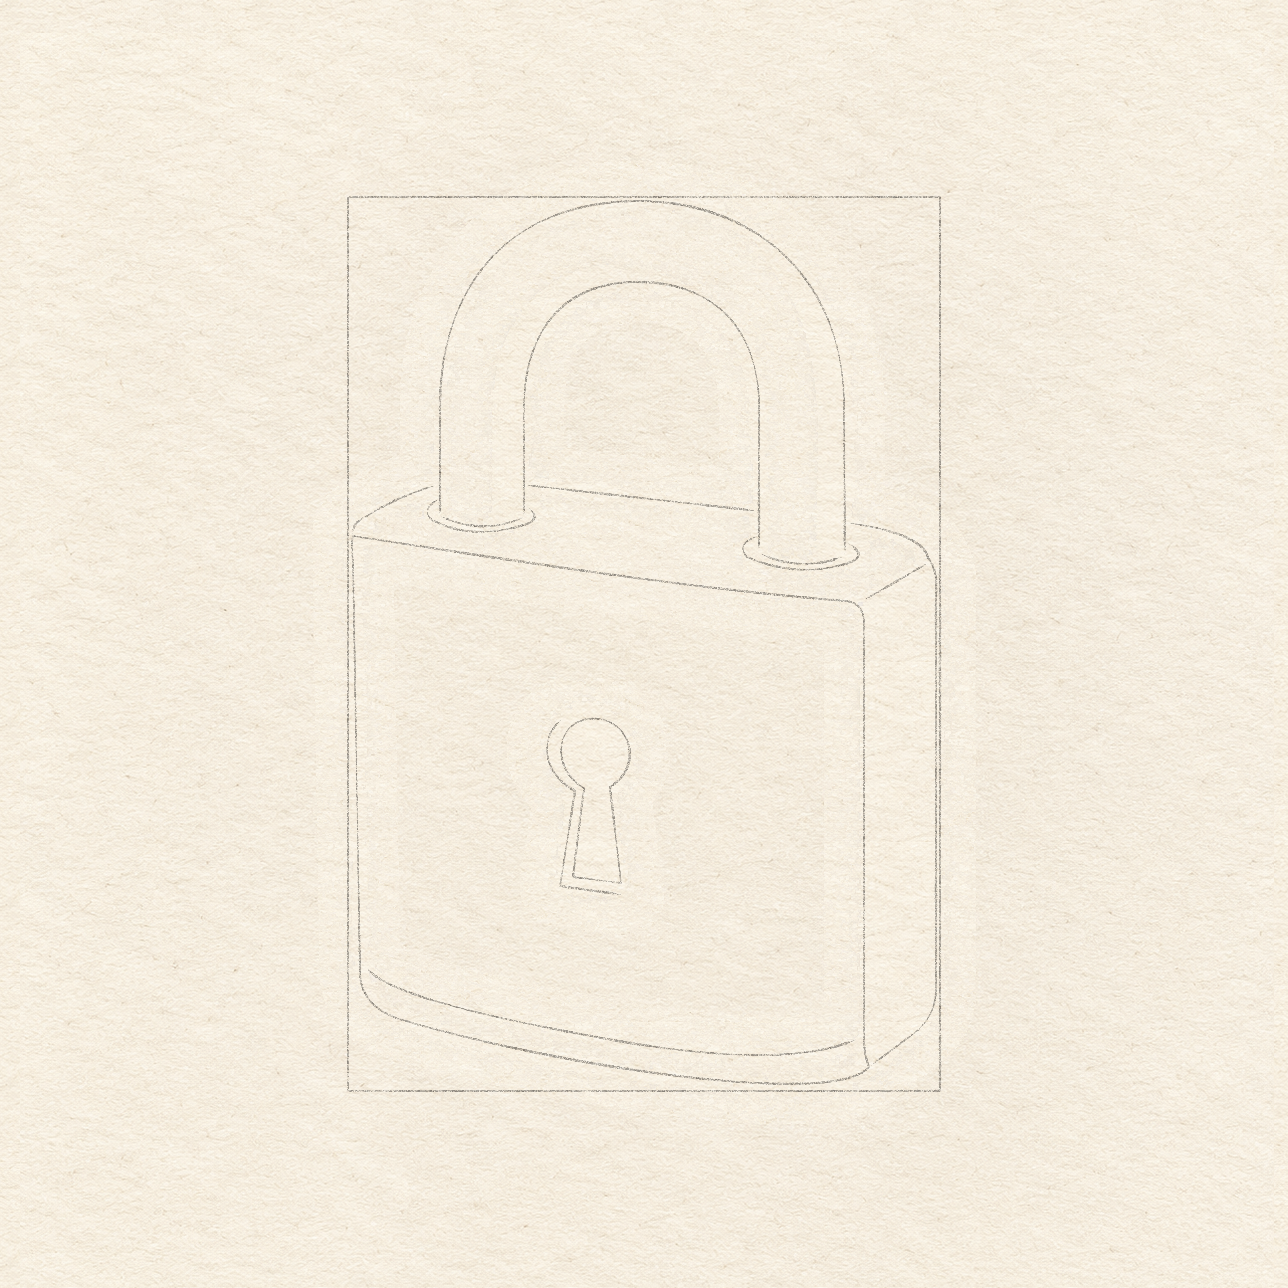
    An unfilled keyhole opening sits on the front, with a separate narrow left and lower rim reserved beside it.
    Drawing 4B — Place the keyhole and its pale rimView larger
    Same-stage enlarged unfilled keyhole and its narrow left and lower reserve.
    Detail 4B.1 — Keep the pale rimEnlarged from this same stage. Keep the narrow left and bottom rim as paper when the opening is filled later.

    Instructions for Drawing 4B — Place the keyhole and its pale rim

    1. Mark the keyhole centre about 4.1 cm across and 9.4 cm down from the large rectangle’s top-left. Allow a round opening about 1.3 cm wide around that centre, with a 3–4 mm gap at the bottom. Shape it by eye: from the gap’s left end, curve out left, round over the top, then curve down the right side to the gap’s other end.
    2. From the two ends of that gap, draw the stem sides freehand down about 1.7 cm, widening slightly towards the base. Join them with a short line sloping down-right.
    3. Just outside the opening’s left edge, draw a second line freehand about 1 mm away. Continue it down outside the left stem and along the bottom. Keep the narrow space between the outlines pale when filling later.
    4. Keep the keyhole away from the lower seam and side face. Correct its shape while the centre is still unfilled.
    Next step — Plan the gray areas
  5. Step 5 of 7 · Pencil

    Plan the gray areas

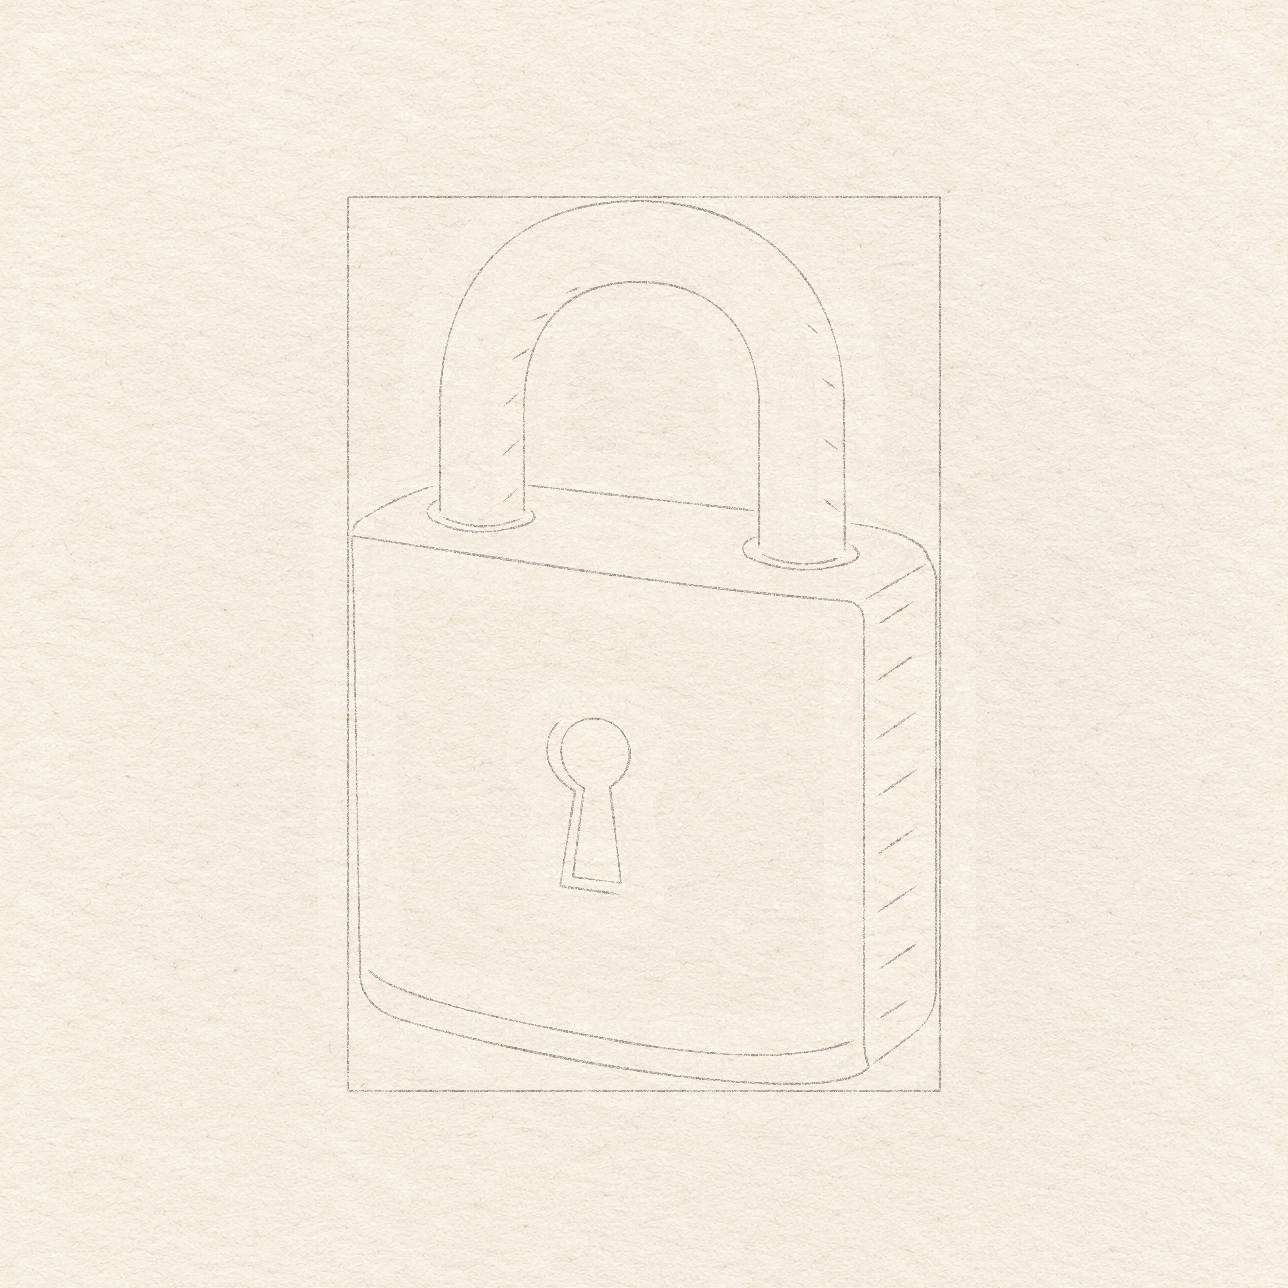
    Sparse light pencil strokes indicate gray on the right body face and two arch-edge strips; the front stays open.
    Drawing 5A — Plan the few gray areasView larger
    Same-stage native pencil close-up of left arch shading guide with the existing arch contours and gaps between short tone marks.
    Detail 5A.1 — Left arch shading guideEnlarged from this same drawing. These short pencil strokes locate the gray strip beside the opening; their exact count may vary.
    Same-stage native pencil close-up of right arch shading guide with the existing arch contours and gaps between short tone marks.
    Detail 5A.2 — Right arch shading guideEnlarged from this same drawing. These short pencil strokes locate the gray strip beside the outside edge; keep the broad metal centre light.

    Instructions for Drawing 5A — Plan the few gray areas

    1. With short freehand pencil strokes, lightly shade the narrow right body face. Keep all strokes inside its existing edges and leave the broad front face unshaded.
    2. With short freehand pencil strokes, indicate a narrow gray strip on the metal immediately left of the arch opening and along the outside-right arch edge. Taper the strips around the curves; keep the arch’s broad middle light.
    3. These light strokes locate gray areas for marker. Their exact count may vary; do not turn a shading stroke into a new metal edge.
    Next step — Trace and add marker
  6. Step 6 of 7 · Marker

    Trace and add marker

    Black marker outlines, a dark keyhole and socket rims, and gray shading on the right side and arch edges, with light pencil guides still visible.
    Drawing 6A — Trace the outlines and add gray shadingView larger
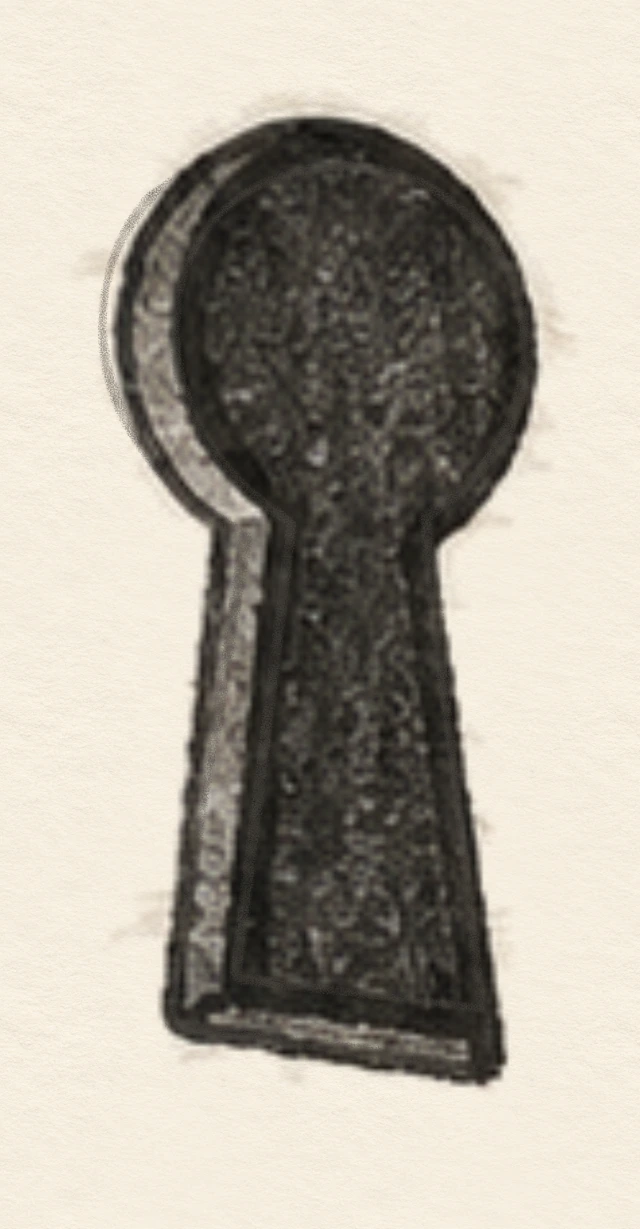
    Same-stage enlarged dark keyhole and its preserved pale rim.
    Detail 6A.1 — Filled opening, pale rimEnlarged from this same stage. The narrow left and bottom strip remains pale after filling.

    Instructions for Drawing 6A — Trace the outlines and add gray shading

    1. Test black and gray markers on scrap paper. With the black tip, trace the checked body edges, arch, visible rim returns, lower seam, keyhole opening and its separate pale rim. Leave the large rectangle in pencil.
    2. Darken the keyhole opening and exposed socket rims. Keep the narrow keyhole left/bottom rim pale, and keep the arch opening and front body face as paper.
    3. Use gray on the planned right face and two arch-edge strips. A little grain is fine; keep the gray inside the existing boundaries.
    4. Keep the top back edge interrupted by the metal legs. Leave the graphite in place until the marker has dried.
    Next step — Dry and erase
  7. Step 7 of 7 · Eraser

    Dry and erase

    Finished three-quarter padlock on the same paper; the temporary rectangle and graphite planning have been removed.
    Drawing 7A — Let it dry, then eraseView larger

    Instructions for Drawing 7A — Let it dry, then erase

    1. Make similar black and gray patches on scrap paper. Wait until a gentle eraser pass does not smear them; if either smears, wait longer and test again.
    2. Use light, short eraser touches to remove the large rectangle, pencil contours and tone strokes. Brush away crumbs without rubbing the marker.
    3. Only graphite disappears. Keep the same body, arch, rim gaps and pale keyhole strip; add no new details during cleanup.
    Back to the tutorial

If something looks off

The arch floats above the body

Return to its two curved feet and exposed socket rims. Each foot sits inside its own rim on the sloping top face.

The lock looks flat

Keep the right side narrow, with the top joins sloping up-right from the front corners. Preserve the broad light front.

The keyhole looks like one black blob

Select its opening unfilled first and reserve the narrow left and bottom rim before permanent black.