FinelinerEasy

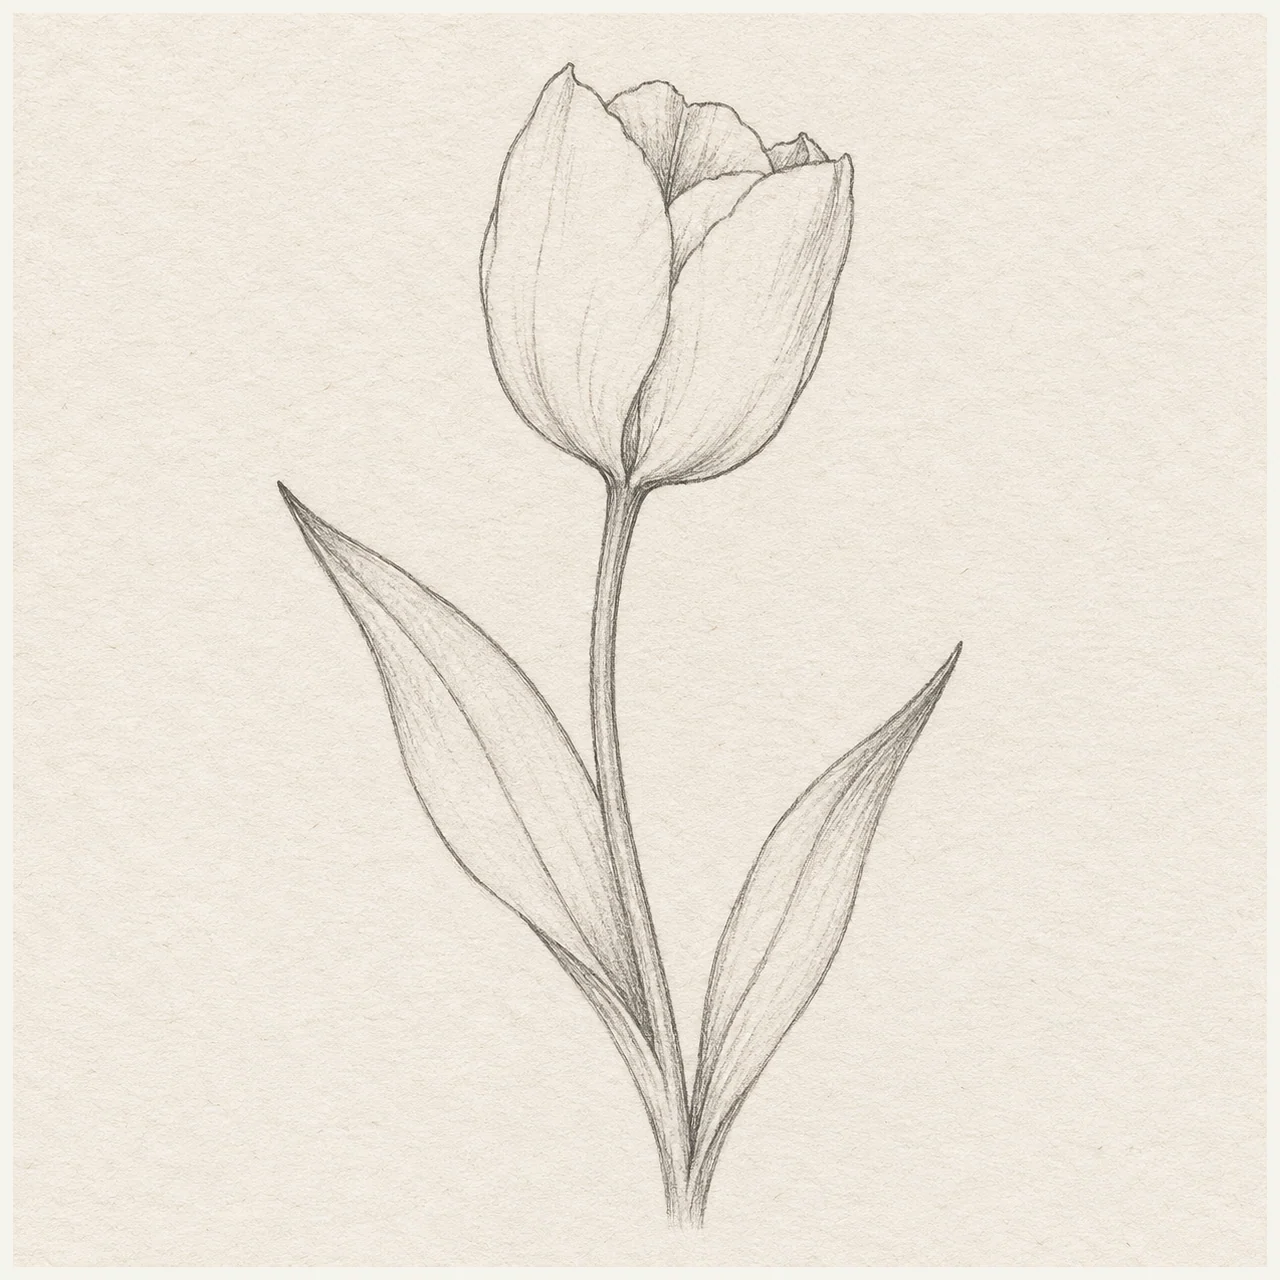
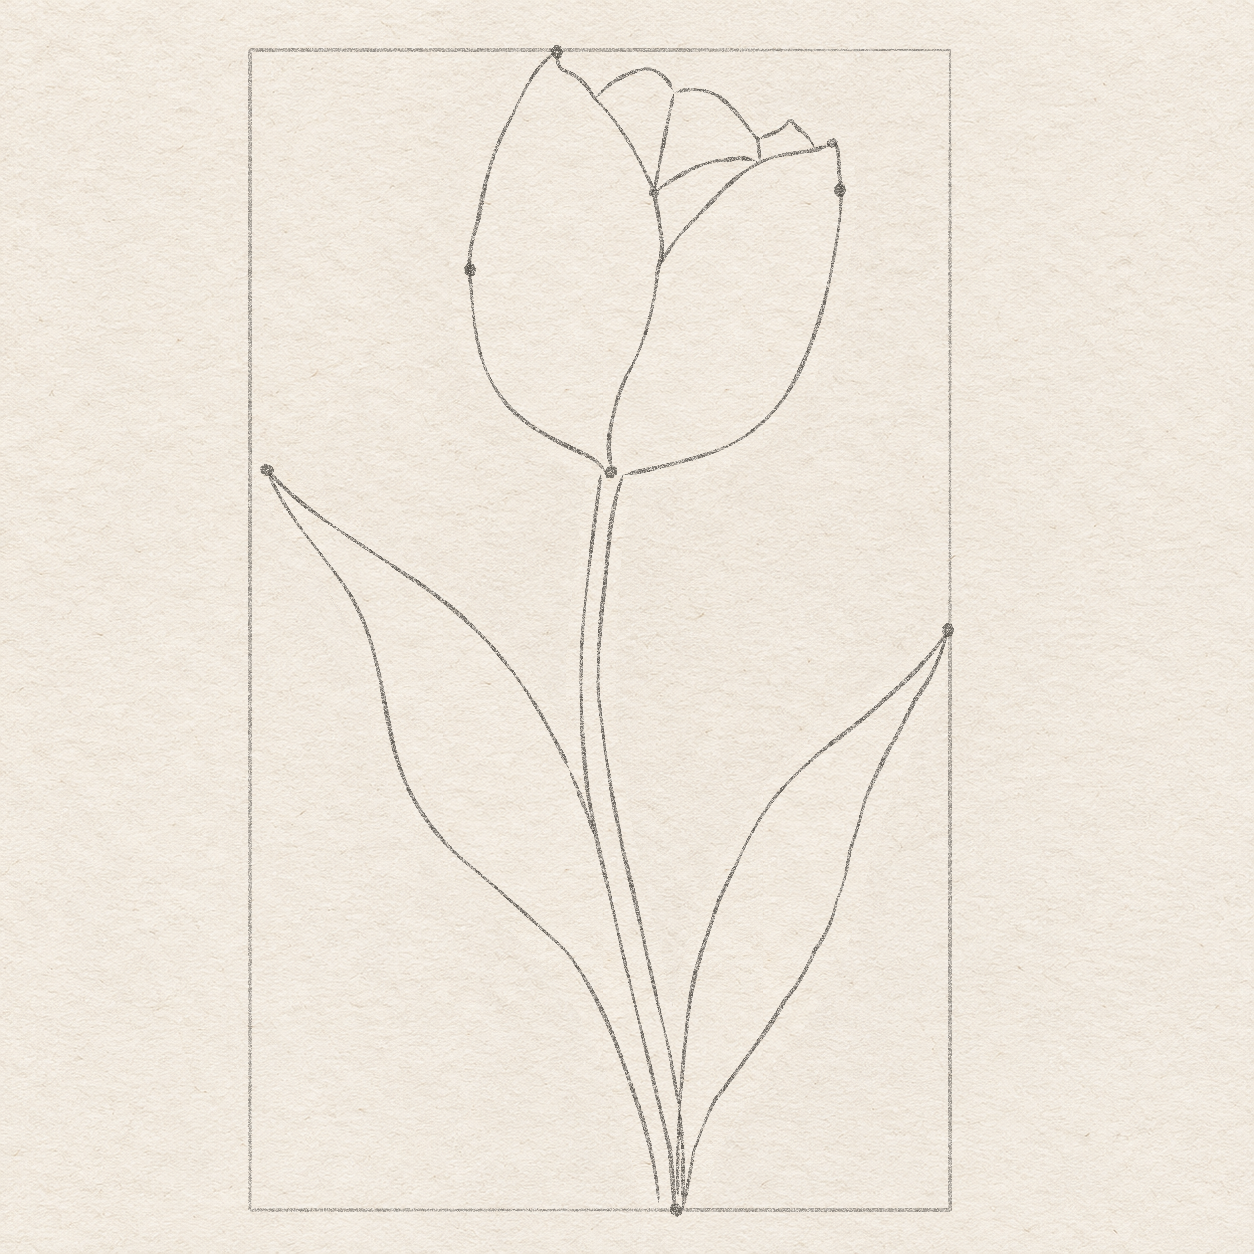
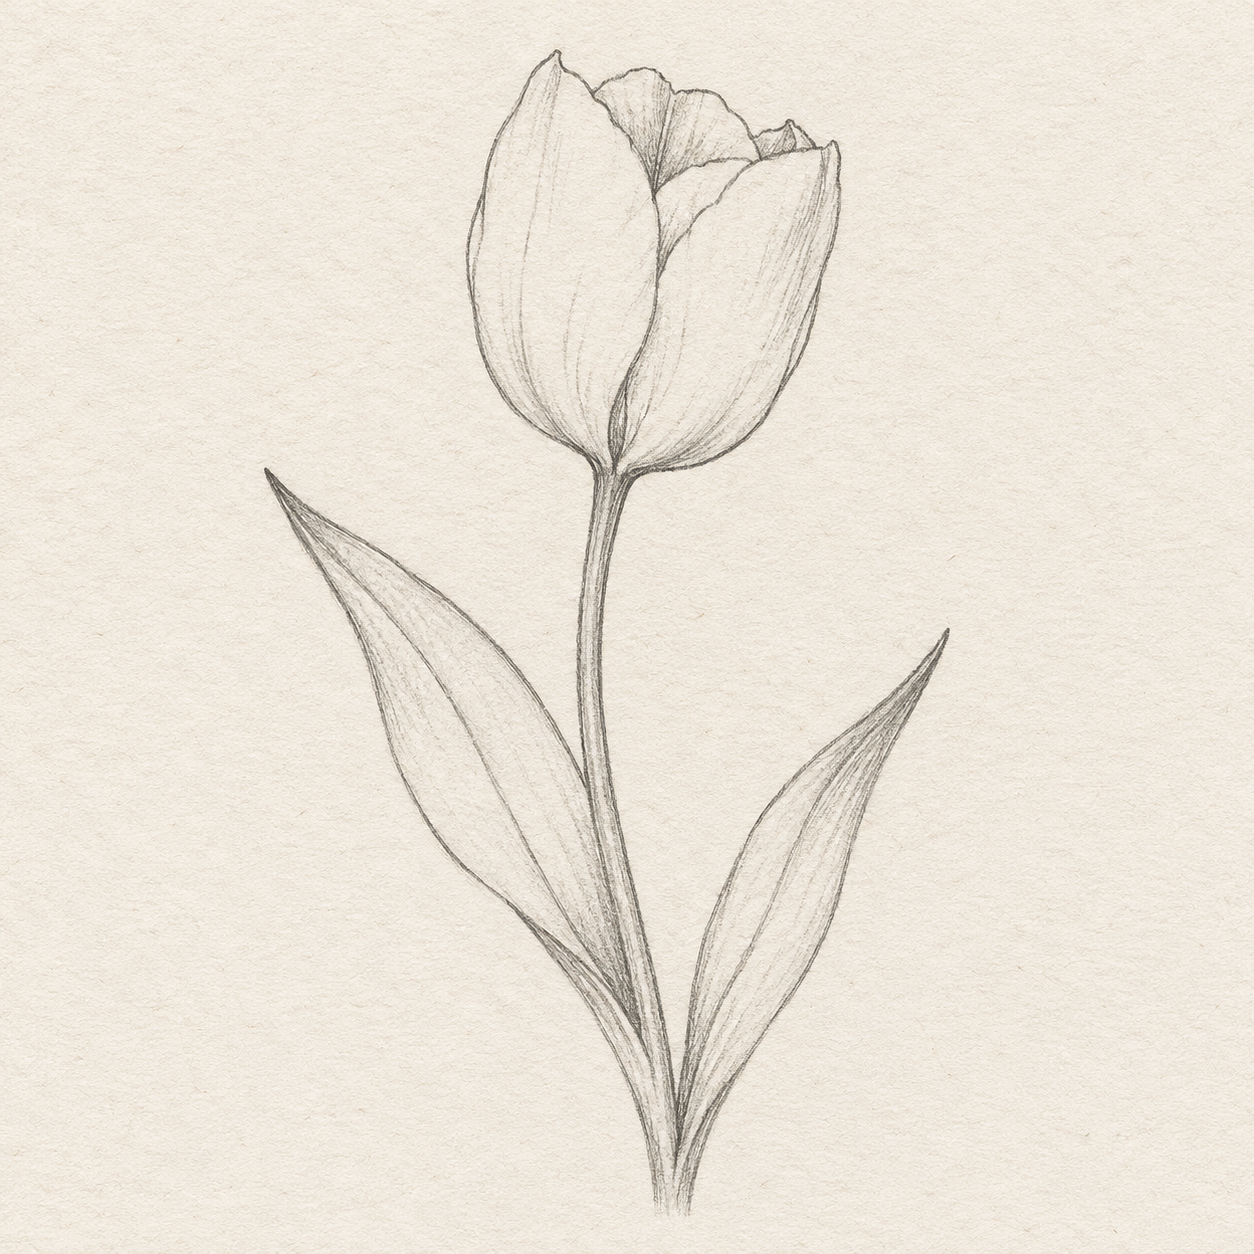
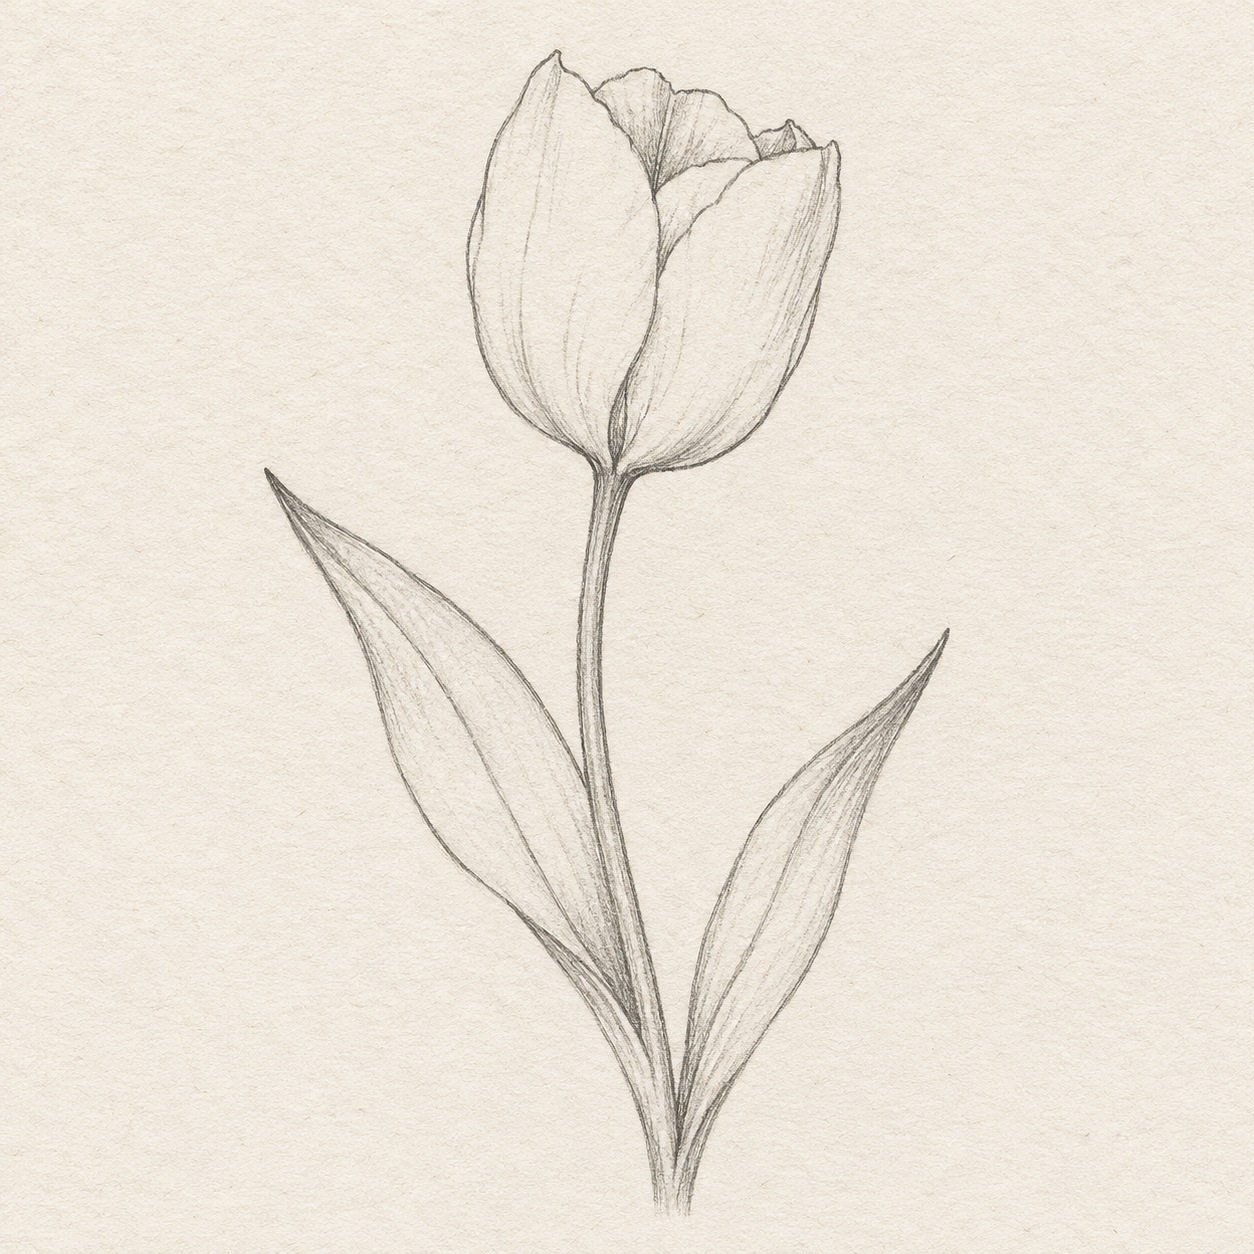
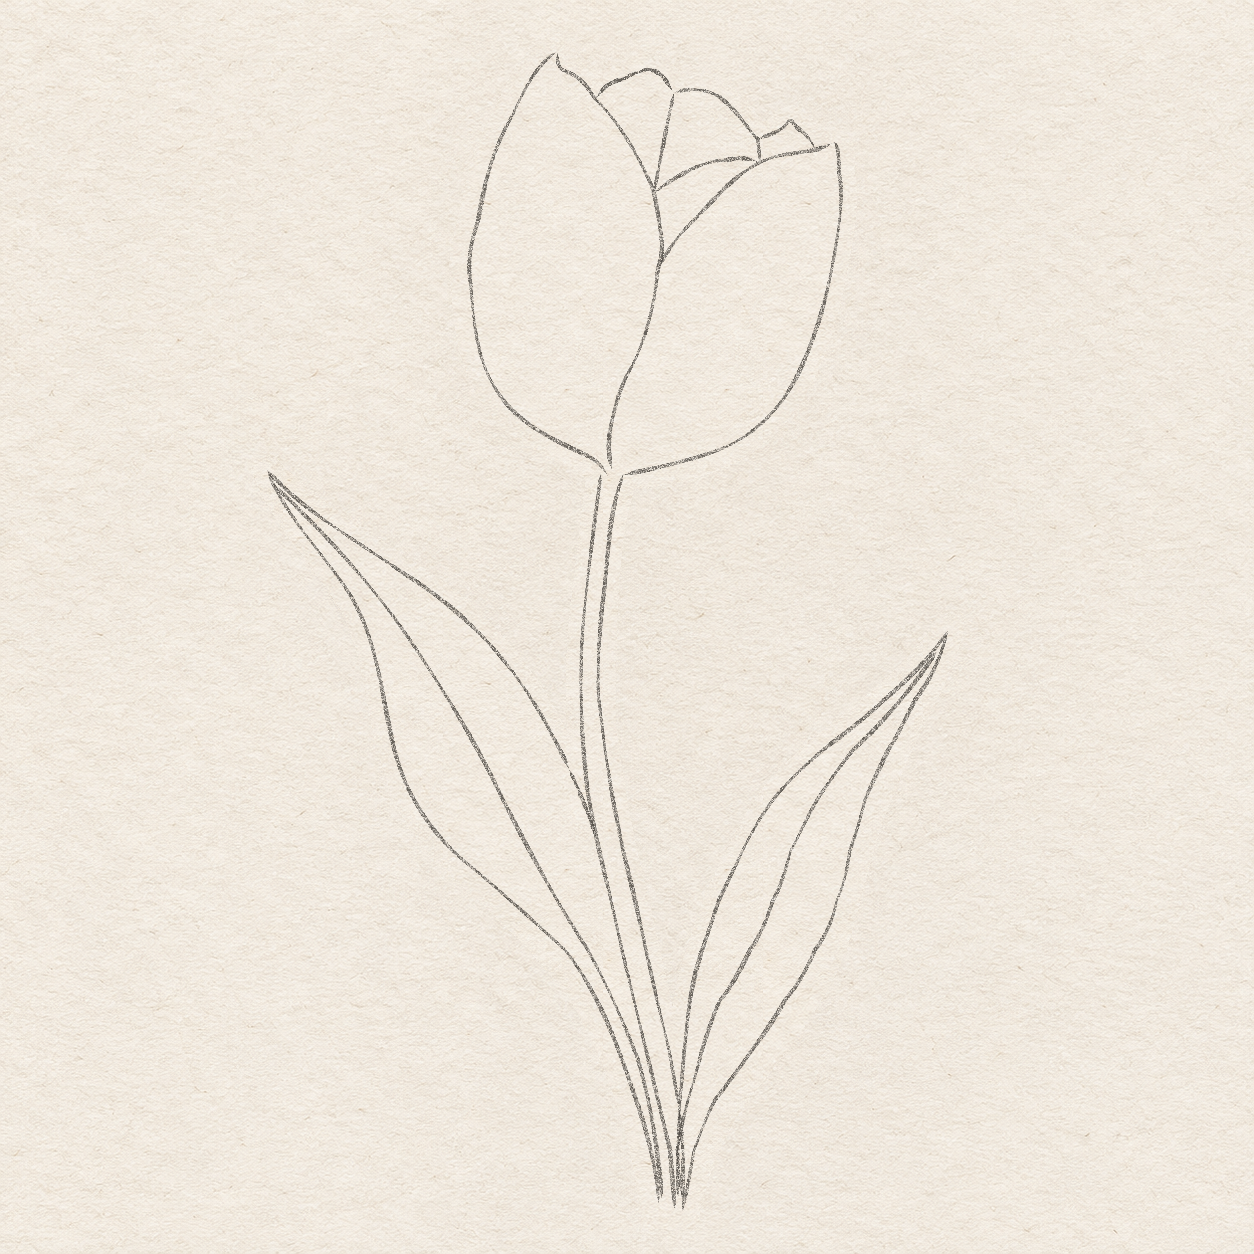
A tulip with two long leaves
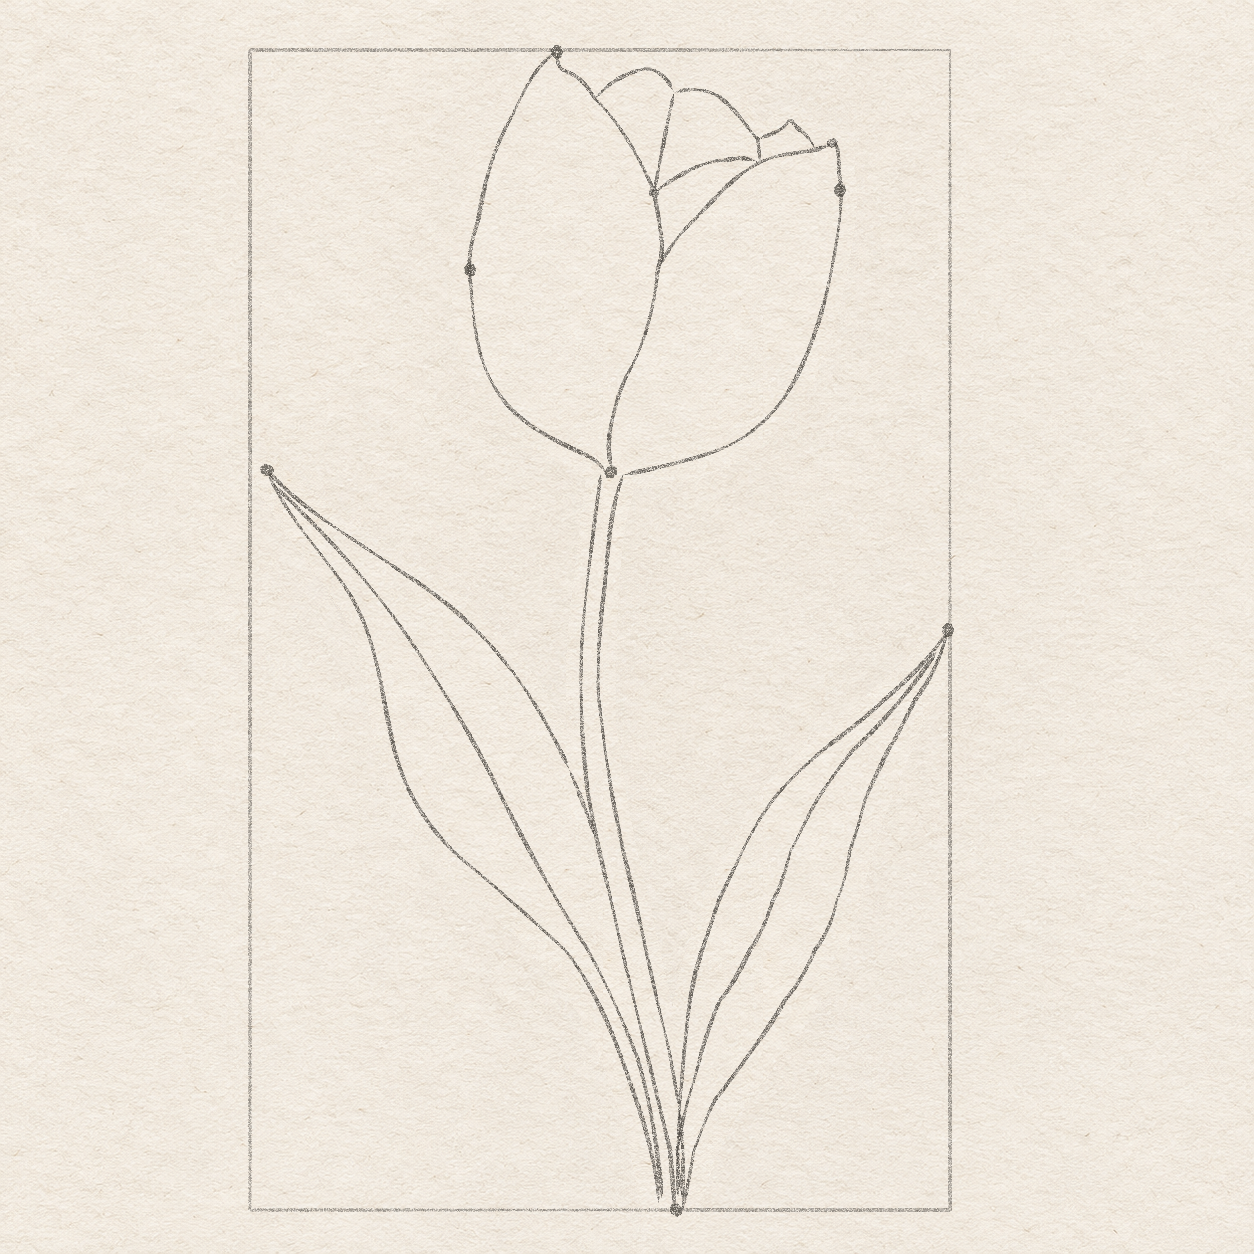
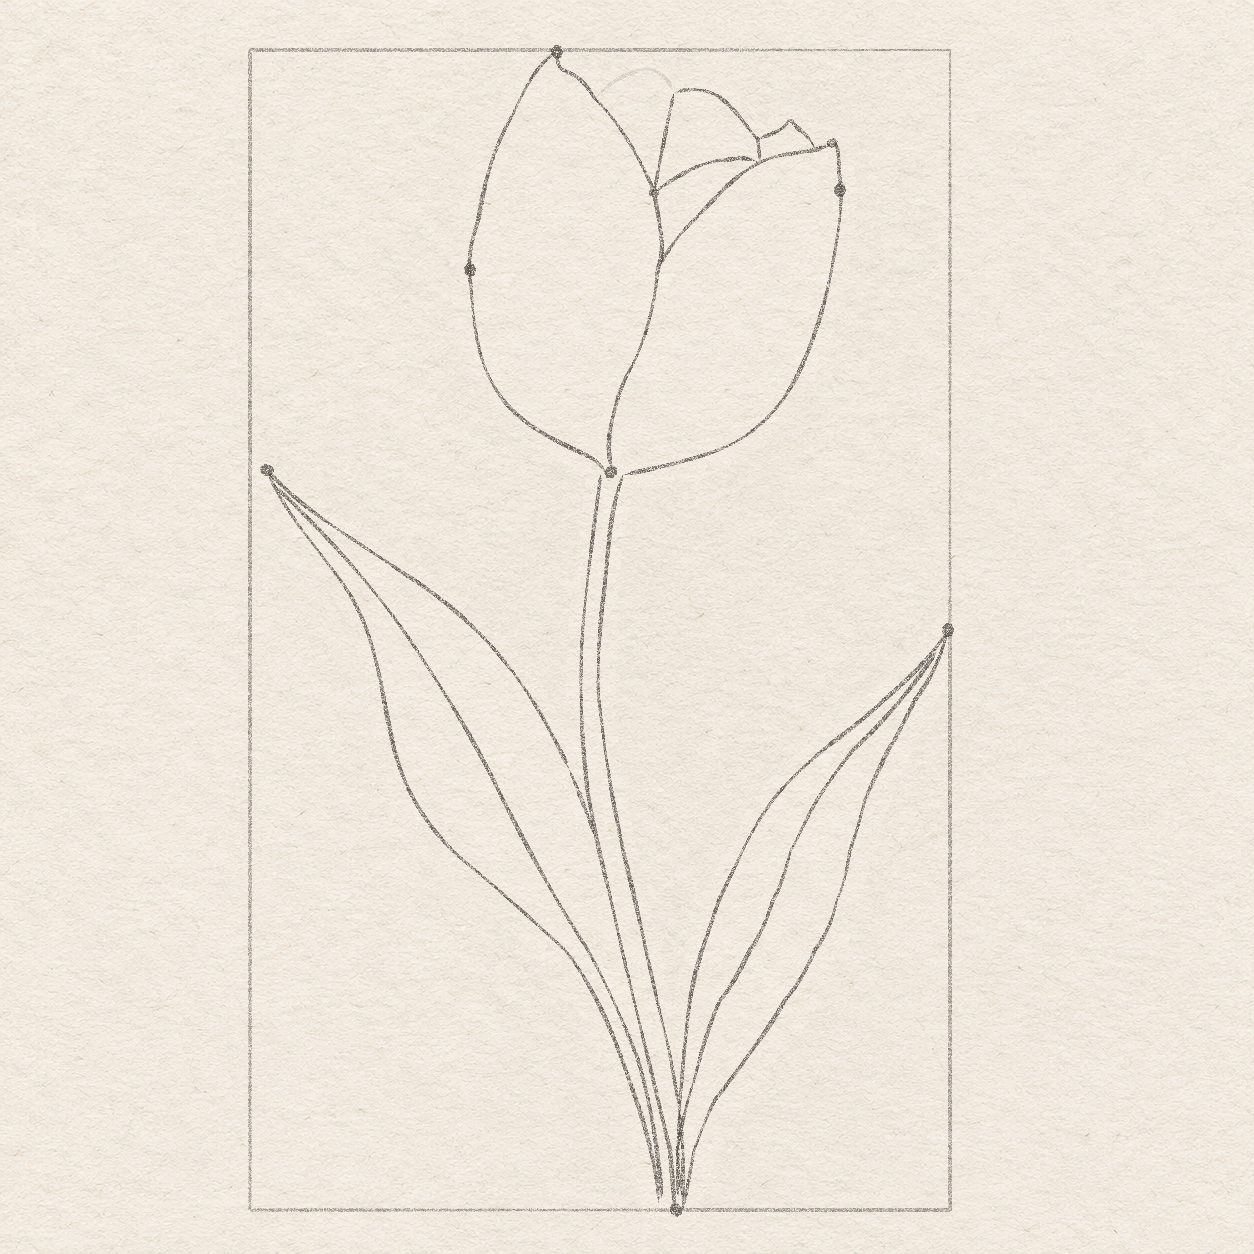
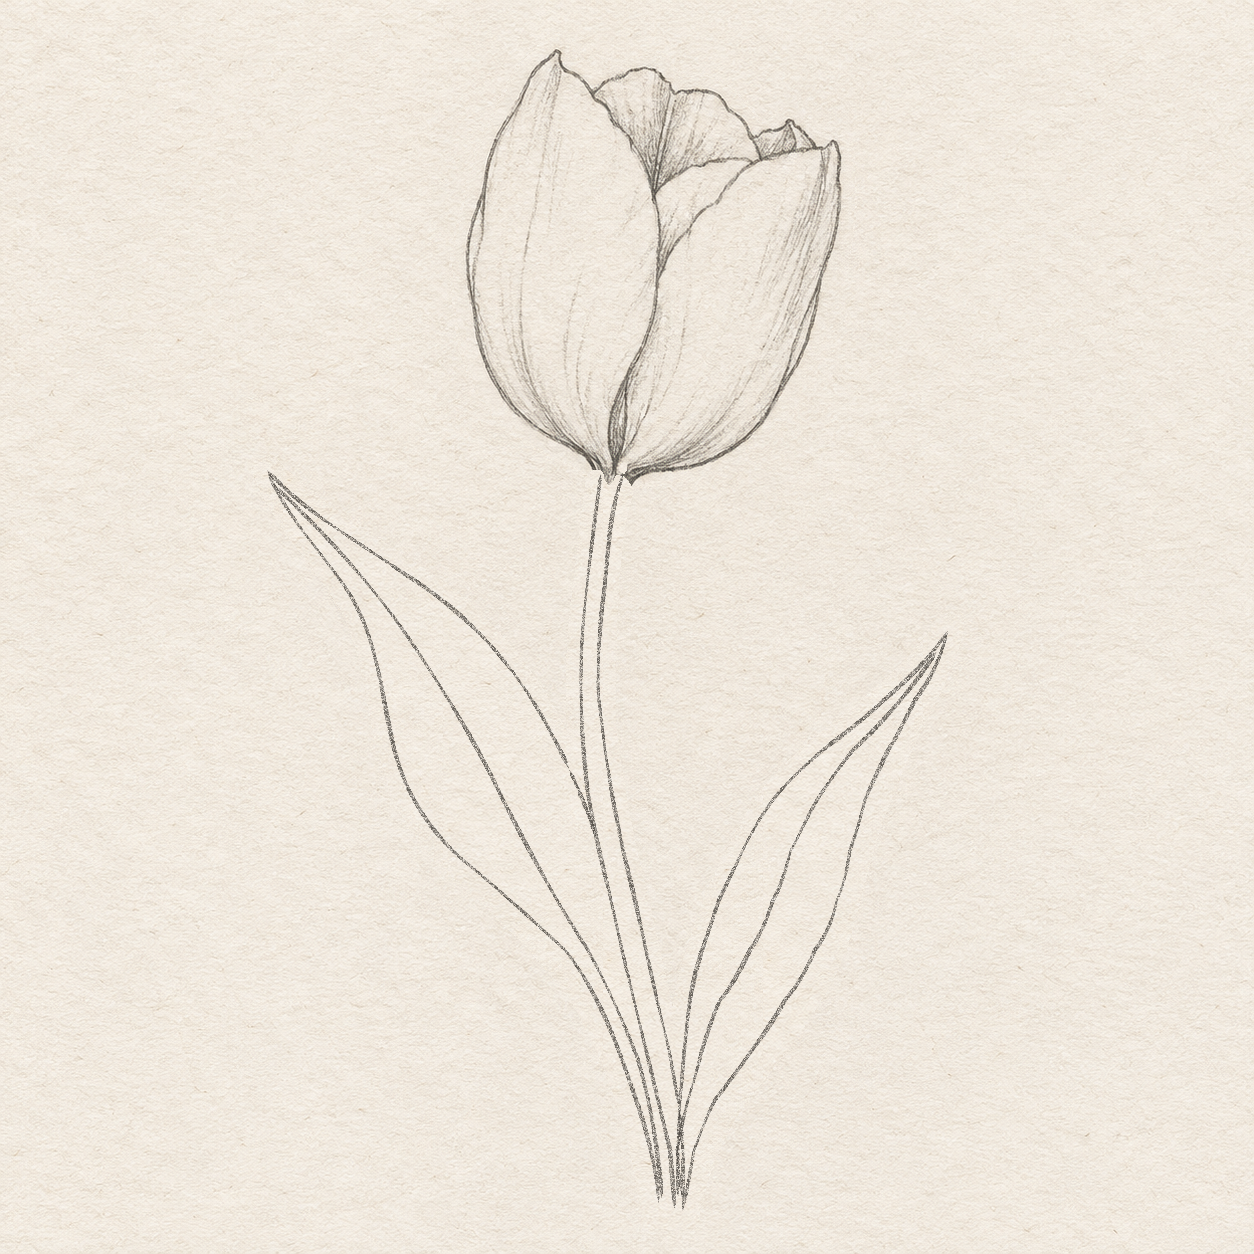
Practice overlapping petals with a single tulip and two sweeping leaves. Keep the flower open and use only a little pencil tone where the forms meet.
Follow the drawing tutorial
Place the unequal flower and leaf tips, build every petal overlap and curved plant outline, then choose short soft-pencil edges before finishing with light shading.
Start the 10-step tutorialA small thing to tryMake each leaf with a long continuous curve. A little wobble is more natural than many short corrections.
Draw it, one step at a time
How to draw this pencil tulip
Place the unequal flower and leaf tips, build every petal overlap and curved plant outline, then choose short soft-pencil edges before finishing with light shading.
What you’ll need
- HB pencil
- Ruler marked in centimetres and millimetres
- Soft kneaded eraser
- Sketchbook paper
Before you start
The example uses a working box 7 cm wide and 11.6 cm high. Use paper large enough to put this box where you want it, with space around it. Measure across from the box’s left edge and down from its top unless another existing mark is named. Left and right mean the sides of your picture. Use light HB pencil for the first outlines and keep them visible while choosing the final edges. Rehearse freehand curves above the paper; gently erase and redraw a misplaced light line before strengthening it. Keep broad interiors unshaded until the finishing tasks. Each named Drawing belongs to its adjacent actions, and each Detail enlarges that same drawing. The finished reference is available for comparison. For another size, keep all distances in the same proportion.
Step 1 of 10 · Pencil

Map the tall spread

Drawing 1A — Tall working boxView larger Instructions for Drawing 1A — Tall working box
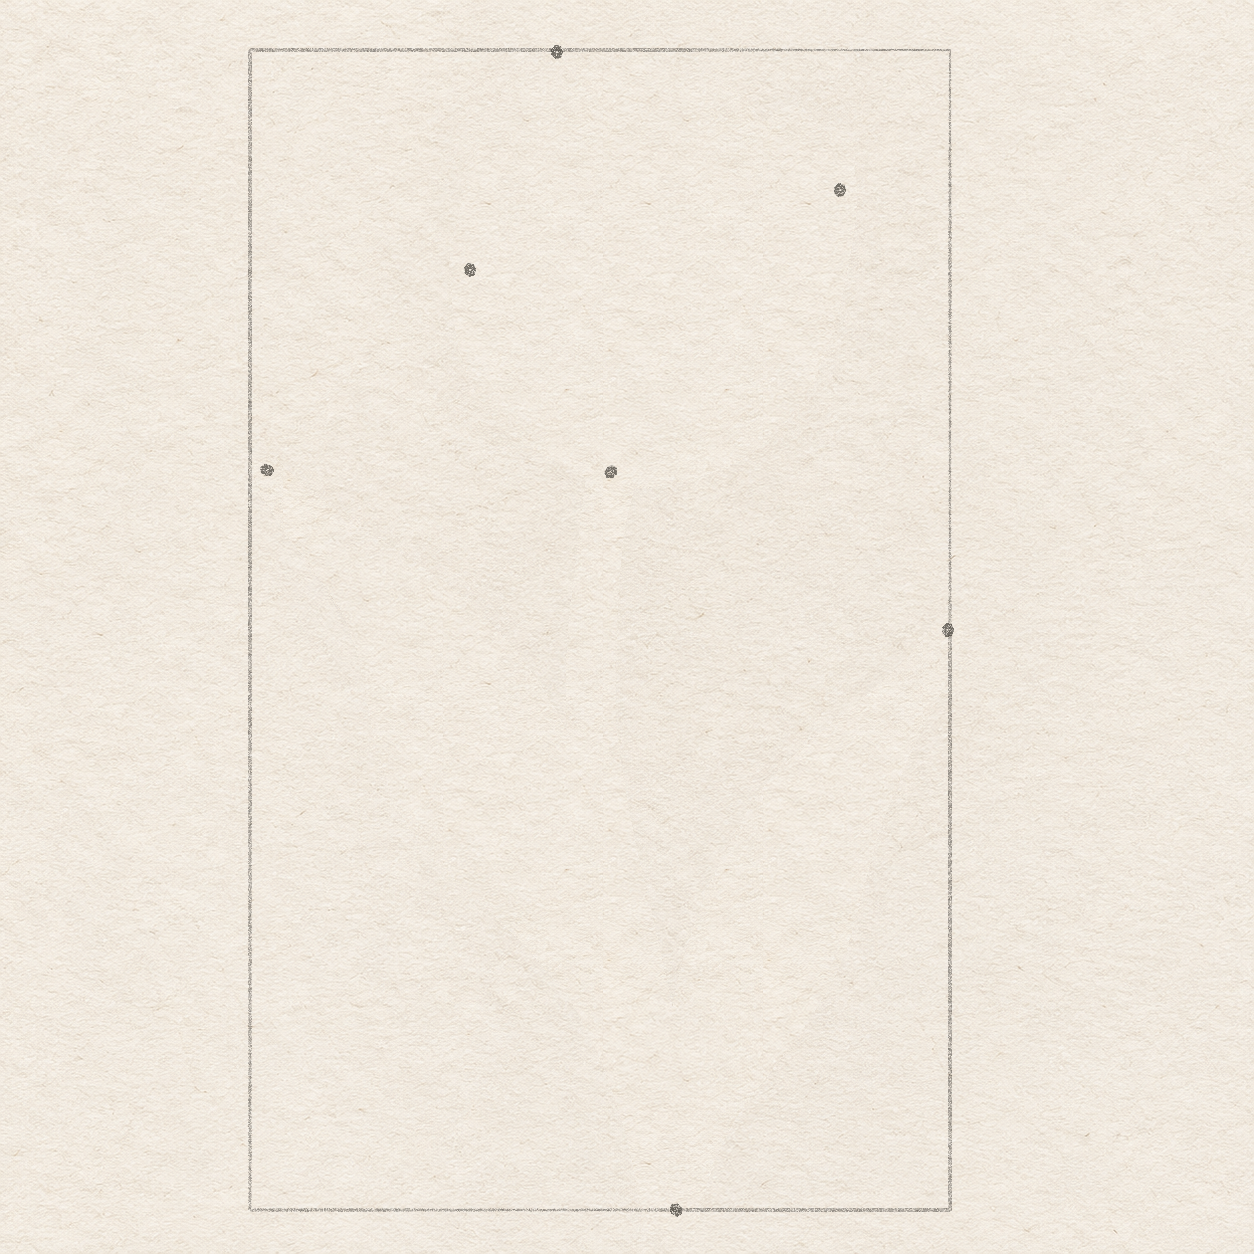
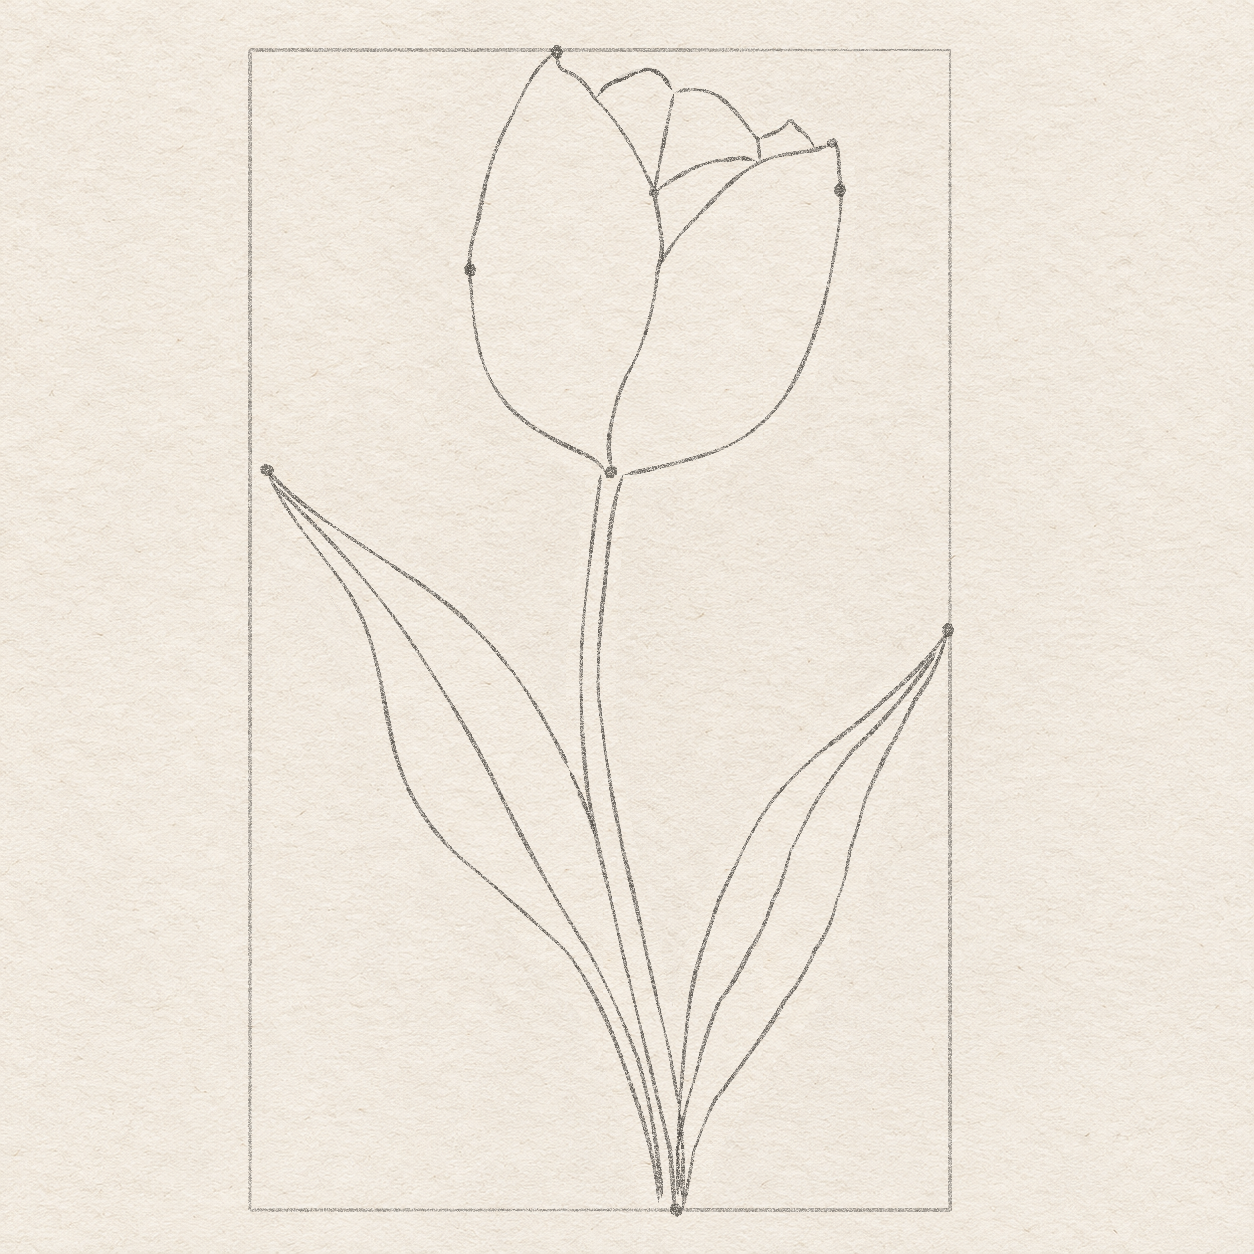
- Choose where you want this upright 7 cm by 11.6 cm study, leaving paper around it. Centring is optional.
- For the temporary box, use a ruler and light HB pencil. Draw a 7 cm horizontal top edge. From each end, draw an 11.6 cm side straight down, then join their lower ends. The whole flower, both leaf tips and stem foot fit inside it.

Drawing 1B — Flower and leaf placement dotsView larger Instructions for Drawing 1B — Flower and leaf placement dots
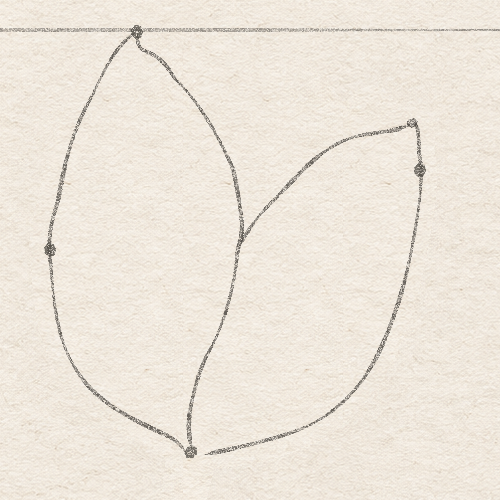
- Measure across from the box’s left edge and down from its top. On the top edge, mark the flower-tip dot about 3.1 cm from the left edge.
- Mark the cup-base dot about 3.6 cm across and 4.2 cm down. On the box’s bottom edge, mark the stem-foot dot about 4.3 cm from its left side.
- Mark the flower’s left-width dot about 2.2 cm across and 2.2 cm down, then its right-width dot about 5.9 cm across and 1.4 cm down. These set the flower’s width; they are not petal corners.
- Mark the left-leaf tip just inside the box’s left side, about 4.2 cm down. Mark the right-leaf tip on the right side, about 5.8 cm down. Keep the left tip higher; gently erase and move a misplaced dot before adding curves.
Step 2 of 10 · Pencil
Shape the left front petal

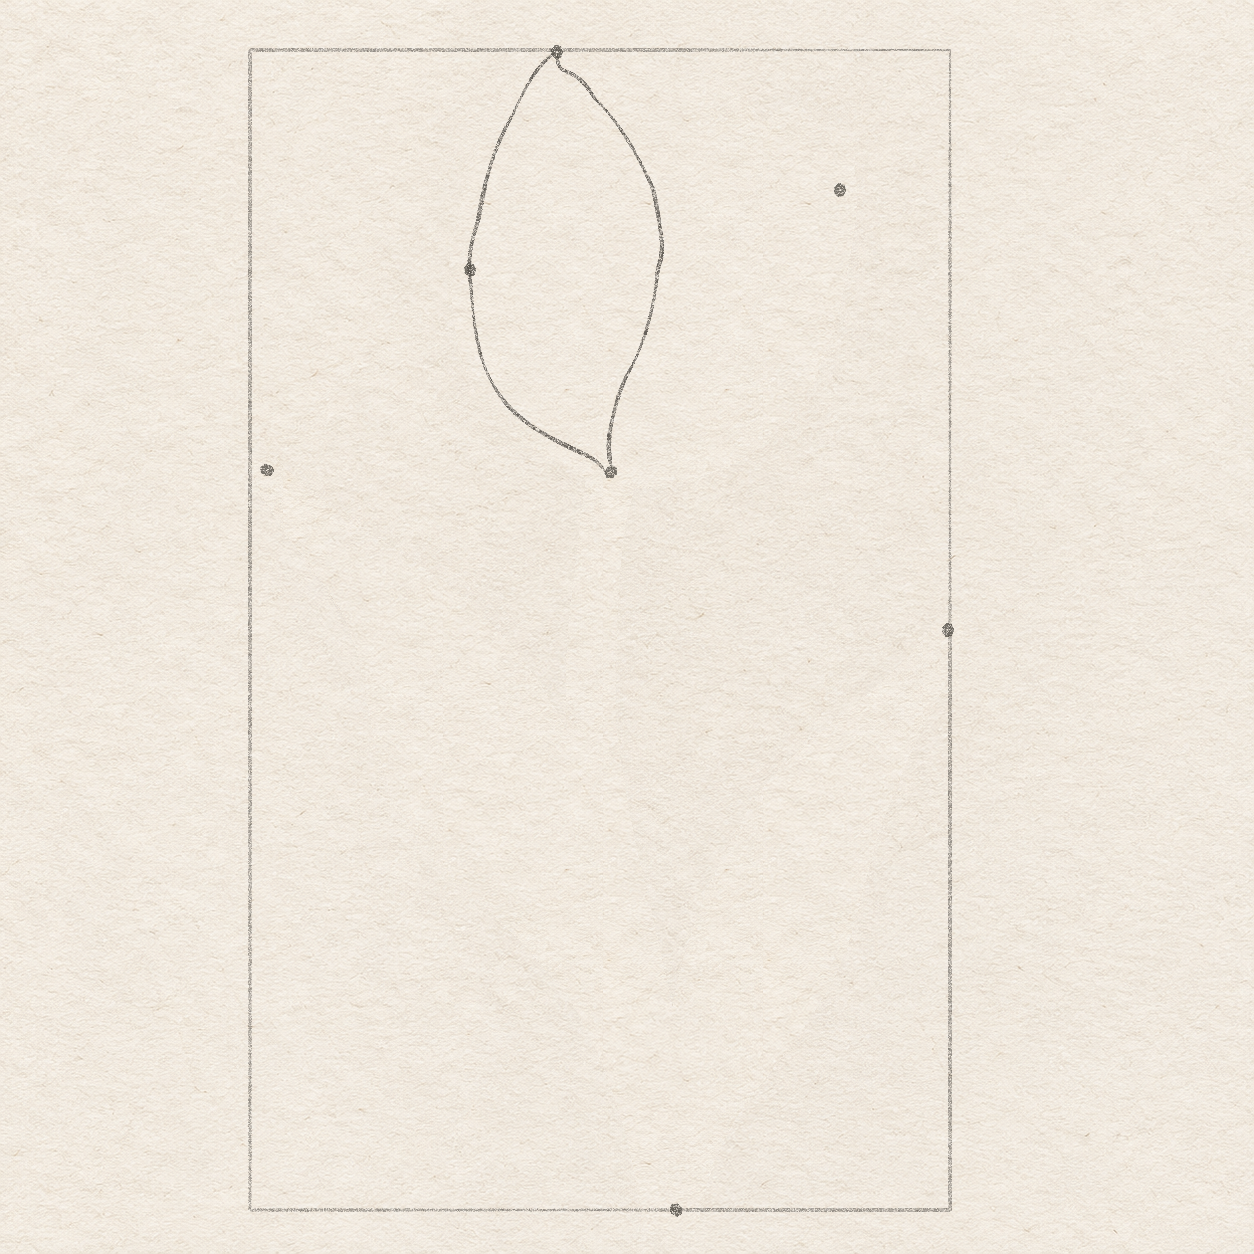
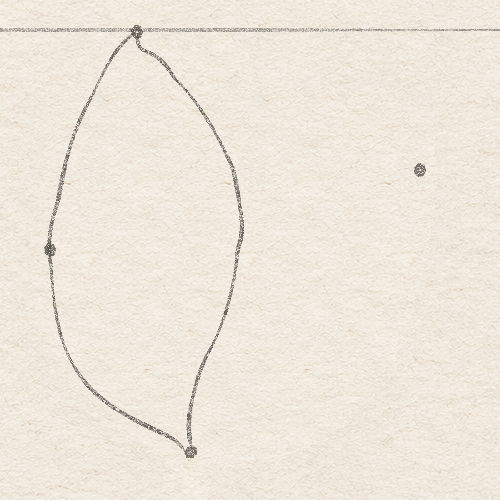
Drawing 2A — Left-front light outlineView larger 
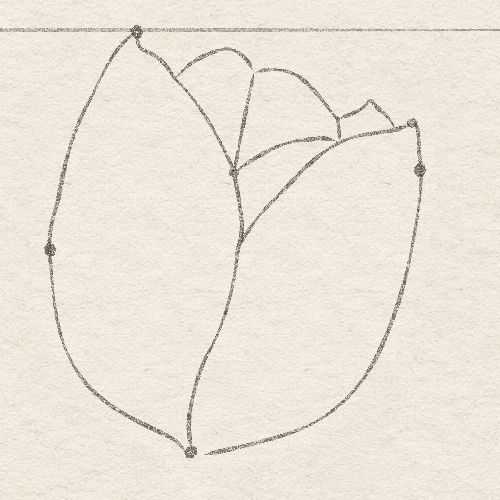
Detail 2A.1 — Petal edges and overlapsOnly the left-front petal’s light outside and meeting edges are drawn. The flower-tip, width and cup-base dots remain; the back-petal rims are not drawn yet. Instructions for Drawing 2A — Left-front light outline
- From the flower-tip dot, draw the left outside edge freehand through the left-width dot and down to the cup base. Keep the broad petal's inside empty.
- Return to the flower-tip dot. Start the petal's right edge by sloping down and right toward a point about 4 mm right and 5 mm below that dot. These are two separate distances, measured from the same top dot.
- Continue this light edge down in a broad rightward bow. Curve back left through the lower half, ending beside the cup-base dot. This right edge will also support the smaller petals; keep it visible.
Step 3 of 10 · Pencil
Build the other petals

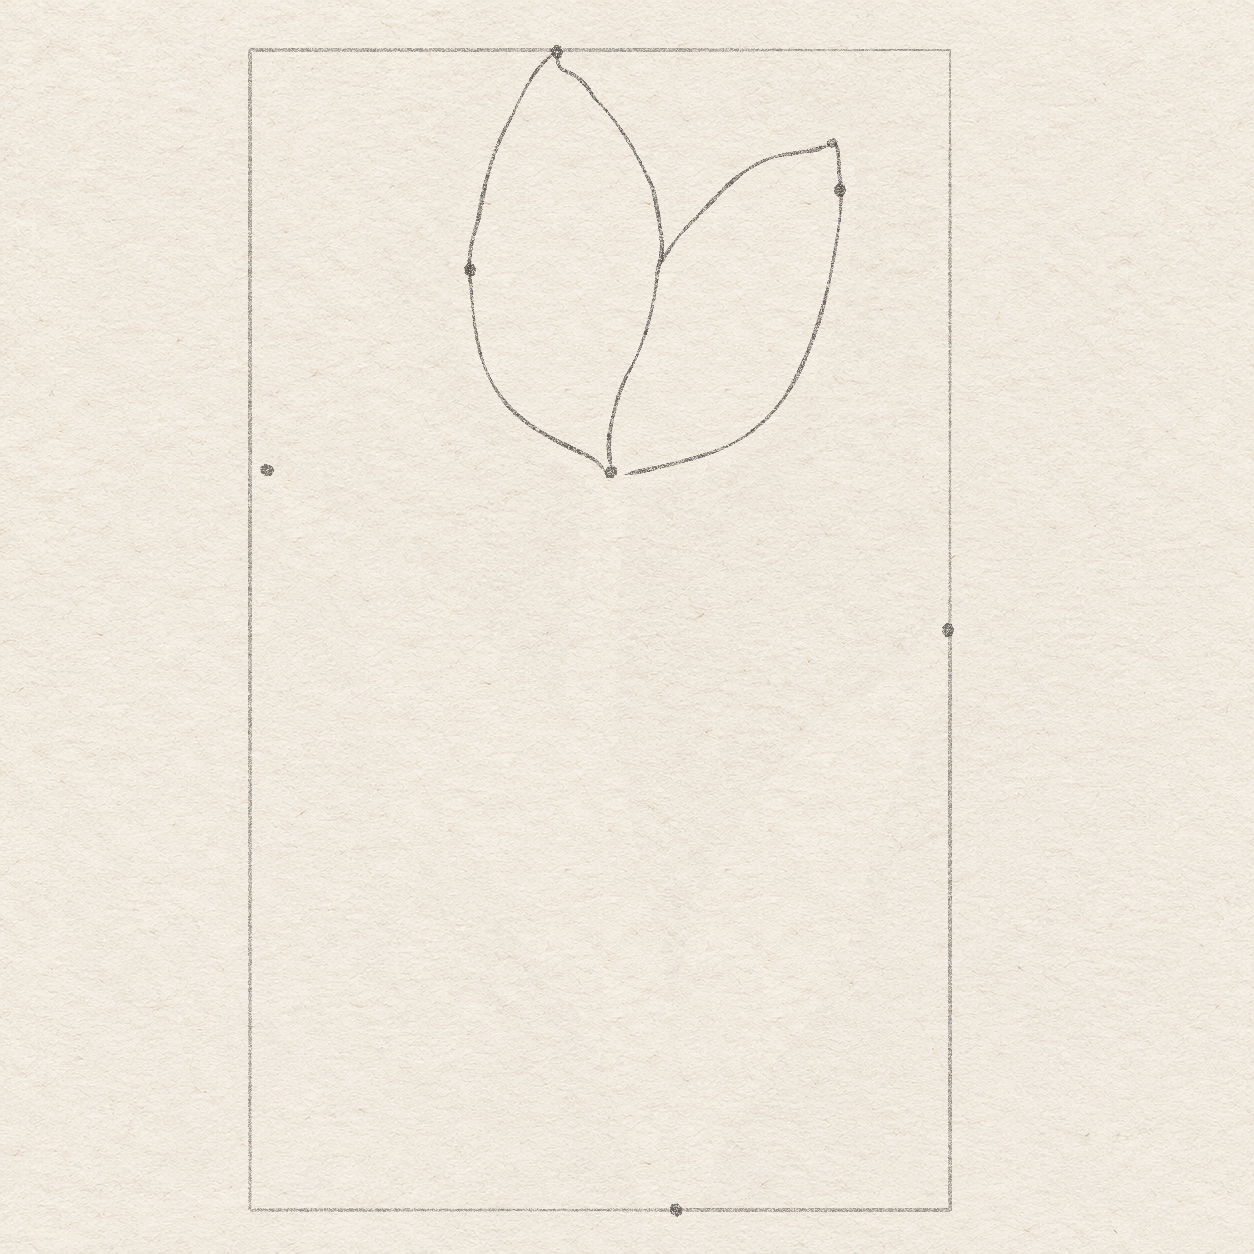
Drawing 3A — Right-front outlineView larger 
Detail 3A.1 — Petal edges and overlapsBoth light front-petal outlines are present, with their broad interiors unshaded and the narrow stem-attachment gap open. The back-petal rims are not drawn yet. Instructions for Drawing 3A — Right-front outline
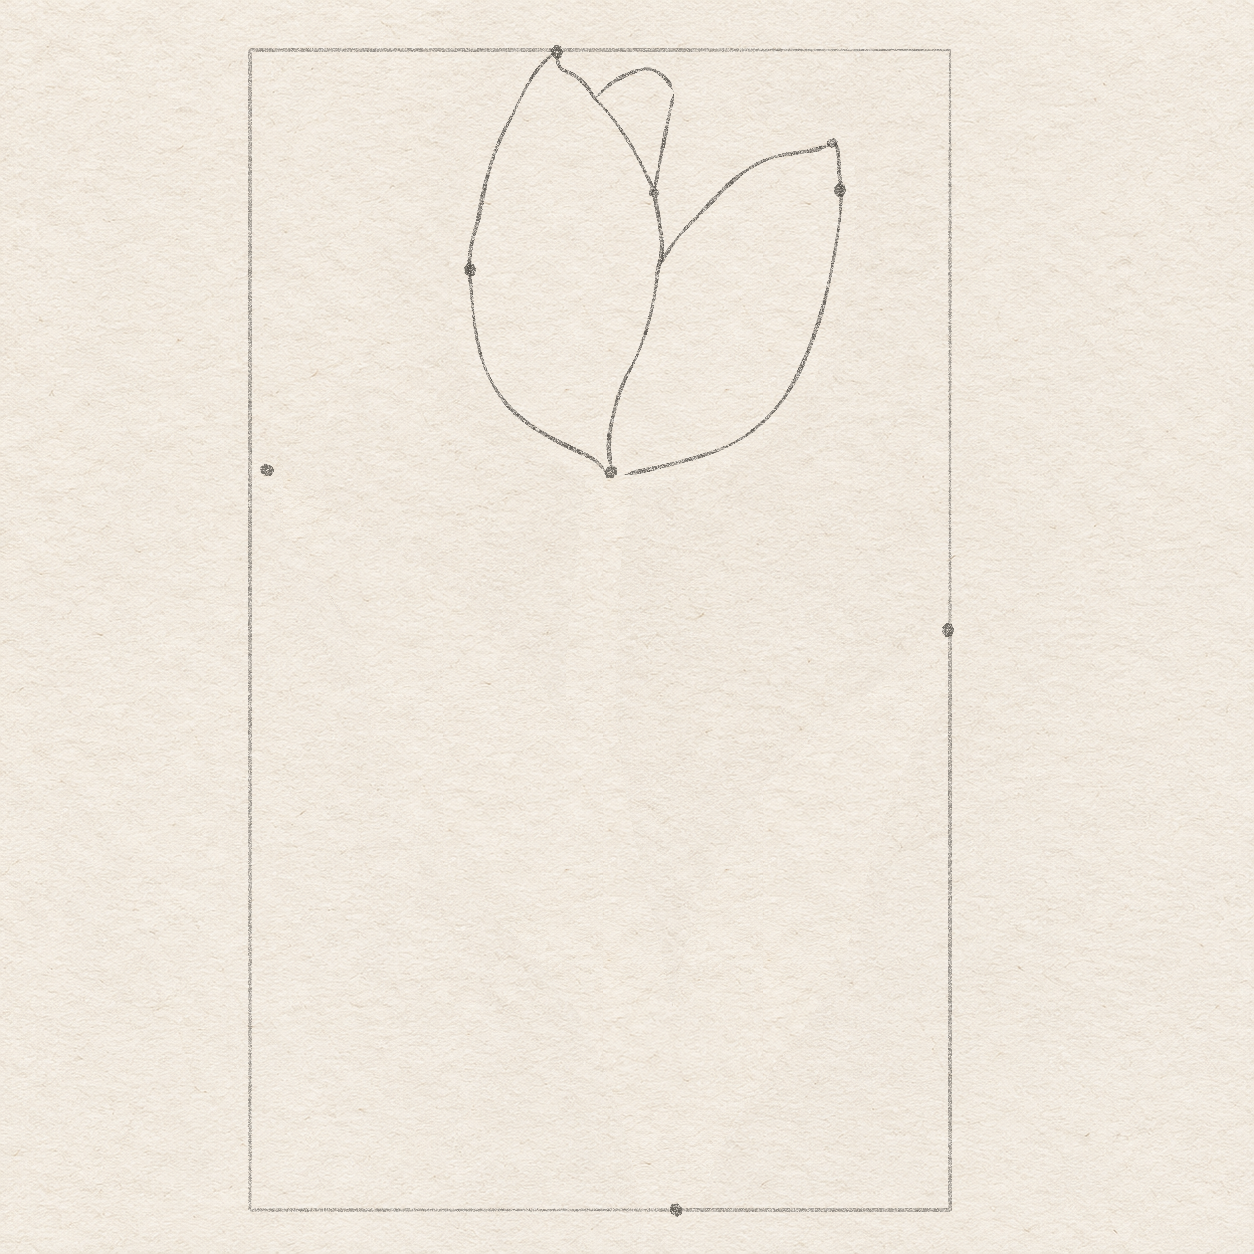
- Mark a light tip dot just left of the right-width dot and about 5 mm above it.
- Start on the left-front petal's right edge about 2.2 cm below the flower-tip dot. Draw a rising curve freehand to the new tip dot, flattening the curve as it approaches the tip.
- From the new tip, curve down through the right-width dot. Bow the outside edge left toward the cup base, ending about 1 mm to the right of the cup-base dot. Keep the narrow stem-attachment gap open and leave the petal unshaded.

Drawing 3B — First rounded back petalView larger 
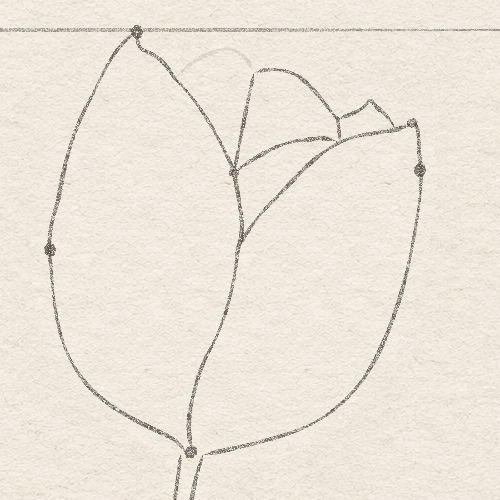
Detail 3B.1 — Petal edges and overlapsOne rounded back rim and its down-left side meet the join dot on the existing left-front edge. The second back rim and the small pointed back piece are not drawn yet. Instructions for Drawing 3B — First rounded back petal
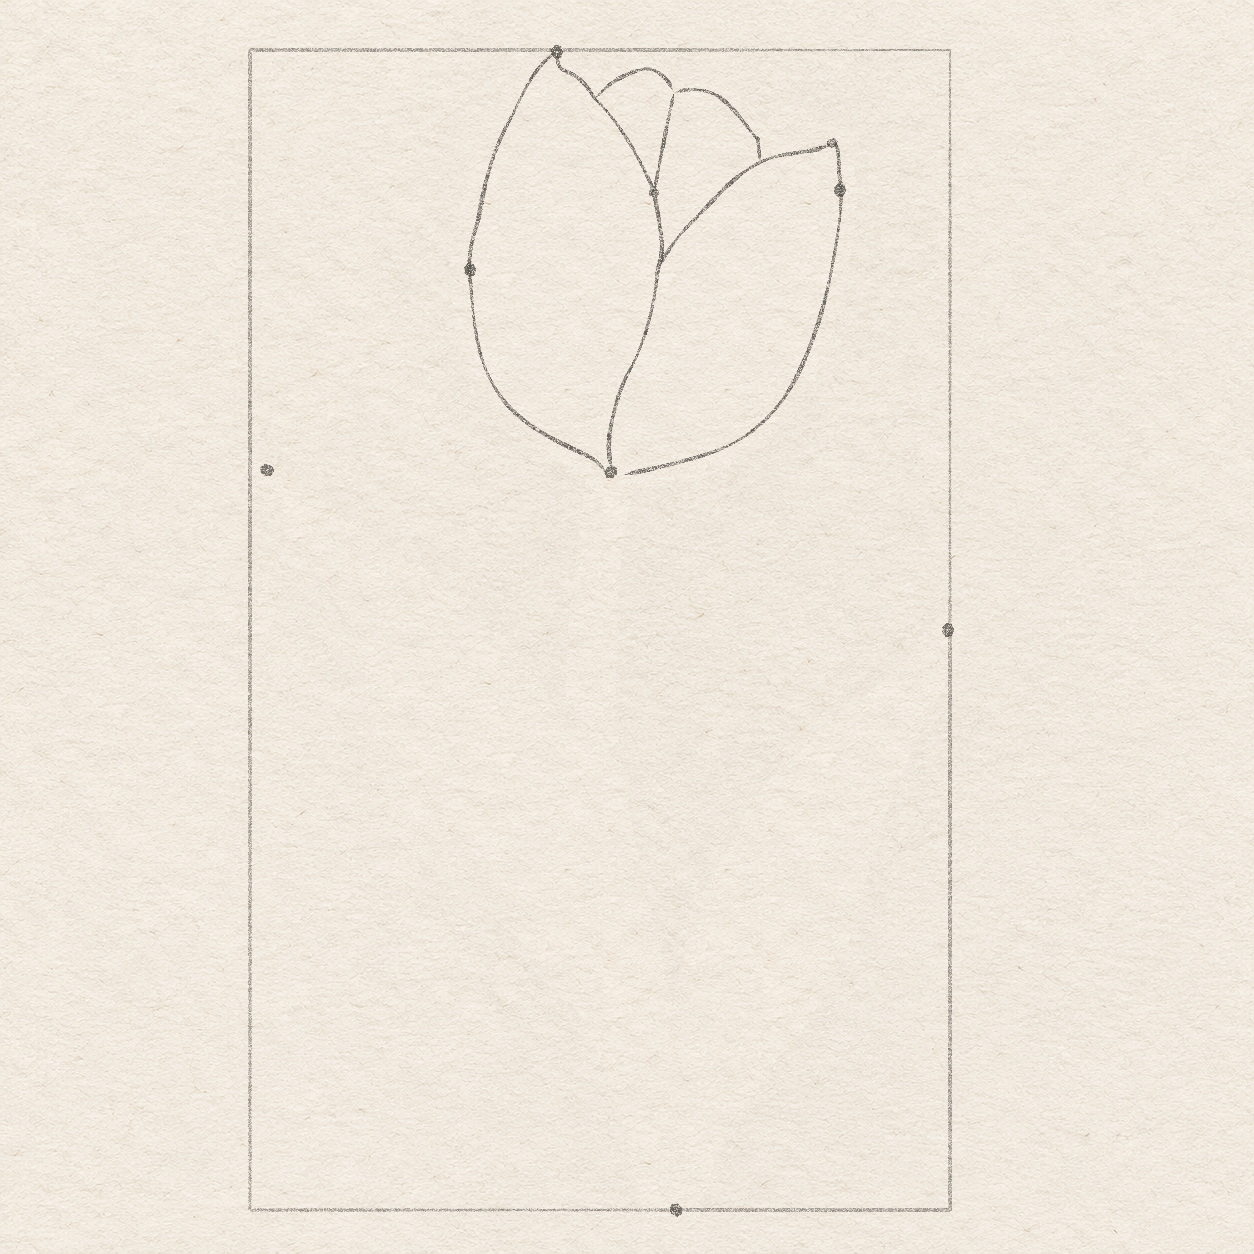
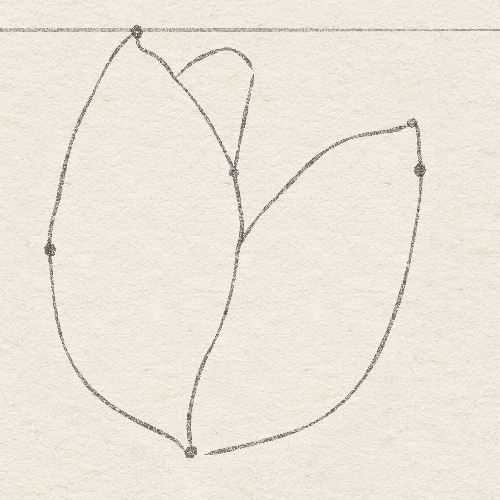
- On the left-front petal's right edge, mark a light join dot about 1.4 cm below the flower-tip dot. Keep that existing edge unchanged.
- Start on the left-front petal's upper-right edge, about 4 mm right and 5 mm below the flower-tip dot. Draw a rounded rim freehand, reaching about 5 mm right and 3 mm above this start.
- Round over this new top. Continue about 3 mm right and 2–3 mm down to make its right-hand turn. From that turn, curve down-left to the join dot and stop.

Drawing 3C — Second rounded back petalView larger 
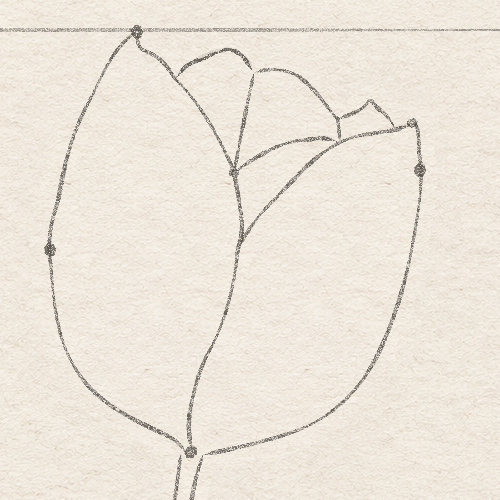
Detail 3C.1 — Petal edges and overlapsThe flower’s existing edges, separate back rims and their contacts are visible at this stage. Follow the nearby actions for this drawing. Instructions for Drawing 3C — Second rounded back petal
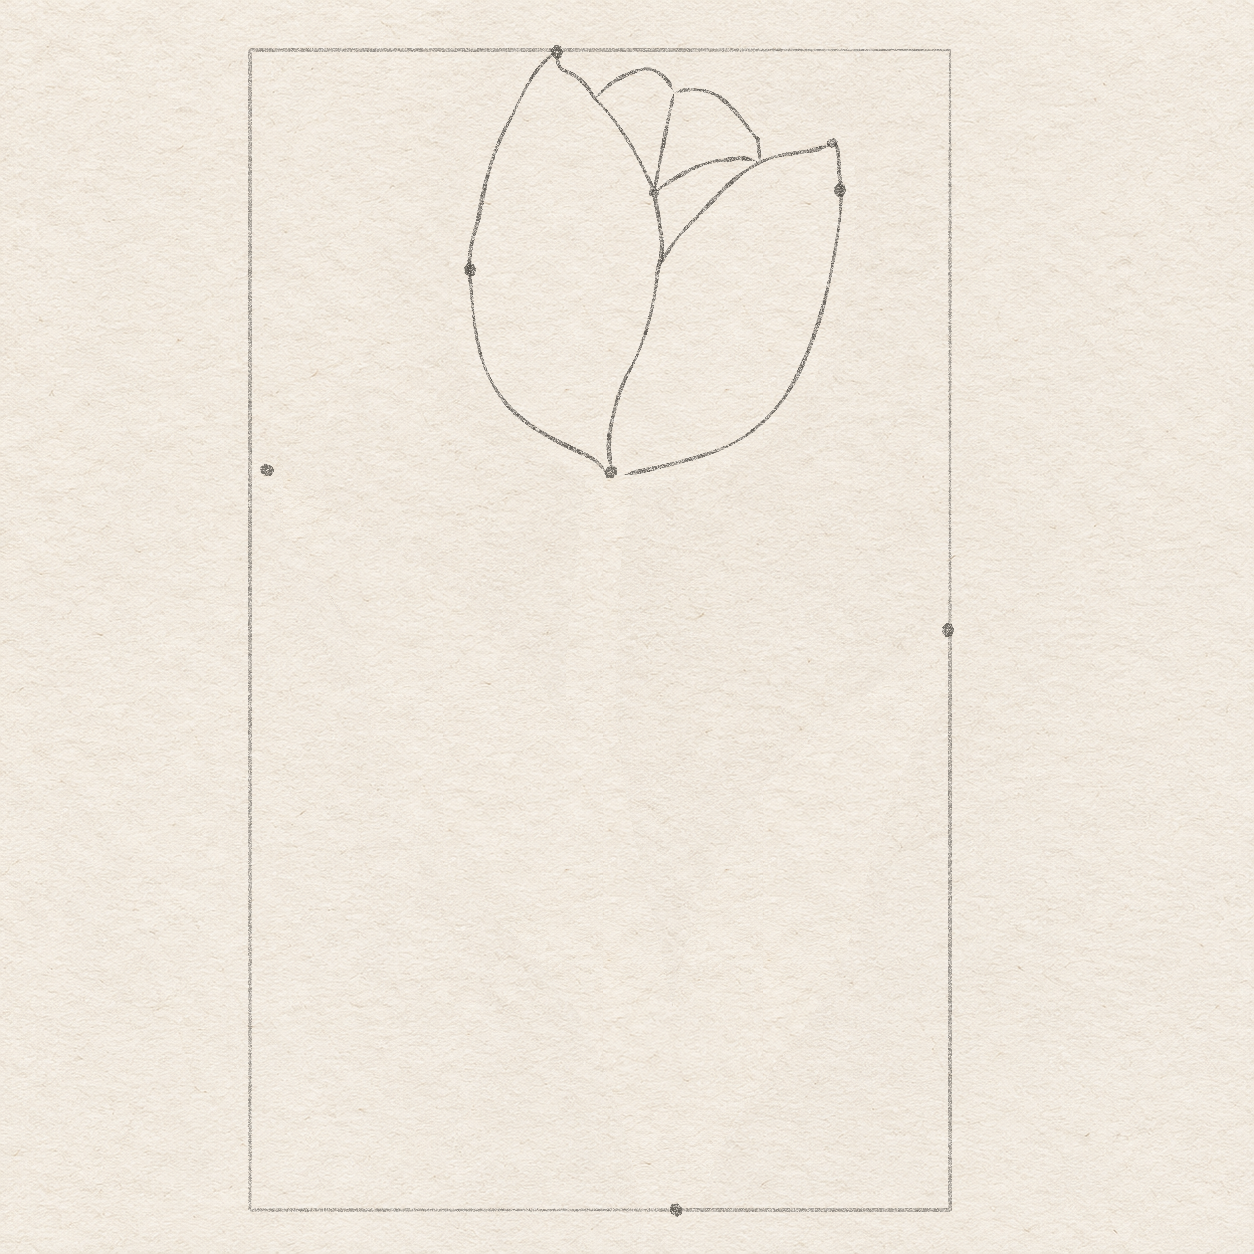
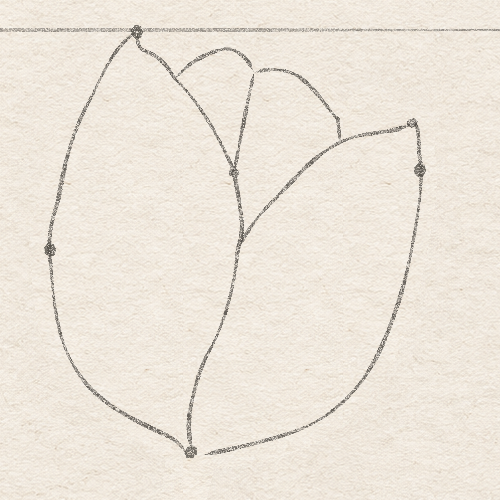
- Start at the first rounded rim's right-hand turn, where its side begins going down-left. Draw a second low rounded rim freehand to the right. Its top reaches about 6 mm right and 2 mm below the first rim's top.
- Curve this second rim down-right to the right-front petal's upper edge, meeting it about 7 mm left of that front petal's tip. Stop on the existing edge.

Drawing 3D — Lower curve between petalsView larger 
Detail 3D.1 — Petal edges and overlapsThe flower’s existing edges, separate back rims and their contacts are visible at this stage. Follow the nearby actions for this drawing. Instructions for Drawing 3D — Lower curve between petals
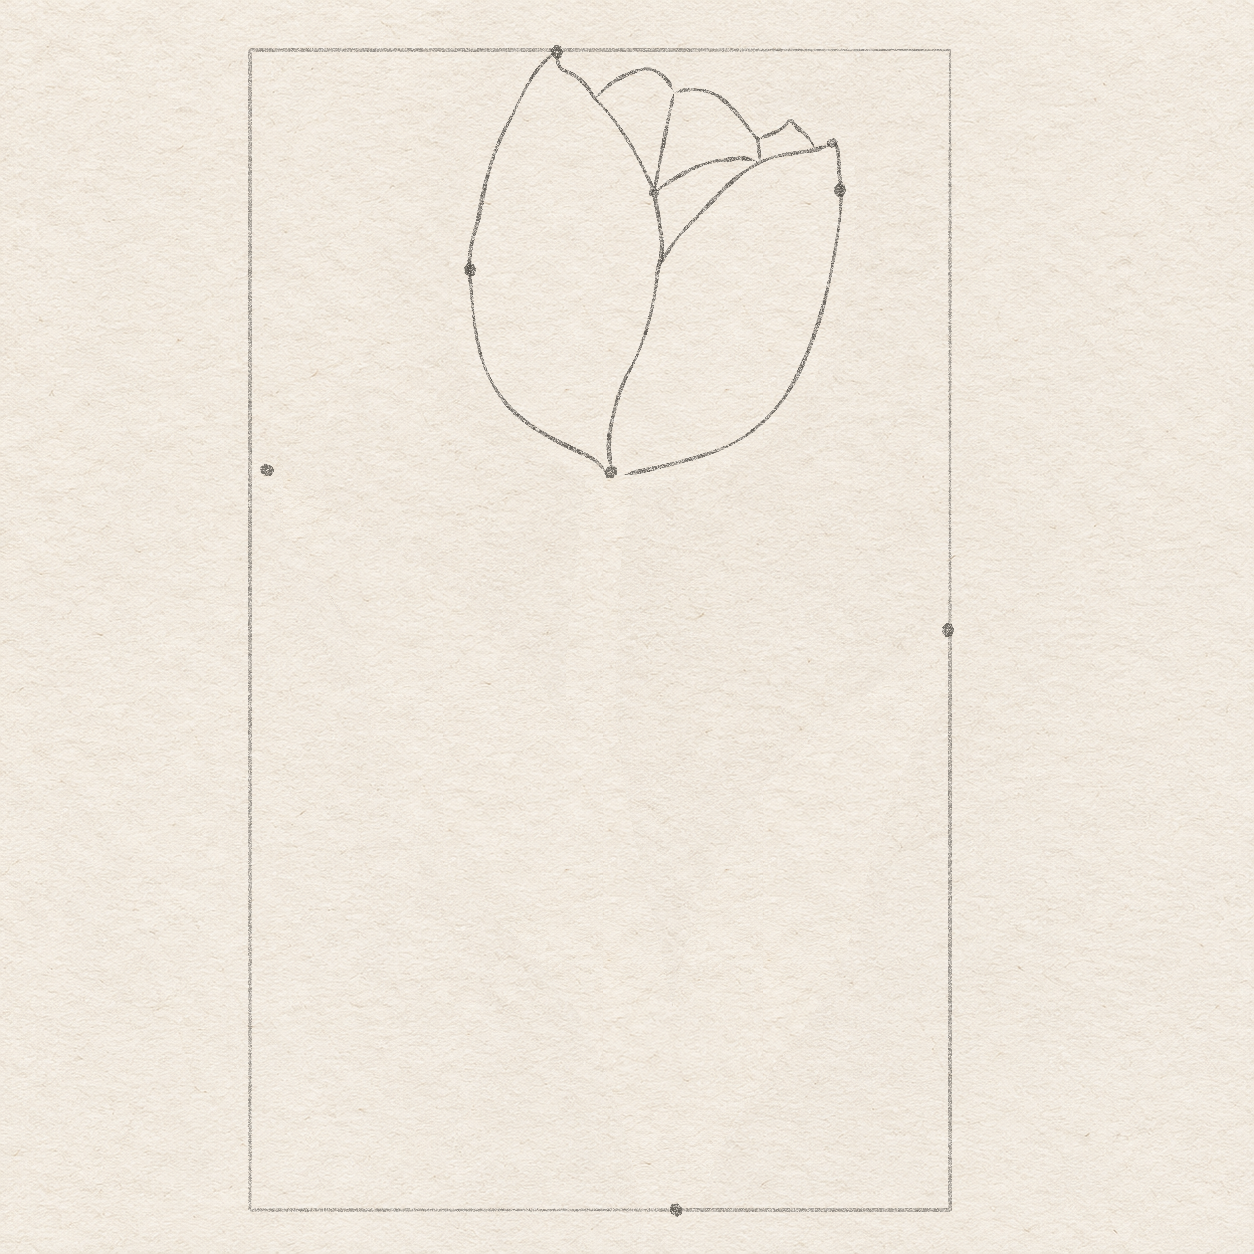
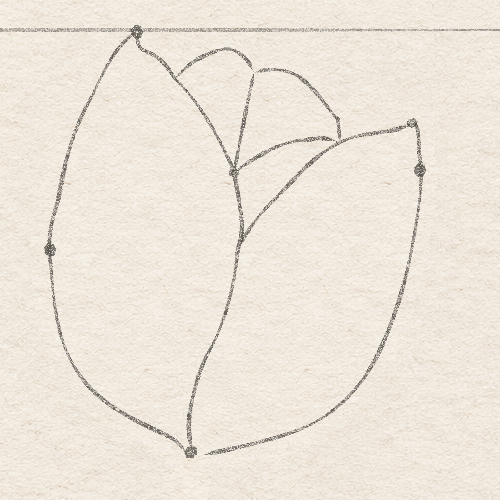
- Keep the left-front petal's existing right edge; do not redraw it. From the join dot on that edge, draw a shallow curve freehand up and right toward the point where the second back rim meets the front petal.
- Flatten this new curve near its right end, then turn it slightly down into that existing meeting point. Keep the new curve above the right-front petal's upper edge.

Drawing 3E — Small pointed back pieceView larger 
Detail 3E.1 — Petal edges and overlapsThe flower’s existing edges, separate back rims and their contacts are visible at this stage. Follow the nearby actions for this drawing. Instructions for Drawing 3E — Small pointed back piece
- Keep the second back petal's short downward side. The small piece starts on that side about 2 mm above its meeting point with the front petal, and ends on the front petal's upper edge about 2 mm left of the right-front tip.
- Between those two contacts, shape the small uneven outside rim freehand. Rise rightward to a point about 4–5 mm left and 2 mm above the right-front petal's tip, then descend right to the front edge. Leave the small piece empty inside.
Step 4 of 10 · Pencil
Follow the narrow curving stem

Drawing 4A — Two light stem edgesView larger 
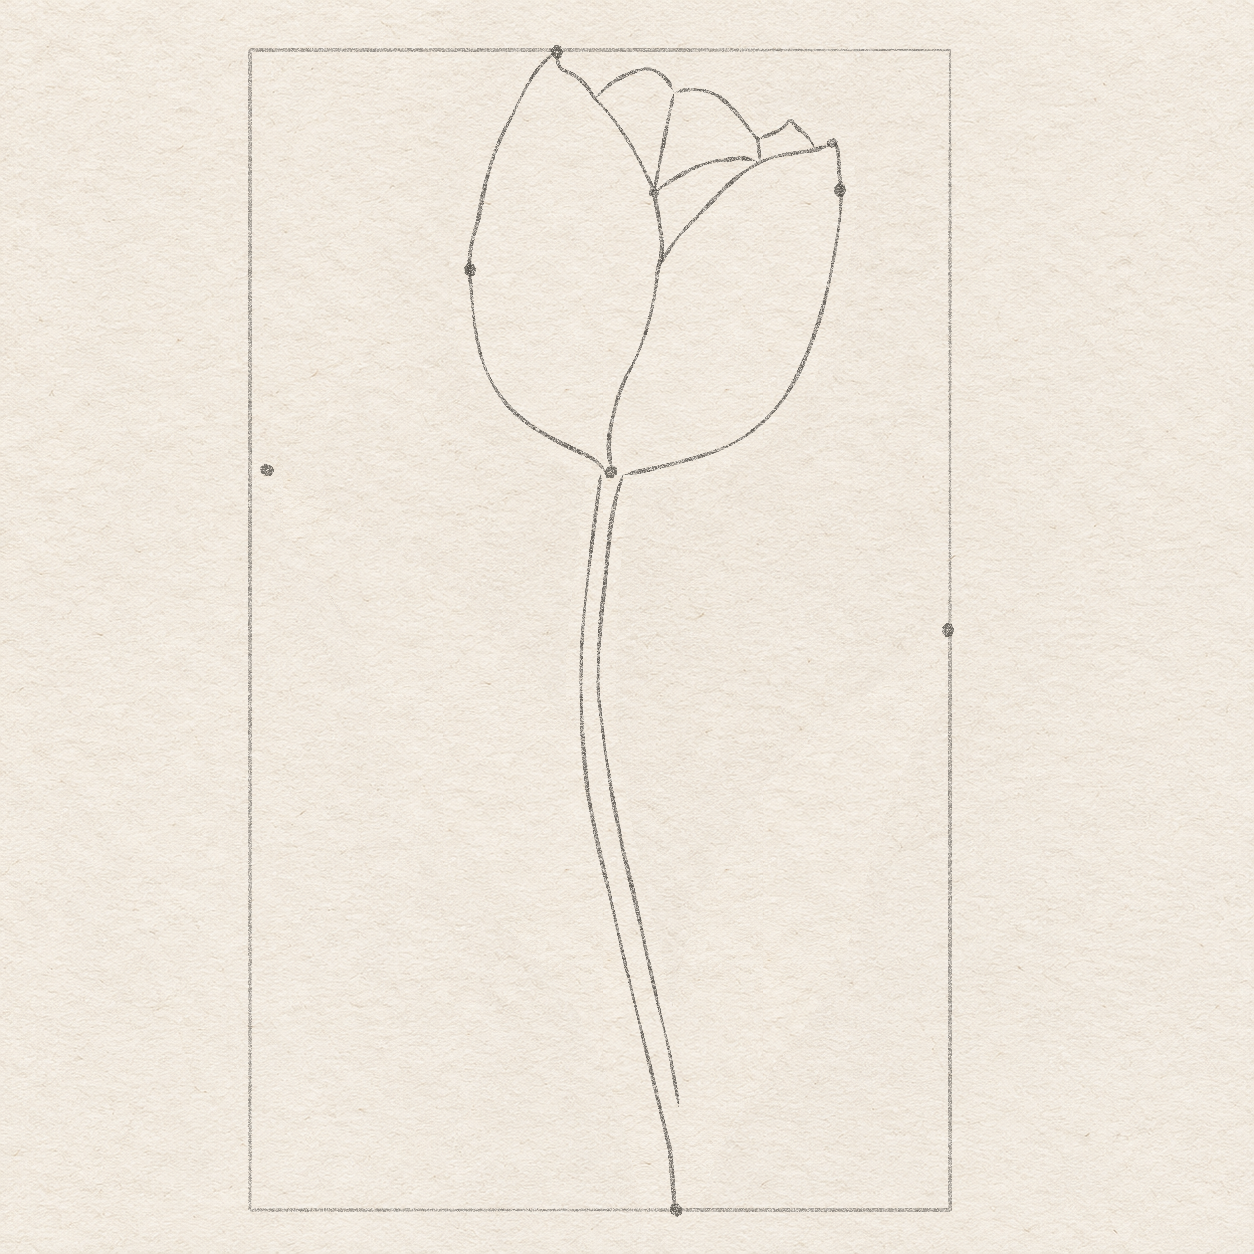
Detail 4A.1 — Stem and leaf contactsTwo light stem edges descend toward the foot. The left edge reaches the foot; the right edge stops about 1 cm above it. The leaf contacts and final short right-hand stretch are added later. Instructions for Drawing 4A — Two light stem edges
- Start the stem’s left edge just left of the cup base. Draw it freehand down in a gentle leftward bend, reaching about 3 mm left of the cup base around 6.2 cm below the box top. Then sweep right toward a point just left of the stem-foot dot.
- The right stem edge will stop about 1 cm above and just right of the stem-foot dot. Use that spot as your target; no new dot is needed.
- From just right of the cup base, draw the right edge freehand along the same general bend to that stop. Keep the stem about 2–3 mm wide through its middle, narrowing toward the foot.
- Leave the final short right-hand stretch open for now. Keep both edges light; the leaf curves will meet this lower stem before its last section is finished.
Step 5 of 10 · Pencil
Draw the longer left leaf

Drawing 5A — Longer left-leaf outlineView larger 
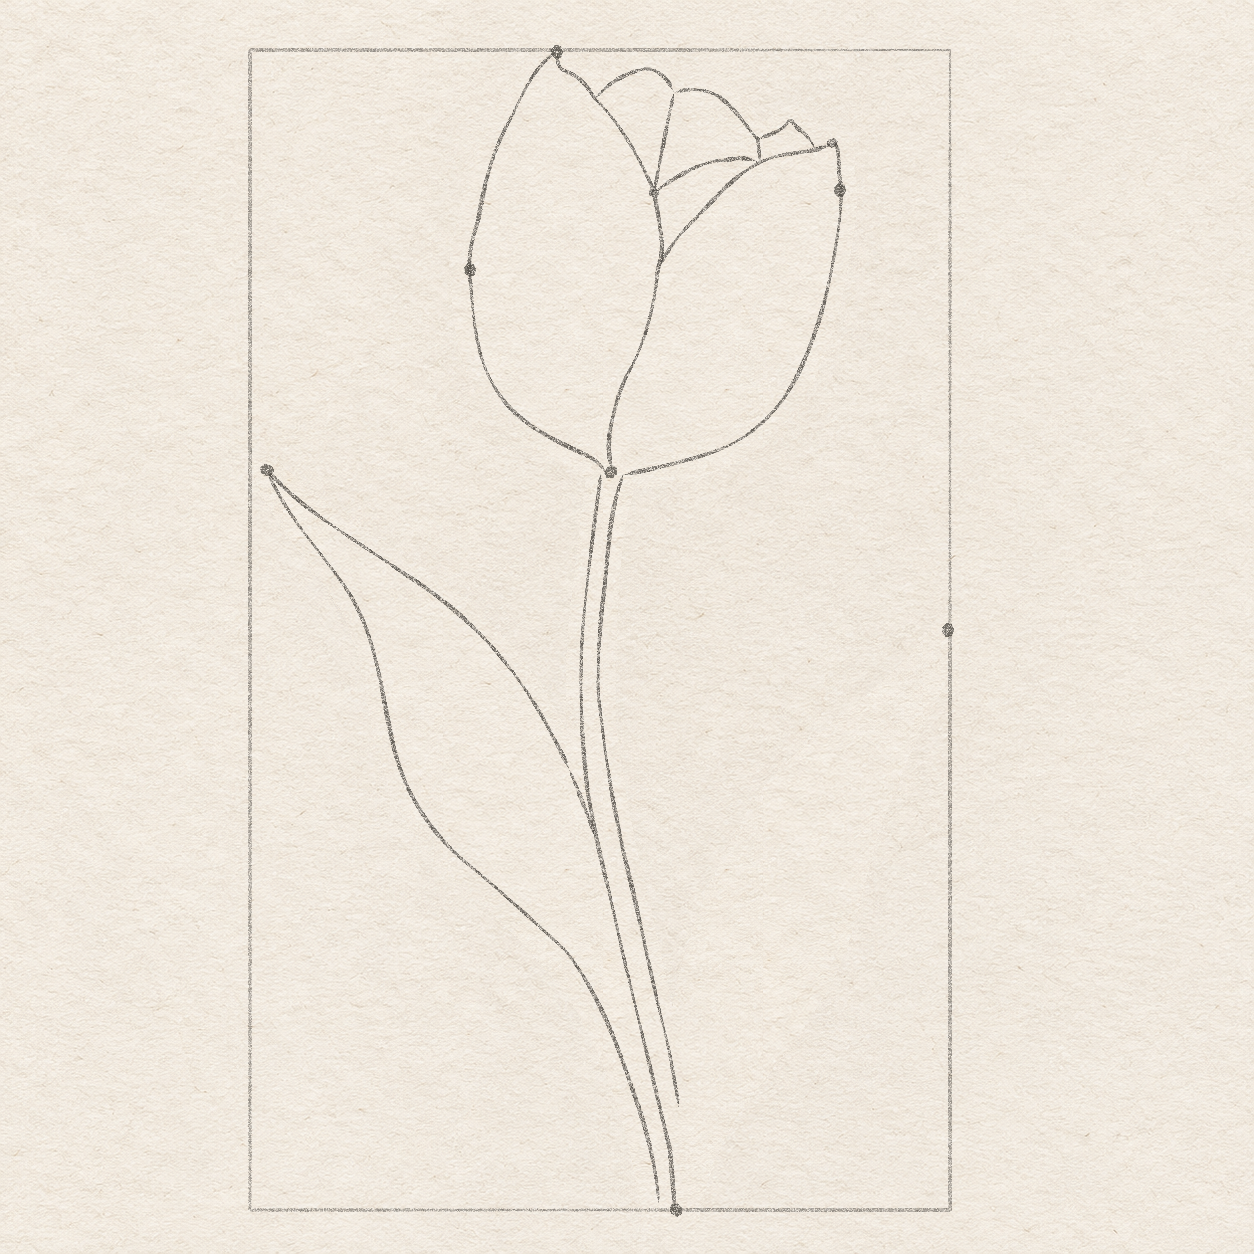
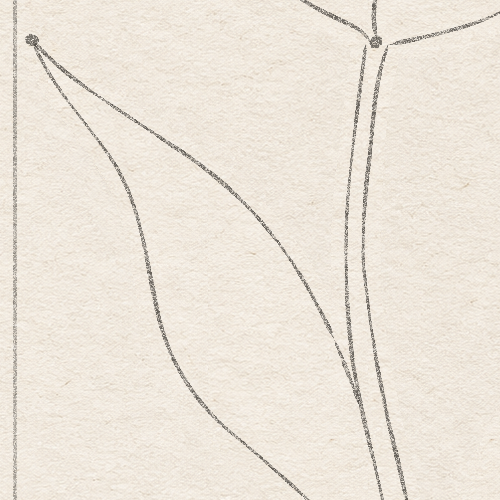
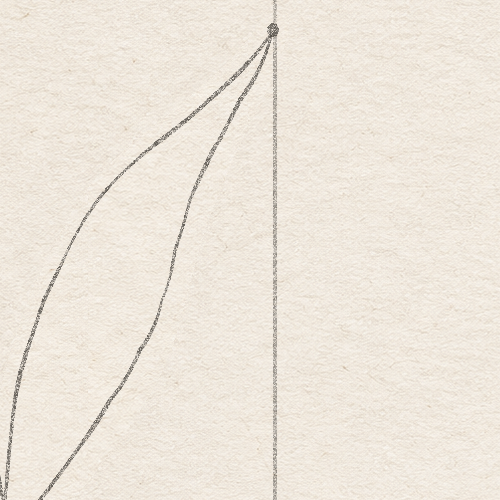
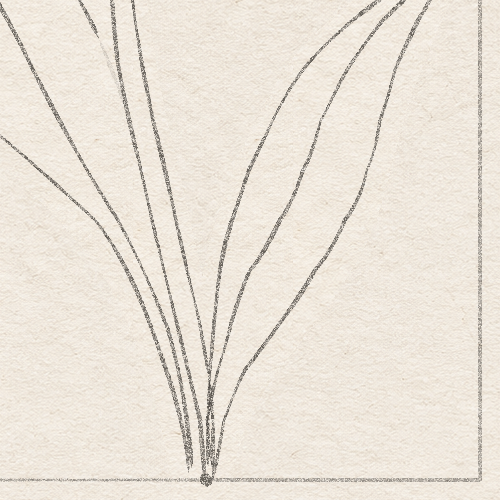
Detail 5A.1 — Upper left leafThe high left tip and the two unequal upper leaf curves are visible here; their lower continuation reaches the stem and foot. 
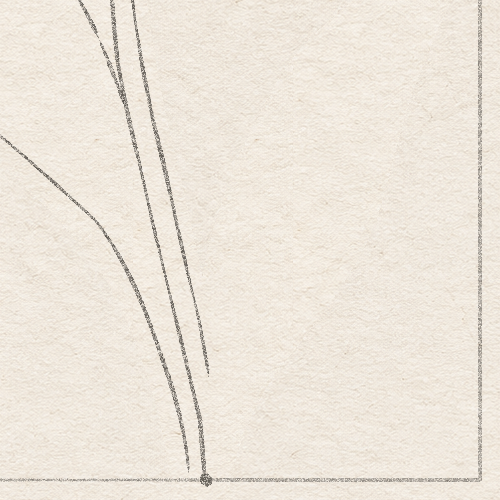
Detail 5A.2 — Stem and leaf contactsThe stem and neighbouring leaf lines converge near the foot. Keep their separate upper routes and the pictured narrow lower joins. Instructions for Drawing 5A — Longer left-leaf outline
- The left leaf will meet the stem’s left edge about 7.9 cm below the box top. Use that spot as the end of the first curve; no extra dot is needed.
- From the high left-leaf tip, draw the inside edge freehand down-right to that stem contact. Let it bow right toward the stem compared with a straight tip-to-contact line, with its fullest bow about halfway down.
- Return to the same leaf tip. Curve down more steeply, then round the outside edge inward and sweep down-right to the left side of the stem foot. Shape this broader return freehand, keeping a long open leaf between the two curves.
Step 6 of 10 · Pencil
Draw the shorter right leaf

Drawing 6A — Shorter right-leaf outlineView larger 
Detail 6A.1 — Upper right leafThe shorter right leaf begins lower than the left leaf. Its inside curve bows toward the lower stem while the outside curve stays separate. 
Detail 6A.2 — Stem and leaf contactsThe stem and neighbouring leaf lines converge near the foot. Keep their separate upper routes and the pictured narrow lower joins. Instructions for Drawing 6A — Shorter right-leaf outline
- From the right-leaf tip, draw its inside curve freehand down-left toward the stem’s open lower end. Let the middle bow gently left, leaving a long paper gap above their meeting. Continue the light curve from that lower meeting toward a point just above and right of the stem-foot dot.
- Return to the same tip. Curve down more steeply along the outside-right edge, round its middle outward, then sweep down-left to the foot just right of the first curve. Keep this leaf shorter and narrower than the high left leaf.
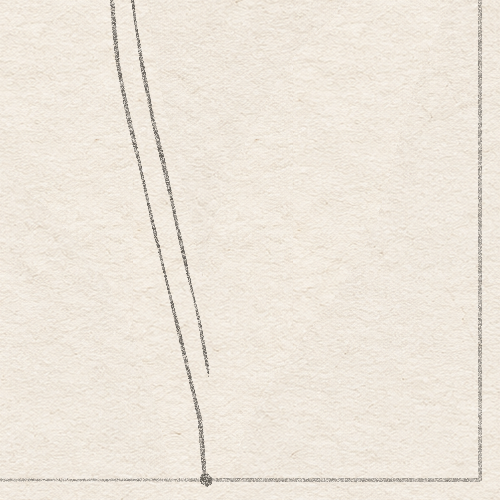
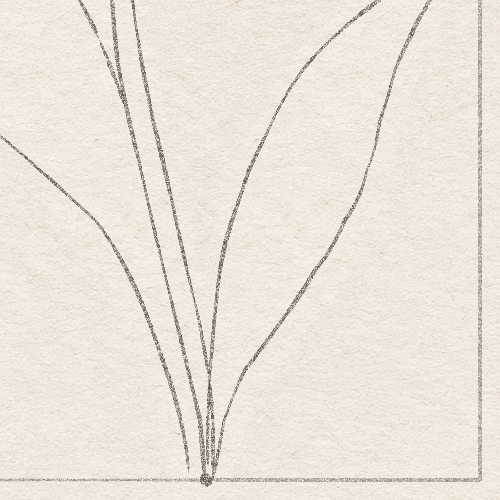
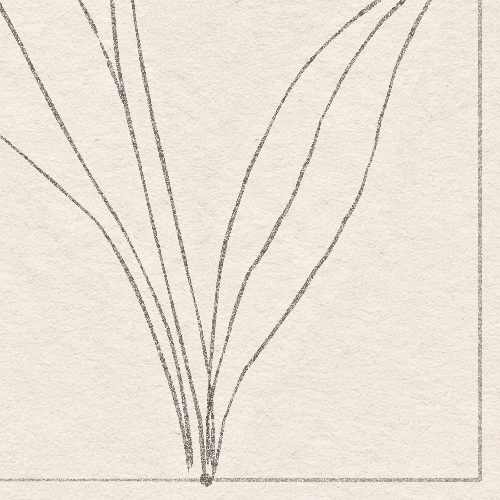
- From the open end of the stem’s right edge, finish its short lower line down to just right of the stem-foot dot. This line and the leaf’s inside curve converge near the foot. Keep the join thin and light rather than forcing a paper gap between the converging lines.
Step 7 of 10 · Pencil
Add the leaf folds

Drawing 7A — Two unequal leaf foldsView larger 
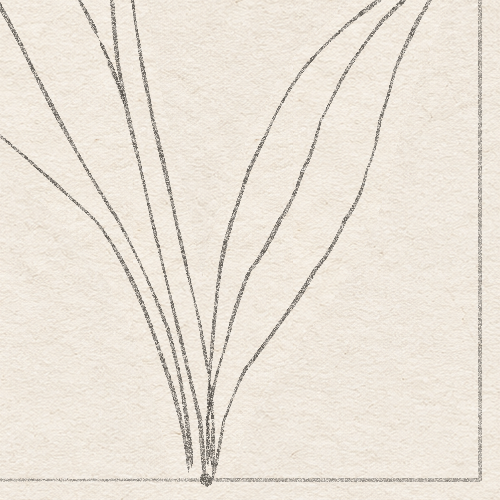
Detail 7A.1 — Stem and leaf contactsThe stem and neighbouring leaf lines converge near the foot. Keep their separate upper routes and the pictured narrow lower joins. Instructions for Drawing 7A — Two unequal leaf folds
- Inside the left leaf, start a light fold just below its tip. Draw the curve freehand near the inside edge at first, then sweep through the leaf toward the left side of the stem foot. Keep it inside the leaf rather than making a straight centre line.
- Inside the right leaf, start just below its own tip. Draw its fold freehand down-left through the leaf’s middle toward the foot, following that shorter leaf’s curve. Keep the broad outside half open.
- Compare the folds with the two leaf outlines. Each should move through its own leaf and approach the lower join; gently erase and redraw a fold that hugs an edge all the way. Leave all shading until the later finishing tasks.
Step 8 of 10 · Pencil
Choose short edges and erase the guides

Drawing 8A — Lightened rounded rimView larger 
Detail 8A.1 — Petal edges and overlapsThe flower’s existing edges, separate back rims and their contacts are visible at this stage. Follow the nearby actions for this drawing. Instructions for Drawing 8A — Lightened rounded rim
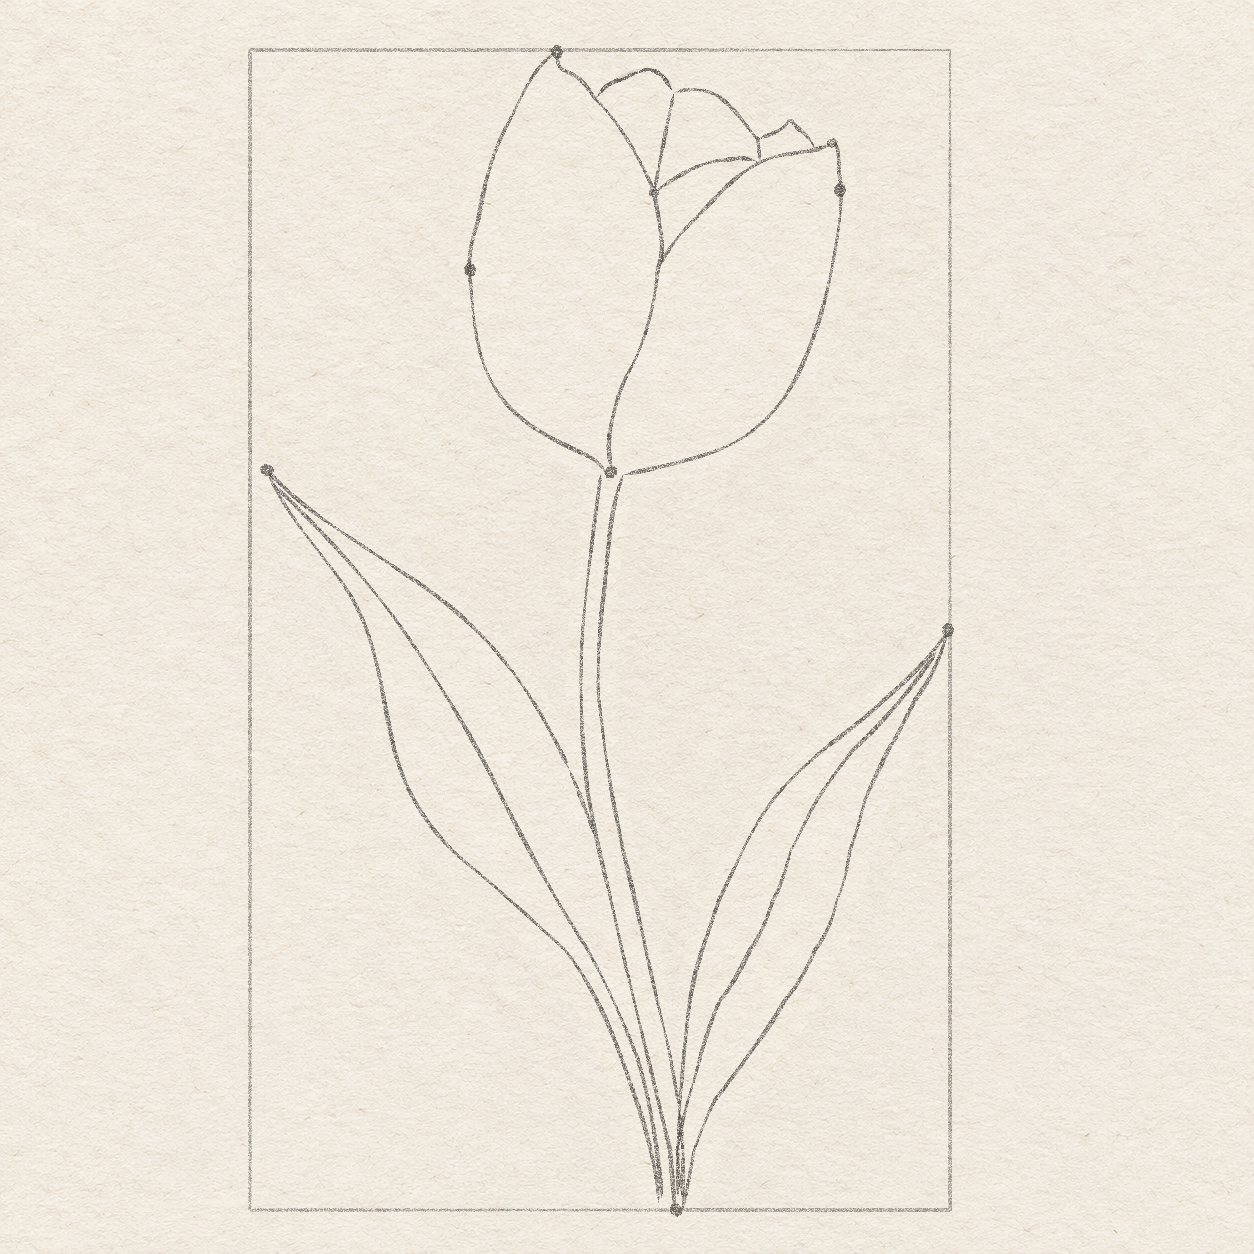
- With a kneaded eraser, gently lighten only the roughly 1 cm rounded rim of the first back petal, from the left-front petal to the rim's right-hand turn. Keep its route faintly visible. Leave the down-left side and neighbouring petal edges alone.

Drawing 8B — Selected rounded rimView larger 
Detail 8B.1 — Petal edges and overlapsThe flower’s existing edges, separate back rims and their contacts are visible at this stage. Follow the nearby actions for this drawing. Instructions for Drawing 8B — Selected rounded rim
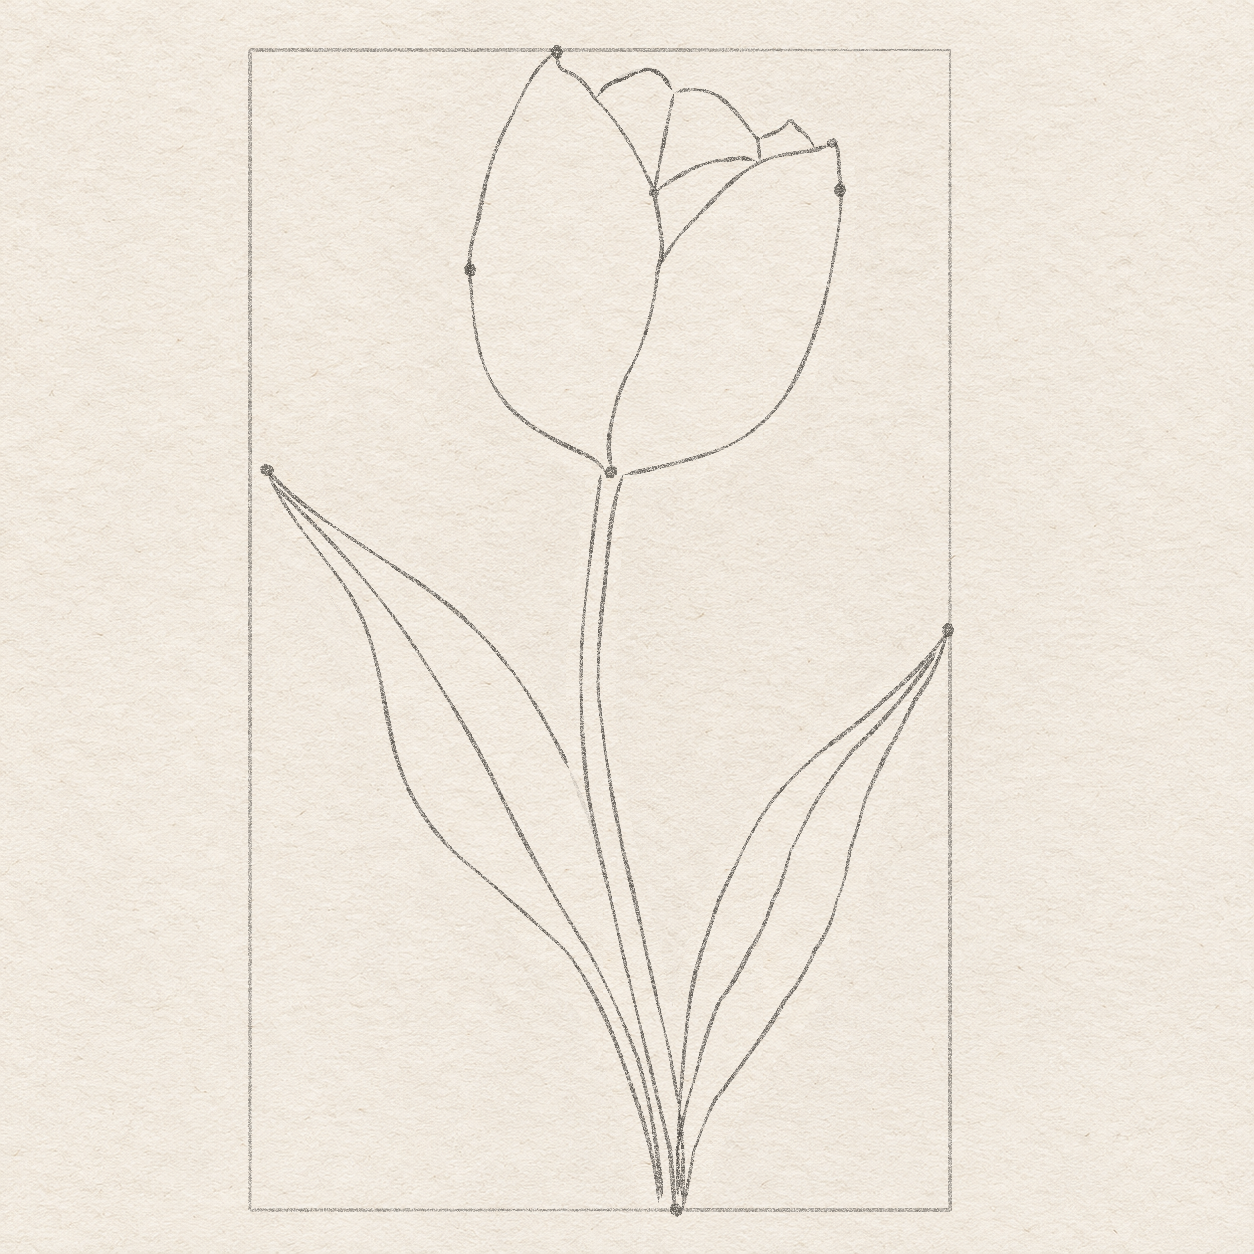
- Follow that faint rim with several short HB strokes. Round its top and shape a few small uneven bends freehand, staying within about 1 mm of the light route. Keep the same two ends; do not shade inside the petal yet.

Drawing 8C — Lightened leaf returnView larger 
Detail 8C.1 — Stem and leaf contactsThe stem and neighbouring leaf lines converge near the foot. Keep their separate upper routes and the pictured narrow lower joins. Instructions for Drawing 8C — Lightened leaf return
- Find the left leaf's inside edge: it runs from the high left tip down-right into the stem. With the kneaded eraser, lighten only its last 7–8 mm before that contact. Keep the route faintly visible, the contact in place and the stem's left edge intact.

Drawing 8D — Selected leaf contactView larger 
Detail 8D.1 — Stem and leaf contactsThe stem and neighbouring leaf lines converge near the foot. Keep their separate upper routes and the pictured narrow lower joins. Instructions for Drawing 8D — Selected leaf contact
- From the faint section's upper end, follow its curve with several short HB strokes. Stop at the same contact on the stem's left edge. Do not continue through the stem or turn the join into a dark band.

Drawing 8E — Selected joins without guidesView larger Instructions for Drawing 8E — Selected joins without guides
- Keep all useful outlines and the newly selected short edges. With the point of the kneaded eraser, remove the remaining faint replaced rim and leaf-return lines, then the box, placement dots, right-front tip dot and back-petal join dot. Work around the chosen edges rather than rubbing across the plant.
Step 9 of 10 · Pencil finishing
Finish the flower edges and shading

Drawing 9A — Flower edges and shadingView larger 
Detail 9A.1 — Petal edges and overlapsThe flower’s existing edges, separate back rims and their contacts are visible at this stage. Follow the nearby actions for this drawing. Instructions for Drawing 9A — Flower edges and shading
- Finish the flower before the stem and leaves. With the kneaded eraser, lighten about 5 mm of a light flower edge, keeping its route visible. Choose that section with several short HB strokes, then continue to the next section.
- Keep the flower tips, petal meeting points and narrow stem-attachment gap in place. Give the rounded rims small uneven bends by eye within about 1 mm of their light routes. Remove each unused light section only after its chosen edge is visible.
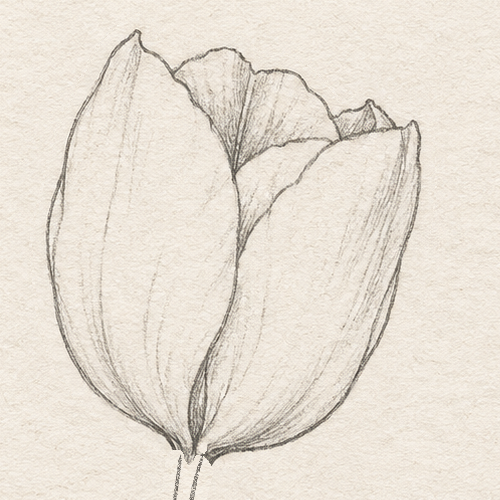
- Keep the broad middle of the left-front petal pale. Inside its left side, add a few faint curved pencil strokes down toward the cup base, following the petal’s long curve. Let their length and spacing vary freehand.
- Inside the right-front petal, draw faint curved strokes from its upper-right rim down toward the base. Keep wide paper gaps between them and leave the broad middle pale.
- In each rounded back petal, add light strokes from its upper rim toward its lower edge, following its downward curve. Use closer strokes beside the left-front petal’s meeting edge, leaving paper gaps elsewhere.
- Inside the small pointed back piece, add a few short descending shading strokes, stopping at the front petal’s upper edge. Leave narrow paper gaps. These interior strokes come after the outside shape.
- With a few firmer short strokes, deepen the petal overlaps and the narrow shaded area at the cup base. Let those strokes curve into the base; avoid filling the broad petal faces or making a heavy outline all around.
Step 10 of 10 · Pencil finishing
Finish the stem and leaves

Drawing 10A — Finished soft-pencil tulipView larger 
Detail 10A.1 — Stem and leaf contactsThe stem and neighbouring leaf lines converge near the foot. Keep their separate upper routes and the pictured narrow lower joins. Instructions for Drawing 10A — Finished soft-pencil tulip
- Finish the stem and leaves after the flower. Keep their tips, existing joins and long bends in place. Working about 5 mm at a time, lighten each still-light outline just enough to see its route, then choose it with short HB strokes before removing the unused light line.
- Keep the stem narrow. Add fine curved shading strokes along its left side, following its existing bend down from the cup. Leave a thin lighter strip through its middle instead of filling the stalk dark.
- In the left leaf, pull long light strokes from its high left tip down along the existing leaf curve toward the base. Keep the broad leaf face pale, with closer strokes near its edges and the long inner fold.
- At the left leaf’s stem contact, keep the leaf’s inside edge ending on the stem’s left edge. Add a little soft shading on the leaf side, following that join. Do not carry a dark line across the stem.
- In the right leaf, pull light strokes down-left from its lower right tip, following its own curved outline and fold toward the base. Keep paper gaps between the strokes; this shorter leaf must not mirror the tall left leaf.
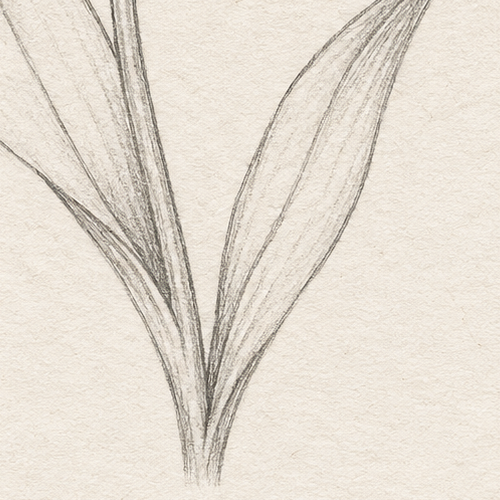
- Use a few closer strokes along the leaf folds and narrow lower joins, keeping thin pale strips between neighbouring edges. Remove any remaining unused light routes in small sections. Keep the finished plant mostly pale paper.
If something looks off
The back petals are hard to place
Use the measured start on the left-front upper-right edge, then distinguish the first rounded top from its separate right-hand turn. The next rim starts at that turn. Keep the lower curve and small back point as their own later drawings.
The leaves look like matching copies
Return to their different tip heights and endpoints. The left leaf starts higher and is longer; the right leaf follows its own lower tip and narrower curve toward the foot.
The pencil looks like a thick pen line
Use lighter pressure and several short strokes when choosing an edge. Keep the paper gaps and broad pale interiors. Add shading only after the complete forms and overlaps are present.
A lower join is becoming a dark knot
Keep the light leaf routes visible until the short chosen return meets the stem. Stop on the stem’s side, and leave the converging lower lines thin. Do not draw a heavy line across the stalk.