FinelinerEasy

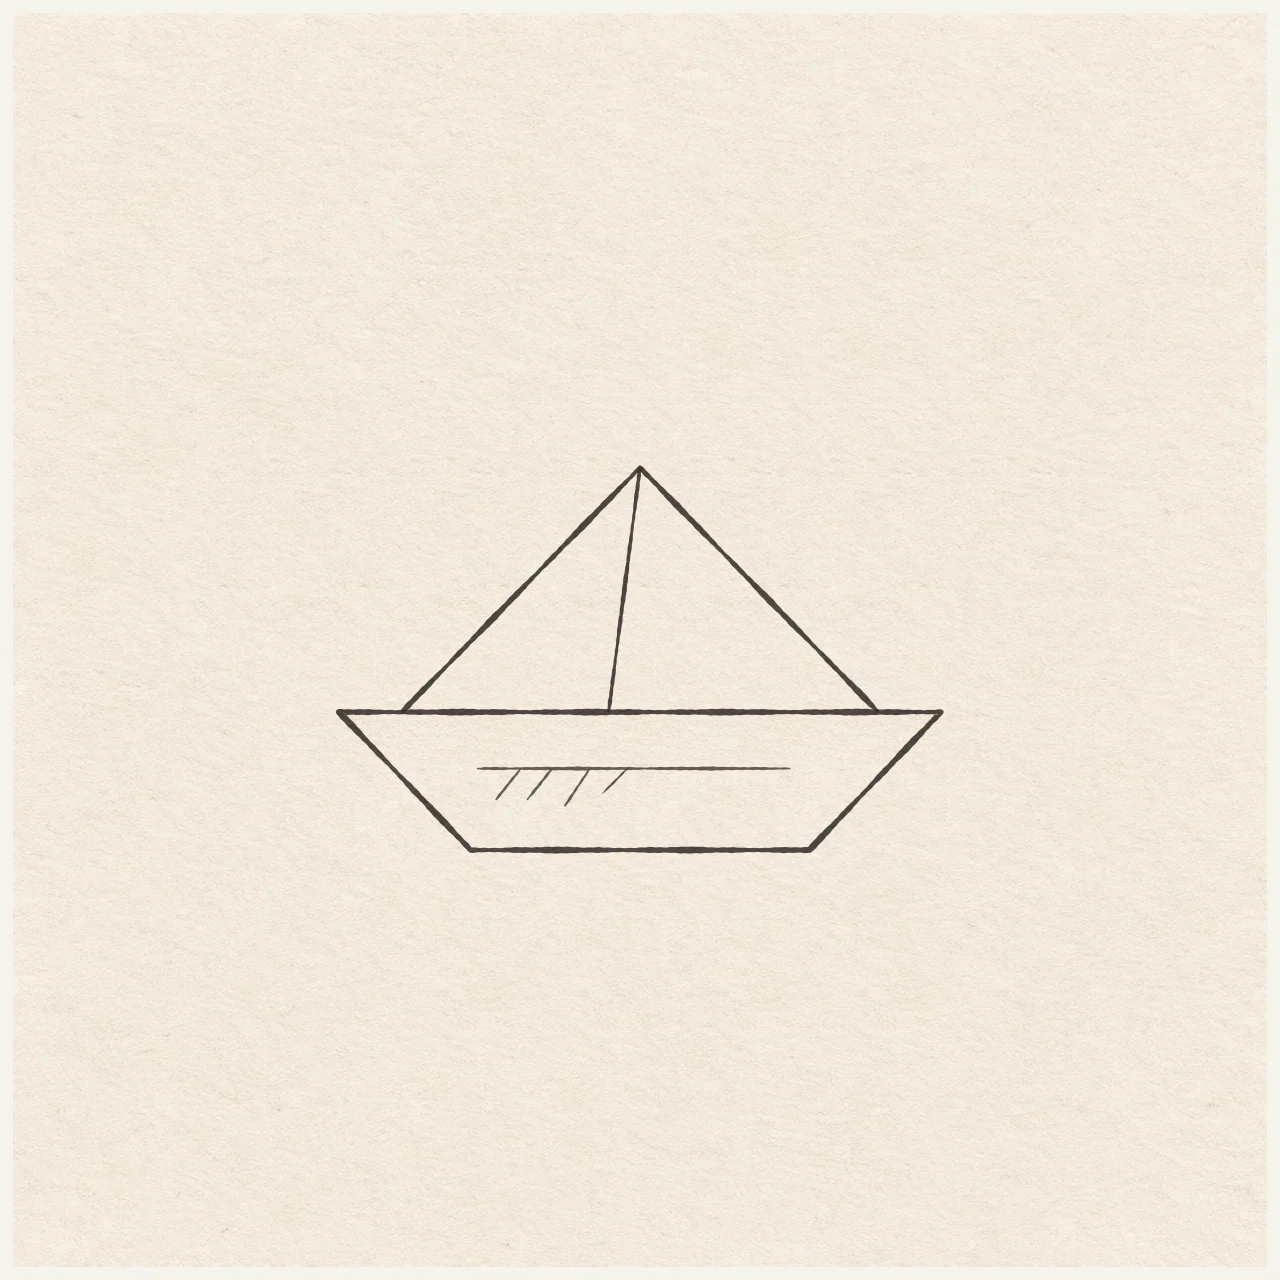
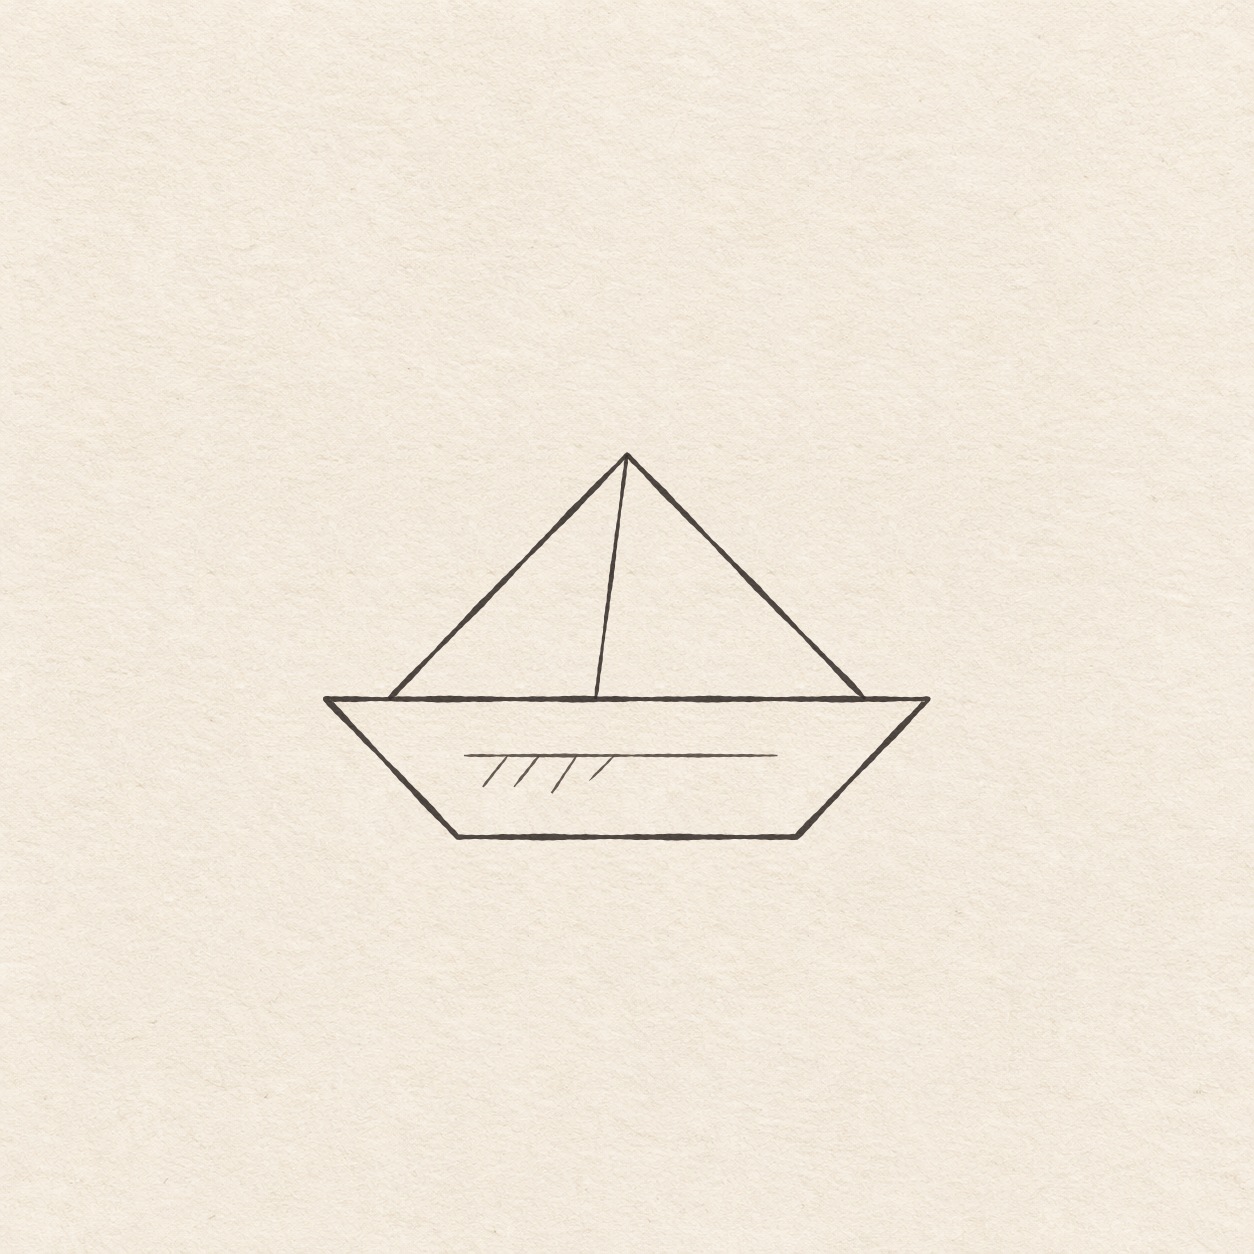
Folded paper boat
Rule a low hull, add a pointed paper crown, and use short strokes to show the folded paper.
Follow the drawing tutorial
Rule a low hull, add a pointed paper crown, and use short strokes to show the folded paper.
Start the 6-step tutorialA small thing to tryBefore using ink, check that both lower dots are the same distance in and down from their nearest top corners.
Draw it, one step at a time
Draw a paper boat
Rule a low hull, add a pointed paper crown, and use short strokes to show the folded paper.
What you’ll need
- HB pencil
- Eraser
- Ruler
- Scrap of paper with a square corner
- Fine black pen
- Drawing paper
Before you start
This example is 9.6 cm wide and 6.1 cm high. Choose where you want the boat. Tilt the paper if that helps you pull a straight ink line later.
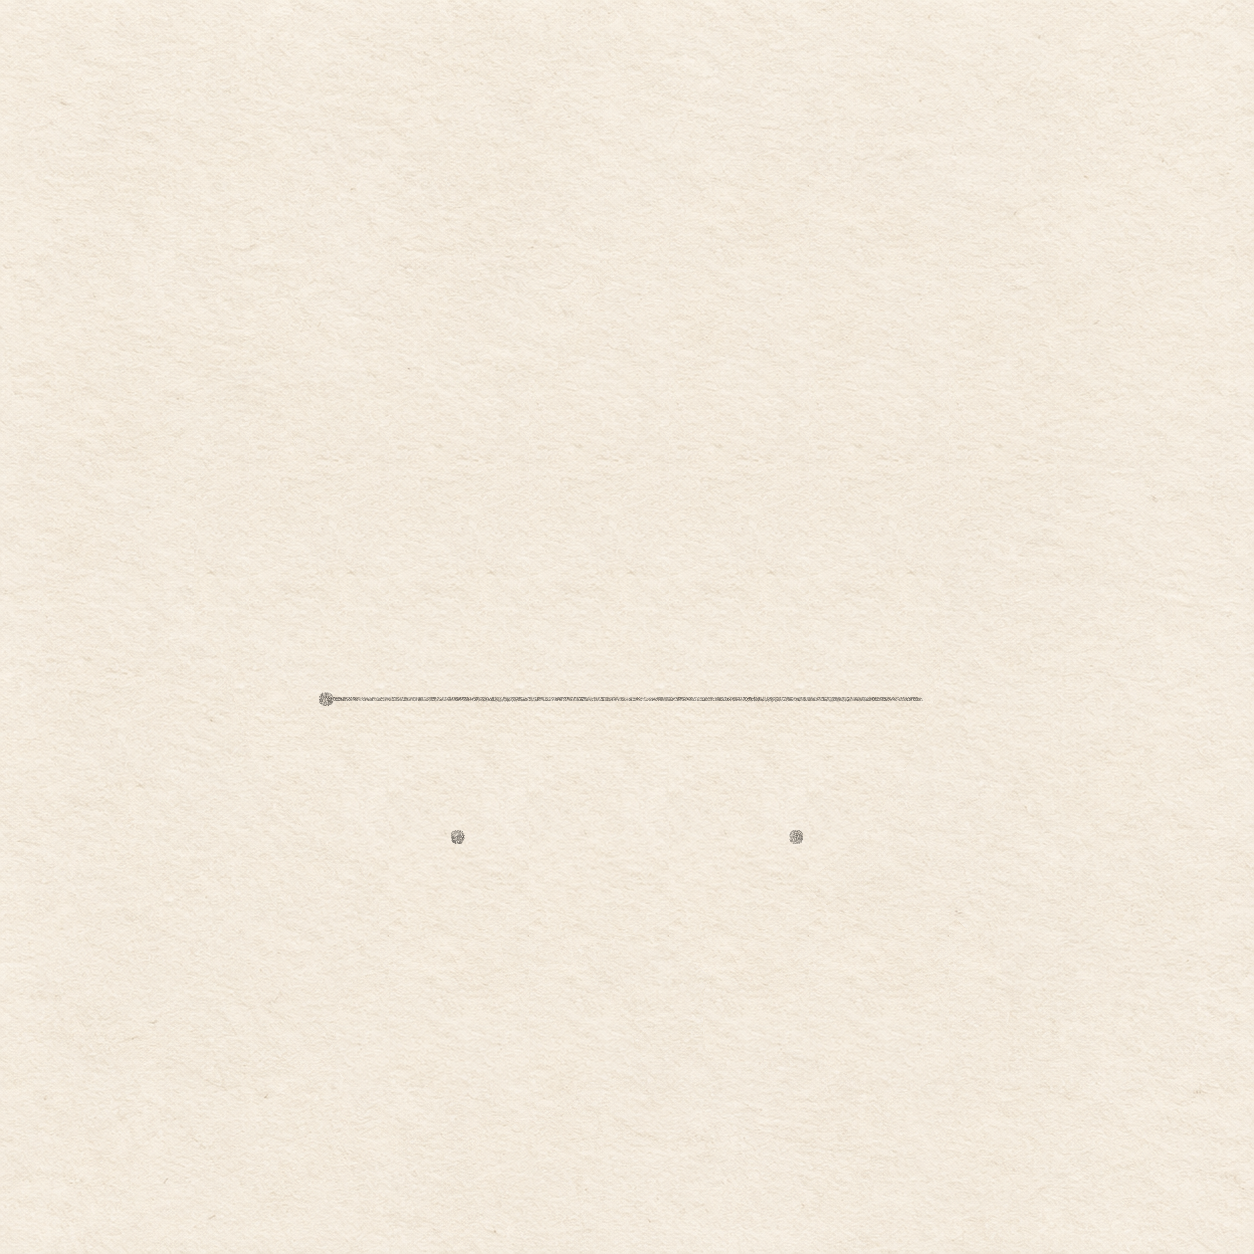
Drawing 1 — Set the boat’s widthView larger PencilSet the boat’s width
Instructions for Drawing 1 — Set the boat’s width
- Put a small dot where you want the left end of the boat. Leave 10 cm to its right, 4 cm above it and 2.5 cm below it, with a margin. Move the dot if any edge of the drawing would crowd the paper.
- Rule a light horizontal line 9.6 cm from that dot to the right. It will stay as the top edge of the boat. Set the next measurements along the line from the end named.
- Measure 2.1 cm in from the left end of the line. Put a scrap’s square corner at that spot with one edge along the line. Measure 2.2 cm straight down its other edge and put a dot. Repeat from the right end, measuring inward again. Both dots sit below the line and make the bottom narrower than the top.

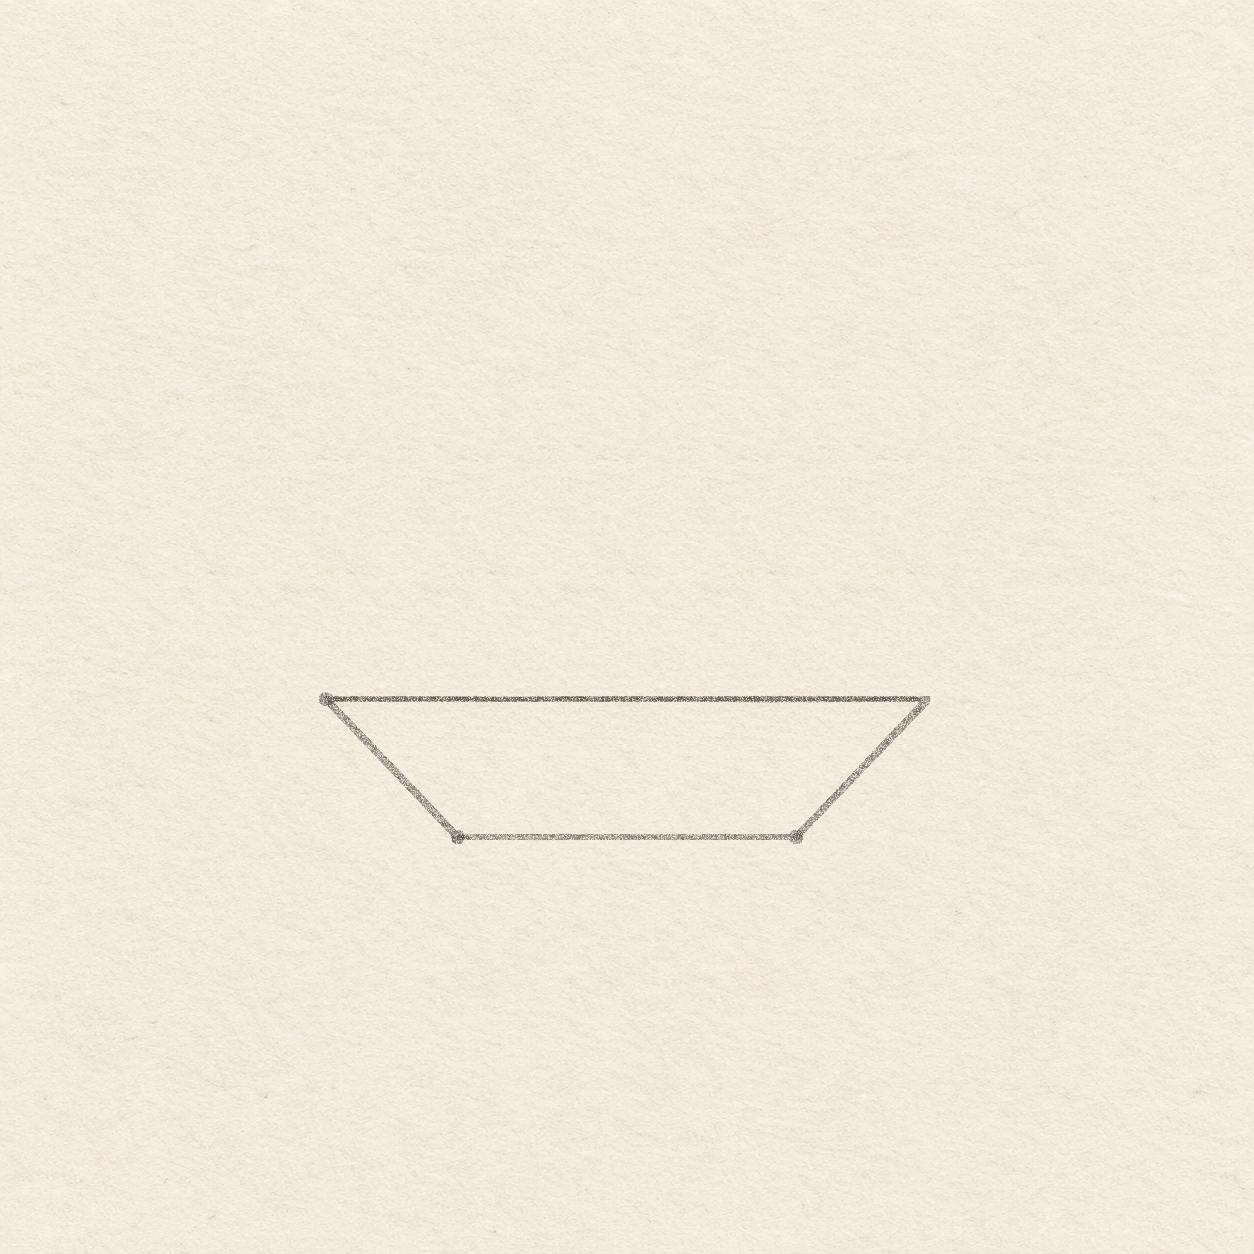
Drawing 2 — Draw the lower hullView larger PencilDraw the lower hull
Instructions for Drawing 2 — Draw the lower hull
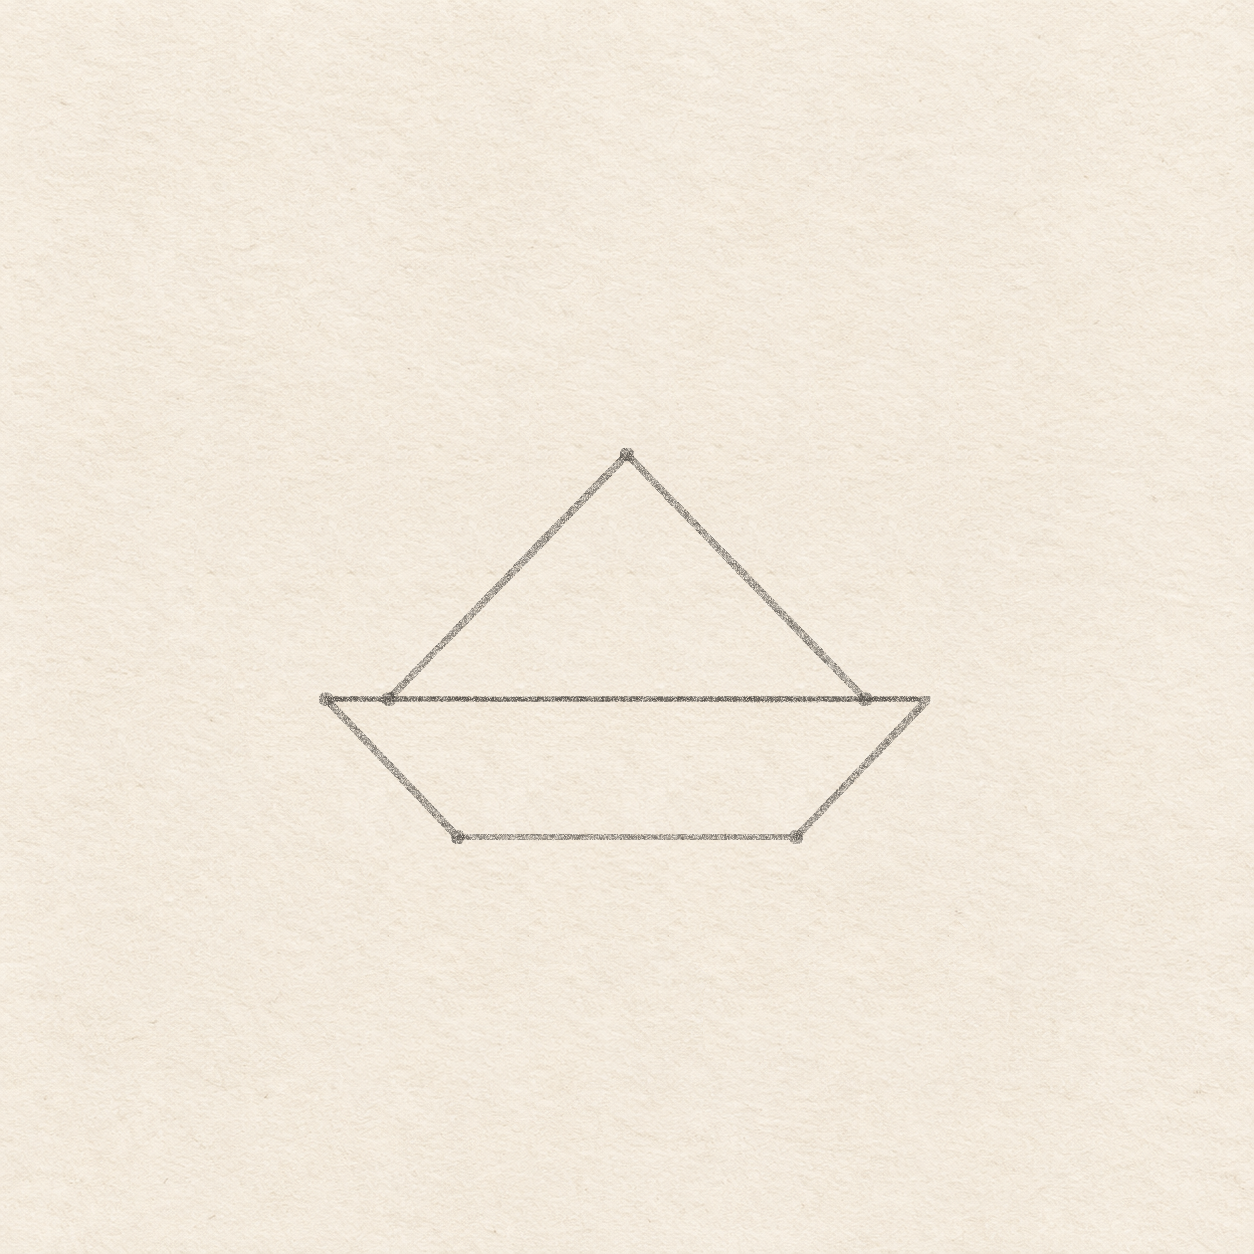
- Use the ruler to join the two lower dots. Rule from each dot up to the top end on its side. Lightly follow the top rail once to match the three new edges. Check that the bottom and top sit level and that the sides lean inward by about the same amount.

Drawing 3 — Draw the folded crownView larger PencilDraw the folded crown
Instructions for Drawing 3 — Draw the folded crown
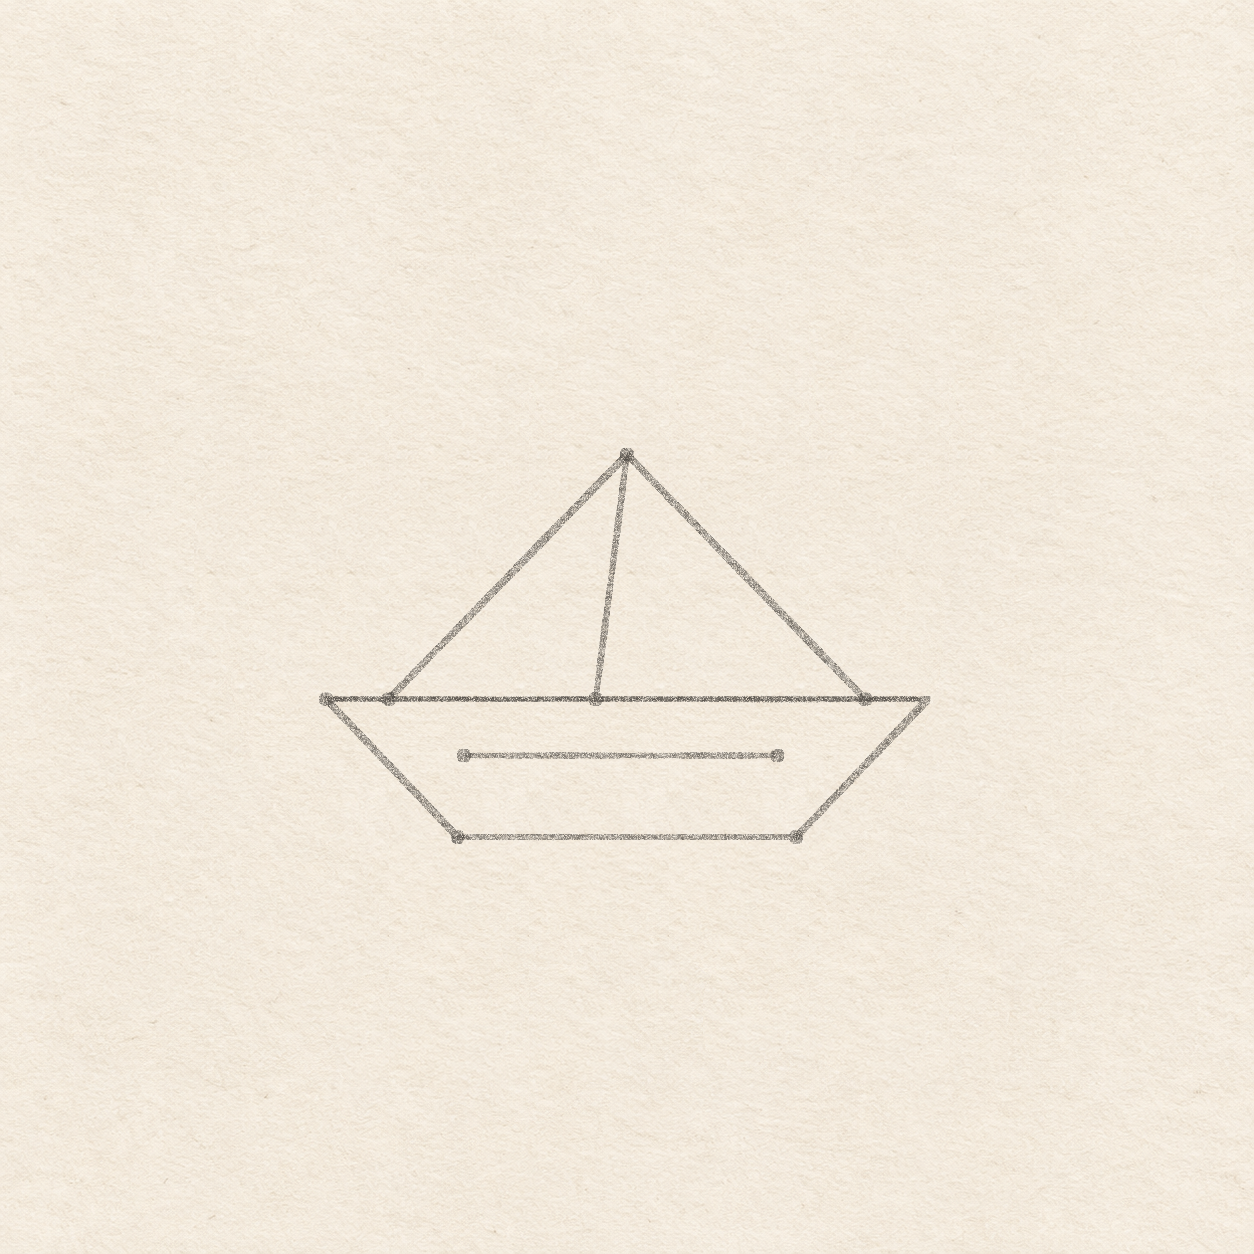
- Mark a dot 1 cm in from each end of the top rail. Find the rail midpoint, 4.8 cm from the left. Put the scrap’s square corner there and mark the peak 3.9 cm straight up. Leave the two ends of the rail visible beyond the crown.
- Rule from the left inset dot up to the peak. Rule from the peak down to the right inset dot. Stop both slopes on the rail so they sit behind the hull face.

Drawing 4 — Place the two paper foldsView larger PencilPlace the two paper folds
Instructions for Drawing 4 — Place the two paper folds
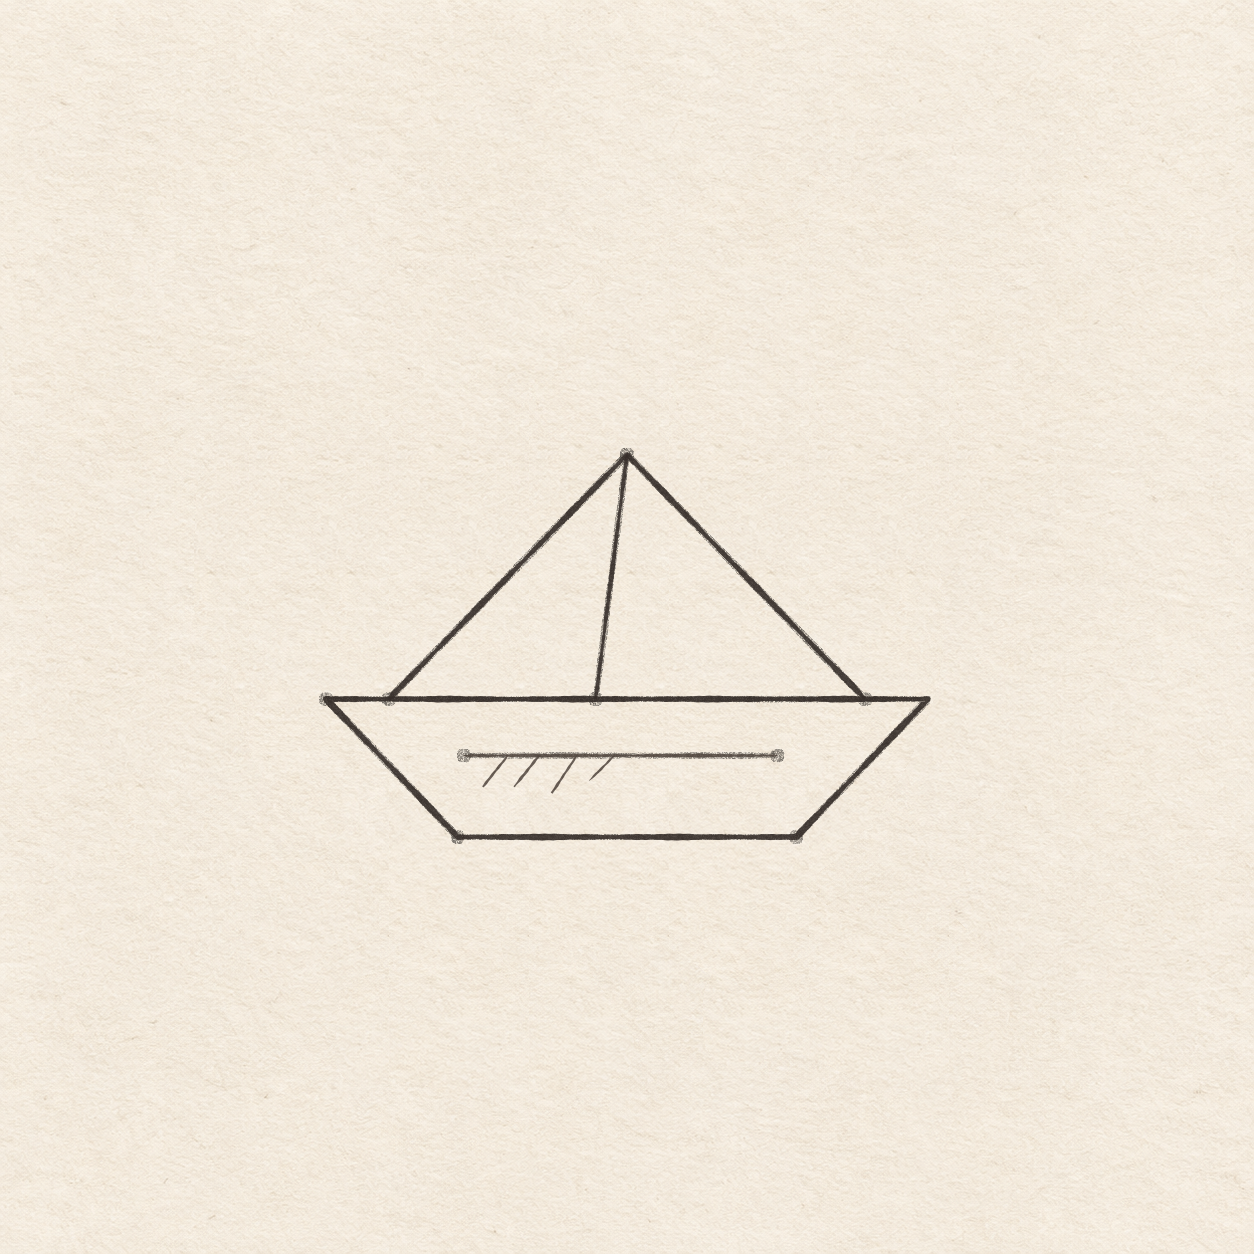
- Put a dot on the top rail 4.3 cm from the left corner. The dot should be a little left of the peak rather than directly below it.
- Rule from the peak down to the crease dot. Stop when the line reaches the top rail. Leave the wider triangle to the right of the dividing fold.
- Measure 2.2 cm in from the left end of the top rail and 2.4 cm in from the right end. At each spot, put one edge of the square corner along the rail and mark a dot 9 mm straight down. The two dots sit at the same height inside the hull.
- Rule a short pencil line between those two dots. Keep both ends clear of the sloping sides of the hull.

Drawing 5 — Ink the edges and shade the foldView larger InkInk the edges and shade the fold
Instructions for Drawing 5 — Ink the edges and shade the fold
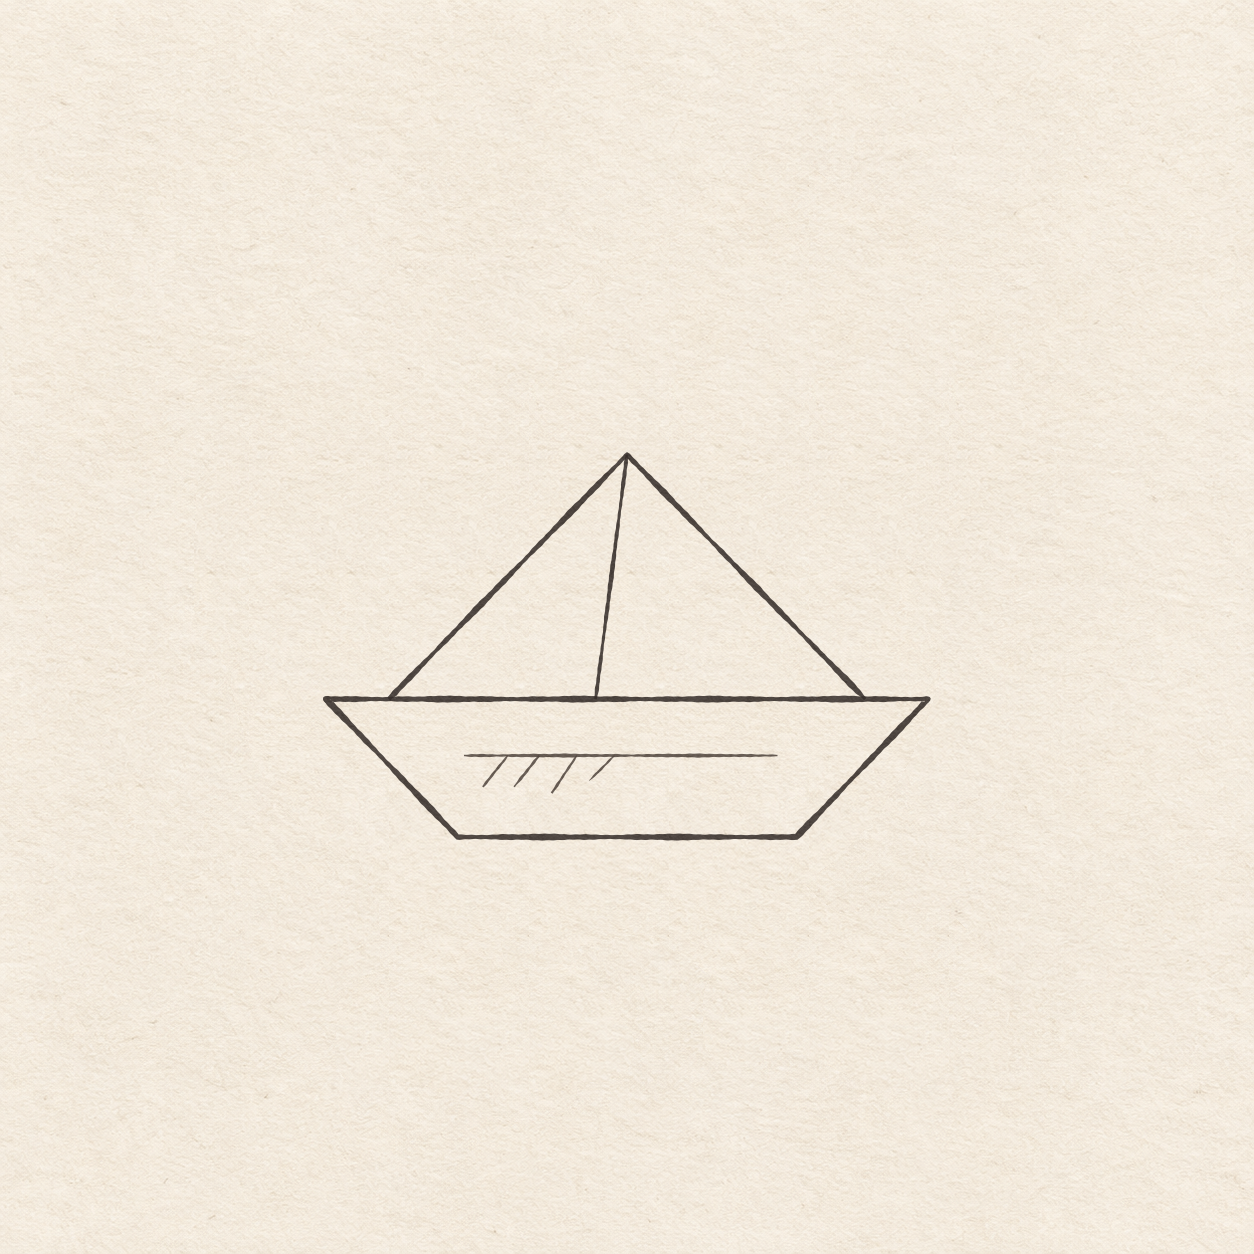
- Follow the four pencil edges of the hull with the pen. Keep the base and top rail clean where they touch the slants.
- Follow both crown slopes, lifting at the peak if that helps. Let the two lower ends touch the ink rail.
- Ink the pencil crease from the crown peak down to the rail. Stop on the rail and leave the hull clear under the crease.
- Ink the short level fold inside the hull with a light touch. Leave its two endpoints open, away from the sides of the boat.
- Add four short freehand strokes under the left half of the inner fold. Start each on the fold and slant down and left about 5 mm. Leave open paper between the hatches and stop well before the base.

Drawing 6 — Erase the dry pencil guidesView larger CleanupErase the dry pencil guides
Instructions for Drawing 6 — Erase the dry pencil guides
- Fill a small patch on a scrap of the same paper with the same pen. Rub the patch gently with your eraser. If it smears, wait and test again. Once the patch stops smearing, erase the measuring dots and every visible pencil stroke beside the dry ink.
If something looks off
If the hull looks lopsided
Before using ink, check that both lower dots are the same distance in and down from their nearest top corners.