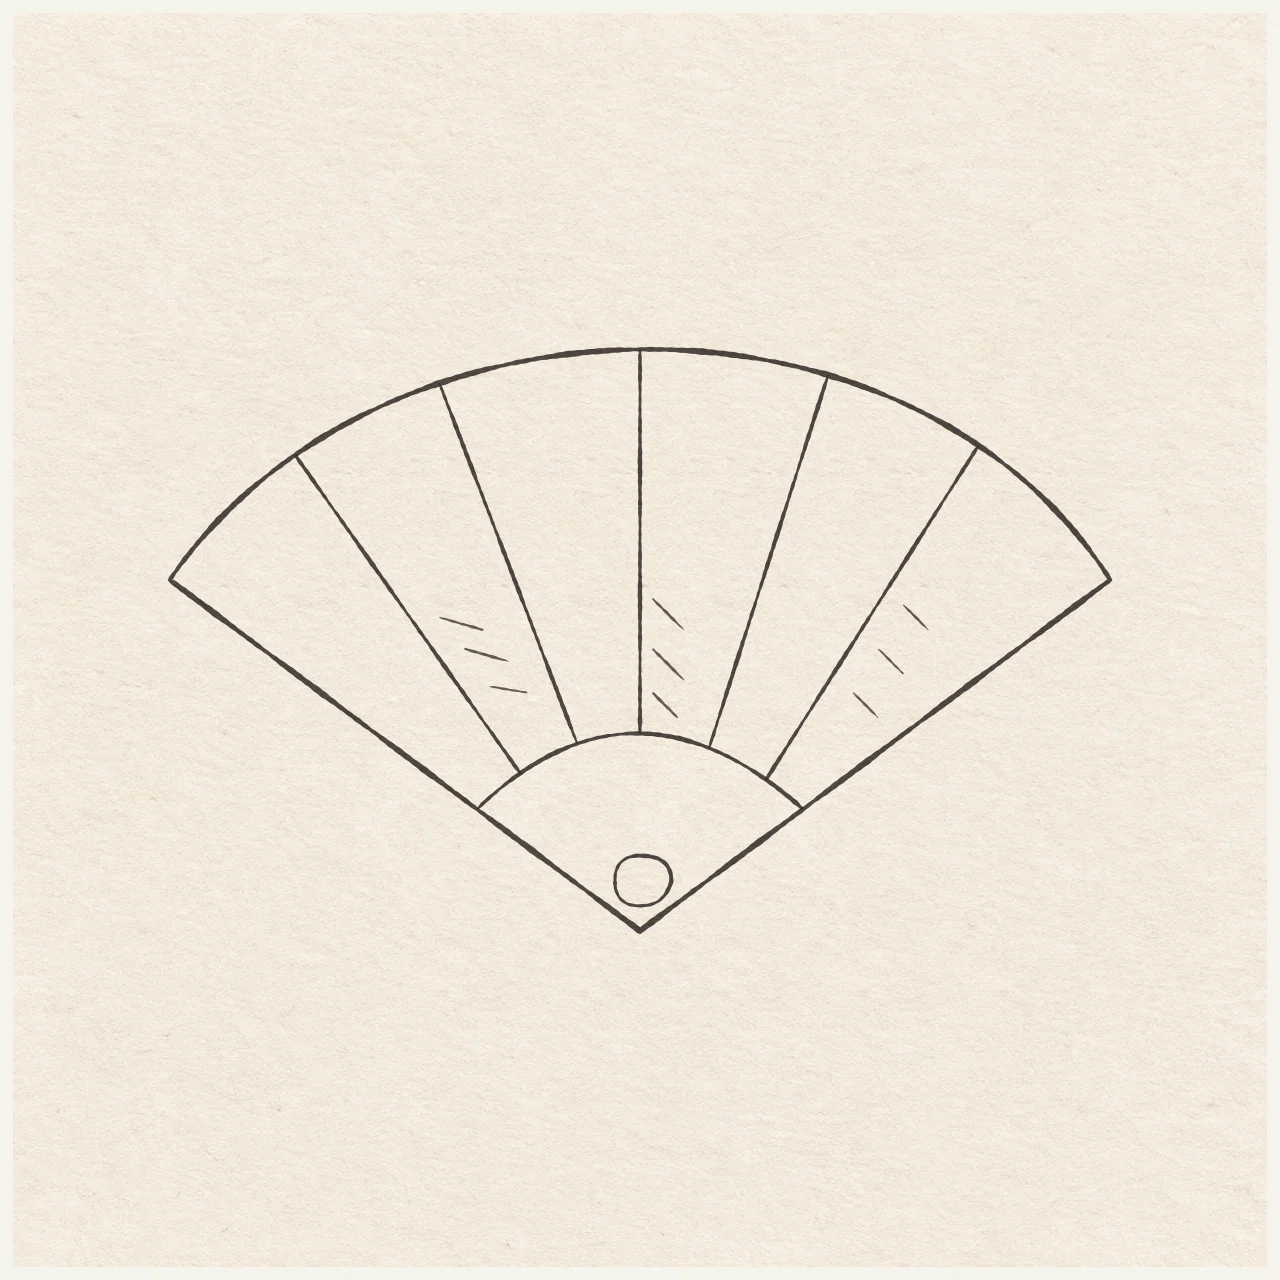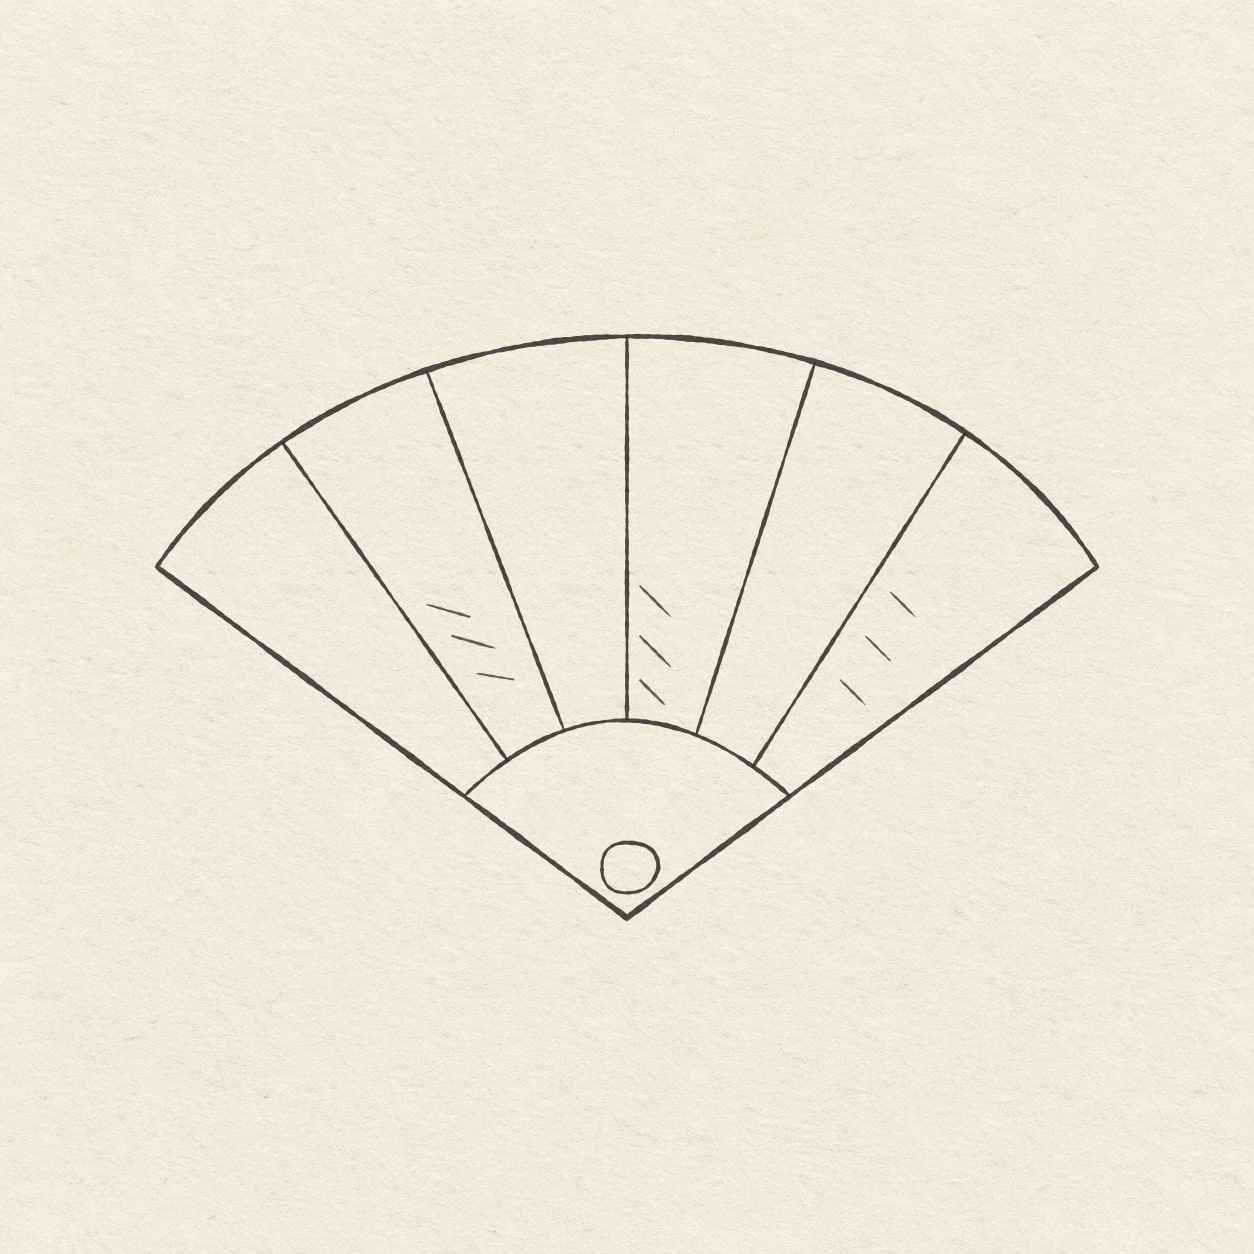
An open fan with five straight ribs, a small hinge button and three groups of hatches in black fineliner.
Drawing referenceAbout reference use

Open folding fan

Plot the open span, inner arc and five straight ribs before inking a folding fan.

Everyday objectsEasyFinelinerReference practice: about 15 min
Save reference

Follow the drawing tutorial

Plot the open span, inner arc and five straight ribs before inking a folding fan.

Start the 7-step tutorial

A small thing to tryPlace all rib ends on the two actual arcs before ruling between them.

Draw it, one step at a time

Draw an open folding fan

Plot the open span, inner arc and five straight ribs before inking a folding fan.

7 illustrated steps Full tutorial: about 29 minutes, at your pace

What you’ll need

  • HB pencil
  • Eraser
  • Fine black pen
  • Ruler
  • Spare sheet with a square corner
  • Drawing paper

Before you start

The open fan is about 12 cm wide and 7.5 cm tall. Choose where the lower hinge goes so you can leave room on both sides and above it.
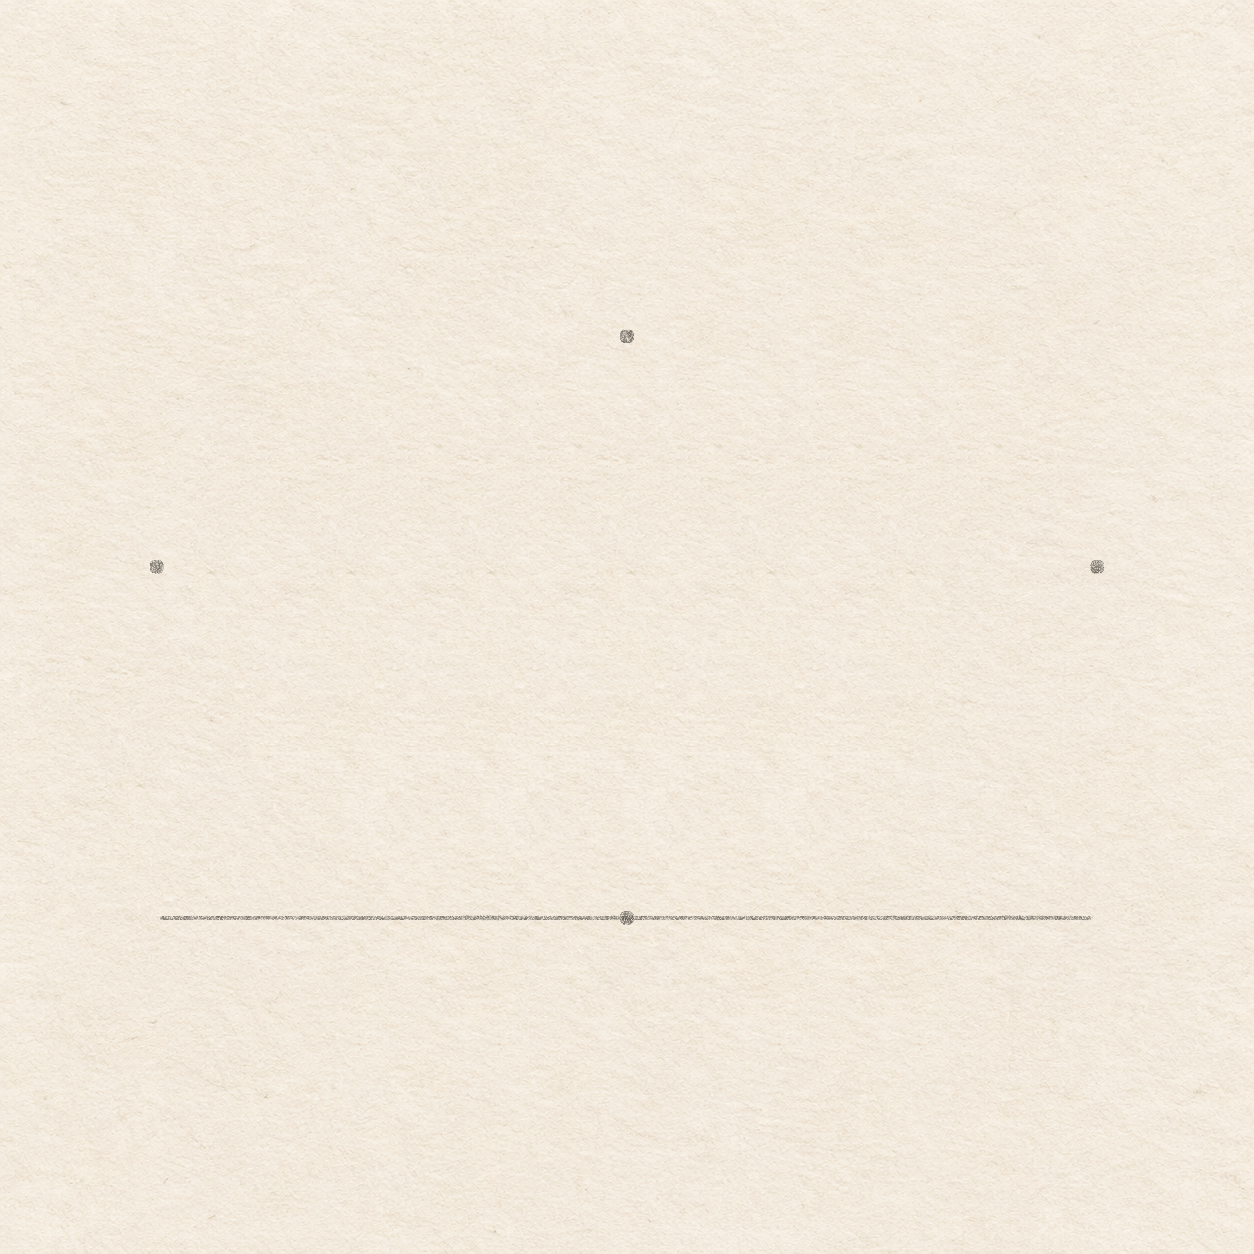
  1. Faint level through a central hinge dot, level corner dots up to either side and one high dot between them.
    Drawing 1 — Place the hinge and three outer limitsView larger
    Pencil

    Place the hinge and three outer limits
    Instructions for Drawing 1 — Place the hinge and three outer limits

    1. Choose where the bottom hinge goes and mark a light dot. Leave about 6.5 cm to each side and 8 cm above it. Move the dot if the top of the fan would crowd the page.
    2. Rule a very faint level line 6 cm left and 6 cm right from the hinge dot. Put one edge of a spare sheet along the pencil line. Set the square corner at each measured spot and use its upright edge to measure up. Keep this line faint so you can erase it after inking.
    3. Use the square corner at each end of the level line to put a dot 4.5 cm up. Reset the corner at the hinge and mark the top dot about 7.4 cm up. Hold the ruler across the two side dots and check that they sit level.
    Next step
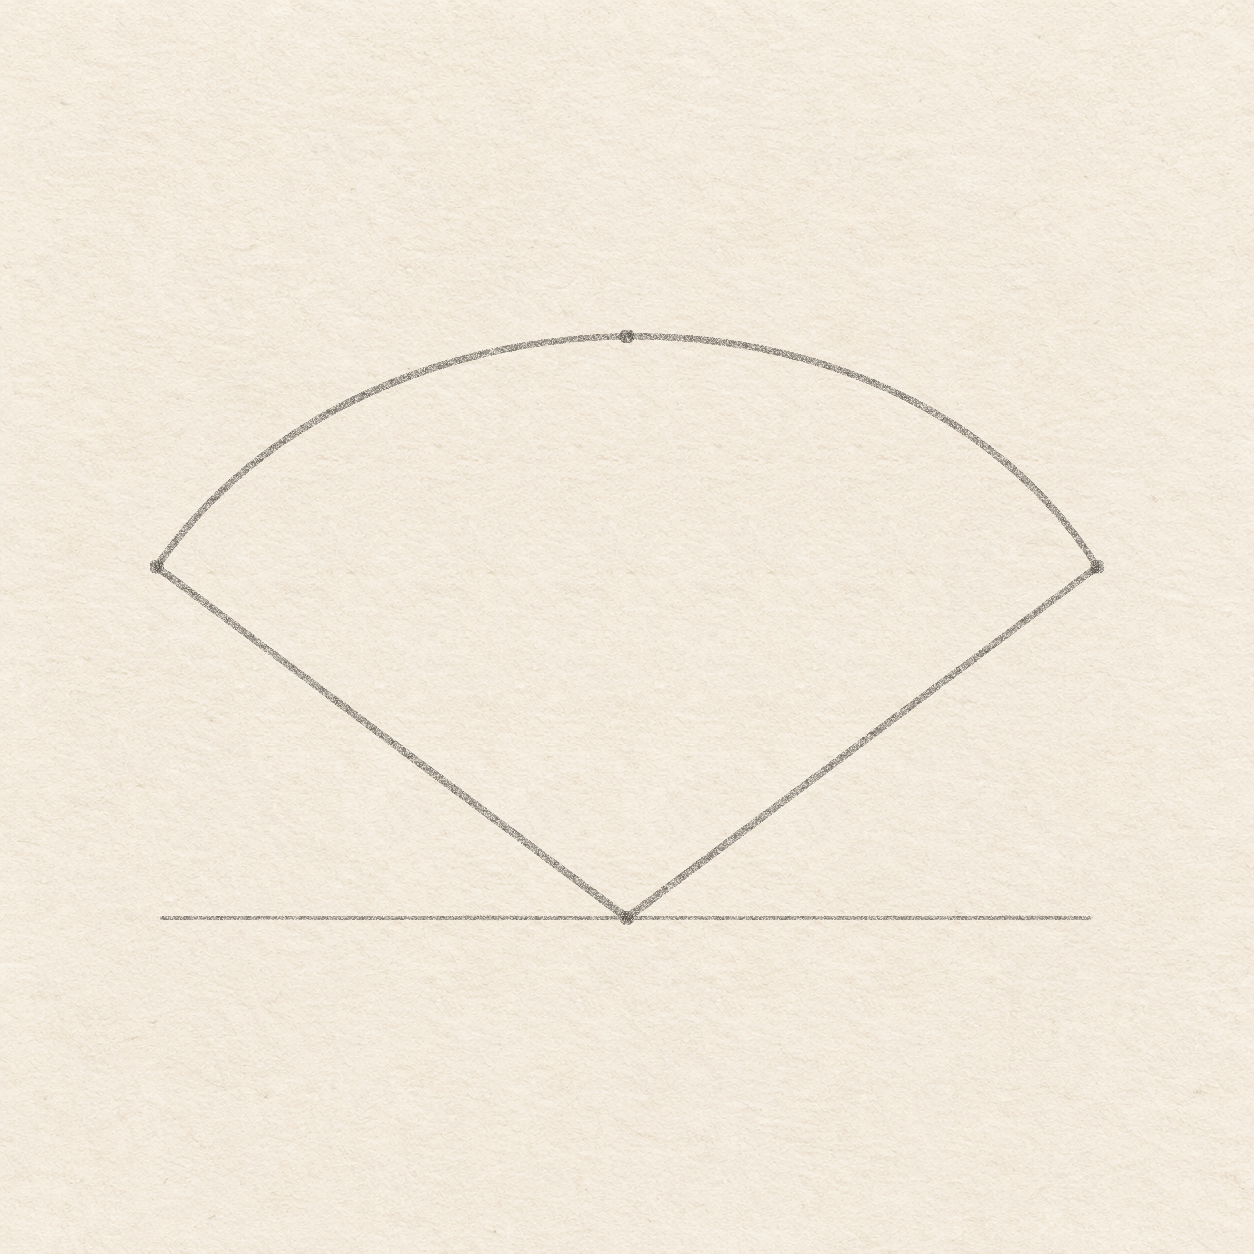
  2. A fan-shaped pencil outline joins the hinge and two side corners with a rounded top.
    Drawing 2 — Draw the two folds and broad topView larger
    Pencil

    Draw the two folds and broad top

    Instructions for Drawing 2 — Draw the two folds and broad top
    1. Rule from the hinge to the left corner. Sweep a wide freehand curve up through the top dot and down to the right corner. Rule straight from the right corner back to the hinge. Keep the top rounded through its middle. Lift and round it again if the pencil makes a peak at the top dot.
    Next step
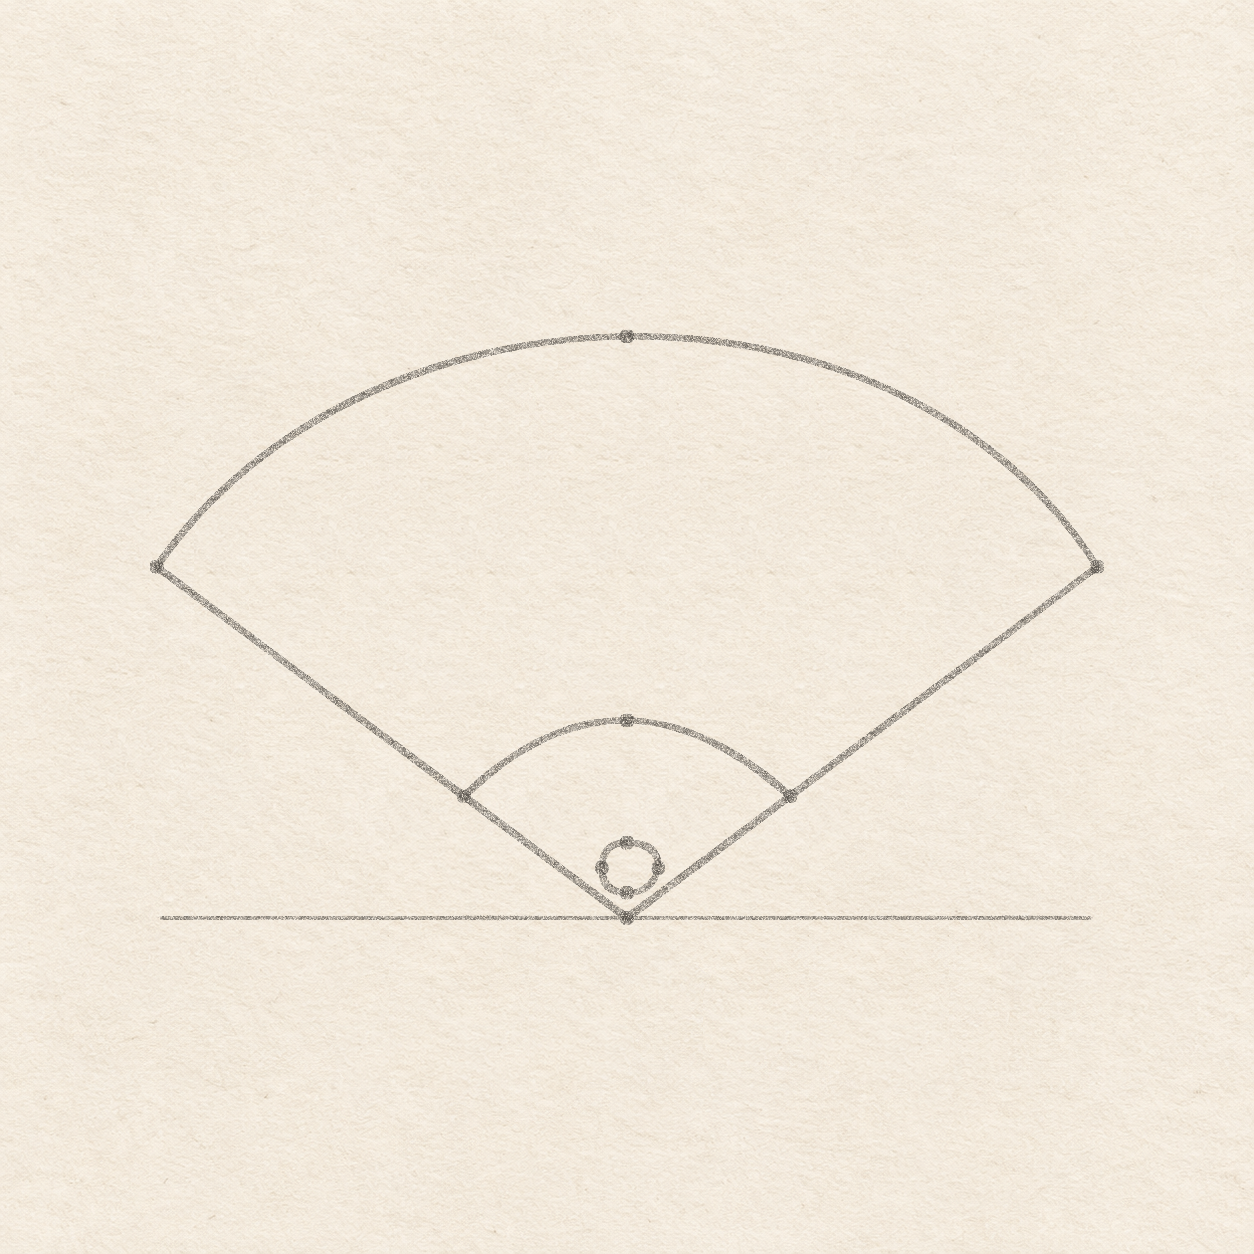
  3. A shallow pencil arc joins both straight folds above a small closed button near the hinge.
    Drawing 3 — Set the inner arc and hinge buttonView larger
    Pencil

    Set the inner arc and hinge button

    Instructions for Drawing 3 — Set the inner arc and hinge button
    1. On the level line, set the square corner about 2.1 cm left of the hinge. Follow the upright edge up to where it crosses the left straight fold and put a dot on the fold. Do the same 2.1 cm to the right. Set the square corner at the hinge and put a dot 2.5 cm up. Both side dots must sit on the existing slanted edges. Move any dot that drifts outside.
    2. Curve freehand from the left fold up through the middle dot and down to the right fold. Stop exactly on the slanted edges. Keep the bend rounded and the paper beside both joins clear.
    3. Seat the square corner at the hinge dot with one edge on the faint level. Measure along its upright edge about 3 mm up for the bottom of the button and 1 cm up for its top. Hold the ruler level through that upright at 6.5 mm above the hinge. From the point where the ruler meets the upright, mark a dot 3 mm left and another 4 mm right. Keep all four dots inside the straight folds and below the inner arc.
    4. Curve freehand from the left dot through the top and right dots, then through the bottom dot and back to the first. Keep its middle pale. Check that there is paper around the whole button. Lift and bring in any edge touching a fold.
    Next step
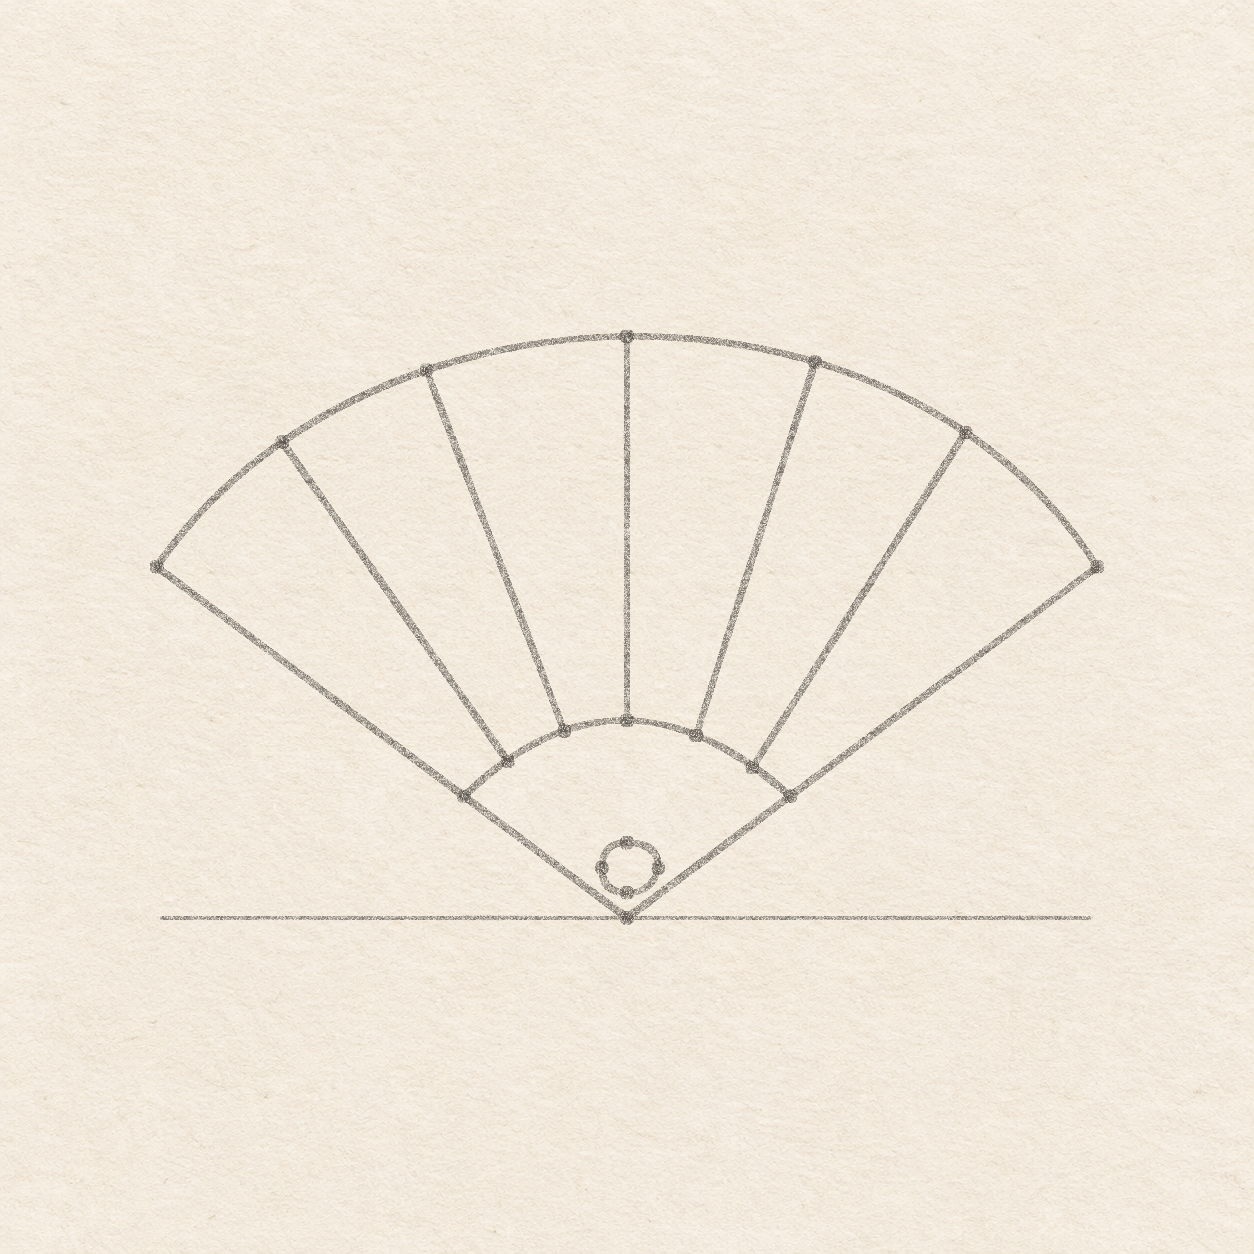
  4. Five straight pencil ribs join the lower arc to the broad top. The outer folds and button stay distinct.
    Drawing 4 — Plot and rule the five ribsView larger
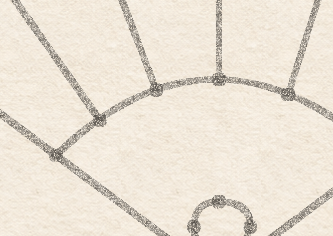
    Native enlargement of the left angled fold with the inner arc meeting it and two adjacent rib stops.
    Detail 4.1 — The inner arc meets the left foldThe inner pencil arc ends on the straight fold. Both nearby ribs end on the arc itself.
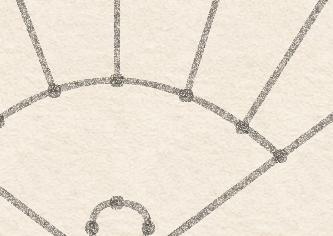
    Native enlargement of the right angled fold, inner arc contact and nearby rib joins.
    Detail 4.2 — The inner arc meets the right foldStop the inner pencil arc exactly at the slanted side. Bring the nearby ribs down only as far as the arc.
    Pencil

    Plot and rule the five ribs

    Instructions for Drawing 4 — Plot and rule the five ribs
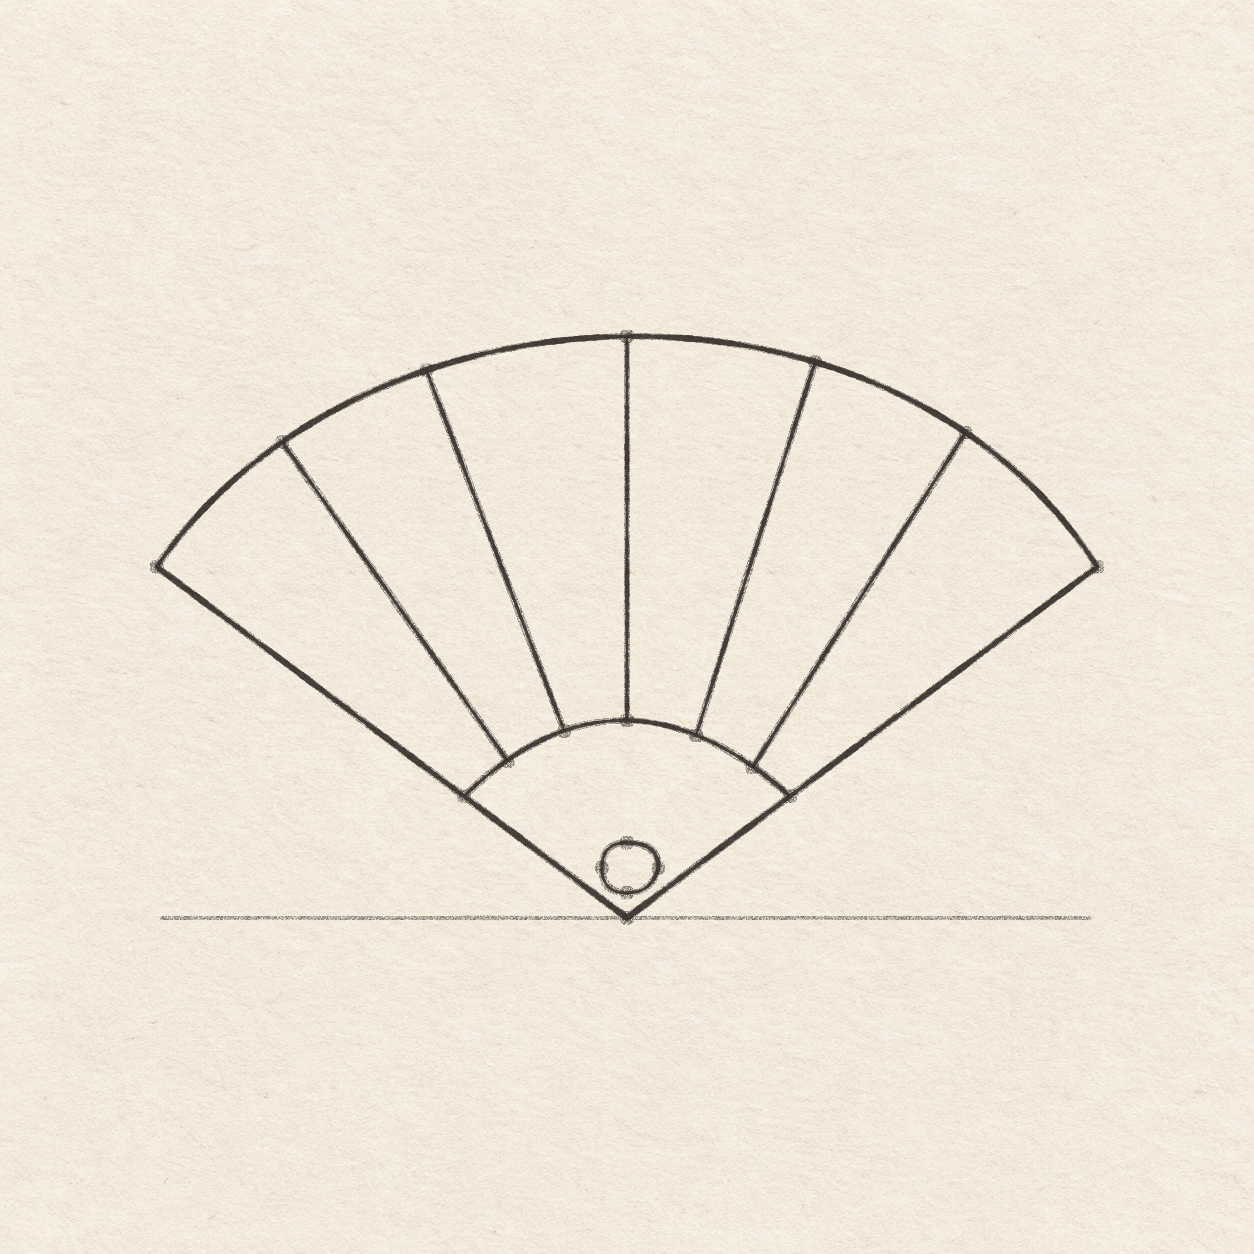
    1. Keep one spare sheet edge along the level line. For the outer arc, move the square corner to 4.4 cm left, 2.6 cm left, 2.4 cm right and 4.3 cm right of the hinge. Follow the upright edge at each spot to the outer curve and dot the crossing. For the inner arc use 1.5 cm left, 8 mm left, 9 mm right and 1.6 cm right of the hinge. Keep the existing highest dot in the middle of each arc for the center rib. Count five dots on each arc in the same left-to-right order. Keep them on the pencil edges.
    2. Start on the left and rule from the first outer dot to the first inner dot. Pair the next dots in the same order until all five ribs are in place. Stop at each inner dot. The outer ribs lean more than the one near the middle.
    Next step
  5. The fan silhouette, lower arc, button and ribs are inked while faint graphite remains.
    Drawing 5 — Ink the folds, two arcs and ribsView larger
    Fineliner

    Ink the folds, two arcs and ribs

    Instructions for Drawing 5 — Ink the folds, two arcs and ribs
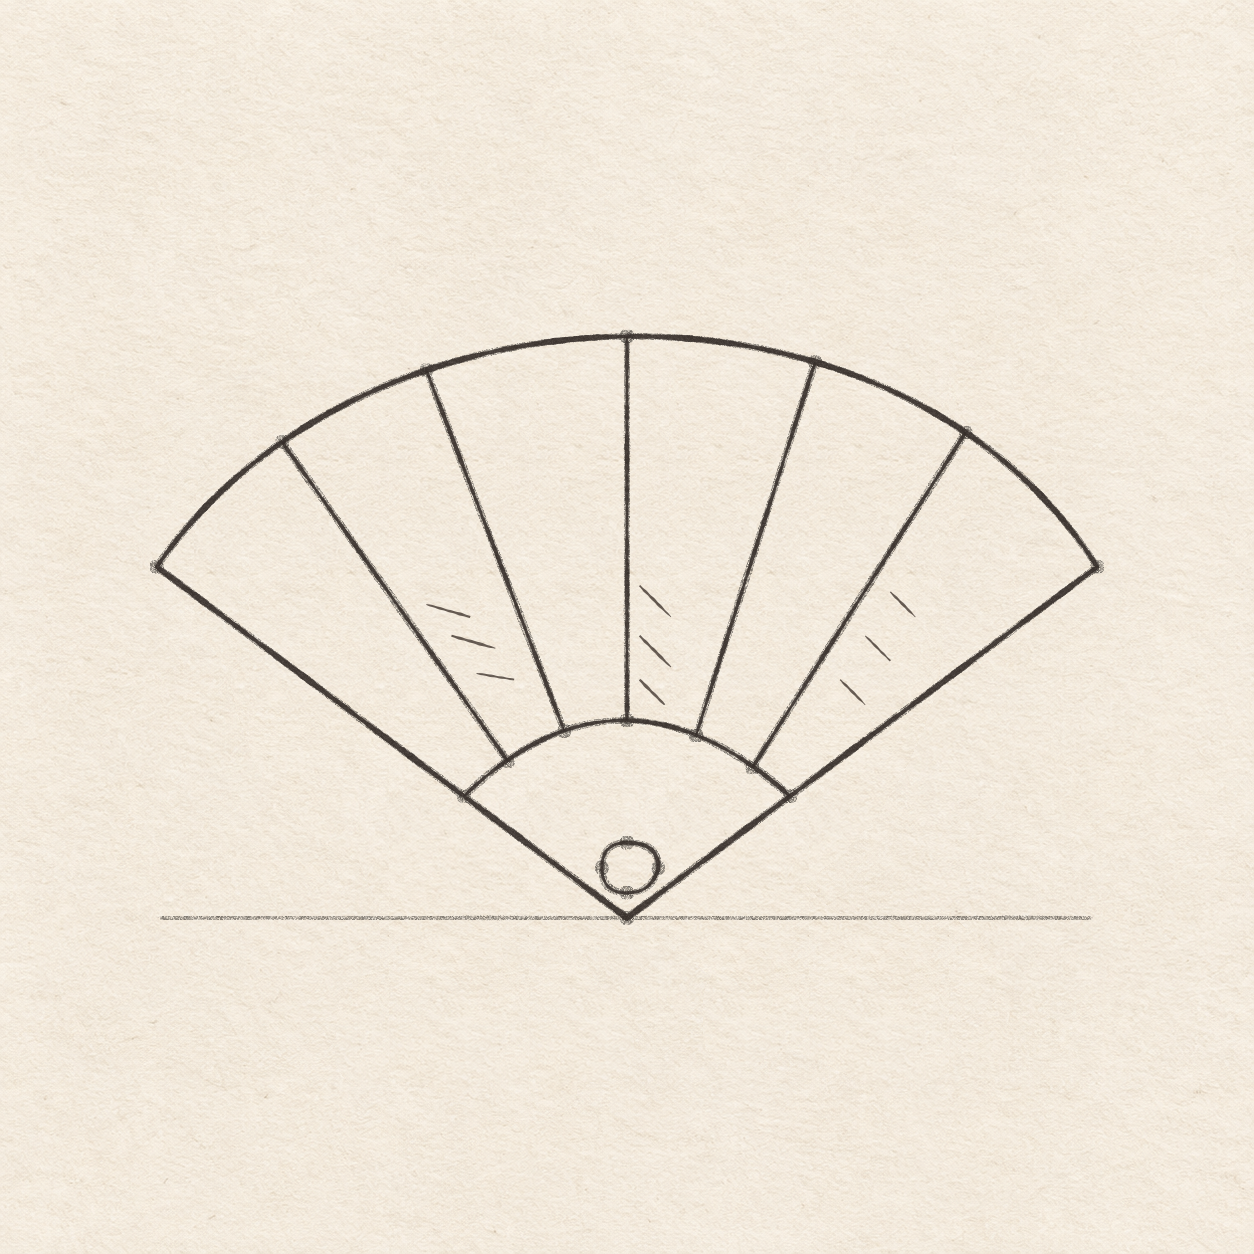
    1. Trace the two straight sides and the broad top in pen. Close the outline at the lower hinge. Keep the paper around the outside clean and meet at both corners.
    2. Trace the inner arc in pen from fold to fold. Trace the small button as a closed shape near the hinge. Stop the arc when it touches each fold. Leave pale paper around the button.
    3. Ink the five ruled ribs one at a time from top to inner arc. Stop each one at the inner arc. Keep clear paper around the hinge button.
    Next step
  6. Three groups of three fine slanted hatches sit in separate fan panels, with open paper between them.
    Drawing 6 — Hatch three separate panelsView larger
    Fineliner

    Hatch three separate panels

    Instructions for Drawing 6 — Hatch three separate panels
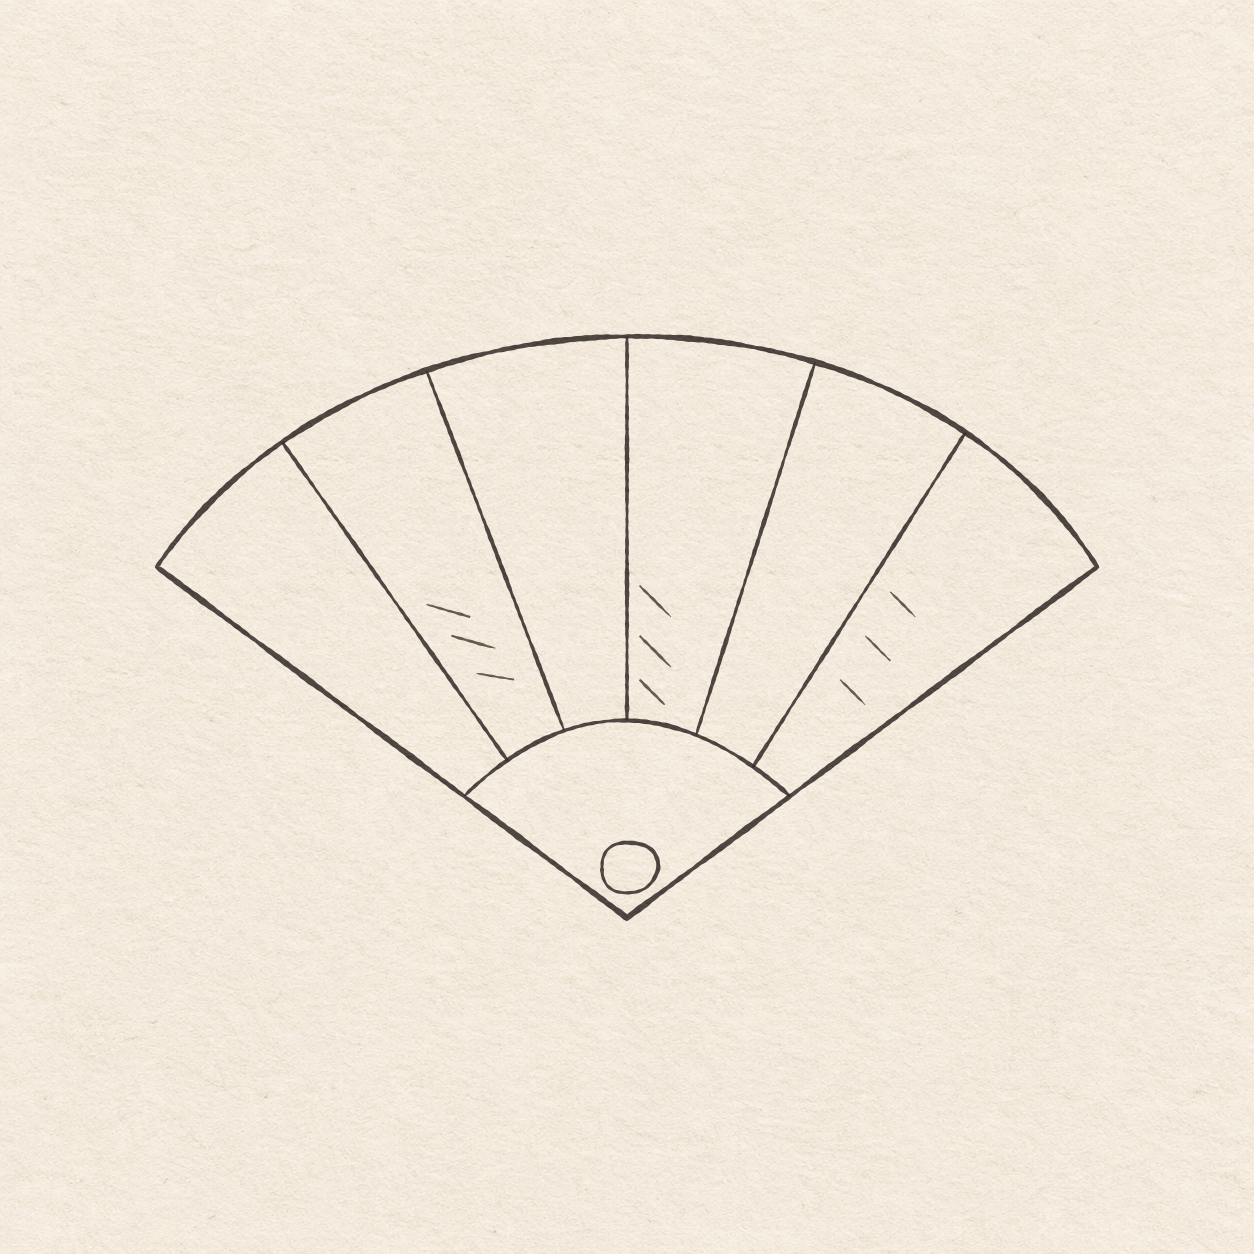
    1. In the panel between the first two ribs from the left, draw three short freehand slashes near the inner arc, leaning a little down to the right. Draw three steeper slashes between the middle rib and the next one to its right. Add three short steeper slashes to the right of the rightmost rib, inside the outside fold. Keep each group separate and leave a slim band of open paper before its nearby ribs and the inner arc.
    Next step
  7. Finished pen fan with an open button, five connected ribs and three separated sets of hatches.
    Drawing 7 — Erase the dry pencil guidesView larger
    Cleanup

    Erase the dry pencil guides

    Instructions for Drawing 7 — Erase the dry pencil guides

    1. Fill a small patch on a scrap of the same paper with the same pen. Rub the patch gently with your eraser. If it smears, wait and test again. Once the patch stops smearing, erase the faint level line and all graphite measuring dots and lines beside the dry ink.
    Back to the steps

If something looks off

If a rib sticks past an arc

Check that both ends of the pencil rib meet their own dots on the two curves. Lift the overrun in pencil before tracing in pen.