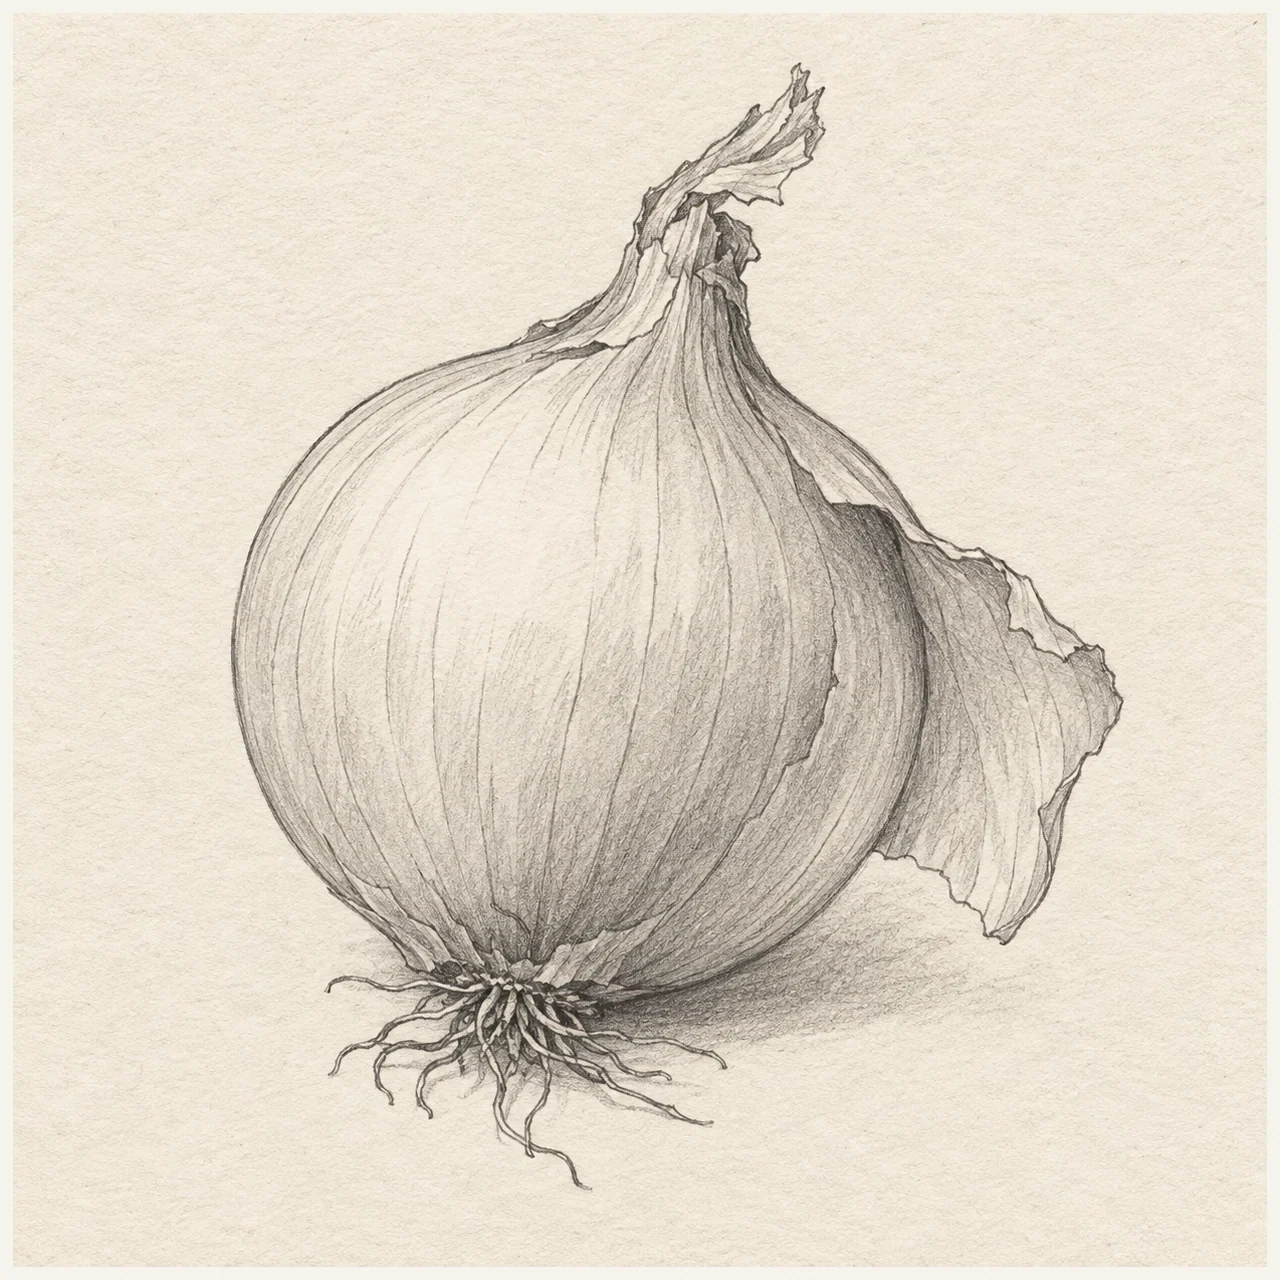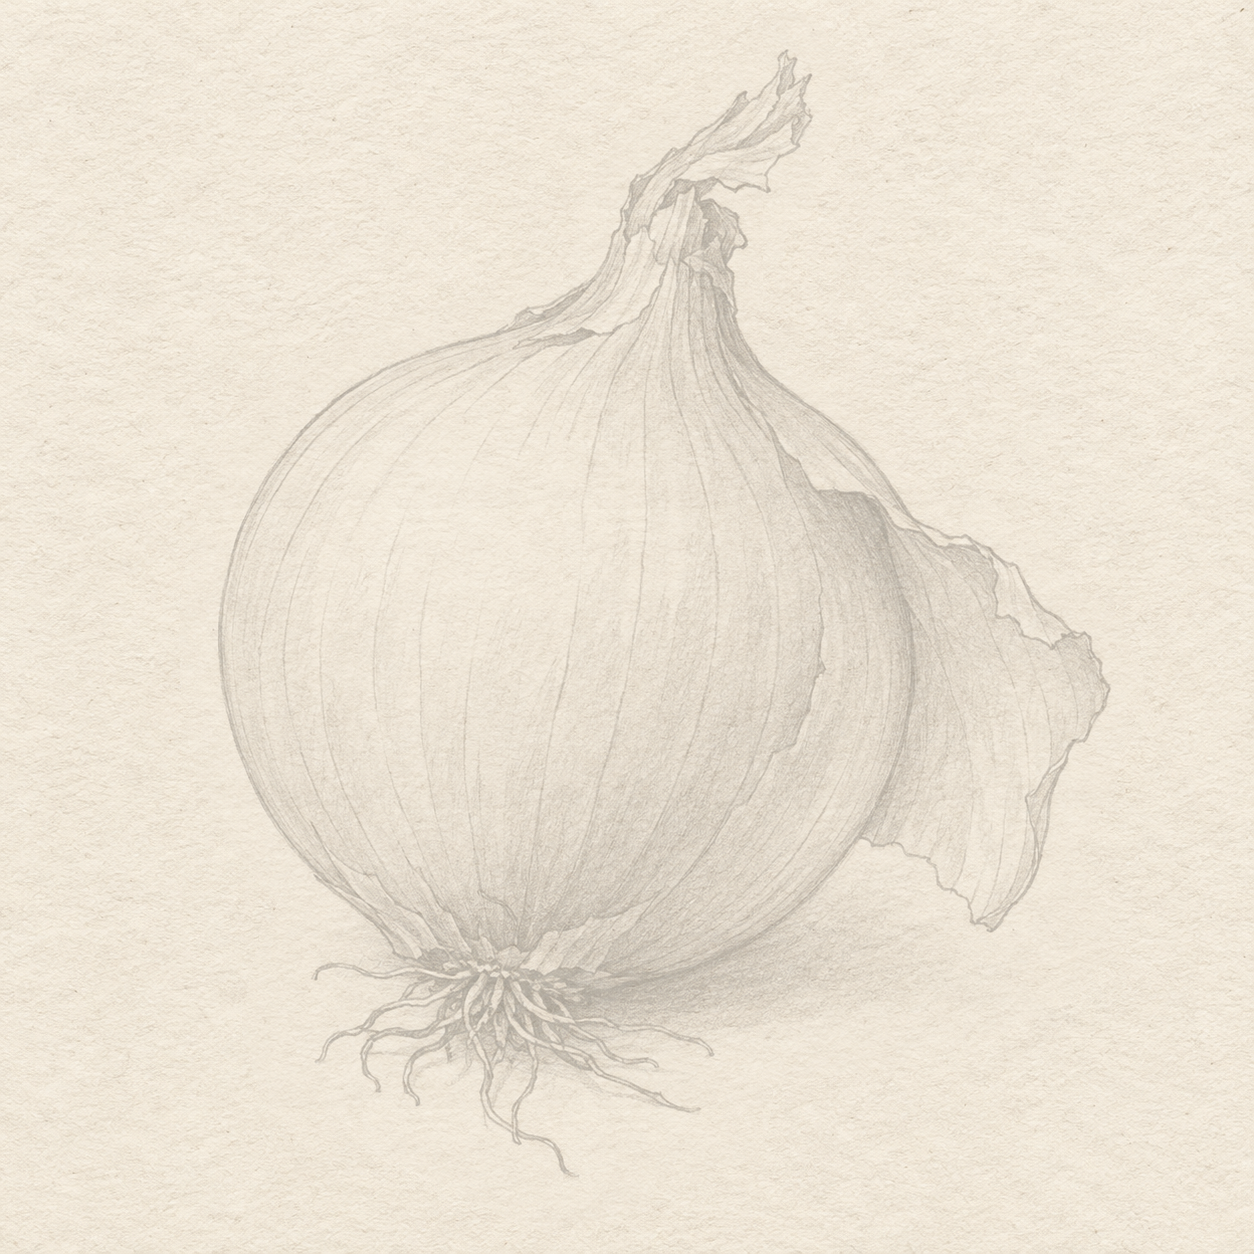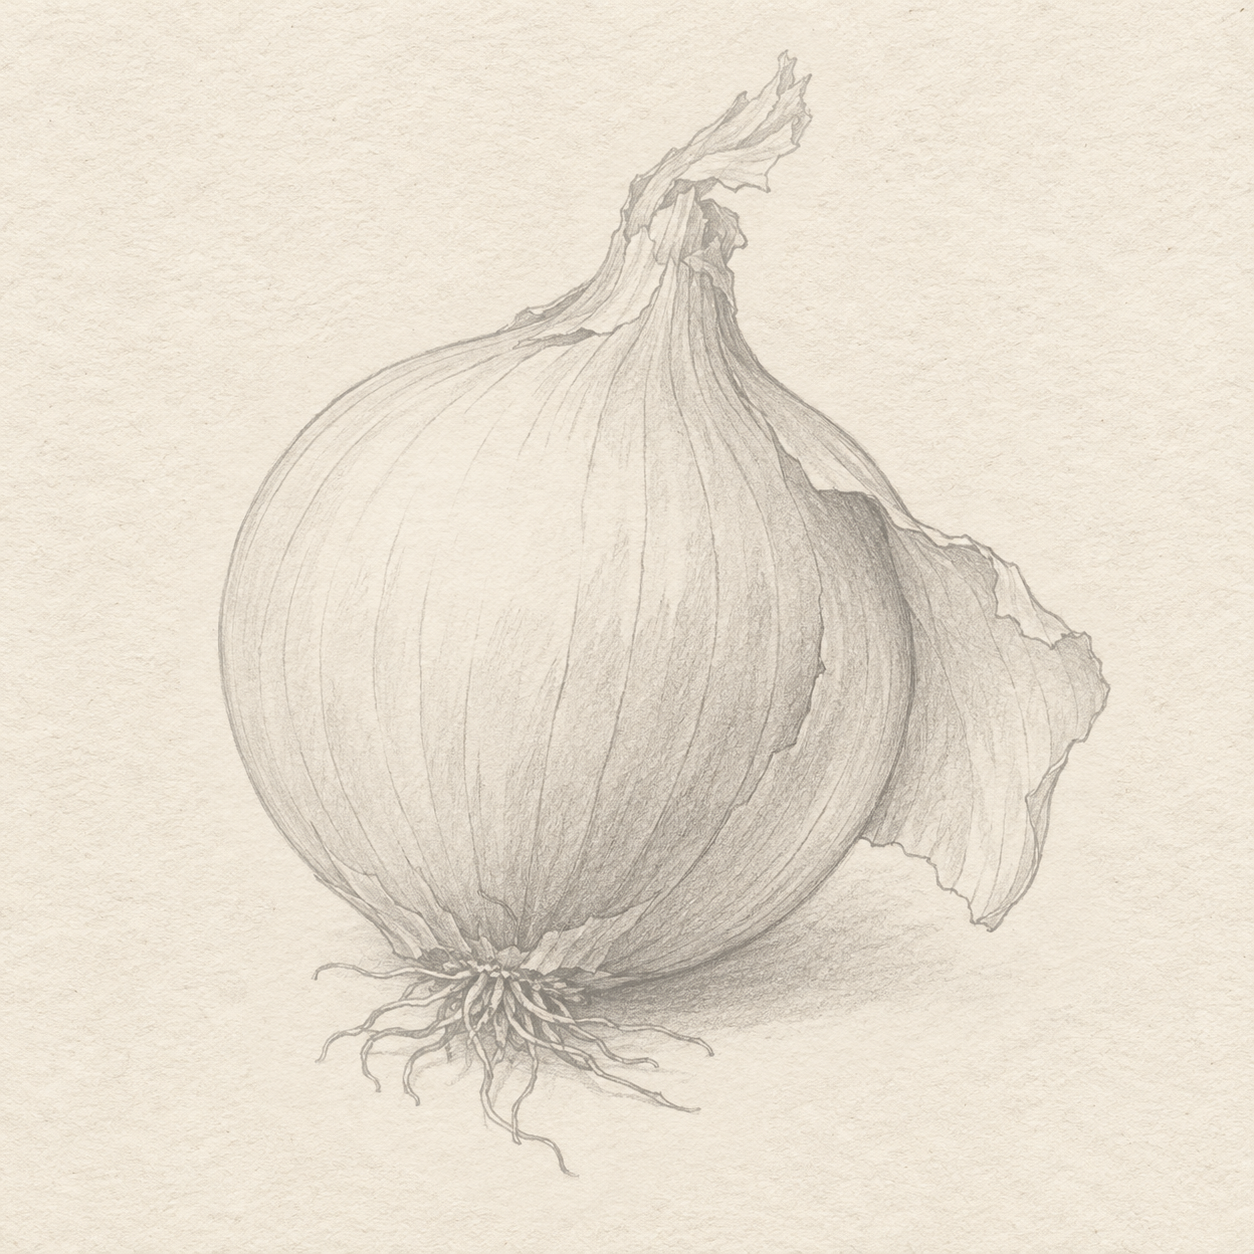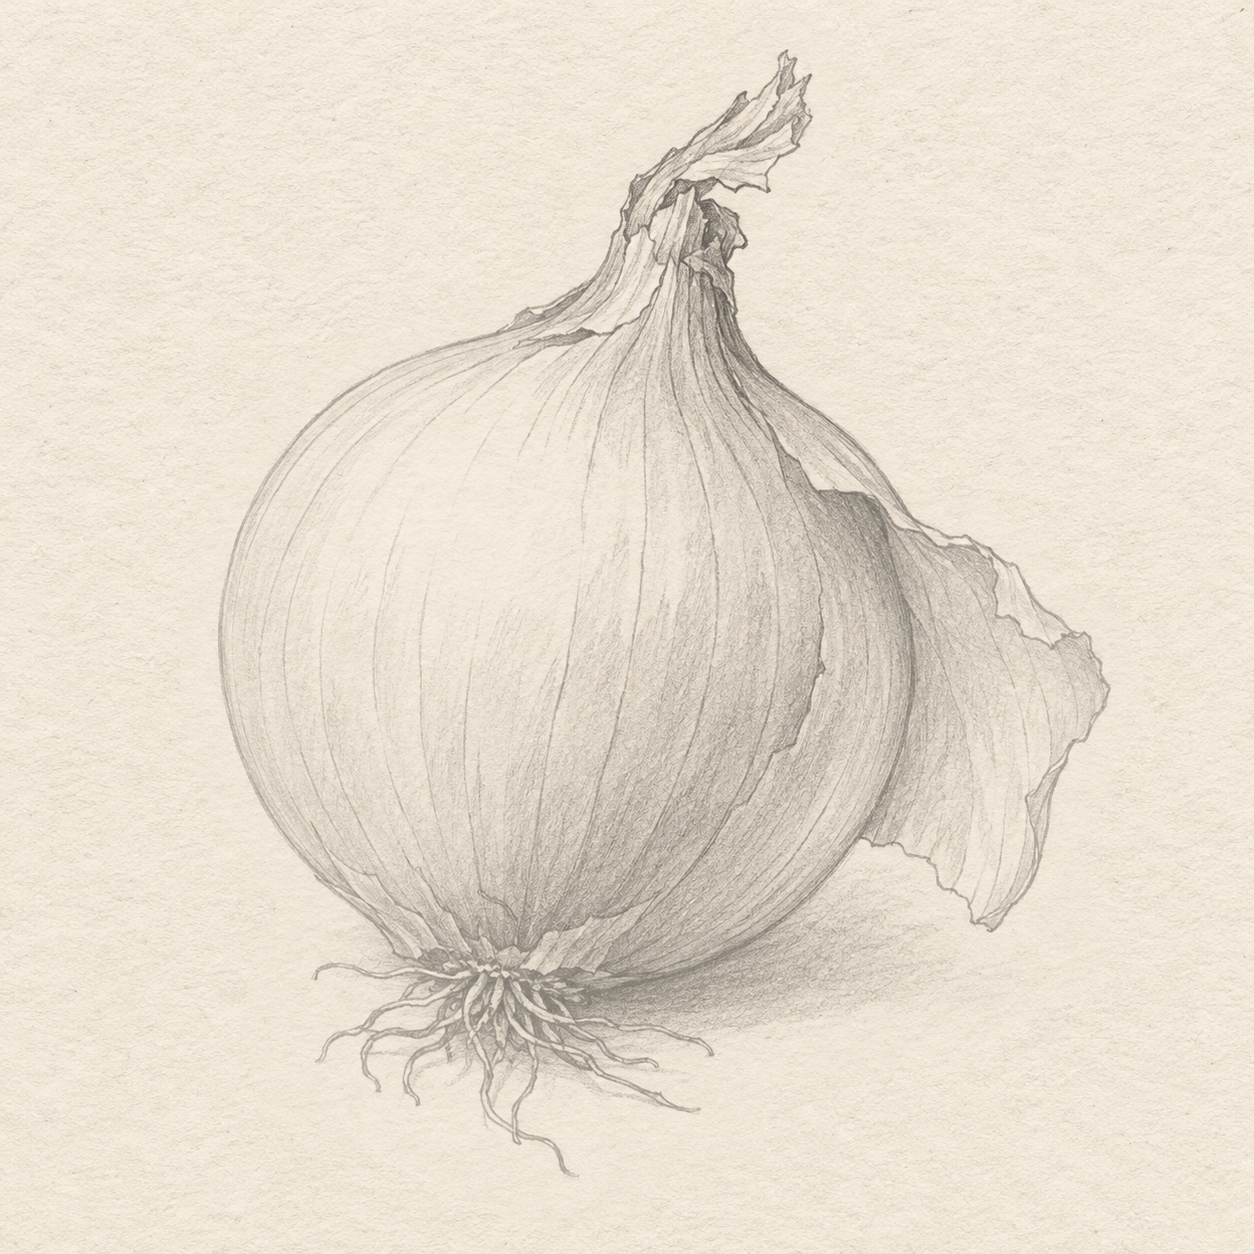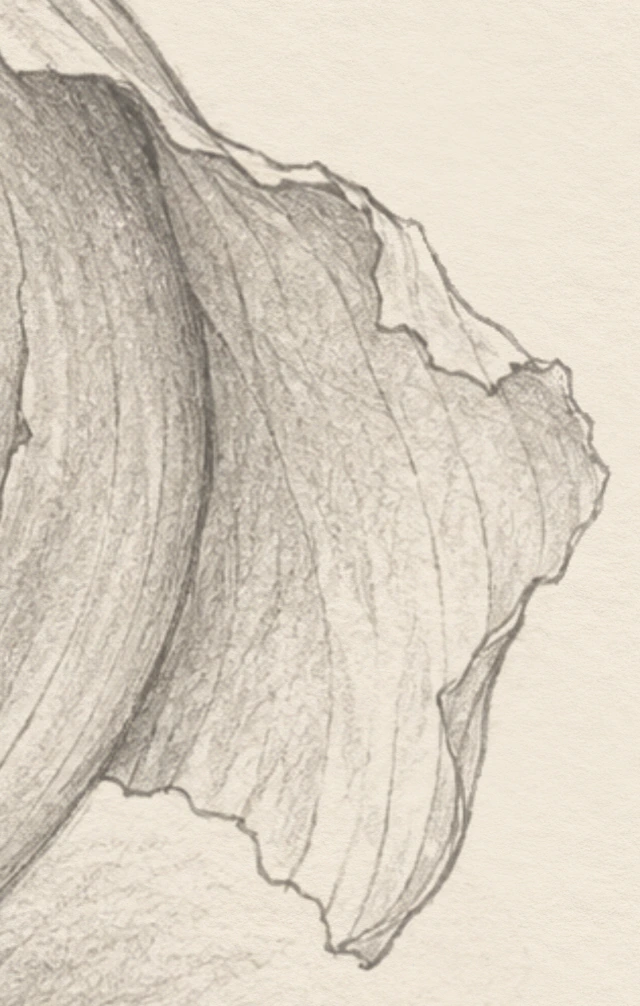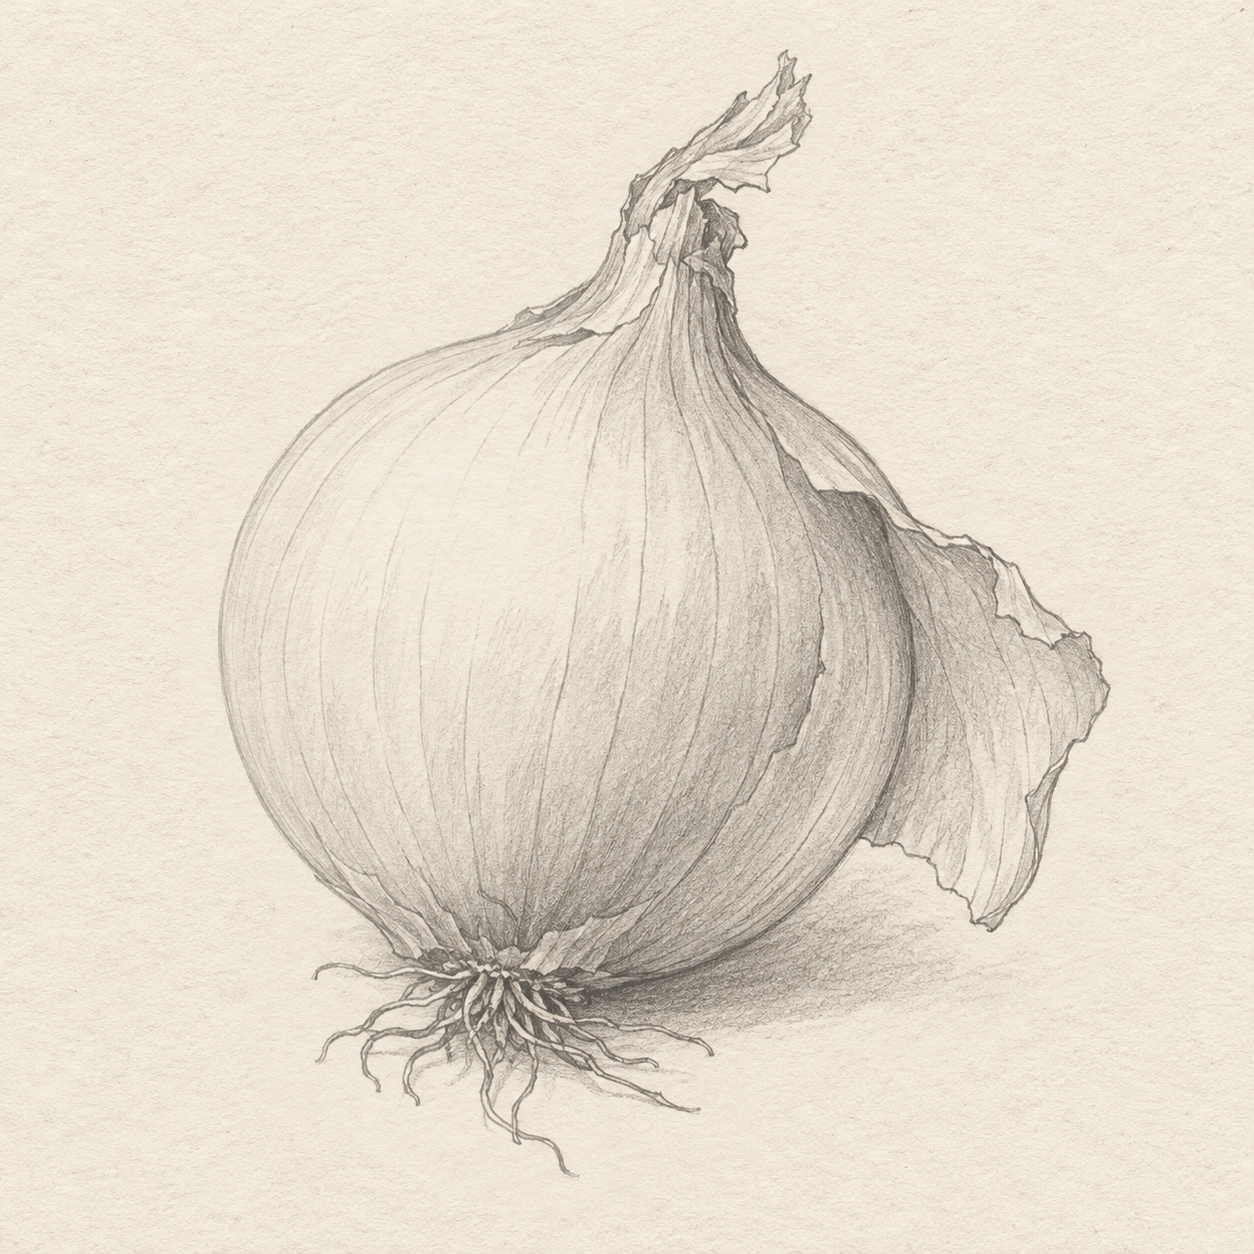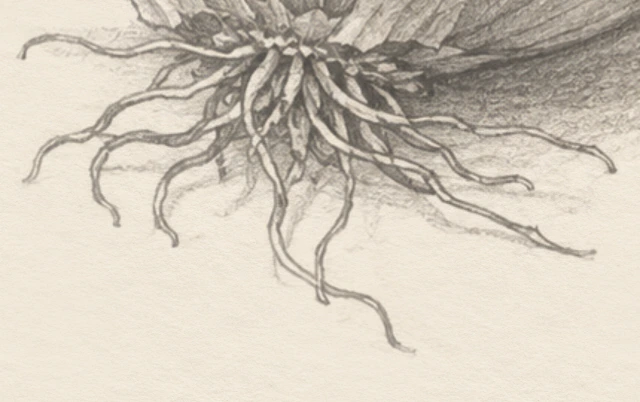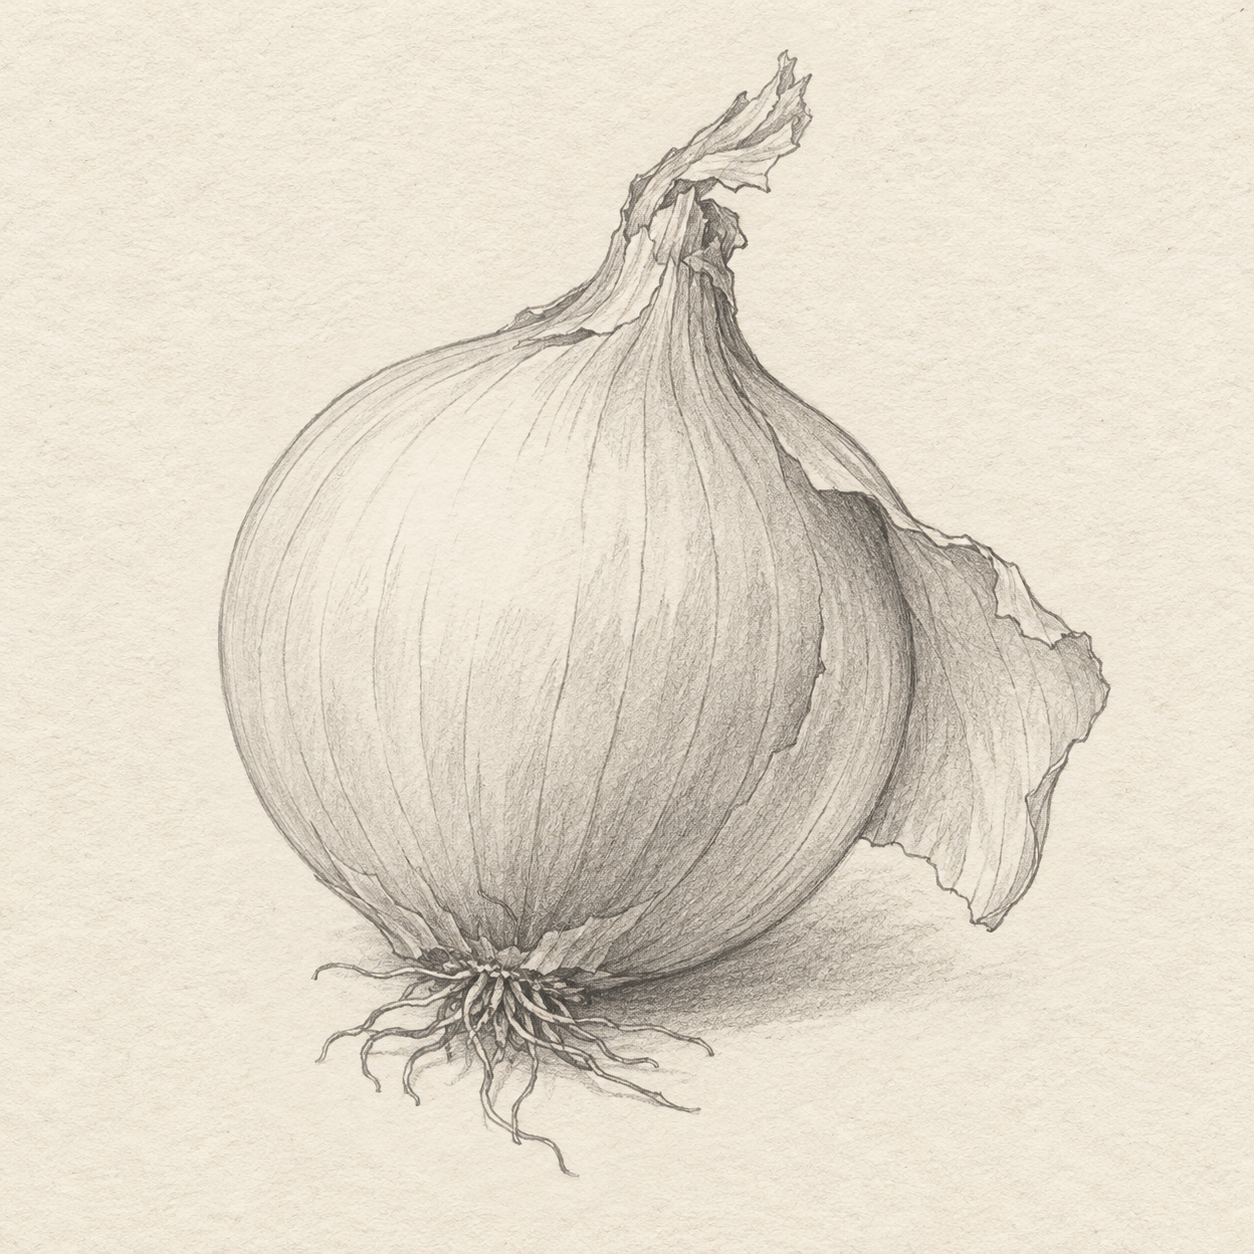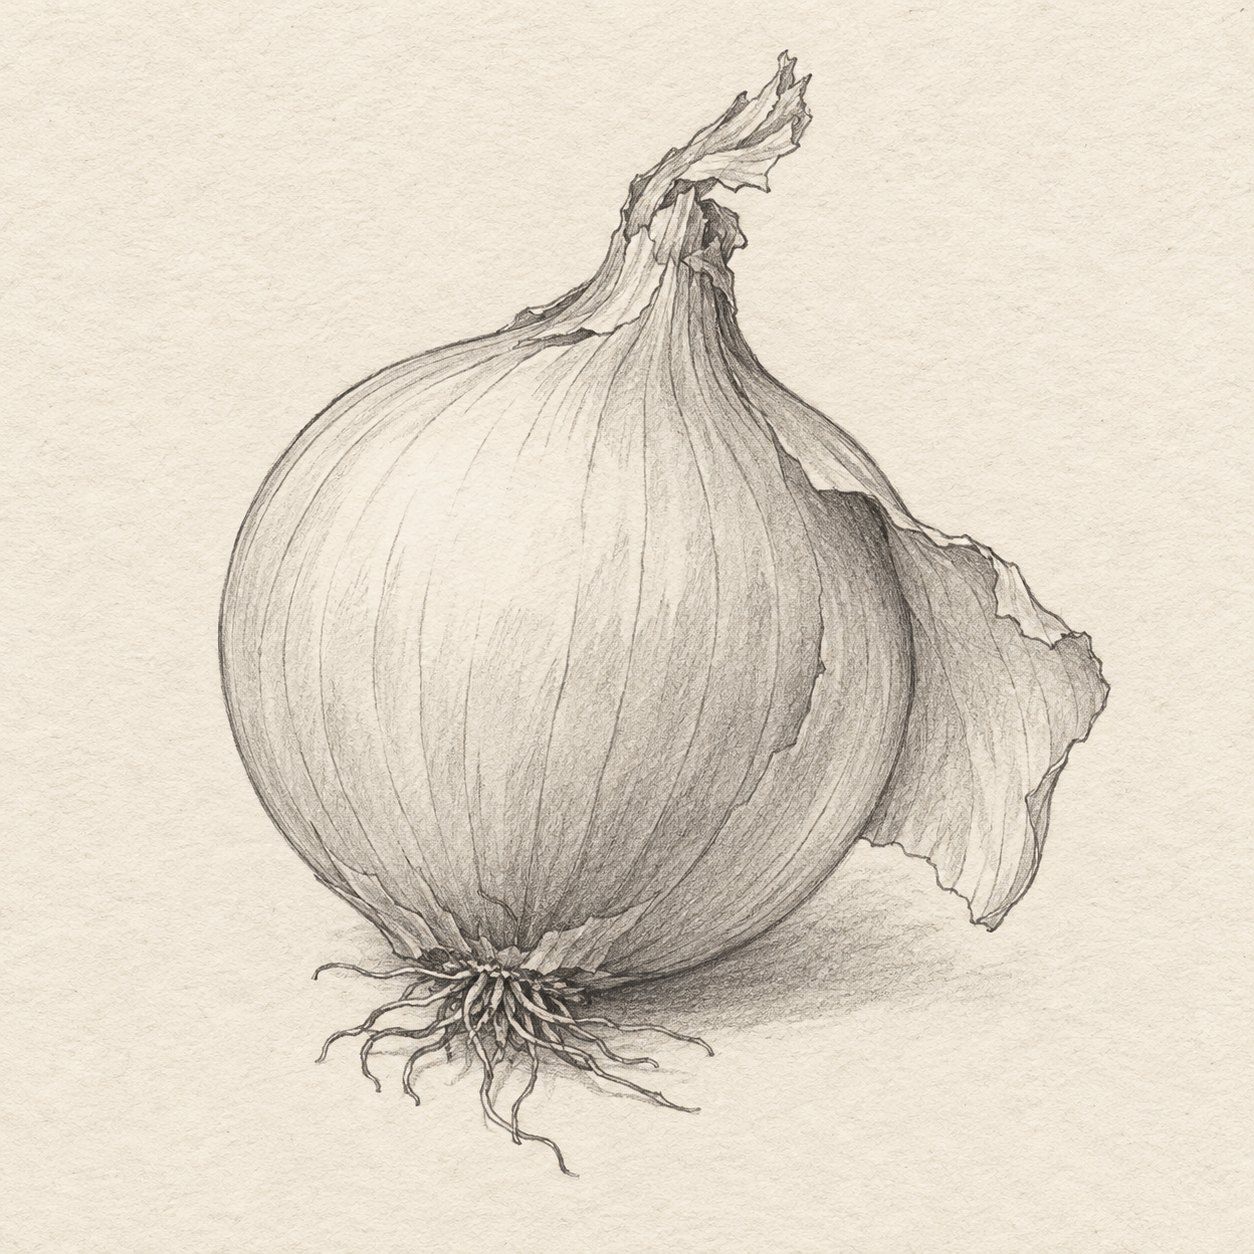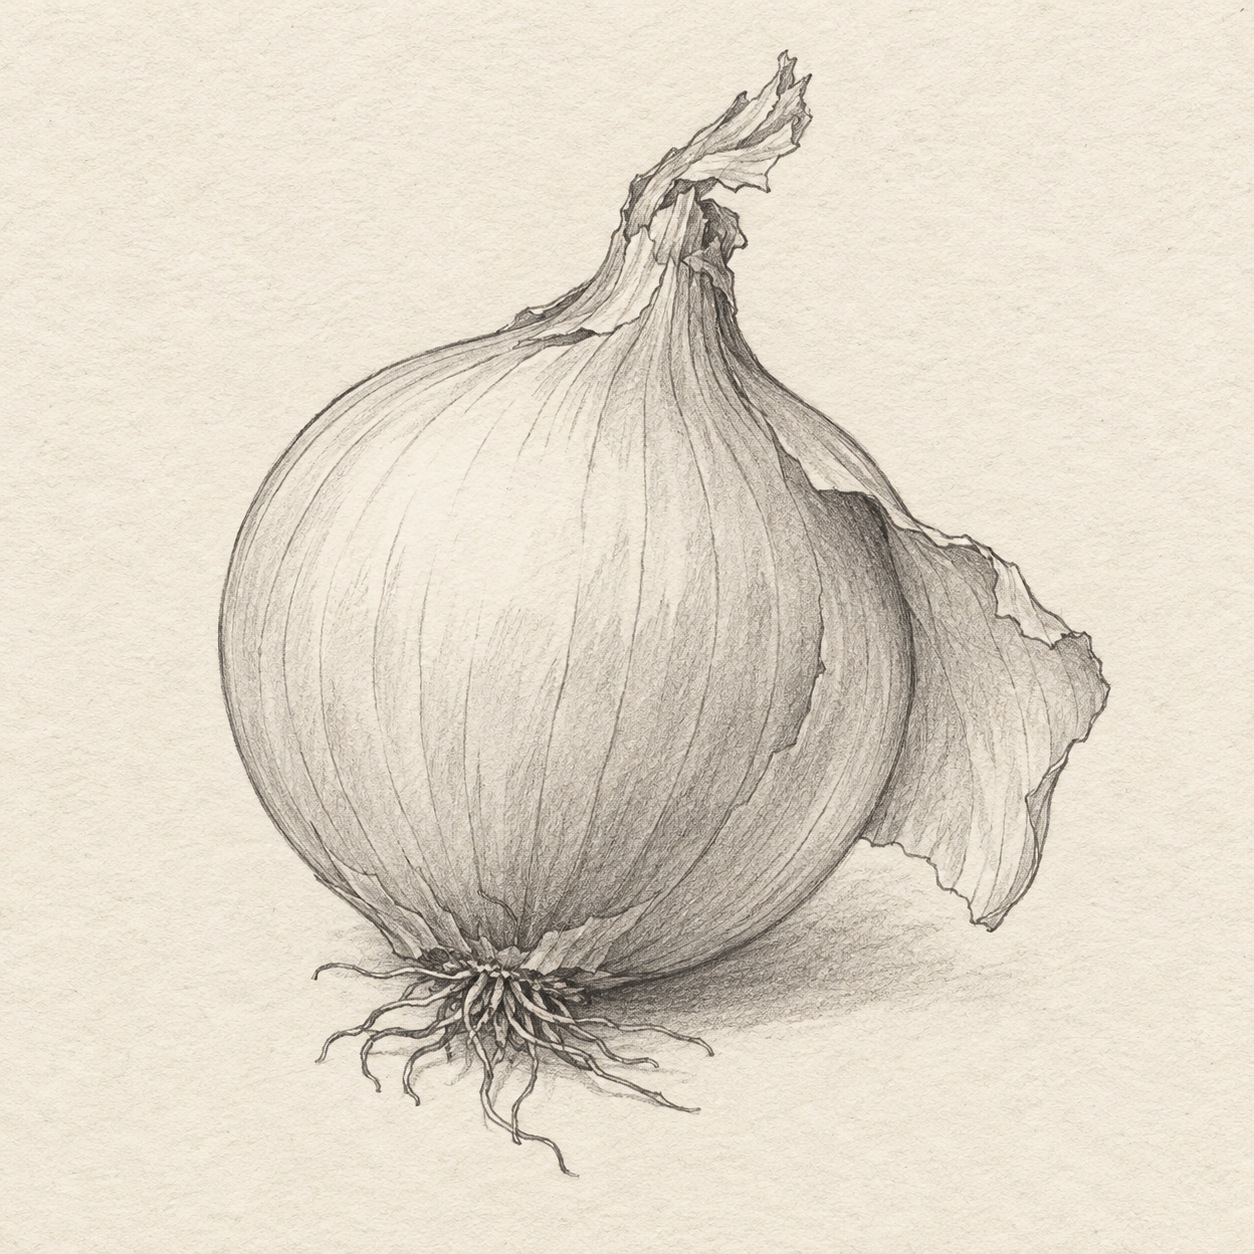
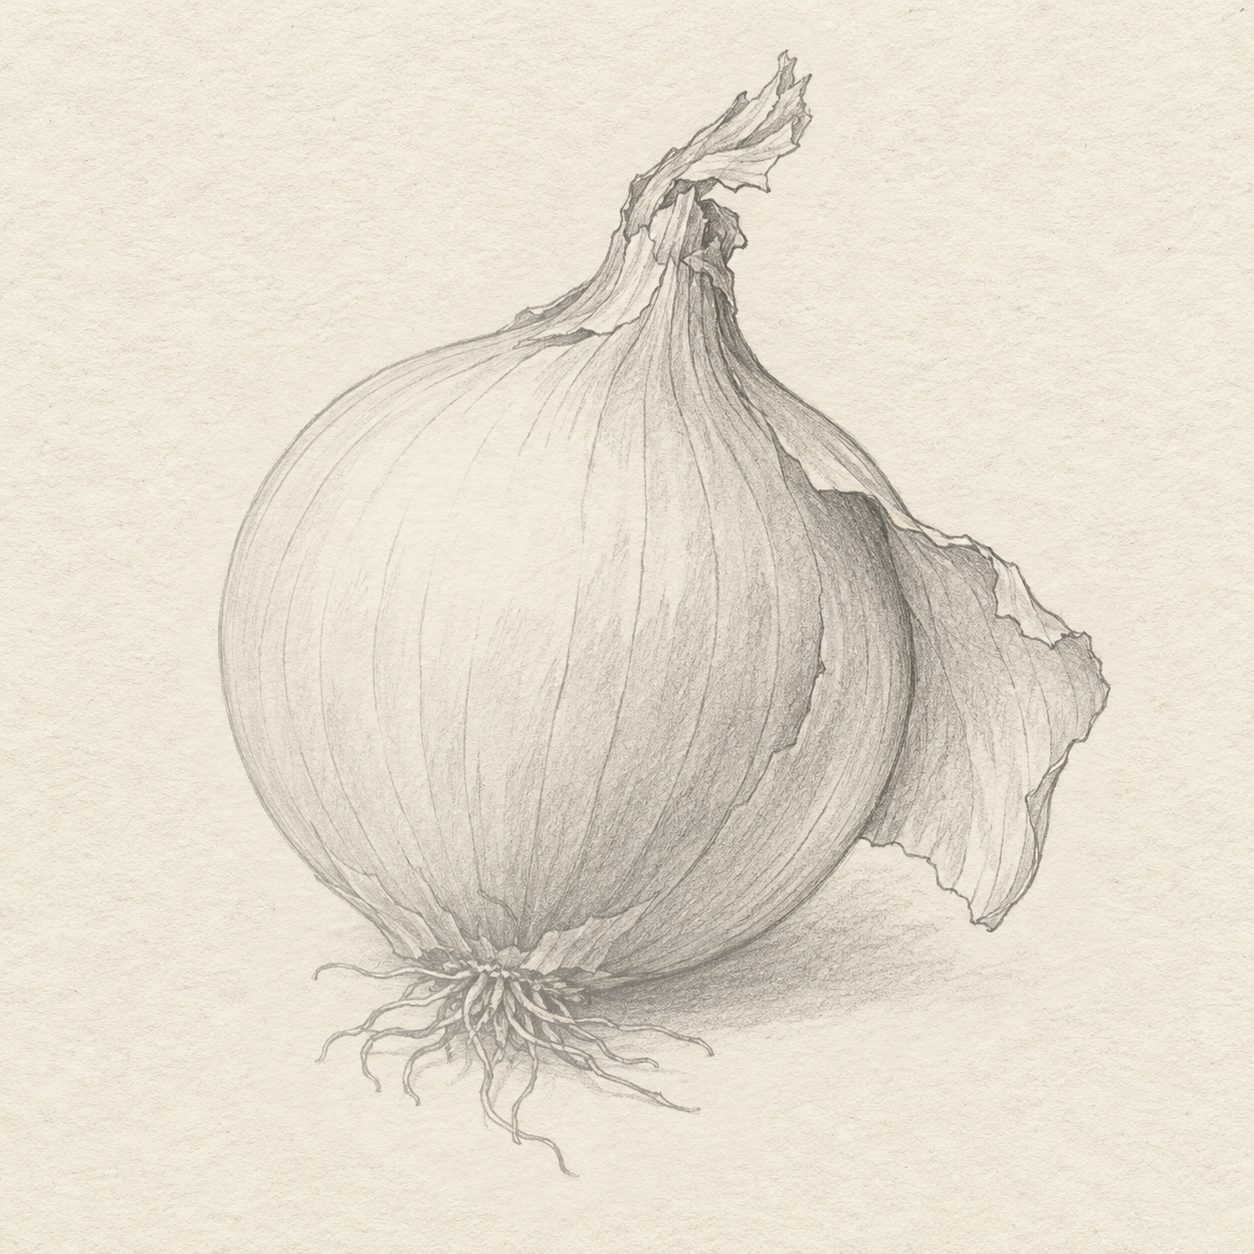
Graphite drawing of an onion with a peeling papery flap, dried neck, fine roots and curved skin lines on pale textured paper.
Drawing referenceAbout reference use

An onion with papery skin

A study of an onion with a peeling papery flap, dried neck, fine roots and curved skin lines on pale textured paper. Block in the bulb and tapered neck on a tilted axis.

Food & drinkMediumPencilReference practice: about 30 min
Save reference

Follow the drawing tutorial

Draw the leaning neck, curled skin and tapered roots, then build soft pencil shading around a broad light area.

Start the 14-step tutorial

A small thing to tryUse the papery flap to show the difference between thin skin and solid bulb.

Draw it, one step at a time

How to draw this onion in pencil

Draw the leaning neck, curled skin and tapered roots, then build soft pencil shading around a broad light area.

14 steps · 17 progress drawings Full tutorial: about 60 minutes, at your pace

What you’ll need

  • HB pencil
  • 2B pencil
  • Kneaded eraser
  • Ruler marked in centimetres
  • Textured drawing paper

Before you start

Allow a 9.5 cm wide, 12 cm high area for this study, wherever you want it on your paper. Start from your chosen root-base cross and use the named existing marks for later measurements; do not draw a border. Left and right mean the sides of the picture. The measurements are approximate; a millimetre or two of variation is fine. Draw curves freehand and keep early marks light. The bulb sits left to leave room for the loose skin on the right. Later, gently lighten the planning lines with the kneaded eraser, then add softer pencil strokes. Build darker shading in small passes, keeping the pale strips open. The full tutorial estimate is about 60 minutes at your pace.

  1. Step 1 of 14 · Plan

    Place the leaning onion

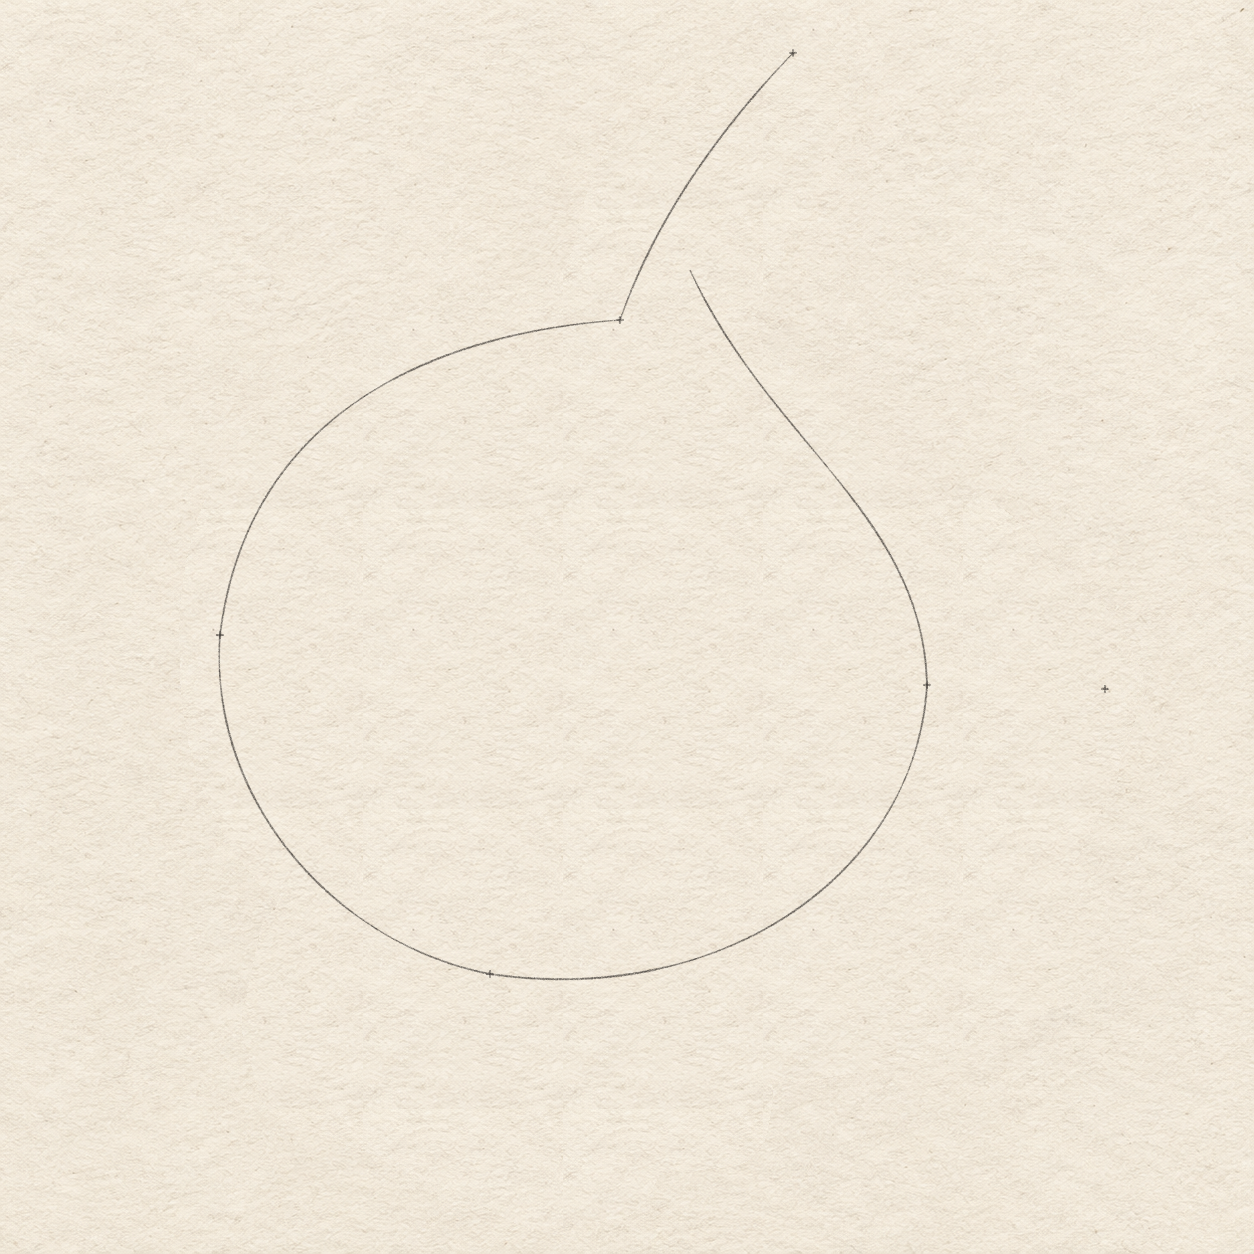
    Six small placement crosses, one open pear-shaped bulb envelope and one rising neck-direction curve on the same warm square paper.
    Drawing 1A — Place the leaning onionView larger

    Instructions for Drawing 1A — Place the leaning onion

    1. Choose where the root base will sit. Leave at least 3 cm of clear paper to its left, 6.5 cm to its right, 9.5 cm above it and 2.5 cm below it for the onion, skin, roots and shadow. Use HB lightly; do not draw a border.
    2. Mark a small root-base cross in your chosen spot. From that cross, measure 3 cm right and 9.2 cm up for the neck-tip cross; 2.7 cm left and 3.4 cm up for the left bulb cross; and 4.4 cm right and 2.9 cm up for the right bulb cross.
    3. From the root-base cross, put the shoulder cross 1.3 cm right and 6.5 cm up, and the loose-skin-tip cross 6.1 cm right and 2.8 cm up. The bulb sits left so the skin has room on the right.
    4. Draw a light, open bulb guide from the shoulder through the left point, root base and right point. Turn its upper-right end toward the neck, stopping a little above and right of the shoulder.
    5. Draw one separate curve from shoulder to neck tip to set the neck’s lean. These are planning guides, not final edges; keep the lower bulb broad and the tip well above it.
    Next step — Choose the broad bulb
  2. Step 2 of 14 · Plan

    Choose the broad bulb

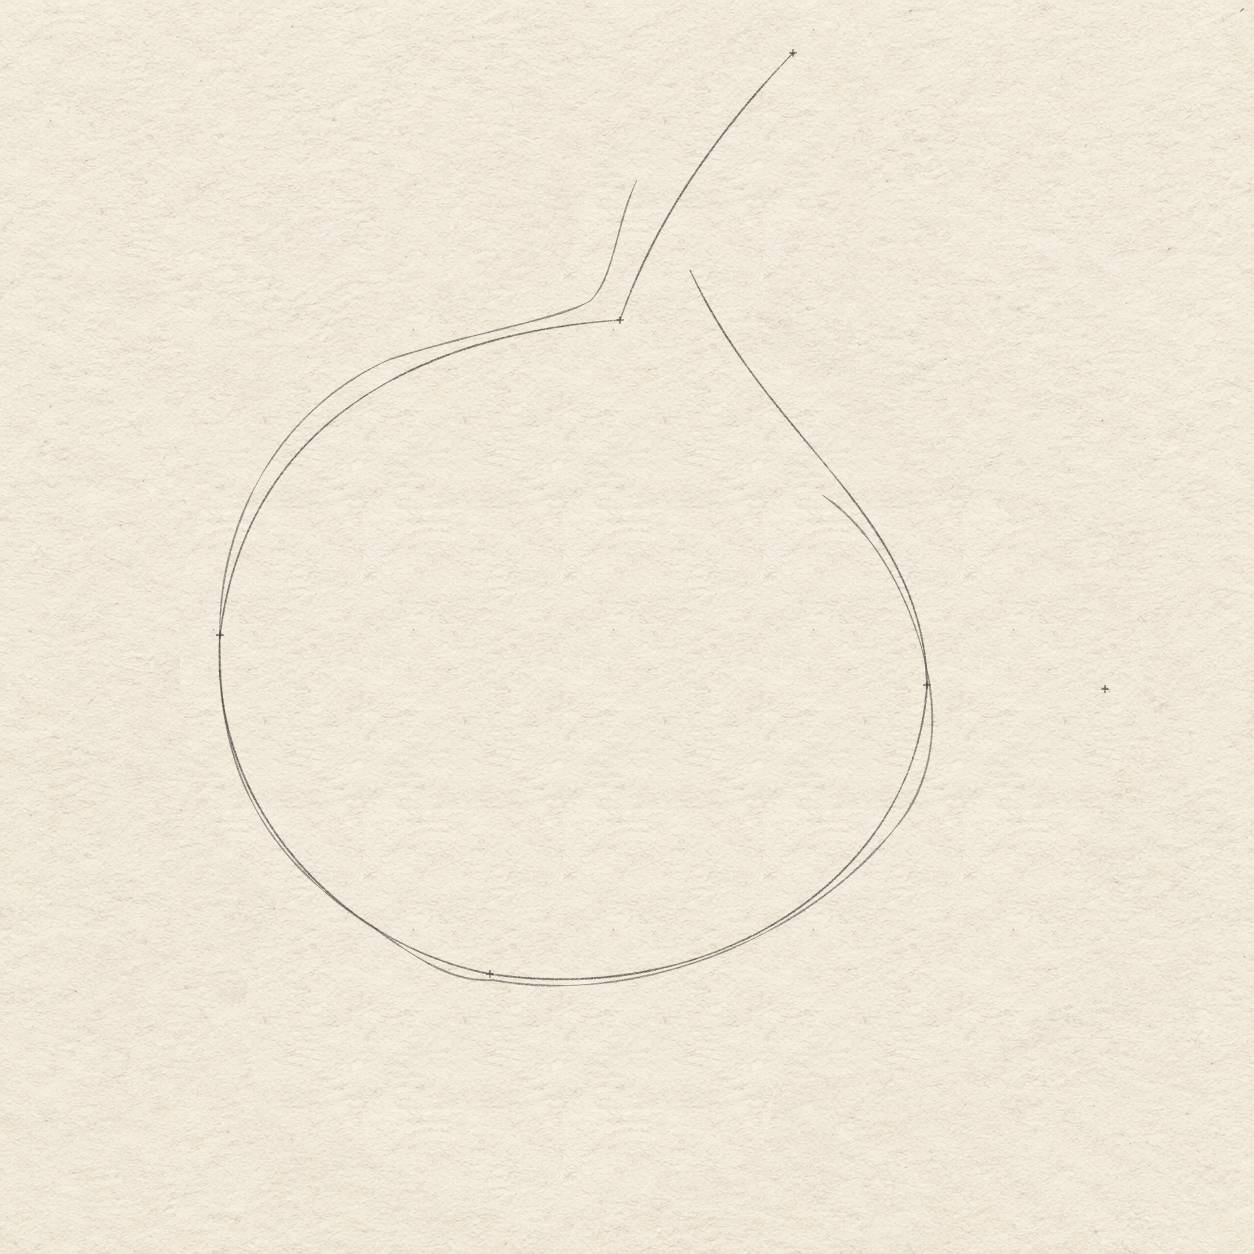
    A light selected bulb outline rises into the left neck edge and wraps around the broad bulb to an open upper-right end, with placement guides retained.
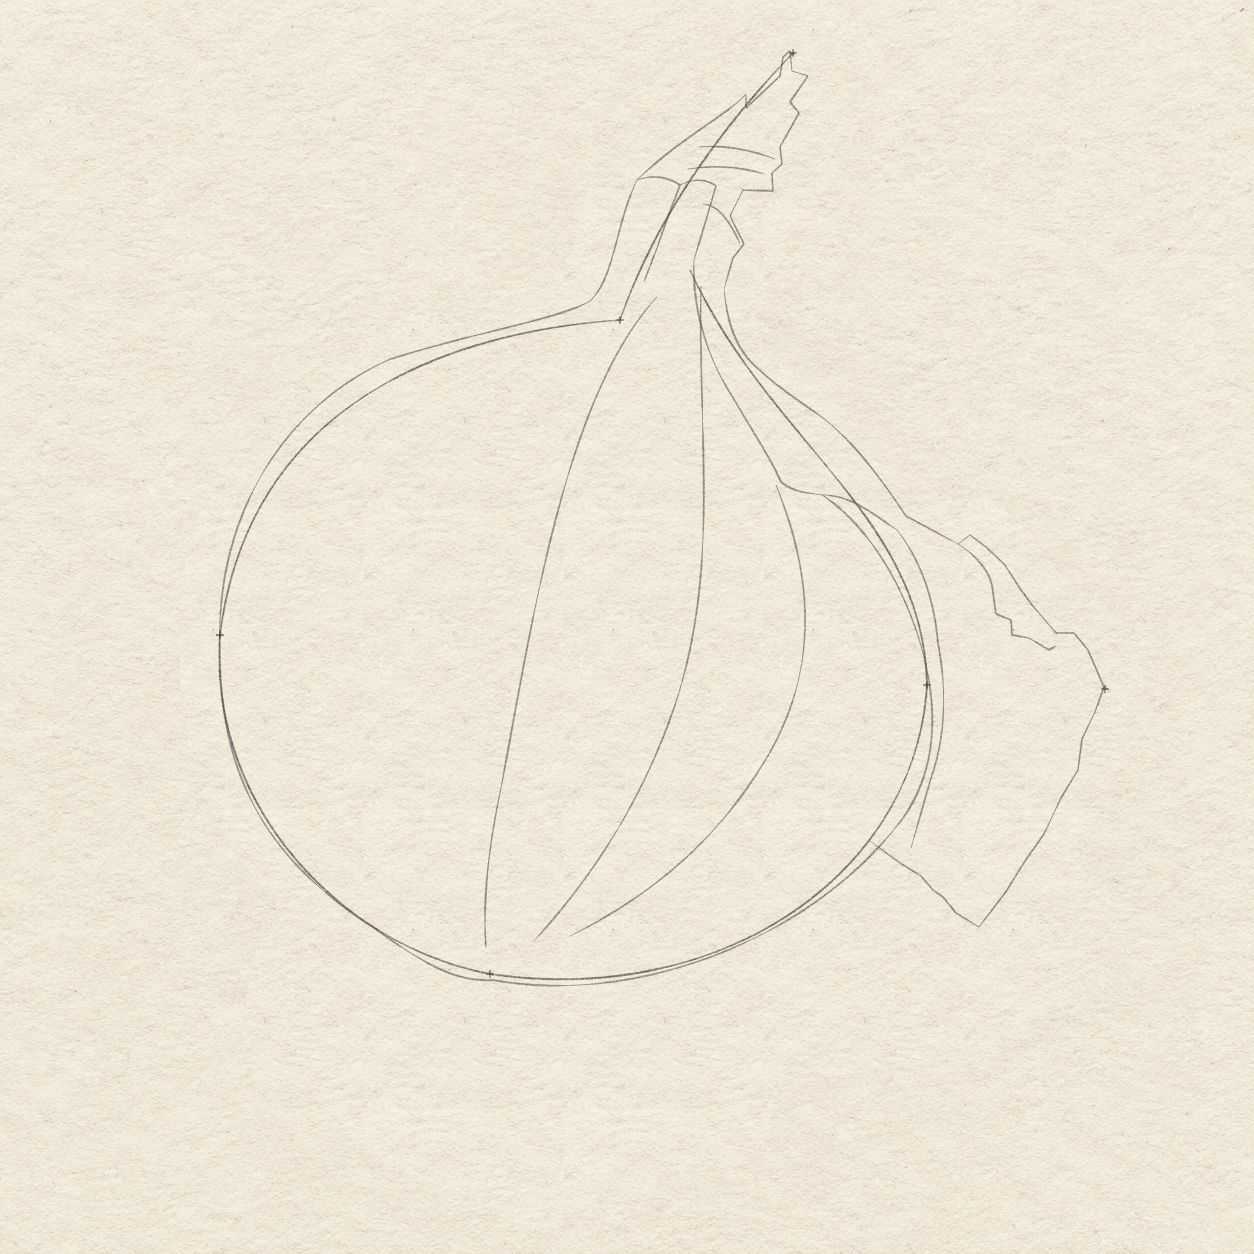
    Drawing 2A — Choose the broad bulb outlineView larger

    Instructions for Drawing 2A — Choose the broad bulb outline

    1. Start about 1.4 cm above and just right of the shoulder cross. Curve down-left past the shoulder, then bow outward through the left bulb point and down to the root base.
    2. Continue around the broad bottom and up the bulb’s right side. Use the right cross for width; end about 1.8 cm above and 1.1 cm left of that cross.
    3. Keep this selected edge light but firmer than the smooth guide. Let the bottom flatten gently at the root base; lighten a pointed bottom or narrow left side with the eraser, then redraw that curve now.
    Next step — Open the torn neck
  3. Step 3 of 14 · Plan

    Open the torn neck

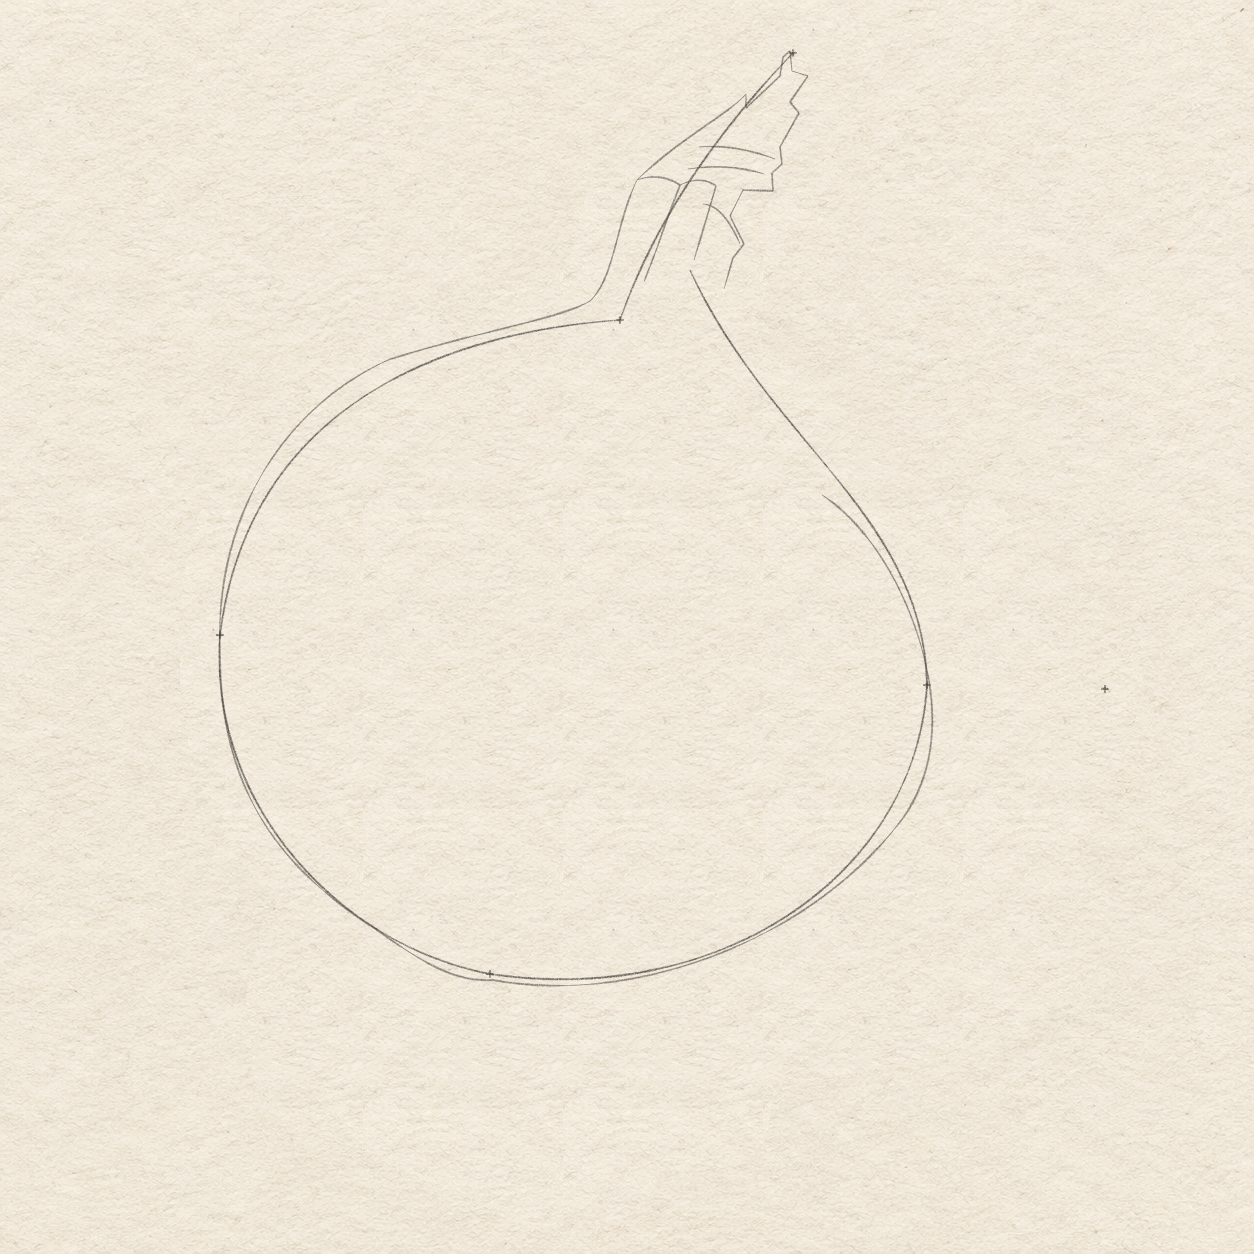
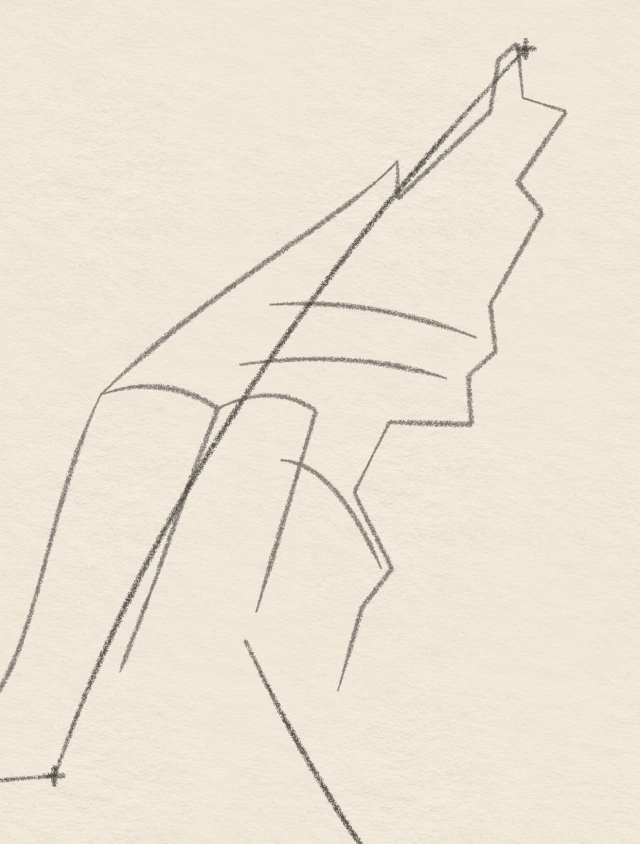
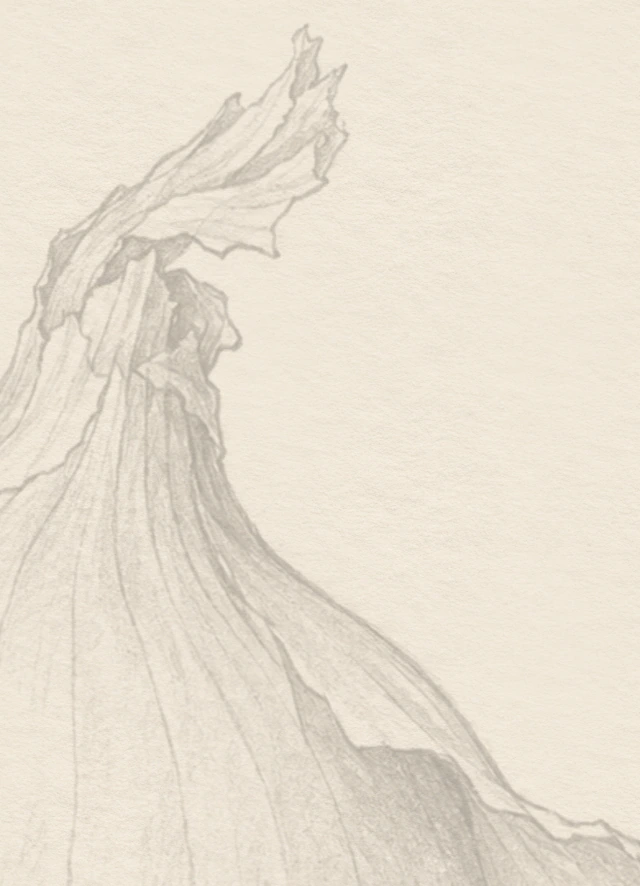
    The leaning torn neck has a complete irregular upper and right edge plus a few open interior folds; the bulb and temporary placement guides stay fixed.
    Drawing 3A — Plan the torn neckView larger
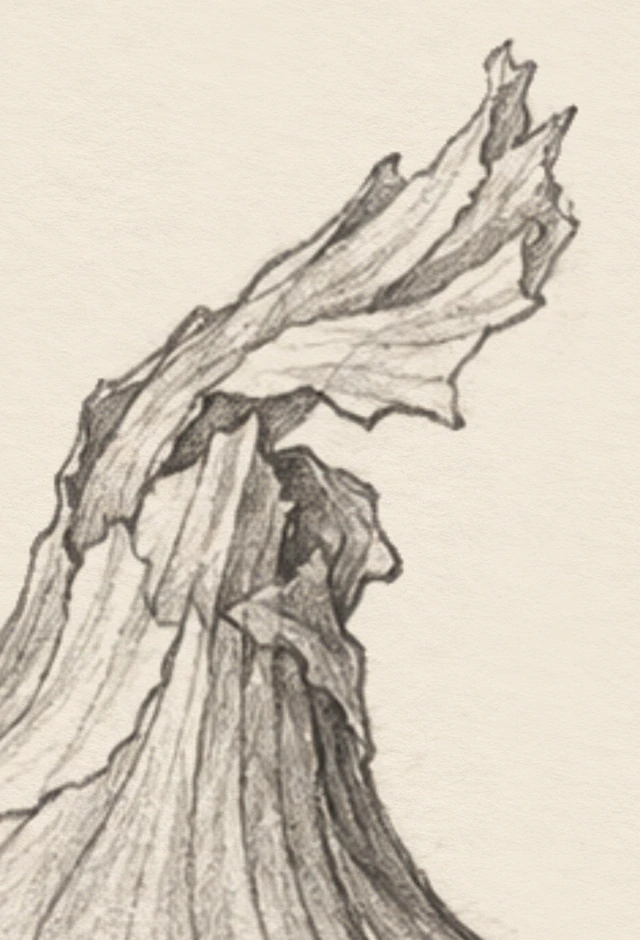
    Enlarged from this same drawing. The torn neck edge and open folds leave paper strips for later light areas.
    Detail 3A.1 — Open neck foldsEnlarged from this same drawing. The torn neck edge and open folds leave paper strips for later light areas.

    Instructions for Drawing 3A — Plan the torn neck

    1. From the top of the selected left edge, climb up-right toward the neck-tip cross. Make a few short uneven torn points near the tip, then turn down the right edge.
    2. Keep the dry neck narrow. Bring its right edge down-left to a point just right of the shoulder cross, slightly above that cross.
    3. Inside the neck, add two long open folds from the left-edge bend down toward the shoulder, one short turning fold beside the right edge, and two shallow cross-folds near the upper bend.
    4. Leave the strips between these lines as paper. The neck leans right rather than standing upright; correct the lean or crowded pale gaps before shading.
    Next step — Keep the shoulder strip light
  4. Step 4 of 14 · Plan

    Keep the shoulder strip light

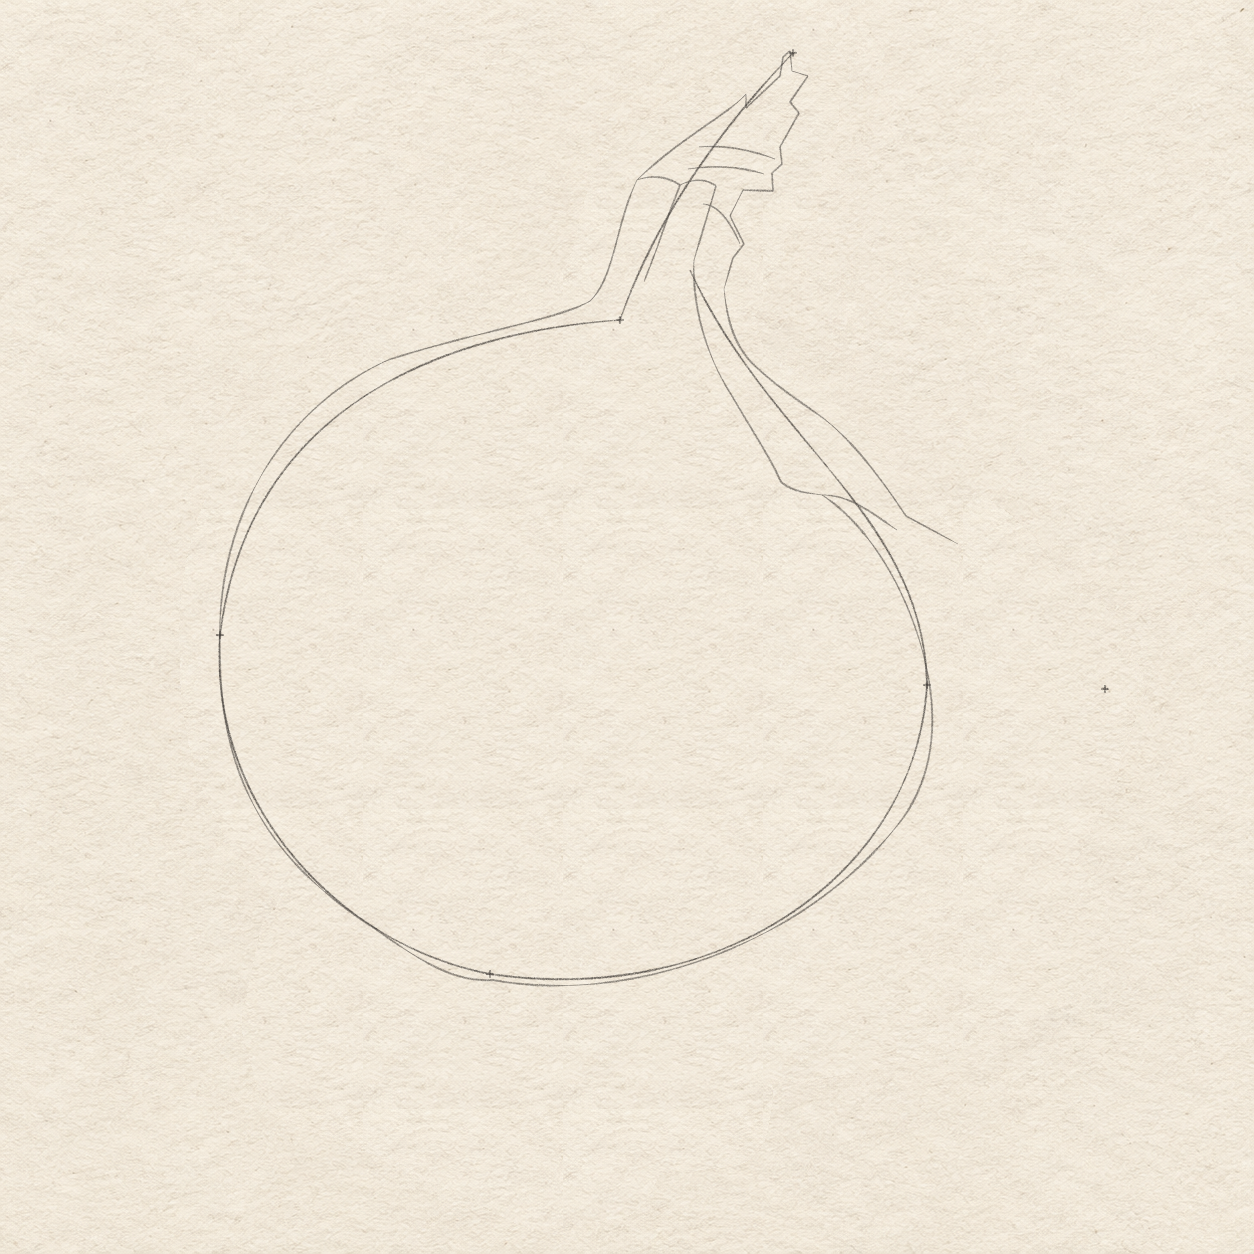
    Two separate shoulder routes curve from the torn neck toward the skin attachment, enclosing a narrow pale strip above the selected bulb.
    Drawing 4A — Leave the shoulder strip openView larger
    Enlarged from this same drawing. The two separately placed routes bound the pale shoulder strip before dark graphite is added.
    Detail 4A.1 — Two shoulder routesEnlarged from this same drawing. The two separately placed routes bound the pale shoulder strip before dark graphite is added.

    Instructions for Drawing 4A — Leave the shoulder strip open

    1. From the neck’s lower-right end, curve down and right over the shoulder. Let this outer line bow right to an end about 4.7 cm right and 4.3 cm above the root-base cross.
    2. Start the inner line at the bottom of the right-hand long inner neck fold. Curve down through the bulb outline’s open upper-right end, then out-right to just below and left of the outer line’s end.
    3. Keep the narrow paper strip between these two routes open. The inner route bends into the bulb sooner; it is not a constant-width copy of the outer edge.
    Next step — Plan the hanging skin
  5. Step 5 of 14 · Plan

    Plan the hanging skin

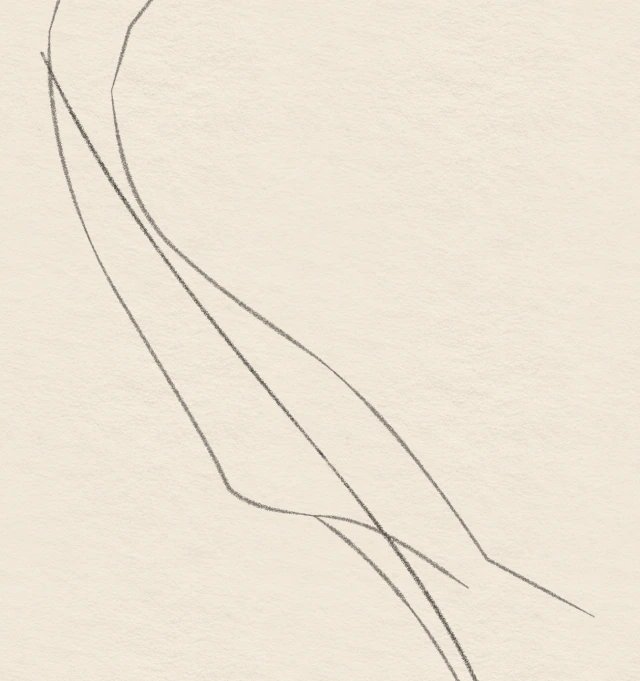
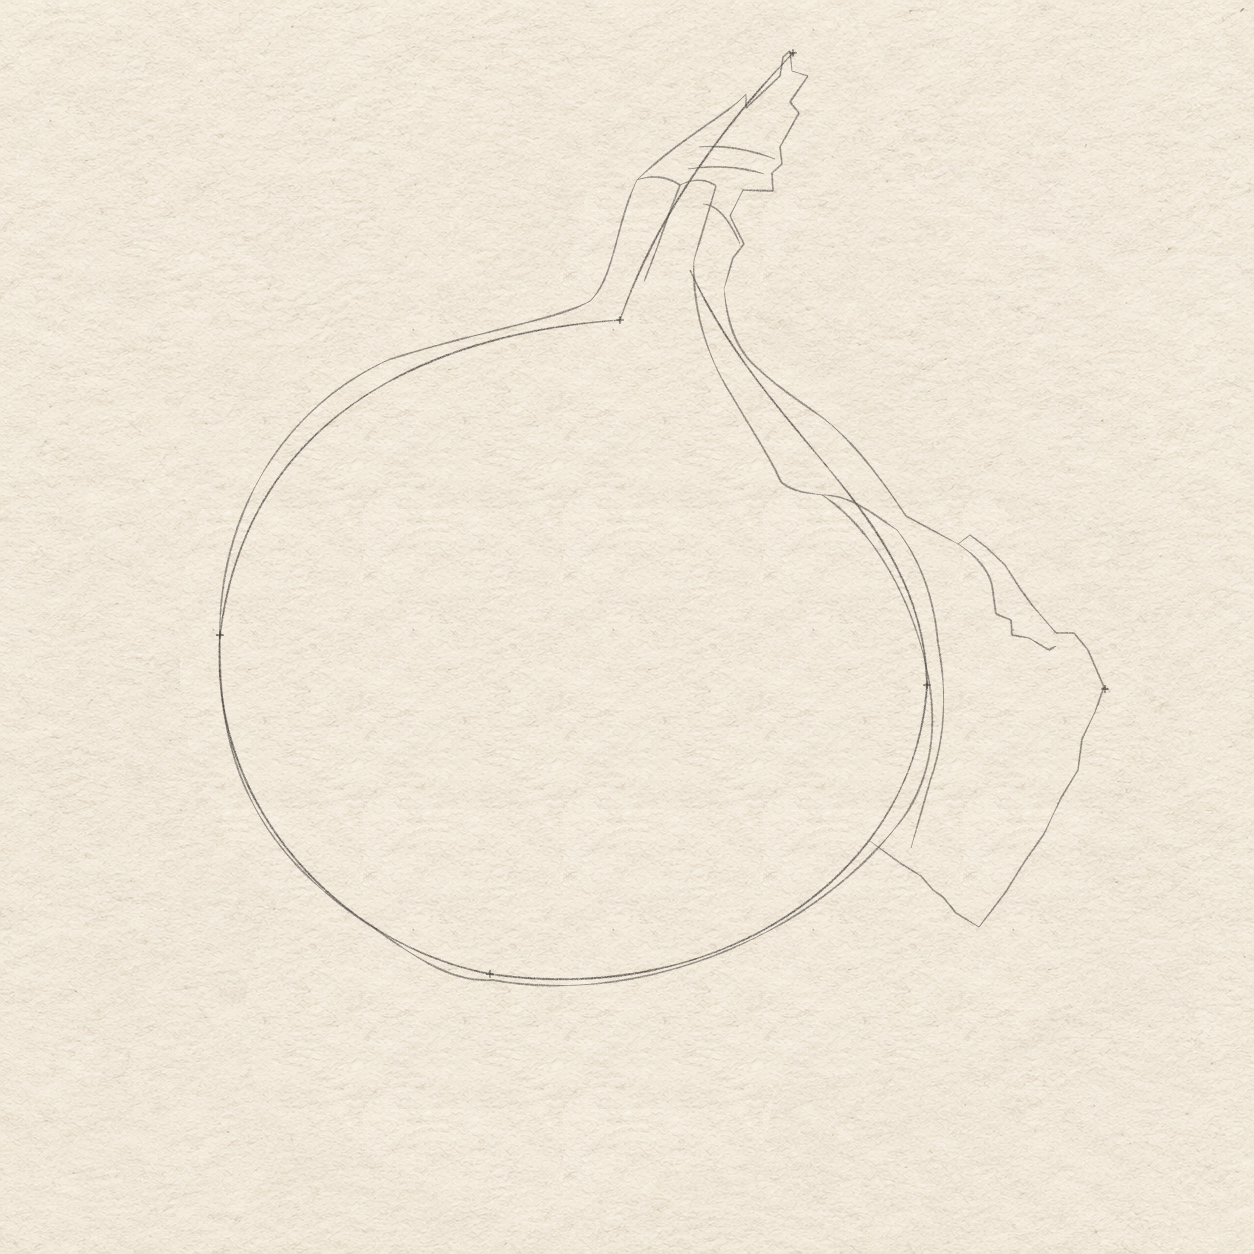
    The complete hanging skin extends right, turns to a low torn point and returns to the bulb, with a separate long inner attachment curve and short upper fold.
    Drawing 5A — Plan the hanging skinView larger
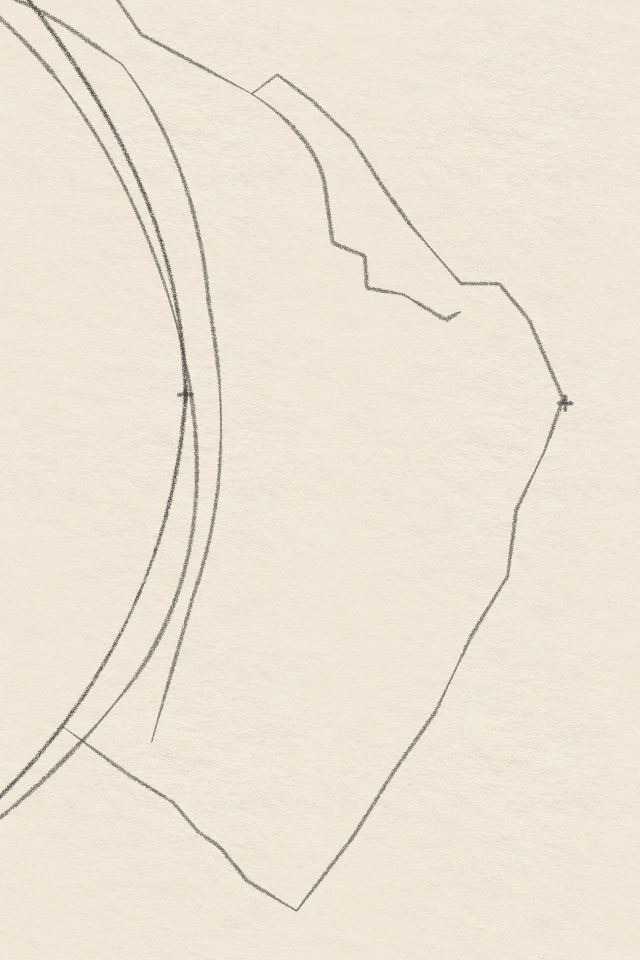
    Enlarged from this same drawing. The broad flap face stays separate from its long inner attachment and pale ridge.
    Detail 5A.1 — Skin attachment and pale ridgeEnlarged from this same drawing. The broad flap face stays separate from its long inner attachment and pale ridge.

    Instructions for Drawing 5A — Plan the hanging skin

    1. From the outer shoulder line’s end, draw the torn skin edge through the loose-skin-tip cross. Turn down-left to a low point about 4.9 cm right and 5 mm above the root-base cross.
    2. Bring that lower torn edge back up-left to meet the bulb’s right edge. Leave a broad flap face between this edge and the outer torn edge.
    3. From the inner shoulder line’s end, bow a separate attachment curve down beside the bulb, ending near its lower-right side. Add a short broken fold across the flap’s upper face.
    4. Keep a long pale ridge beside the attachment. The torn notches can vary; preserve the broad face and its two different attachment starts.
    Next step — Set the curved grain direction
  6. Step 6 of 14 · Plan

    Set the curved grain direction

    Three light curved grain-direction guides run down the planned bulb toward the root area, while all previous form routes remain fixed.
    Drawing 6A — Plan three broad grain directionsView larger

    Instructions for Drawing 6A — Plan three broad grain directions

    1. Place three light grain curves inside the bulb. Run the left one from just below the neck toward the root base, bowing left across the broad face.
    2. Run the middle curve from below the right neck edge toward the root, bending left near the bottom. Run the right curve from the inner shoulder bend around the right bulb, then back toward the root.
    3. Stop all three before the root knot area. These curves direct later pencil strokes; they do not divide the bulb into equal stripes or outline the broad left-centre light.
    Next step — Plan roots and ground
  7. Step 7 of 14 · Plan

    Plan roots and ground

    A small uneven knot at the selected bulb contact sends unequal light root-direction curves left, down and right, with open gaps.
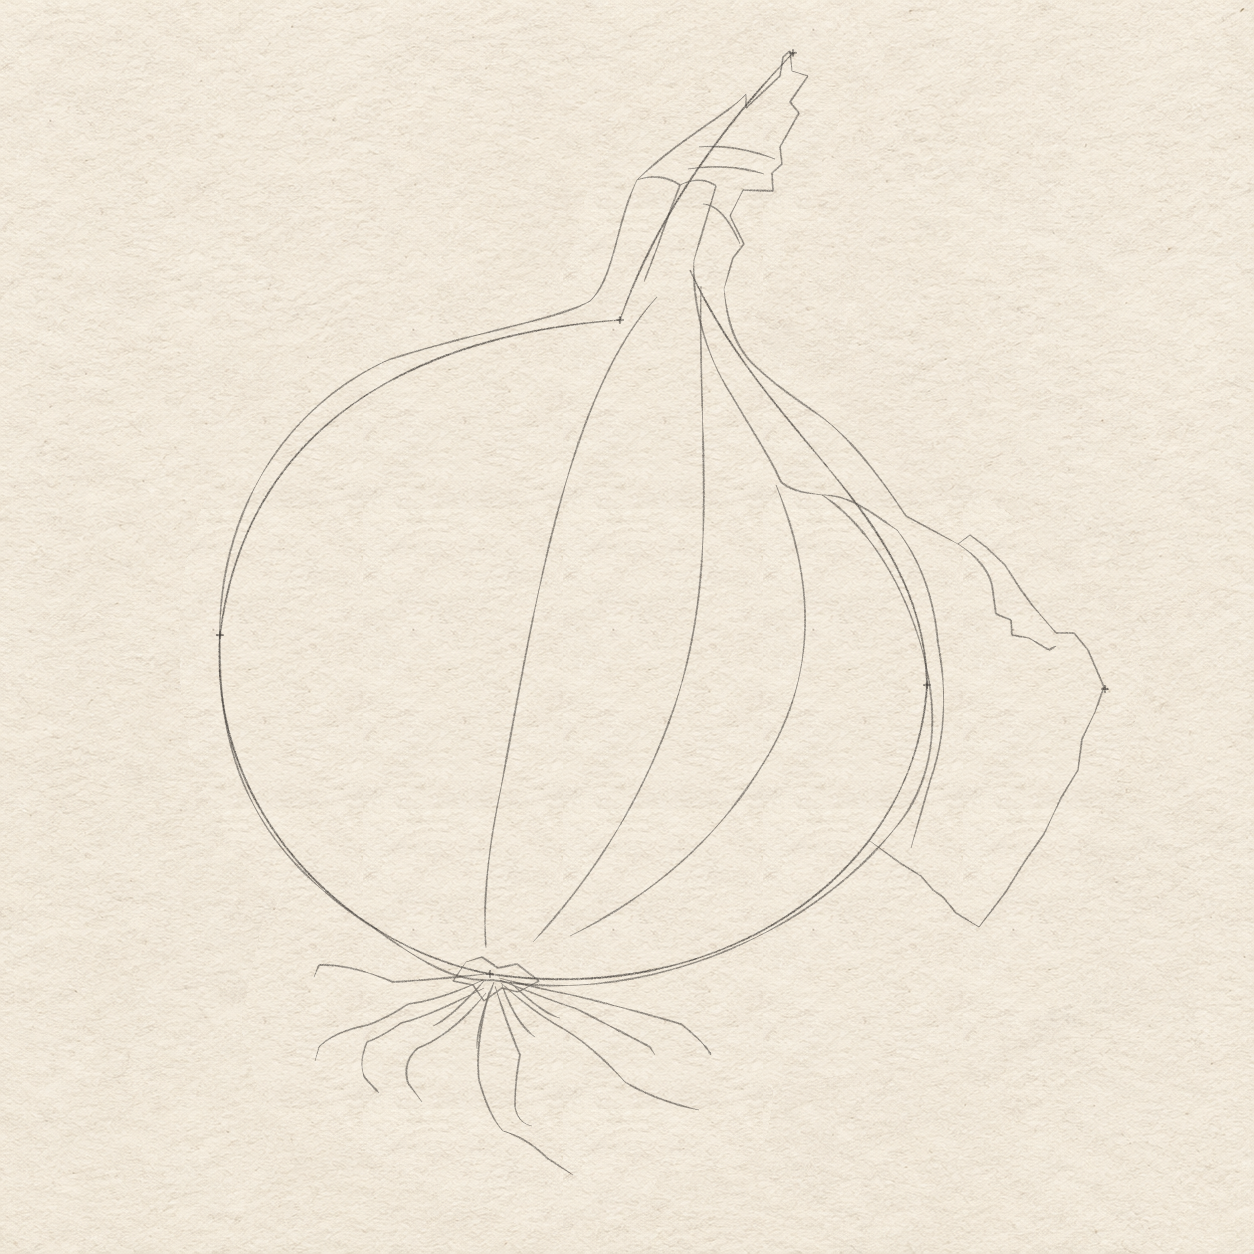
    Drawing 7A — Spread the roots from a small knotView larger
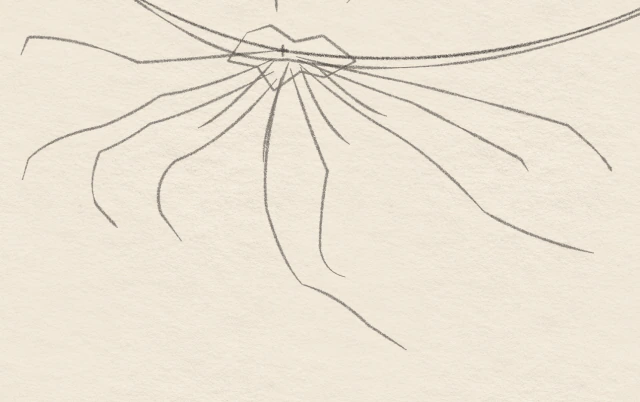
    Enlarged from this same drawing. The knot and single root curves set the fan before paired edges are selected.
    Detail 7A.1 — Root directionsEnlarged from this same drawing. The knot and single root curves set the fan before paired edges are selected.

    Instructions for Drawing 7A — Spread the roots from a small knot
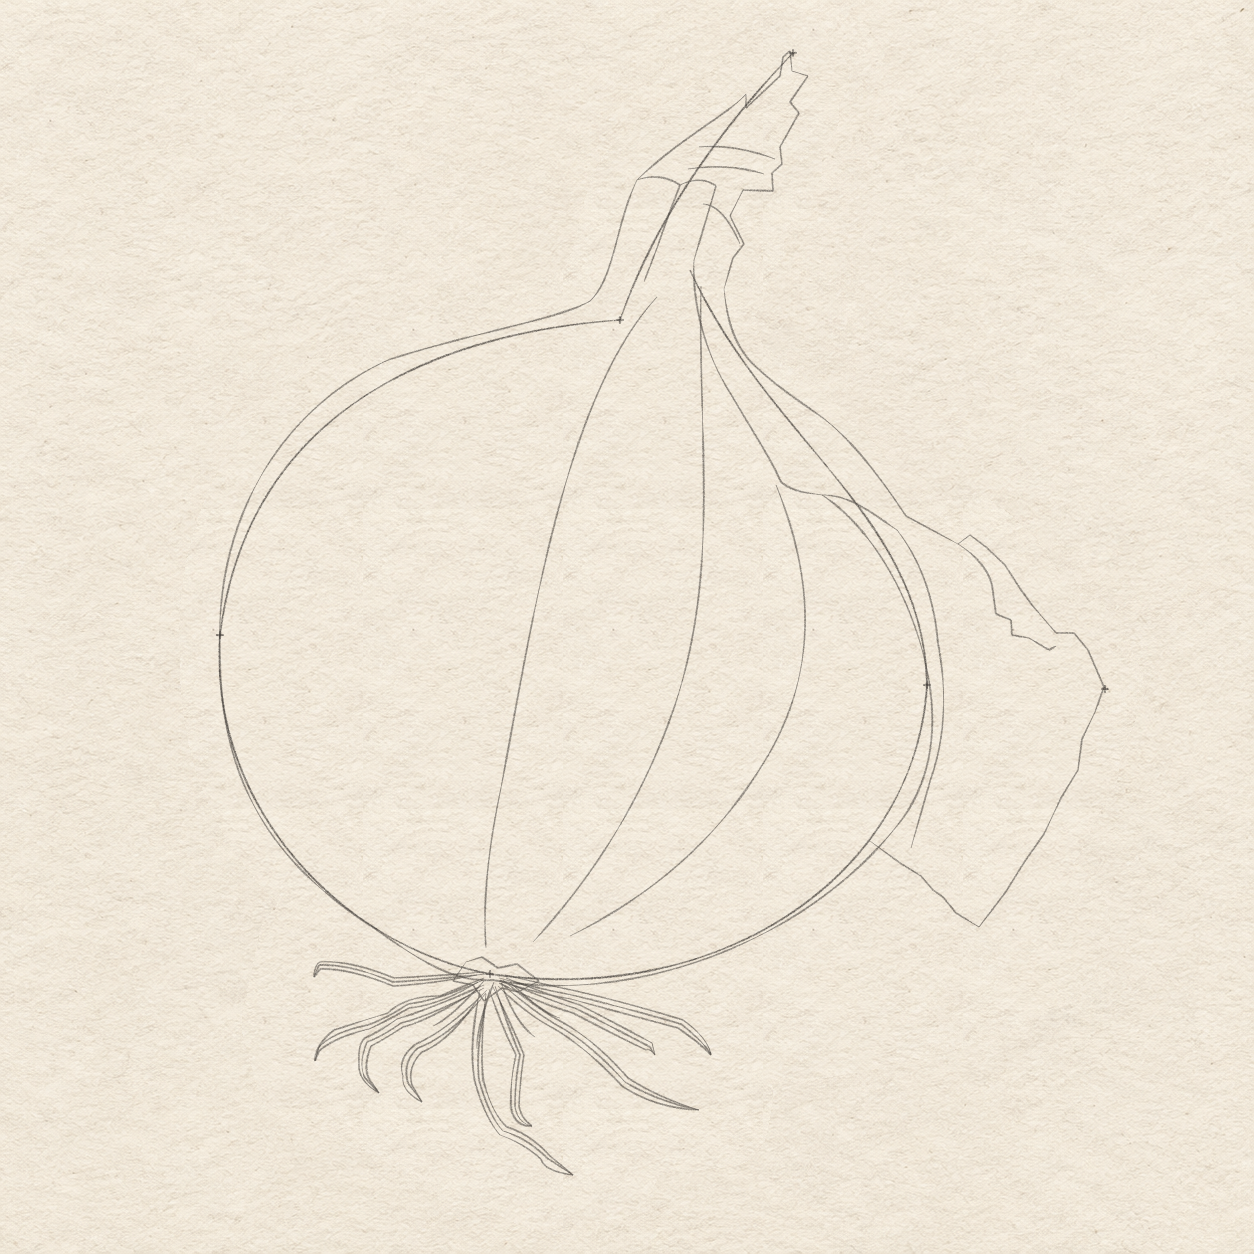
    1. At the bulb’s existing bottom contact, draw a small uneven knot about 8 mm wide. Keep its middle light; this knot anchors the root fan.
    2. From the knot, draw light root curves mostly down and left, with a few reaching right. Let the longest lower curve end about 8 mm right and 2 cm below the root-base cross.
    3. Keep the roots unequal: some turn almost left, several bend down, and the right strands spread under the bulb. Add a few short strands near the knot; leave paper between them.
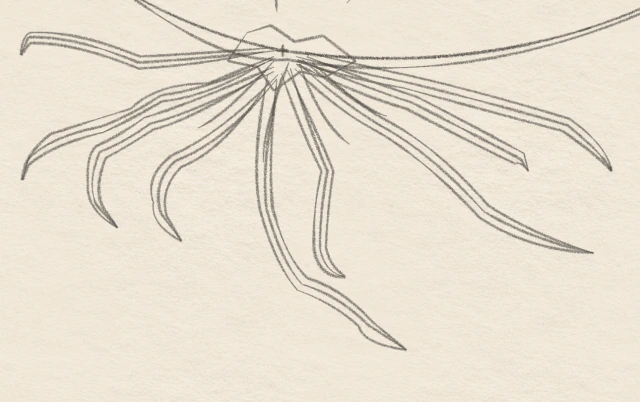
    Narrow paired pencil edges follow and taper around the thicker root directions, with the pale centre guides and small open knot retained.
    Drawing 7B — Taper the paired root edgesView larger
    Enlarged from this same drawing. The paired root edges taper toward their ends; pale centre guides remain until Drawing 9A — Refine the plan and lay light graphite.
    Detail 7B.1 — Tapered root pairsEnlarged from this same drawing. The paired root edges taper toward their ends; pale centre guides remain until Drawing 9A — Refine the plan and lay light graphite.

    Instructions for Drawing 7B — Taper the paired root edges
    1. Use the existing root curves as centre guides. Draw two close edges around each thicker root, starting narrow at the knot and tapering the edges together toward its tip.
    2. Follow the long lower root down and then right; keep the shorter roots fanned to both sides. The fine short strands can remain single lines.
    3. Leave paper gaps between roots. If a root grows too wide, lighten its outside edge with the eraser and redraw it closer to the other edge; keep the small knot open rather than filling it black.
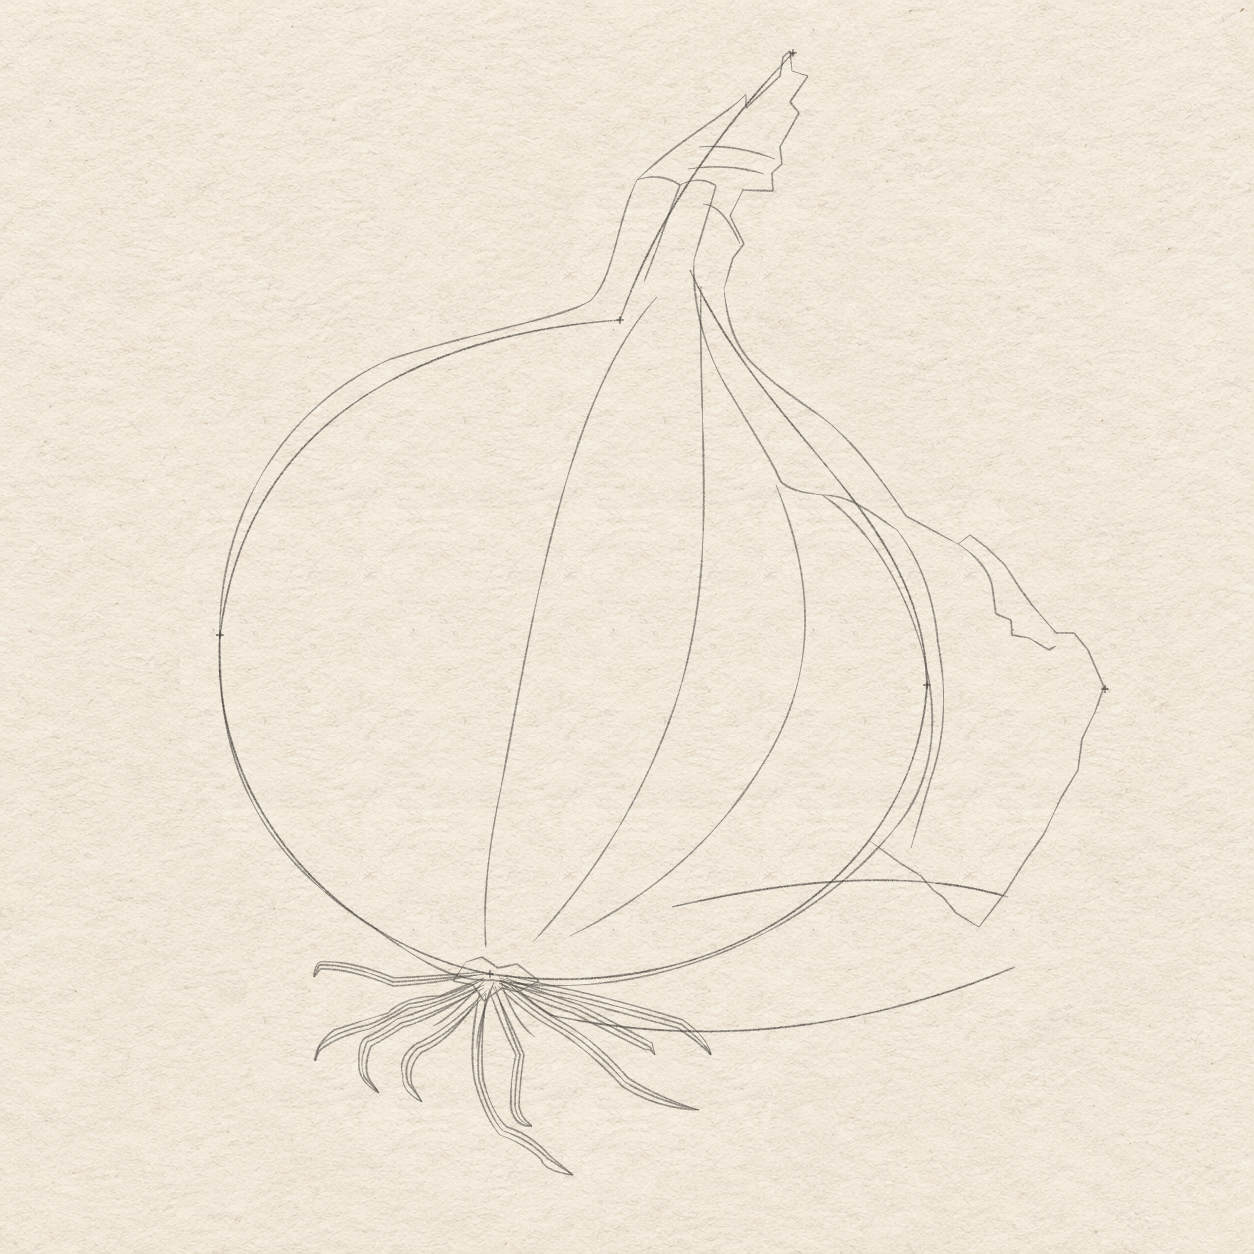
    Two sparse open shadow-limit curves sit below and right of the planned bulb and roots, without a closed hard outline.
    Drawing 7C — Locate the soft ground shadowView larger

    Instructions for Drawing 7C — Locate the soft ground shadow

    1. Below the bulb, draw one very light open curve from just right of the root knot toward the right, ending below the flap. It marks the shadow’s lower reach.
    2. Draw a second short open curve from the lower-right bulb toward the flap’s bottom. It marks the upper reach behind the roots; leave both ends open.
    3. The shadow spreads mainly right and stays close to the onion. These are temporary limits, not hard dark borders; erase and redraw a limit that leaves a detached gap under the bulb.
    Next step — Keep pale areas and erase spare guides
  8. Step 8 of 14 · Graphite

    Keep pale areas and erase spare guides

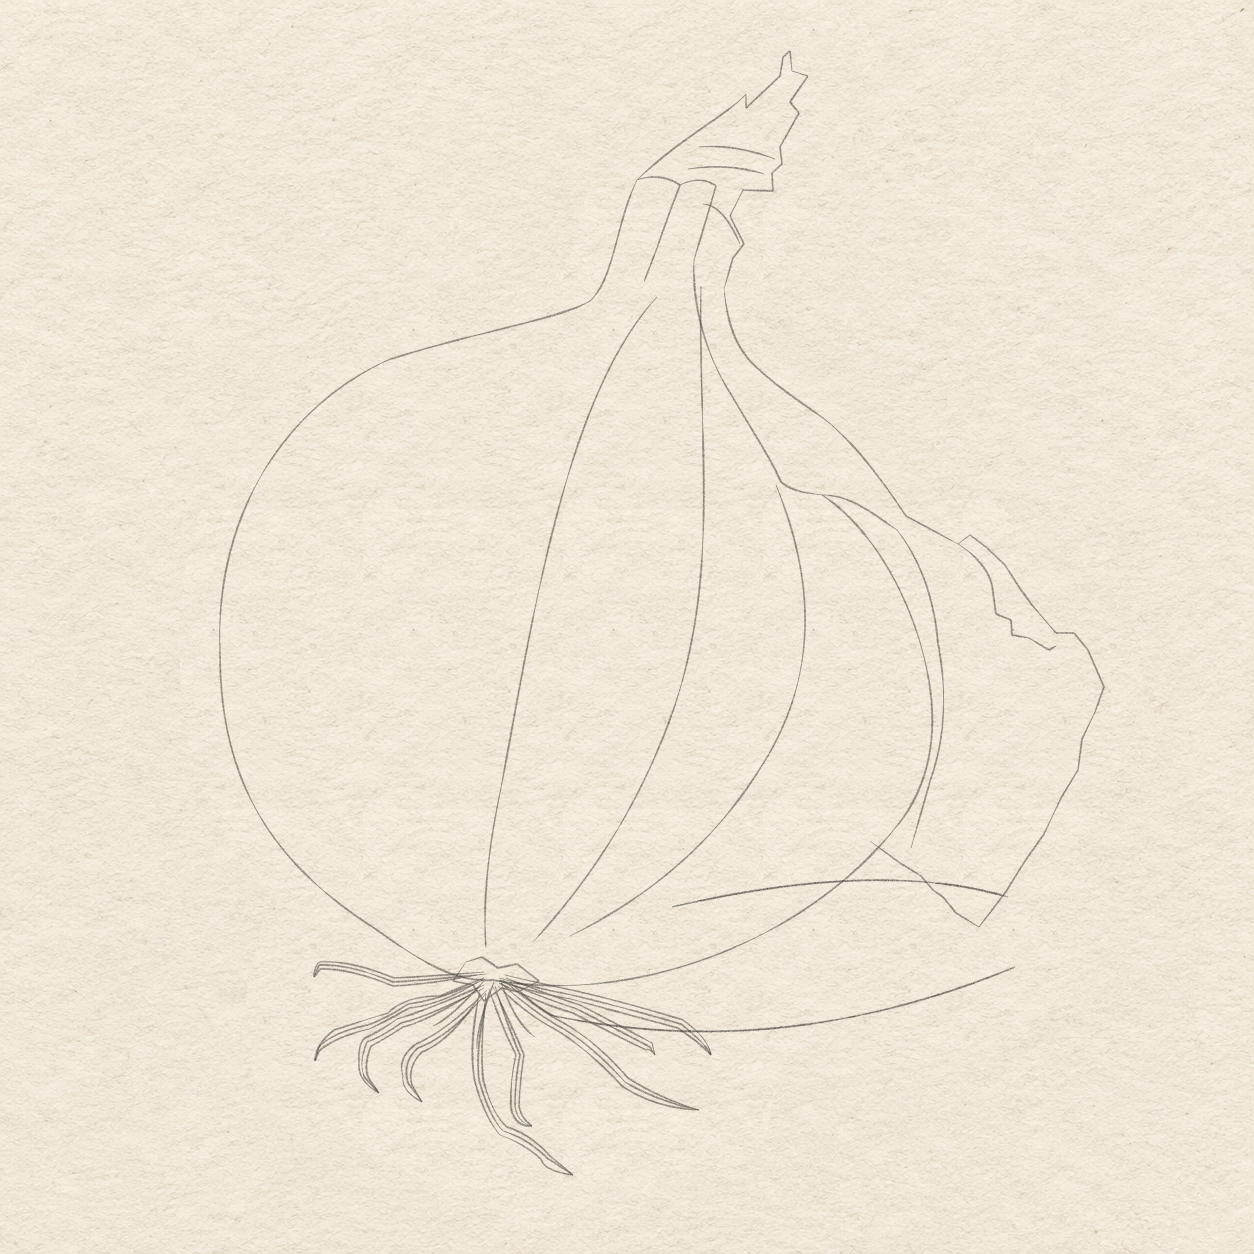
    The planning crosses, smooth envelope and neck-direction curve are removed; selected form, grain and paired roots remain with the two open shadow limits.
    Drawing 8A — Keep pale areas and erase spare guidesView larger

    Instructions for Drawing 8A — Keep pale areas and erase spare guides

    1. Erase the six placement crosses, smooth bulb envelope and neck-direction curve. Keep the selected form, grain and root lines, plus the two open shadow limits for the first shading pass.
    2. Before shading, keep the broad left-centre bulb light and the narrow neck strips and long shoulder/peel ridge open. Do not draw a border around the broad light.
    3. Lighten an accidental dark mark in those pale areas with the kneaded eraser now. The retained grain curves show stroke direction; the retained outlines and paired roots show what you will refine.
    Next step — Refine the plan and lay light graphite
  9. Step 9 of 14 · Graphite

    Refine the plan and lay light graphite

    A complete light graphite onion replaces the exploratory lines, including refined bulb, torn neck, hanging skin, fine grain, separate roots and a faint soft ground shadow.
    Drawing 9A — Refine the plan and lay light graphiteView larger
    Enlarged from this same lightly shaded drawing. Pale neck folds and the long shoulder strip remain open beside the first graphite.
    Detail 9A.1 — Light neck and shoulder graphiteEnlarged from this same lightly shaded drawing. Pale neck folds and the long shoulder strip remain open beside the first graphite.
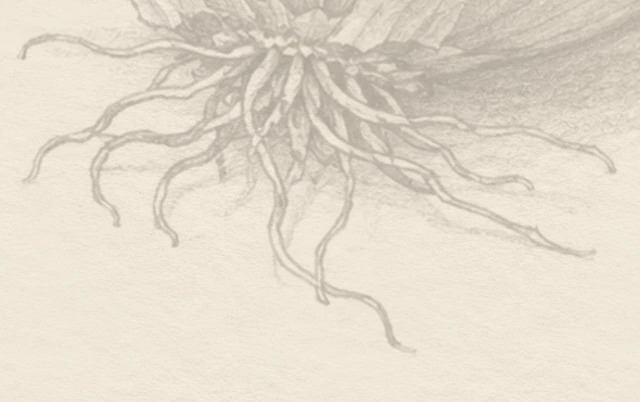
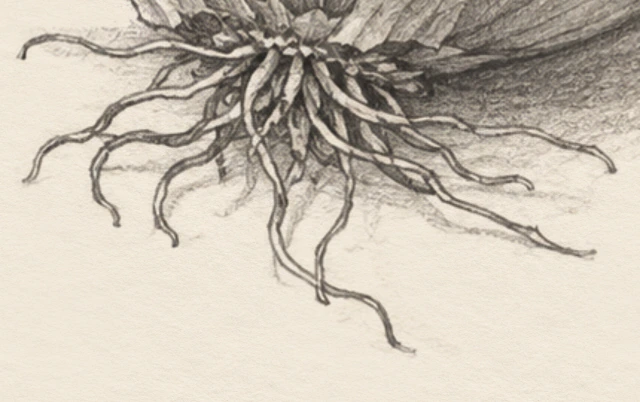
    Enlarged from this same drawing. The planned root pairs become light irregular graphite around the small knot and paper gaps.
    Detail 9A.2 — First graphite on the rootsEnlarged from this same drawing. The planned root pairs become light irregular graphite around the small knot and paper gaps.

    Instructions for Drawing 9A — Refine the plan and lay light graphite

    1. Work around the existing bulb, torn neck, shoulder strip and flap. Lighten a short section of the planning outline with the kneaded eraser, leaving it faintly visible. Draw softer HB strokes over that section, then continue around the outline. This first shading pass is deliberately lighter than the planning drawing.
    2. With the pencil’s side, follow the three existing grain guides in light curved passes from neck toward root. Keep the broad left-centre light; let pressure fade as you approach it.
    3. After that curved shading is in place, gently erase the three grain-direction guides. Keep the fine broken graphite grain rather than three strong stripes.
    4. Lay light graphite beside the existing neck folds and skin attachment, keeping their pale strips and long ridge open. At the small root knot and each fine short strand, lighten a short section with the kneaded eraser while leaving its route visible. Redraw that section softly with HB before continuing along the existing route. Keep the knot’s paper gaps open and the short strands single and light.
    5. On each root, lighten a short section of both paired edges with the kneaded eraser, keeping the route faintly visible. Redraw that section softly with HB, then continue along the same root to its tapered tip. Keep the existing root fan. Only after both edges are replaced, gently erase the pale centre guide between them.
    6. Use the two open shadow limits to lay a soft first ground shadow touching the bulb and root base, spreading mainly right below the flap. Let its outside edge fade into the paper.
    7. After the soft shadow is set, erase the two open shadow-limit curves. Keep the new soft edge fading into the paper.
    8. Fine skin grain is already present in this light pass. Keep it broken and varied rather than making equal stripes; the next tasks deepen this existing shading.
    Next step — Round the bulb with pencil shading
  10. Step 10 of 14 · Shading

    Round the bulb with pencil shading

    Reinforced middle graphite over the round bulb,right/lower turn and existing grain. All previously established graphite remains in place.
    Drawing 10A — Round the bulb with pencil shadingView larger

    Instructions for Drawing 10A — Round the bulb with pencil shading

    1. Add another light layer over the right and lower bulb, following its existing curved grain. Overlap the first strokes and lift pressure toward the broad left-centre light.
    2. Keep the lower-right turn darker than the light centre. Soften a hard band with lighter curved passes beside it; do not outline the edge of the light.
    3. This pass also slightly deepens the existing shading on the neck, loose skin and ground. Keep their pale gaps open; no new lines or root shapes are needed.
    Next step — Deepen the dry folds
  11. Step 11 of 14 · Shading

    Deepen the dry folds

    Deeper graphite beside existing dry-neck folds and narrow torn overlaps. All previously established graphite remains in place.
    Drawing 11A — Deepen the dry neck foldsView larger
    Enlarged from this same drawing. The shading beside the existing neck folds and overlaps is darker; pale folded surfaces stay open.
    Detail 11A.1 — Dark folds beside pale neck stripsEnlarged from this same drawing. The shading beside the existing neck folds and overlaps is darker; pale folded surfaces stay open.

    Instructions for Drawing 11A — Deepen the dry neck folds
    1. Shade beside the neck’s existing folds, following them down toward the bulb. Keep the paper strips between those folds light.
    2. Use the 2B point for the small dark overlaps inside the torn neck. Keep those accents narrow and let the nearby shoulder tone fade gently into the bulb.
    Darker shading at the existing loose-skin attachment and broken pencil strokes over the hanging flap. The established shapes stay in place.
    Drawing 11B — Shade the hanging skinView larger
    Enlarged from this same drawing. The existing dark attachment is reinforced while the long ridge and broad skin face remain lighter.
    Detail 11B.1 — Dark join and pale ridgeEnlarged from this same drawing. The existing dark attachment is reinforced while the long ridge and broad skin face remain lighter.

    Instructions for Drawing 11B — Shade the hanging skin

    1. Darken the existing skin attachment beside the bulb. Stop before the long pale ridge, which separates that dark join from the flap face.
    2. Use lighter broken strokes over the flap, from its upper attachment toward the lower torn edge. Keep the face lighter than the attachment; the shading on the nearby right side of the bulb may become a little darker too.
    Next step — Deepen roots and ground contact
  12. Step 12 of 14 · Shading

    Deepen roots and ground contact

    Stronger existing root knot,root-strand accents and soft ground contact. All previously established graphite remains in place.
    Drawing 12A — Deepen roots and ground contactView larger
    Enlarged from this same drawing. The root edges and knot darken locally while paper gaps separate the strands.
    Detail 12A.1 — Separate roots over soft shadowEnlarged from this same drawing. The root edges and knot darken locally while paper gaps separate the strands.

    Instructions for Drawing 12A — Deepen roots and ground contact

    1. With the 2B point, strengthen a few existing root edges and the small knot. Keep the roots separate and preserve pale gaps through the knot.
    2. With the pencil’s side, deepen the ground contact directly under the bulb and root base. Reduce pressure as it spreads right, so the outside edge stays soft.
    3. Keep the roots readable over the shadow. This pass also strengthens the nearby lower bulb; lighten a dense patch with the kneaded eraser rather than filling the whole base black.
    Next step — Reinforce curved skin grain
  13. Step 13 of 14 · Shading

    Reinforce curved skin grain

    Some existing curved bulb-grain strokes are darker, with soft shading beside them. The established shapes stay in place.
    Drawing 13A — Reinforce the curved skin grainView larger

    Instructions for Drawing 13A — Reinforce the curved skin grain

    1. Use the pencil point to reinforce a few existing grain curves from neck toward root. Vary length and pressure; keep broken light spaces between them.
    2. Let strokes fade as they cross the broad left-centre light. Add soft curved side strokes beside any harsh grain so it belongs to the round bulb.
    3. Fine streak counts can vary. Keep the same outline, roots, neck strips and long peel ridge; these are reinforcements of the drawing already on the page.
    Next step — Balance light and dark
  14. Step 14 of 14 · Shading

    Balance light and dark

    Finished pencil onion with dark folds and ground contact, pale areas and fine irregular grain. The established shapes stay in place.
    Drawing 14A — Balance the light and darkView larger
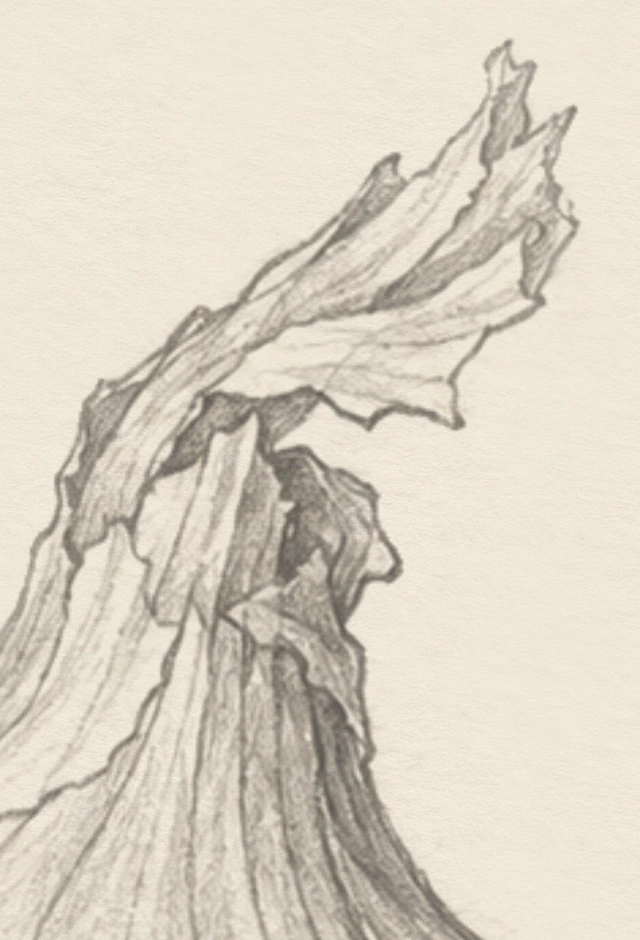
    Enlarged from this same final drawing. The torn neck keeps narrow pale strips between its darker folds.
    Detail 14A.1 — Finished neck foldsEnlarged from this same final drawing. The torn neck keeps narrow pale strips between its darker folds.
    Enlarged from this same final drawing. Separate roots and pale gaps remain readable around the dark small knot and soft contact.
    Detail 14A.2 — Finished roots and contactEnlarged from this same final drawing. Separate roots and pale gaps remain readable around the dark small knot and soft contact.

    Instructions for Drawing 14A — Balance the light and dark

    1. Compare five dark areas: dry-neck folds, skin attachment, lower-right bulb grain, small root knot and ground contact. Deepen the existing accents a little at a time.
    2. Balance the remaining soft graphite across the bulb, neck, flap, roots and shadow. Keep the left-centre lighter than the right half, and preserve the neck strips and long peel ridge.
    3. Use the kneaded eraser to lighten a narrow strip if needed. Stop before the tiny grain and roots become uniform; their exact streak counts can vary.
    Back to the tutorial

If something looks off

The bulb looks like a circle

Keep the broad lower bulb and narrow leaning neck. Compare the chosen outline with the left/right points before shading.

The skin looks flat

Keep the long pale ridge beside the darker attachment,and use lighter broken strokes on the flap face.

The roots look like a black scribble

Use the kneaded eraser to lighten small gaps between the paired roots and inside the knot. Strengthen only a few edges at a time.

The highlight has a hard border

Do not outline the broad light. Fade curved shading pressure gradually into it and lighten a hard band with the kneaded eraser before adding more pencil shading.