FinelinerEasy

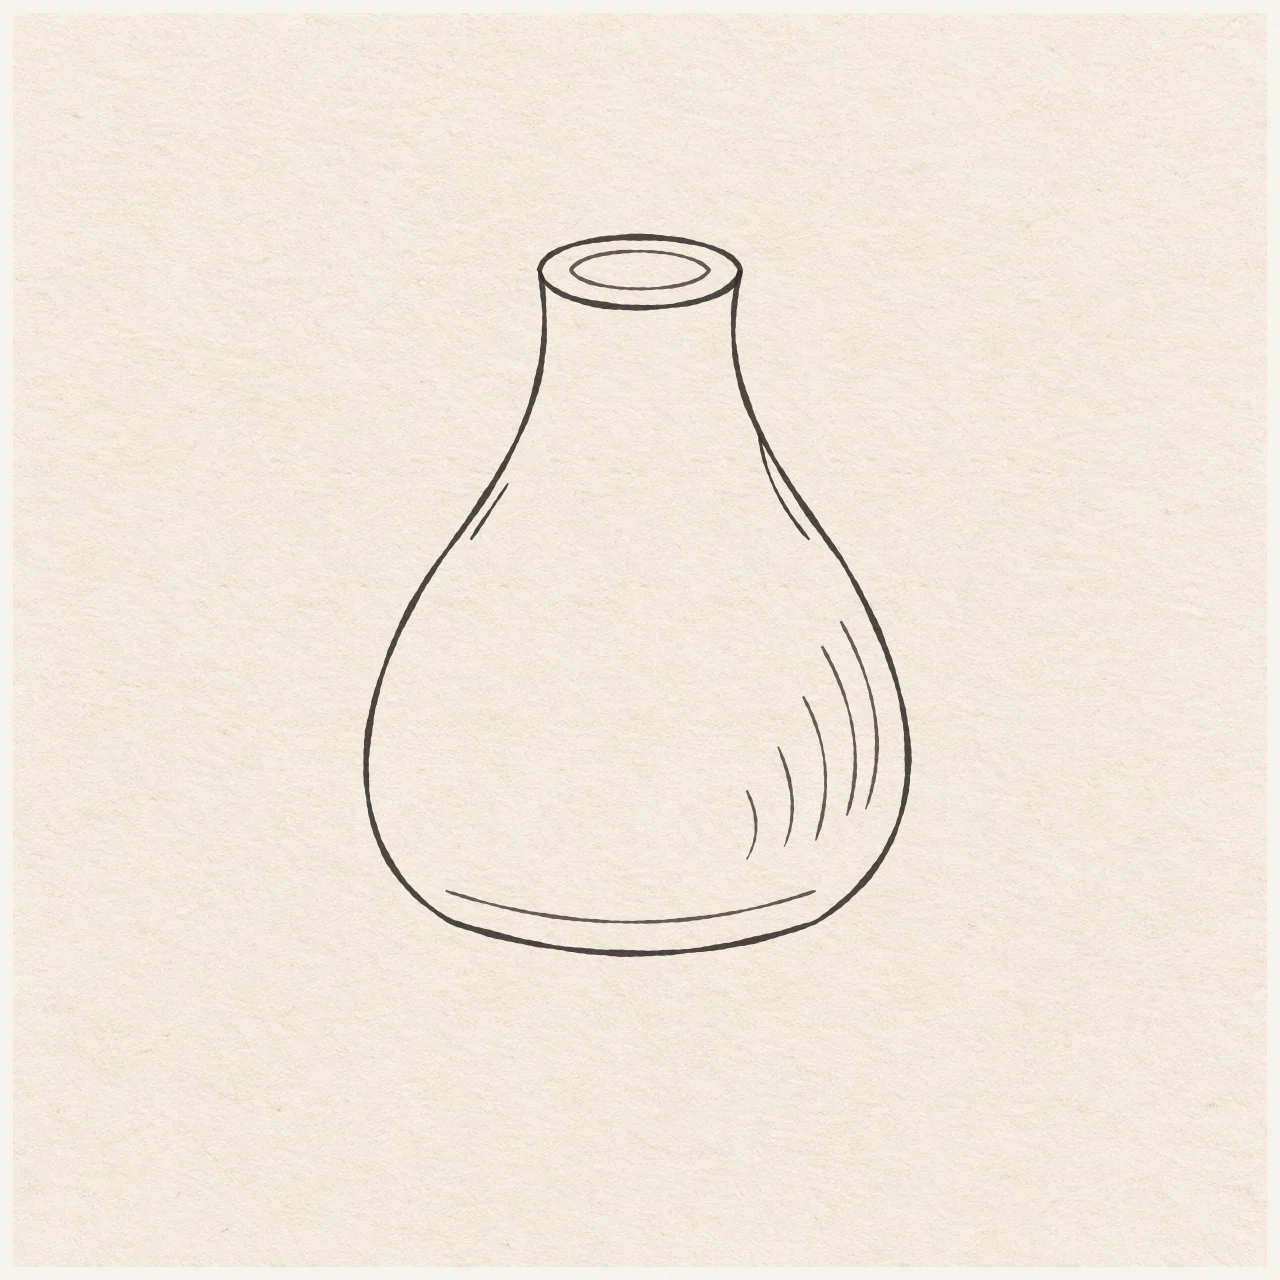
Narrow bud vase
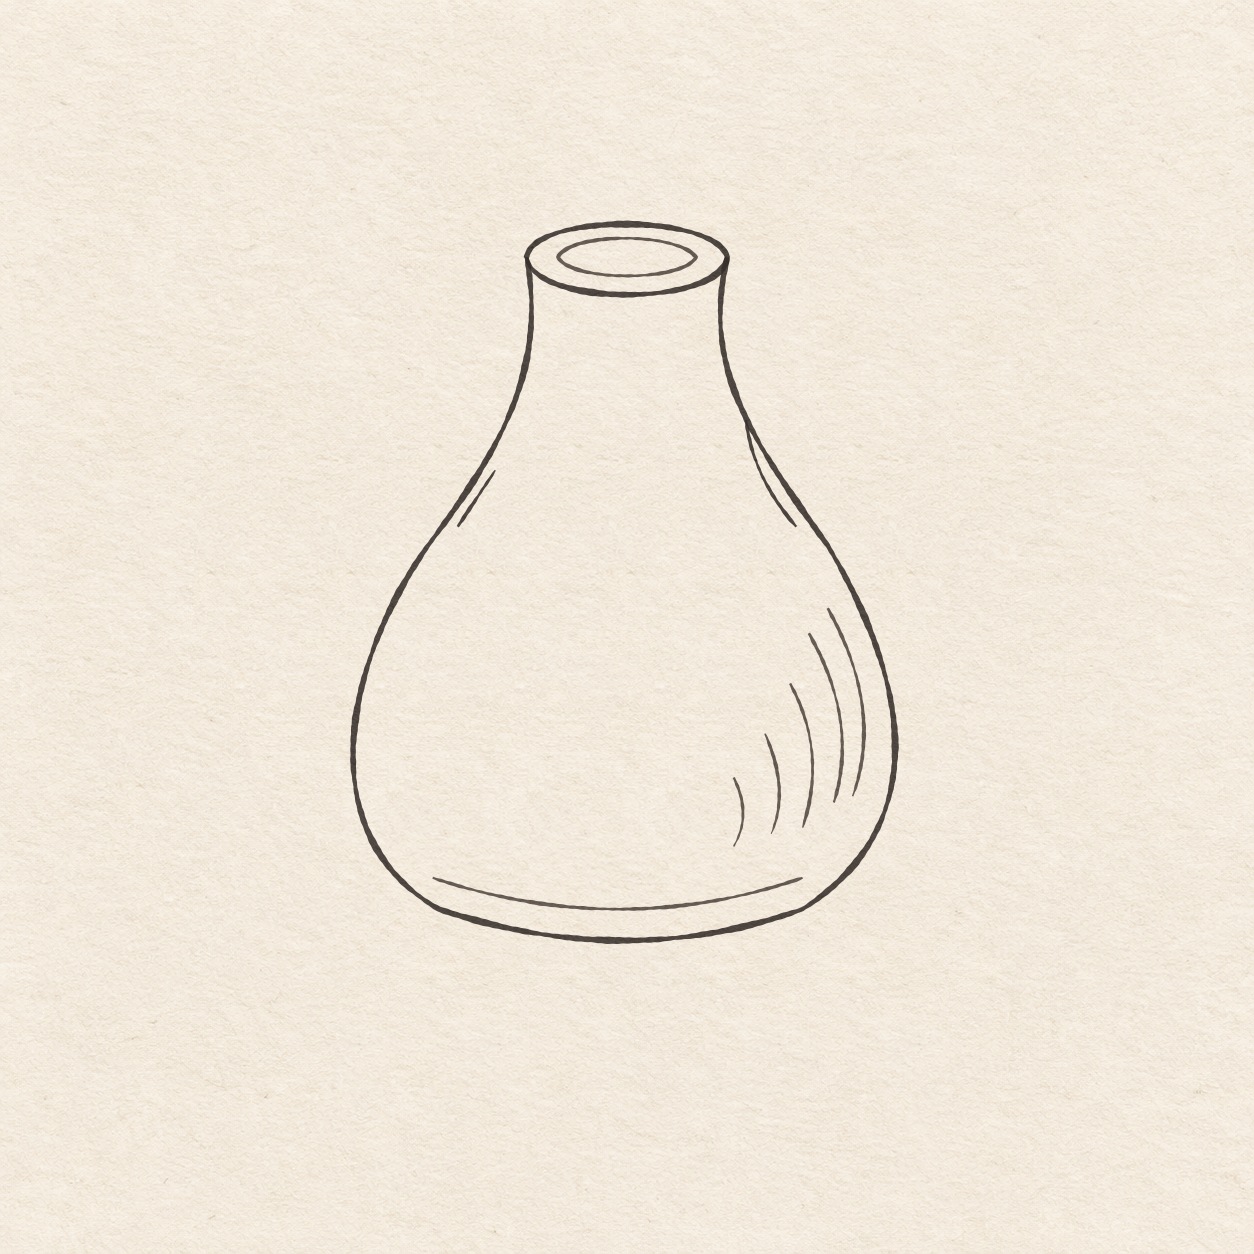
Practice two shallow ovals, a curved vase outline and five short shading strokes with a fine pen.
Follow the drawing tutorial
Use light guides to draw a narrow mouth, rounded sides and a shallow base. Ink the vase and finish with five curves on the right.
Start the 9-step tutorialA small thing to tryThe right shoulder accent starts on the vase outline. Leave a gap beside the shorter left accent.
Draw it, one step at a time
Draw a narrow bud vase
Use light guides to draw a narrow mouth, rounded sides and a shallow base. Ink the vase and finish with five curves on the right.
What you’ll need
- HB pencil
- Eraser
- Fine black pen
- Ruler
- Spare sheet with a square corner
- Drawing paper
Before you start
The example is about 7 cm wide and 9.2 cm tall. Choose where you want it on your drawing paper. Keep the pencil marks light so you can adjust and erase them.
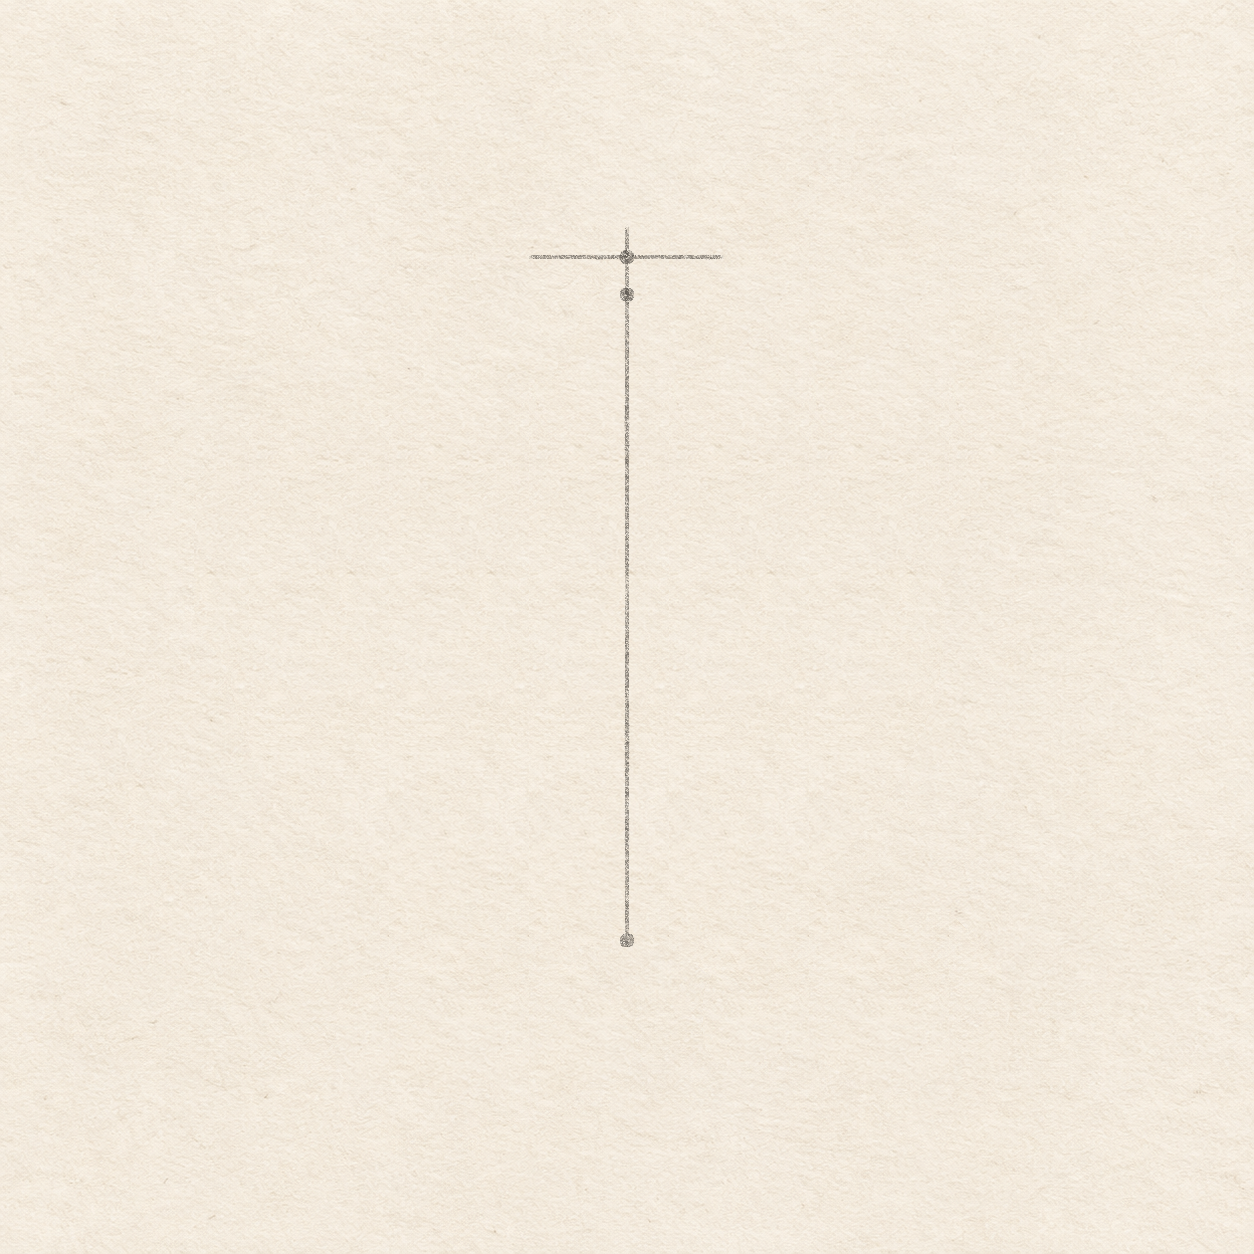
Drawing 1 — Place the guides for the mouthView larger PencilPlace the guides for the mouth
Instructions for Drawing 1 — Place the guides for the mouth
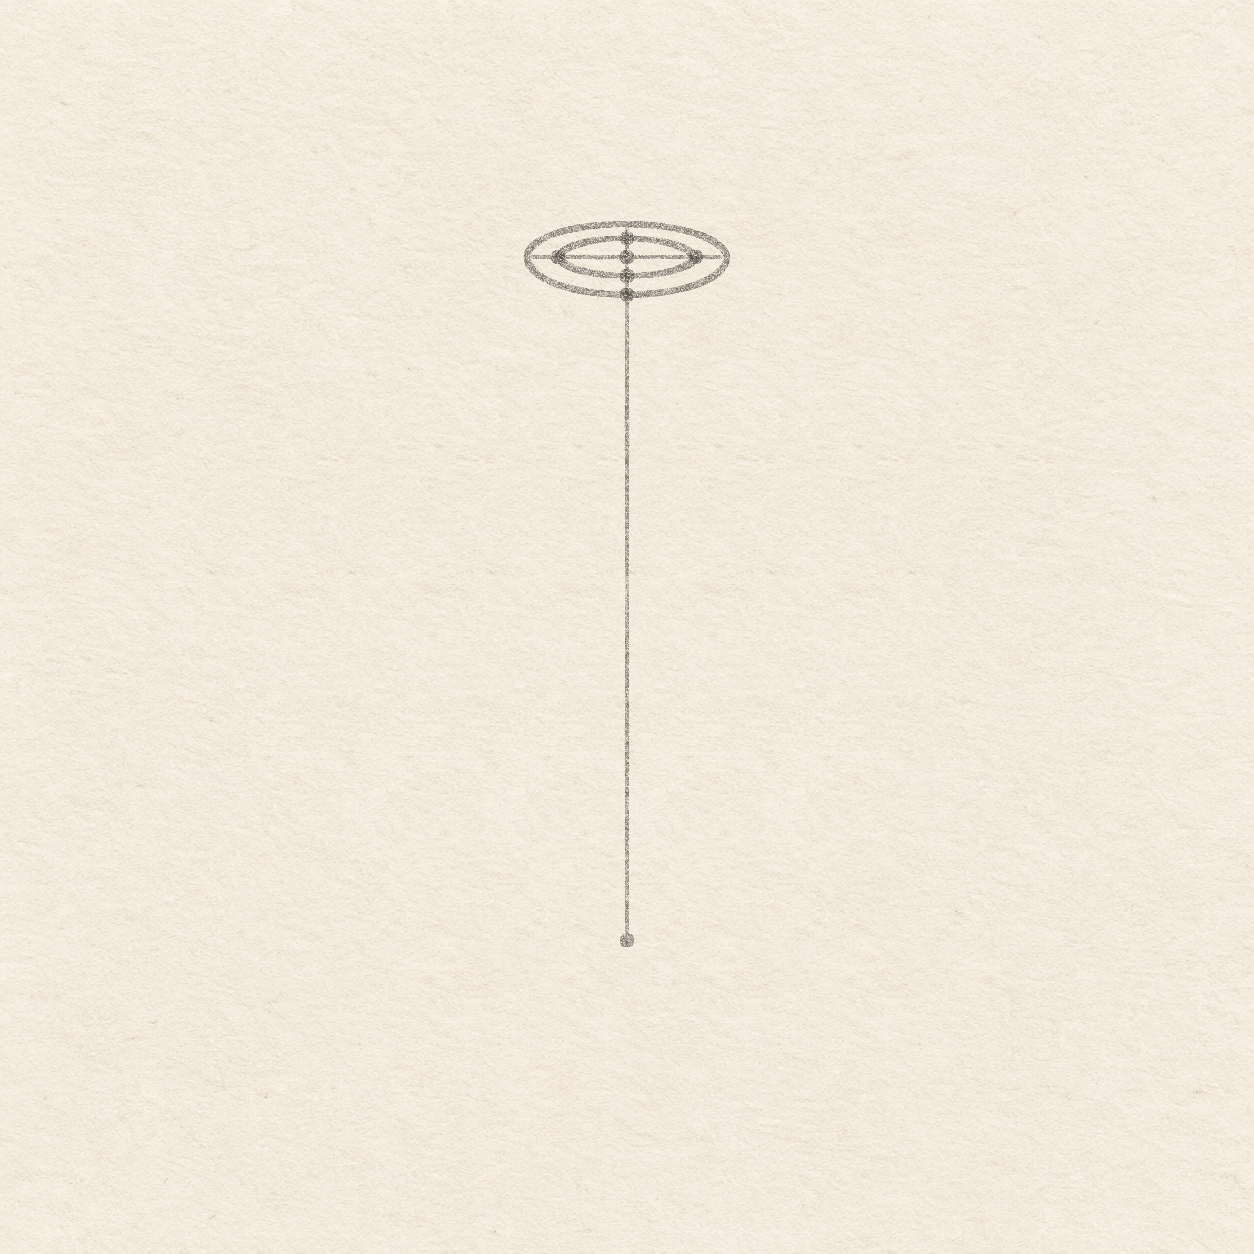
- Choose a spot for the middle of the vase opening. Leave 1 cm above it, at least 9.3 cm below and 4 cm on either side. Put a light pencil dot there. Move the dot before drawing the guides if any of that space runs off your sheet.
- Set the ruler across the dot, parallel to the bottom of the page. Draw a light line about 1.3 cm each way. Put a square corner of a spare sheet on the dot with one edge on the level line. Use the other edge to align the ruler. Draw a light upright 4 mm above the dot and 8.7 cm below it. Mark the lower end with a small dot. The short upper end sets the back of the rim. The dot at the lower end sets the lowest point of the vase.
- On the upright, mark a dot 5 mm below the center. This marks the front of the outer rim. Keep the front dot below the center and on the upright.

Drawing 2 — Draw the rim and openingView larger PencilDraw the rim and opening
Instructions for Drawing 2 — Draw the rim and opening
- Start at the left end of the level line. Draw the back arc freehand through the upper end of the upright to the right end of the level line. Round back through the front rim dot to the left end. Keep both ends rounded. Smooth the curve in pencil if either end comes to a point.
- From the center dot, mark 9 mm left and right on the level line. On the upright, mark 2.5 mm above and below the center. Keep the new dots inside the first oval so they leave room for the rim.
- From the left inset dot, draw a small oval freehand through the upper, right and lower inset dots. Bring the curve back to the left dot. Leave a band of paper between the two ovals. Move any tight part inward while it is still in pencil.

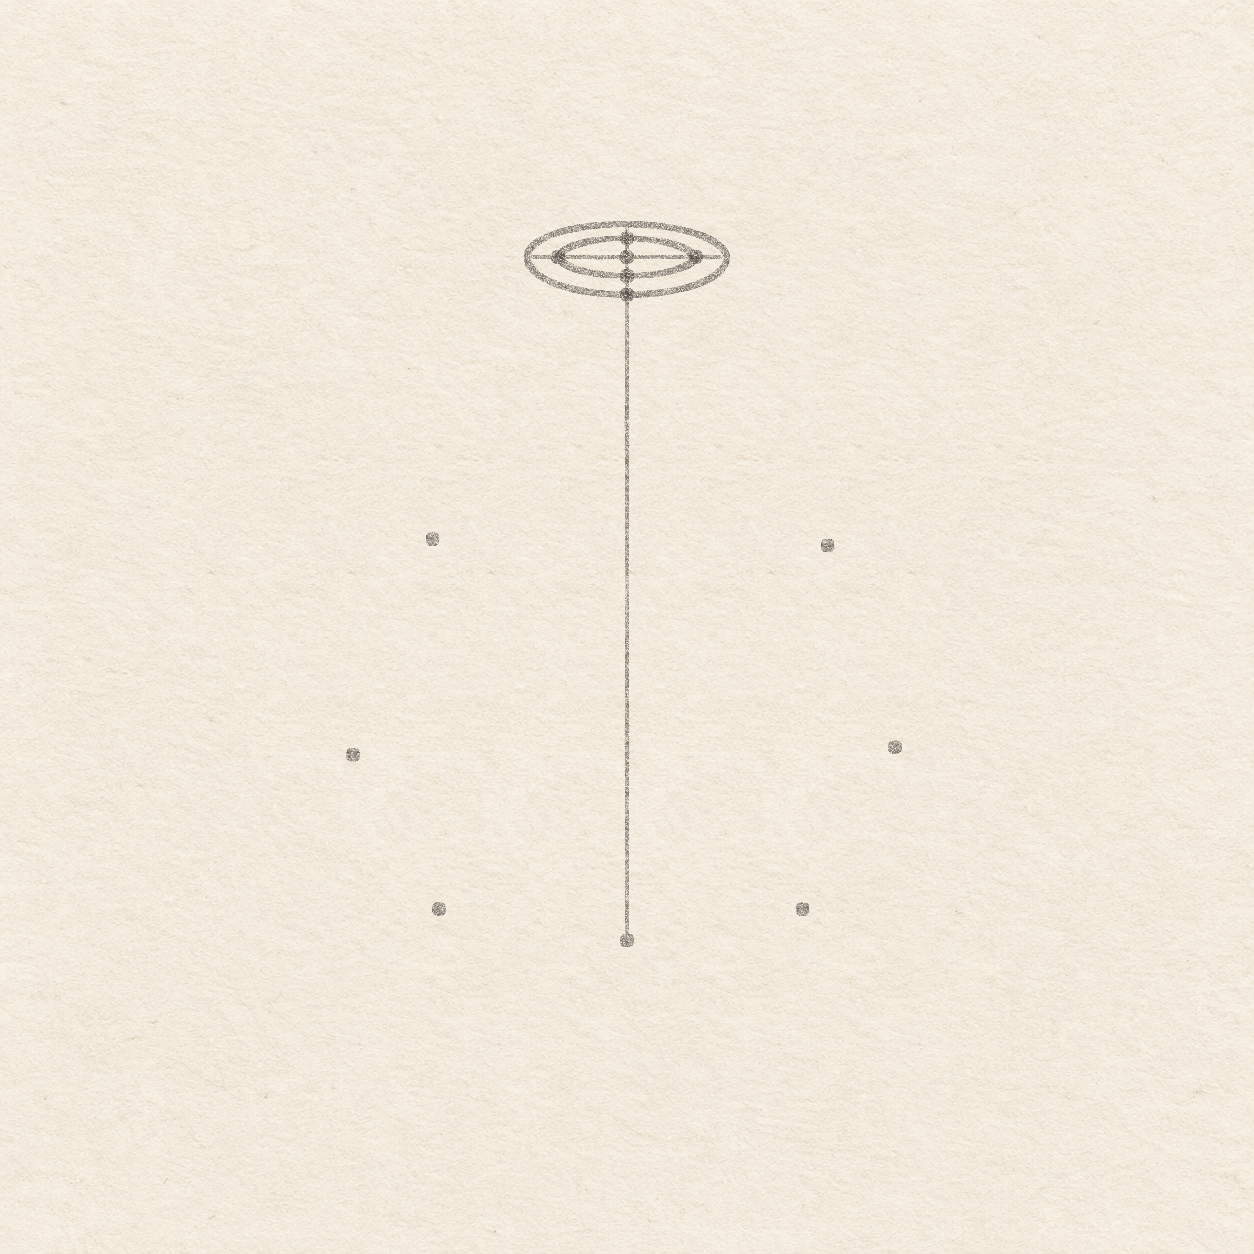
Drawing 3 — Mark the shoulders, sides and base cornersView larger PencilMark the shoulders, sides and base corners
Instructions for Drawing 3 — Mark the shoulders, sides and base corners
- From the mouth center, measure about 3.7 cm down the upright. Set the spare sheet’s corner at that height with one edge along the upright. Measure about 2.5 cm each way along the level edge and mark two dots. The sheet gives the direction without another line on the drawing. These two dots show how far the neck flares out.
- Measure about 6.3 cm down the upright from the mouth center. Use the spare sheet the same way to mark a dot about 3.5 cm to each side. The new dots sit lower and farther out than the shoulder dots.
- Measure 8.3 cm down from the mouth center. Set the corner of the spare sheet on the upright at that height. Mark one dot 2.4 cm left and another 2.2 cm right along its level edge. The dots sit above the end of the upright and closer in than the widest dots.

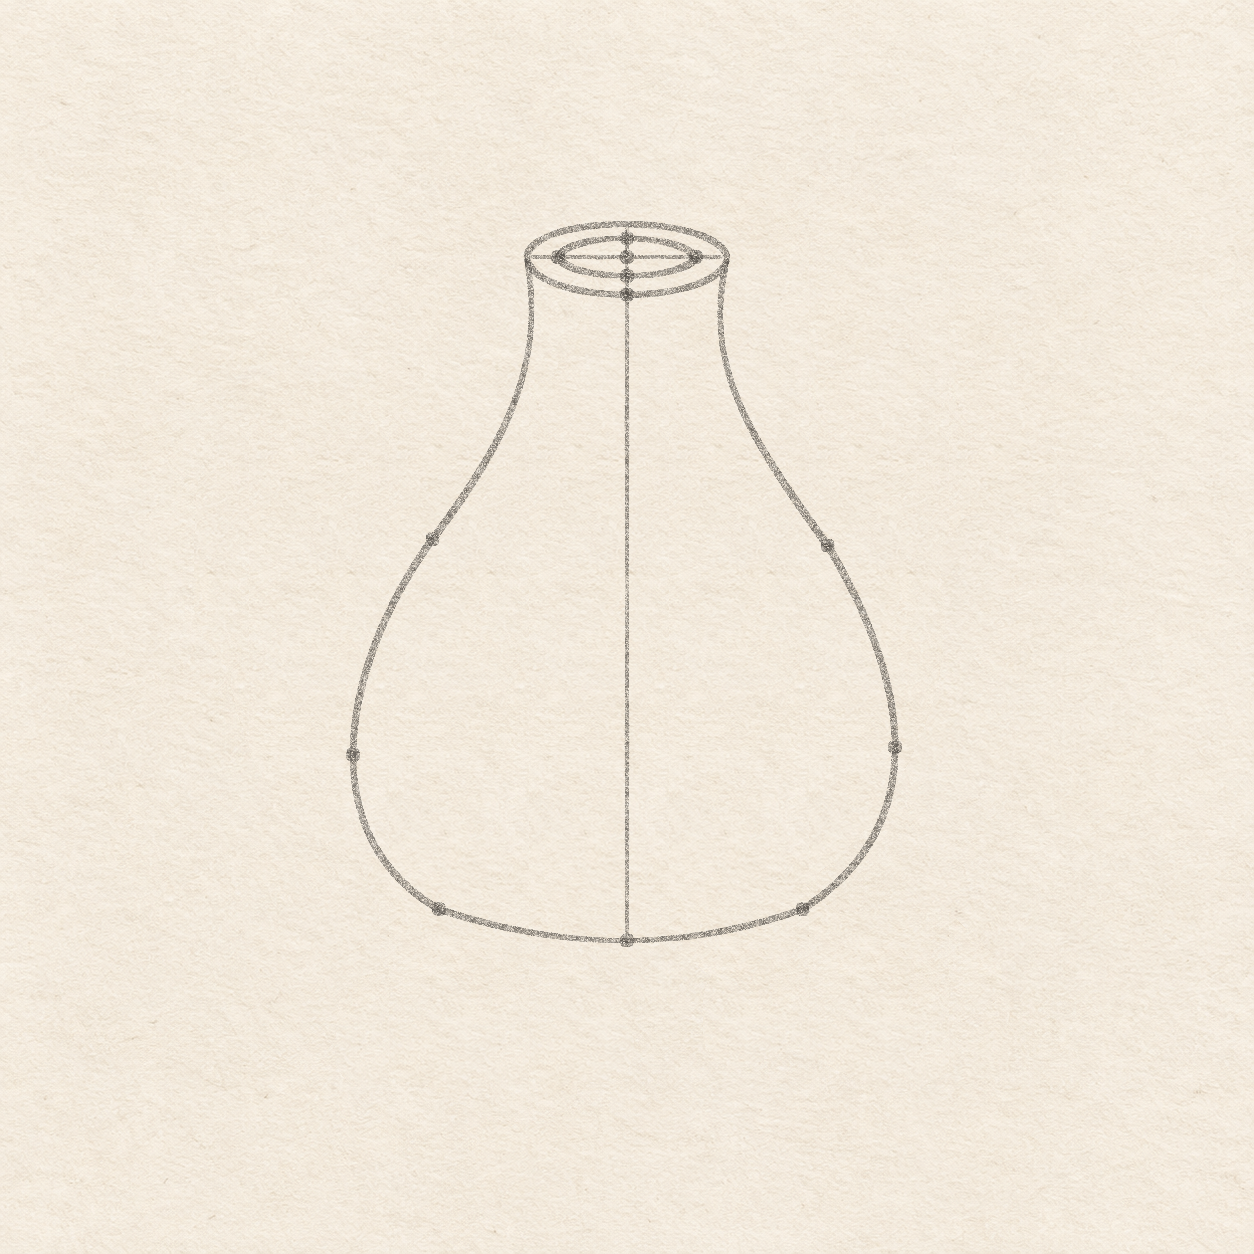
Drawing 4 — Curve the body into a shallow baseView larger PencilCurve the body into a shallow base
Instructions for Drawing 4 — Curve the body into a shallow base
- Start at the left tip of the outside rim. Draw the body freehand. Go almost straight down for the first 8 mm. Flare out through the left shoulder dot and round through the widest left dot. Turn inward to the lower left dot. Bow the base gently through the dot at the bottom of the upright and up to the lower right dot. Round up through the widest right dot and the right shoulder dot. Keep the last 8 mm nearly upright as you return to the right tip of the outside rim. The body stays within the widest dots. Smooth any sharp turns in pencil before inking.

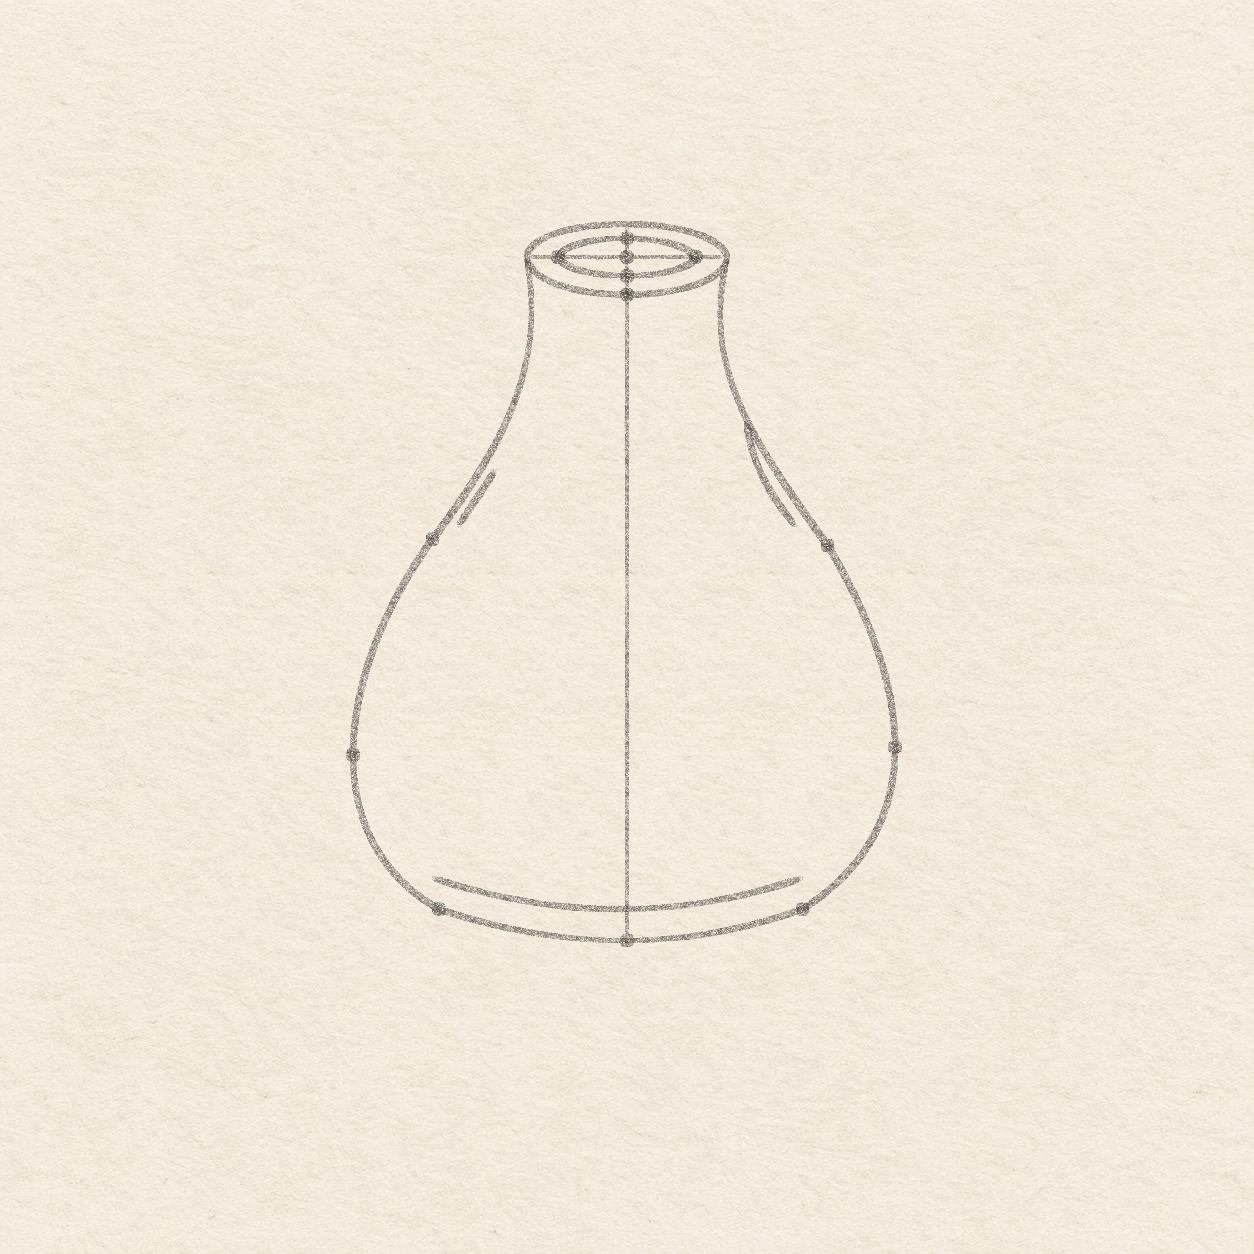
Drawing 5 — Place the base line and shoulder accentsView larger PencilPlace the base line and shoulder accents
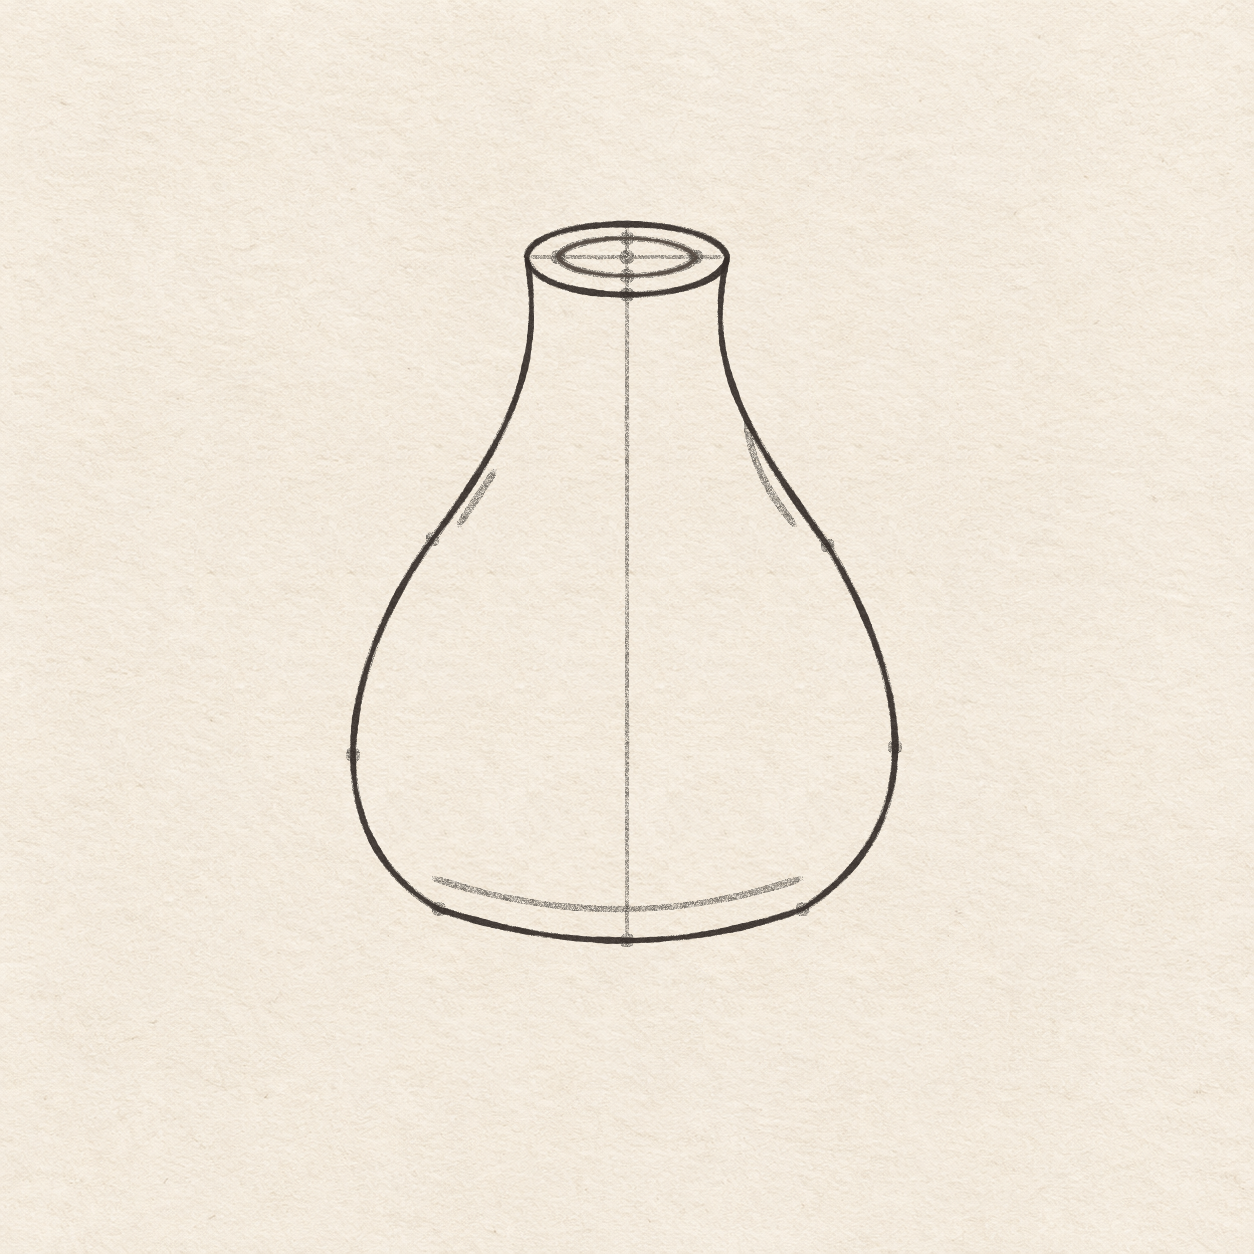
Instructions for Drawing 5 — Place the base line and shoulder accents
- Sight a level about 4 mm above the two lower corners. Start about 4–5 mm inside the left wall. Draw a shallow freehand curve that follows the bottom, with its middle about 4 mm above the bottom outline. End at the starting height, about 4–5 mm inside the right wall. Keep the curve separate from the outline all the way across.
- Measure 2.1 cm down the upright from the mouth center. Use the spare sheet to find that level on the right outline. Start the accent on the outline itself. Follow the wall downward freehand for about 1.4 cm. Let the gap open gradually toward the inside, ending about 2 mm from the wall. Keep the pencil accent attached at its start and separate at its end.
- Measure 2.7 cm down the upright from the mouth center. Use the spare sheet to find that level on the left outline. Start about 2 mm inside it. Follow the wall downward freehand for 7–8 mm, keeping a slim gap all the way. Leave a slim space from end to end between this accent and the left wall.

Drawing 6 — Ink the rim and vase outlineView larger FinelinerInk the rim and vase outline
Instructions for Drawing 6 — Ink the rim and vase outline
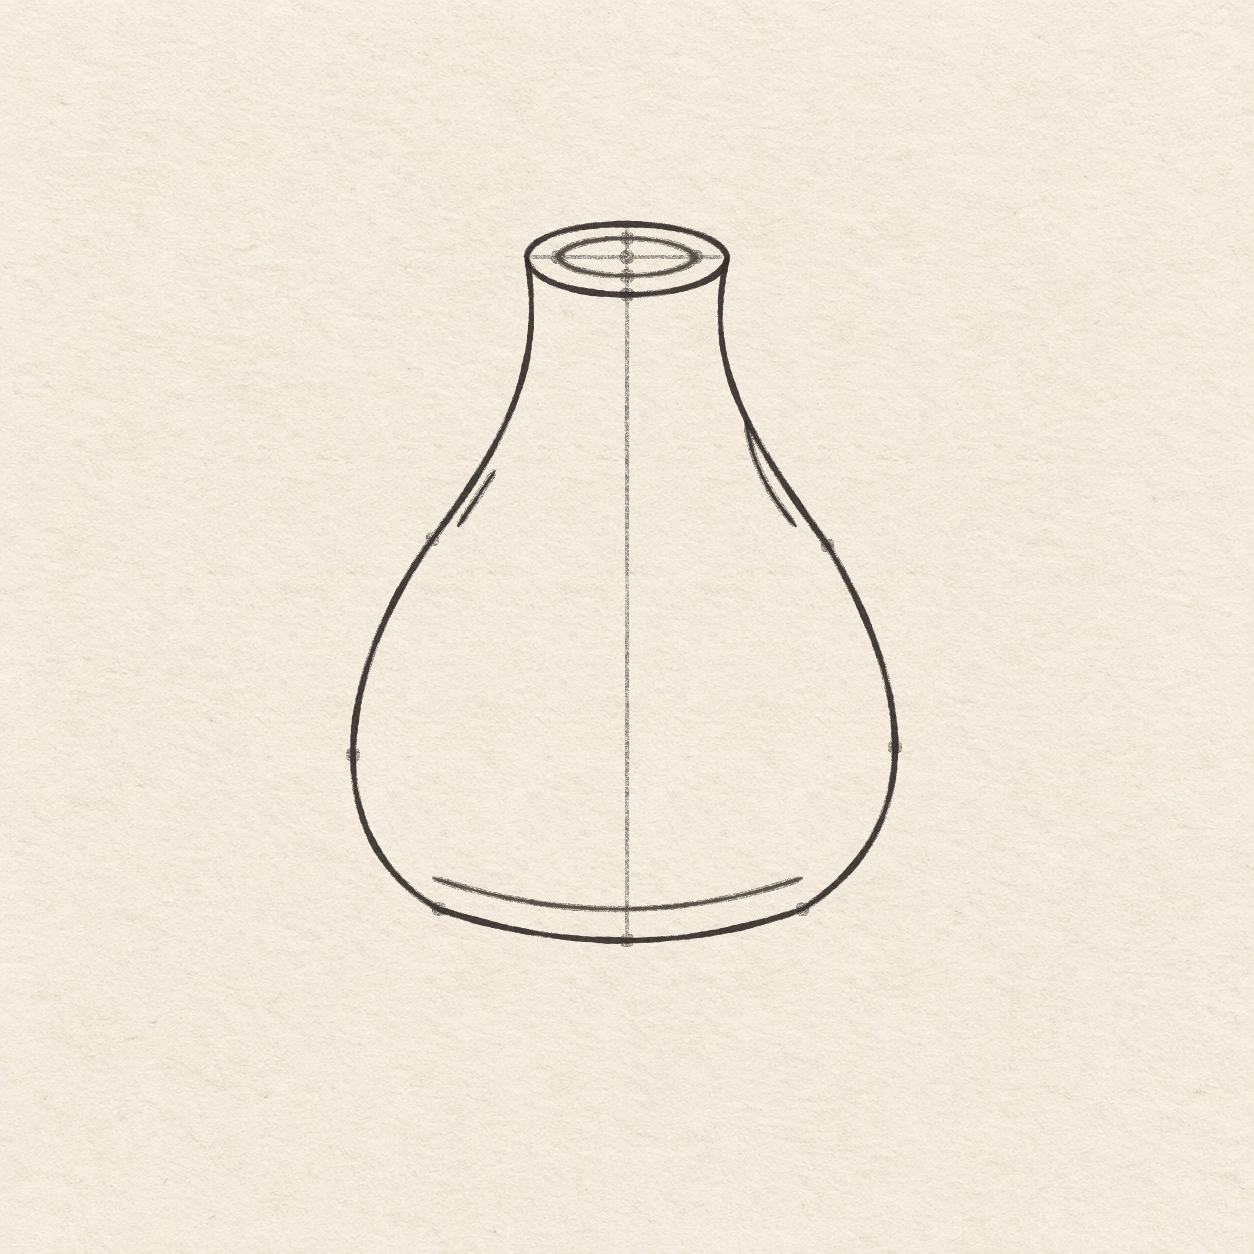
- Trace the outside oval with a fine black pen. Close it where you began. Keep the cross and all the other pencil marks for now.
- Trace the smaller oval with a lighter touch. Keep the opening and the band between the two ovals clear. Leave the center dot and cross in pencil for now.
- Trace the outer body from the left tip of the inked outside rim. Follow the pencil sides and bottom around to the other tip. Stop where the body meets the rim. Keep both rim connections closed. Leave the three short accents in pencil.

Drawing 7 — Ink the base line and shoulder accentsView larger 
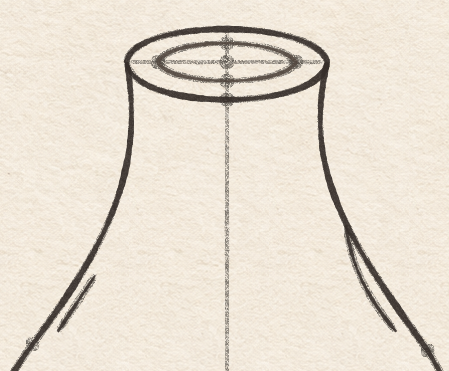
Detail 7.1 — The rim and both shoulder accentsThe two inked ovals stay separate. The pencil cross is still visible. The right accent touches the outline at its start, and the left accent stays separate. FinelinerInk the base line and shoulder accents
Instructions for Drawing 7 — Ink the base line and shoulder accents
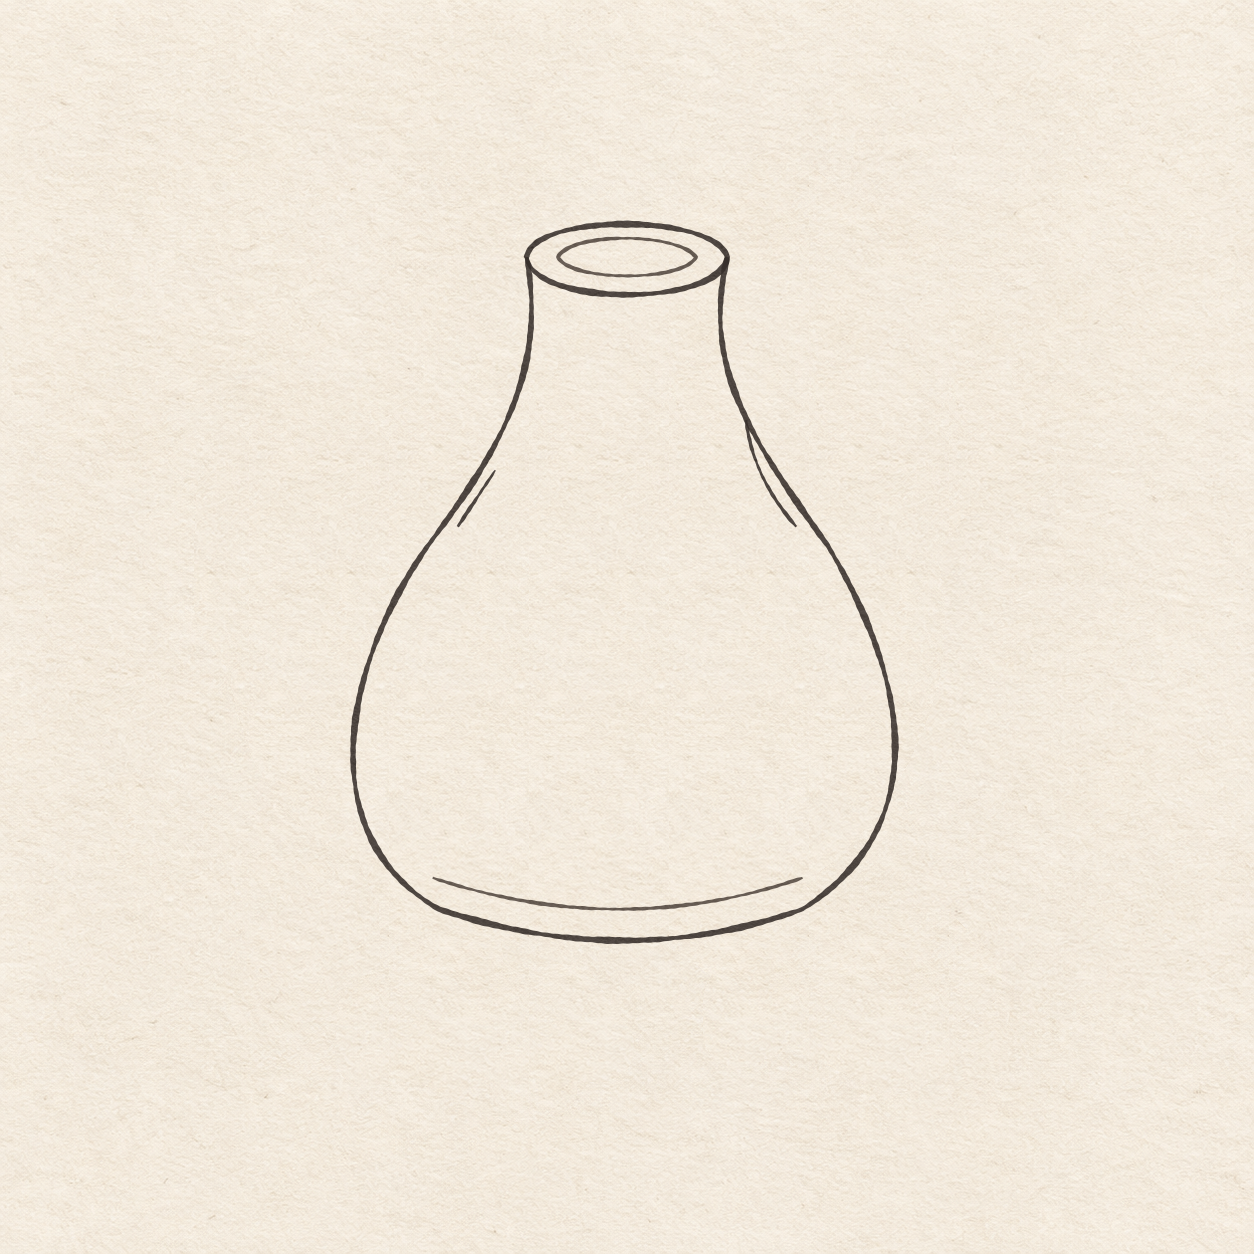
- Trace the short curve just above the bottom, using a light touch. Stop before the side walls. Leave the narrow strip of paper under the curve open.
- Start on the inked right wall and trace the pencil accent as it leaves the wall. Lift at the pencil endpoint inside the vase. The lines touch at the start. Keep the pale gap between them near the end.
- Trace the short left accent inside the wall. Keep both its ends away from the outline. Leave clear paper between this accent and the wall.

Drawing 8 — Erase the guides after the ink driesView larger CleanupErase the guides after the ink dries
Instructions for Drawing 8 — Erase the guides after the ink dries
- Fill a small patch on a scrap of the same paper with the same pen. Rub the patch gently with your eraser. If it smears, wait and test again. Once the patch stops smearing, erase the level line, the upright, the placement dots and any pencil showing beside the dry ink.

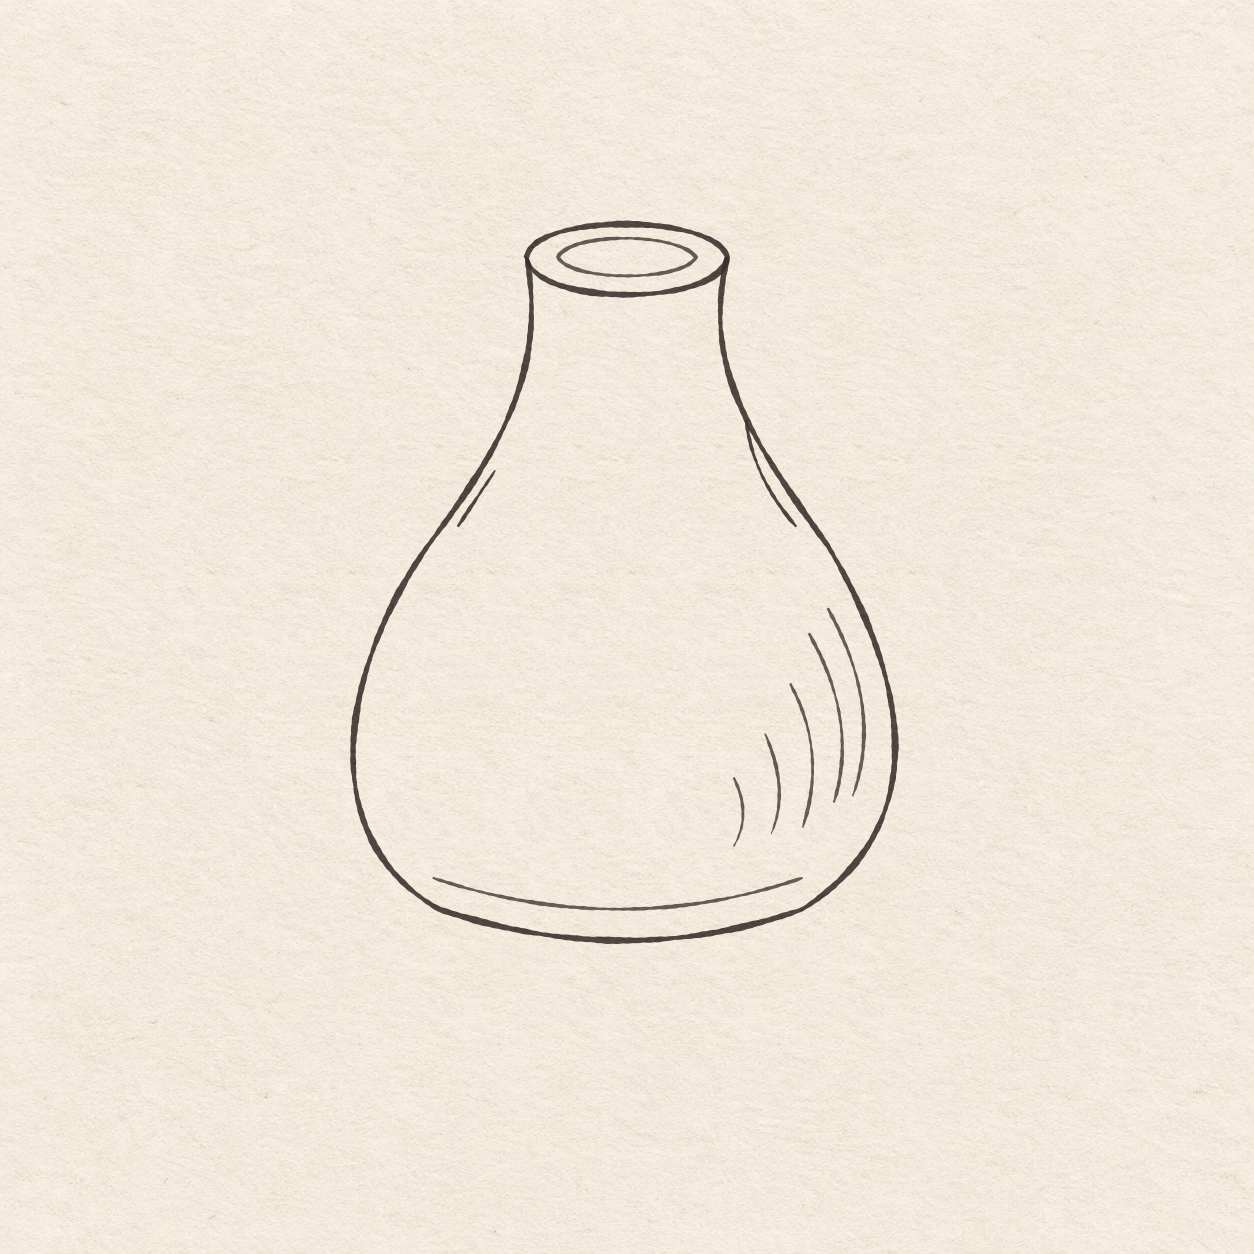
Drawing 9 — Shade the right side with five curvesView larger FinelinerShade the right side with five curves
Instructions for Drawing 9 — Shade the right side with five curves
- Sight the middle of the opening halfway between the two rim tips. Hold the ruler upright at that midpoint without drawing a line. At about 4.5 cm down, use the spare sheet to find the same level on the right wall. Start the first freehand stroke about 4 mm inside that edge. Curve downward, bowing gently toward the wall. Curl back toward the center before you stop. Aim for a stroke about 2.4 cm long. Stop sooner if the wall turns in, leaving a gap the whole way. Keep the entire stroke inside the outline and well above the base line.
- Add four more thin arcs freehand. Start each one a little lower and farther left than the last. Bow each one like the first. Make each one shorter. Aim for about 9 mm on the last one if there is room above the base line. Leave a narrow space between the curves and stop above the base line. Keep the middle and left of the vase pale.
If something looks off
If the two rims touch
Nudge the smaller oval inward while it is still in pencil. Leave a thin band of paper between the curves all the way around.