FinelinerEasy

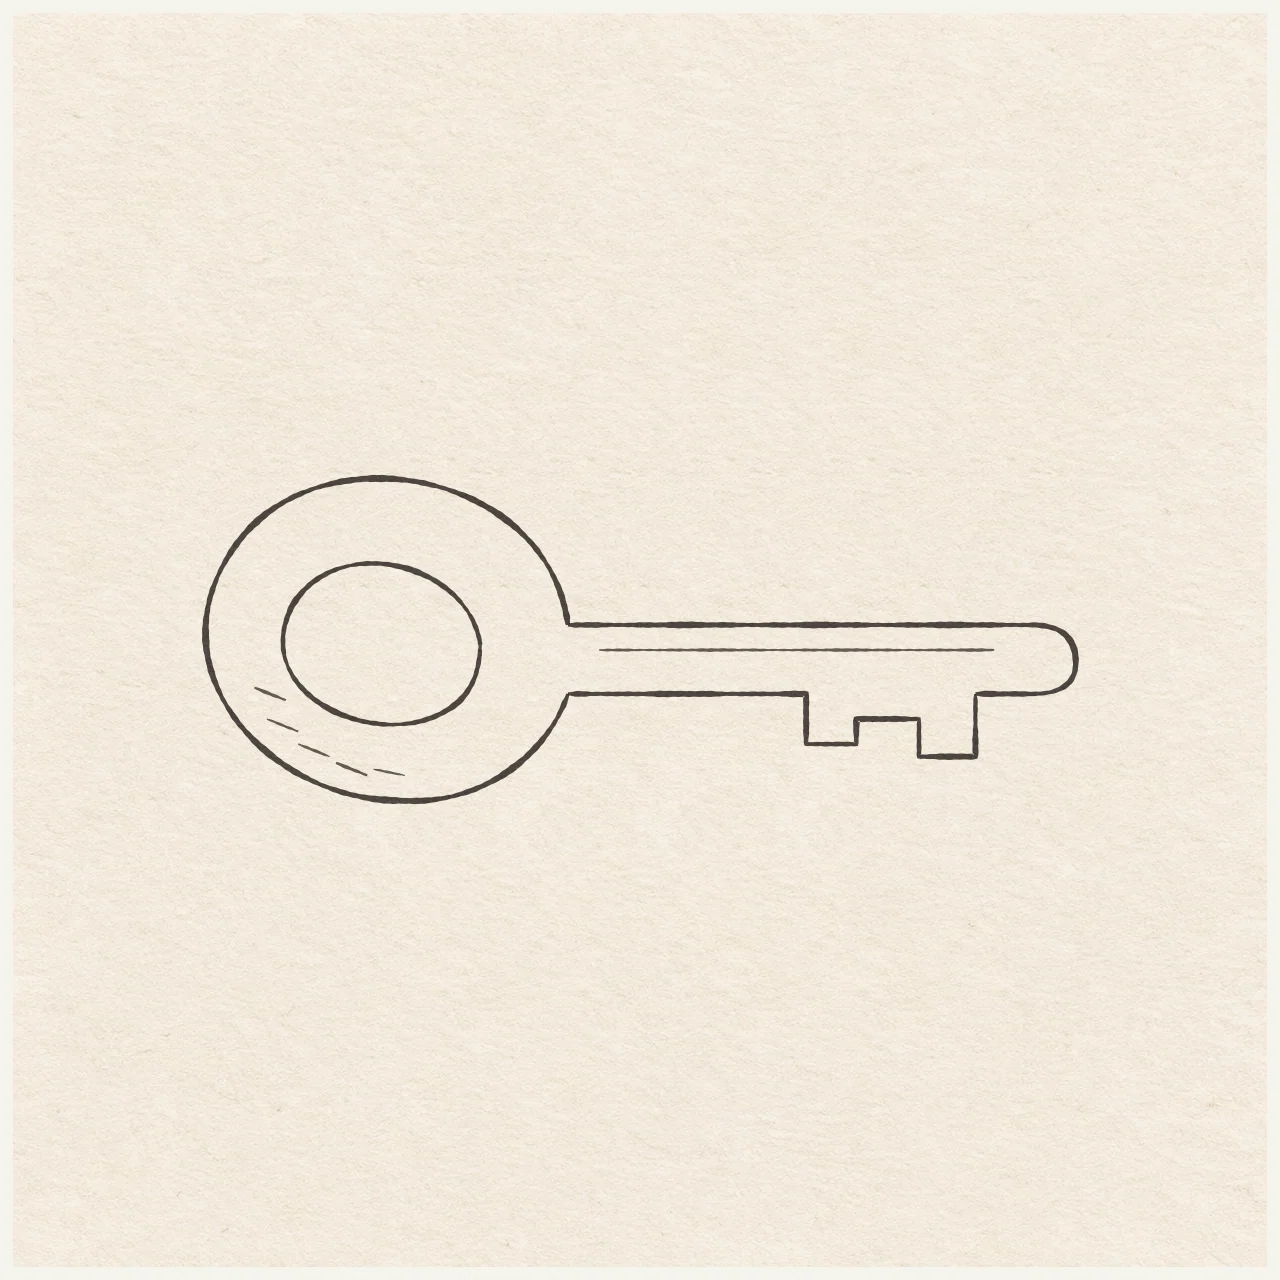
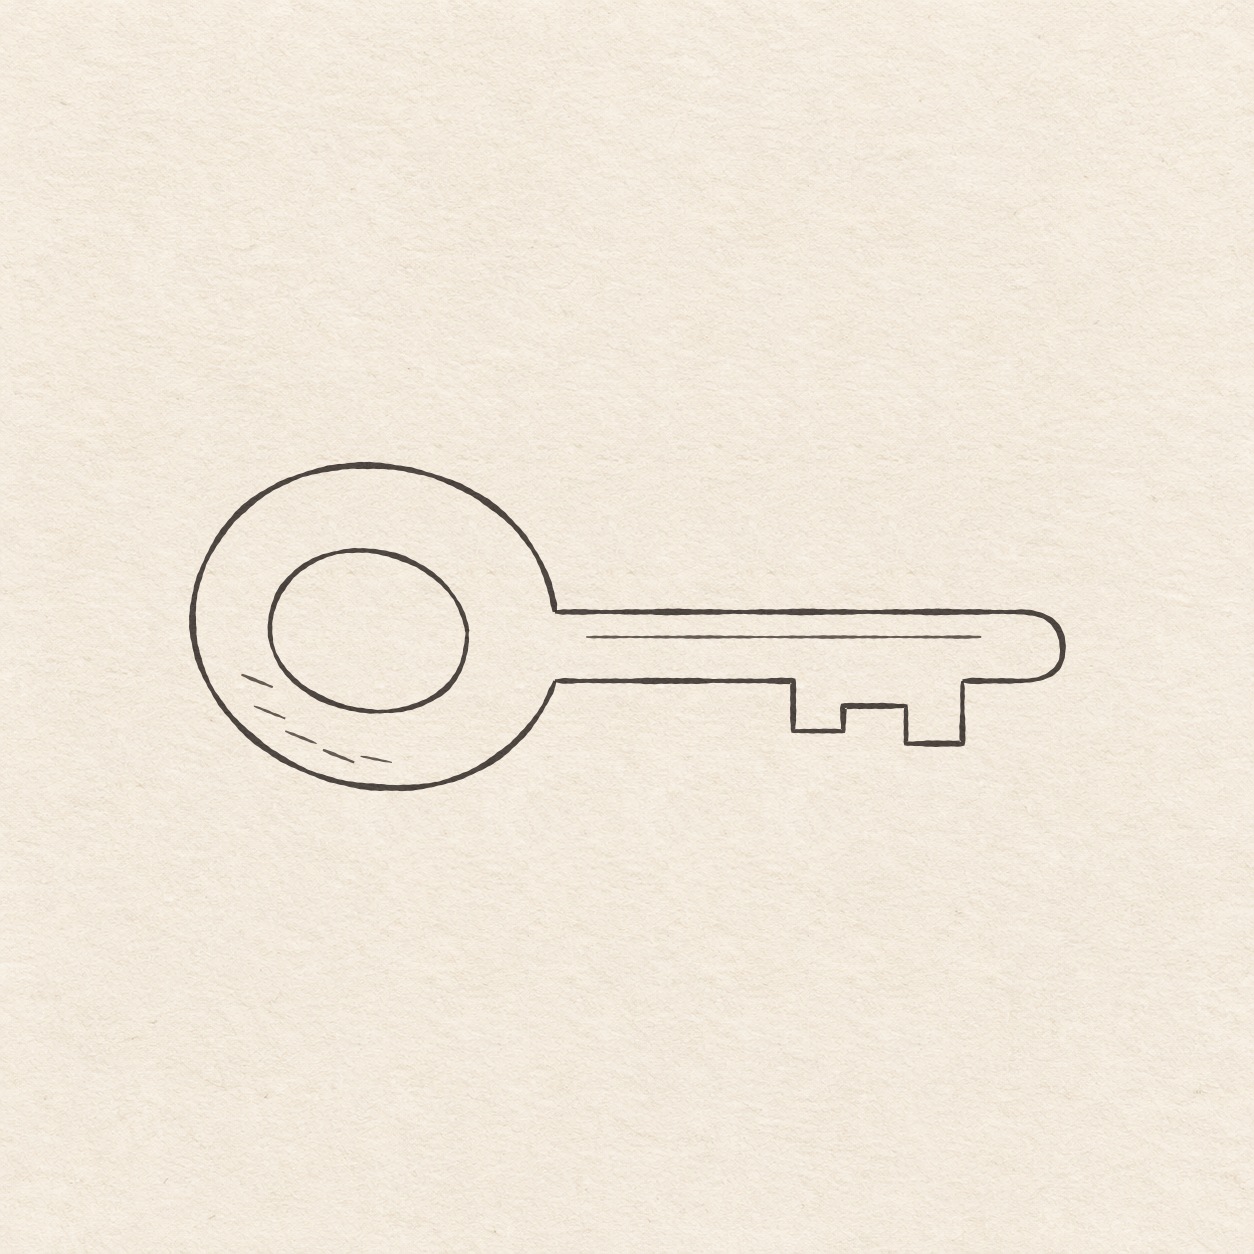
Old brass key
Practice rounded curves, a narrow shaft and two stepped teeth in a fineliner drawing of an old brass key.
Follow the drawing tutorial
Plot the rounded head and stepped teeth in pencil, then ink the old key and add a few small wear marks.
Start the 8-step tutorialA small thing to tryKeep the space between the inner and outer head curves clear. Put the teeth along the lower edge of the shaft.
Draw it, one step at a time
Draw an old brass key
Plot the rounded head and stepped teeth in pencil, then ink the old key and add a few small wear marks.
What you’ll need
- HB pencil
- Eraser
- Fine black pen
- Ruler
- Spare sheet with a square corner
- Drawing paper
Before you start
This key is about 11 cm wide and 4 cm high. Choose where you want it on the page. The head is on the left, so leave most of the space to the right of your first mark.
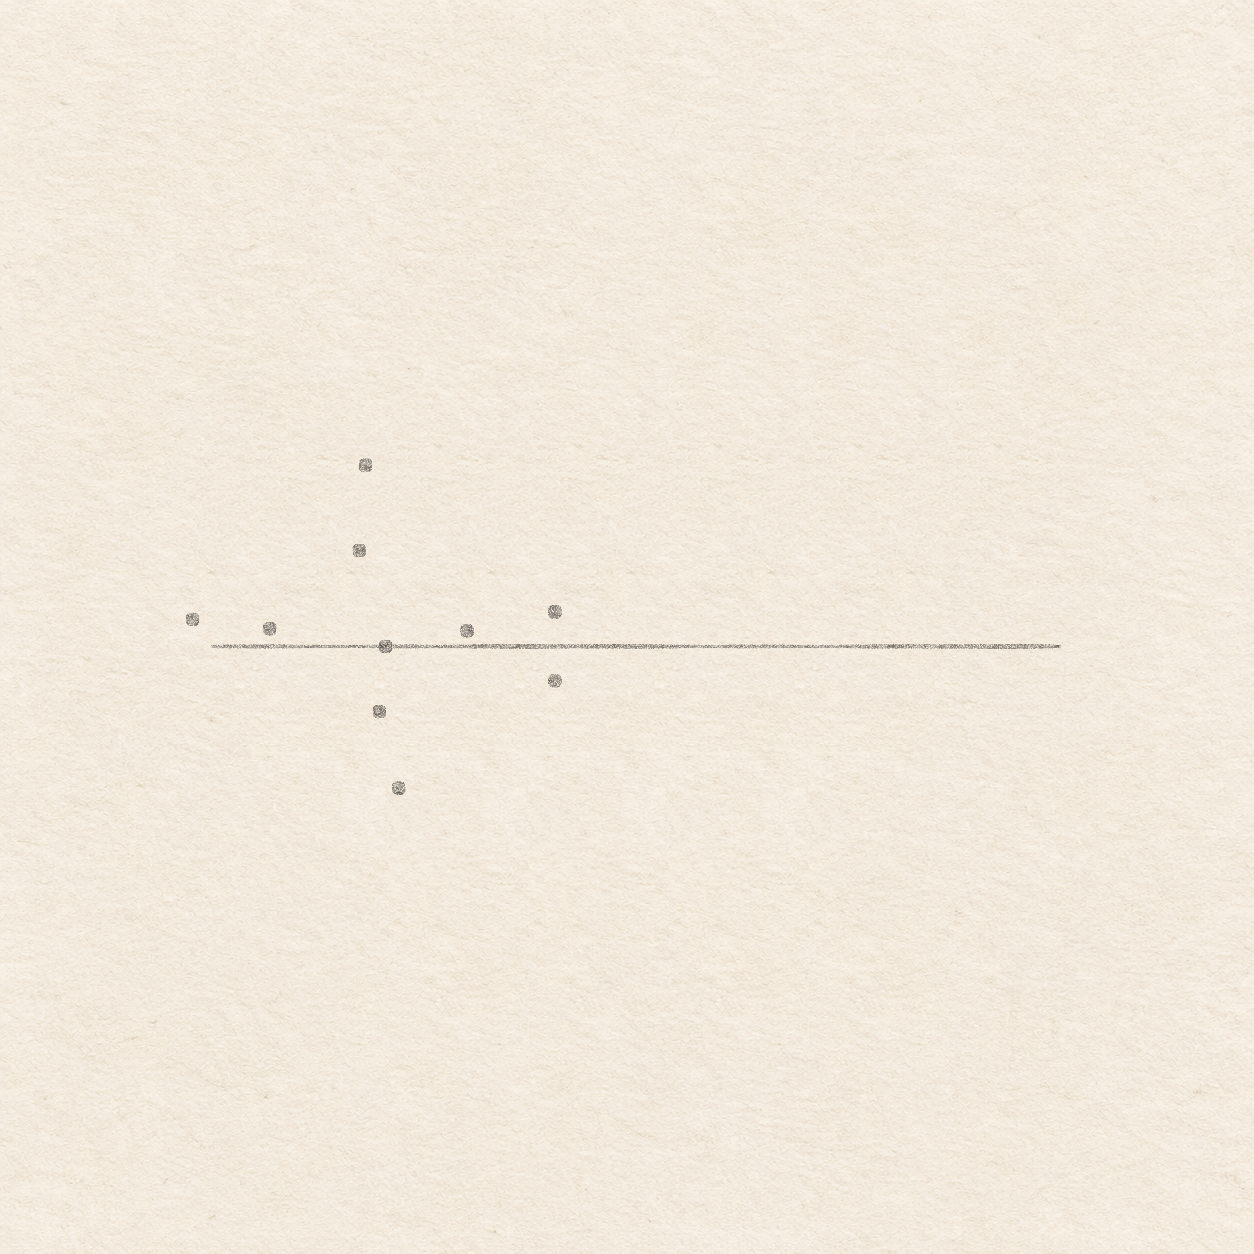
Drawing 1 — Mark the head and its openingView larger PencilMark the head and its opening
Instructions for Drawing 1 — Mark the head and its opening
- Choose a spot for the head and make one light pencil dot. Leave at least 3 cm to its left, 9 cm to its right and 2.5 cm above and below. Move the dot if the whole key cannot fit in that space.
- Rule a faint level line through the dot. Start about 2.2 cm to its left and stop about 8.6 cm to its right. Keep the line very light for erasing later. Set the spare sheet against the line. Its square corner gives you the straight up-and-down direction for the next marks.
- Measure 2.2 cm right from the starting dot along the level line. Line up one edge of the spare sheet with that line and slide its square corner to the measured spot. Hold the ruler along the upright edge so it extends above and below the level line. From the corner, mark one dot about 4.5 mm up and one 4.5 mm down. Check that the dots sit directly above one another, with about 9 mm between them.
- Mark three outer dots from the starting dot. First hold the ruler along the level line so it projects past the left end. For each new dot, measure left or right along the ruler, set the square corner on that spot, then measure up or down. Put the top dot about 2.5 mm left and 2.3 cm up, the left dot about 2.5 cm left and 3.5 mm up, and the bottom dot about 2 mm right and 1.8 cm down. Check that the top and bottom dots are near the starting dot’s upright and that the wide left dot sits about 2.5 cm left of it.
- Still in pencil, place four inside dots from the starting dot. Mark the top about 3 mm left and 1.2 cm up, the left about 1.5 cm left and 2 mm up, the bottom just under the starting dot and about 8 mm down, and the right about 1 cm right and 2 mm up. Leave a visible band between every inside dot and the outer dots. Move an inside dot inward if the band looks narrow.

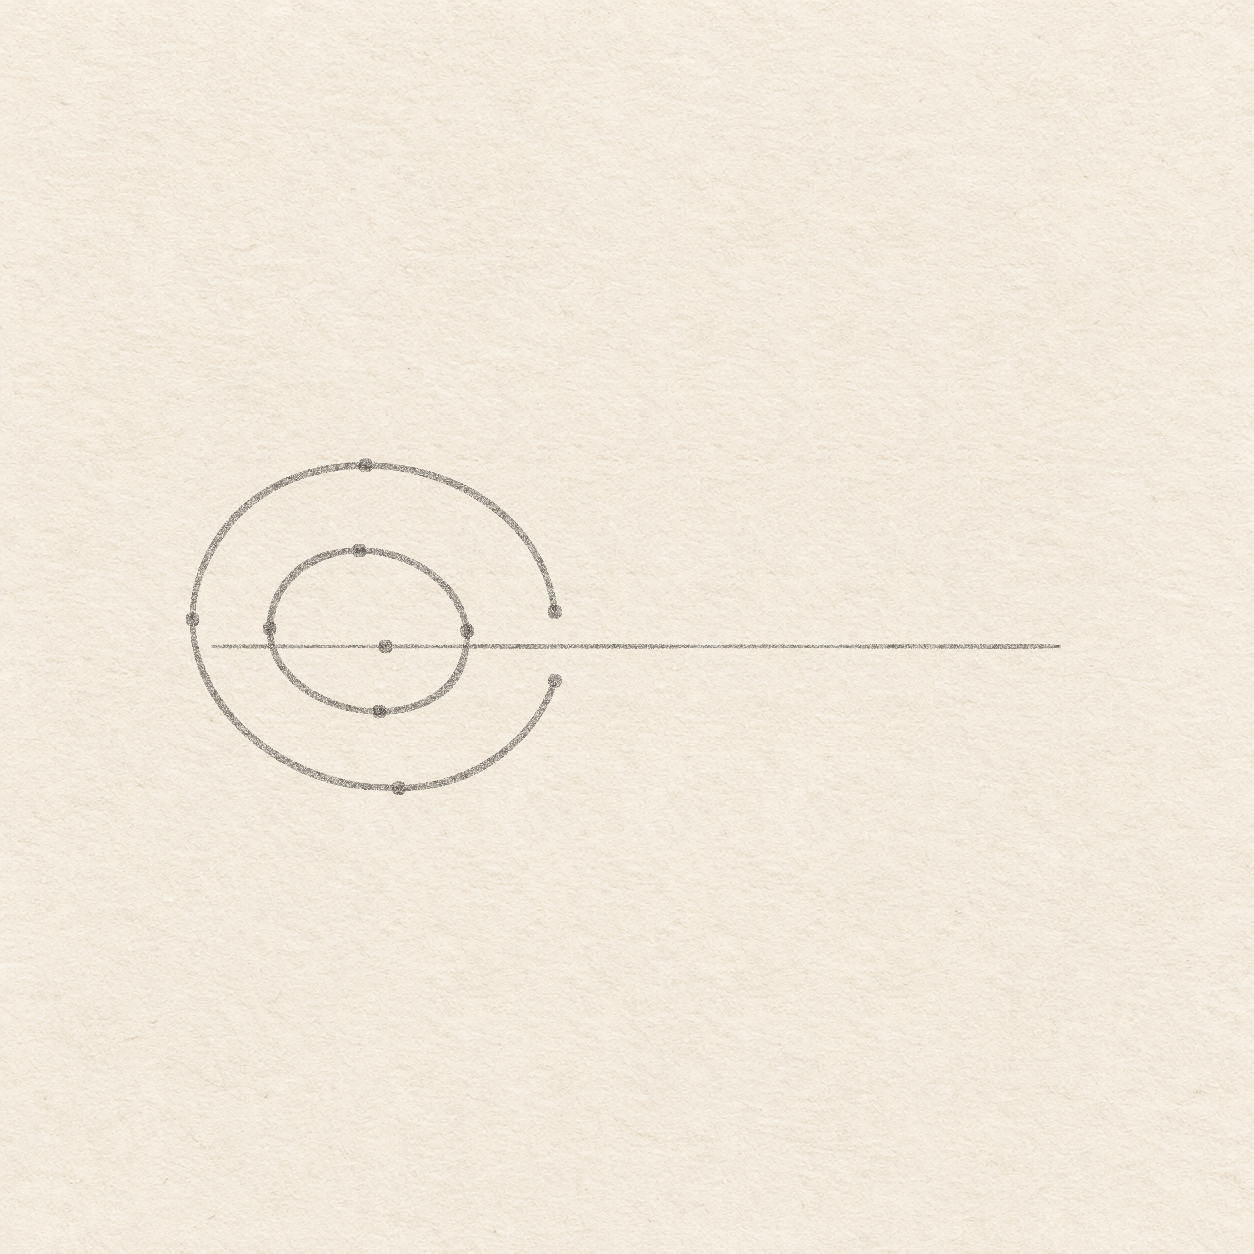
Drawing 2 — Curve around the open headView larger PencilCurve around the open head
Instructions for Drawing 2 — Curve around the open head
- Start in pencil at the higher right dot. Sweep freehand through the top dot, around the wide left dot and down through the bottom dot. Curve back up to the lower right dot and stop there. Keep the arc smooth between dots. If the two right dots join, lift that pencil line and leave their gap open.
- From the right inside dot, curve freehand through the upper, left and bottom inside dots. Return to the right inside dot so the opening closes. Check that a continuous band remains between the two curves. Lift and redraw a small section if it crowds the outer edge.

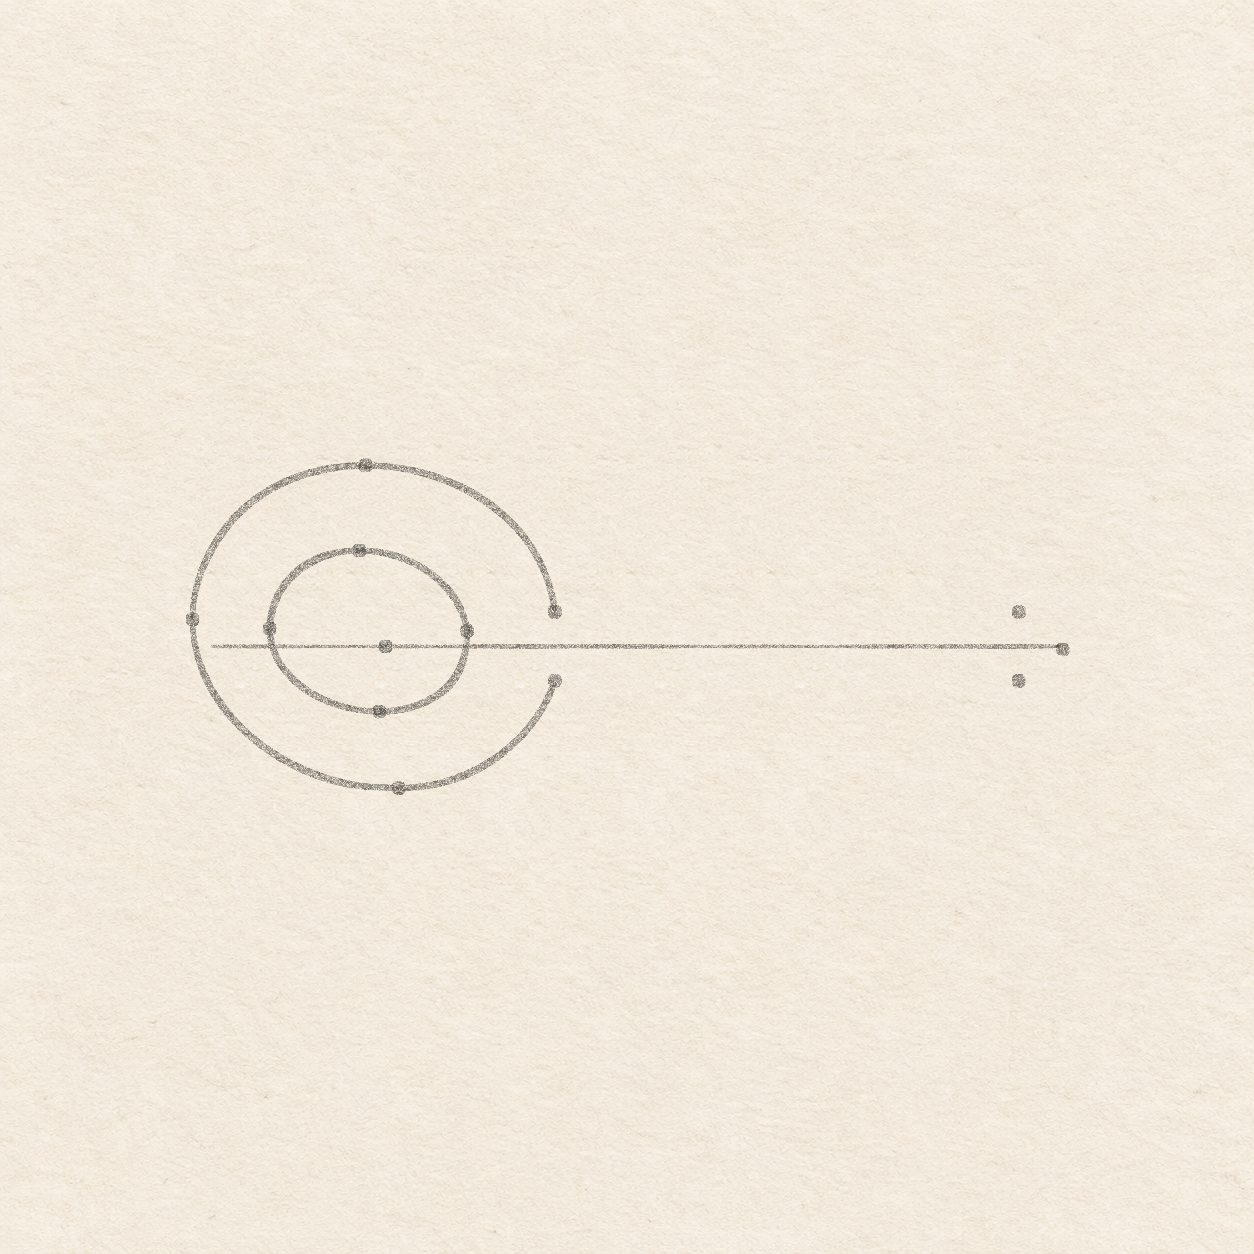
Drawing 3 — Place the far end of the shaftView larger PencilPlace the far end of the shaft
Instructions for Drawing 3 — Place the far end of the shaft
- From the upper head join, measure about 5.9 cm level to the right and place a dot. Keeping the first sheet edge level, set its square corner on that new dot. Measure about 9 mm down the upright edge for the lower tip dot. Look where the upright edge crosses the faint level line. Place the far tip dot about 5.5 mm right of that meeting point. Hold the ruler level across the head and tip dots. Adjust them until the upper pair and the lower pair line up.

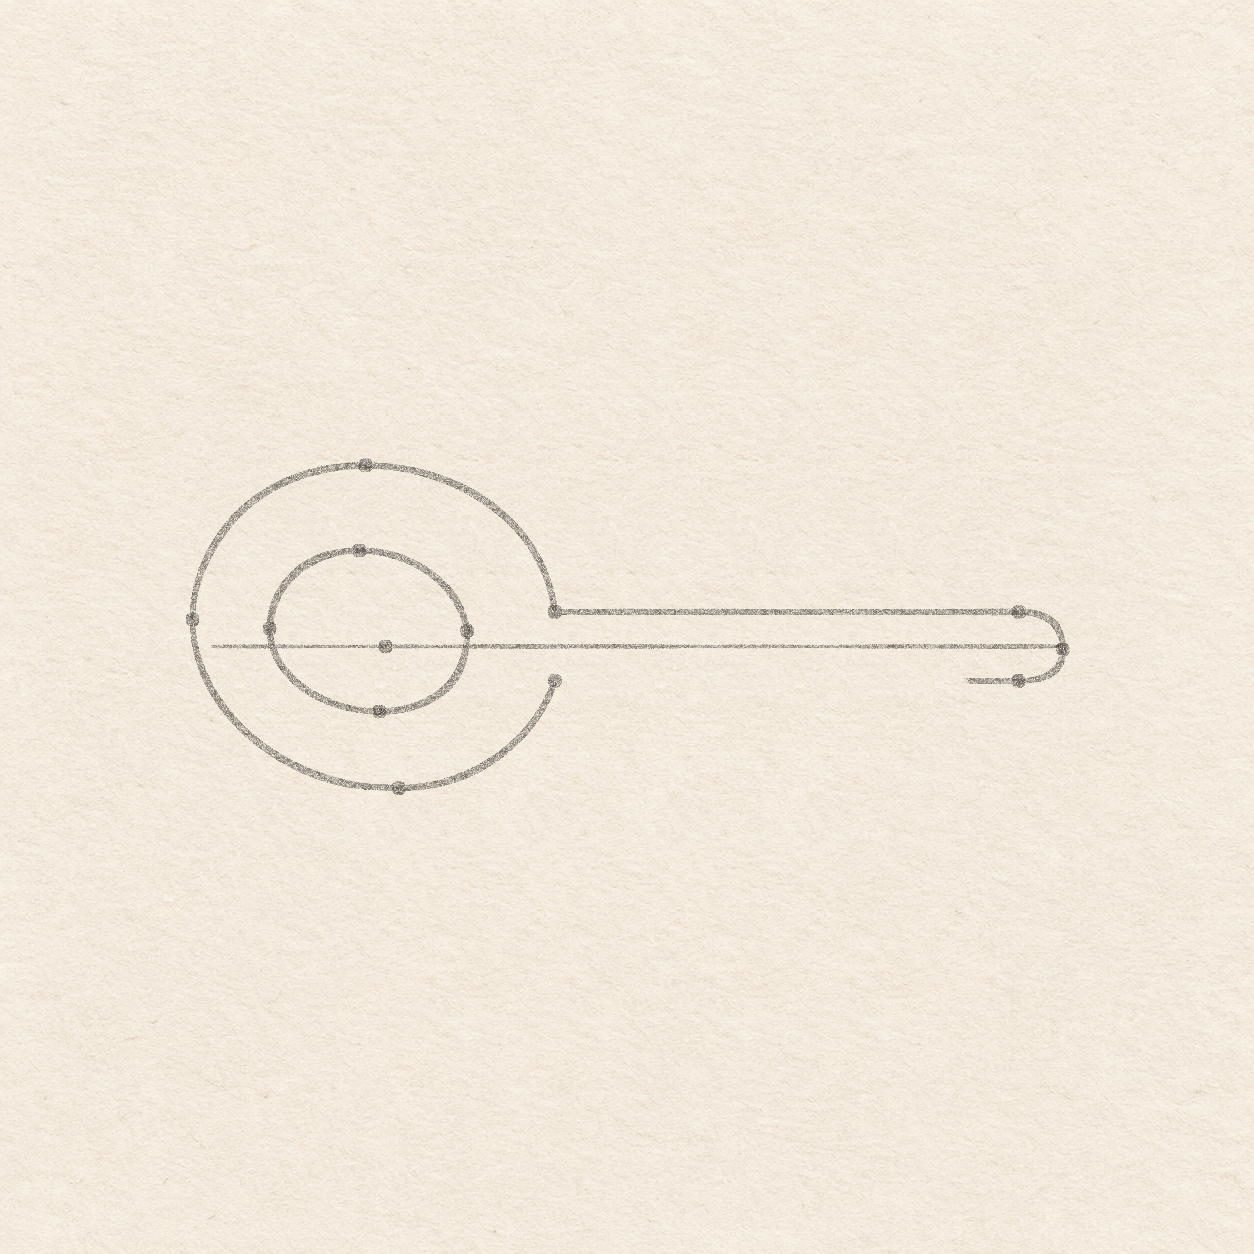
Drawing 4 — Draw the shaft and its round tipView larger PencilDraw the shaft and its round tip
Instructions for Drawing 4 — Draw the shaft and its round tip
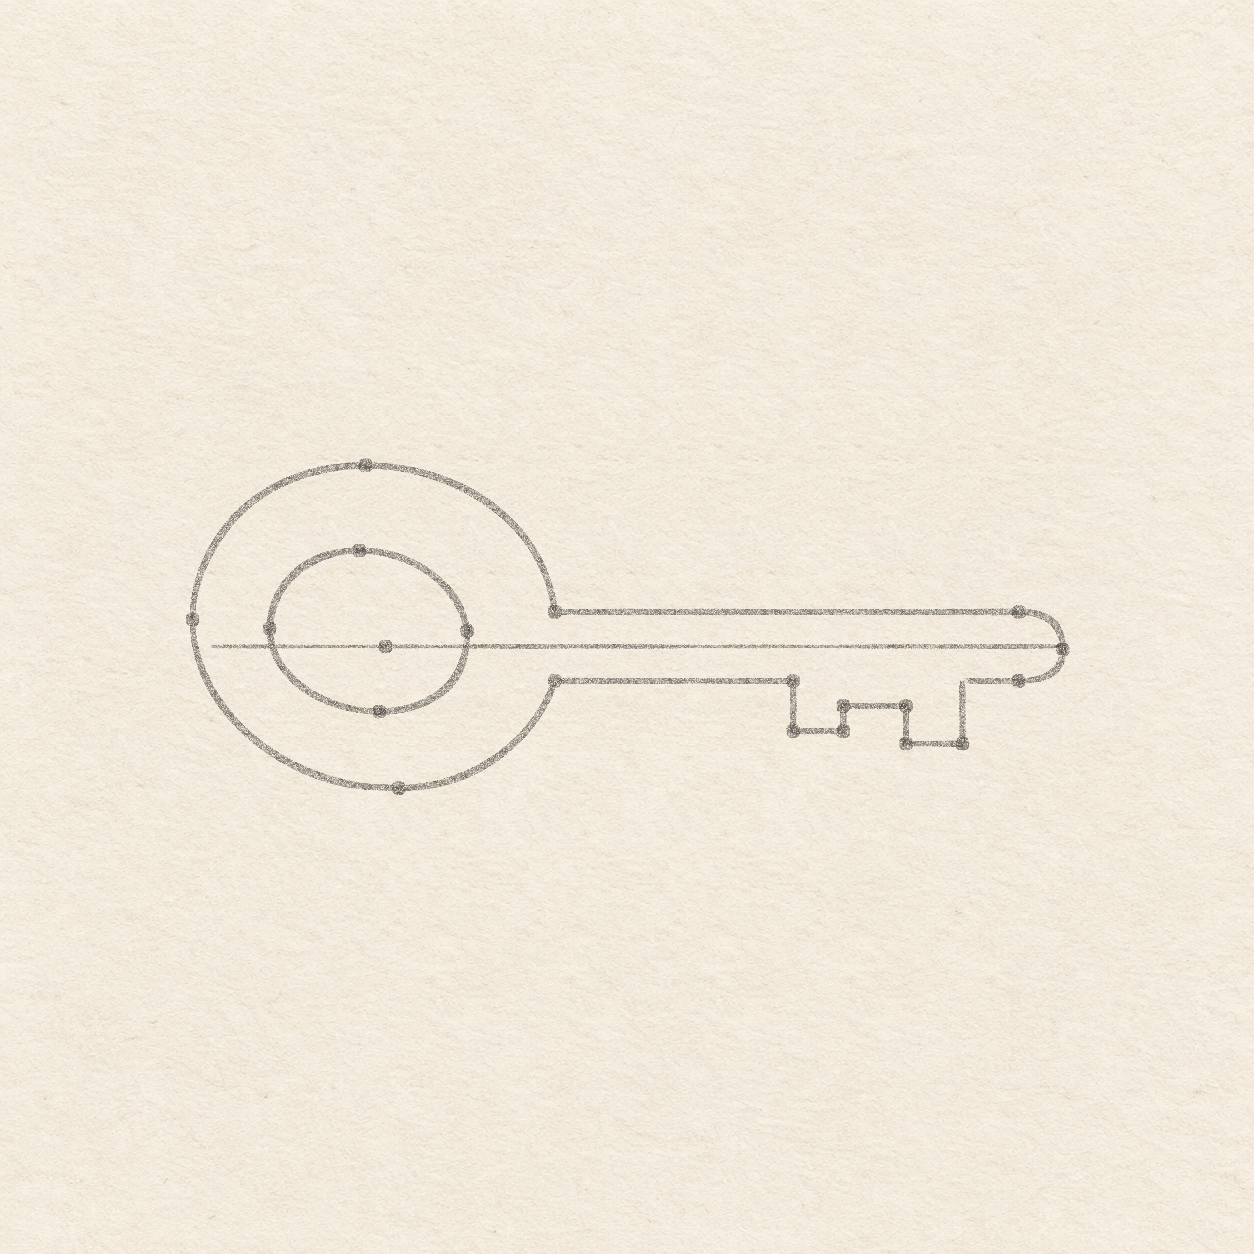
- Rule the top edge from the upper head join to the upper tip dot. Curve freehand out through the far right dot and turn back to the lower tip dot. Rule a short line about 7 mm left from the lower dot. Stop the short line there. Check that it is level with the lower head join, leaving a space between the two for the teeth.

Drawing 5 — Plot and join the two teethView larger 
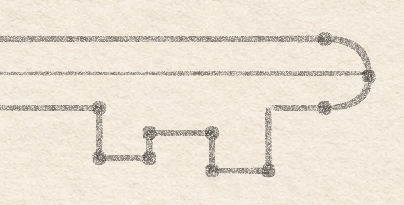
Detail 5.1 — The two teeth and the lower shaftThe pencil teeth sit below the level of the short return. The deeper tooth is nearer the rounded tip. PencilPlot and join the two teeth
Instructions for Drawing 5 — Plot and join the two teeth
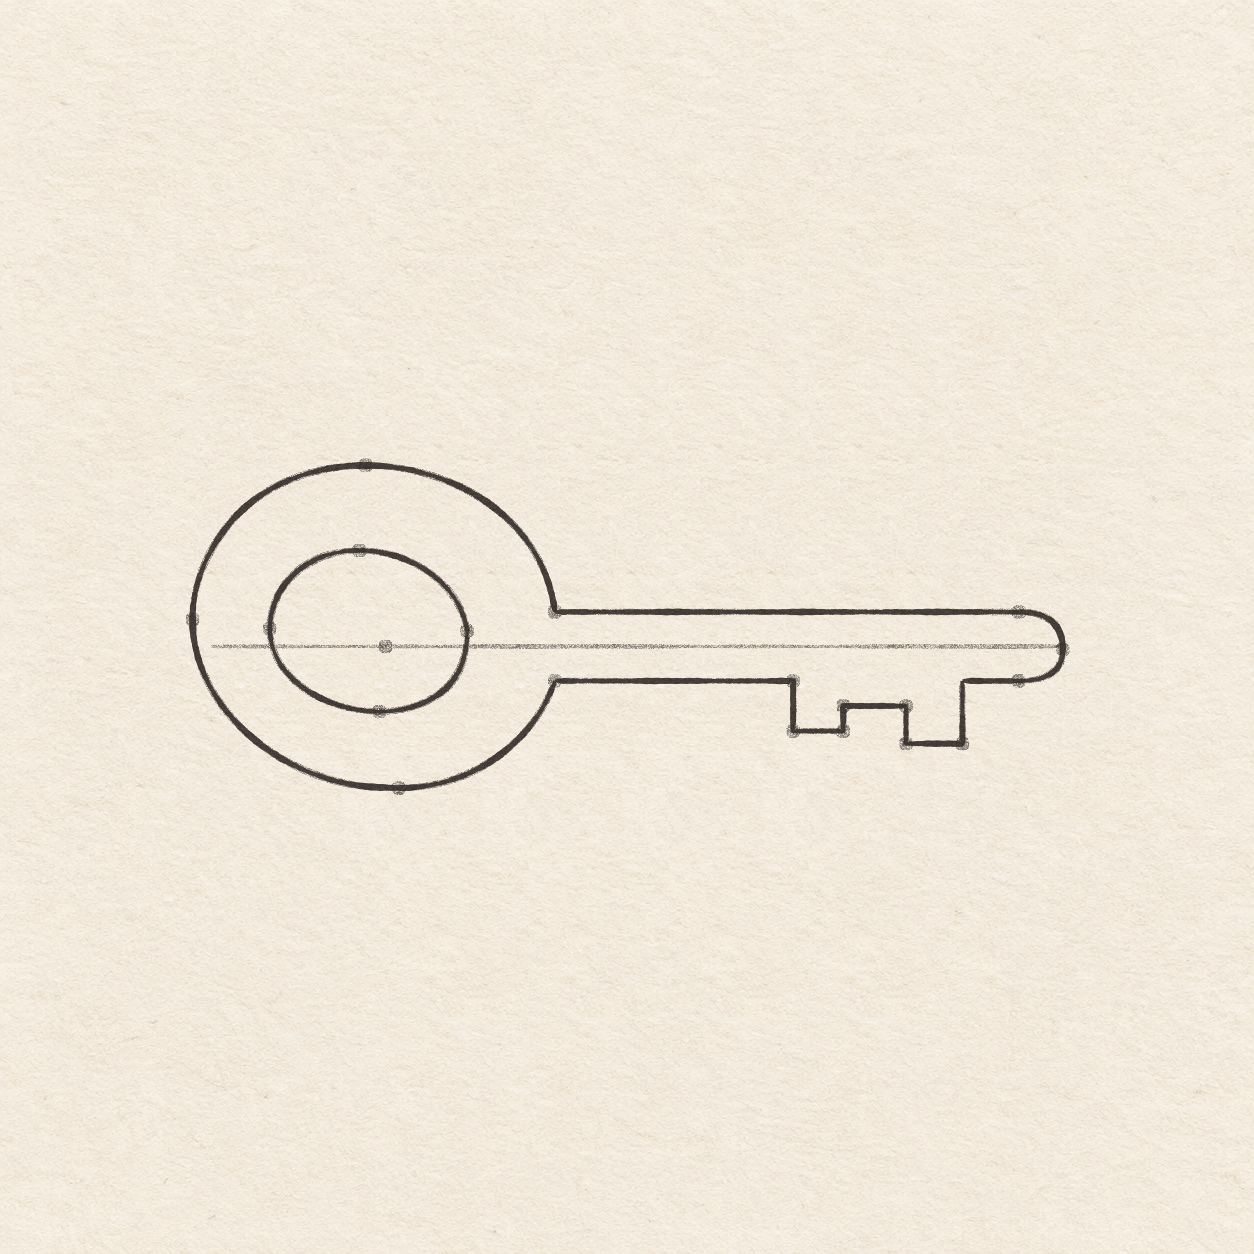
- Start at the end of the short return. Keep the sheet edge level and move its square corner to each new dot before measuring the next turn. Mark dots as you move down 8 mm, left about 7 mm, up about 5 mm, then left 8 mm. Move down about 3 mm, left about 6.5 mm, then up to the level of the lower head join. Check that the last dot and lower head join line up. Move a corner dot now if either tooth slopes.
- With the ruler, join the end of the short line to each new dot in the same order. From the last dot, rule a level line left until it touches the lower head join. Check that the tooth nearer the tip hangs a little lower and every corner turns cleanly.

Drawing 6 — Ink the pencil contoursView larger FinelinerInk the pencil contours
Instructions for Drawing 6 — Ink the pencil contours
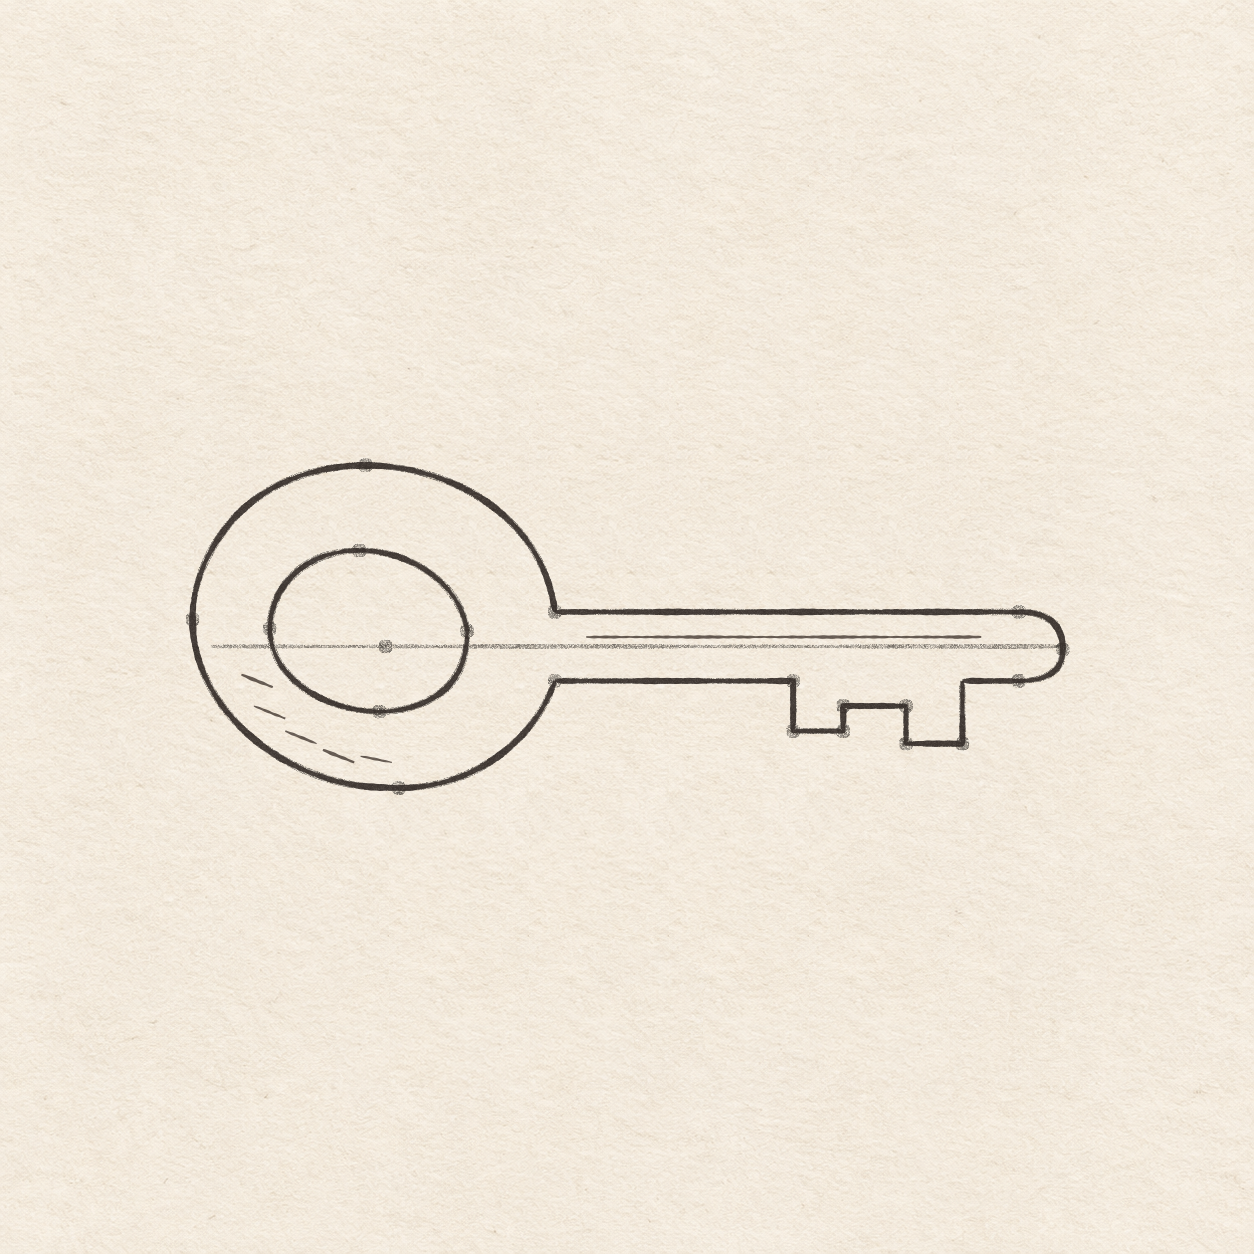
- Trace the pencil outer head in pen from the upper right join around the top, left and bottom to the lower right join. Leave the space between the two right joins open for the shaft edges.
- Trace the small closed pencil opening, following its upper, left and lower curves back to the right dot. Keep the opening pale. Check that the ink does not touch the outer head.
- Start at the upper inked head join. Trace the long pencil edge, turn around the rounded tip and follow the short lower pencil line. Touch the head join cleanly and stop at the first square tooth corner.
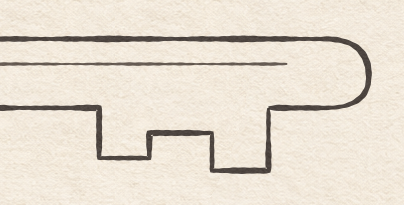
- Start where the short inked line ends. Trace the squared tooth steps back left, then follow the pencil lower shaft line into the lower inked head join. Check that the pen meets both earlier ends cleanly and the notches stay open.

Drawing 7 — Add the groove and small wear marksView larger FinelinerAdd the groove and small wear marks
Instructions for Drawing 7 — Add the groove and small wear marks
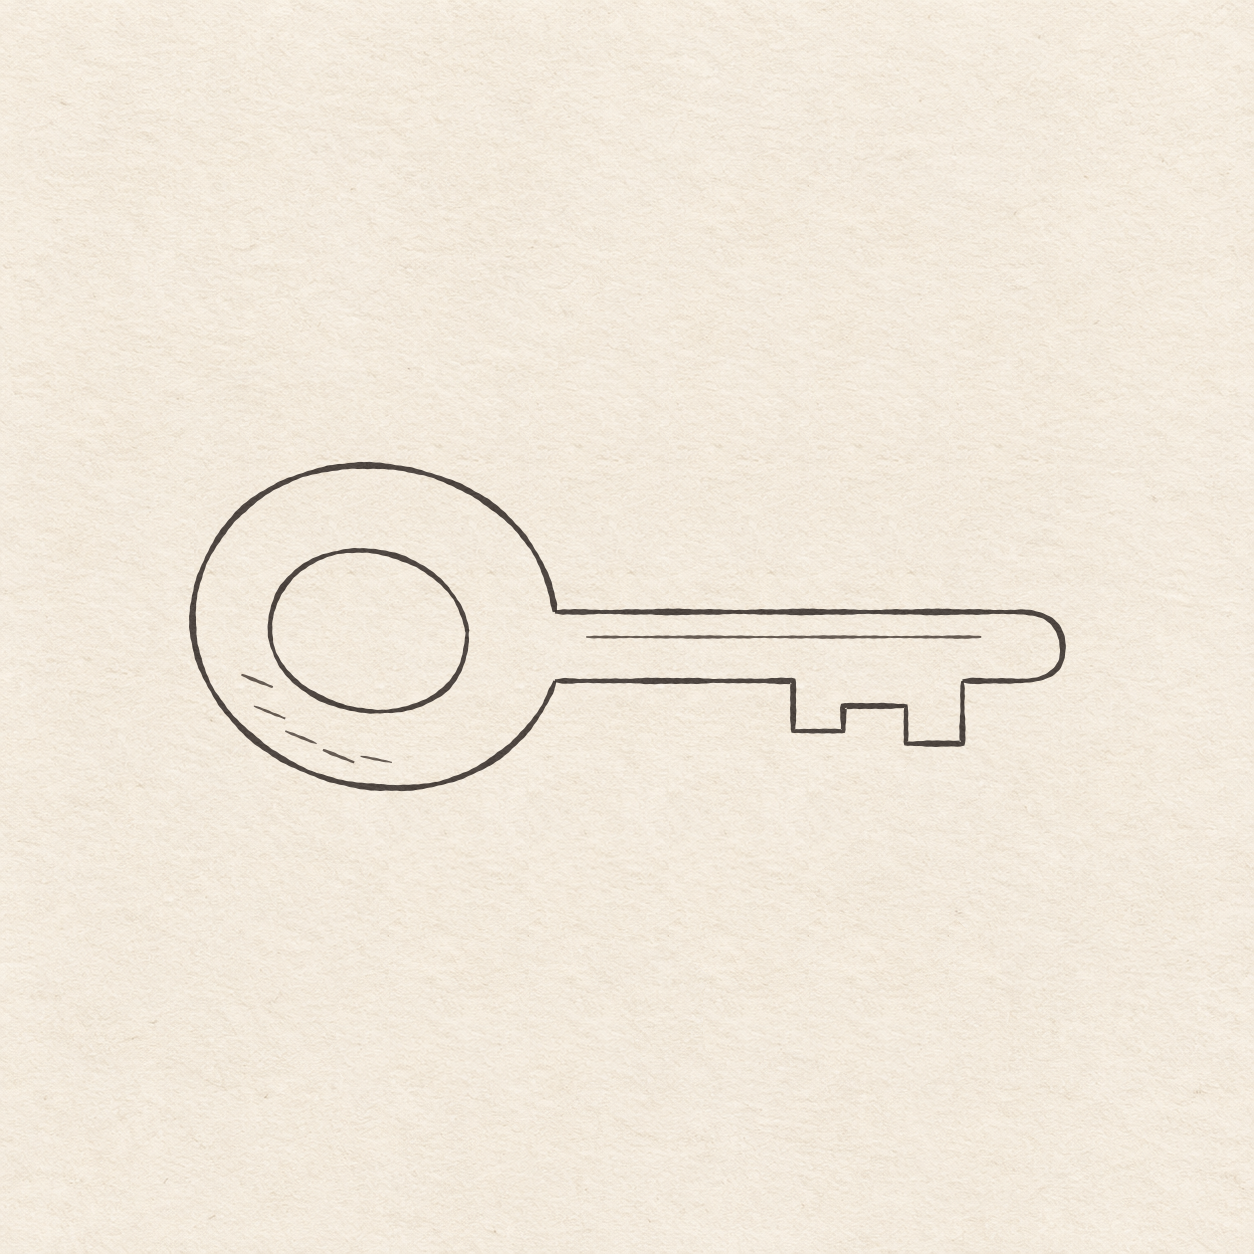
- Draw a thin level line about 3 mm below the long inked top edge. Start about 4 mm right of the head join and stop about 5 mm before the top of the rounded tip. Keep paper at both ends and between the groove and the upper edge.
- Add five separate short pen dashes in the lower-left metal band. Begin beside the left side of the opening and follow the band down and to the right. Slant each dash slightly down to the right and make the final dash flatter. Leave a little paper between the dashes and both borders of the band.

Drawing 8 — Erase the dry pencil guidesView larger 
Detail 8.1 — The cleaned tooth cornersThe two black teeth meet the adjoining shaft edges. Open paper remains in the notch and around the groove. CleanupErase the dry pencil guides
Instructions for Drawing 8 — Erase the dry pencil guides
- Fill a small patch on a scrap of the same paper with the same pen. Rub the patch gently with your eraser. If it smears, wait and test again. Once the patch stops smearing, erase the level pencil line, placement dots and any pencil showing beside the dry ink.
If something looks off
If the teeth look tilted
While the corners are still in pencil, line up one edge of the spare sheet with the long level line. Use its square corner to straighten the short drops and rises before you ink them.