FinelinerEasy

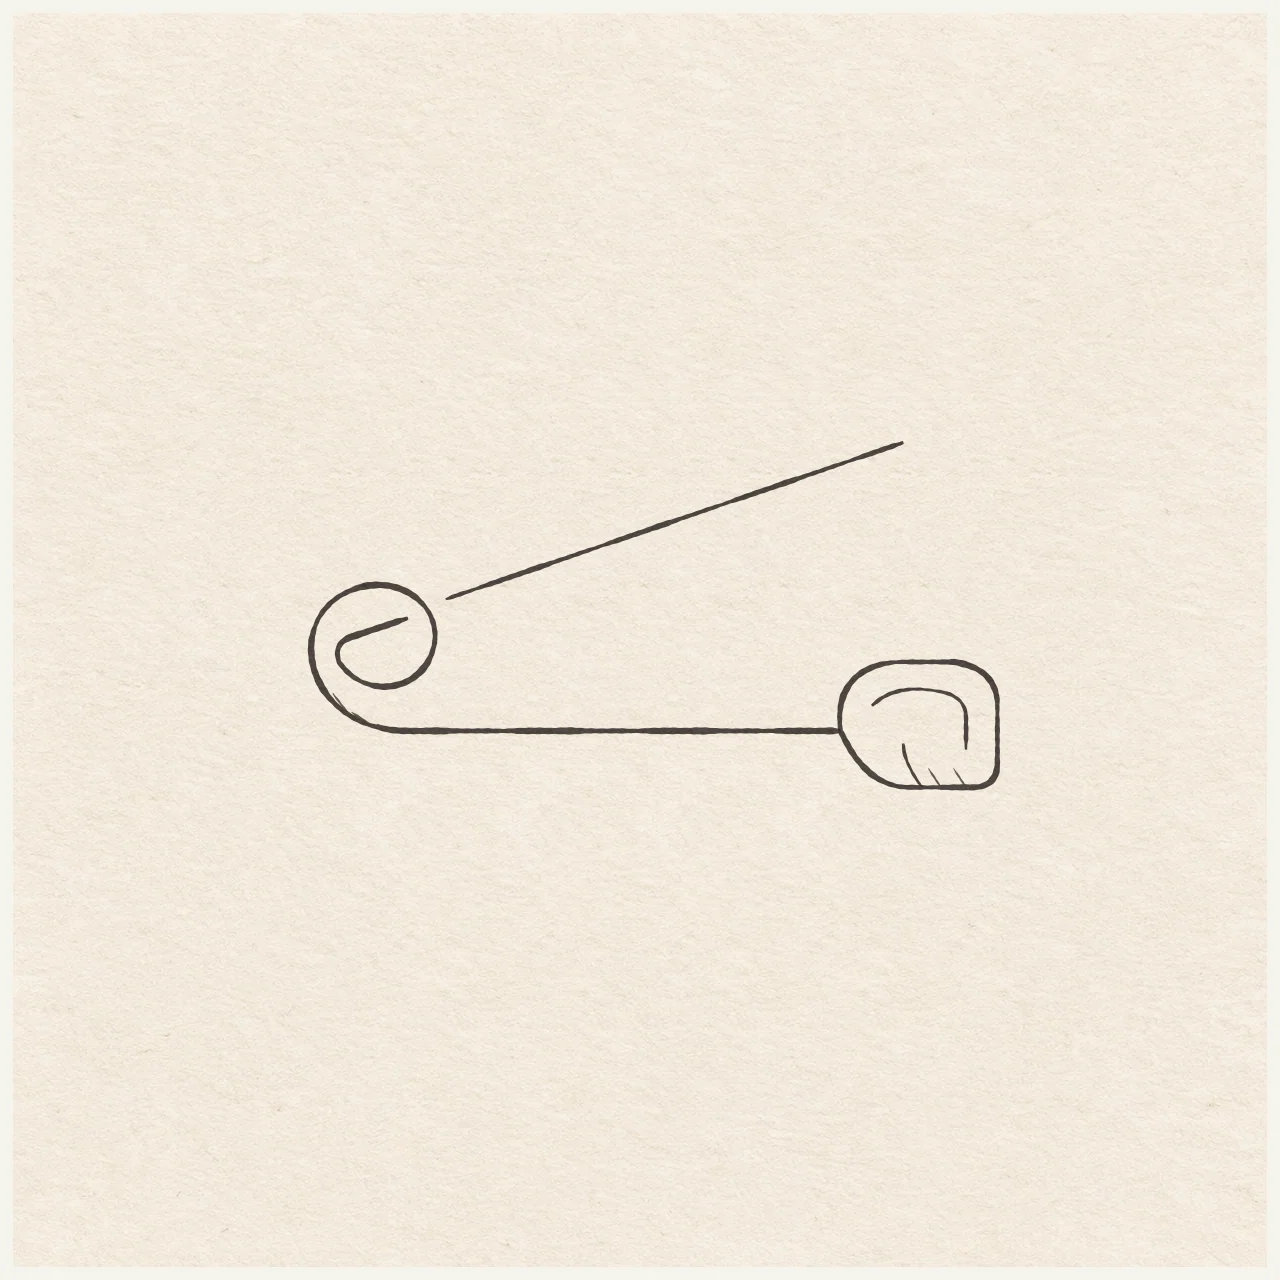
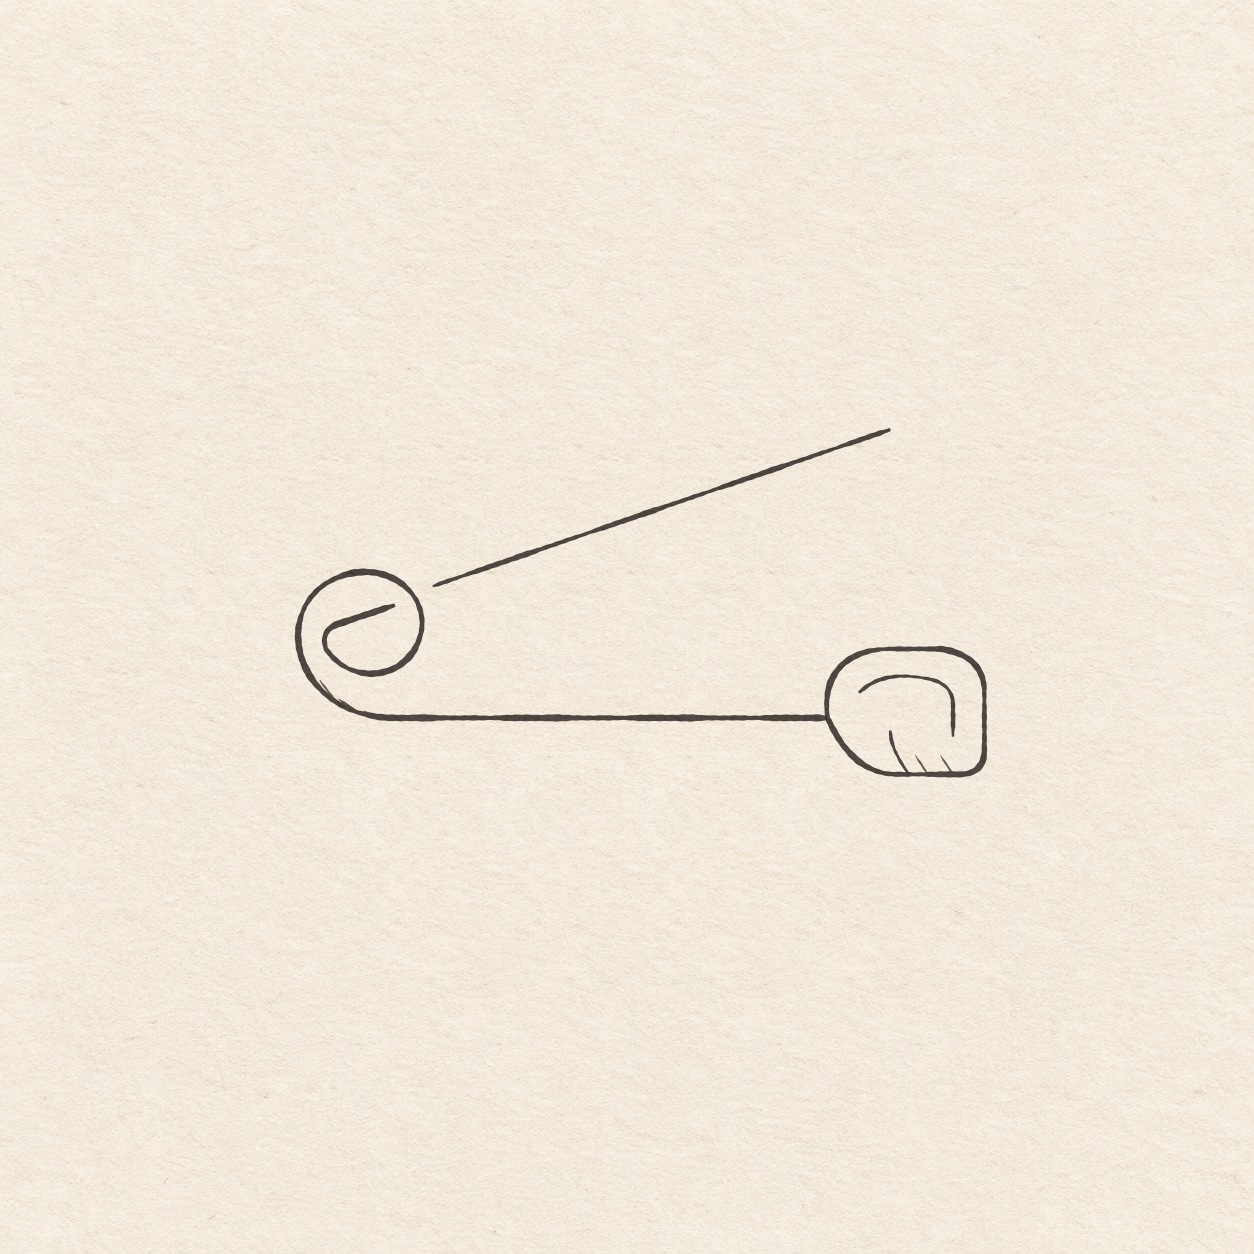
Open safety pin
Start with the low straight wire, curl the spring and keep the pointed arm clear of the clasp.
Follow the drawing tutorial
Start with the low straight wire, curl the spring and keep the pointed arm clear of the clasp.
Start the 7-step tutorialA small thing to tryKeep its high tip in clear paper above the clasp. The low straight wire is the only wire that touches the clasp.
Draw it, one step at a time
Draw an open safety pin
Start with the low straight wire, curl the spring and keep the pointed arm clear of the clasp.
What you’ll need
- HB pencil
- Eraser
- Ruler
- Scrap of paper with a square corner
- Fine black pen
- Drawing paper
Before you start
This example is about 11 cm wide and 5.5 cm tall. Place the whole study anywhere on your page with room for the point above and about 1 cm below the straight wire for the clasp.
Drawing 1 — Place the level wireView larger PencilPlace the level wire
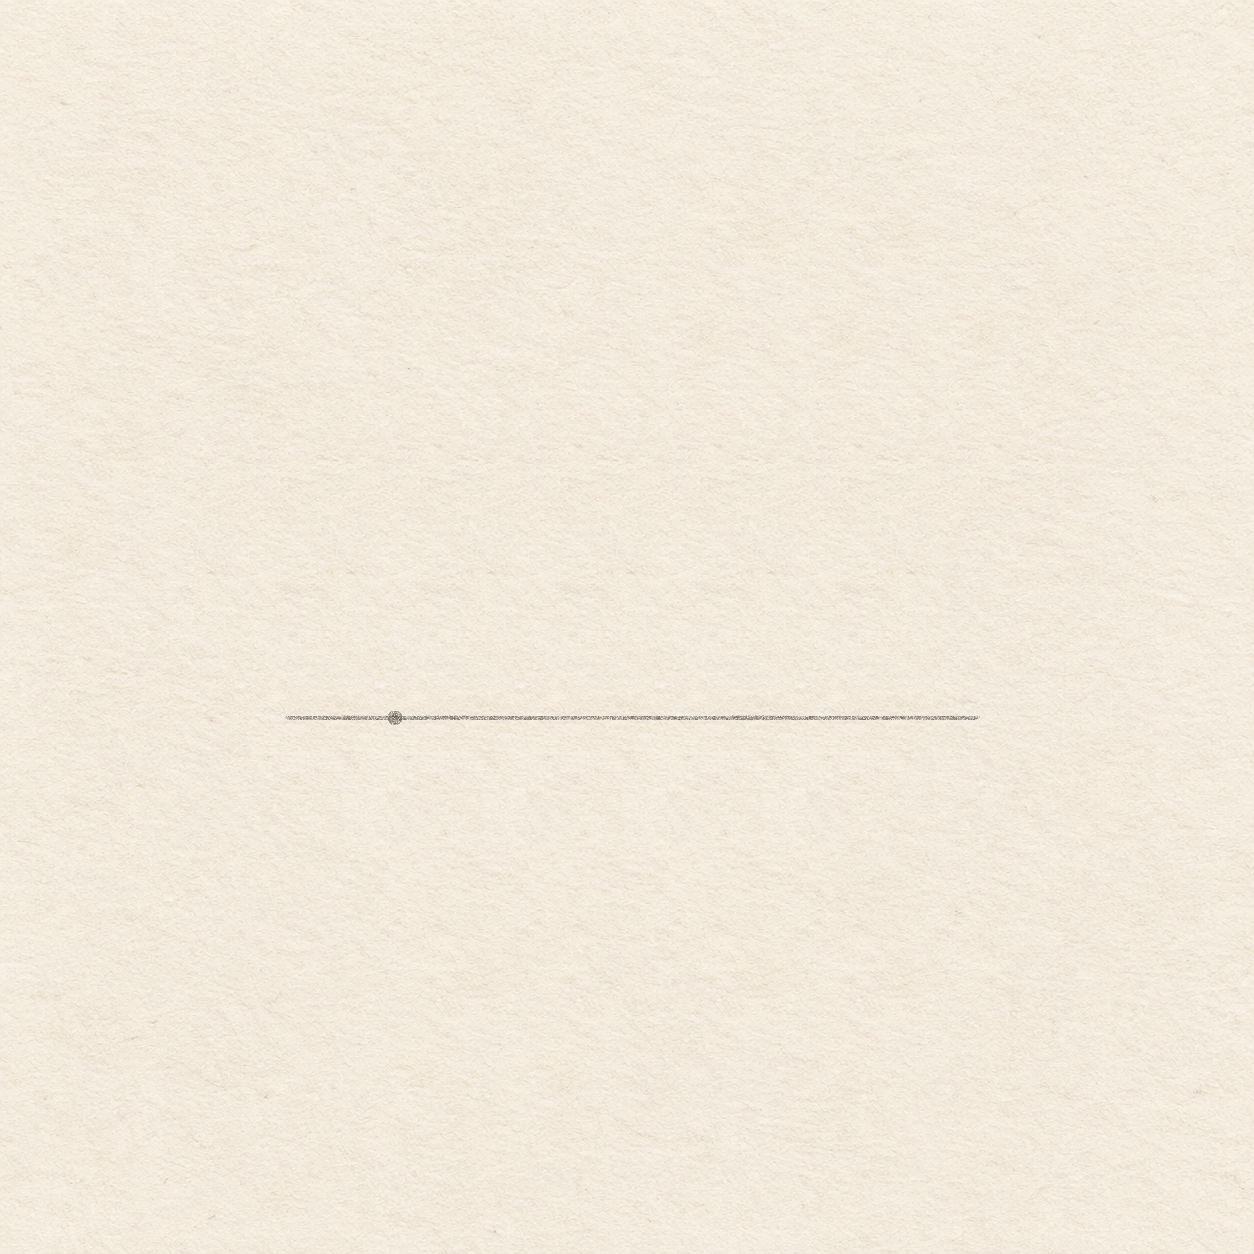
Instructions for Drawing 1 — Place the level wire
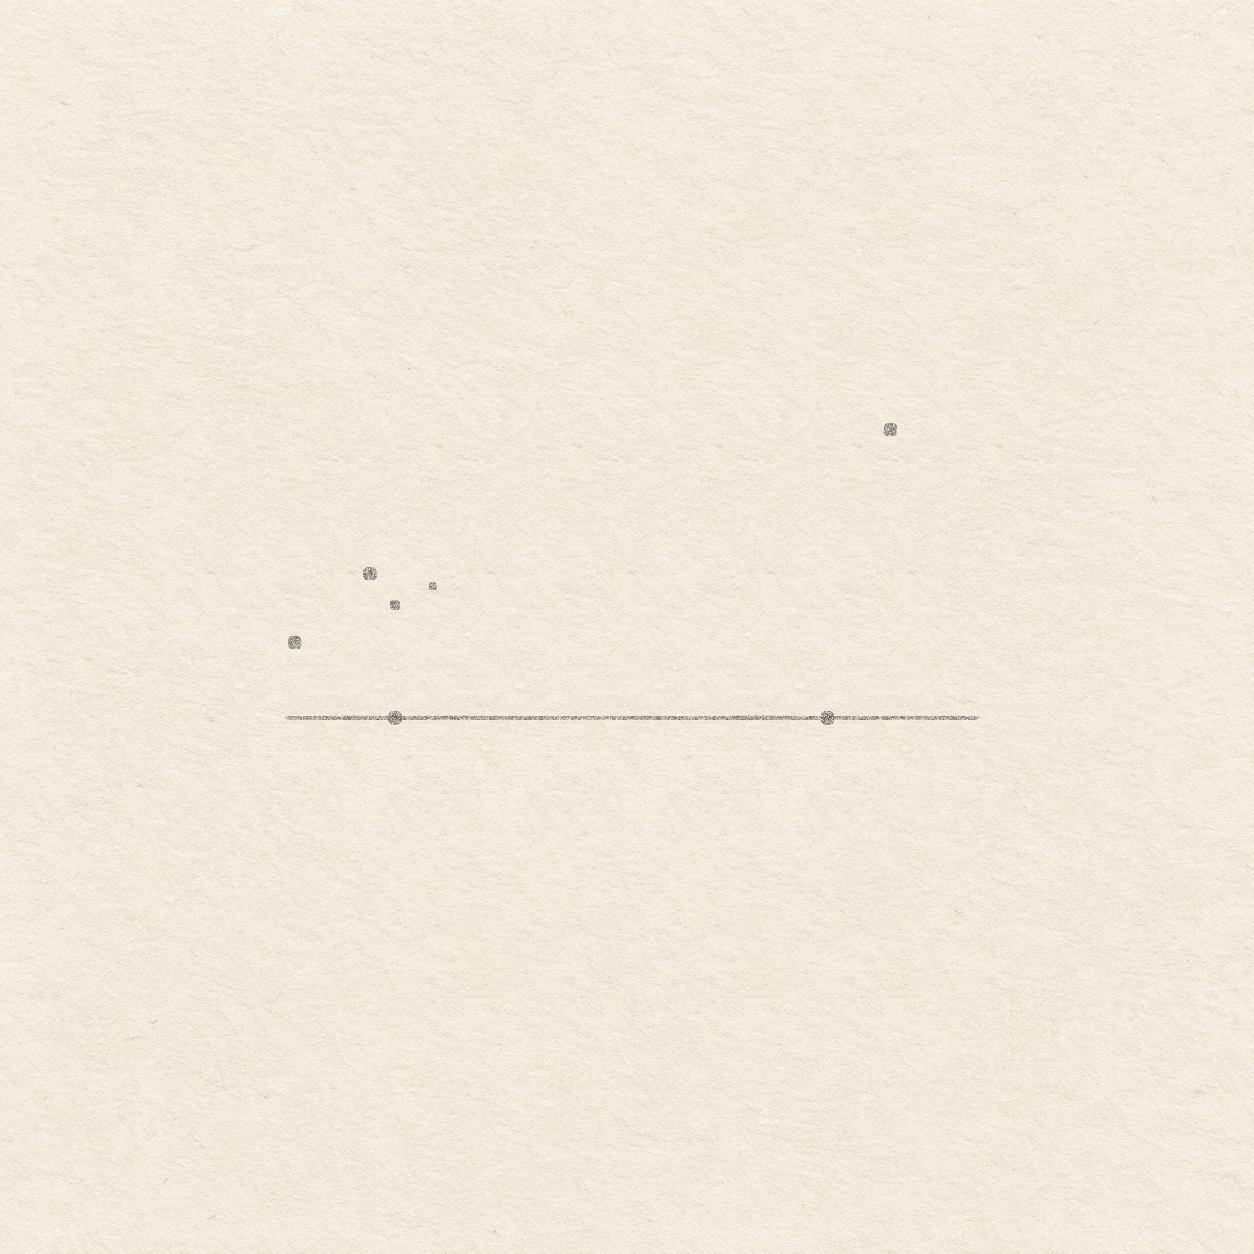
- Put a light dot where the long lower wire begins at the spring. Leave 2 cm of room to its left, 9.5 cm to its right, 5 cm above it and 1 cm below, plus a paper margin. Move the dot now if the open point or clasp would crowd the edge.
- Rule a faint level line through the dot. Take it 1.8 cm left and 9.4 cm right from the dot so there is room to measure the spring and clasp. Keep the extended ends light enough to erase.

Drawing 2 — Set the spring and needle stopsView larger PencilSet the spring and needle stops
Instructions for Drawing 2 — Set the spring and needle stops
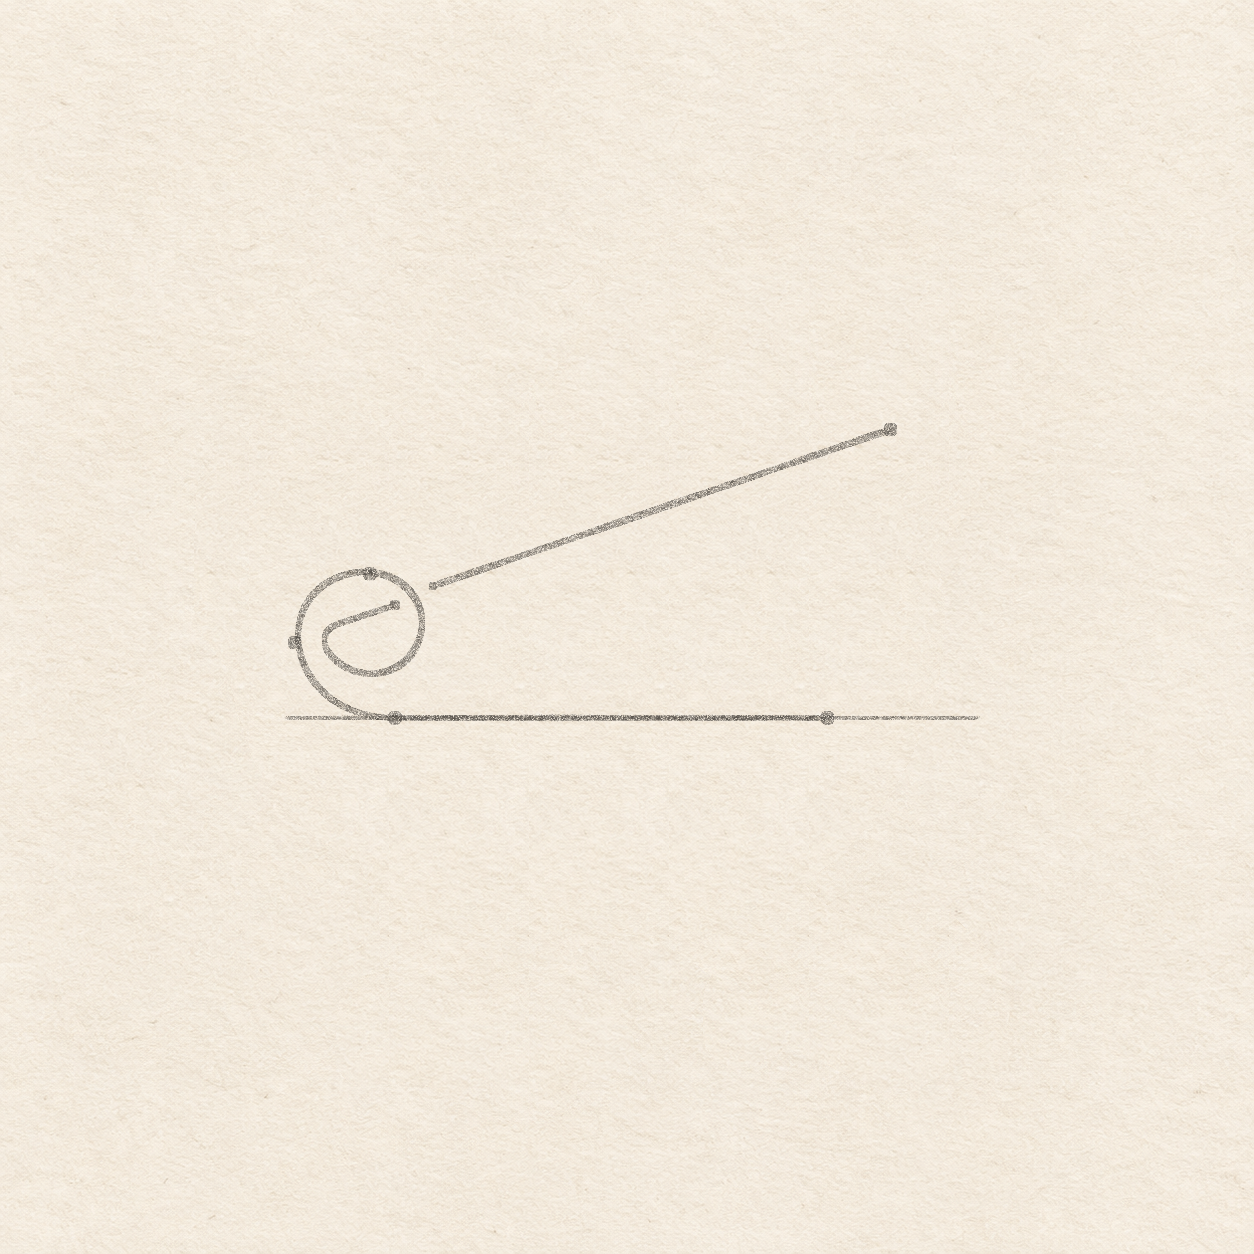
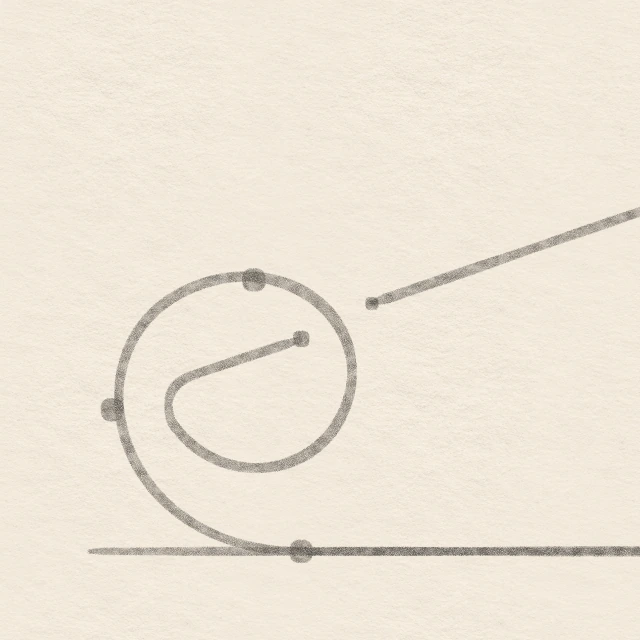
- From the starting dot, use the faint line to measure 1.6 cm left and 4 mm left. Use a square paper corner on the line to mark one dot 1.2 cm above the first spot and another 2.3 cm above the second. These dots mark the far left of the spring and its highest part.
- From the starting dot, mark a dot 1.8 cm straight up for the inner stop. Measure 6 mm right along the faint line and mark another dot 2.1 cm up for the start of the long pointed wire. At 7.9 cm right, mark the pin tip 4.6 cm above the line. Put one dot on the line 6.9 cm right of the starting dot for the clasp contact. The two higher dots on the left should be separated by only a few millimetres.

Drawing 3 — Curl the spring and draw the open needleView larger 
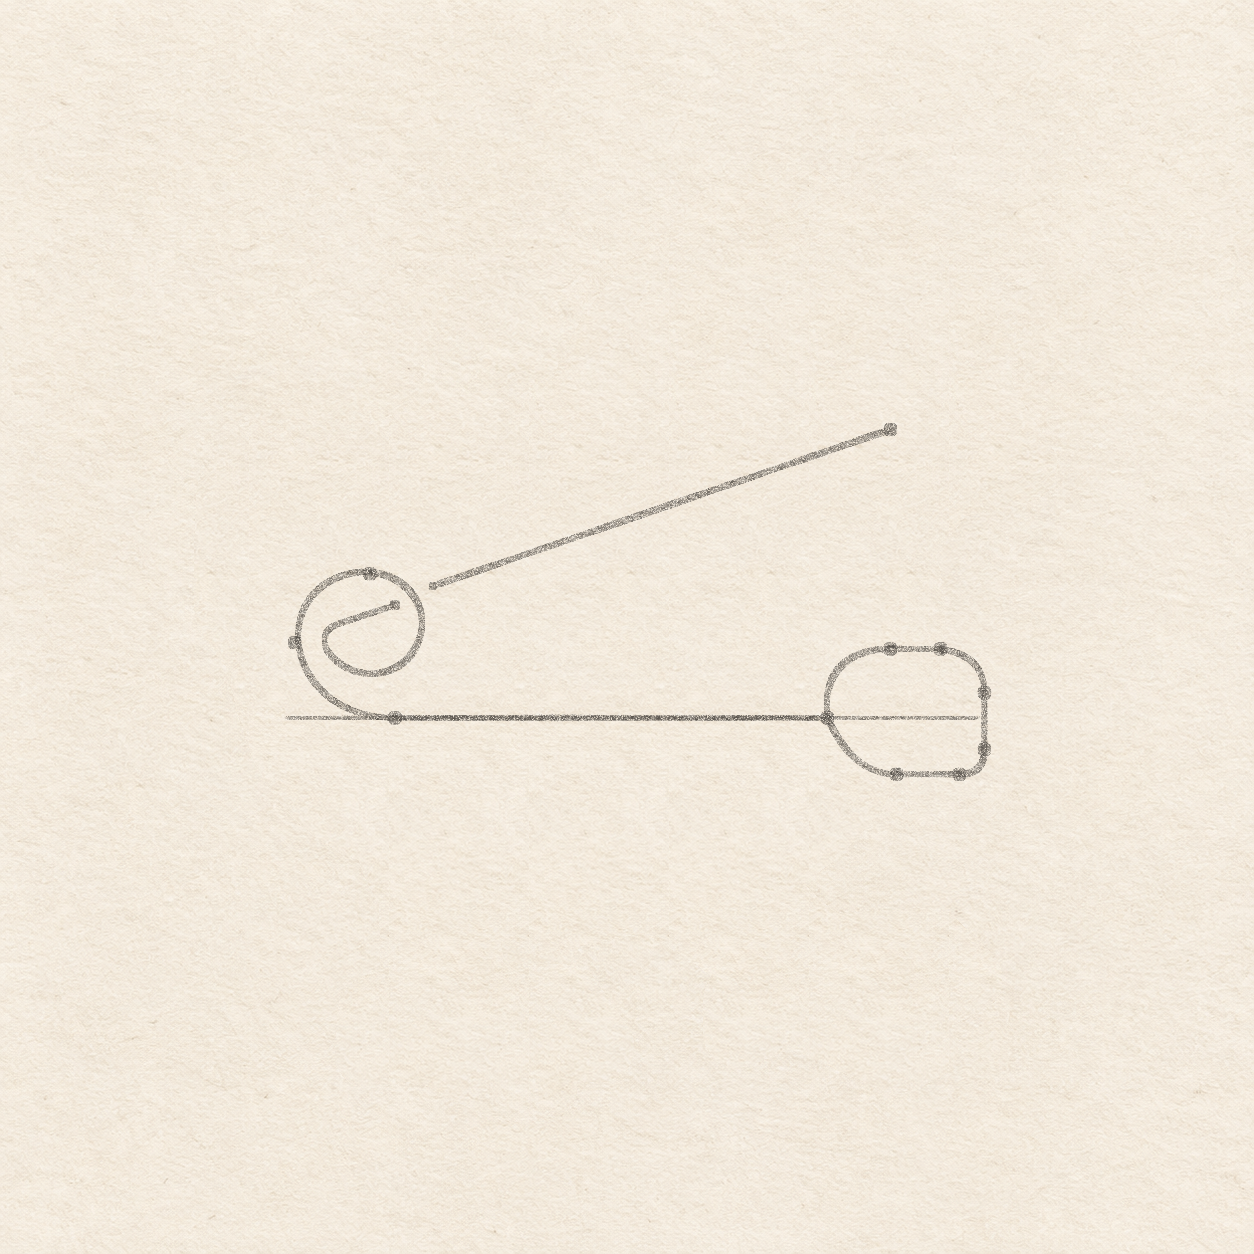
Detail 3.1 — The spring and the gap beside the needleThe short inner line ends within the coil. The long pointed wire starts again outside it, with a small space at the upper right. PencilCurl the spring and draw the open needle
Instructions for Drawing 3 — Curl the spring and draw the open needle
- Rule from the clasp contact back to the original lower spring dot. From that dot, freehand a spring curling left, up through the far-left and high dots, and then down the right between the two needle stop dots. Leave both dots clear as you pass them. Tuck the line around to the left on the inside of the loop, then turn it up and right again to the inner stop. Lift your pencil. From the next dot just above and right of the spring, rule up and right to the high point. Leave the narrow paper gap between the two pencil ends by the top of the spring. The pointed wire stays high above the clasp.

Drawing 4 — Shape the clasp around the low wireView larger PencilShape the clasp around the low wire
Instructions for Drawing 4 — Shape the clasp around the low wire
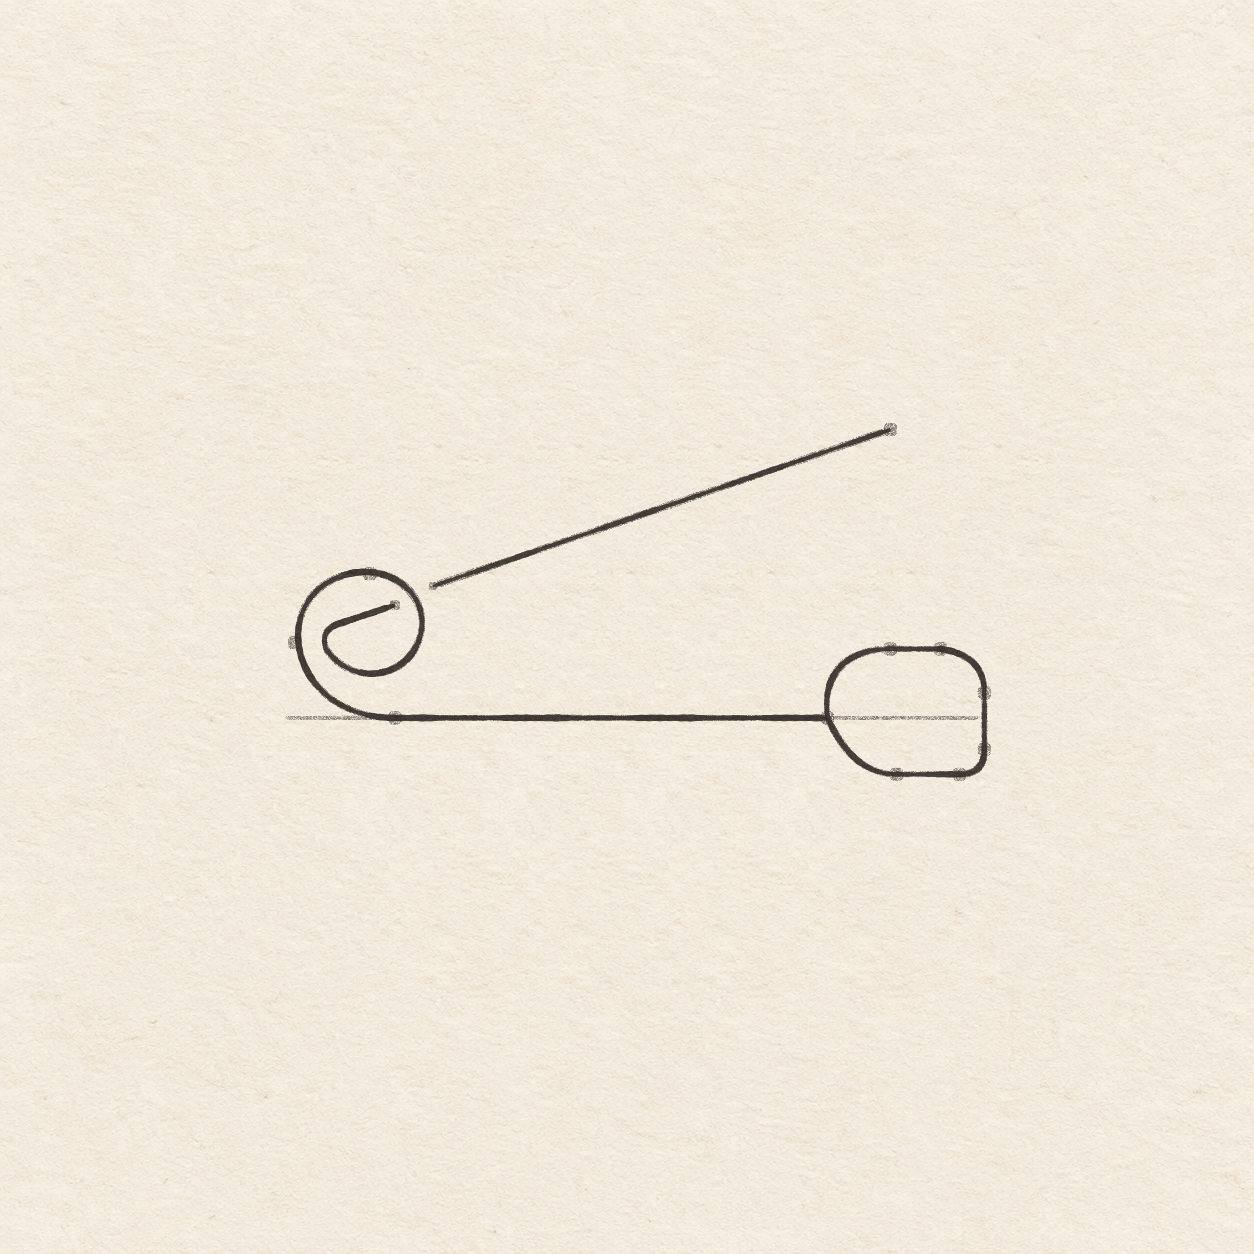
- Use the square paper corner and the faint line again. At 7.9 cm and 8.7 cm right of the starting dot, mark the hood’s top 1.1 cm up. At the measuring line’s far right end, mark two dots 4 mm above and 5 mm below. For the bottom, mark two dots 9 mm below the faint line, 8 cm and 9 cm right of the starting dot. The clasp stays low enough to leave clear space below the pointed wire.
- Start at the end of the lower wire. Curve up and right to the left top dot. Rule the short level top to its right dot. Round the top-right corner to the right-side upper dot. Follow the side down to the next dot, turn left around the lower right corner, then follow the two floor dots. Curve back up and left to the end of the lower wire. Keep the right side nearly straight and make the left end noticeably rounder.

Drawing 5 — Ink the wire and claspView larger InkInk the wire and clasp
Instructions for Drawing 5 — Ink the wire and clasp
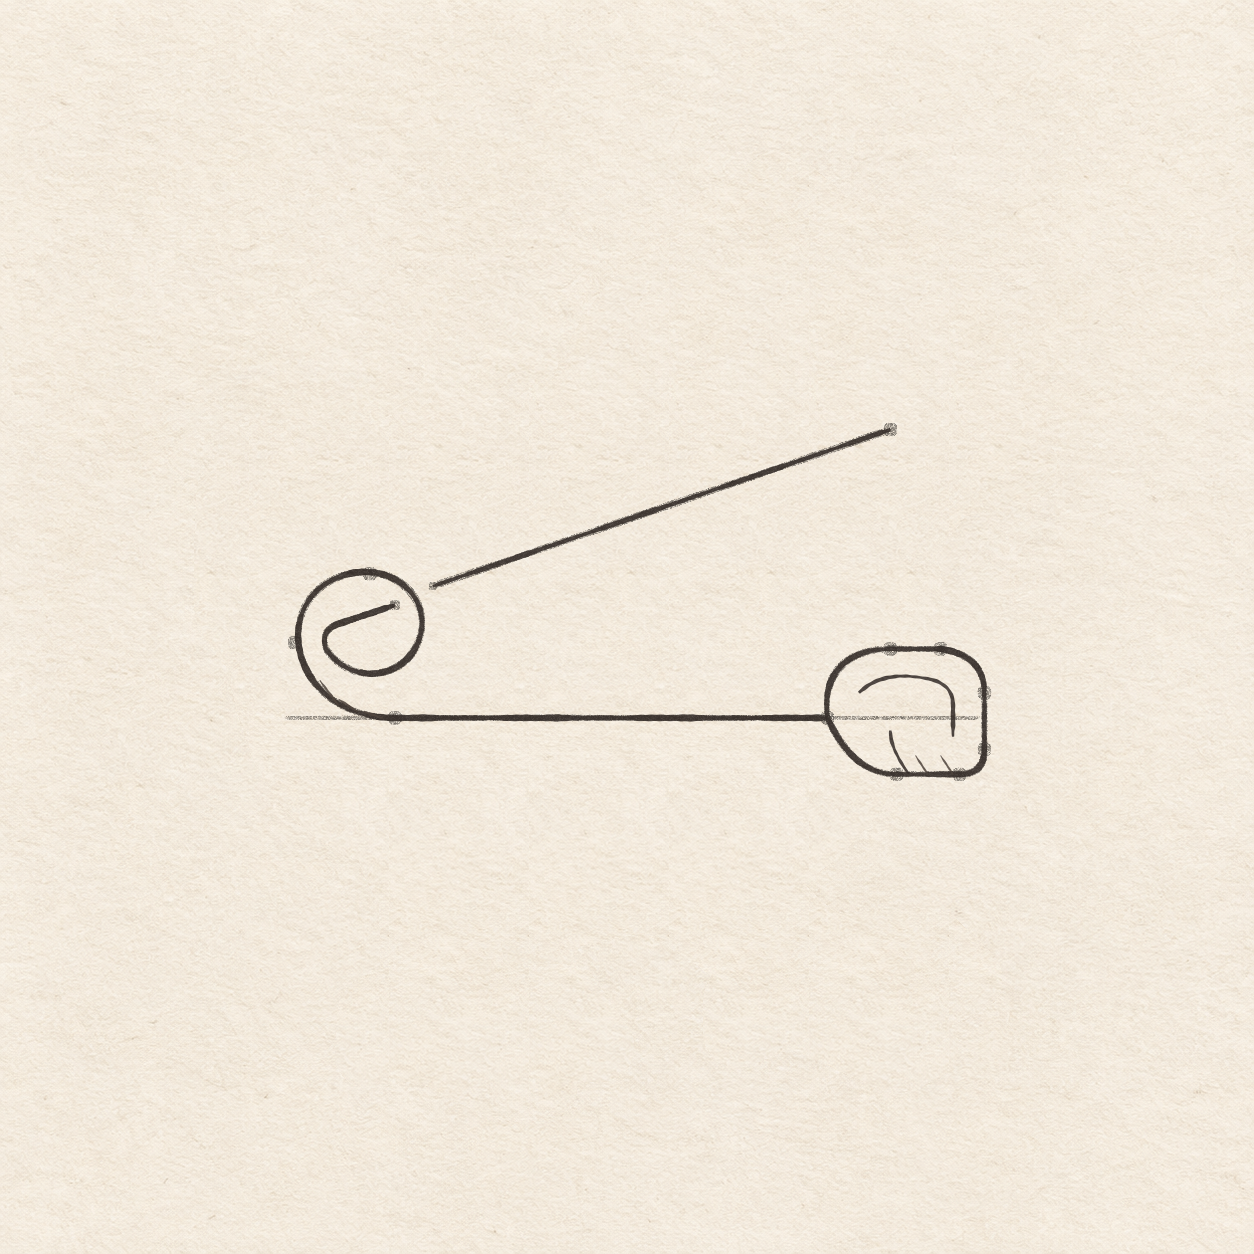
- Trace the lower wire and curl in pen. Start the rising needle at its separate outer dot and follow it to the point. Keep the gap near the top of the spring.
- Ink the clasp’s outside edge from the lower wire and back to it. Keep the outside of the hood closed where it meets the wire.

Drawing 6 — Add the opening and shadowsView larger InkAdd the opening and shadows
Instructions for Drawing 6 — Add the opening and shadows
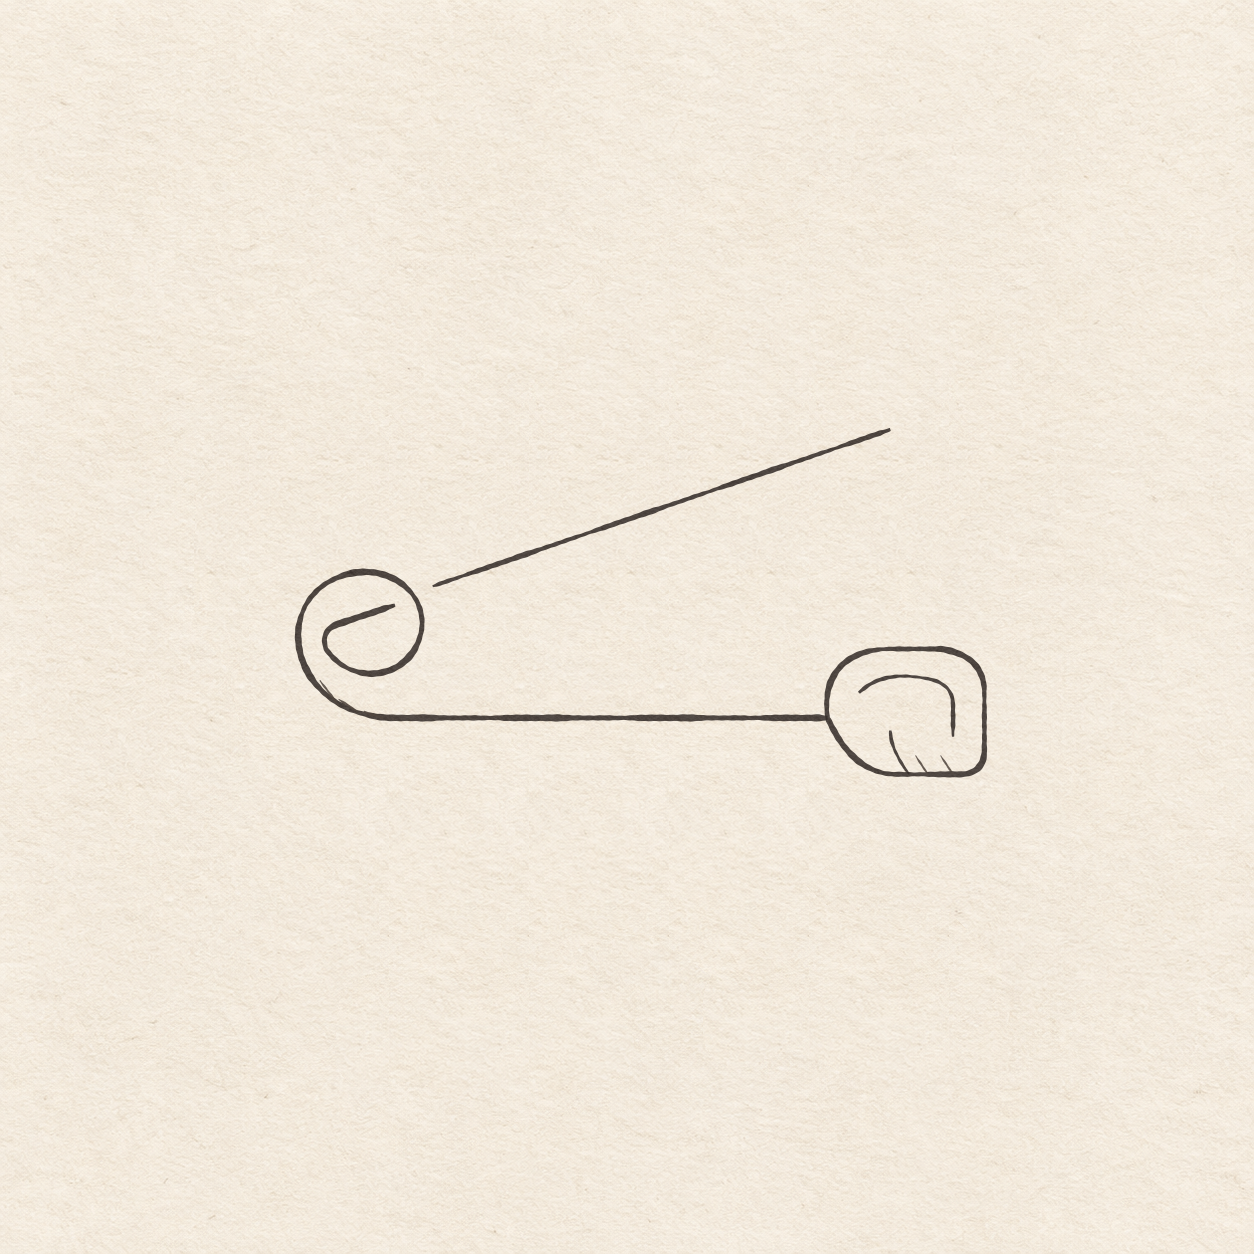
- Inside the inked hood, freehand a small hook. Start a few millimetres in from the left wall and above the wire level. Bow it up and right, then bend down near the right wall. End above the floor. Near the middle of the floor, start a separate short curve and bend it 6 mm up and slightly left. Leave open paper between the large hook, the floor curve and the right wall.
- Freehand three short strokes down and right under the lower-left curve of the spring. Keep each about 3 to 5 mm long. At the right half of the clasp floor, freehand two shorter strokes rising to the left. Keep the little strokes separate so both areas still read as open paper.

Drawing 7 — Erase the dry pencil guidesView larger CleanupErase the dry pencil guides
Instructions for Drawing 7 — Erase the dry pencil guides
- Fill a small patch on a scrap of the same paper with the same pen. Rub the patch gently with your eraser. If it smears, wait and test again. Once the patch stops smearing, erase the light measuring line, dots and pencil outlines beside the dry ink.
If something looks off
If the pointed arm seems to close the pin
Keep its high tip in clear paper above the clasp. The low straight wire is the only wire that touches the clasp.