FinelinerEasy

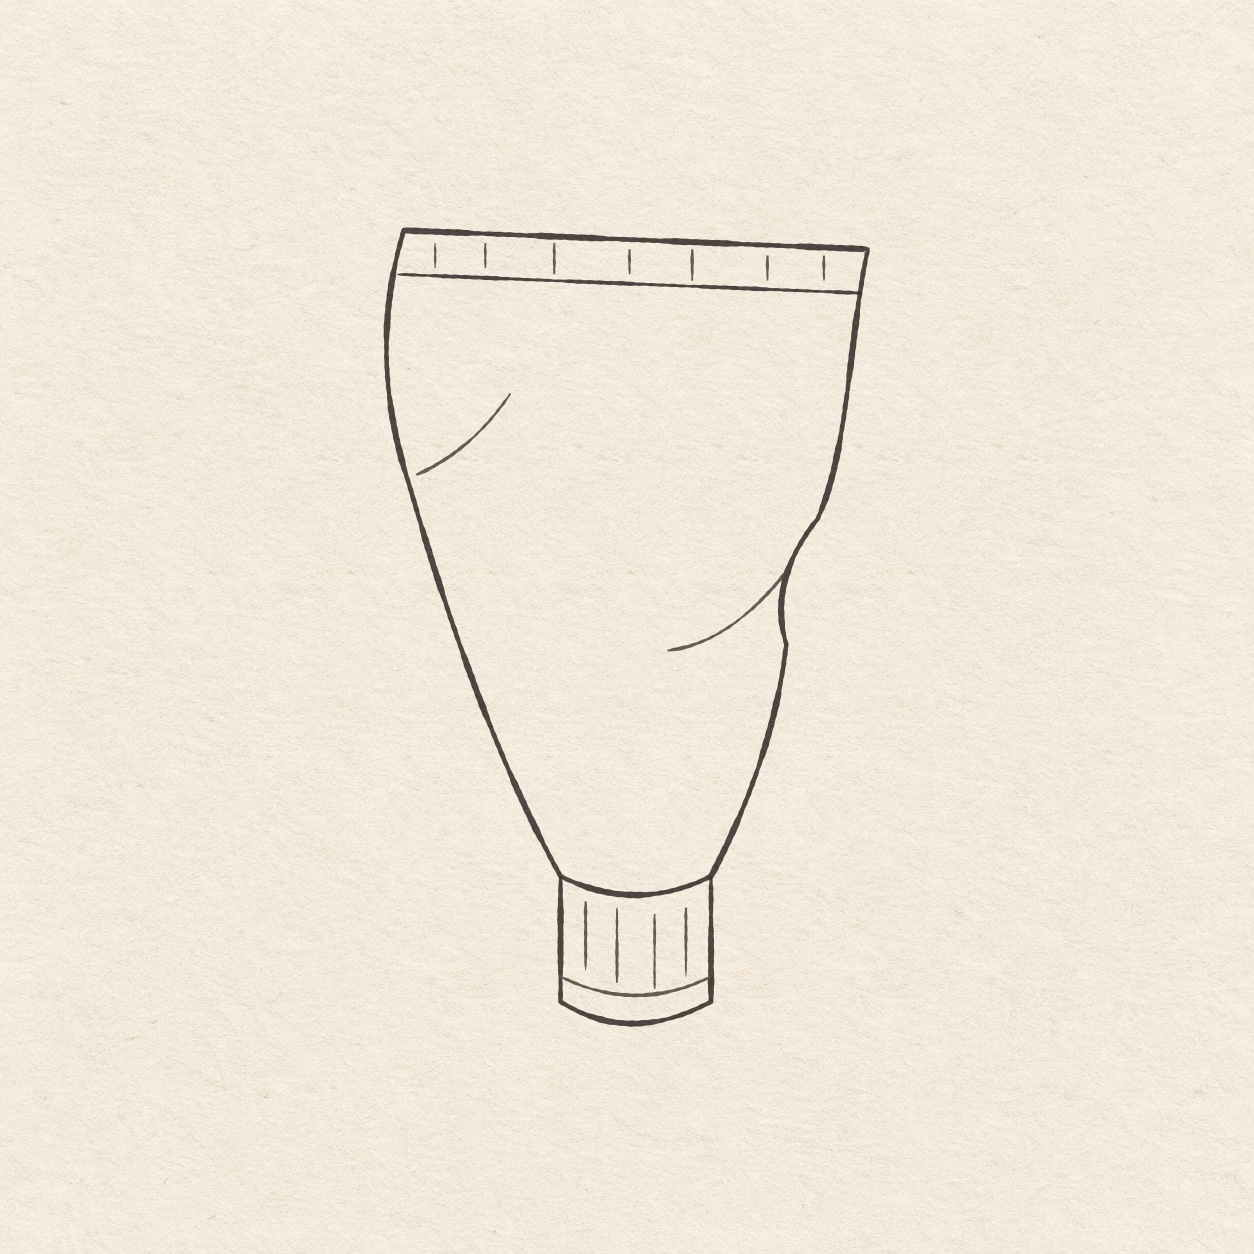
Crimped paint tube
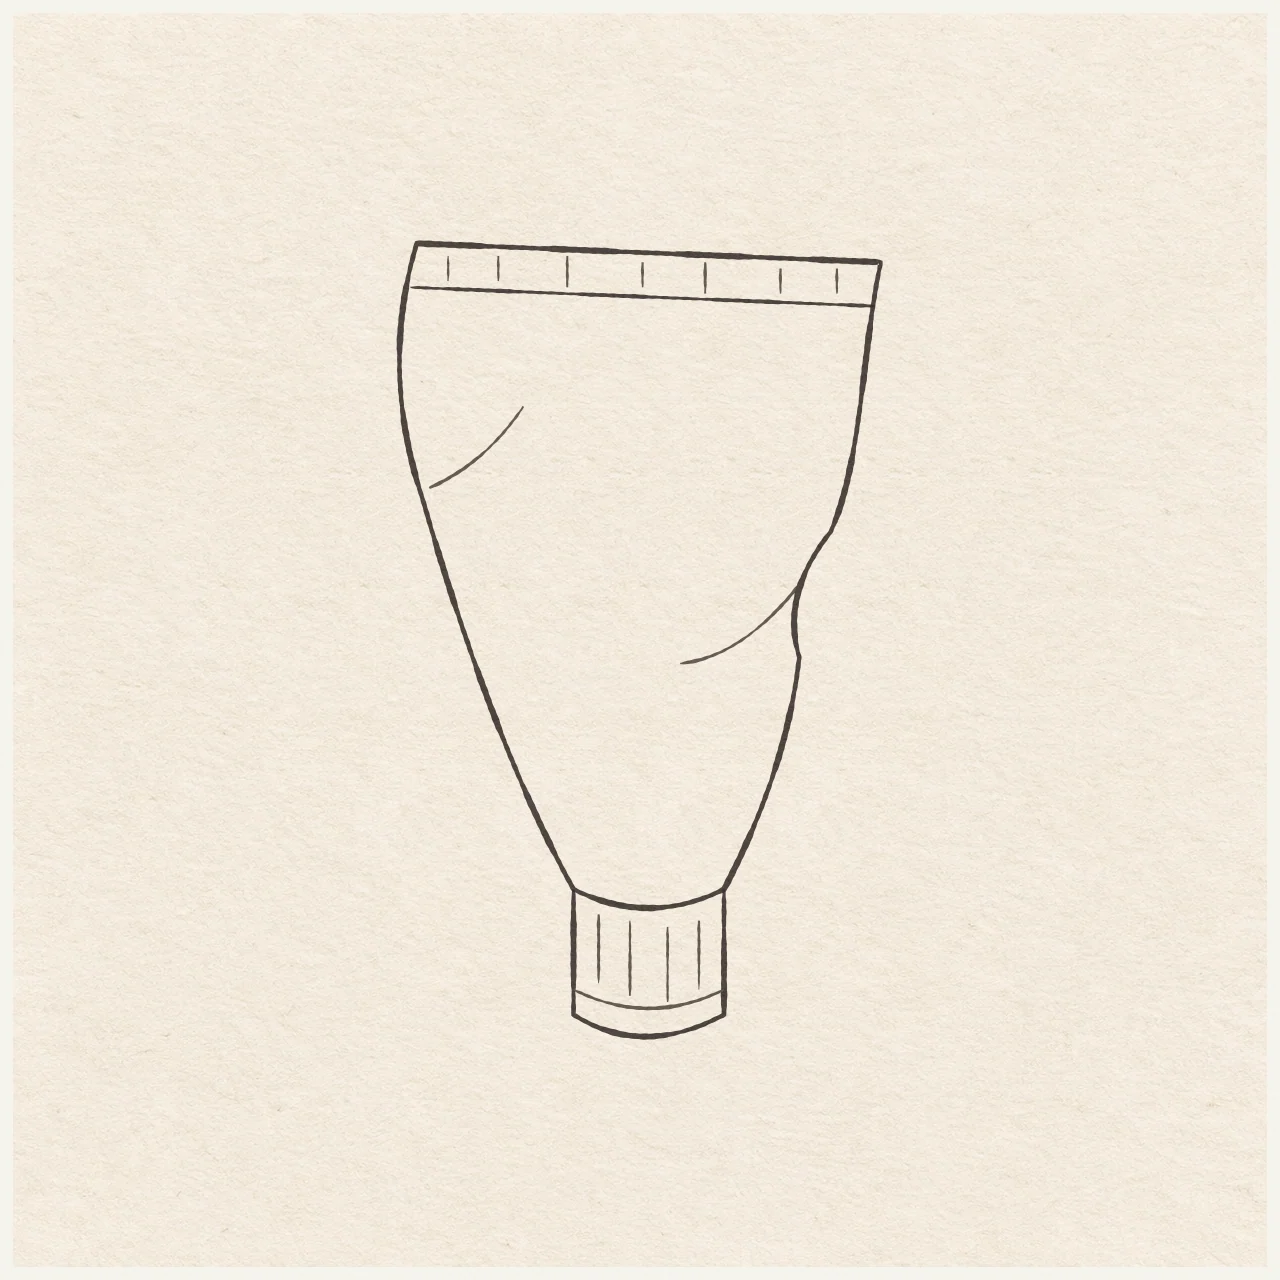
Practice a creased tube, a narrow neck and a small ribbed cap in fineliner.
Follow the drawing tutorial
Plot the slanted crimp, dented sides and screw cap in pencil, then ink the contours and folds.
Start the 7-step tutorialA small thing to tryKeep the short neck distinct from the wider cap and pale gaps between its ribs.
Draw it, one step at a time
Draw a squeezed paint tube
Plot the slanted crimp, dented sides and screw cap in pencil, then ink the contours and folds.
What you’ll need
- HB pencil
- Eraser
- Fine black pen
- Ruler
- Spare sheet with a square corner
- Drawing paper
Before you start
The tube is about 6 cm wide and 10 cm tall. Choose a spot for its upper-left corner with plenty of space below. Work lightly in pencil until the tube and cap meet.
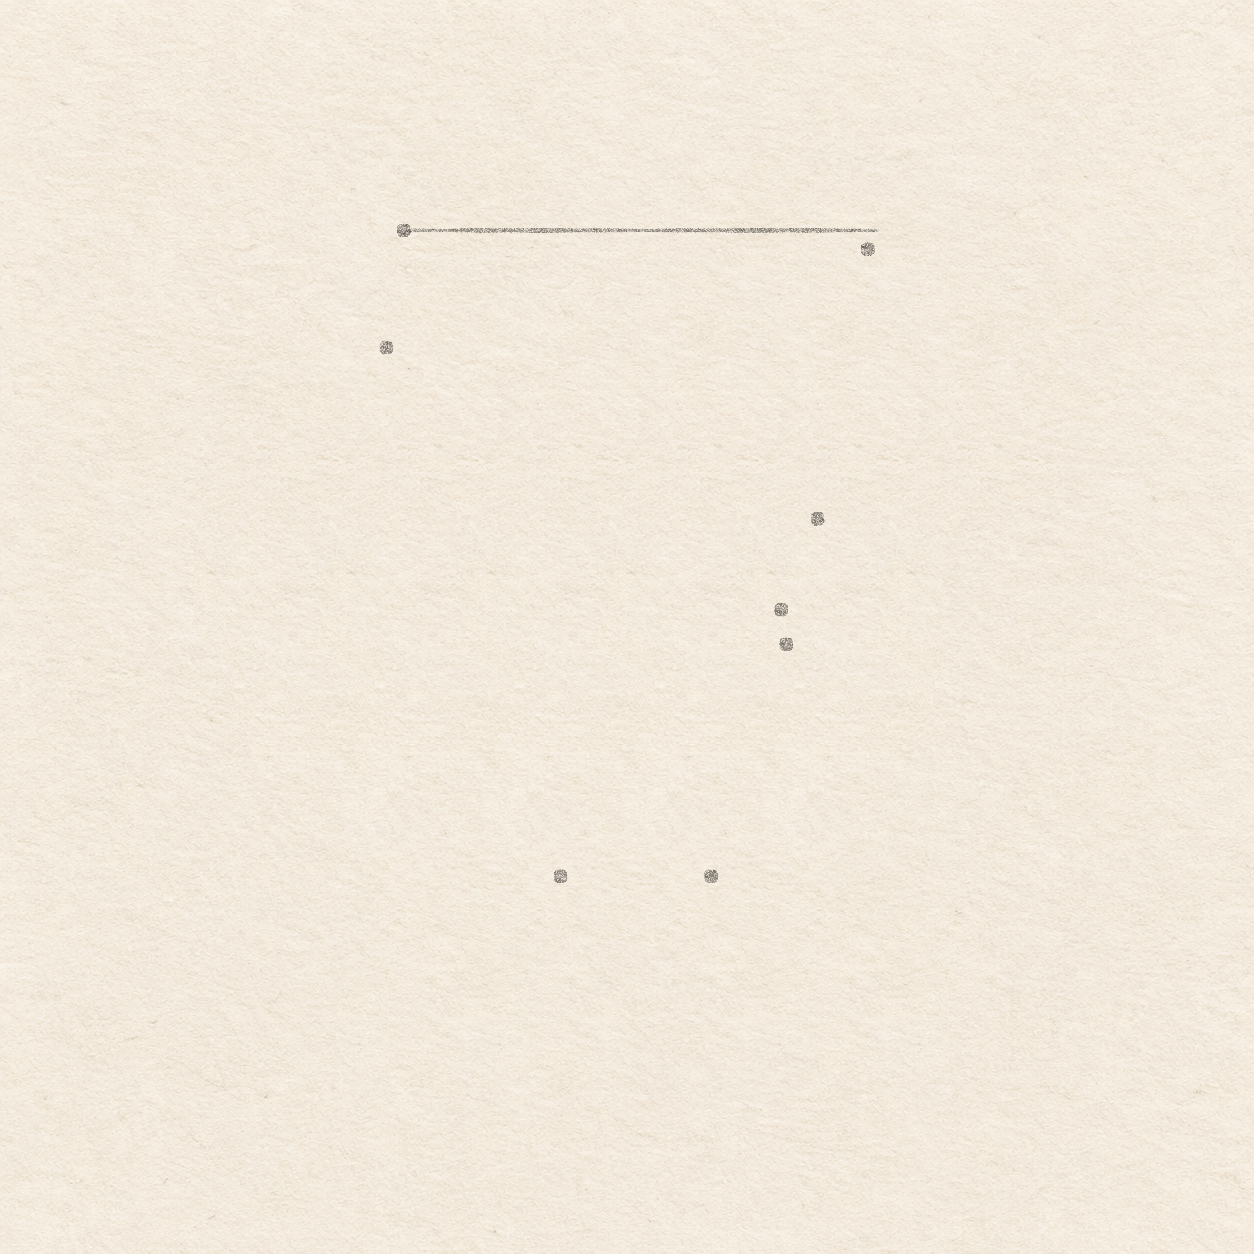
Drawing 1 — Plot the slanted top and narrow neckView larger PencilPlot the slanted top and narrow neck
Instructions for Drawing 1 — Plot the slanted top and narrow neck
- Place a light pencil dot for the top-left end. Choose any spot with at least 1 cm free to the left, 6.5 cm to the right and 10.5 cm underneath. Move the dot now if the whole tube will crowd an edge.
- Rule a very light level line from the starting dot about 6 cm right. Line up one edge of the spare sheet with this line and place its square corner at the spot you measure. Hold the ruler against the upright sheet edge for each drop so the measurement stays vertical.
- Measure along the light line from the starting dot for each drop. At 5.9 cm right, set the square corner there and mark 2.5 mm down for the right top. At 2 cm and 3.9 cm right, set the corner at each measurement and mark 8.2 cm down for the neck dots. Hold the ruler level across the two neck dots. They should line up with a gap of about 1.9 cm between them.
- Hold the ruler along the faint level line with its edge extending left of the starting dot. Set the square corner 2 mm left of the dot along the ruler and measure 1.5 cm straight down to mark the widest left point. From the starting dot, place three dots on the right at about 5.3 cm right and 3.7 cm down, 4.8 cm right and 4.8 cm down, and 4.9 cm right and 5.3 cm down. Set the square corner at each rightward measurement before measuring down. The middle right dot should be slightly farther left than its two neighbors. Adjust it before drawing the curve.

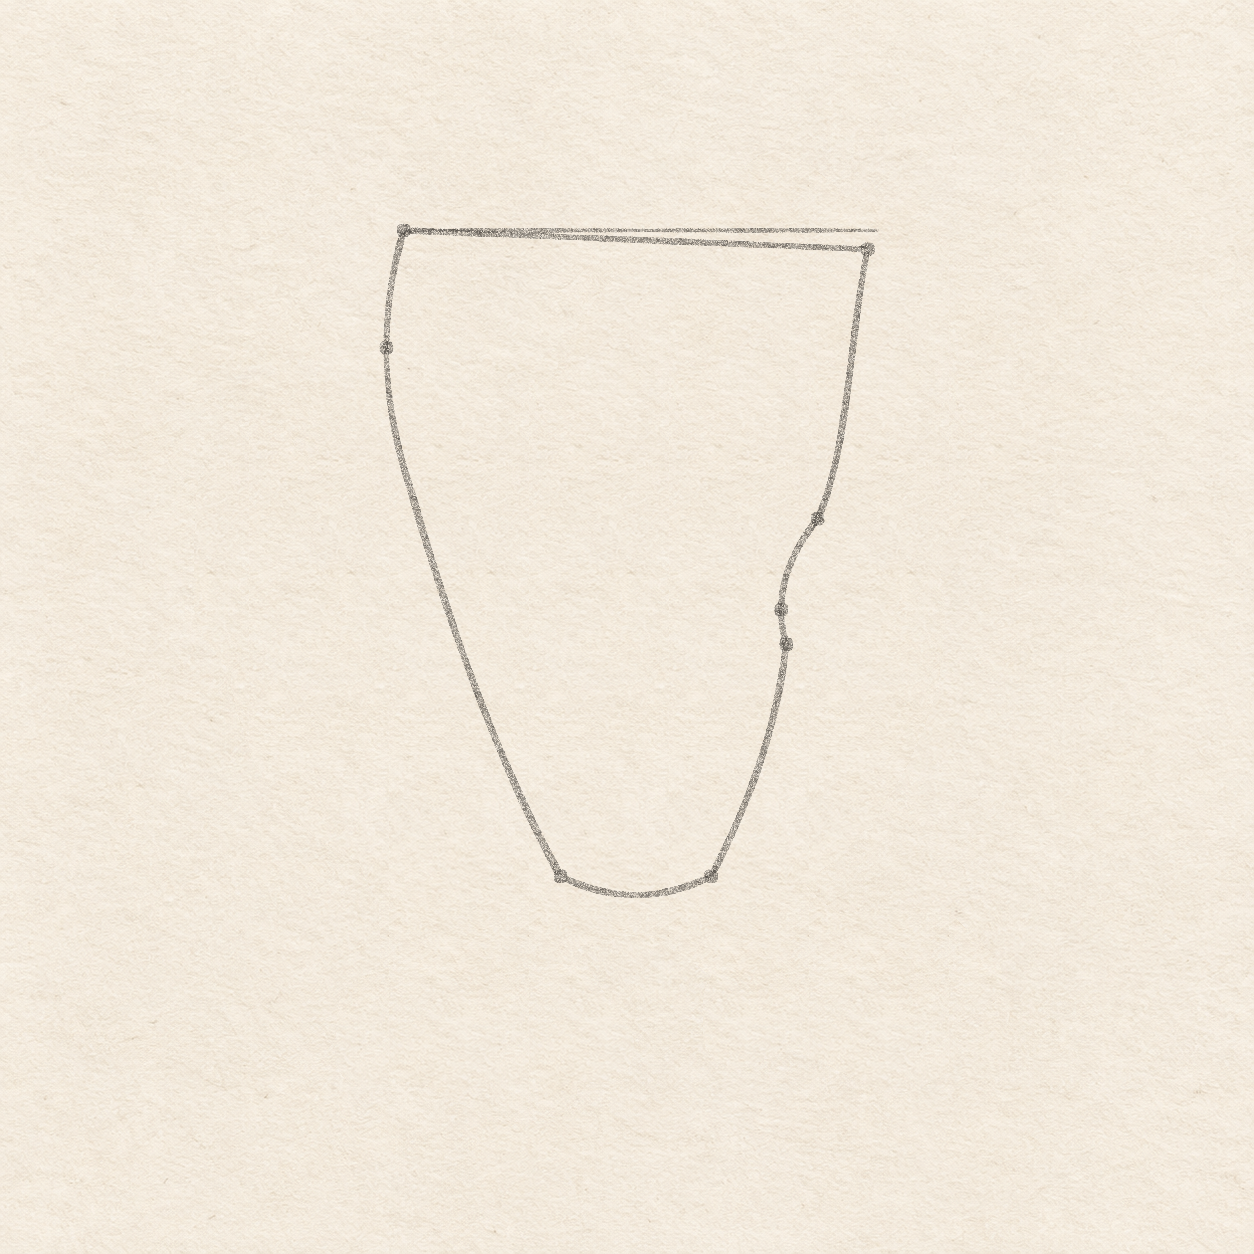
Drawing 2 — Outline the dented tubeView larger PencilOutline the dented tube
Instructions for Drawing 2 — Outline the dented tube
- Rule the upper pencil edge from the starting dot to the right top dot. The right end sits a little lower. Check that it reaches both dots and leaves the lighter level line visible above its right end.
- Starting at the right top dot, curve freehand down to the first right wall dot. Bend left through the middle dot, ease back toward the third, then taper down and inward to the right neck dot. The dent should read as one smooth dip. Lift and join the curve again if it makes a sharp corner.
- From the right neck dot sweep freehand left to the left neck dot, curving down no more than about 2.5 mm between the dots. The line must meet both dots. Lift and flatten it if it hangs down into the cap space.
- Start at the left neck dot and curve freehand up and left toward the wide left dot. Keep this side gently bowed, then swing a little right to meet the top-left end. Check that the left dot is the widest point. Keep a smooth, continuous taper toward the neck.

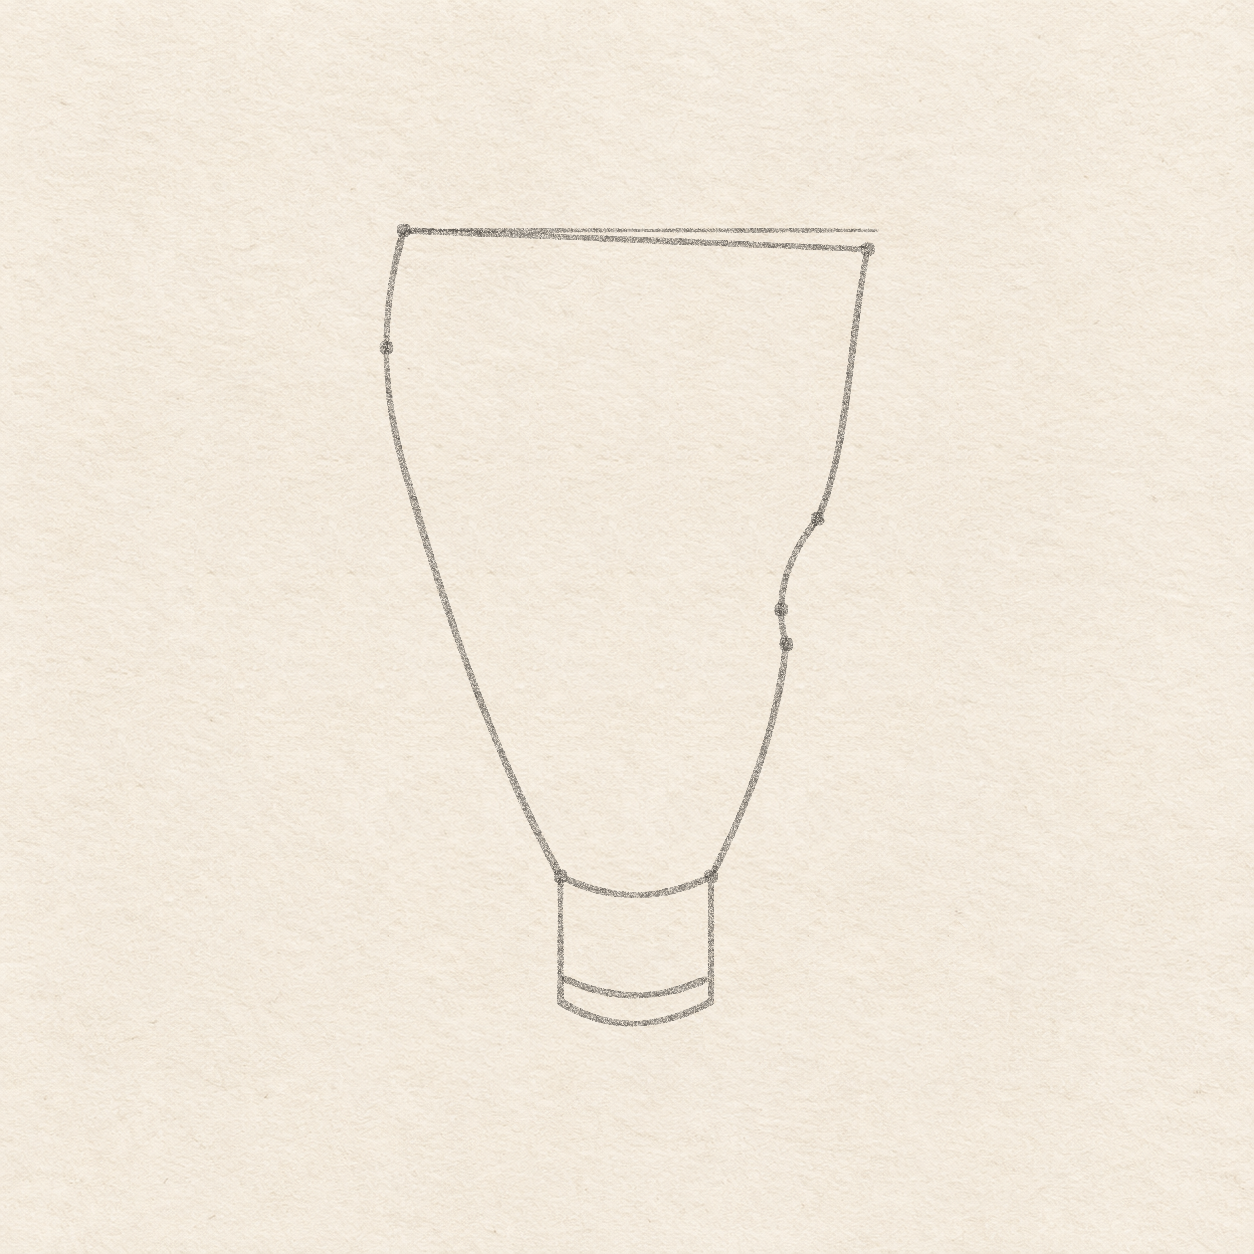
Drawing 3 — Add the screw cap beneath the neckView larger 
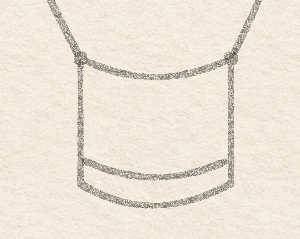
Detail 3.1 — The cap contacts and curved lipThe cap legs start at the two neck corners. The higher curved line meets both legs and sits above the lower cap edge. PencilAdd the screw cap beneath the neck
Instructions for Drawing 3 — Add the screw cap beneath the neck
- Starting at the existing left neck dot, rule a pencil line 1.6 cm down. Drop the same length from the right neck dot. Join their feet with a shallow freehand curve dipping about 3 mm below them. The cap edges should reach both neck dots and finish at the same level before the bottom curves.
- On both cap legs, locate a spot about 3 mm above the foot with the ruler. Curve freehand between those spots, dipping parallel to the bottom curve. The lip must meet both legs. Leave a slim pale strip between the two curves.

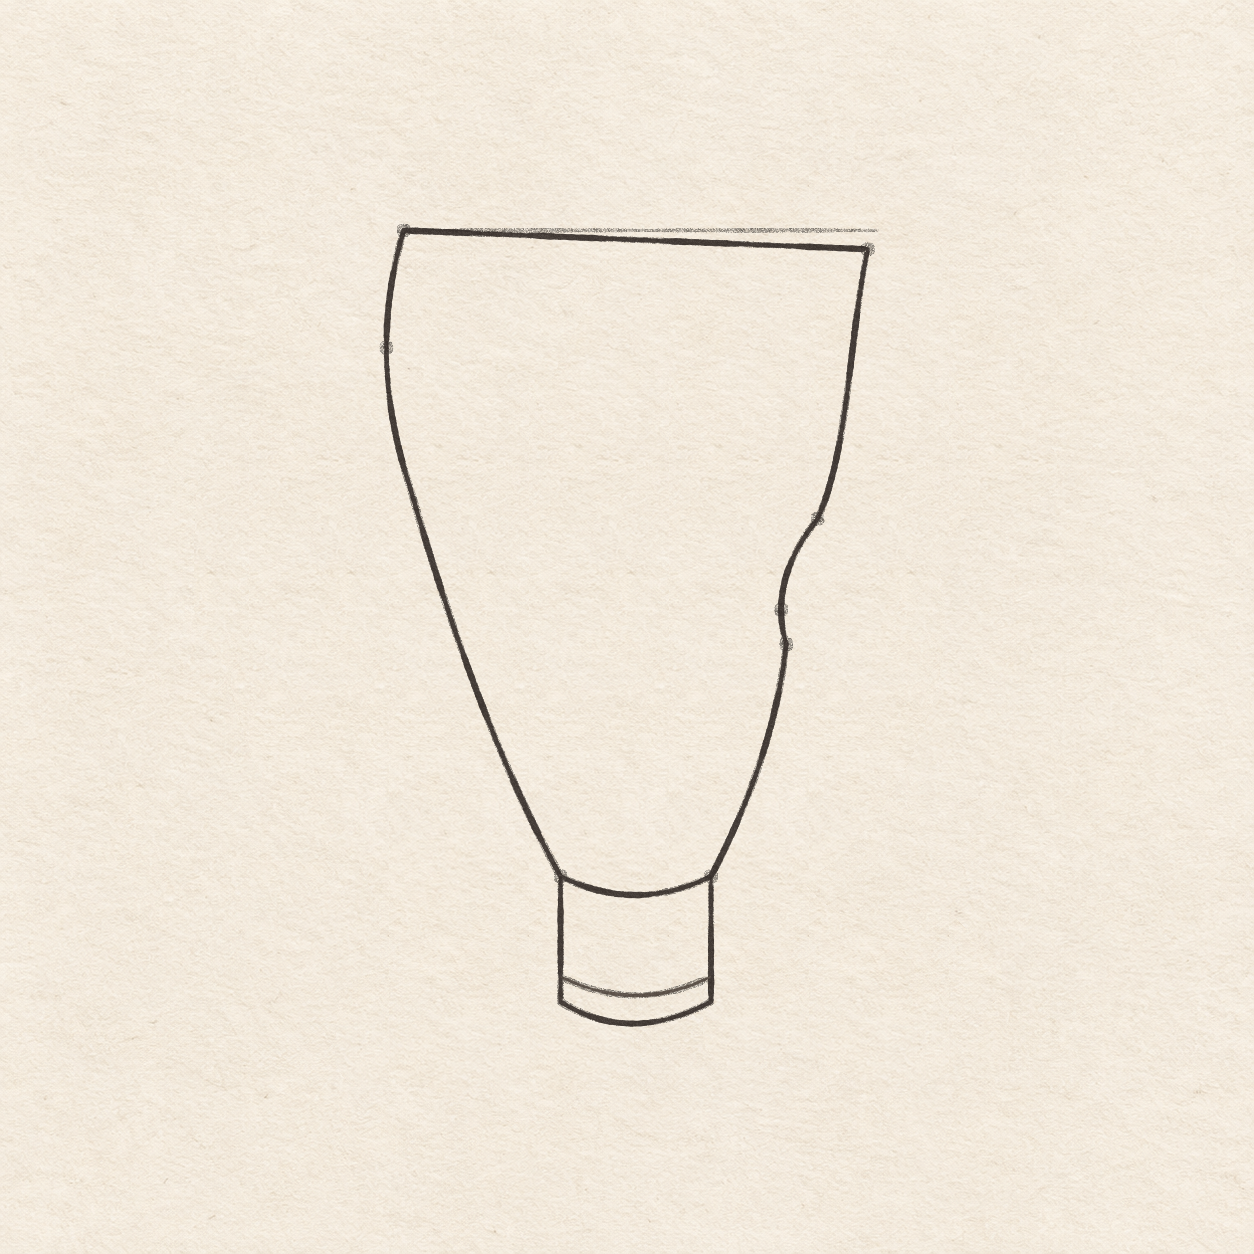
Drawing 4 — Ink the tube and capView larger FinelinerInk the tube and cap
Instructions for Drawing 4 — Ink the tube and cap
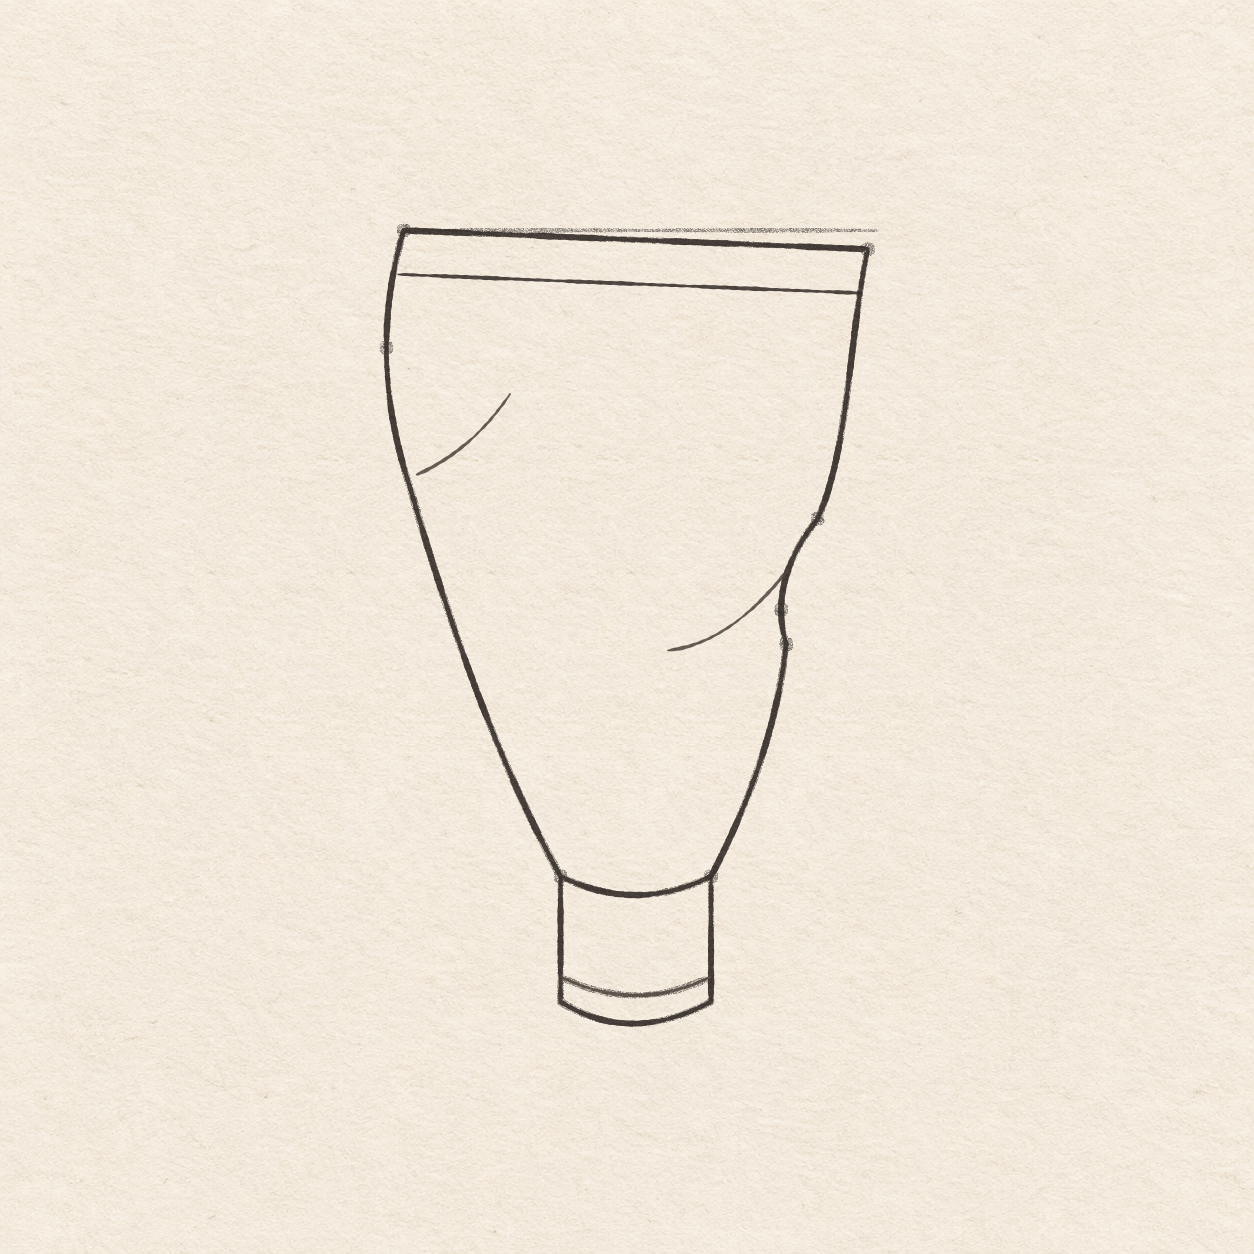
- Trace the outer tube in pen. Follow the slanted top, the dented right side, the shallow neck curve and the broad left side back to the first point. Meet each pencil corner without leaving a hole. Keep the middle of the tube pale.
- Trace both cap sides and the lower curve, starting and ending at the inked neck corners. Then ink the upper lip across the cap. Keep the band under the upper lip pale. Both ends of the lip should touch the two legs.

Drawing 5 — Place the seal strip and body foldsView larger 
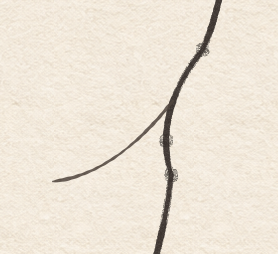
Detail 5.1 — The dent and its nearby creaseThe right wall bends inward and then tapers to the neck. The short crease starts on the inward wall. FinelinerPlace the seal strip and body folds
Instructions for Drawing 5 — Place the seal strip and body folds
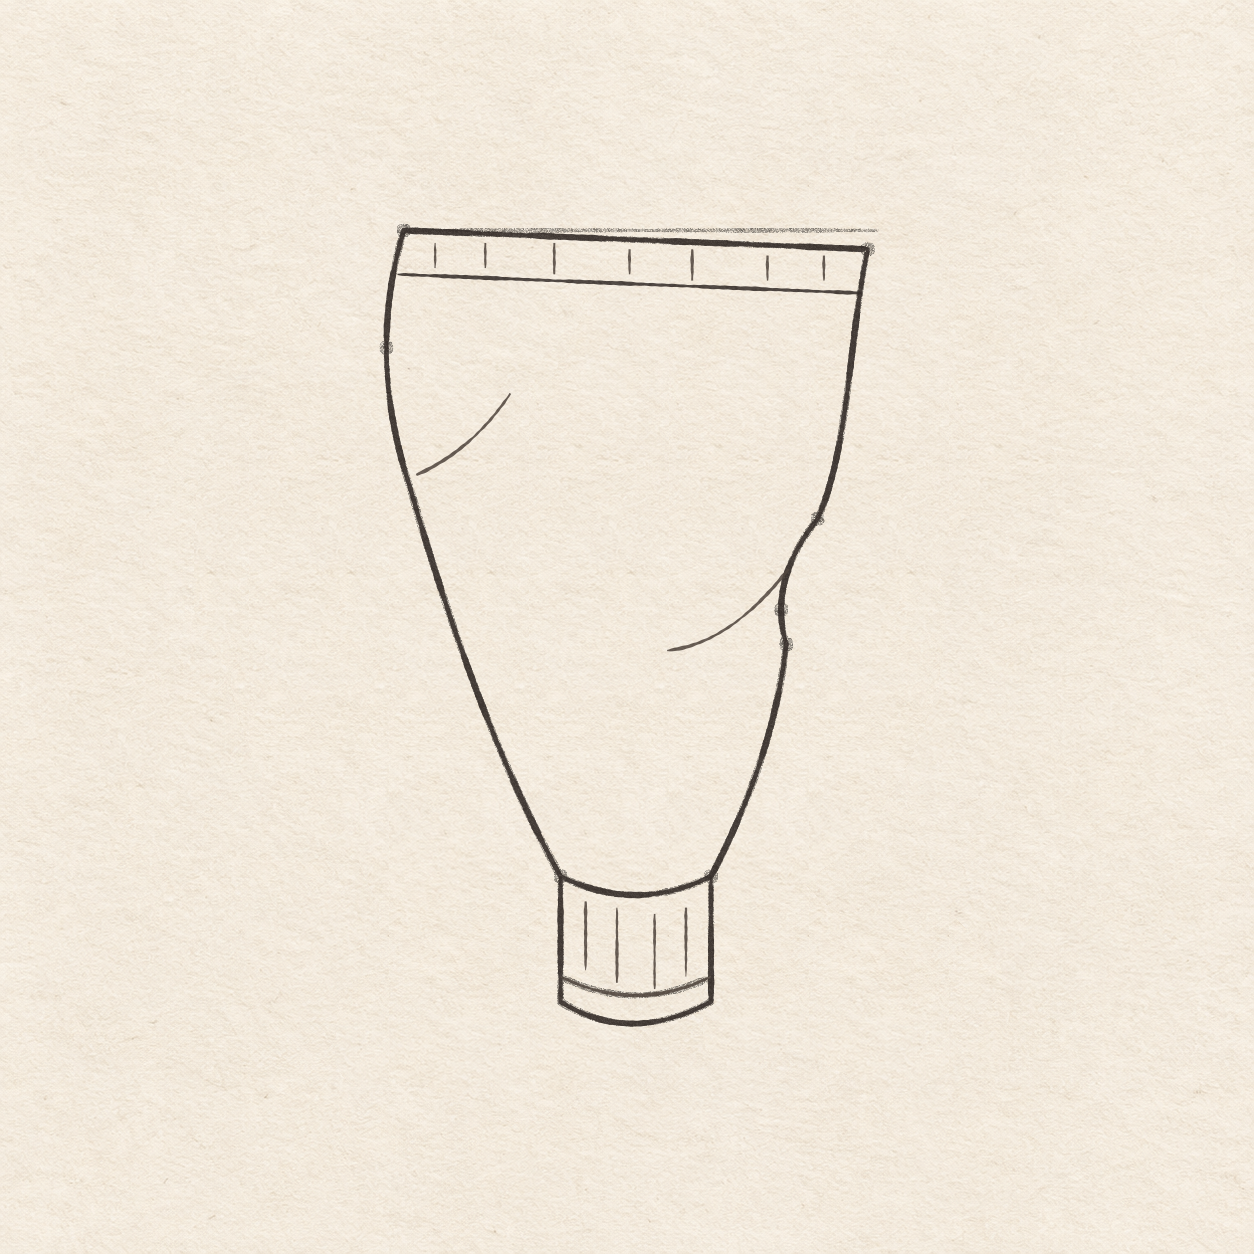
- Set the ruler about 5.5 mm below and parallel to the slanted top. Start the line just inside the left wall and take it to the right wall. Start a small crease at the right dent about 4 cm down from the top. Curve it down and left about 1.5 cm. On the left, start a little inside the wall, roughly level with the top of the right dent, and curve up and right about 1.2 cm. The right crease touches the dent. Keep a small pale gap at the start of the left crease.

Drawing 6 — Shade the crimp and cap lightlyView larger FinelinerShade the crimp and cap lightly
Instructions for Drawing 6 — Shade the crimp and cap lightly
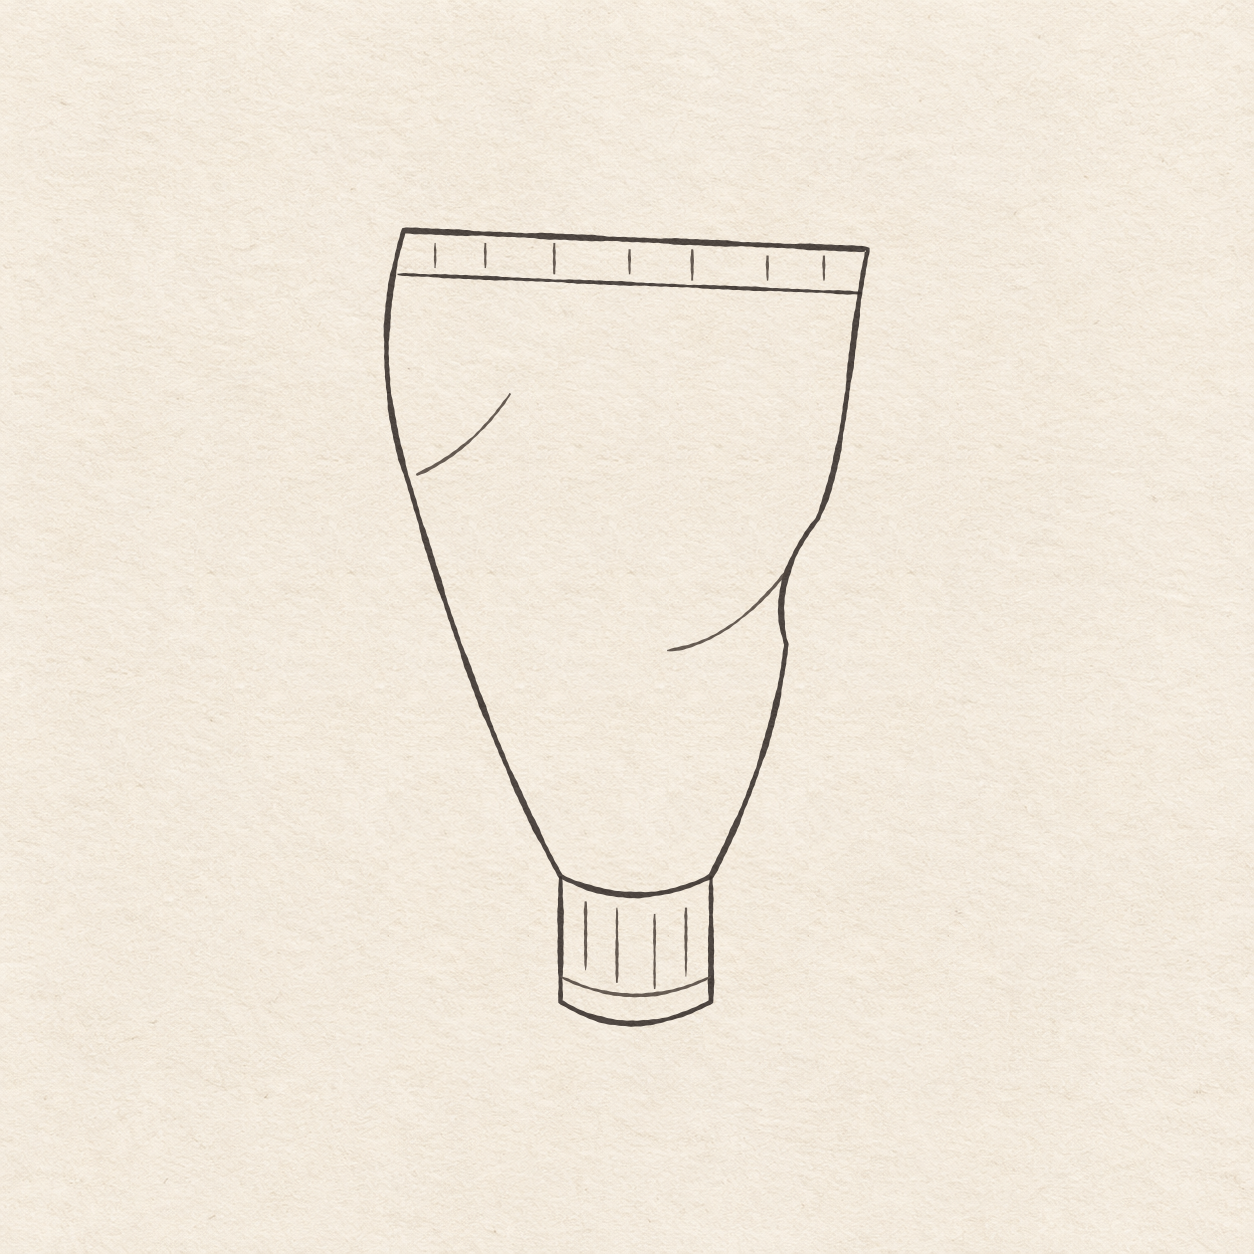
- Draw four thin upright lines across the cap from left to right. Start each just below the neck curve and stop at or just above the upper lip. Make the middle two slightly longer. Leave clear paper between the lines and the cap walls, and keep the band under the lip clear.
- Place seven short upright strokes in the strip, with small gaps between them. Start near the sloping top edge and stop within or at the underside of the strip. The hatches should stay in the top strip, leaving the broad tube wall open below them.

Drawing 7 — Erase the dry pencil guidesView larger CleanupErase the dry pencil guides
Instructions for Drawing 7 — Erase the dry pencil guides
- Fill a small patch on a scrap of the same paper with the same pen. Rub the patch gently with your eraser. If it smears, wait and test again. Once the patch stops smearing, erase the level line, placement dots and any pencil beside the dry ink.
If something looks off
If the neck looks off center
While it is still in pencil, check the two neck dots against the starting dot. Correct their spacing before drawing over the taper in ink.