FinelinerEasy

Pocket compass
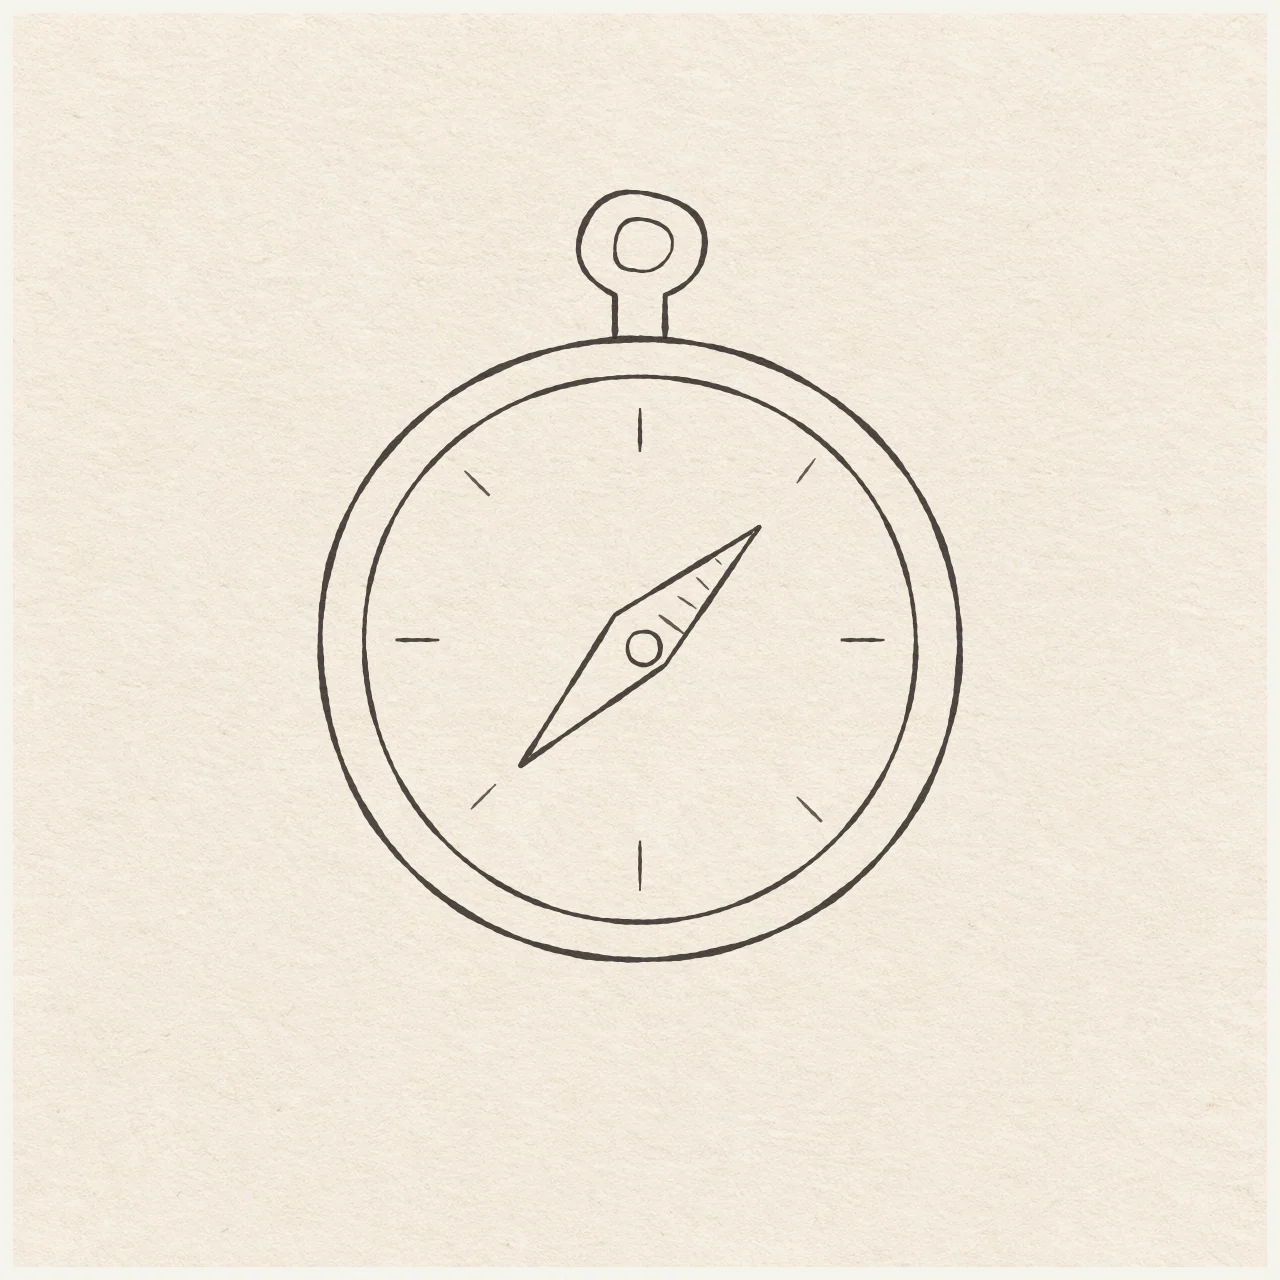
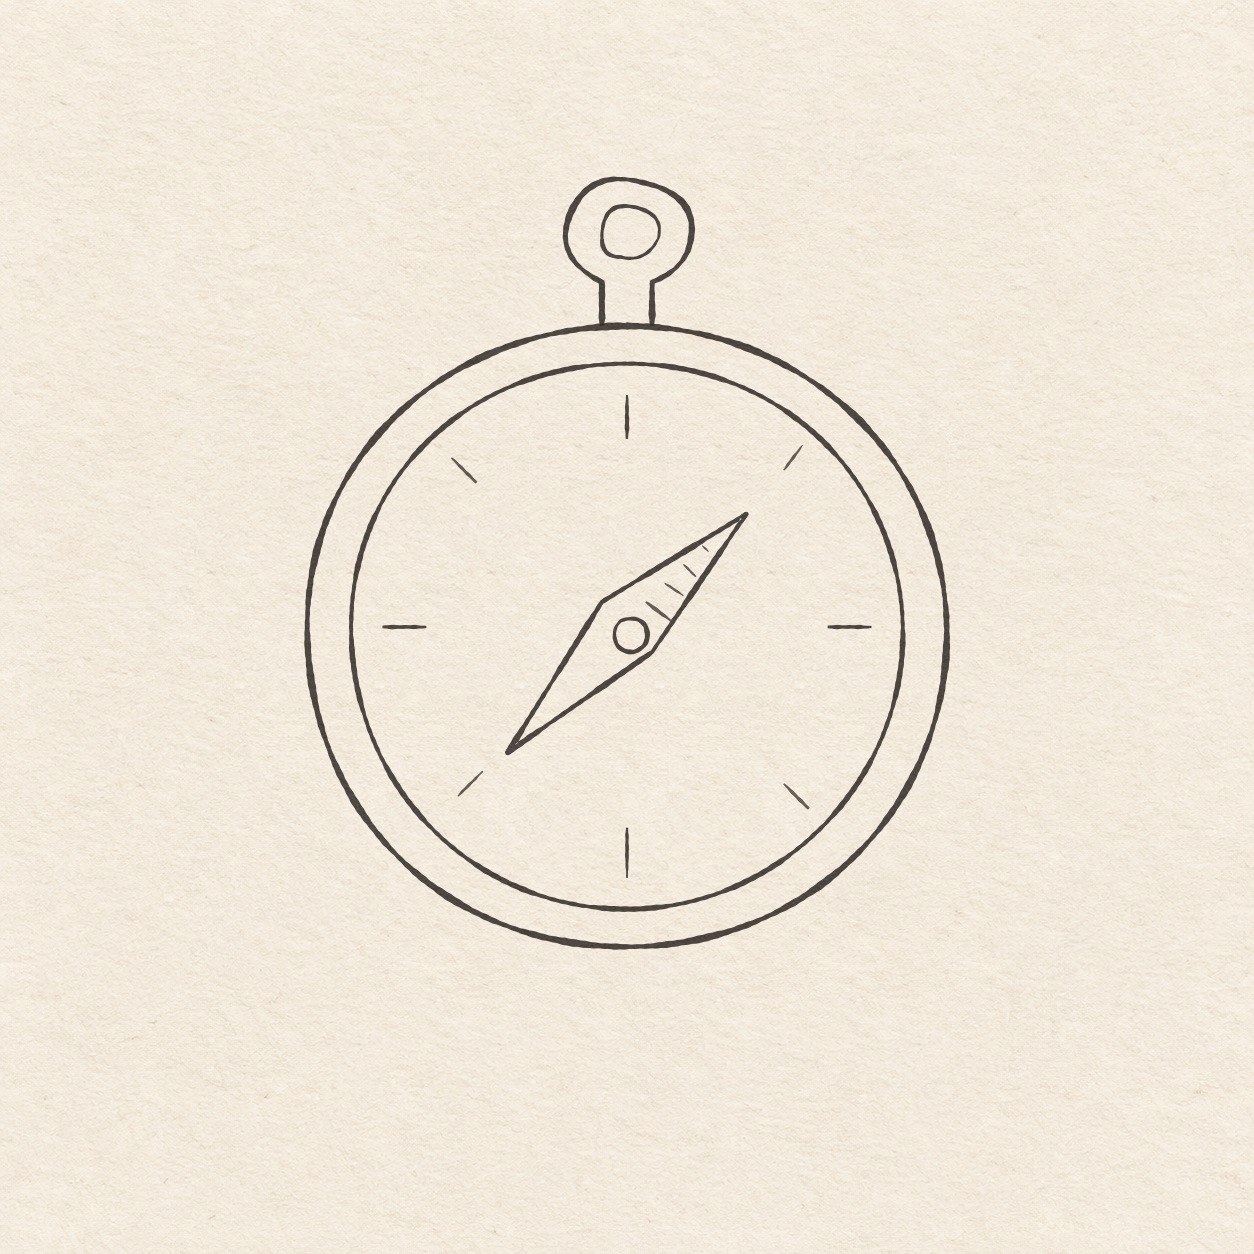
Practice a round pocket compass with two nested rings, a hanging loop and a diagonal needle. Keep the eight dial ticks short and leave the small pivot open.
Follow the drawing tutorial
Draw two nested rings, a small hanging loop and a diagonal needle. Lay out eight dial ticks in pencil before inking.
Start the 13-step tutorialA small thing to tryKeep a visible gap between each needle tip and the nearest dial tick.
Draw it, one step at a time
Draw a pocket compass
Draw two nested rings, a small hanging loop and a diagonal needle. Lay out eight dial ticks in pencil before inking.
What you’ll need
- HB pencil
- Eraser
- Fine black pen
- Ruler
- Spare sheet with a square corner
- Drawing paper
Before you start
The finished compass is about 8 cm wide and 10 cm tall. Choose where you want it on your drawing paper. Keep the pencil marks light so you can adjust and erase them.
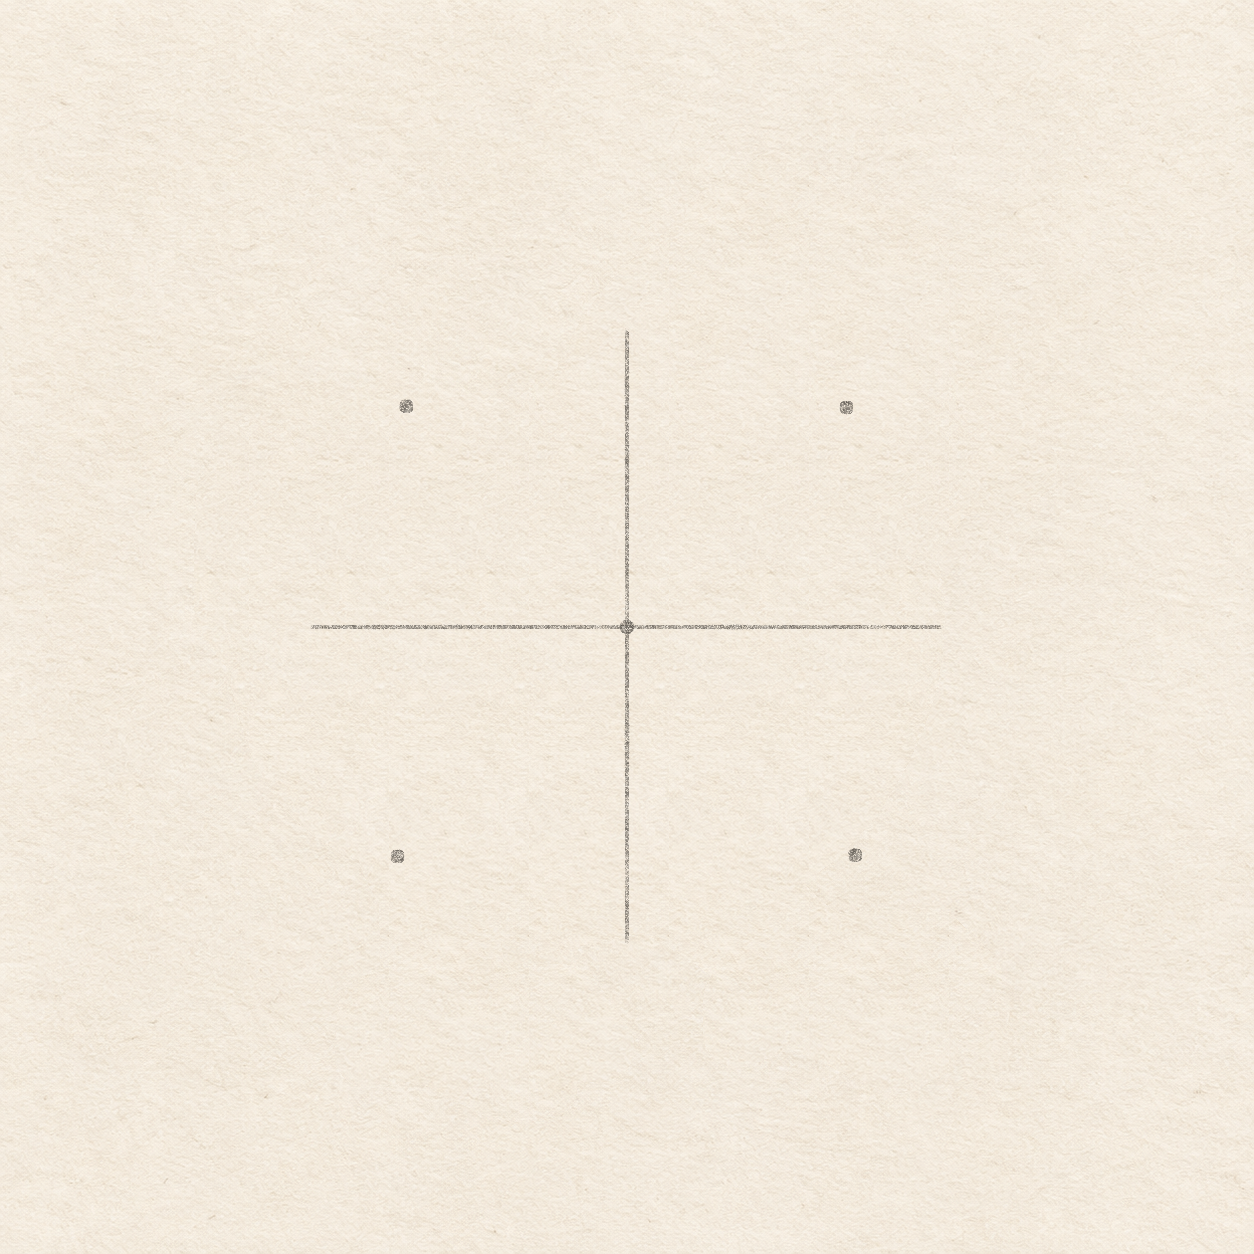
Drawing 1 — Set the compass center and case widthView larger PencilSet the compass center and case width
Instructions for Drawing 1 — Set the compass center and case width
- Choose a spot for the center of the compass. Check that at least 5 cm of paper lies on each side and below it, and 6.2 cm above it for the hanging loop. Mark the spot with a light pencil dot. Move the spot before drawing the guides if the compass would come too close to an edge.
- Lay a spare sheet with its bottom edge parallel to the bottom of your paper. Slide its side edge to the dot. Align your ruler with that side, move the spare sheet aside, and draw a light upright 3.8 cm up and 4.1 cm down from the dot. Line one edge of the spare sheet up with the new upright. Place its adjoining edge through the dot. Set the ruler along that edge, move the sheet aside and draw a light line 4.1 cm to each side. The four ends set the case’s top, bottom and sides. Keep both guides in pencil until cleanup.
- Measure sideways along the level guide from the center. Line one edge of the spare sheet up with the level guide, with its corner at that spot. Measure up or down along the adjoining edge, then make just the dot. Place the upper dots 2.8 cm sideways and 2.8 cm up on each side. Place the lower dots 2.9 cm sideways and 2.9 cm down on each side. Each dot should lie between two neighboring guide ends.

Drawing 2 — Round the outside of the caseView larger PencilRound the outside of the case
Instructions for Drawing 2 — Round the outside of the case
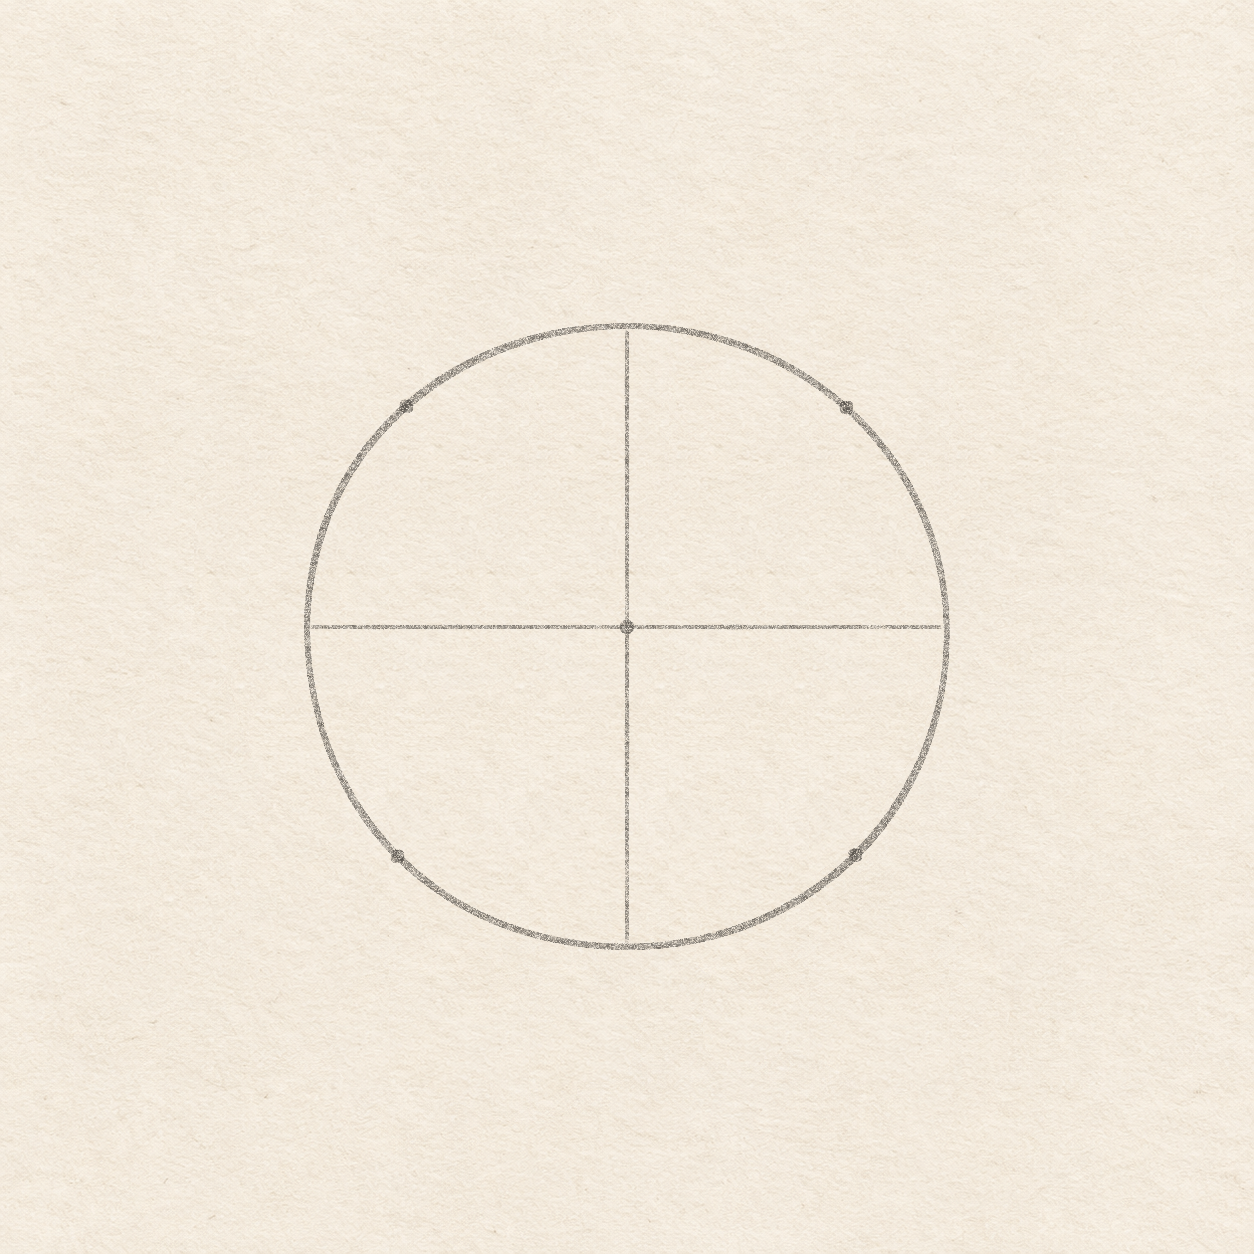
- From the top end of the upright, draw the case freehand through the upper right dot and the right guide end. Round through the lower right dot to the bottom guide end. Continue through the lower left dot, the left guide end and the upper left dot. Close at the top. Rehearse the sweep first. Smooth the curve if it forms a corner at a dot or guide end.

Drawing 3 — Measure the inset rimView larger PencilMeasure the inset rim
Instructions for Drawing 3 — Measure the inset rim
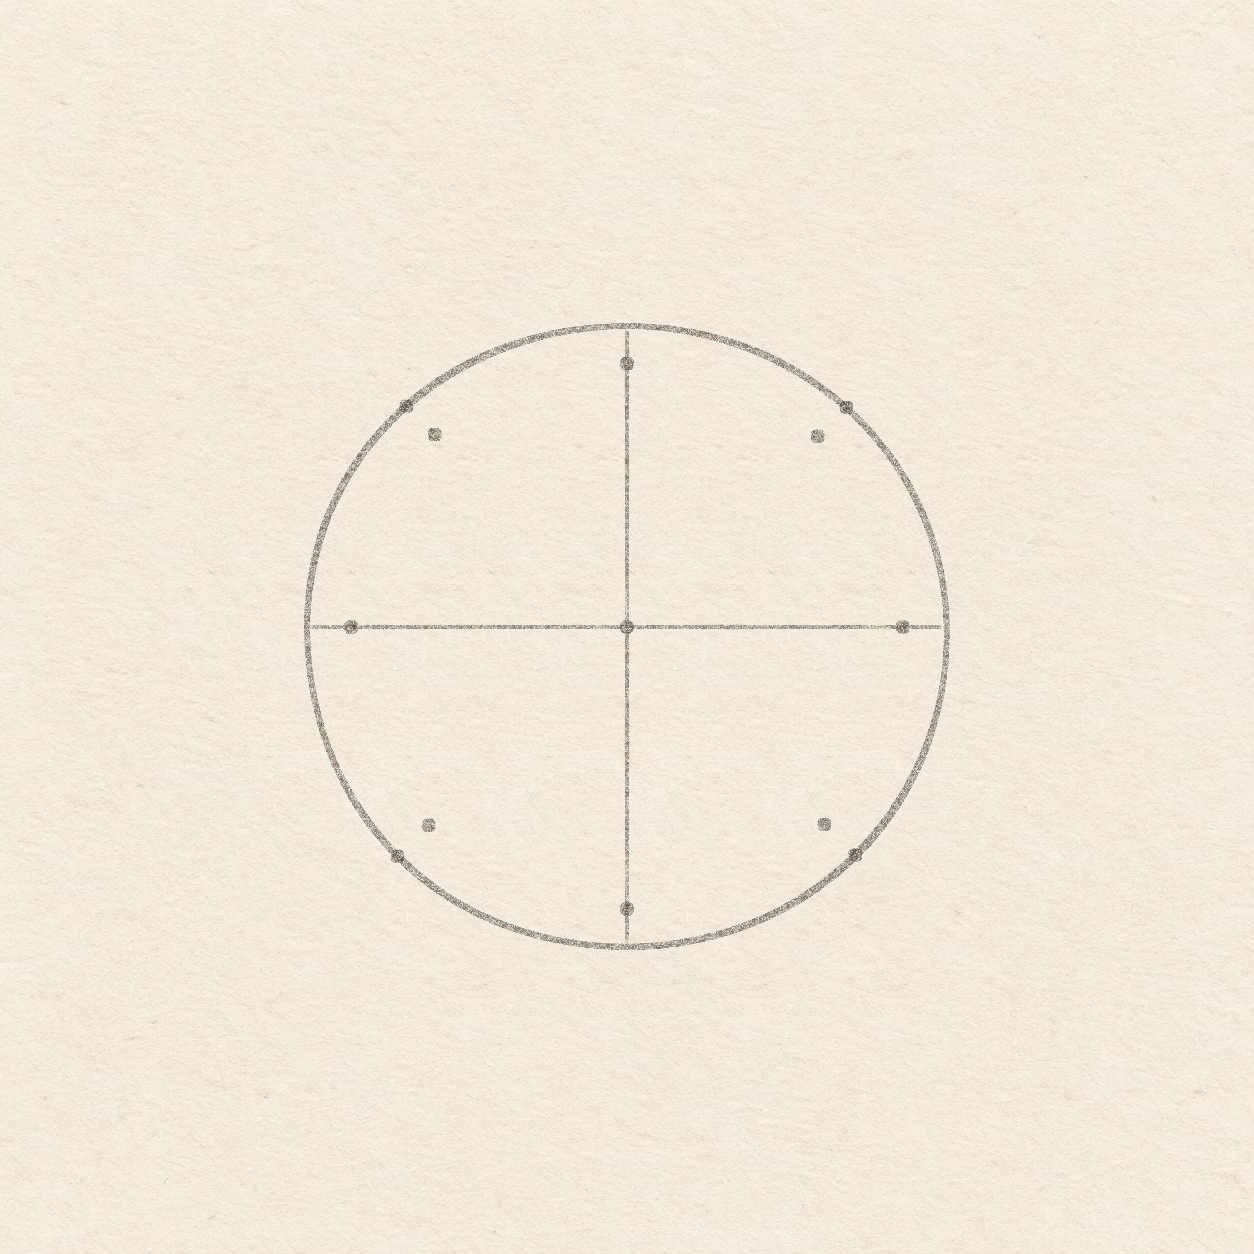
- Mark four dots on the pencil cross, inside the case. Measure about 5 mm inward from its top and bottom ends, and about 6 mm inward from its left and right ends. Keep all four dots inside the case and leave the cross in place.
- Line up your ruler with the center and one diagonal case dot. Measure 5 to 6 mm from that case dot toward the center and put a new dot there. Repeat for the other three diagonal dots. The eight inset dots should leave room for a narrow border all the way around.

Drawing 4 — Round the dial inside the caseView larger PencilRound the dial inside the case
Instructions for Drawing 4 — Round the dial inside the case
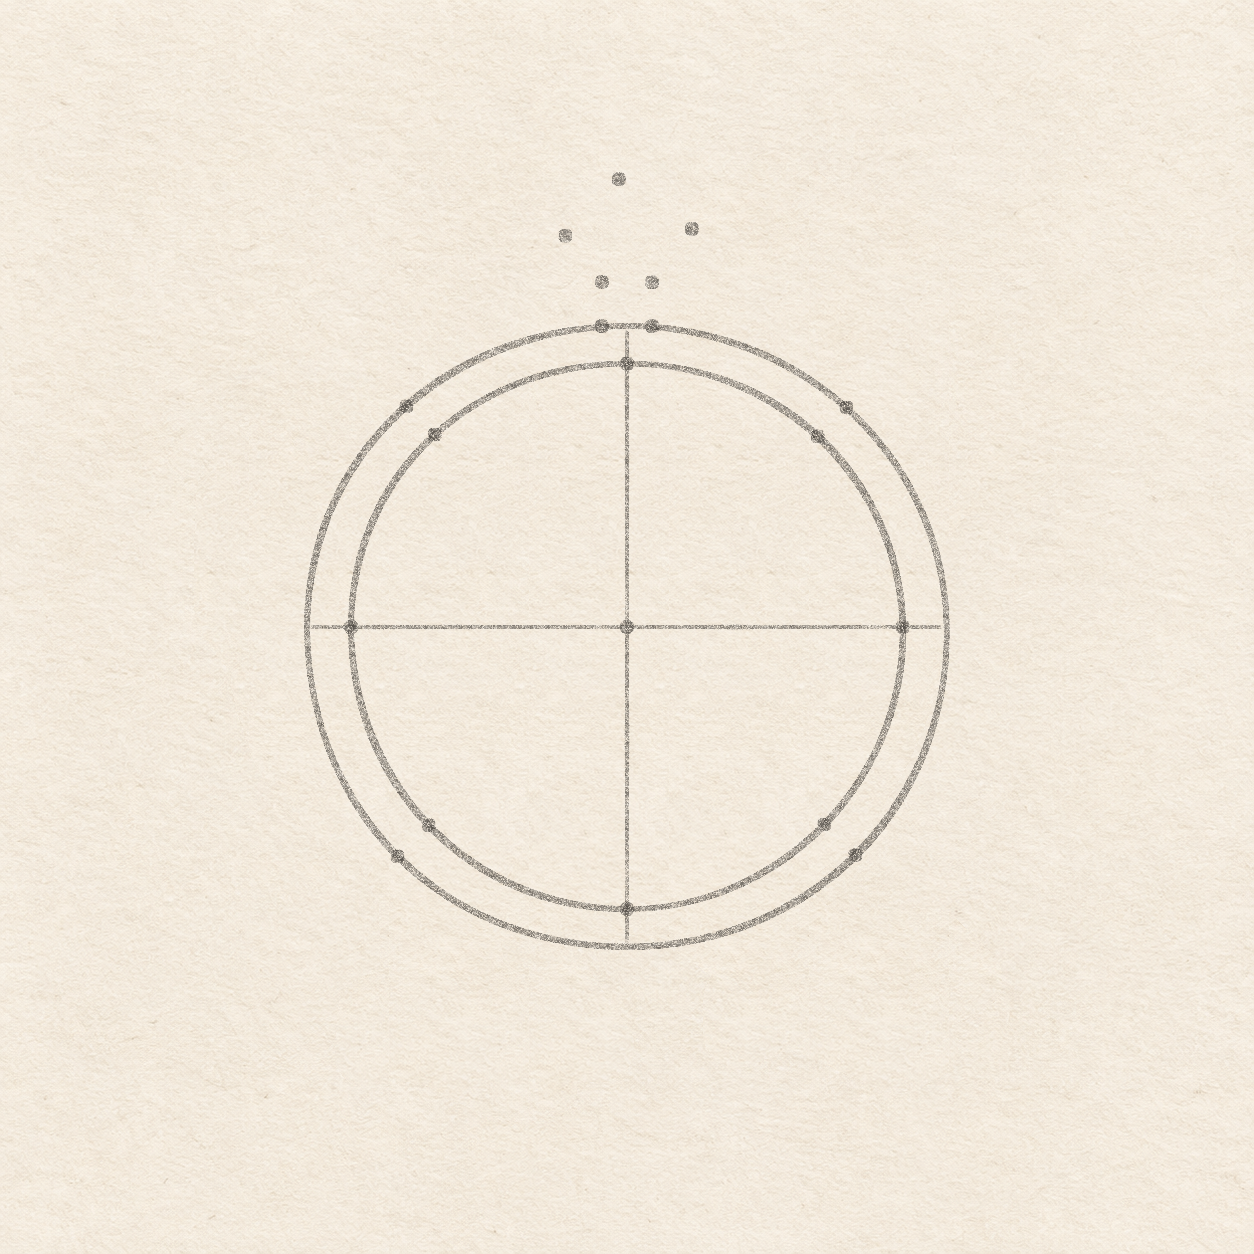
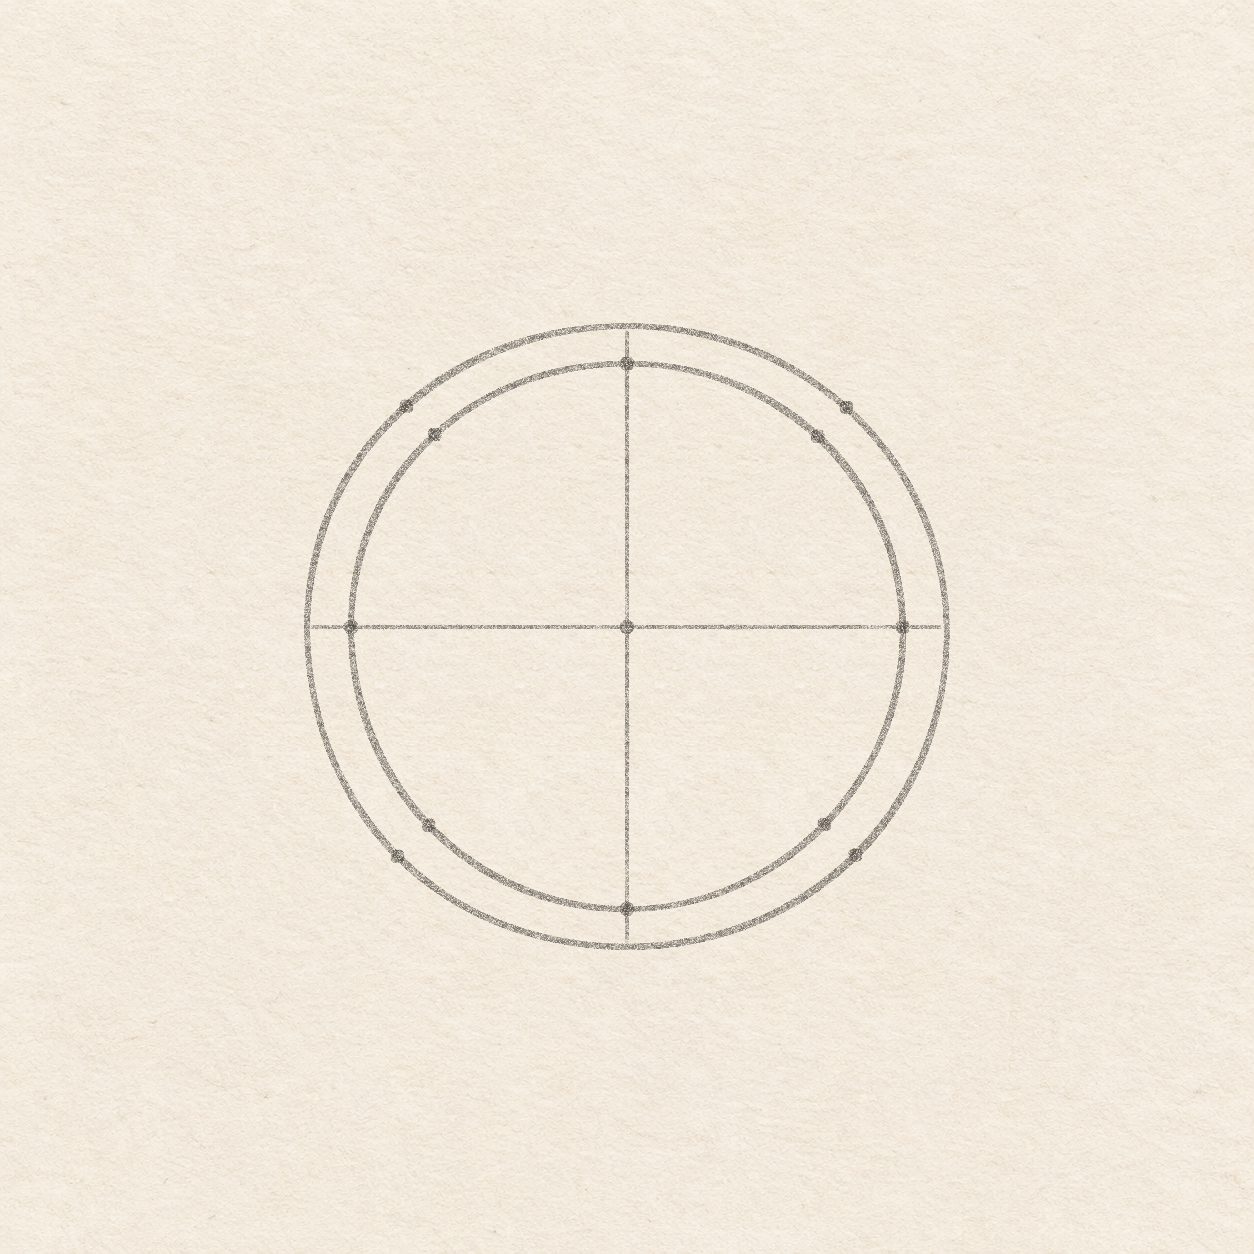
- Draw the inner ring freehand, starting at its top dot. Sweep clockwise through the eight inset dots and close at the top. Follow the outside curve while keeping a narrow strip of paper between the rings. Redraw a tight section in pencil if the two curves touch.

Drawing 5 — Plot the neck and hanging loopView larger PencilPlot the neck and hanging loop
Instructions for Drawing 5 — Plot the neck and hanging loop
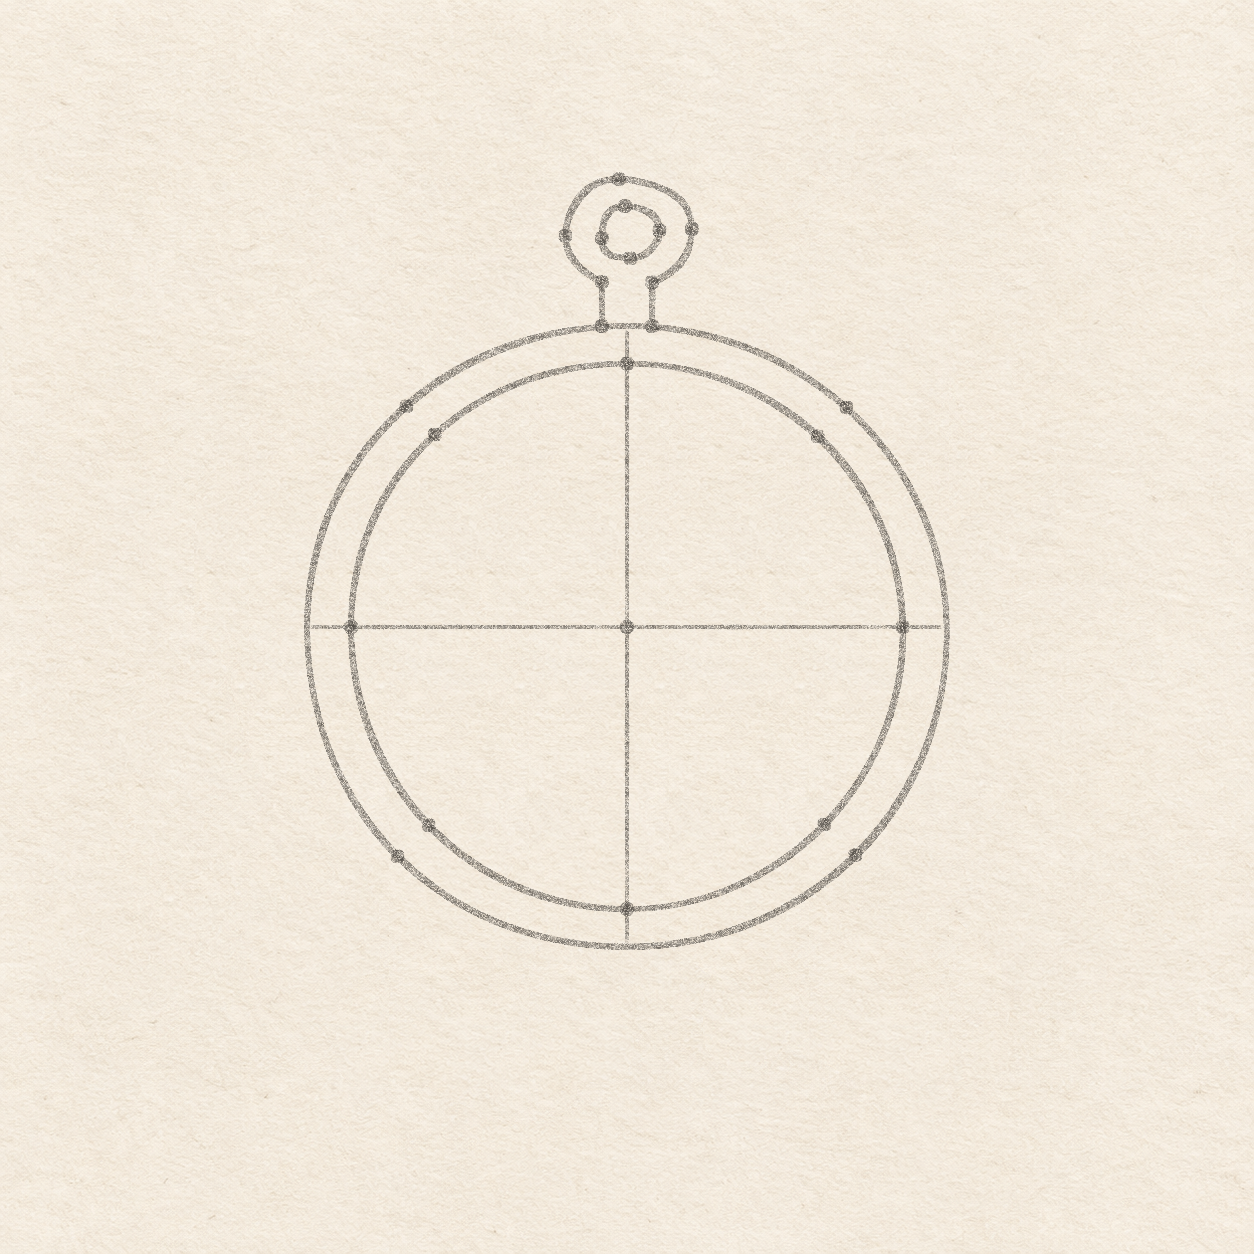
- Hold the ruler across the top of the upright, square to it. Measure 3 mm to each side and put a pencil dot where that position meets the outside case line. Check that both feet touch the existing case line.
- From each neck foot, measure 5.5 mm straight up, parallel to the upright. Mark the place where that side of the neck will turn into the loop. Keep the two shoulder dots directly above their own feet.
- Hold the ruler along the upright to continue its direction above the case. Measure up from the top of the case without drawing another line. Square the spare sheet to the ruler to measure sideways. Put the side dots about 1.2 cm up and 8 mm to either side. Put the crown about 1.9 cm up and 1 mm left. The crown sits above the two side dots. Each side dot is farther out than its neck shoulder.

Drawing 6 — Shape the hanging loop and its openingView larger 
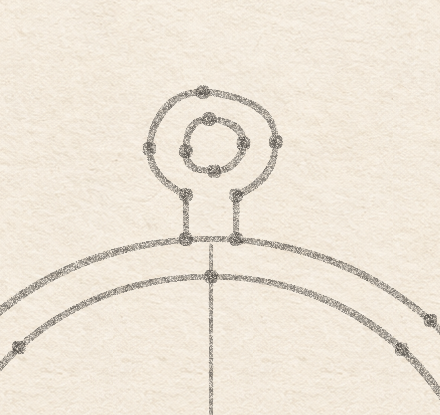
Detail 6.1 — The loop opening and neck feetThe outer loop narrows into two feet on the case. Its small opening has its own border. PencilShape the hanging loop and its opening
Instructions for Drawing 6 — Shape the hanging loop and its opening
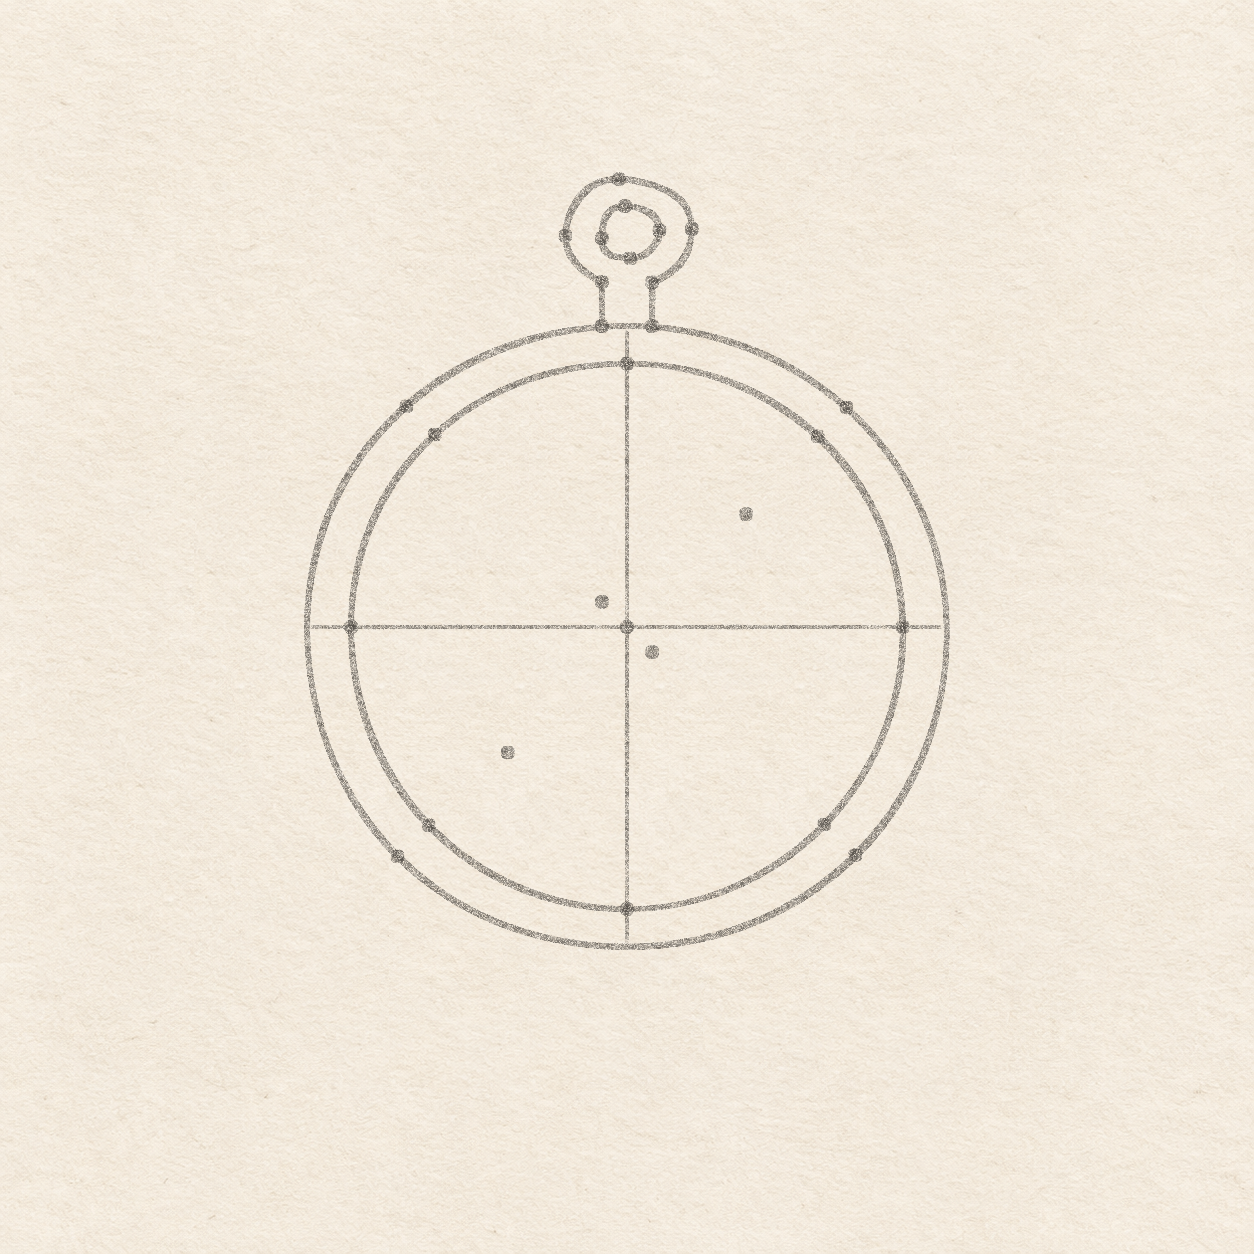
- Draw up from the left foot to its shoulder. Curve freehand out through the left side dot, over the crown and around the right side dot to the right shoulder. Draw straight down to the right foot. The case line already closes the bottom of the neck. Keep the loop wider than the neck. Both neck sides should stop at the case.
- Use the same spare-sheet edges to measure inside the loop. Mark the top of the opening about 3.5 mm below the crown and 1 mm right of it. Mark its bottom about 1 cm below the crown and 1.5 mm right. Near the middle of that height, place the side dots about 3 mm left and 4 mm right of the upright. Move a dot inward if it sits too close to the outside loop.
- Draw a little rounded opening freehand through its four dots. Keep a strip of paper between this line and the outside loop. Leave the inside open. Correct only the new curve if the two edges touch.

Drawing 7 — Place the four needle cornersView larger PencilPlace the four needle corners
Instructions for Drawing 7 — Place the four needle corners
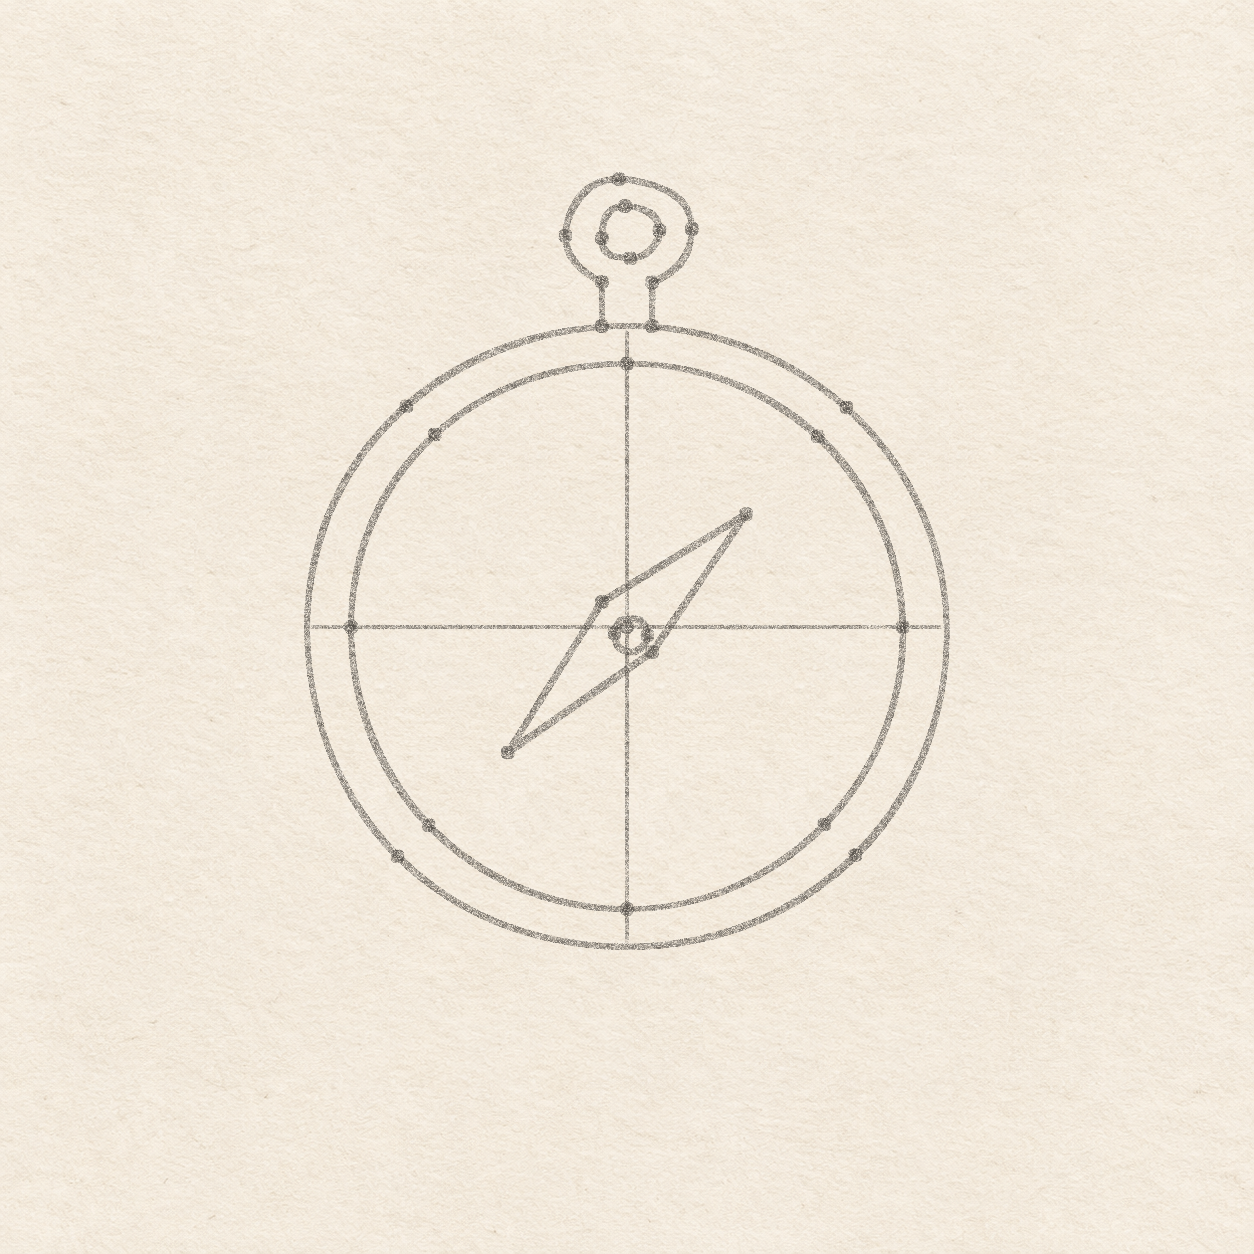
- Use the same sideways-then-up or down method from the center dot. Mark the upper tip 1.5 cm right and 1.4 cm up. Mark the lower tip 1.5 cm left and 1.6 cm down. Check for clear paper between each tip and the dial rim.
- Use the spare sheet to measure the small offsets from the center dot. Mark one corner about 3 mm left and 3 mm up. Mark the other about 3 mm right and 3 mm down. The side corners should sit much closer to the center than the two tips.

Drawing 8 — Join the needle and place the pivotView larger 
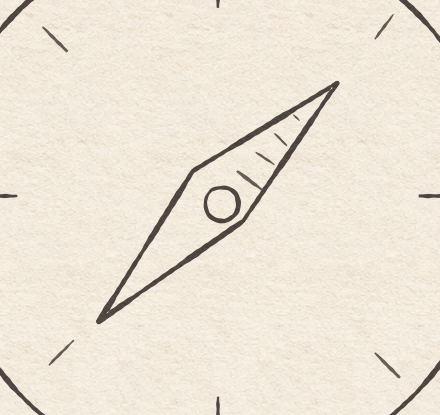
Detail 8.1 — The open pivot inside the needleThe small circle sits just below the center dot, between the two long needle edges. PencilJoin the needle and place the pivot
Instructions for Drawing 8 — Join the needle and place the pivot
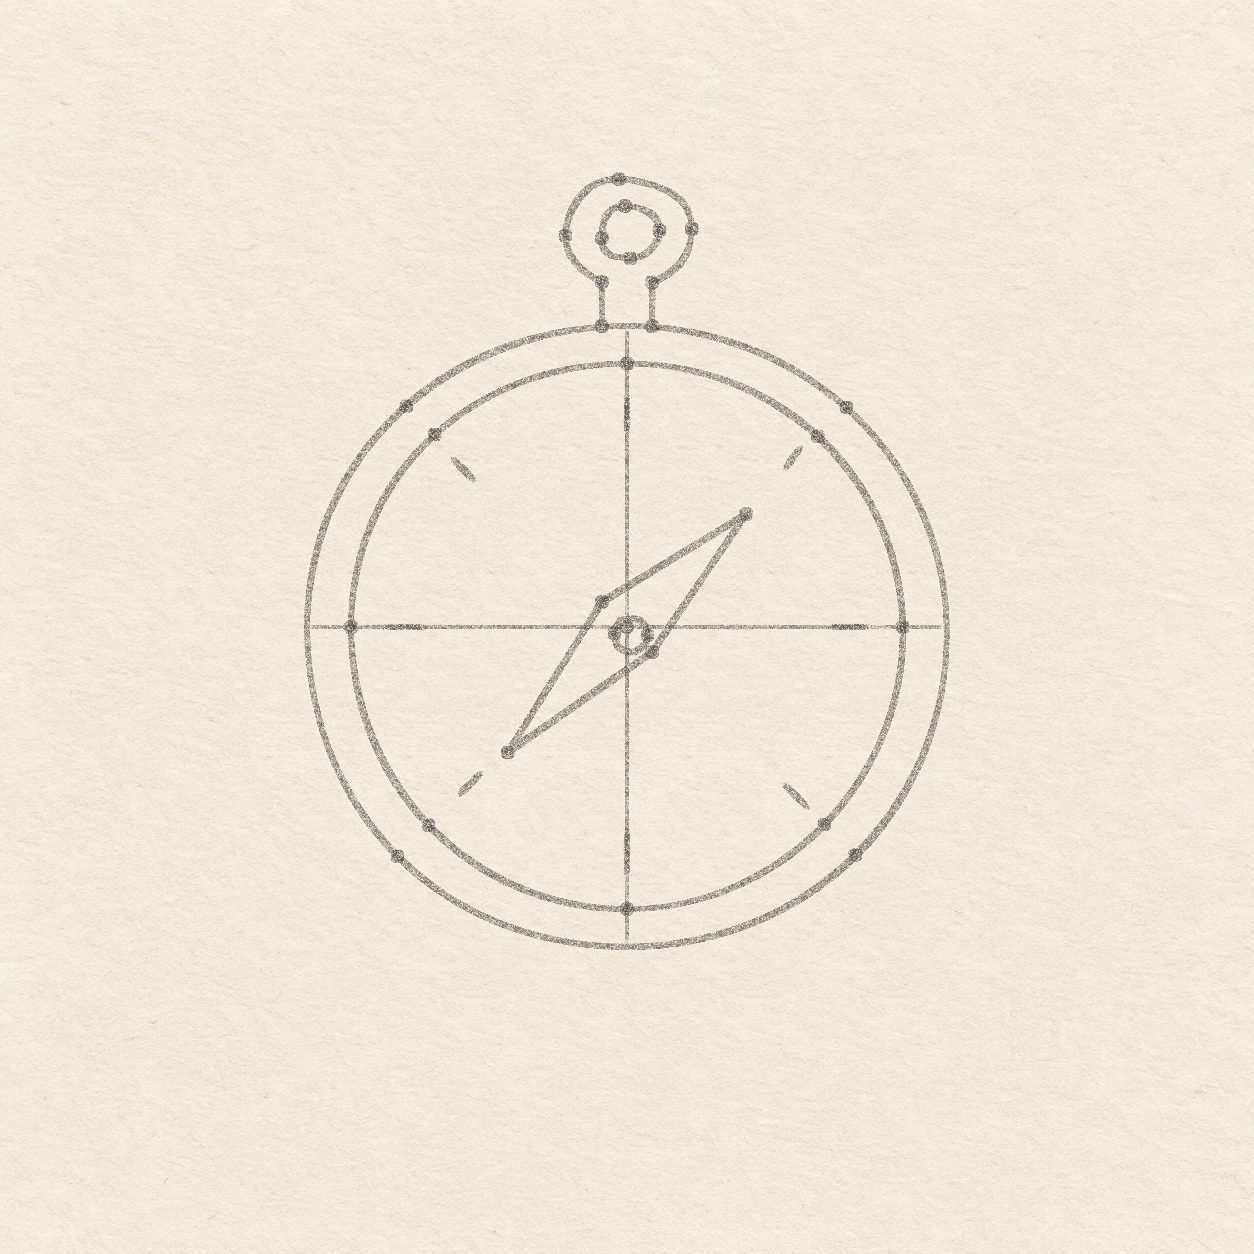
- Use your ruler to join the upper right tip to the corner down and right of the center. Continue to the lower left tip, then to the corner up and left of the center. Close at the upper right tip. Keep the middle open and leave the measuring cross in pencil.
- Measure about 1 mm down from the center dot. Square the spare sheet to the upright at that height. Put a light dot about 1.5 mm left of the upright and another about 2.5 mm right. These set the width of the pivot. Both dots should fit well inside the needle.
- Draw the little circle freehand from one pivot dot to the other and back. Bow about 2 mm up on the first pass and 2 mm down on the return. Keep the circle separate from both long needle sides. Keep the circle open. Leave the light cross in place until cleanup.

Drawing 9 — Mark the eight dial ticksView larger 
Detail 9.1 — The gap at the lower needle pointThe short diagonal tick ends before it reaches the lower left point. PencilMark the eight dial ticks
Instructions for Drawing 9 — Mark the eight dial ticks
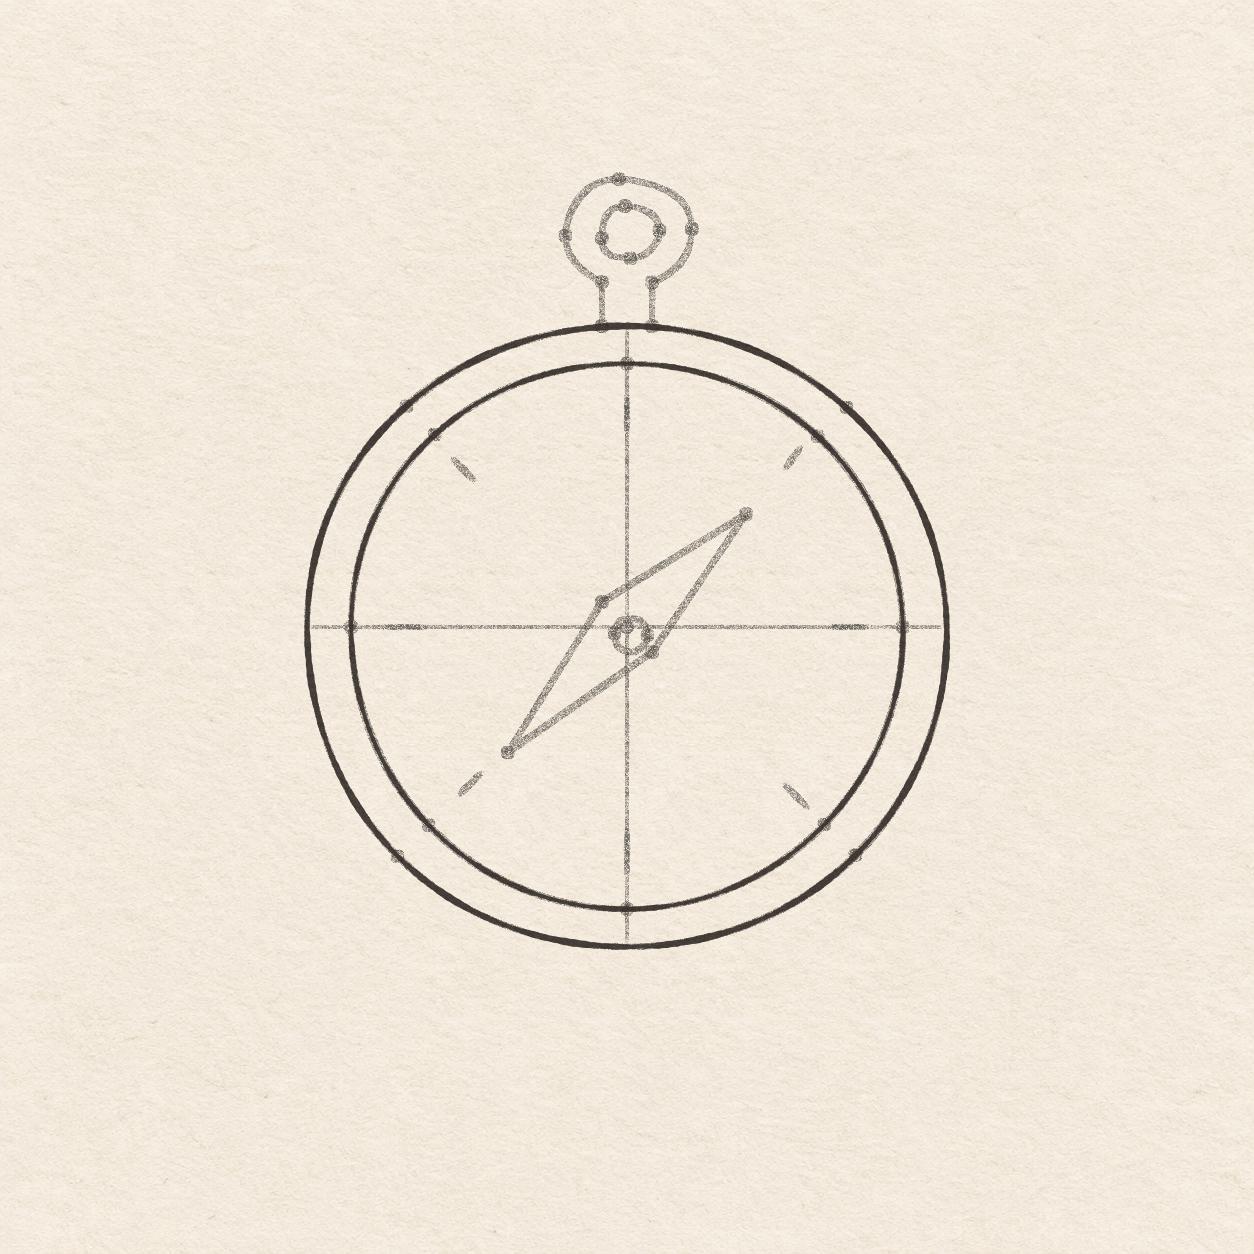
- Where each arm of the cross meets the inner rim, measure 4 to 5 mm toward the center to find the start of a tick. Draw a short pencil stroke about 6 mm toward the center. Press slightly more than you did for the guide so you can see the four short strokes. Leave only the light guide between the end of each tick and the rim. You’ll ink just the short strokes later.
- Between each pair of long ticks, lay your ruler through the diagonal inset dot and the center. Measure 3 to 5 mm in from the inset dot. Start there and draw a tick about 4 mm long freehand, aiming roughly toward the center. Keep a clear gap before the needle tips. Shift a tick nearer its rim if it crowds the needle.

Drawing 10 — Ink the case and dial ringsView larger FinelinerInk the case and dial rings
Instructions for Drawing 10 — Ink the case and dial rings

- Trace the outside ring with a fine black pen. Close it at the top and keep the curve smooth. Leave the pencil cross, dots and other outlines for now.
- Trace the inset ring with a slightly lighter touch. Keep the narrow paper strip between the two rings. Avoid adding a second line across the ring or retracing the outer edge.

Drawing 11 — Ink the loop, needle and ticksView larger FinelinerInk the loop, needle and ticks
Instructions for Drawing 11 — Ink the loop, needle and ticks

- Trace the loop outline from one foot to the other. Stop at the already inked case at both ends. Trace the little opening separately. Leave the opening empty and keep the case line as the neck’s base.
- Trace the four needle sides. Trace the round pivot once, keeping its middle open. Leave the interior unshaded for now. Keep the pencil cross until cleanup.
- Ink just the four longer and four shorter pencil ticks. Stop at both ends of each tick and leave the rest of the cross in pencil. Keep the ticks separate from the needle and dial rim.

Drawing 12 — Erase the pencil after the ink driesView larger CleanupErase the pencil after the ink dries
Instructions for Drawing 12 — Erase the pencil after the ink dries
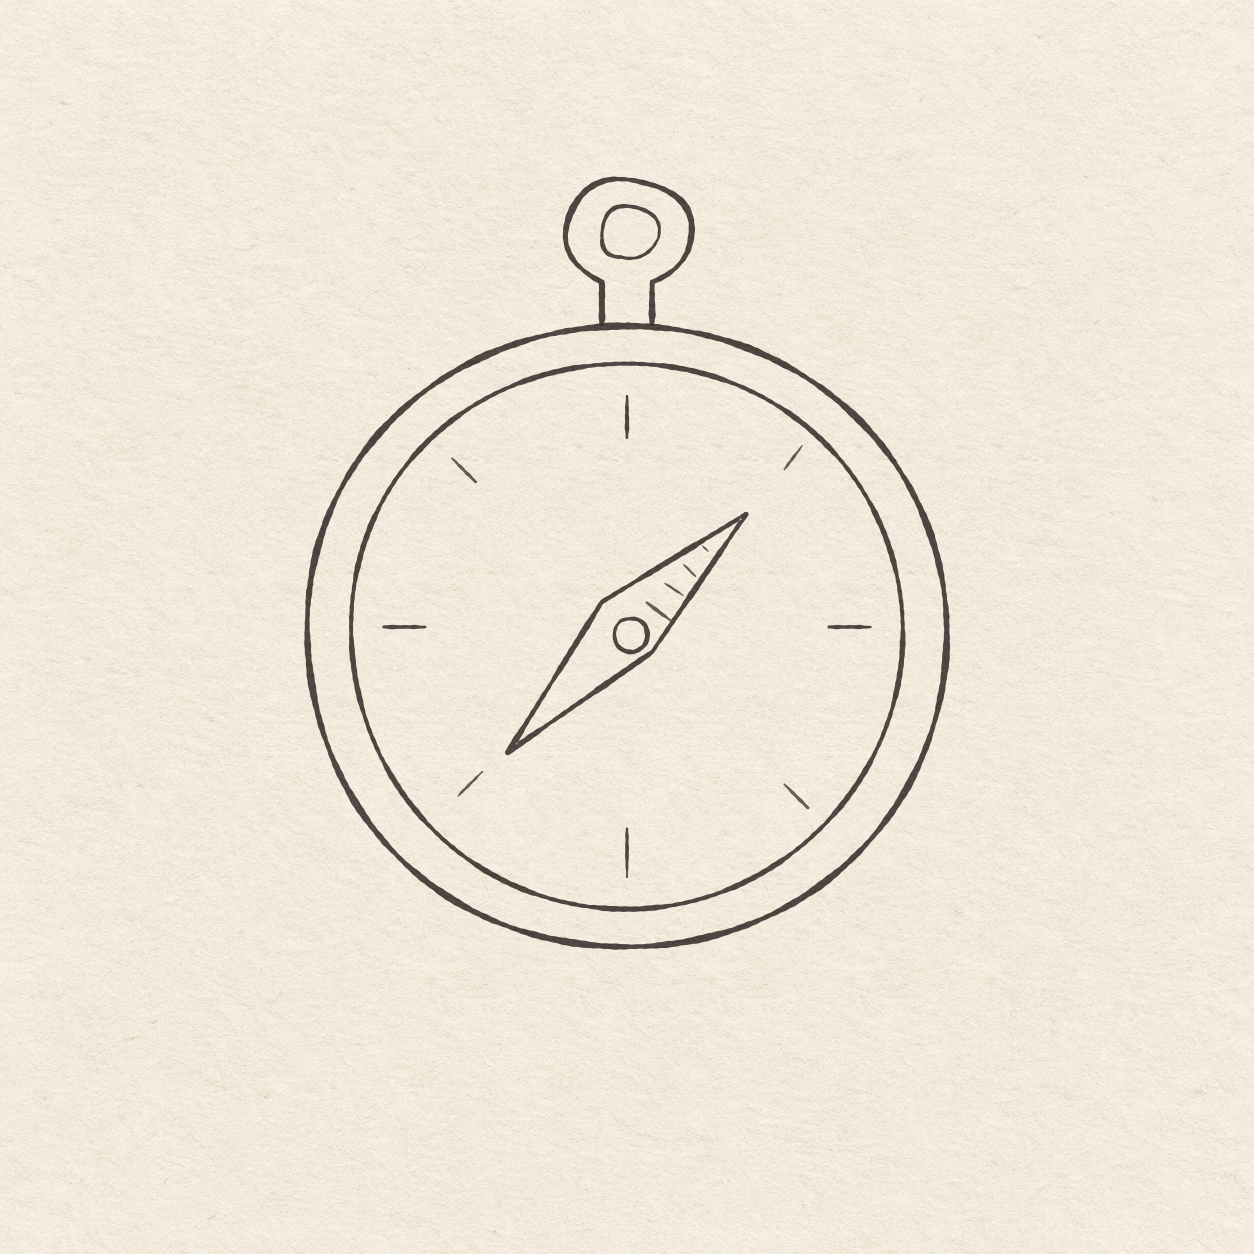
- Fill a small patch on a scrap of the same paper with the same pen. Rub the patch gently with your eraser. If it smears, wait and test again. Once the patch stops smearing, erase the light cross, all placement dots and any pencil showing beside the dry ink.

Drawing 13 — Shade the upper right needle pointView larger 
Detail 13.1 — Four fine hatches inside the needleThe lines shorten toward the upper right point. The pivot and lower left point stay pale. FinelinerShade the upper right needle point
Instructions for Drawing 13 — Shade the upper right needle point
- On the upper right side of the needle, start a line about 4 mm long just above and right of the pivot. Slant it down and right. Add three shorter lines toward the tip at the same slant, with a little space between them. A stroke can meet a needle edge. Lift the pen at the edge so it does not cross. Leave the pivot, the lower left point and the space outside the needle clear.
If something looks off
If a tick crowds the needle
Move that tick a little closer to the inner rim while it is still in pencil. Leave a gap at both ends of the tick.