FinelinerEasy

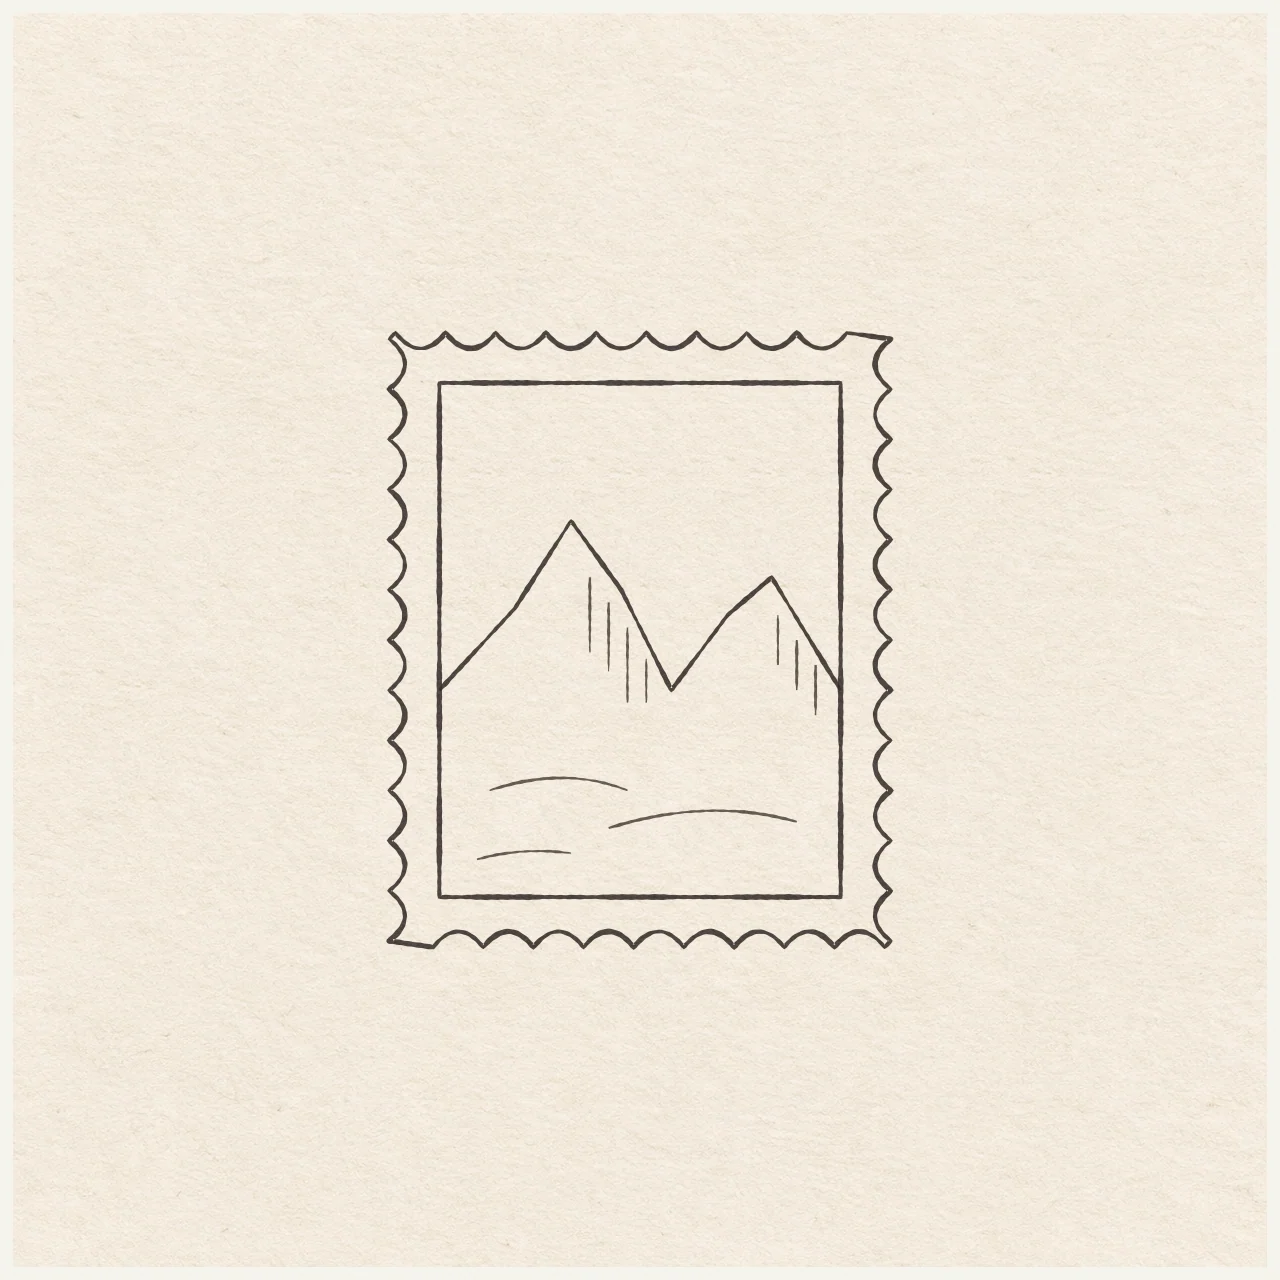
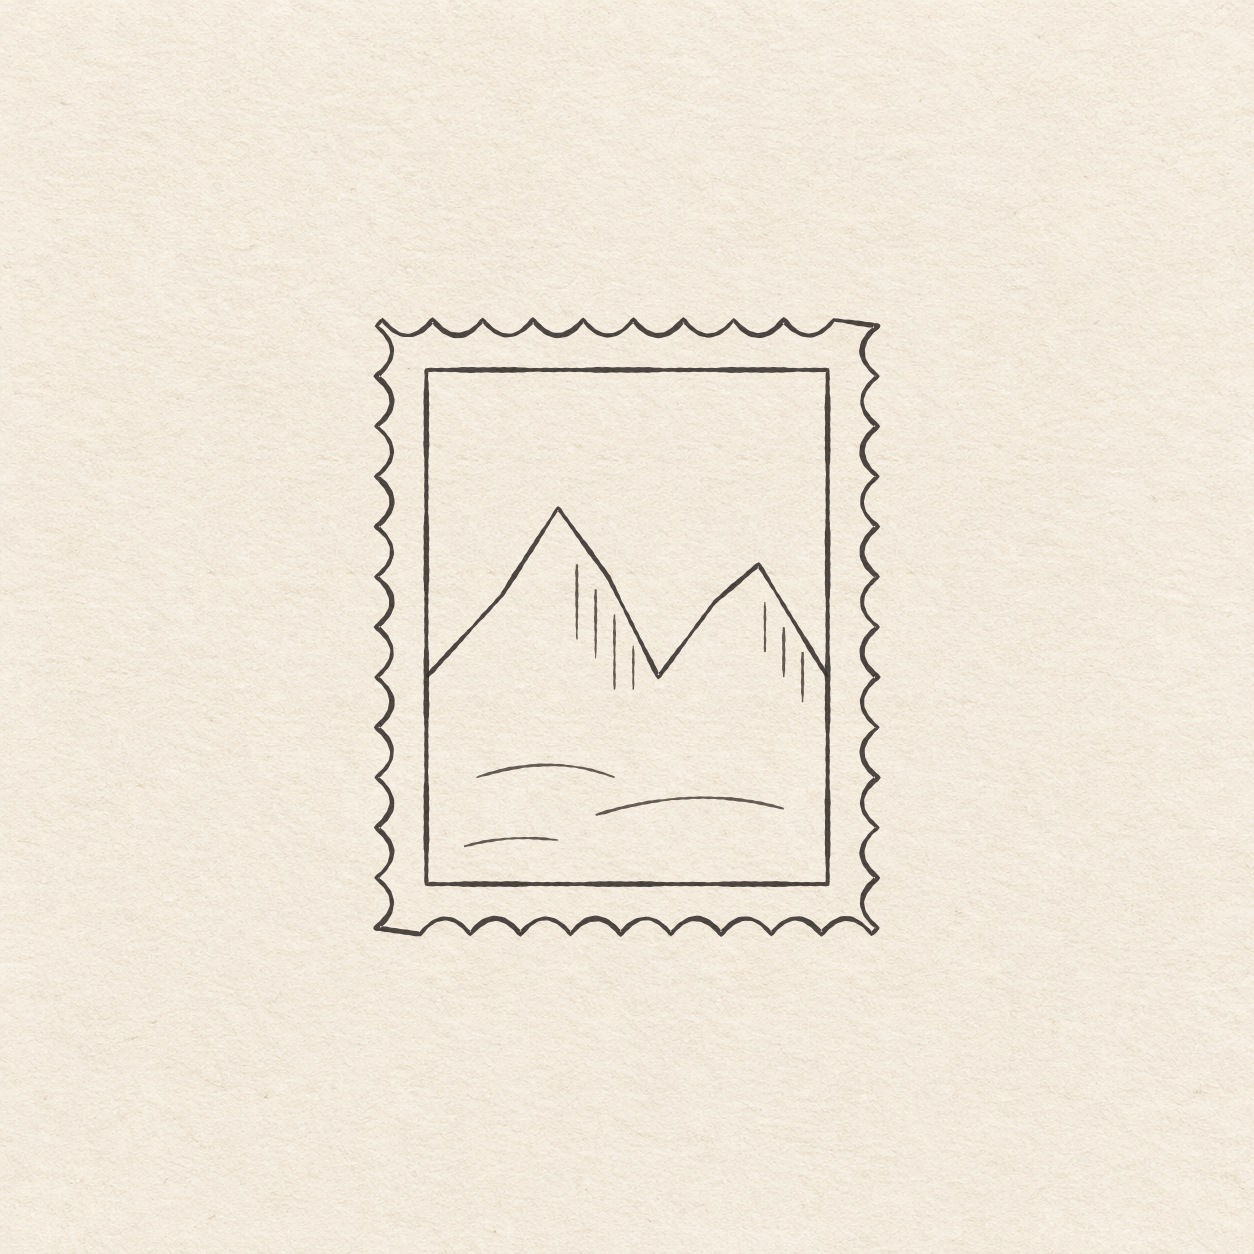
Mountain postage stamp
Measure the inner picture, draw a pair of peaks, and add the rounded perforated edge in pencil and fineliner.
Follow the drawing tutorial
Measure the inner picture, draw a pair of peaks, and add the rounded perforated edge in pencil and fineliner.
Start the 7-step tutorialA small thing to tryUse the faint rectangle to place the perforations and keep the border between the two frames clear.
Draw it, one step at a time
Draw a postage stamp with mountains
Measure the inner picture, draw a pair of peaks, and add the rounded perforated edge in pencil and fineliner.
What you’ll need
- HB pencil
- Eraser
- Fine black pen
- Ruler
- Spare sheet with a square corner
- Drawing paper
Before you start
This stamp is about 6.4 cm wide and 7.8 cm high. Choose its place on the page and keep the measuring outline very light. It will be erased after inking.
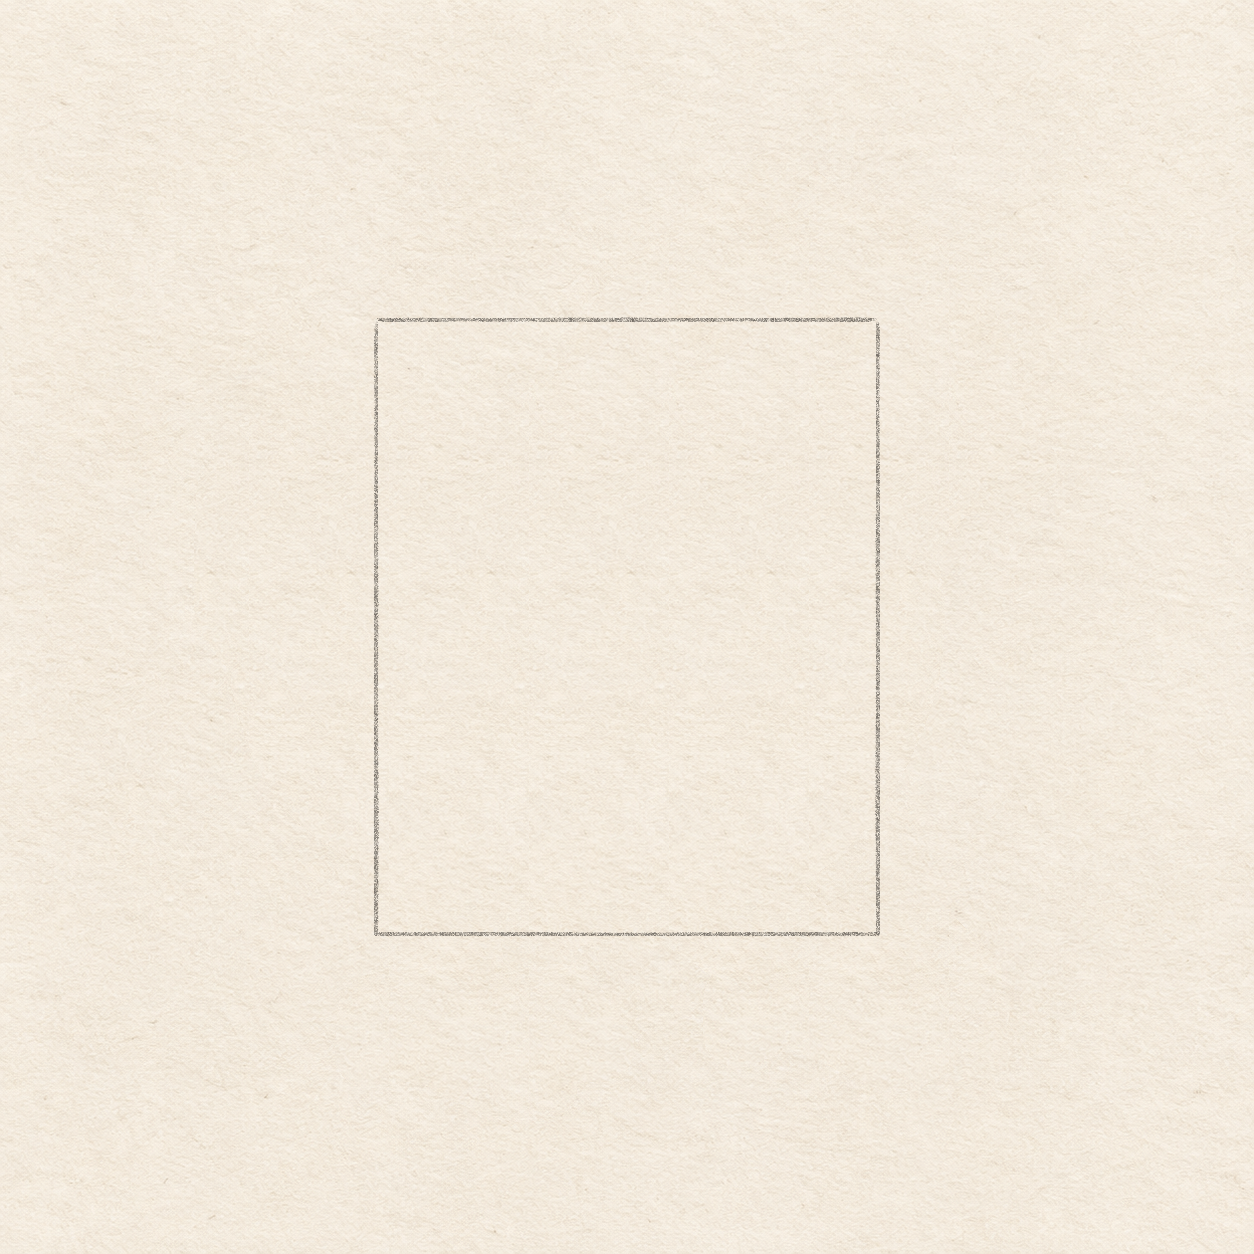
Drawing 1 — Square the outside measuring frameView larger PencilSquare the outside measuring frame
Instructions for Drawing 1 — Square the outside measuring frame
- Choose where the stamp’s upper-left corner will sit. Leave at least 6.5 cm to the right and 8 cm below. Put the ruler at that chosen spot and draw a faint level line 6.4 cm rightward. Place the square corner of the spare sheet at each end in turn, with one edge resting along the line.
- Set the spare sheet’s corner at the right end of the top line, with its top edge aligned to the pencil. Hold your ruler along the upright edge and draw a light line 7.8 cm down. Carry that upright direction to the left end and draw the same length. Connect the two feet with a light level line. Check that both sides are the same length and the bottom is level before using the frame.

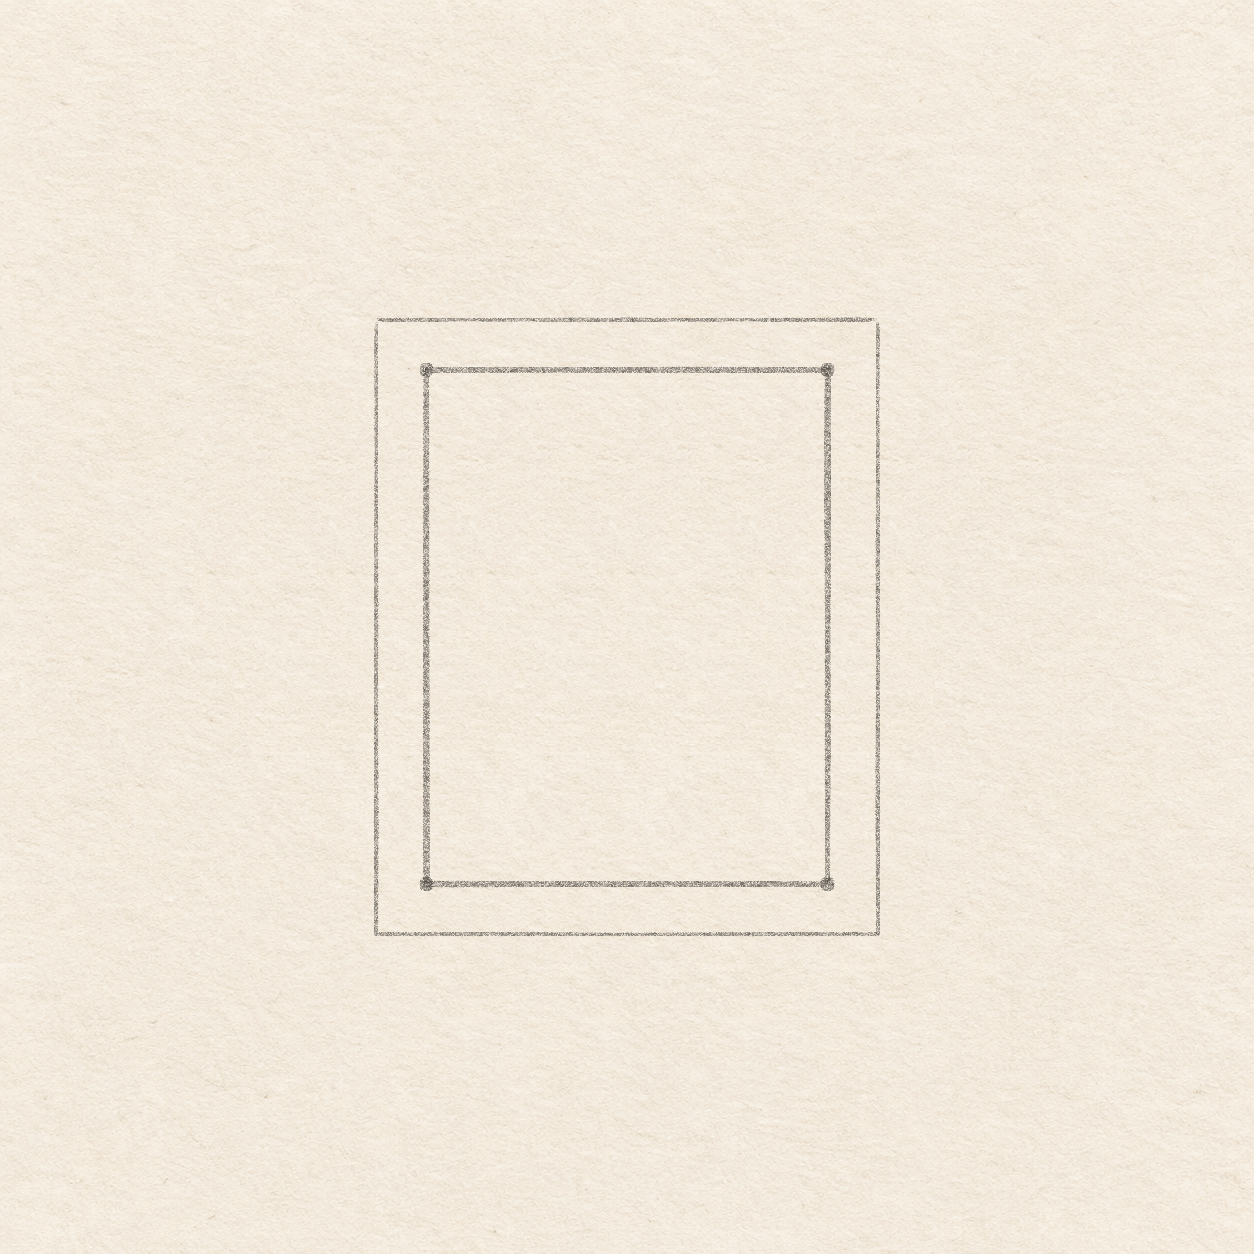
Drawing 2 — Draw the inset picture frameView larger PencilDraw the inset picture frame
Instructions for Drawing 2 — Draw the inset picture frame
- At each outside corner, measure about 6.5 mm along its level edge toward the center. Set the square corner on that spot and measure about 6.5 mm inward along its upright edge. Make a light dot at each of the four resulting spots. Hold the ruler across each pair of dots. Both long sides should match, and the pale border should have the same width.
- Rule along the four inset dots in pencil, closing the inner rectangle. Keep each line inside the measuring frame. Check that the inside frame is about 5.1 cm wide and 6.6 cm high. Adjust a corner if the border tapers.

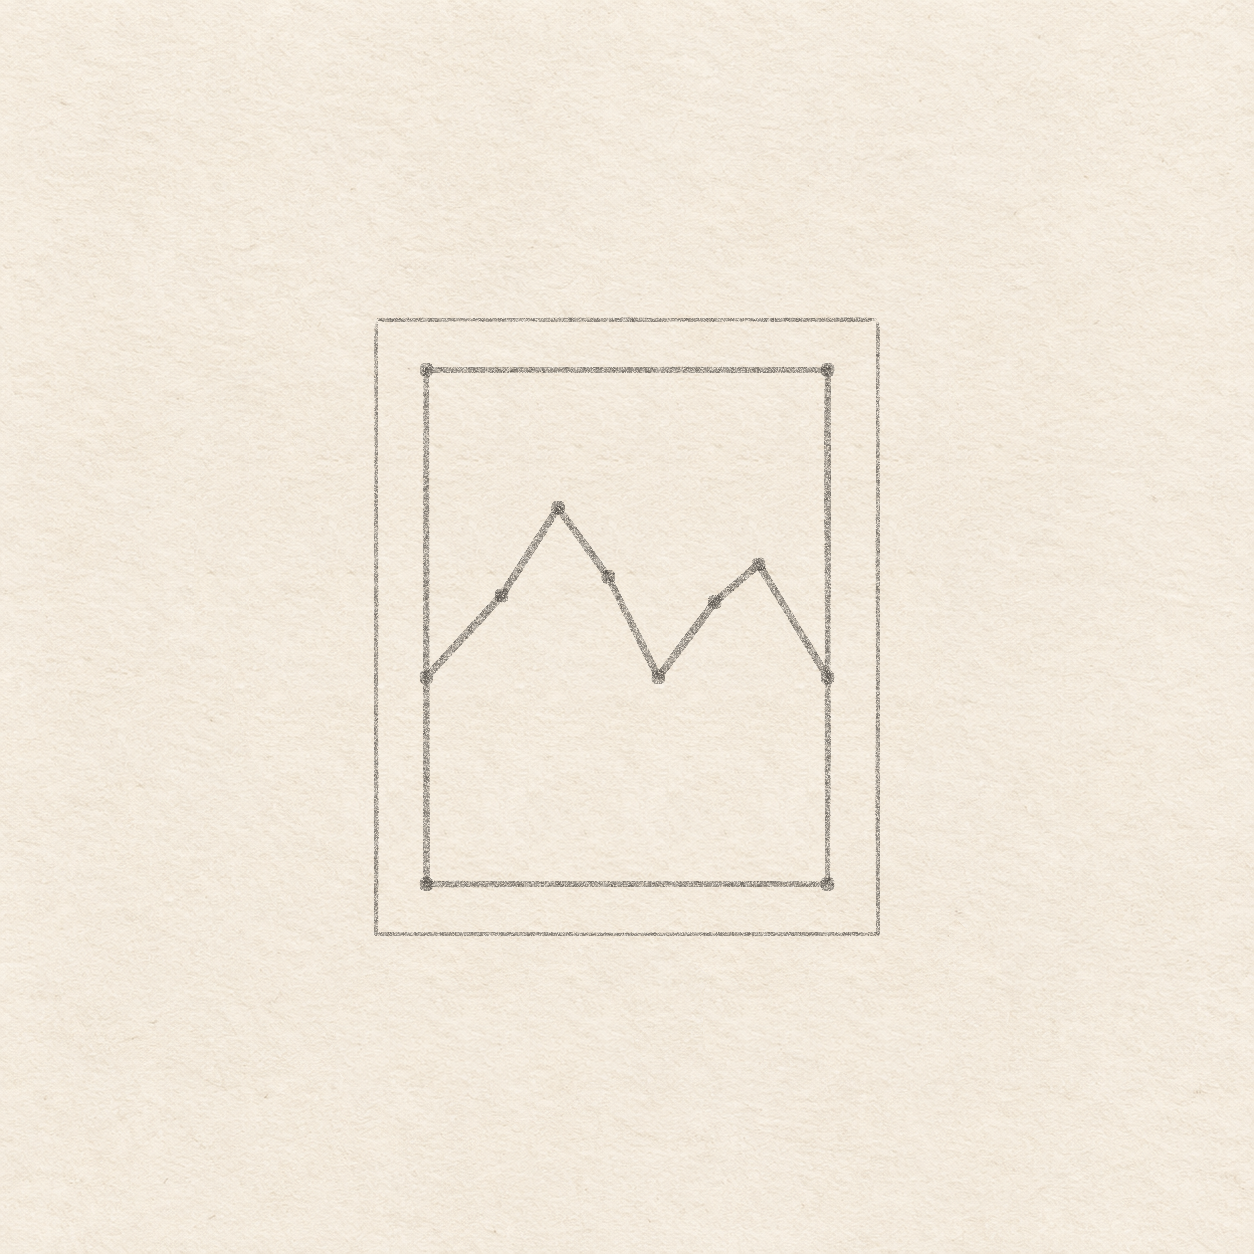
Drawing 3 — Plot and draw two mountain peaksView larger PencilPlot and draw two mountain peaks
Instructions for Drawing 3 — Plot and draw two mountain peaks
- Measure about 3.9 cm down the left inner edge from its top corner and make a dot. Hold the ruler level across it and make a dot where the ruler meets the right inner edge. The two dots should sit at the same level, a little below the middle of the picture.
- Hold the ruler between the two edge dots. Measure right from the left dot and place the square corner on the ruler at each distance before measuring up. Put the next dots about 1 cm right and 1 cm up, 1.7 cm right and 2.2 cm up, then 2.3 cm right and 1.3 cm up. Put the low middle dot on the ruler about 3 cm right. Place the last two about 3.7 cm right and 1 cm up, and 4.2 cm right and 1.4 cm up. The first peak should be higher than the second, with the low middle dot almost level with the two side stops.
- Join the mountain dots in pencil from the left inner edge to the right. Rise to the tall peak, drop to the low middle, then climb to the lower peak and go down to the right edge. Check that the line meets both picture edges and that the two peaks remain distinct.

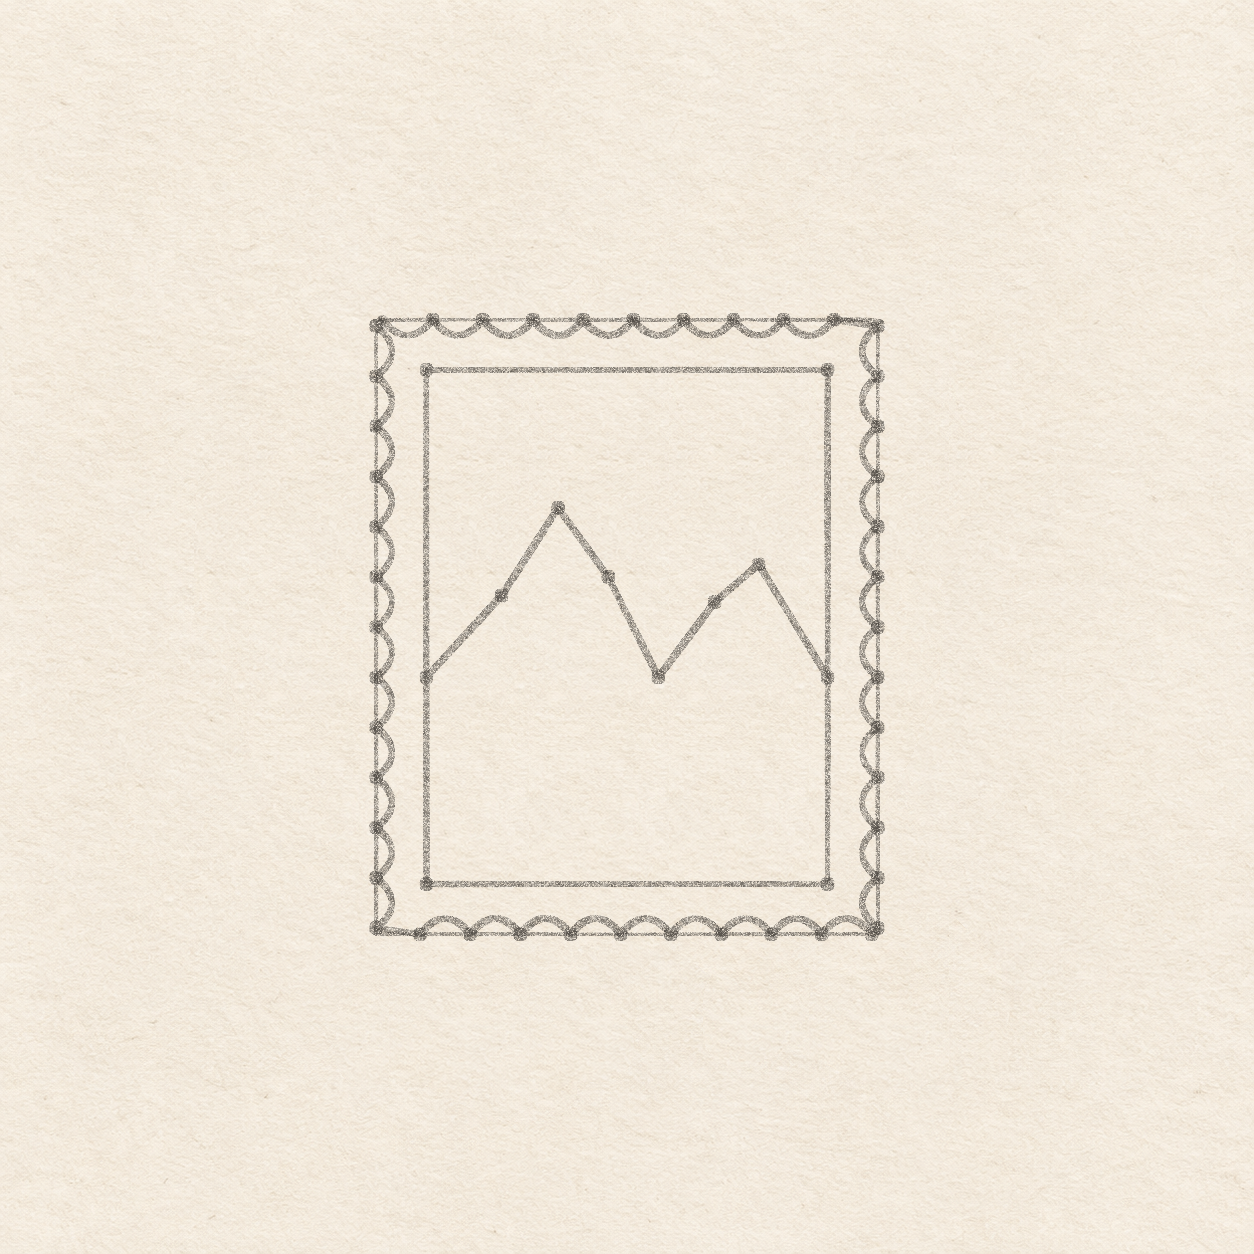
Drawing 4 — Mark and curve the perforated edgeView larger 
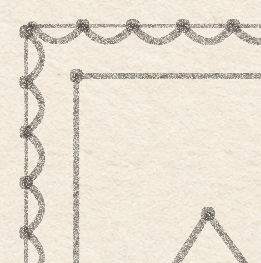
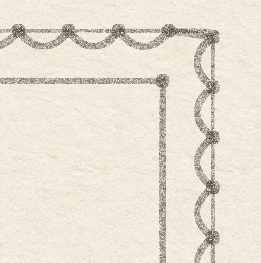
Detail 4.1 — The first perforation starts beside the cornerThe faint measuring lines meet at the corner. Start the first curved notch about 1 mm to the right of that intersection. 
Detail 4.2 — Where two runs of perforations meetThe tiny curves dip inward from the outside frame. A short join turns the corner and starts the next row. PencilMark and curve the perforated edge
Instructions for Drawing 4 — Mark and curve the perforated edge
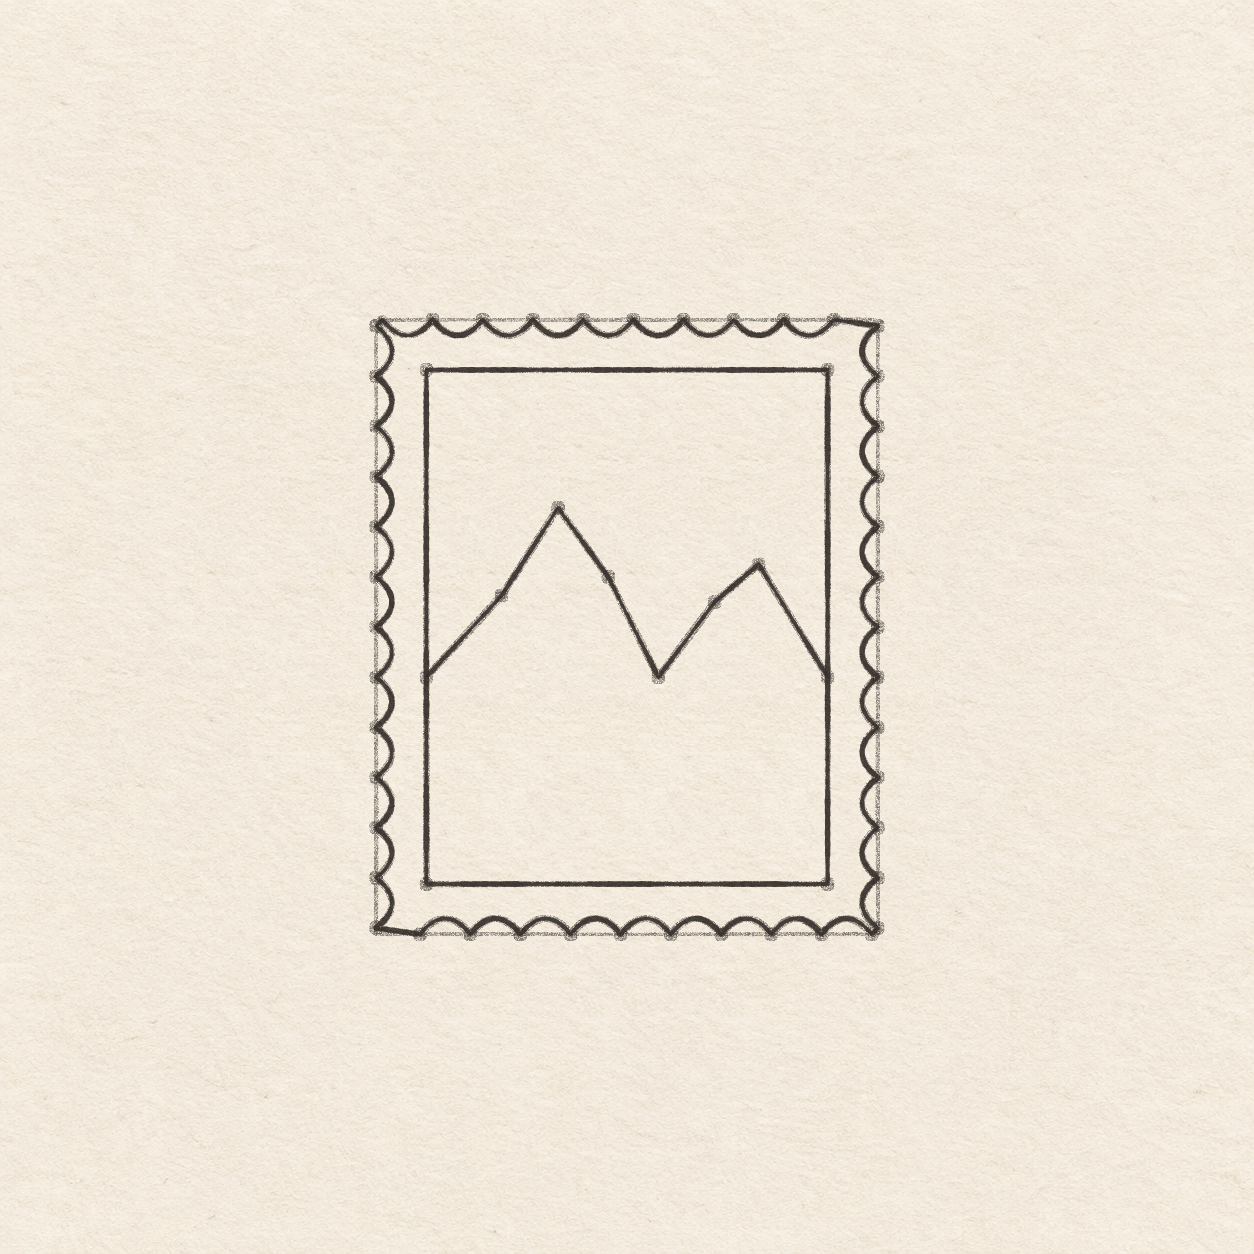
- Begin at the top-left and move clockwise. On each straight edge, measure from the intersection of the two faint frame lines and place a tiny dot about 1 mm beyond it. Use 6.4 mm between dots. Mark nine spaces across the top and bottom and twelve along each side. Check that the rows stay on the faint outside frame. Leave a short gap at each turn to join the last dot to the next row.
- Starting at the first top dot, curve freehand to the next dot. Bow about 2 mm inward, then return to the outside frame. Continue through each row. On the side rows the curves bow toward the picture. Link each row to the next with a short straight corner join. Keep the dips shallow and the paper between the curved edge and the inner picture open. Correct any crowded dips now.

Drawing 5 — Ink the picture and perforated edgeView larger FinelinerInk the picture and perforated edge
Instructions for Drawing 5 — Ink the picture and perforated edge
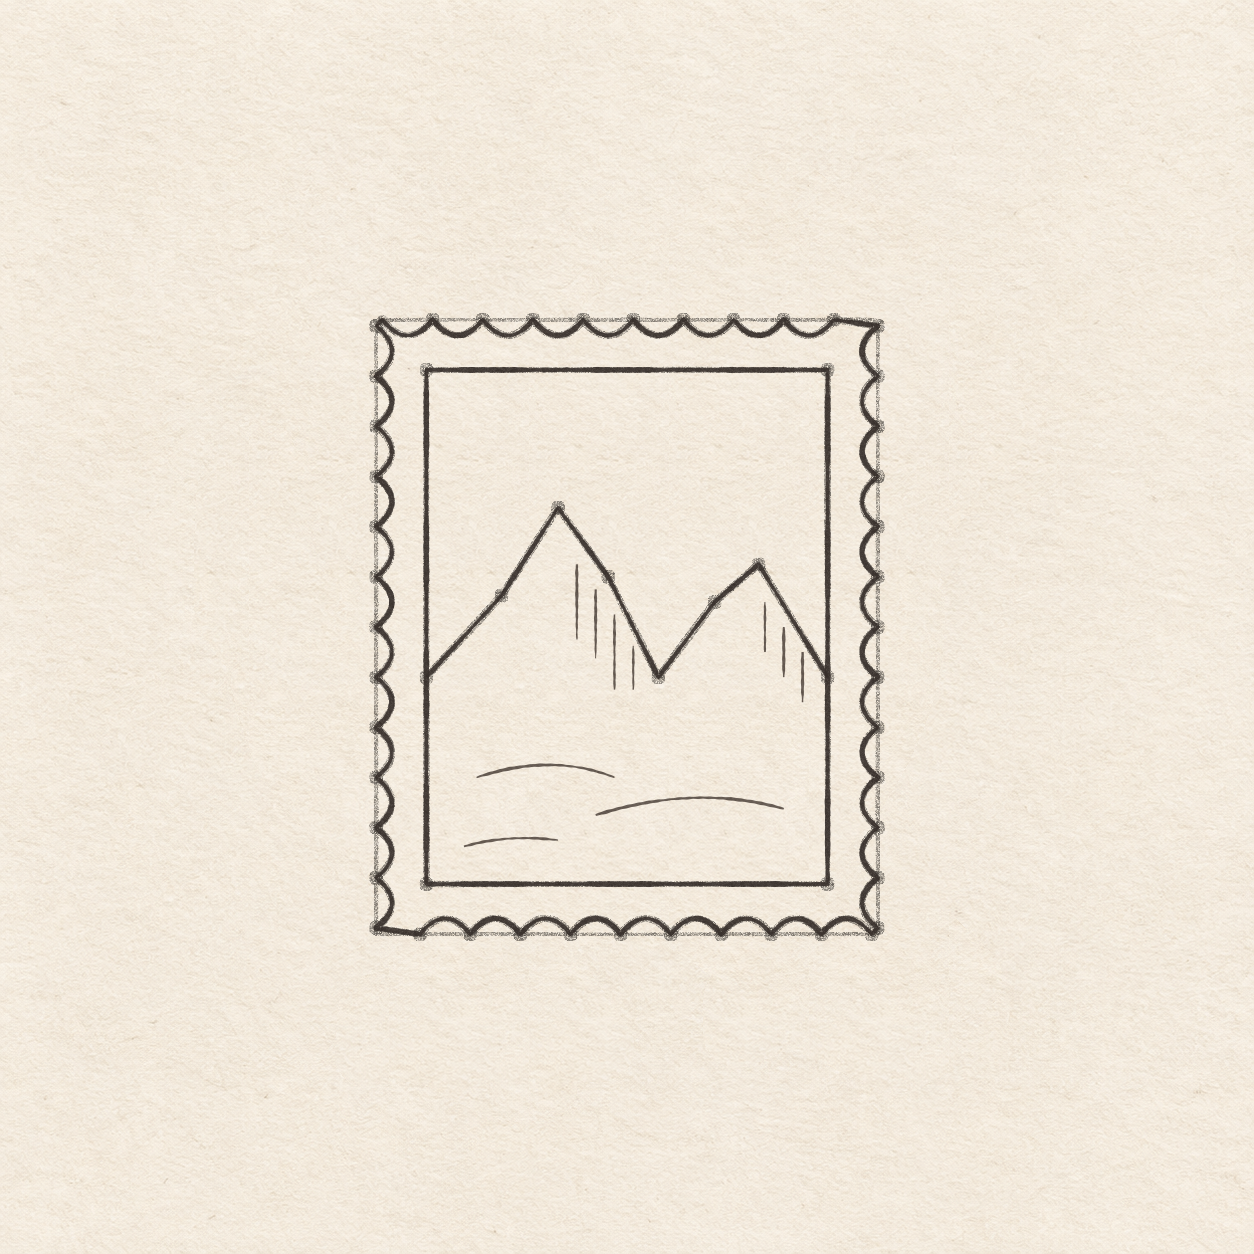
- Ink the four pencil edges of the inner picture and close the corners. Read each closed corner before moving on. Leave the outside measuring rectangle in pencil.
- Ink the pencil mountain ridge from the left picture edge through both peaks to the right edge. Stop on the inked vertical edges. Leave the sky above the ridge and the foreground below it pale.
- Trace the curved pencil edge in pen, starting at the upper-left and following the four rows. Join the ends at the corners. Follow the curved path only. The thin straight measuring frame stays in graphite until cleanup.

Drawing 6 — Add slope hatches and ground linesView larger FinelinerAdd slope hatches and ground lines
Instructions for Drawing 6 — Add slope hatches and ground lines
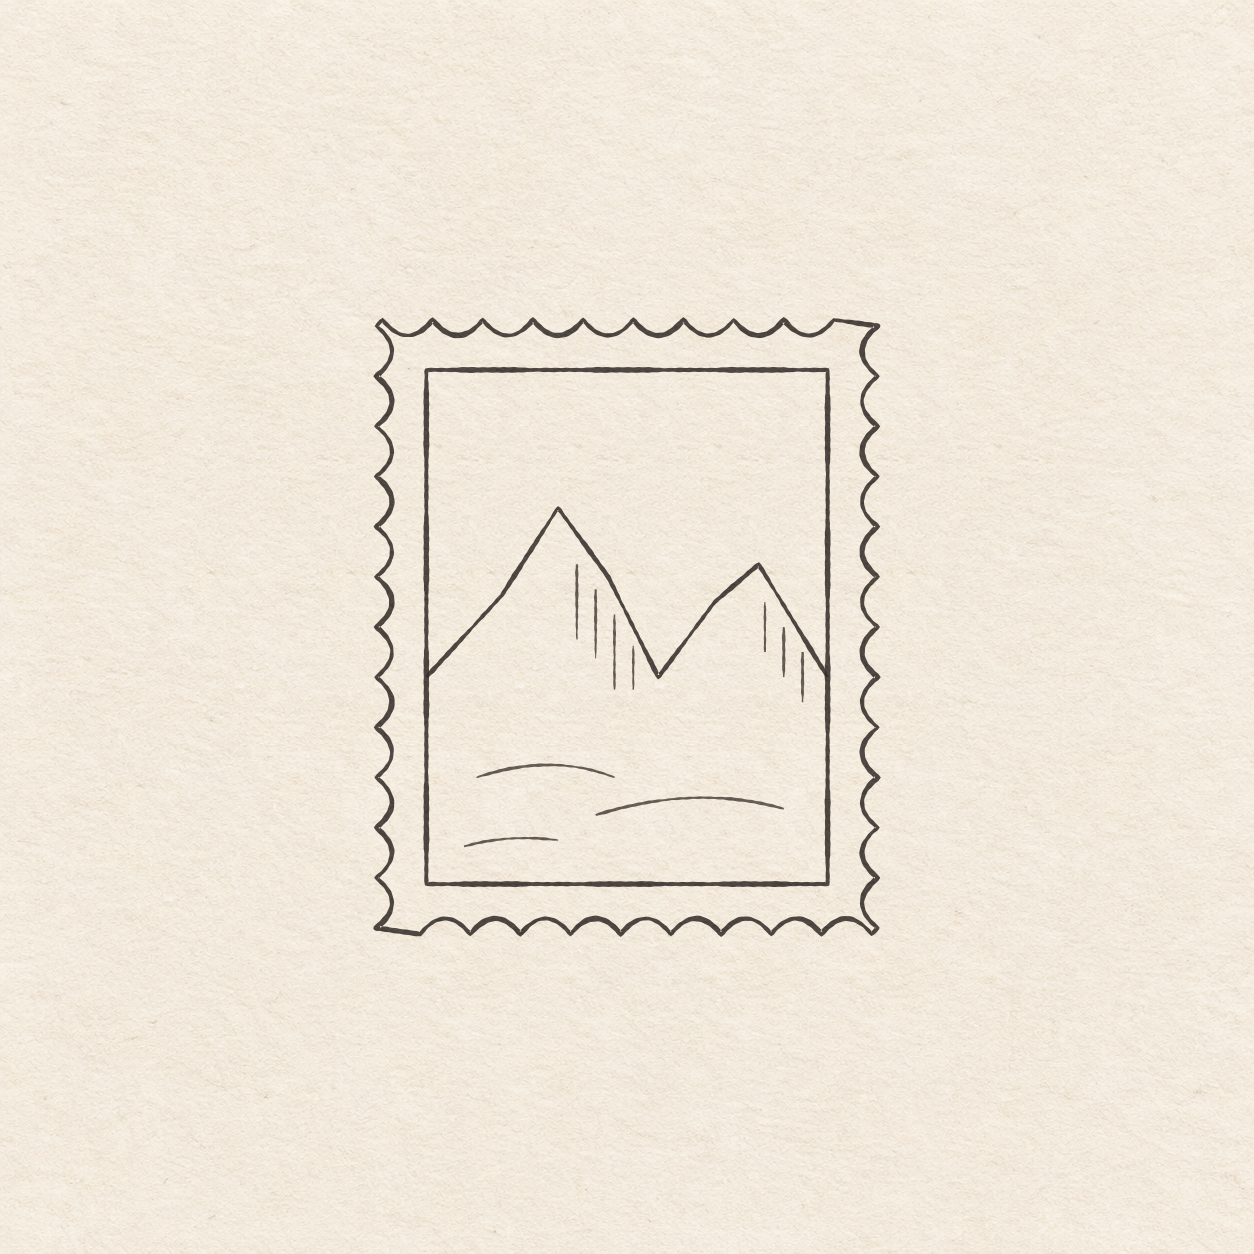
- Below the taller peak’s right slope, place four short downstrokes with small gaps between them. Put three similar downstrokes under the smaller peak’s right slope. Make the rows follow the descending edges of the peaks. Keep all seven below the ridge and clear of the picture edges. Leave the left slopes pale.
- Add three shallow freehand arcs below the mountains. Put a short one toward the left, a longer one lower and farther right, and a short low one back toward the left. Bow each gently upward. Leave pale space between all three strokes and before the bottom frame edge.

Drawing 7 — Erase the dry pencil guidesView larger CleanupErase the dry pencil guides
Instructions for Drawing 7 — Erase the dry pencil guides
- Fill a small patch on a scrap of the same paper with the same pen. Rub the patch gently with your eraser. If it smears, wait and test again. Once the patch stops smearing, erase the outside measuring frame, spacing dots and any pencil beside the dry ink.
If something looks off
If the perforations crowd the picture
While the edge is still in pencil, check that the dips are about 2 mm deep from the faint outside frame. Lift and flatten any dip that comes close to the inner picture.