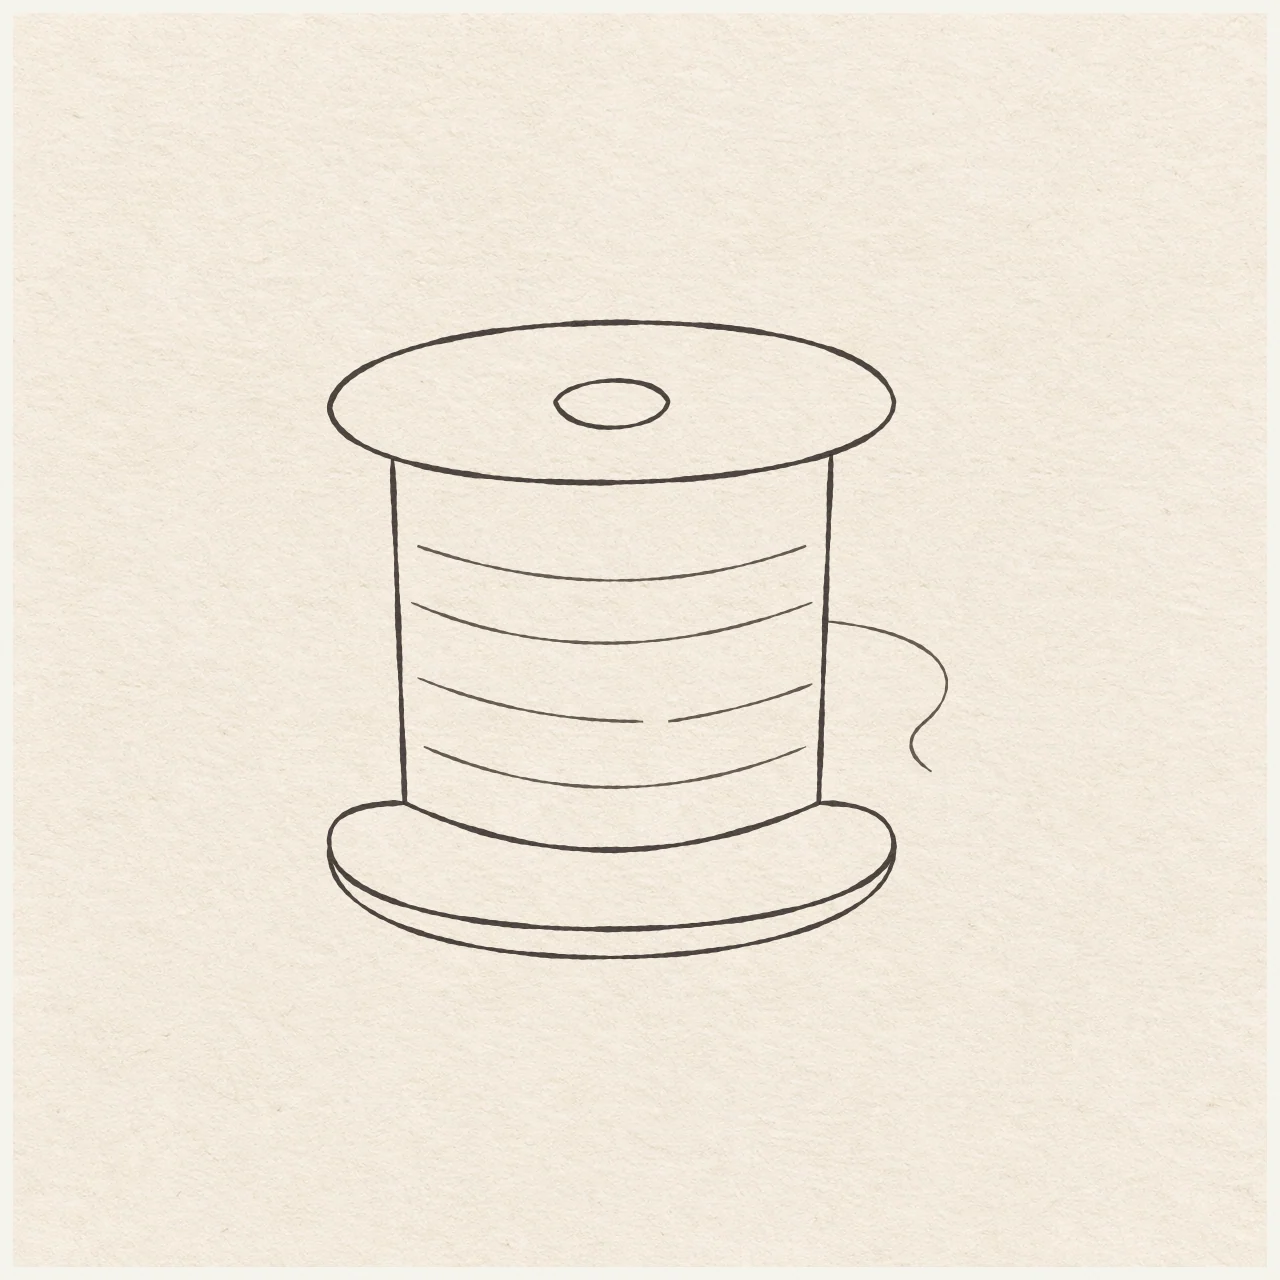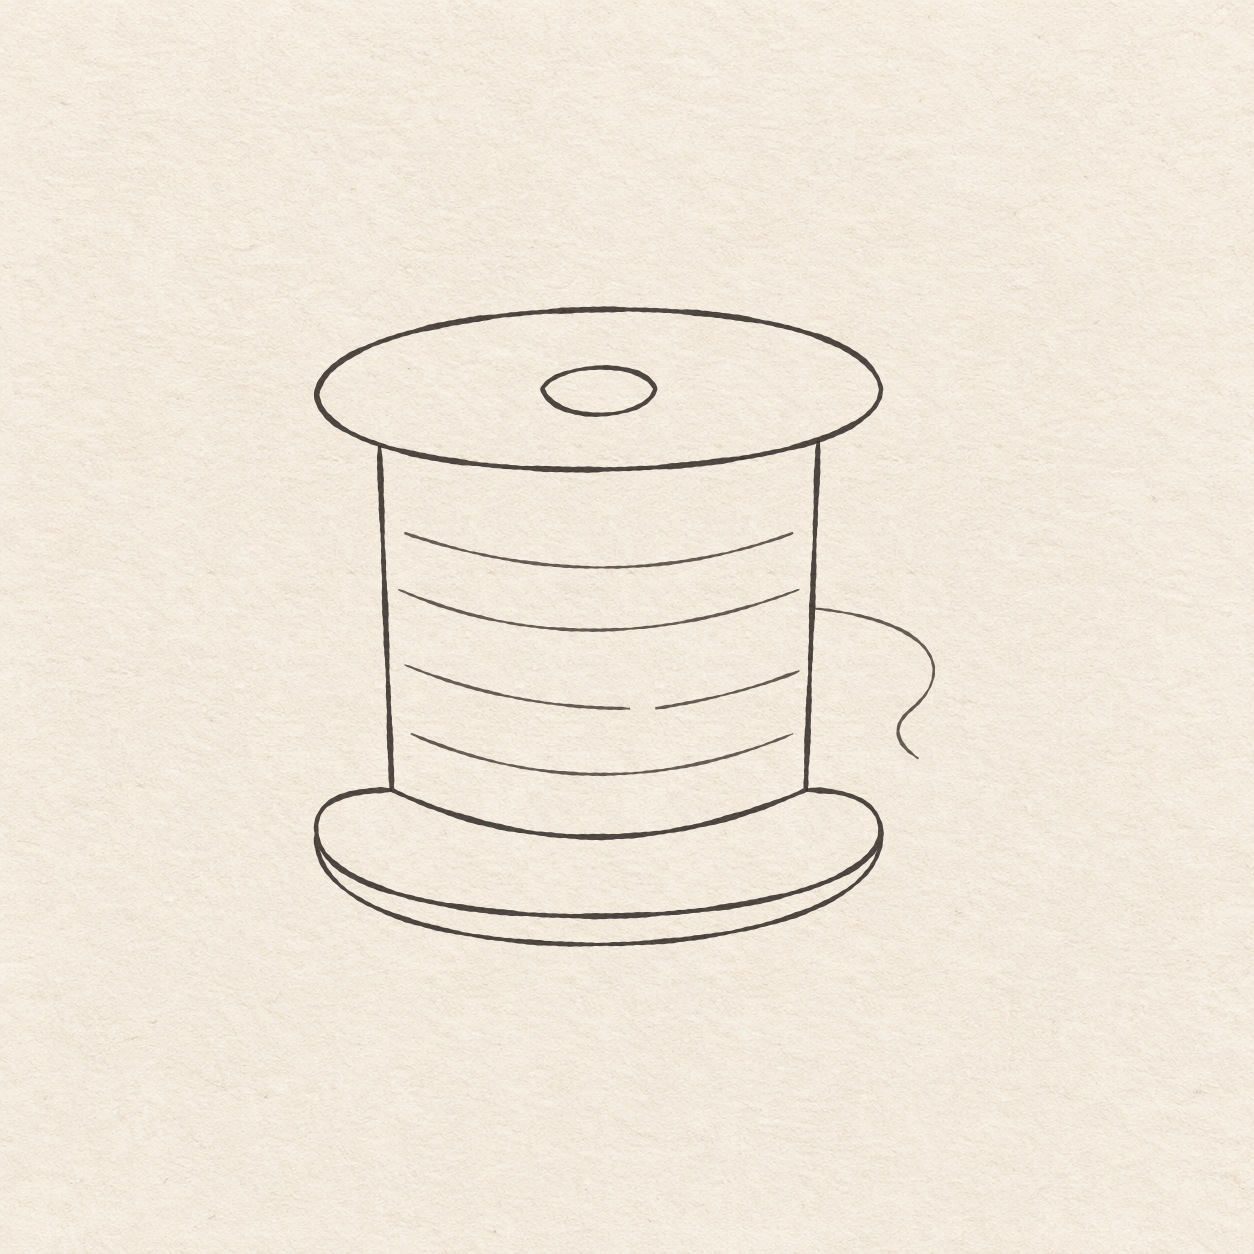
A sewing bobbin with two elliptical rims, four shallow thread rows and a loose curled end on warm paper.
Drawing referenceAbout reference use

Threaded sewing bobbin

Build a sewing bobbin from two rounded rims, a small central opening, curved thread rows and one loose strand.

Everyday objectsEasyFinelinerReference practice: about 13 min
Save reference

Follow the drawing tutorial

Build a sewing bobbin from two rounded rims, a small central opening, curved thread rows and one loose strand.

Start the 8-step tutorial

A small thing to tryCheck that both sides of the curved lower rim meet before adding the thread marks.

Draw it, one step at a time

Draw a sewing bobbin

Build a sewing bobbin from two rounded rims, a small central opening, curved thread rows and one loose strand.

8 illustrated steps Full tutorial: about 26 minutes, at your pace

What you’ll need

  • HB pencil
  • Eraser
  • Fine black pen
  • Ruler
  • Spare sheet with a square corner
  • Drawing paper

Before you start

The bobbin is about 8 cm high. Choose where its top hole will sit, with space below for both rims and to the right for the loose thread.
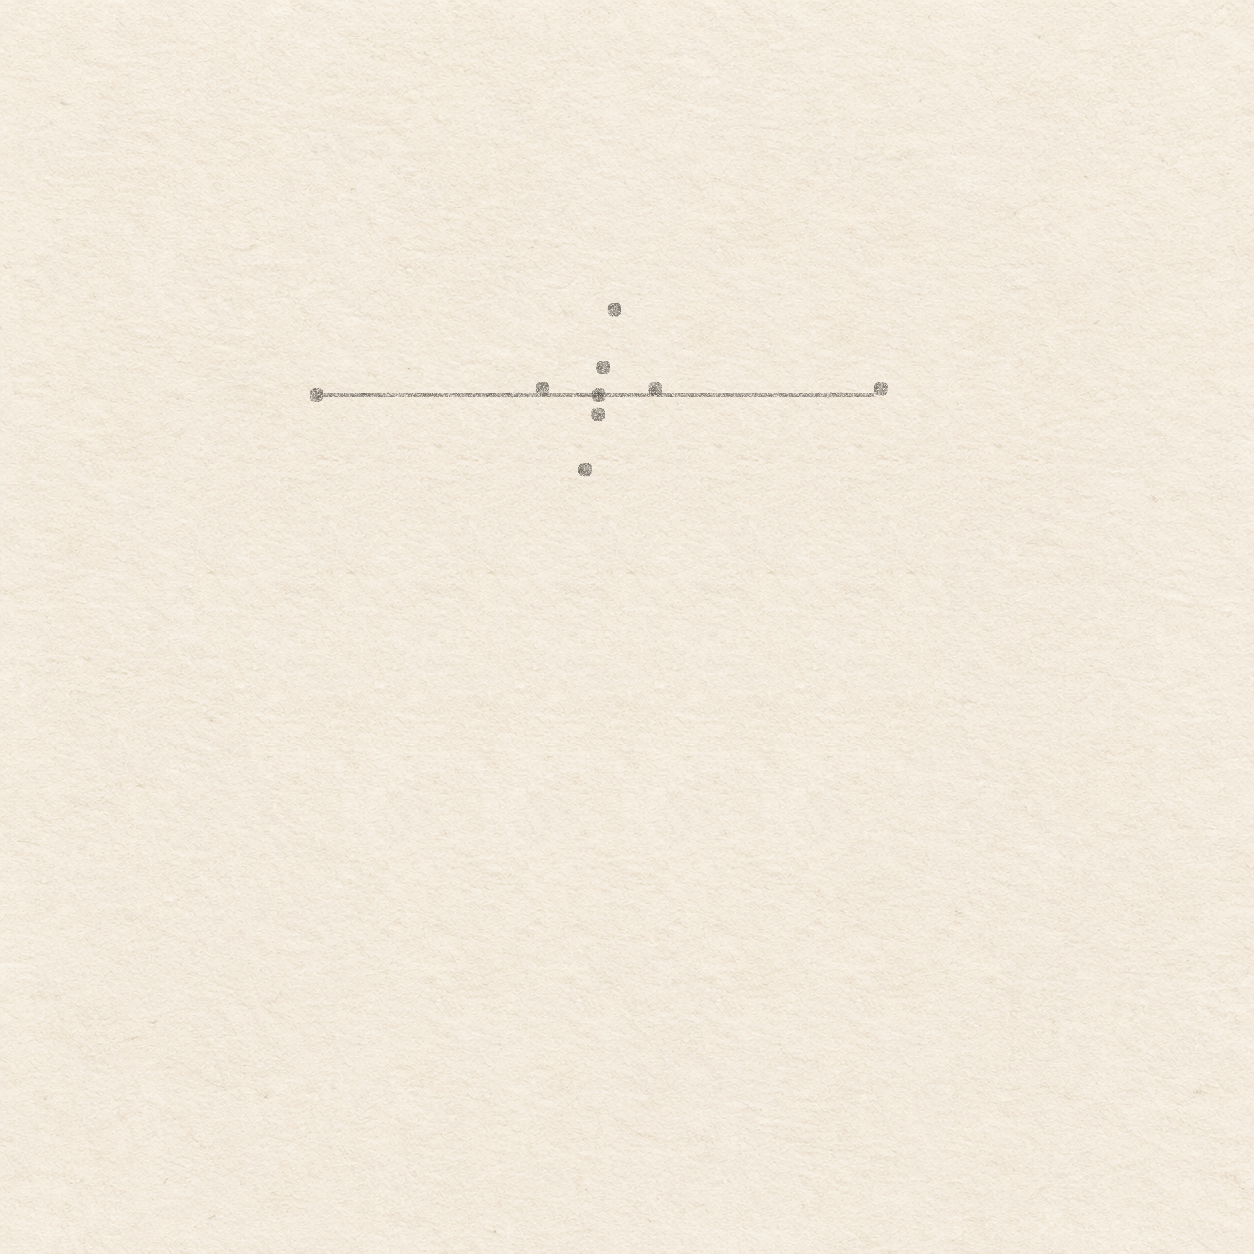
  1. A faint level pencil line with dots for the wide top rim and a smaller centered oval.
    Drawing 1 — Plot both top ovalsView larger
    Pencil

    Plot both top ovals

    Instructions for Drawing 1 — Plot both top ovals
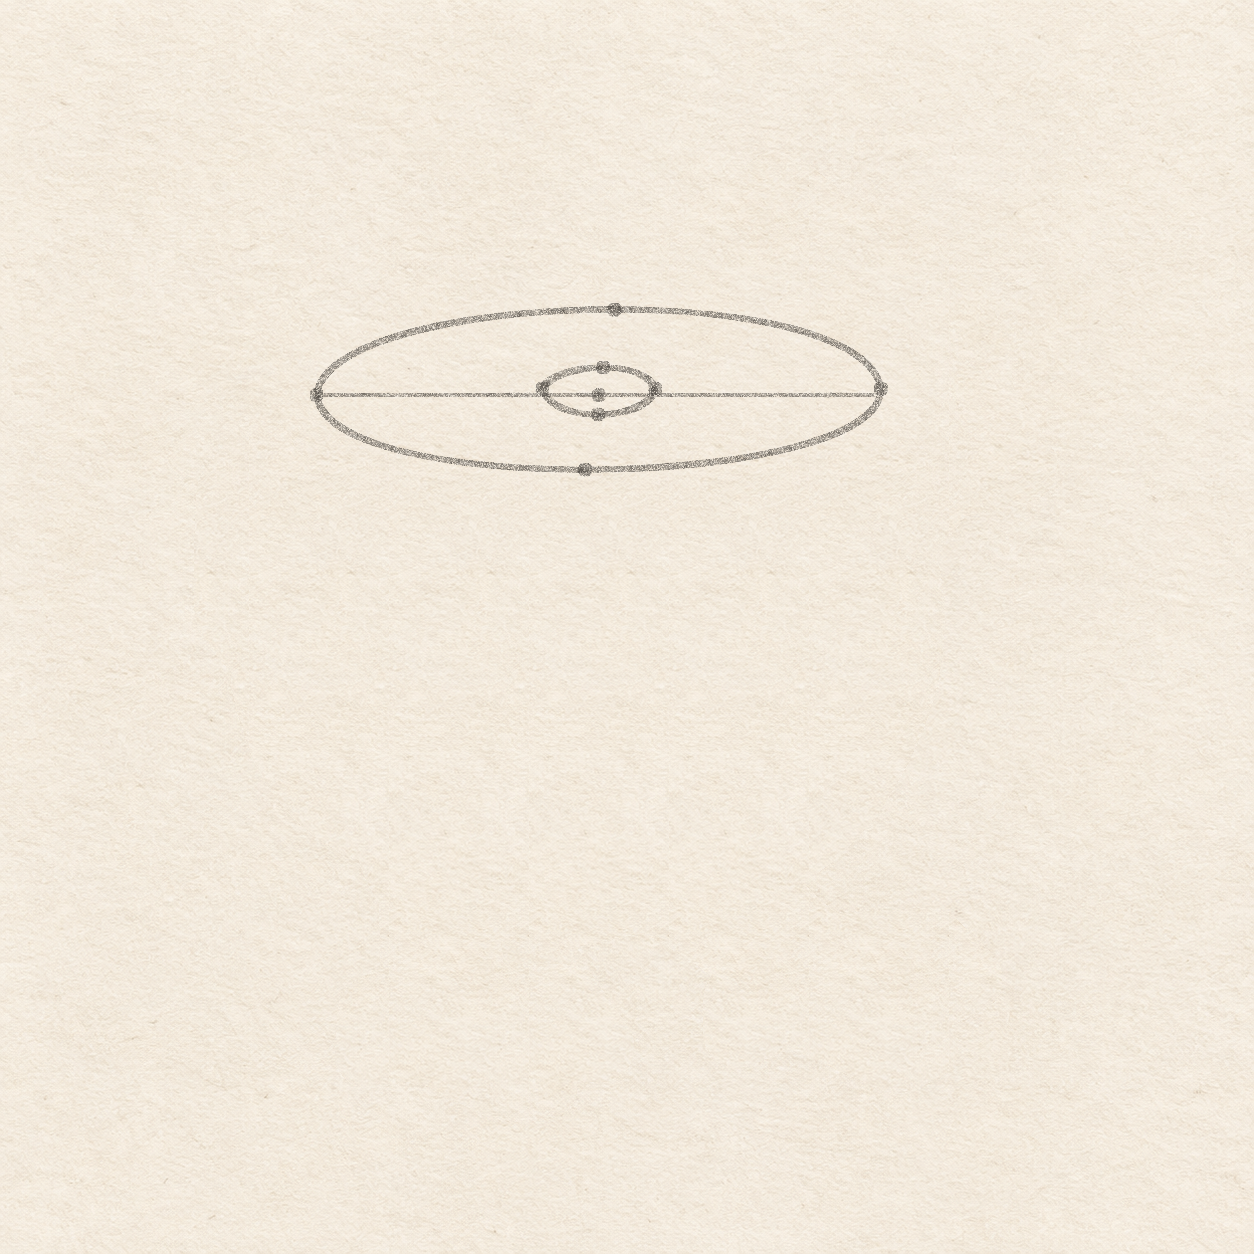
    1. Place a light pencil dot where you want the top hole. Leave at least 4 cm to the left, 4.5 cm to the right, 1.3 cm above and 7.2 cm below. Move the dot if there is too little room for the complete bobbin and its loose thread.
    2. Rule a light level line about 3.6 cm left and 3.6 cm right through the first dot. Align one edge of a spare sheet with the line. Slide its square corner to each measured spot and use the upright edge for each up or down transfer. Check that both ends are equally far from the center dot.
    3. Mark the left end of the line with a light dot for the left rim stop. Put a dot just under 1 mm above the right end for the right stop. Mark a top dot about 2 mm right and 1.1 cm above the starting dot. Mark a bottom dot about 2 mm left and 1 cm below it. Keep the far and near curves shallow compared with the full width of the flange.
    4. Plot the two sides of the small hole about 7 mm left and right of the starting dot, both about 1 mm up. Mark its top about 3.5 mm above the dot and its bottom 2.5 mm below. Use the square corner to keep both vertical measurements close to the starting dot’s upright. Check that the small hole is much wider than tall and sits well inside the outer limits.
    Next step
  2. Two closed shallow pencil ovals separated by a wide band. The light level and placement dots remain.
    Drawing 2 — Sweep around the top rim and holeView larger
    Pencil

    Sweep around the top rim and hole

    Instructions for Drawing 2 — Sweep around the top rim and hole
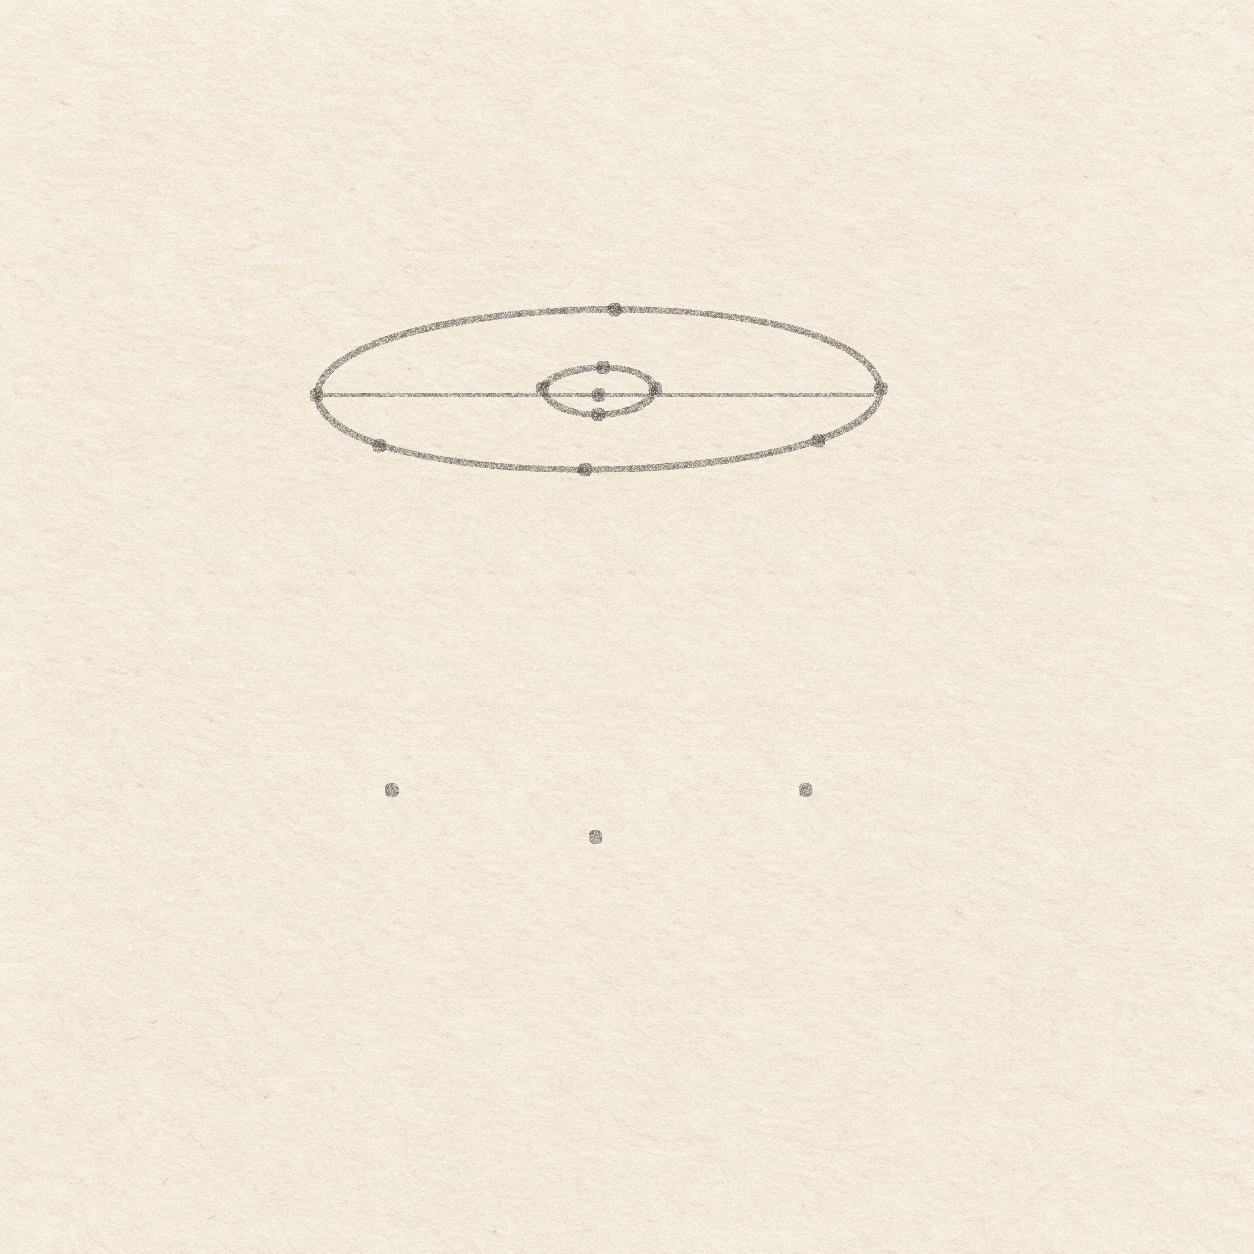
    1. Start at the left rim stop and curve freehand up through the high dot to the right stop. Return to the left stop along the lower curve, passing through the low dot. Close the rim at both sides and lift any pointed kink from the ends.
    2. From the small left dot, curve freehand through the small top dot to the small right dot. Return through the bottom dot and close the curve. Keep the two sides rounded and leave paper between the little oval and the wide rim.
    Next step
  3. The upper oval has two lower contact dots, paired wall-foot dots below and a middle dot for the curved base.
    Drawing 3 — Find the thread wall contacts and baseView larger
    Pencil

    Find the thread wall contacts and base
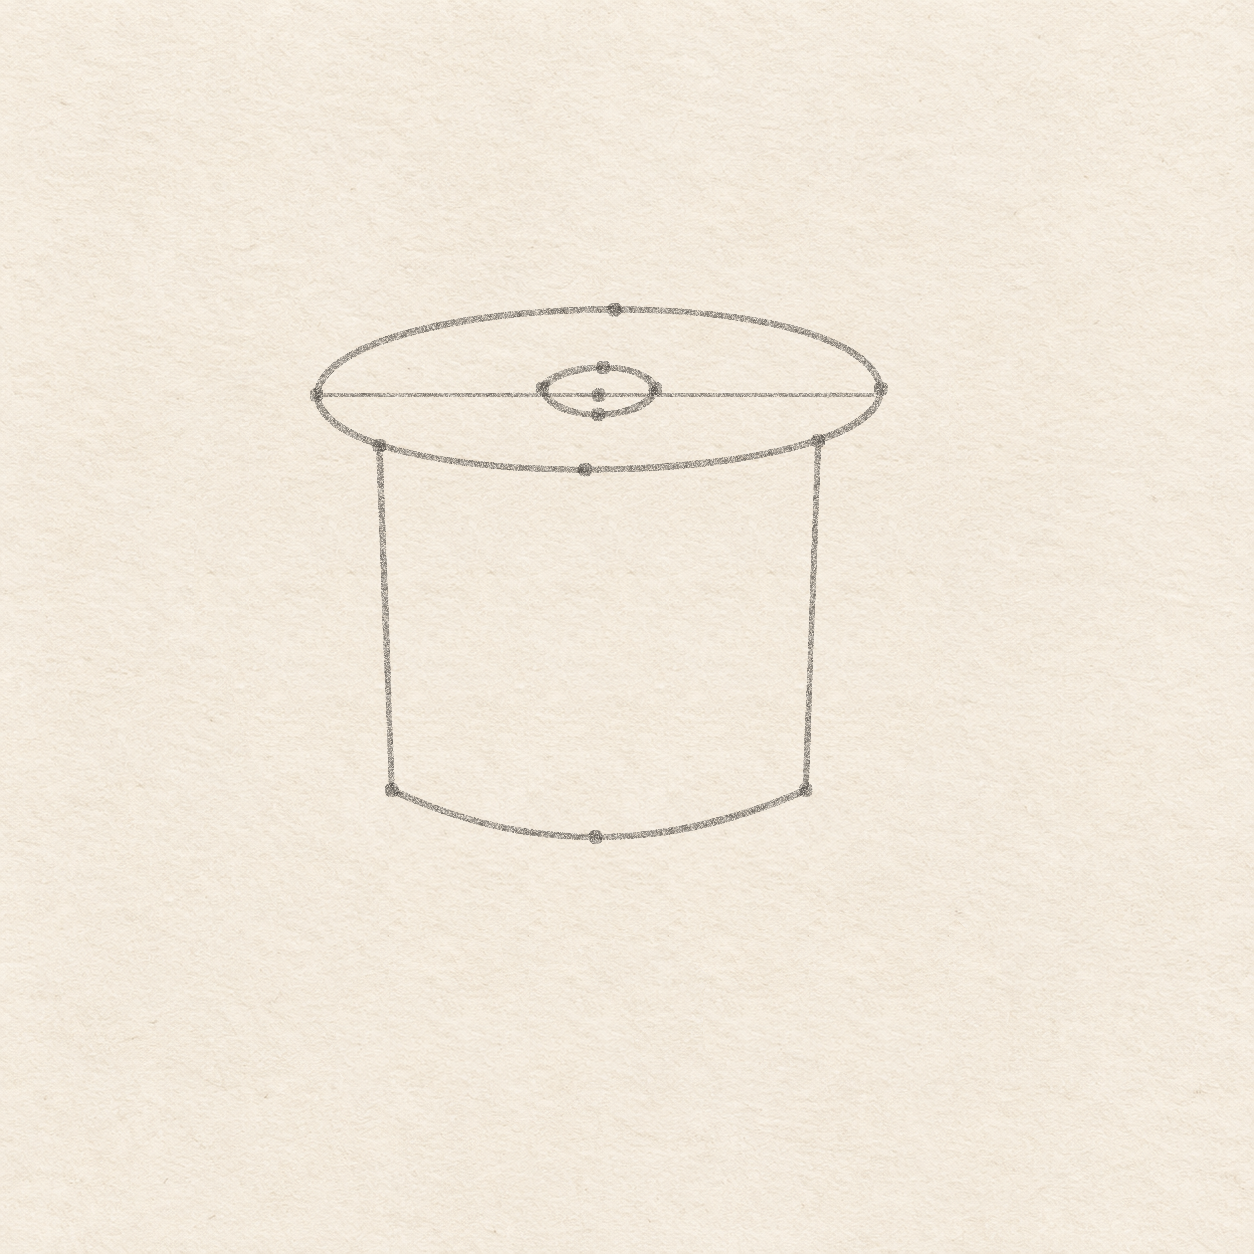
    Instructions for Drawing 3 — Find the thread wall contacts and base

    1. Measure 8 mm inward from each wide end along the level line. Set the square corner at each measurement and move down along its upright edge until it meets the front rim curve. Mark both touches. Check that the dots actually sit on the curve. Move each dot to its real crossing if your rim differs slightly.
    2. Put each wall foot about 4.4 cm below its front rim touch and about 1.5 mm toward the middle. Hold the ruler level between the feet and put another dot about 6 mm below their halfway point. Set the two wall feet level. Check that both are directly under the rim area rather than outside it.
    Next step
  4. Two slightly tapering walls hang underneath the top rim and meet a shallow low curve.
    Drawing 4 — Connect the thread walls and curved baseView larger
    Pencil

    Connect the thread walls and curved base
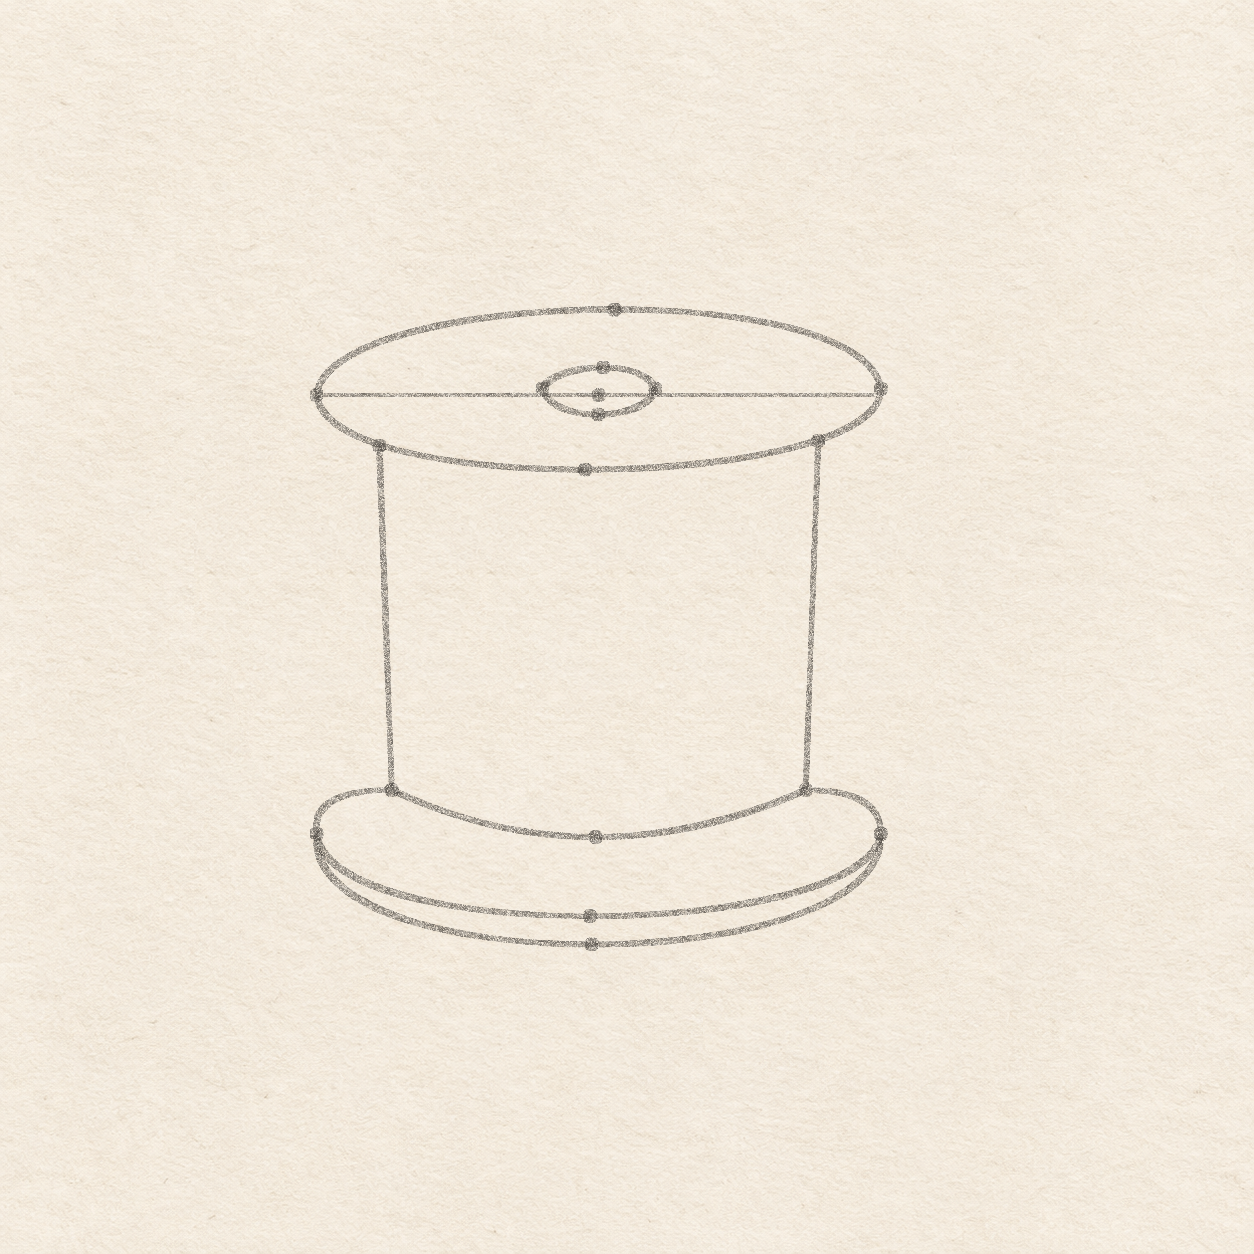
    Instructions for Drawing 4 — Connect the thread walls and curved base

    1. Join the left rim touch to its wall foot. Curve freehand through the low middle dot to the right foot. Then rule from the right foot to the right rim touch. Check that both walls touch the front rim and tilt just a little inward as they go down.
    Next step
  5. A wide lower rim wraps around the base of the thread, with two separate curves sharing the same end stops.
    Drawing 5 — Place the broad lower rimView larger
    Pencil

    Place the broad lower rim

    Instructions for Drawing 5 — Place the broad lower rim
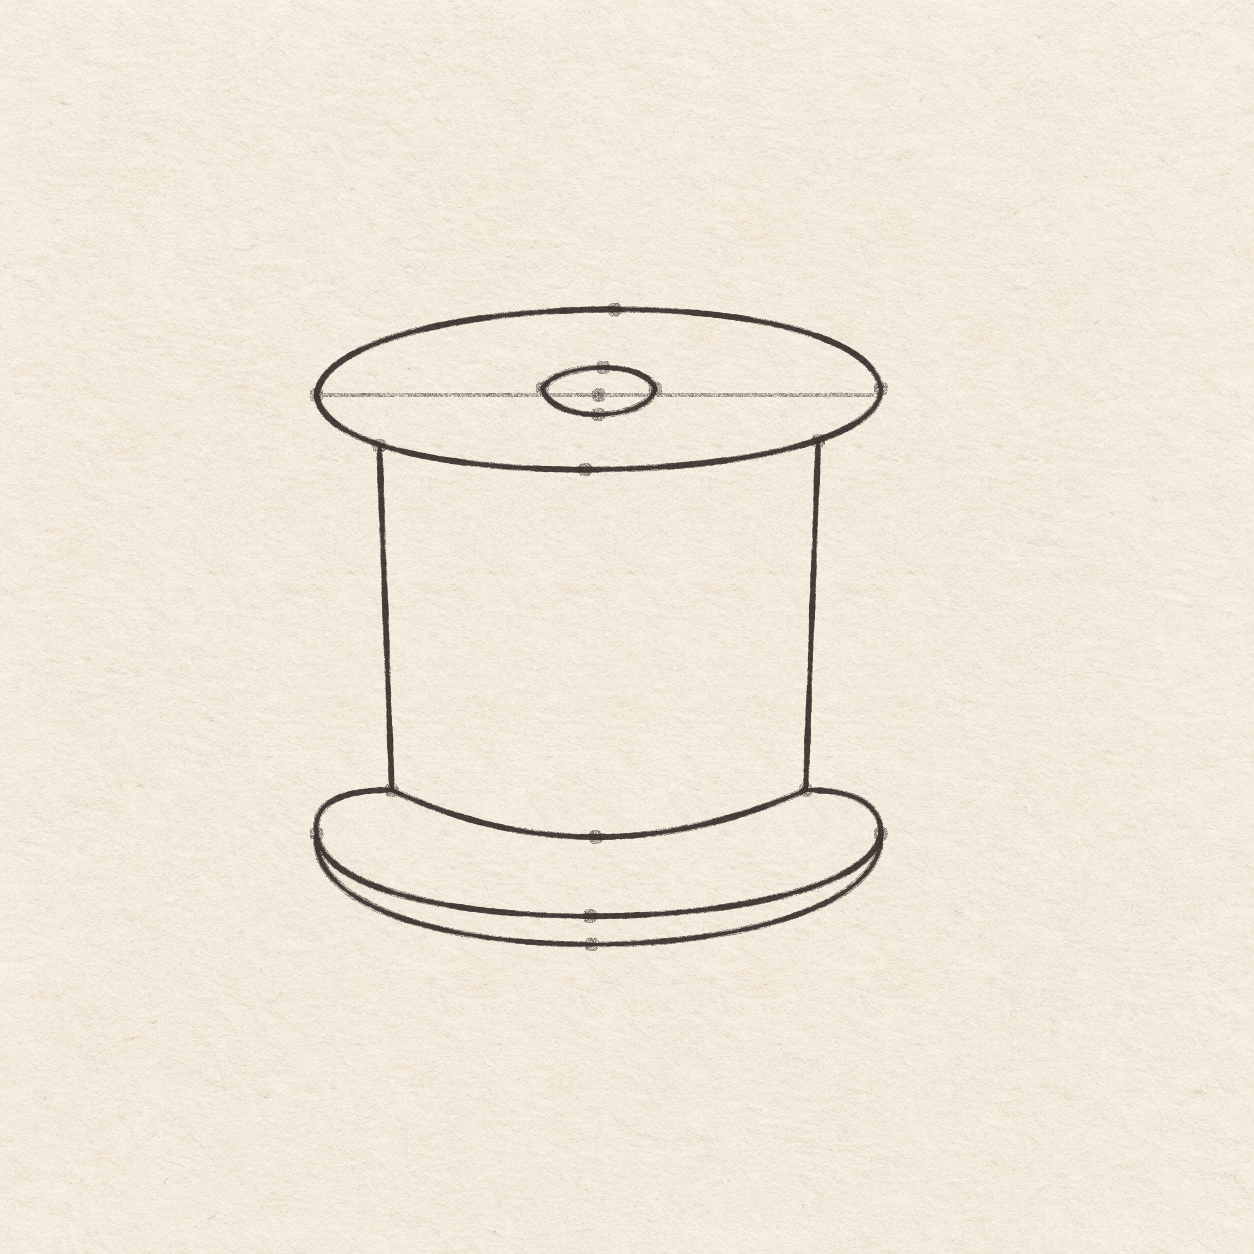
    1. Lay the ruler level through both thread wall feet. Measure about 1 cm outward past each foot along the ruler. Set the square corner at each measured spot and mark a stop about 5.5 mm straight down. Move the square corner halfway between the two feet. Mark two dots on its upright edge about 1.6 cm and 2 cm below the ruler. Check that the two ends are level and the lower middle dot stays a few millimeters below the higher one.
    2. From the left spool foot, make a short freehand curve out to the left end dot. Sweep through the higher middle dot to the right end dot, then bend back to the right spool foot. Both feet should meet the new rim. The end dots stay open for the next curve.
    3. From the left end dot, bow freehand through the lower middle dot to the same right end dot. At mid-width, leave about 4 mm between the two front curves. Close both arcs at the end dots.
    Next step
  6. Black ink defines both rims, the small hole and the thread walls, with faint pencil guides beneath.
    Drawing 6 — Ink the rims and both thread wallsView larger
    Fineliner

    Ink the rims and both thread walls

    Instructions for Drawing 6 — Ink the rims and both thread walls
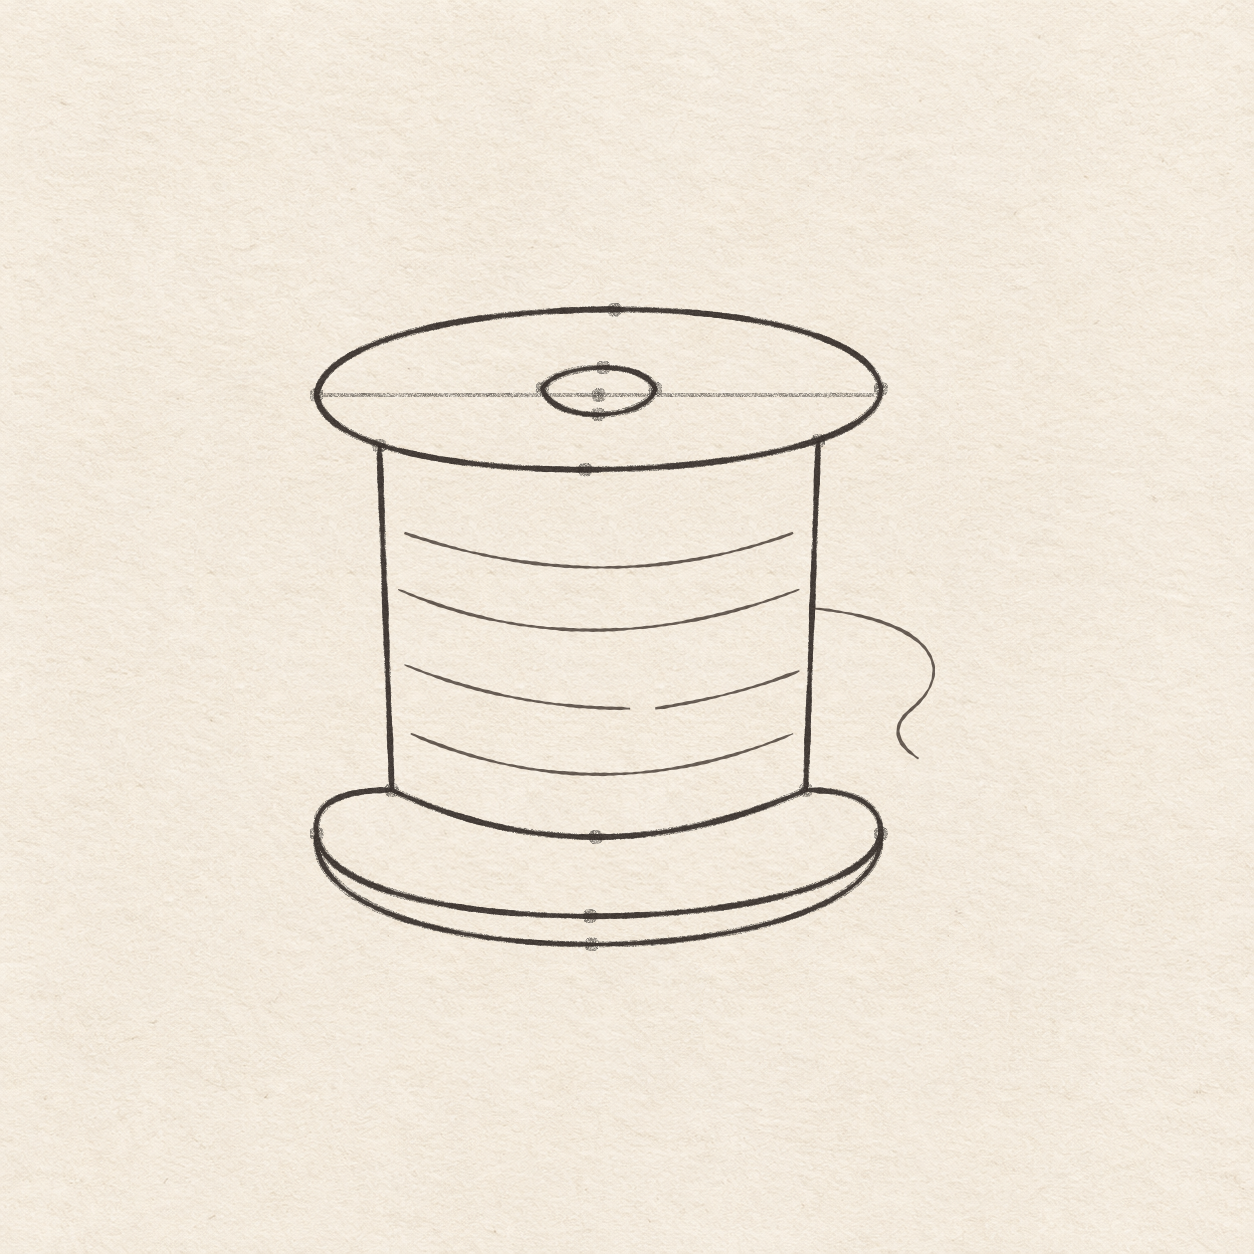
    1. Trace the wide rim and then the little oval in pen. Close each curved route where it began. Leave the hole pale and retain the space between the two complete ovals.
    2. Trace the two thread walls into the base. Begin at the left rim touch and follow the whole route to the right rim touch. Both walls should visibly meet the inked front rim at their own stops.
    3. Trace the upper rim of the foot from one thread-wall foot to the other. Trace the lower curve between its side stops. Close the narrow lower band where the two curves meet. Leave the middle of the band pale.
    Next step
  7. Four shallow thread rows are visible. The third has a break, and one loose strand curves away from the right wall.
    Drawing 7 — Add the thread rows and a loose endView larger
    Fineliner

    Add the thread rows and a loose end

    Instructions for Drawing 7 — Add the thread rows and a loose end
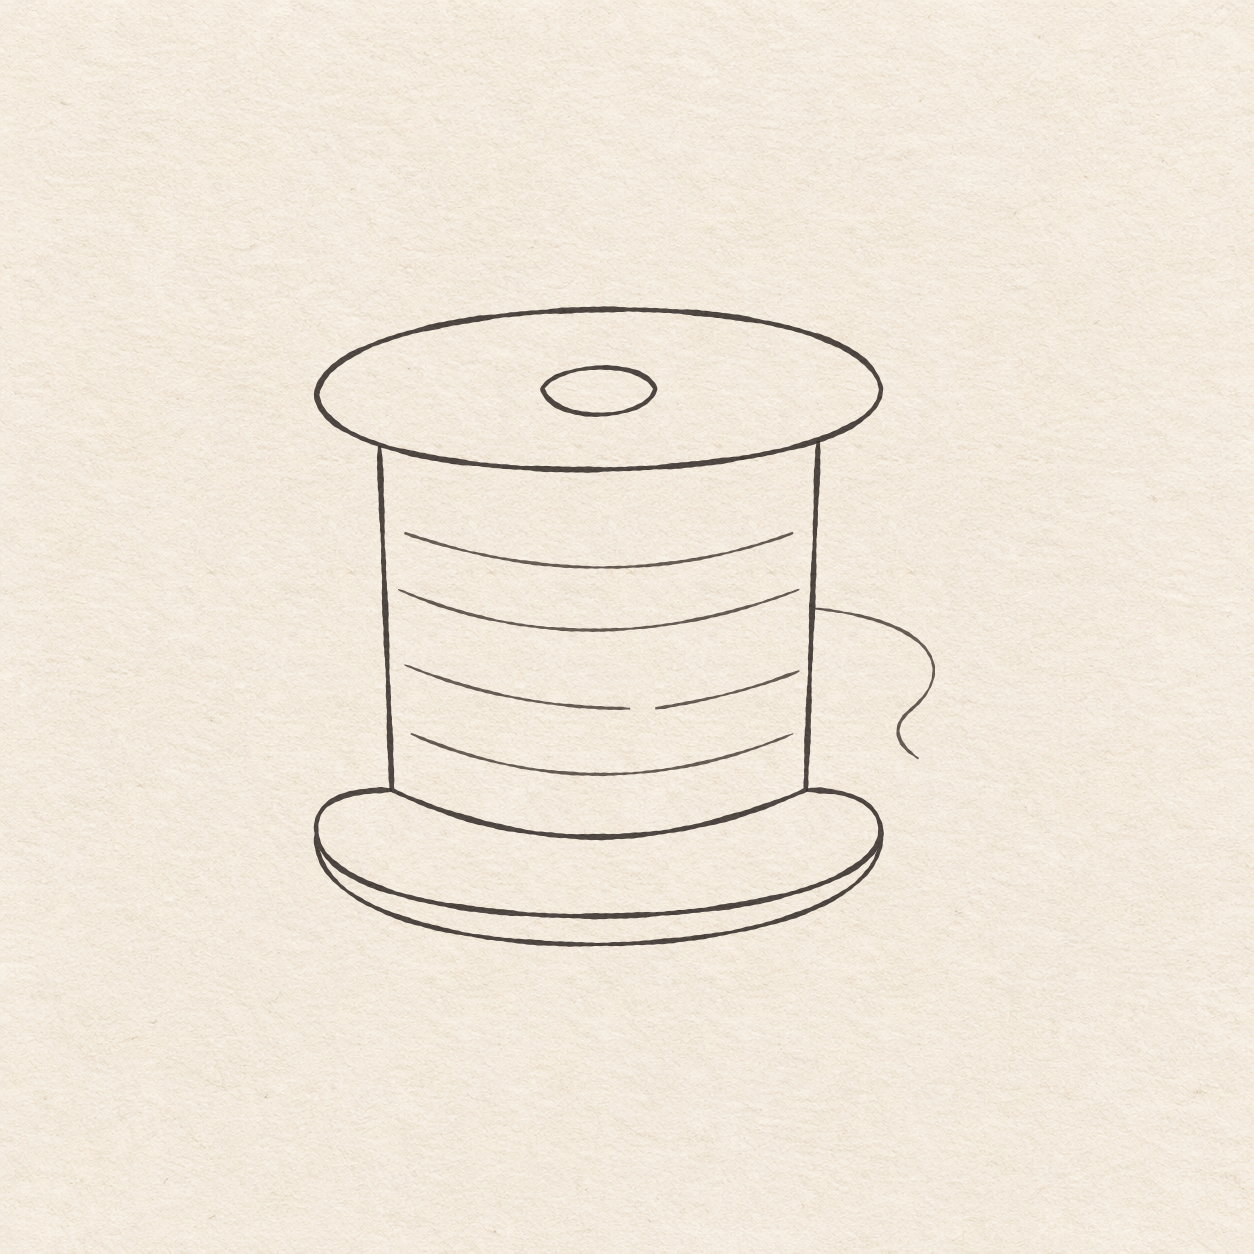
    1. Between the thread walls, draw four shallow freehand rows with small pale margins. Start about 1 cm below the top rim and space the rows down toward the base. Let each row sag slightly at the middle. Leave a small break just right of center in the third row. Keep the loose space between rows, and stop each row just inside the walls.
    2. Touch the right thread wall just below the second row. Curve right and slightly down, then turn back left a little. Give the end one small turn back down and right before stopping. Leave open paper between the tail and the lower rim and touch the wall only at the starting end.
    Next step
  8. Finished sewing bobbin with two flanges, a small hole, four winding rows and one loose thread curl. Temporary graphite is gone.
    Drawing 8 — Erase the dry pencil guidesView larger
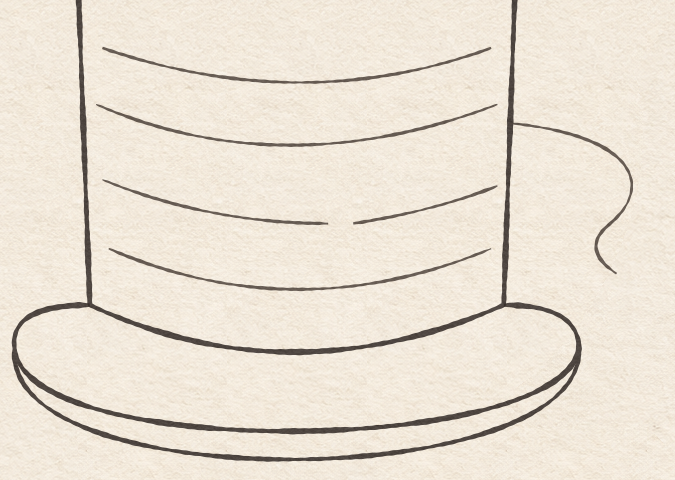
    Exact close-up of the lower rim, thread rows and loose strand meeting the right wall.
    Detail 8.1 — The thread joins and lower rimThe near thread wall bows down at the bottom. The two lower rim curves meet at their side ends, and the loose strand leaves the right thread wall above them.
    Cleanup

    Erase the dry pencil guides

    Instructions for Drawing 8 — Erase the dry pencil guides

    1. Fill a small patch on a scrap of the same paper with the same pen. Rub the patch gently with your eraser. If it smears, wait and test again. Once the patch stops smearing, erase the level line, placement dots and any pencil beside the dry ink.
    Back to the steps

If something looks off

If the lower rim looks flat

While the rim is still in pencil, check that both front curves start and finish at the same end dots. Correct the deeper curve and leave a narrow band between them.