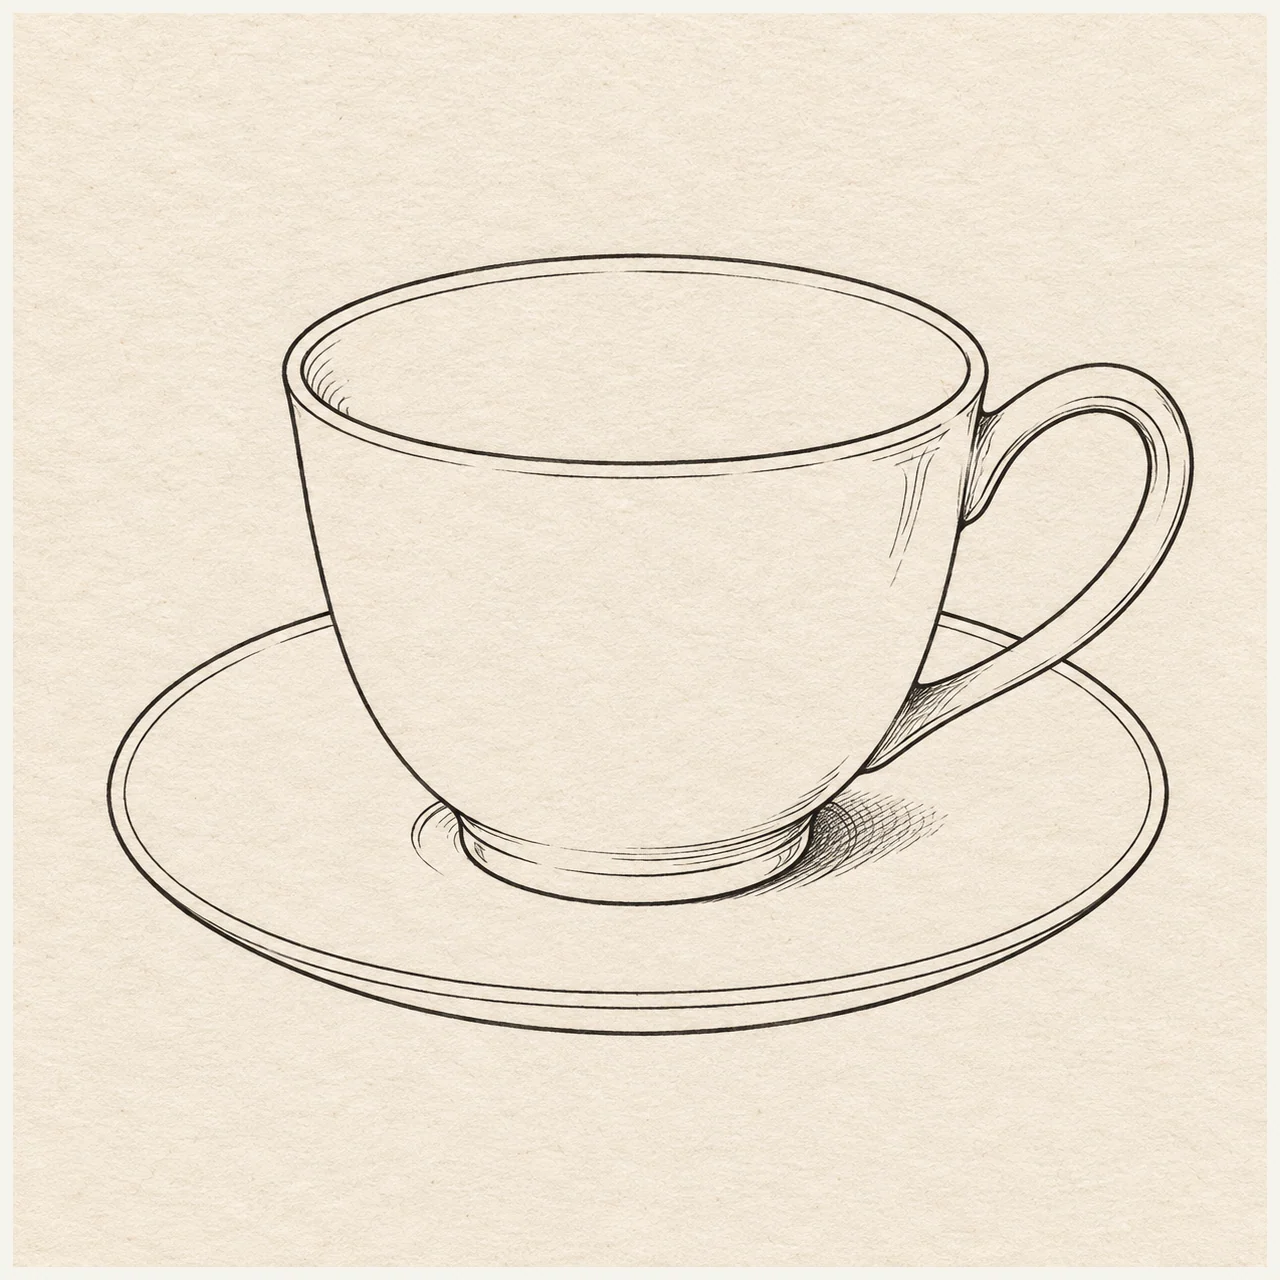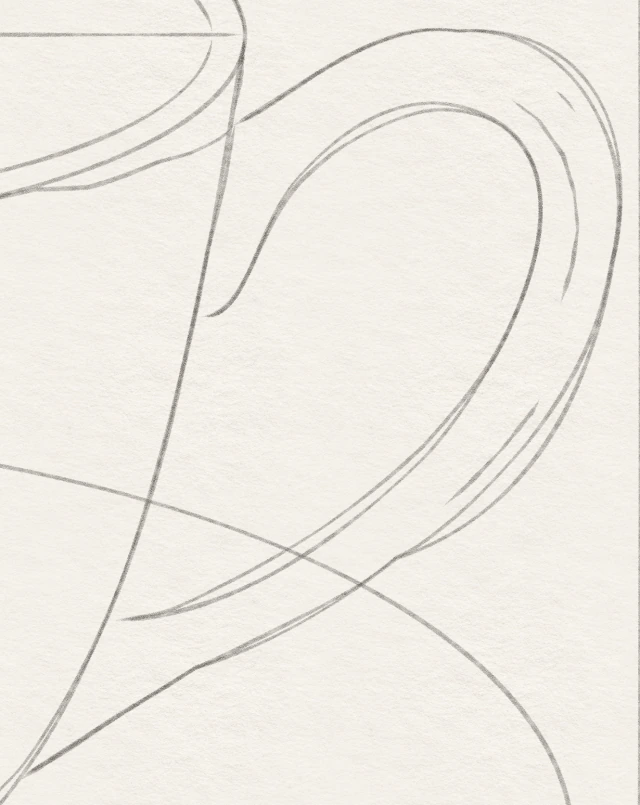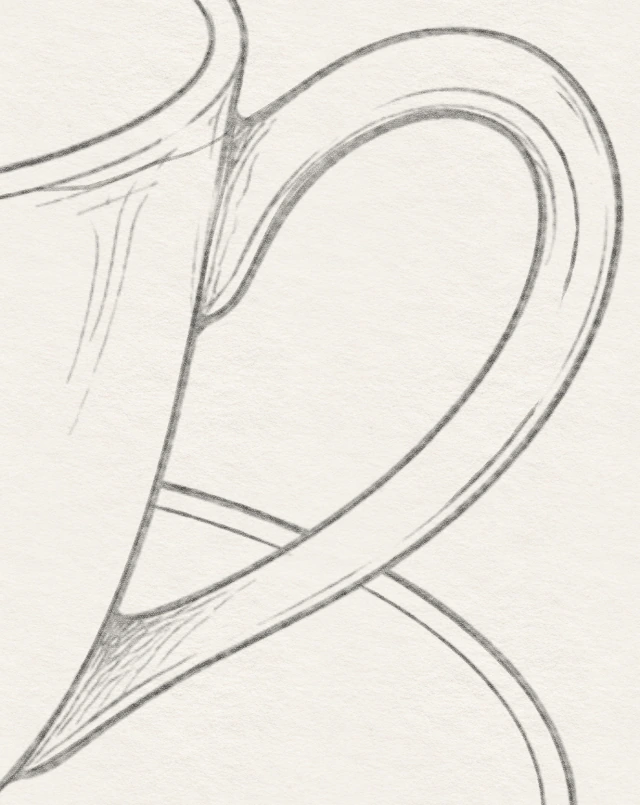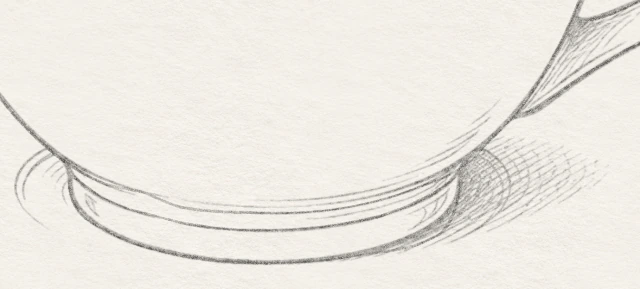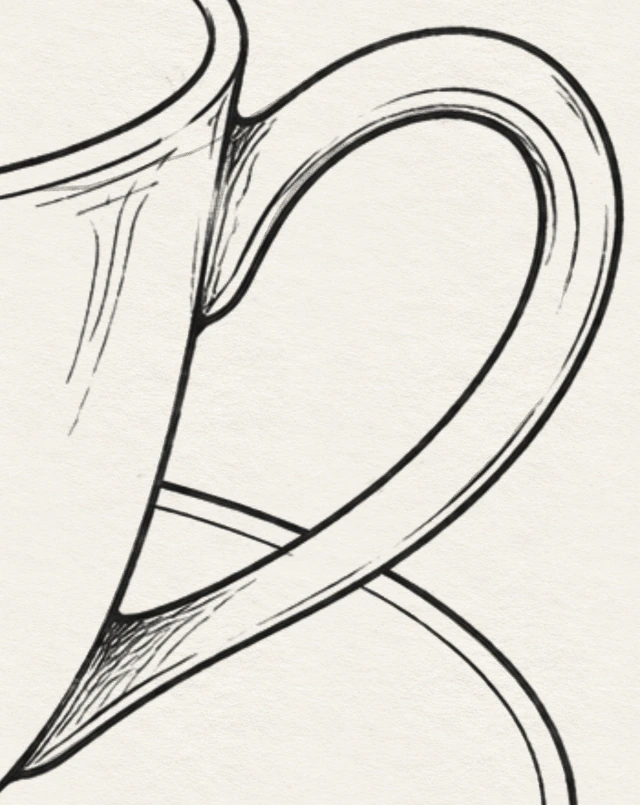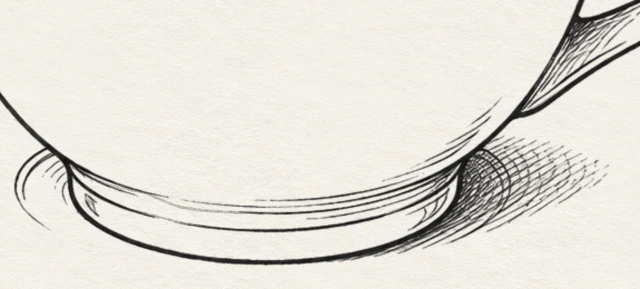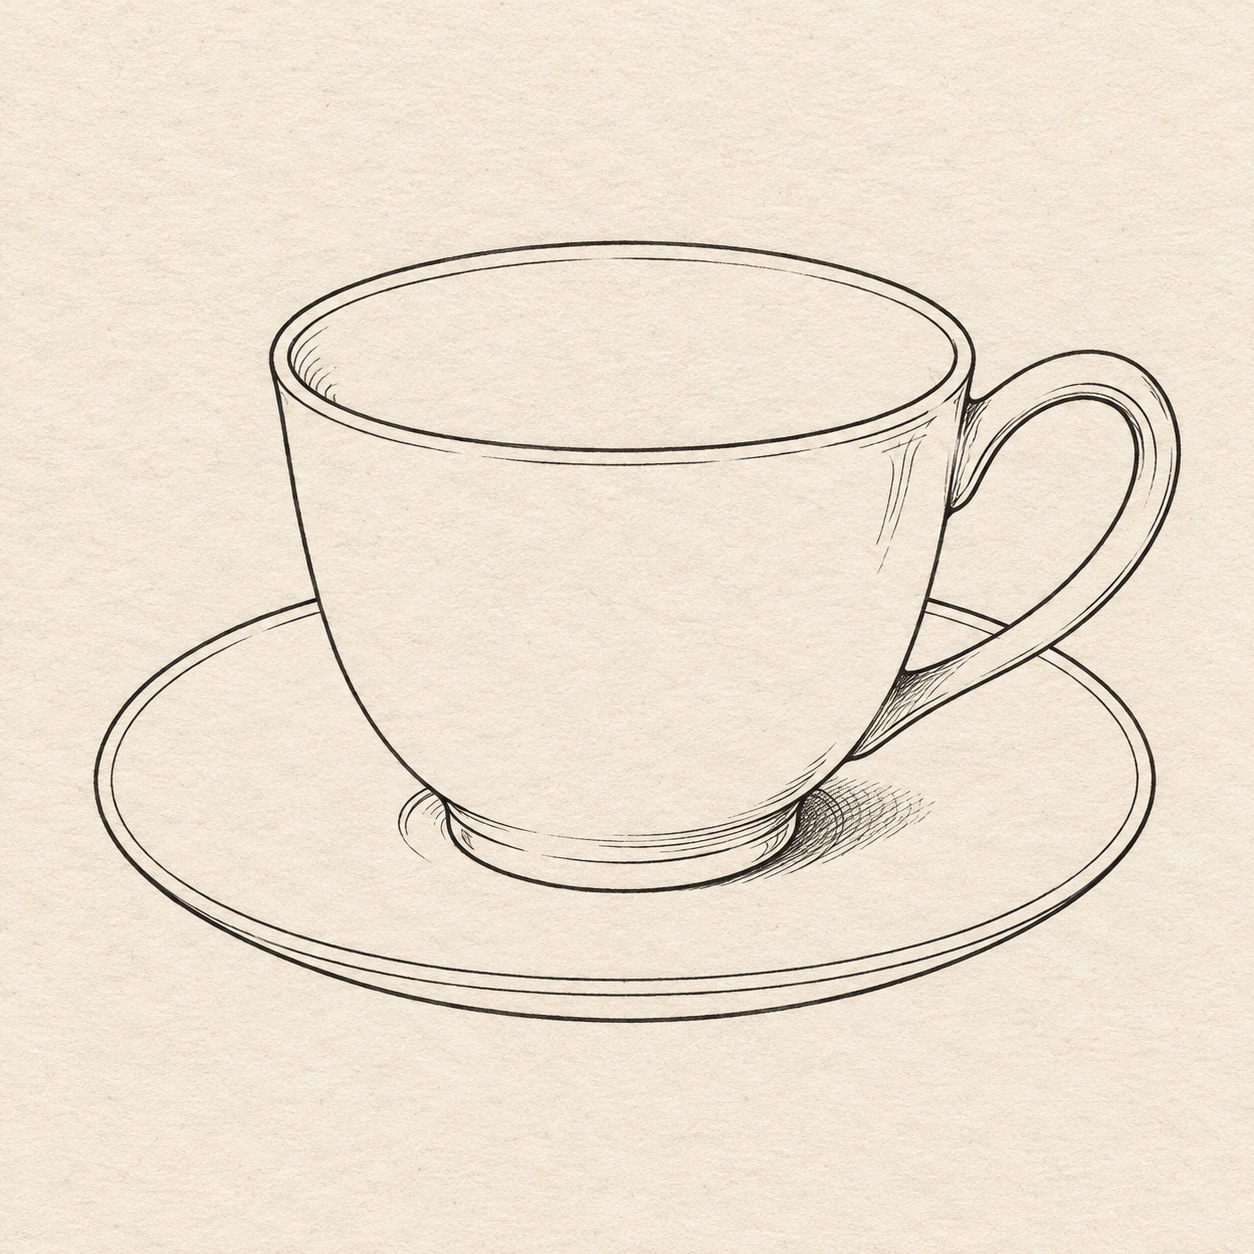
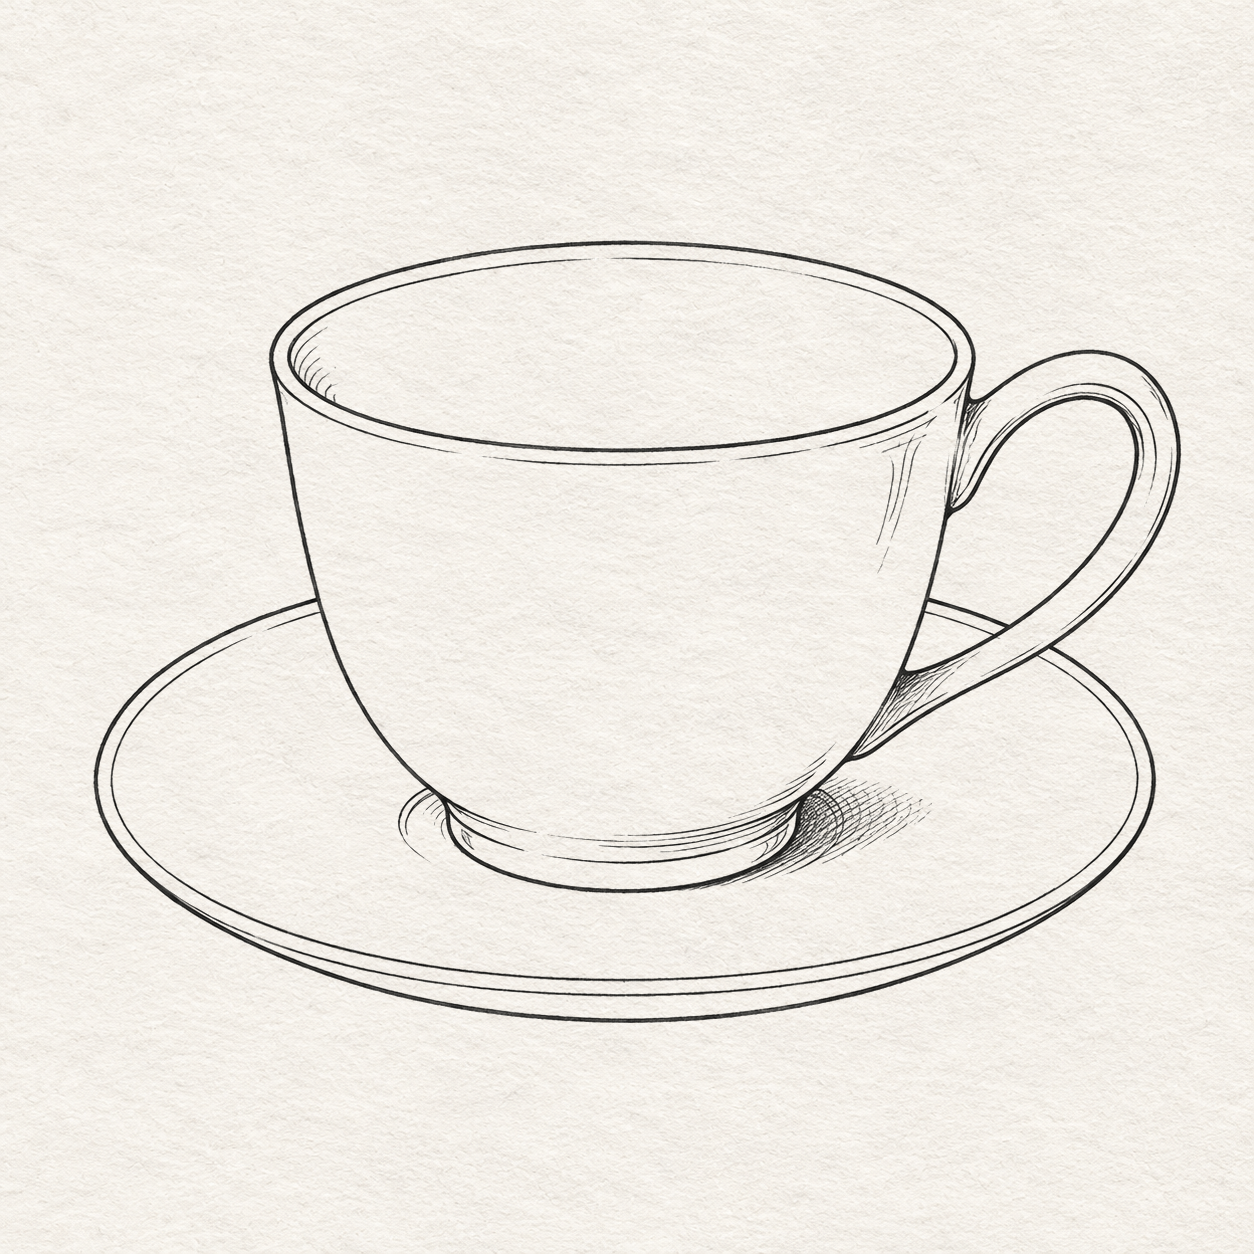
One plain teacup on a saucer in three-quarter view, open elliptical rim and one connected curved handle. Black and gray fineliner drawing on warm textured sketchbook paper.
Drawing referenceAbout reference use

Tea fine ink study

One plain teacup on a saucer in three-quarter view, open elliptical rim and one connected curved handle. Practice clear contours and a few local shadows in fine ink.

Food & drinkEasyFinelinerReference practice: about 20 min
Save reference

Follow the drawing tutorial

Place a shallow cup opening, rounded bowl and loop handle, then choose visible saucer paths and ink the checked contours.

Start the 15-step tutorial

A small thing to tryKeep the handle connected to the cup at two points.

Draw it, one step at a time

How to draw this teacup and saucer

Place a shallow cup opening, rounded bowl and loop handle, then choose visible saucer paths and ink the checked contours.

15 illustrated steps Full tutorial: about 45 minutes, at your pace

What you’ll need

  • HB pencil
  • Ruler marked in centimetres and millimetres
  • Soft eraser
  • Fine black fineliner
  • Scrap paper for drying tests
  • Sketchbook paper

Before you start

Use paper large enough for a 22 × 16 cm working box with space around it. Put this box where you want; centring is optional. Measure across from the box’s left edge and down from its top unless another mark is named. Left and right mean the sides of the picture. Use a ruler for the starting guides and draw curves freehand. The foot is the small base beneath the cup. The measurements are approximate. For another size, keep all distances in the same proportion.
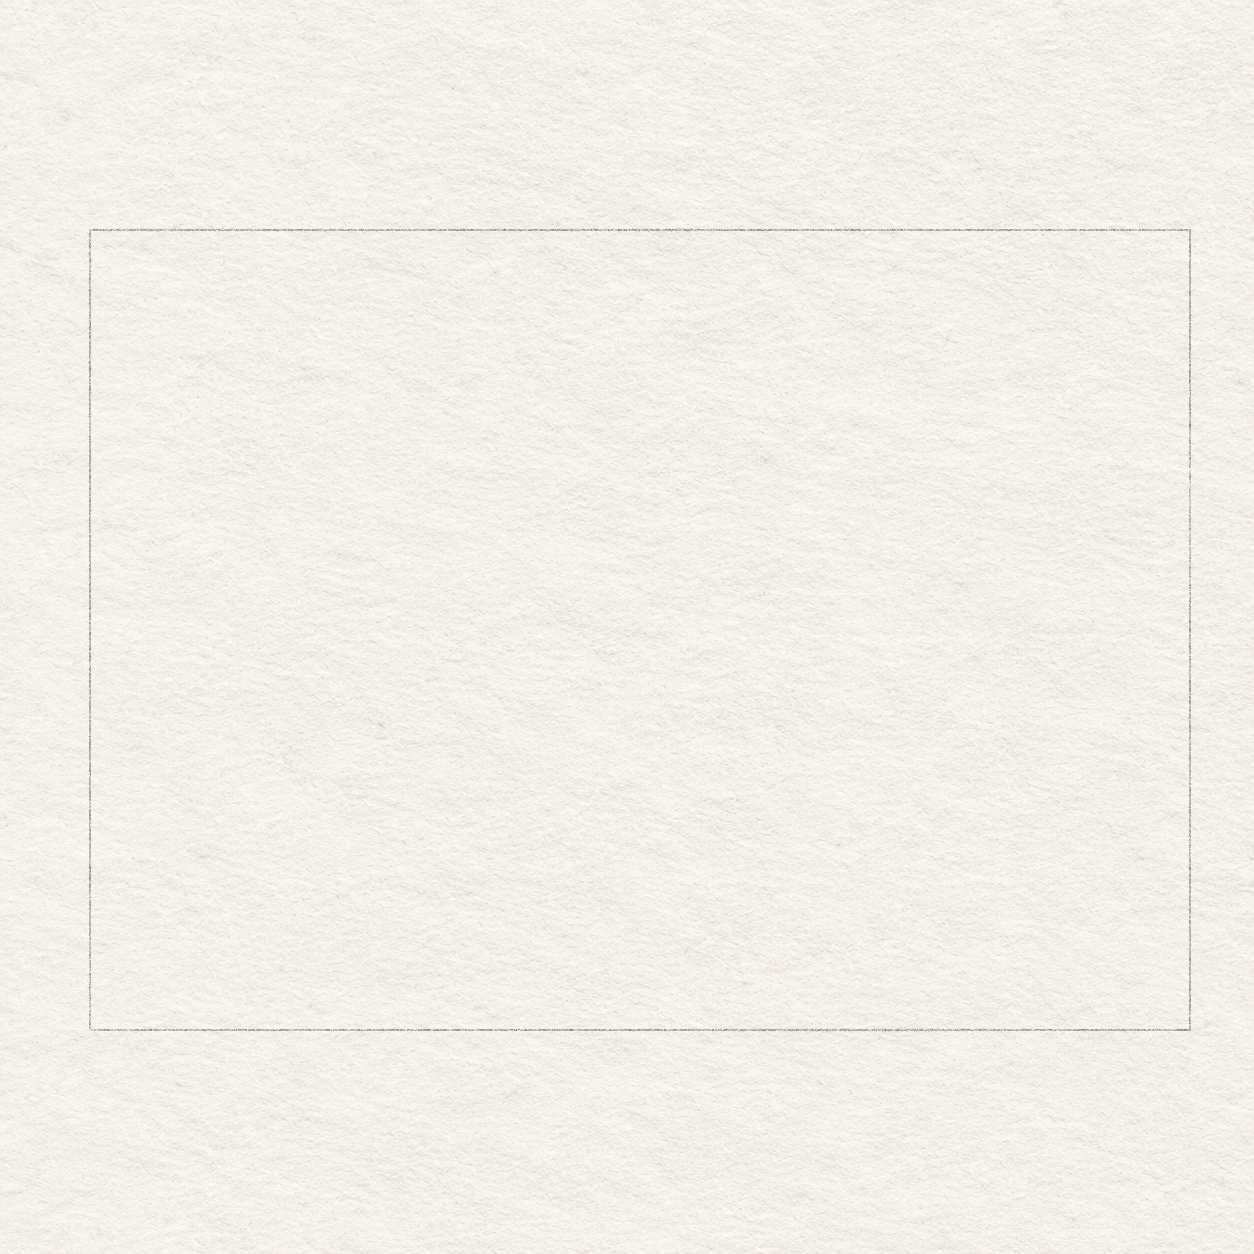
  1. One light pencil rectangle, 22 cm wide and 16 cm high, on textured paper; no cup contours yet.
    Drawing 1 — Fit the whole drawing on the pageView larger
    Pencil

    Fit the whole drawing on the page

    Instructions for Drawing 1 — Fit the whole drawing on the page
    1. Choose where you want the 22 × 16 cm working box, leaving clear paper around it.
    2. With a ruler and light pencil, draw a 22 cm horizontal top edge. From each end, draw a 16 cm side straight down, then join their lower ends to complete the temporary working box.
    3. Measure across from the box’s left edge and down from its top. Treat these as approximate positions; a few millimetres of variation is fine.
    4. For every position below, ‘across’ starts at the box’s left edge and ‘down’ starts at its top. Quarter-cm estimates are enough.
    Next step
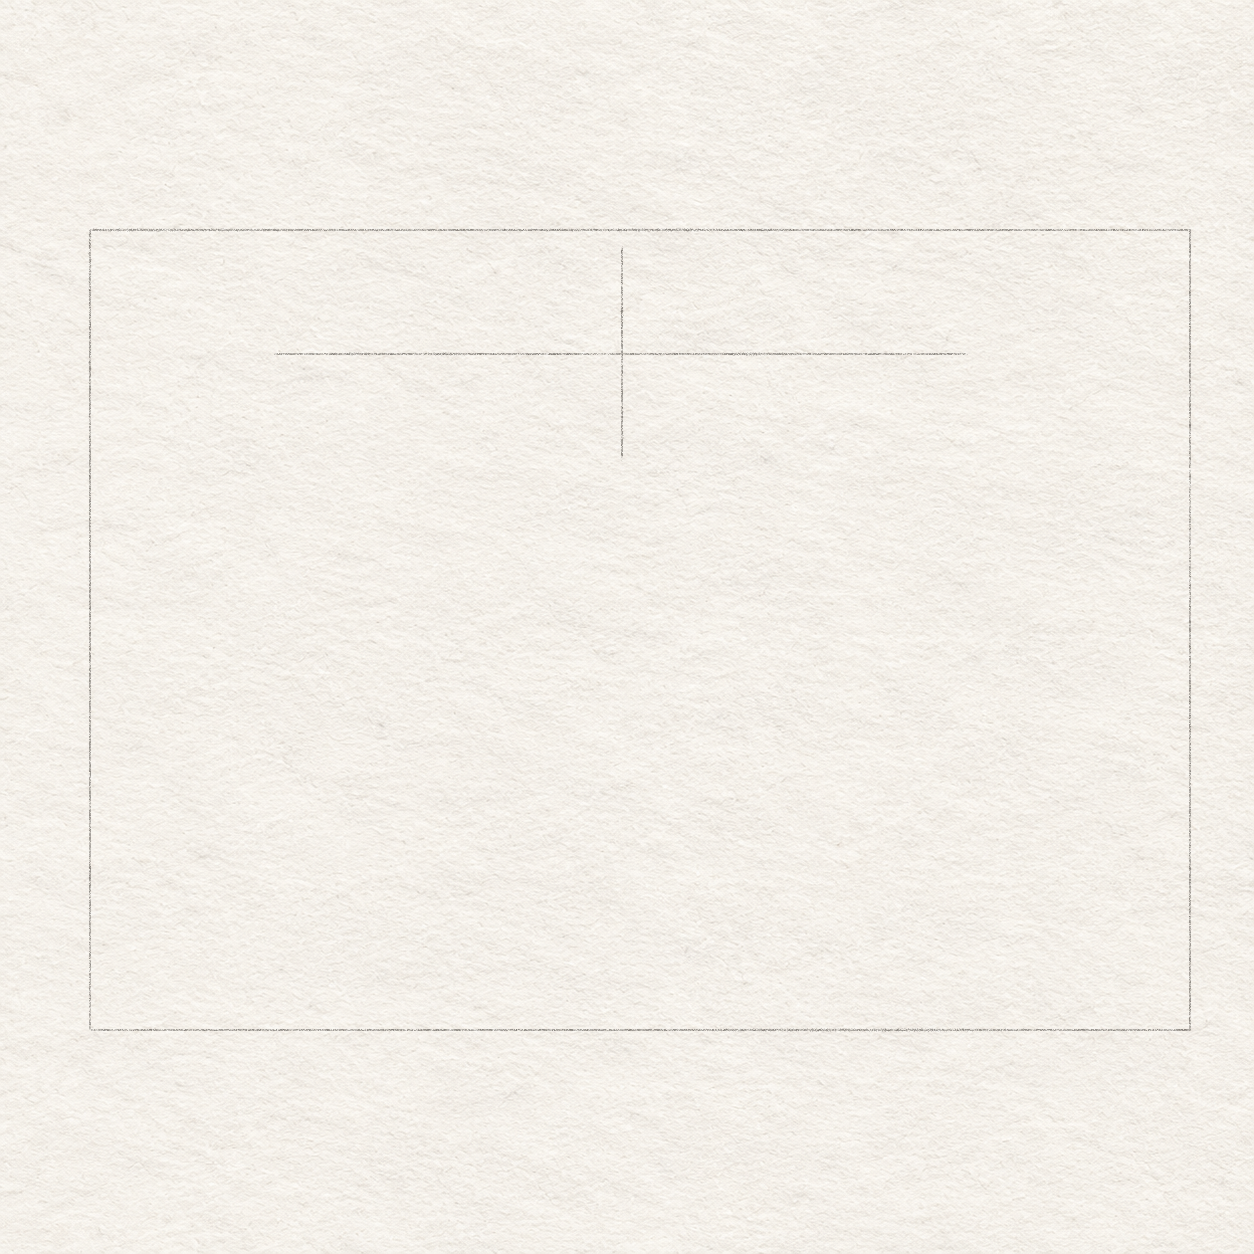
  2. A broad horizontal pencil guide and shorter vertical guide cross at the cup opening’s centre inside the working box.
    Drawing 2 — Locate the opening with four tipsView larger
    Pencil

    Locate the opening with four tips

    Instructions for Drawing 2 — Locate the opening with four tips
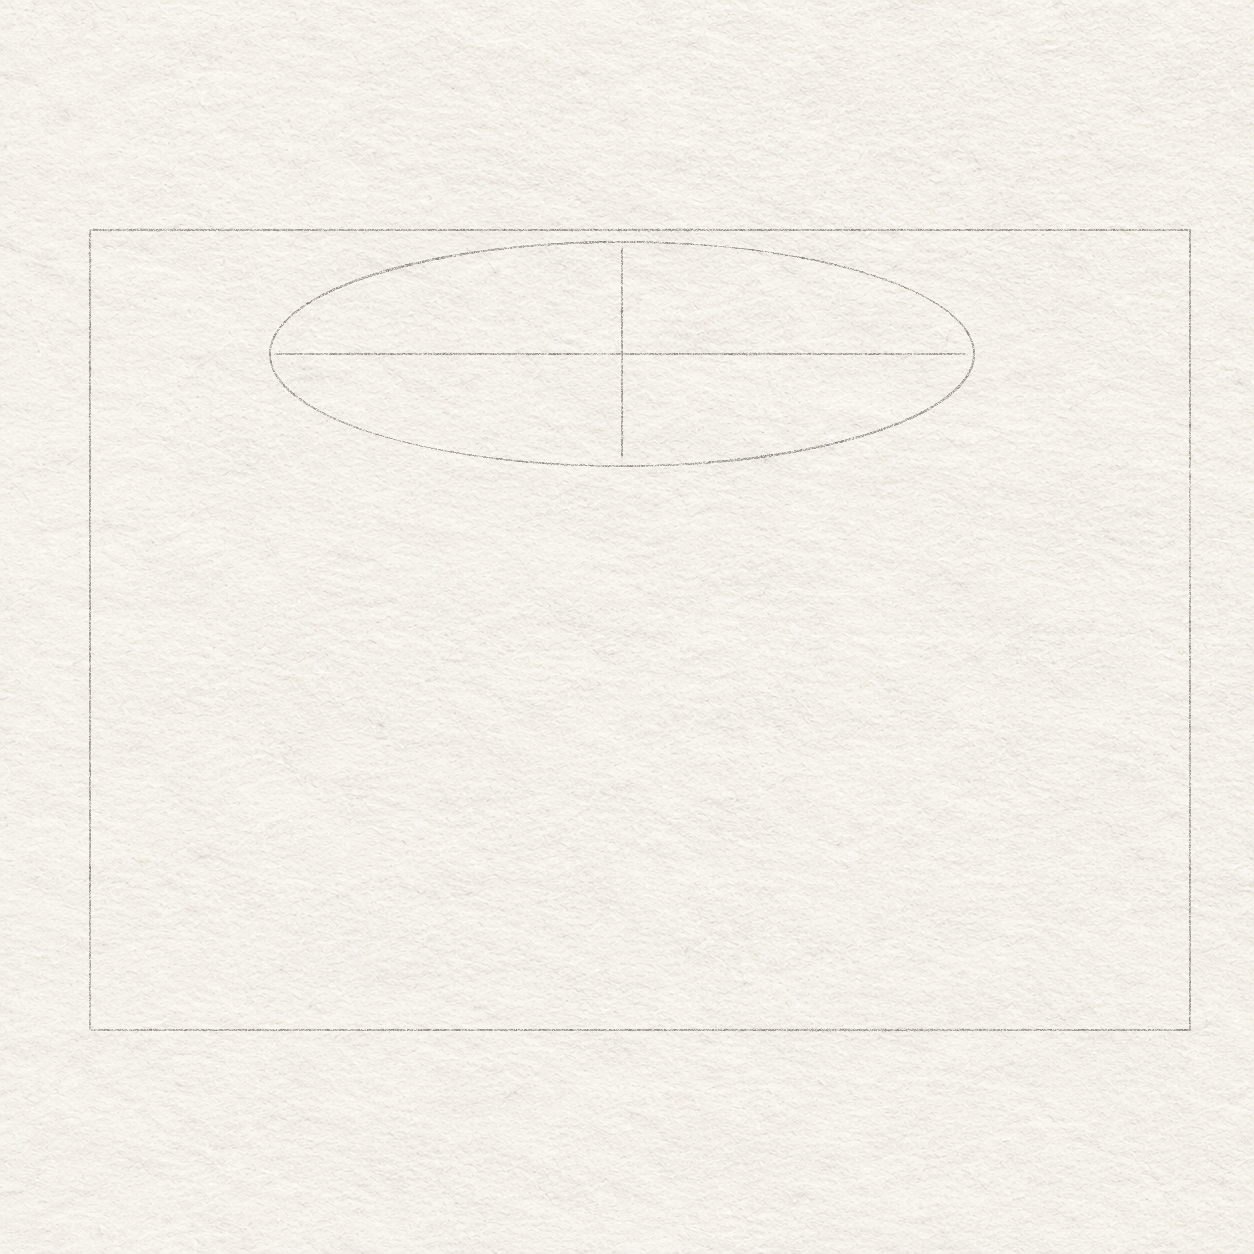
    1. From the top-left box corner, measure 10½ cm right and 2½ cm down. Mark the cup opening’s centre.
    2. At that height, mark its left end at 3½ cm across and its right end at 17¾ cm across. Join them lightly.
    3. Above the same centre, mark the top end ¼ cm below the box top. Mark the bottom end 4¾ cm down, then join top to bottom.
    4. The opening is a little over three times wider than it is deep. Keep this cross light; it is a shape guide, not a line on the finished cup.
    Next step
  3. A broad shallow pencil oval touches the four ends of the opening guides; the box and cross remain visible.
    Drawing 3 — Round an oval through the tipsView larger
    Pencil

    Round an oval through the tips

    Instructions for Drawing 3 — Round an oval through the tips
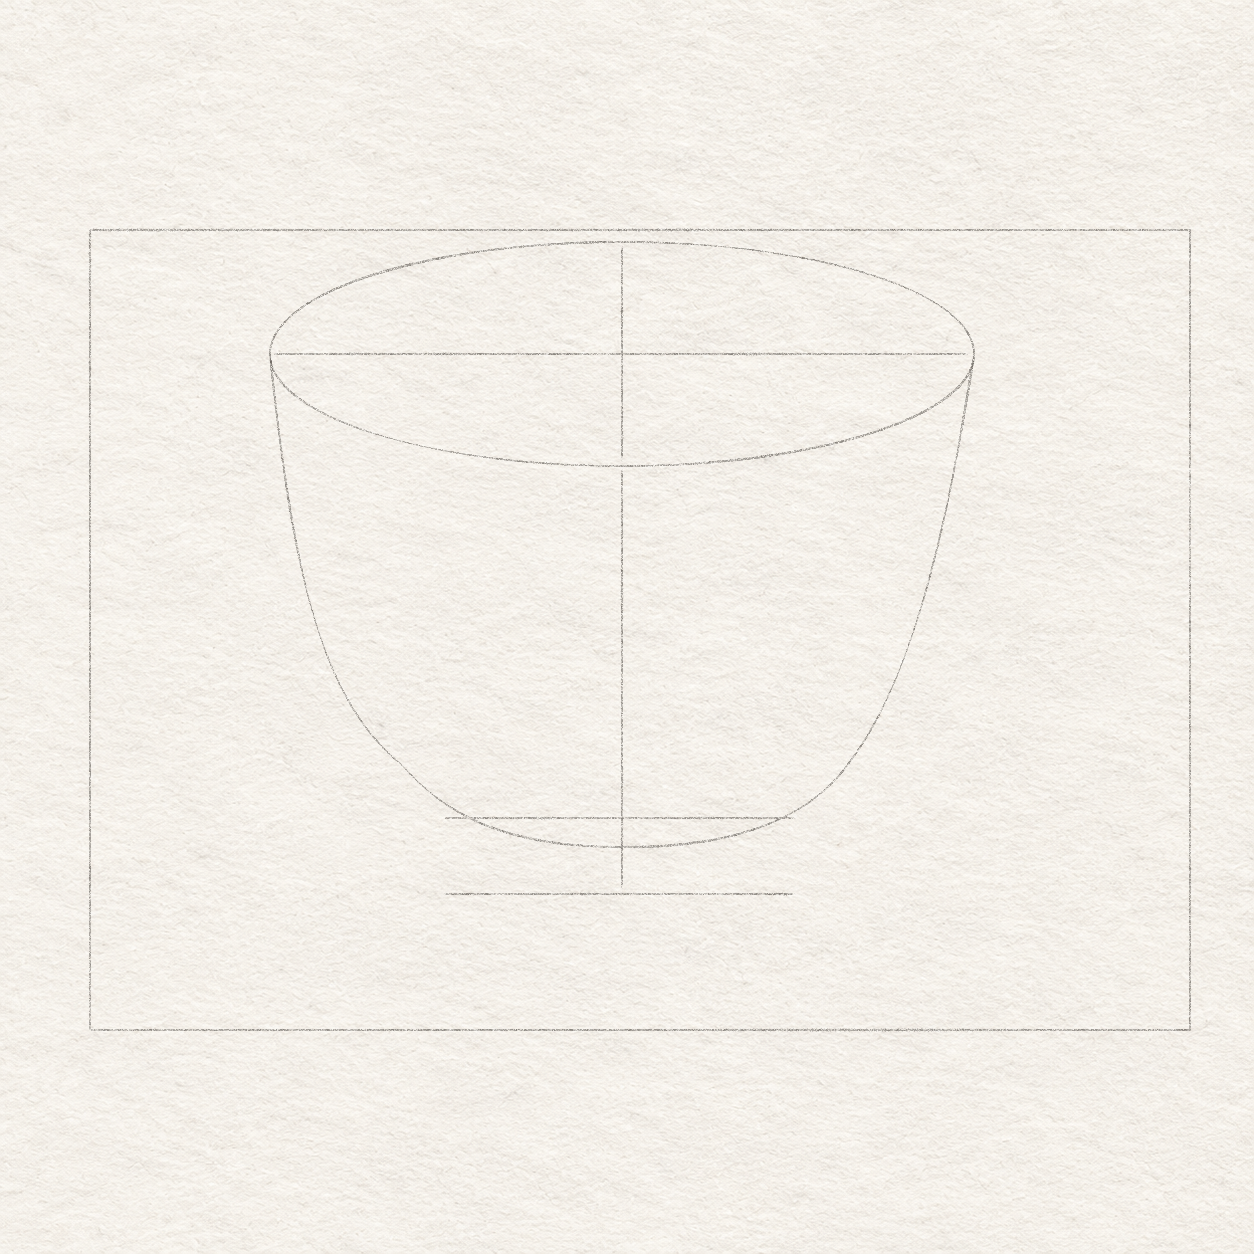
    1. Practise a broad oval motion above the four end marks.
    2. Freehand one light rounded loop through left, top, right and bottom. Turn gradually at the sides instead of making pointed ends.
    3. Keep all four ends fixed. If one curve bulges, erase and redraw just that curve.
    4. This oval locates the opening. The separate rim lines come later.
    Next step
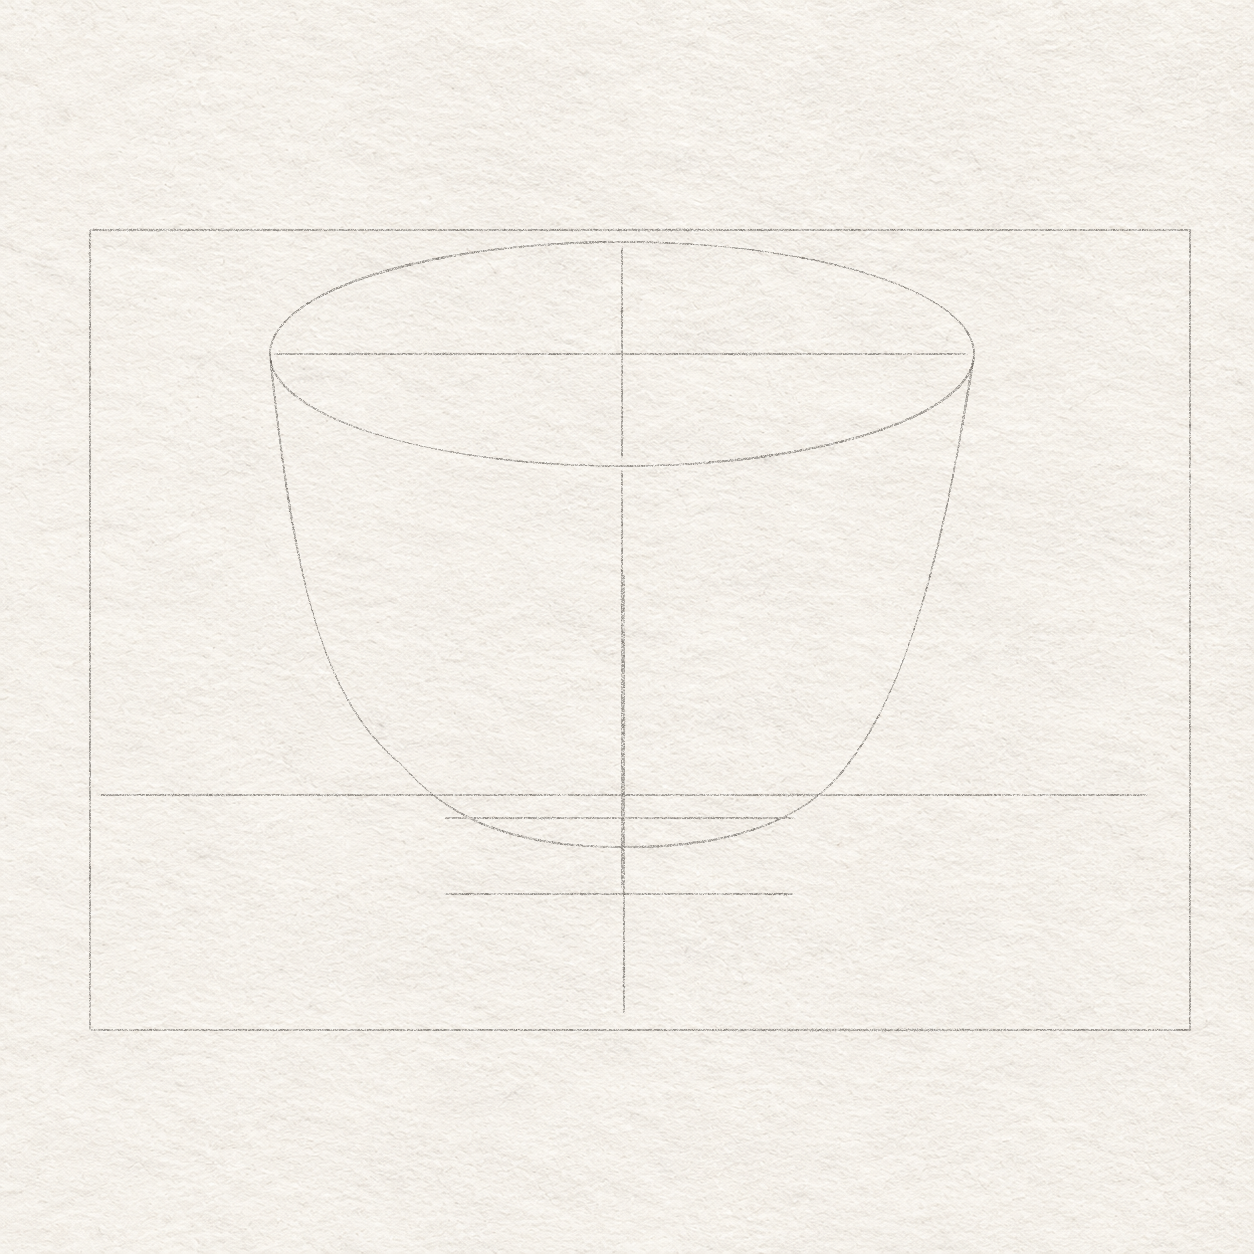
  4. Two rounded pencil cup sides hang below the opening oval, with a broad bottom and two light horizontal foot guides beneath it.
    Drawing 4 — Hang the rounded bowl and locate its footView larger
    Pencil

    Hang the rounded bowl and locate its foot
    Instructions for Drawing 4 — Hang the rounded bowl and locate its foot

    1. Mark the lower left bowl point near 7 cm across and 11¾ cm down, and the lower right near 14¼ cm across and 11½ cm down. Mark the bottom near 12¼ cm down, below the opening centre.
    2. From each side of the opening, freehand a light curved side down toward its lower point. Round between the two lower points through the bottom mark.
    3. Keep the sides curved rather than straight like a cone.
    4. To centre the foot, extend the opening’s vertical guide straight down from the oval’s bottom to 13¼ cm down.
    5. The foot will sit between two horizontal levels. Draw each light guide from 7 to 14¼ cm across: one at 11¾ cm down and one at 13¼ cm down. These temporary lines locate the foot’s width and lowest level.
    Next step
  5. A second, wider cross locates the saucer below the cup, while the opening, bowl and foot guides remain visible.
    Drawing 5 — Locate the wider saucerView larger
    Pencil

    Locate the wider saucer

    Instructions for Drawing 5 — Locate the wider saucer
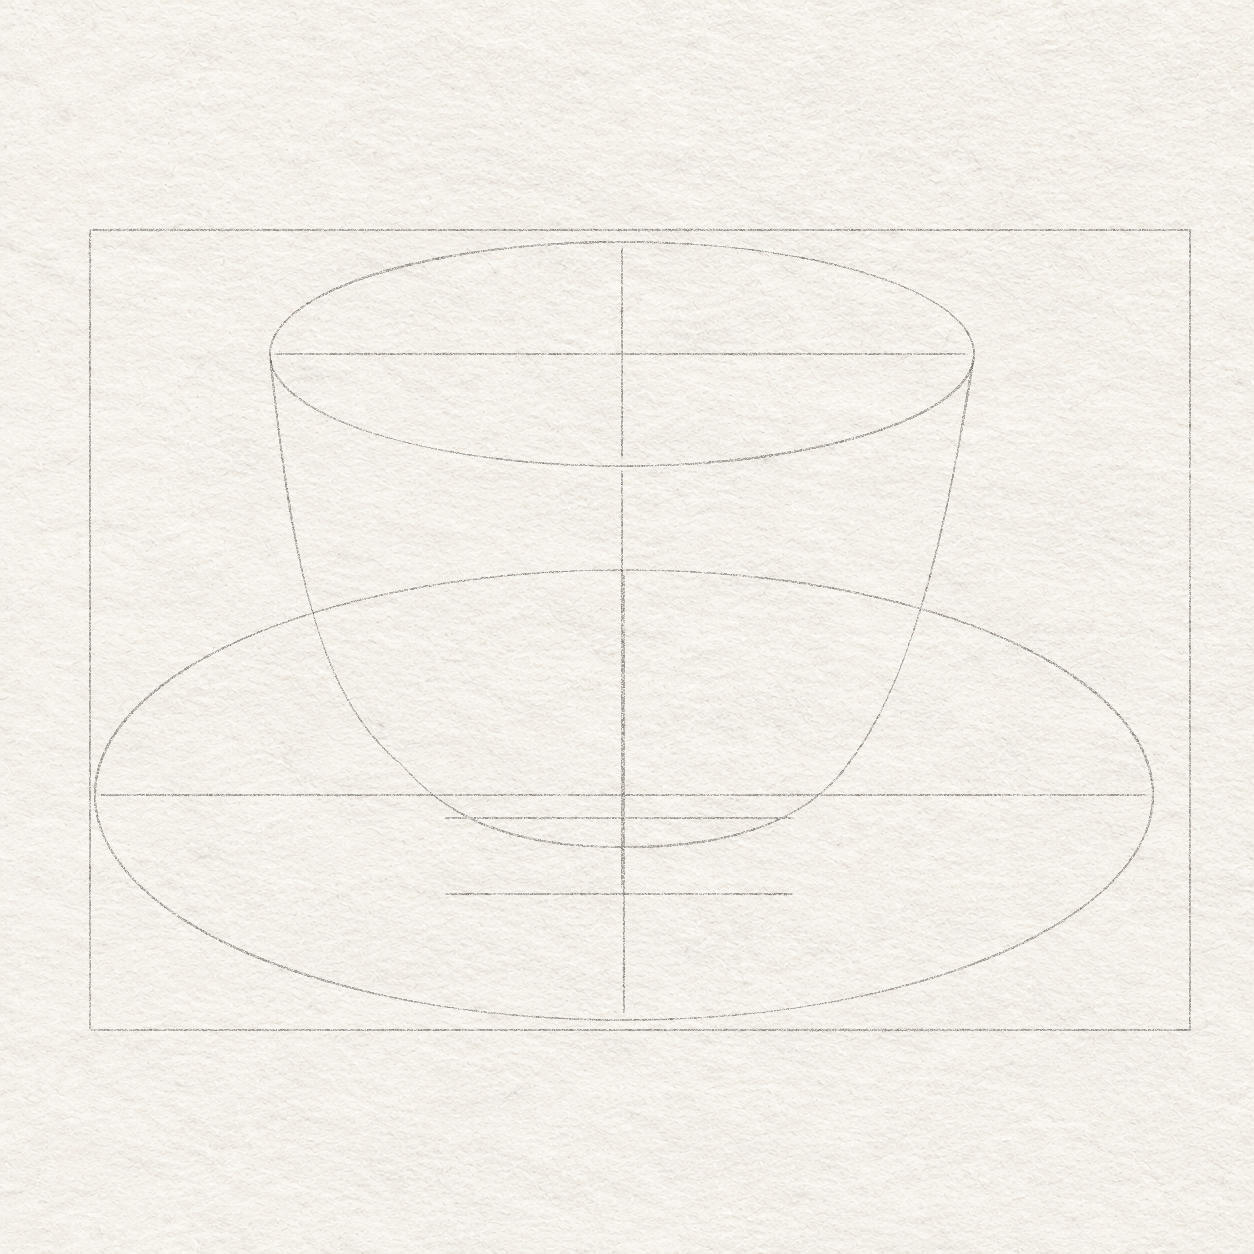
    1. Mark the saucer centre at 10¾ cm across and 11¼ cm down.
    2. At that height, mark left and right ends at ¼ and 21¼ cm across.
    3. Directly above and below that centre, mark a top at 6¾ cm down and a bottom at 15¾ cm down. Join the left and right marks with a light horizontal line, then join the top and bottom marks with a vertical line.
    4. Keep the saucer wider than the cup opening. Its bottom lies about 2½ cm below the foot, and its back passes behind the bowl.
    5. Compare the space on both sides of the box before drawing the oval. The hidden cross is temporary.
    Next step
  6. A wide light saucer oval passes behind the cup and extends below its foot; both construction crosses and the working box remain.
    Drawing 6 — Round the saucer’s placement envelopeView larger
    Pencil

    Round the saucer’s placement envelope

    Instructions for Drawing 6 — Round the saucer’s placement envelope
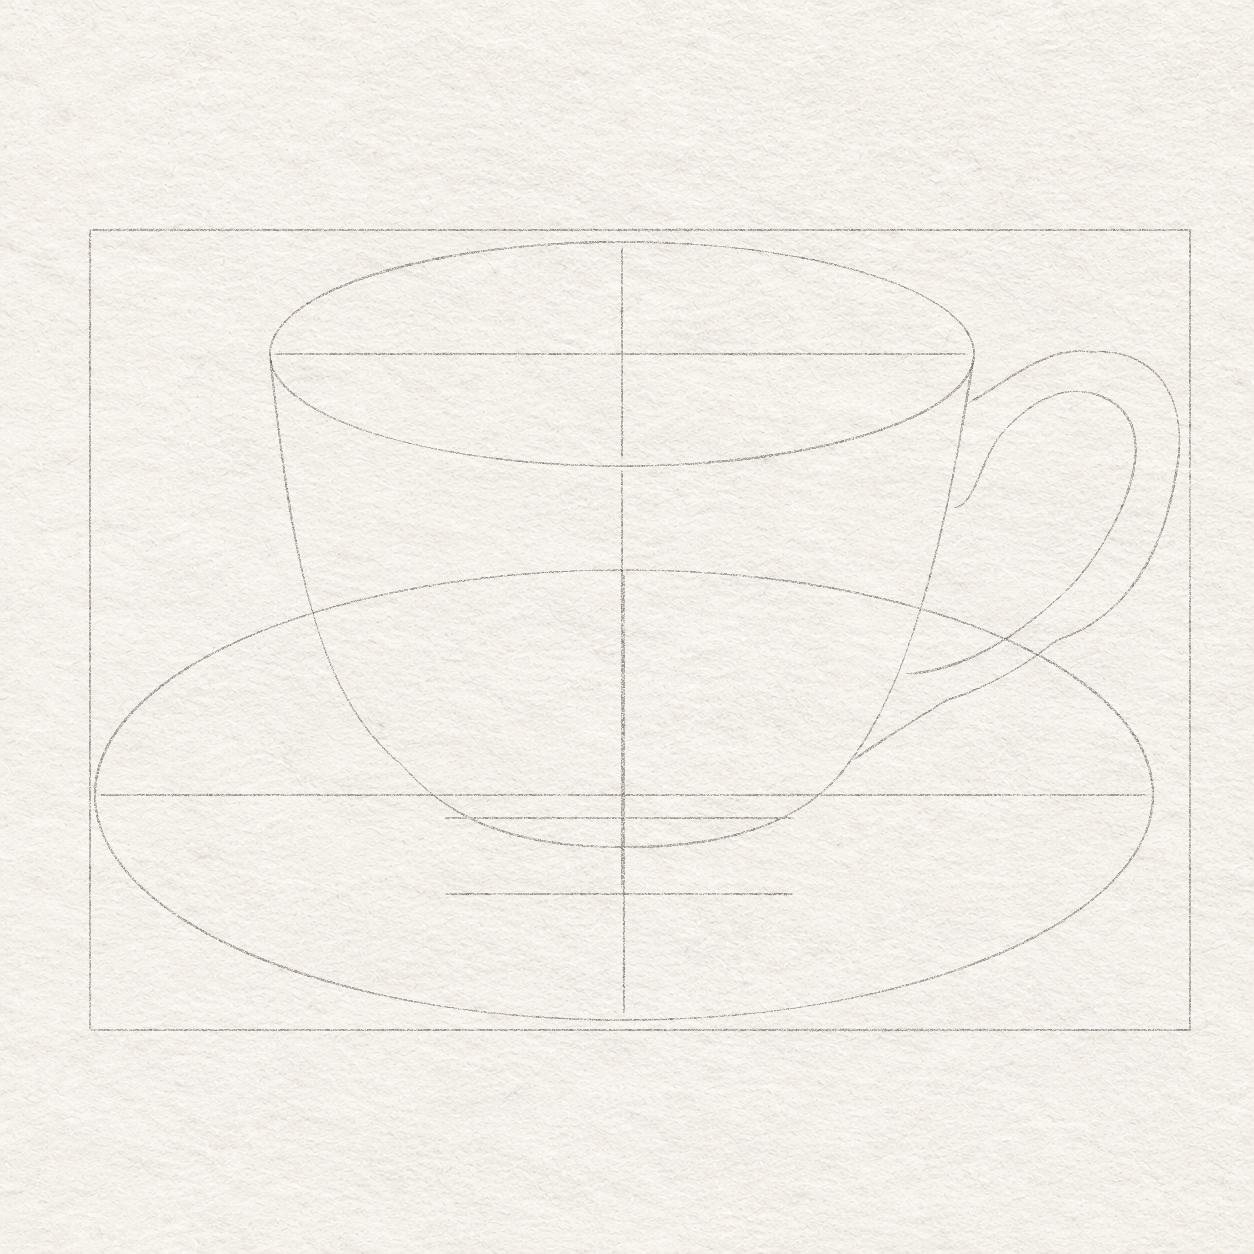
    1. Practise a wide loop through the four saucer ends, then freehand it lightly with smooth side turns.
    2. For now, include the part hidden behind the cup so you can judge the whole oval.
    3. Keep the bottom near 15¾ cm down and leave space beneath the cup’s foot.
    4. Do not trace this whole oval in pen. You will choose only the visible saucer curves and remove the hidden guides later.
    Next step
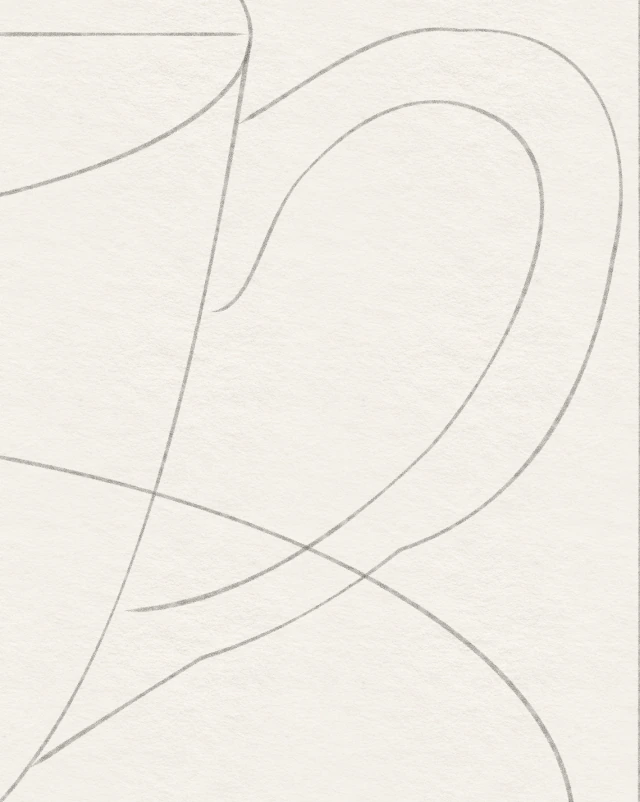
  7. Separate outer and inner pencil curves form the cup’s right-hand handle, with distinct upper and lower contacts; the light saucer oval still crosses the opening.
    Drawing 7 — Map the handle and its openingView larger
    Exact same-stage handle construction with separate outer and inner upper joins and the two lower return contacts.
    Detail 7.1 — Locate four distinct handle contactsEnlarged from this same construction stage. The inner upper return meets the cup about 2 cm below the outer upper attachment; the two lower contacts are also separate. These routes locate the loop and its open space.
    Pencil

    Map the handle and its opening

    Instructions for Drawing 7 — Map the handle and its opening
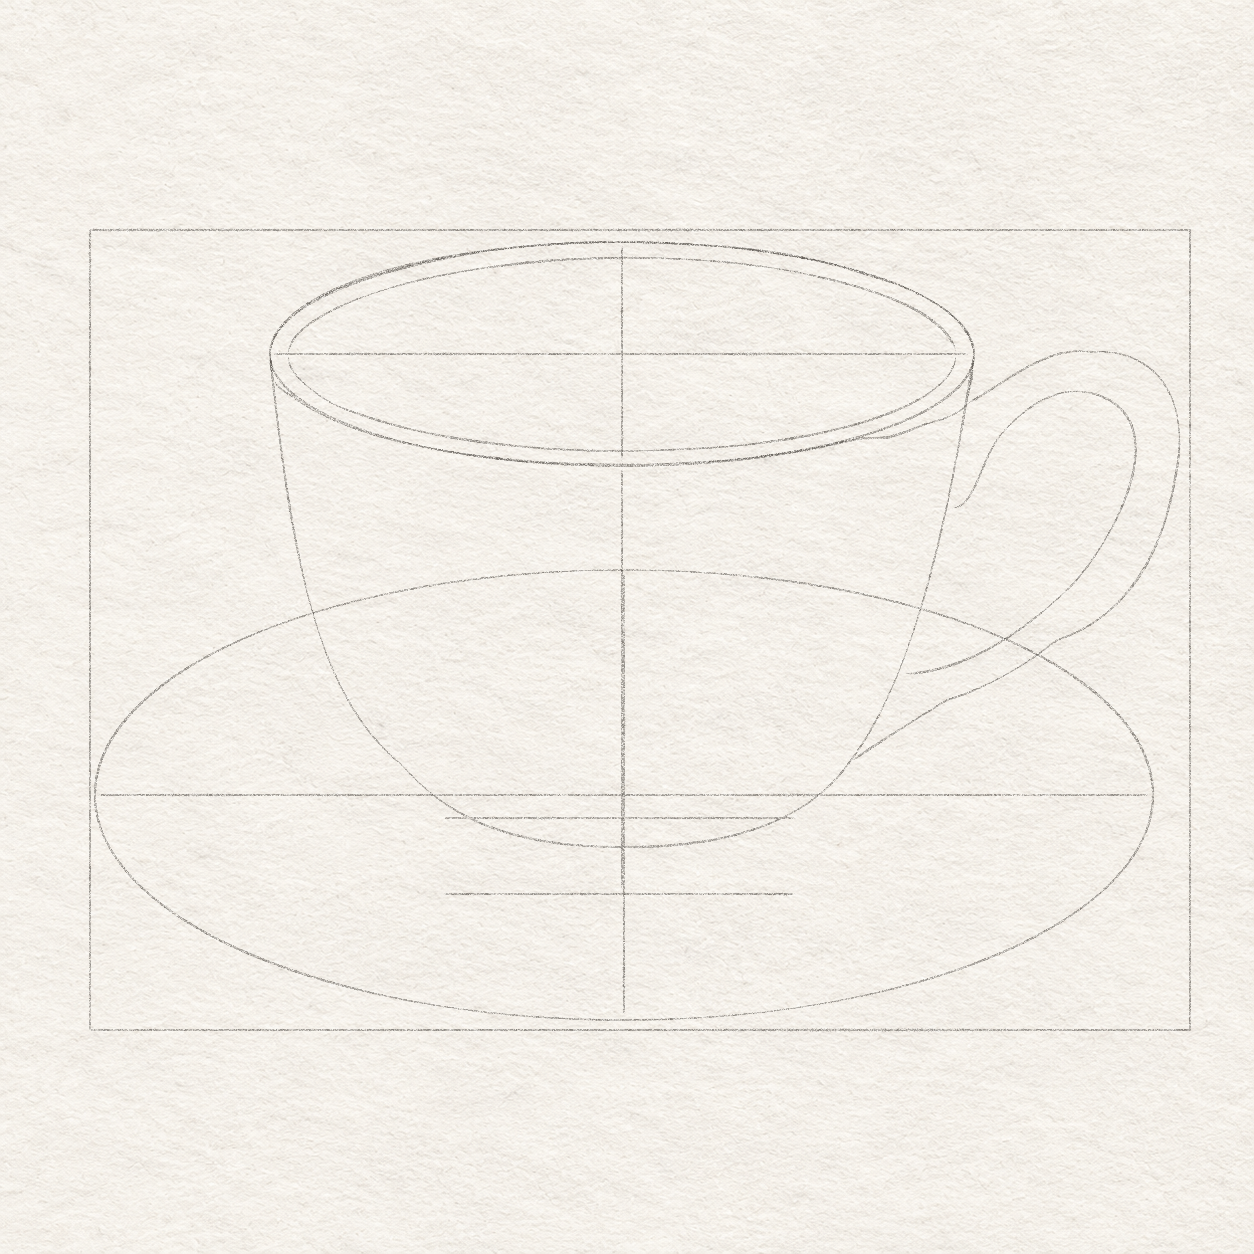
    1. Freehand the outside handle curve, starting on the right cup side near (17½ cm across, 3½ cm down). Curve up-right toward 20 cm across and 2½ cm down, turn near 21¾ cm across and 4¼ cm down, then sweep down-left to 15¼ cm across and 10½ cm down.
    2. For the opening inside it, start separately at 17¼ cm across and 5½ cm down, about 2 cm below the outer upper attachment on the cup side.
    3. Freehand the inside curve up-right toward 20 cm across and 3¼ cm down, then around and down to its lower-left end near 16¼ cm across and 9 cm down.
    4. Leave a band between the two curves and keep the opening empty. Their upper joins are at different heights, so the gap changes width around the handle.
    5. Leave the light saucer oval crossing the handle opening for now; you will select its visible arcs later. If the handle band pinches shut, widen only that local gap without moving the cup.
    Next step
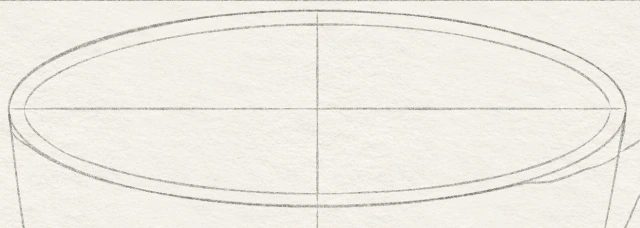
  8. Separate pencil rim arcs form a narrow band around the cup opening, with unequal side joins and the light oval guide retained.
    Drawing 8 — Draw the cup’s rim linesView larger
    Exact same-stage selected rim bands and unequal cap-to-wall joins.
    Detail 8.1 — Rim bands and unequal side capsEnlarged from this same stage. The back inset and lower front lip are separate visible paths. The left and right lip-to-wall caps have different lengths in this view.
    Pencil

    Draw the cup’s rim lines

    Instructions for Drawing 8 — Draw the cup’s rim lines
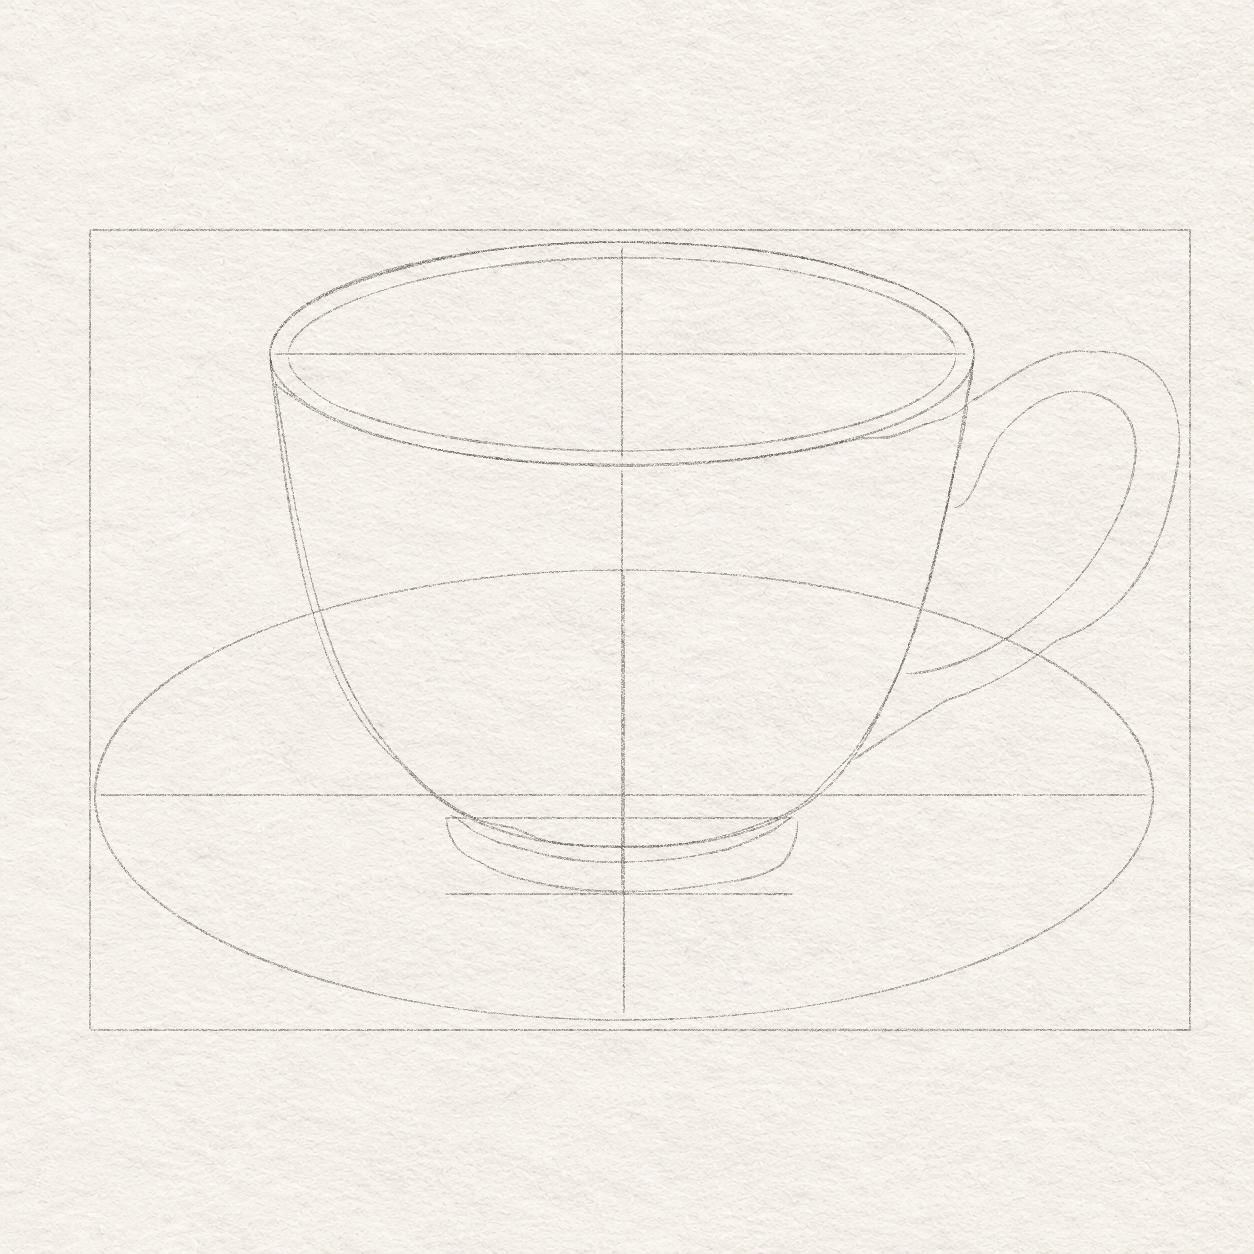
    1. The rim is the narrow band around the cup opening. Freehand its outside back curve and rounded side turns close to the light oval, using slightly firmer pencil.
    2. Freehand a second back curve just inside the first, leaving a narrow band. These are separate arcs, not two complete ovals; see Detail 8.1 — Rim bands and unequal side caps.
    3. Across the front, freehand the inner rim just above the lower half of the oval guide—about ⅓ cm above it at the centre. Use the guide's lower curve to place the separate lower rim edge.
    4. On the left, join the lower rim edge to the cup wall about ½ cm below the opening’s left end. On the right, extend the short side edge about 1 cm below the right end to the upper handle attachment.
    5. Keep those unequal side joins and all narrow rim gaps open. Leave the cup opening empty; erase a misplaced arc before pen.
    Next step
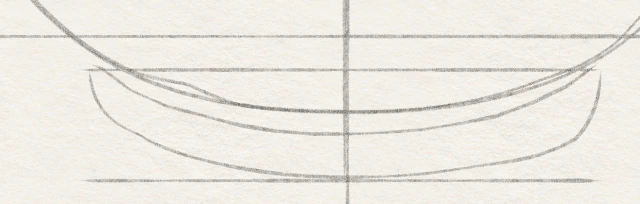
  9. Rounded pencil cup sides meet the small foot, whose shallow full band remains separate from its lowest front edge.
    Drawing 9 — Draw the cup and its small footView larger
    Exact same-stage full shallow foot band and nested foot outline.
    Detail 9.1 — Complete foot bandEnlarged from this same stage. Follow the full shallow foot-band curve from one side join through its low middle to the other; it is already complete before optional local tone.
    Pencil

    Draw the cup and its small foot

    Instructions for Drawing 9 — Draw the cup and its small foot
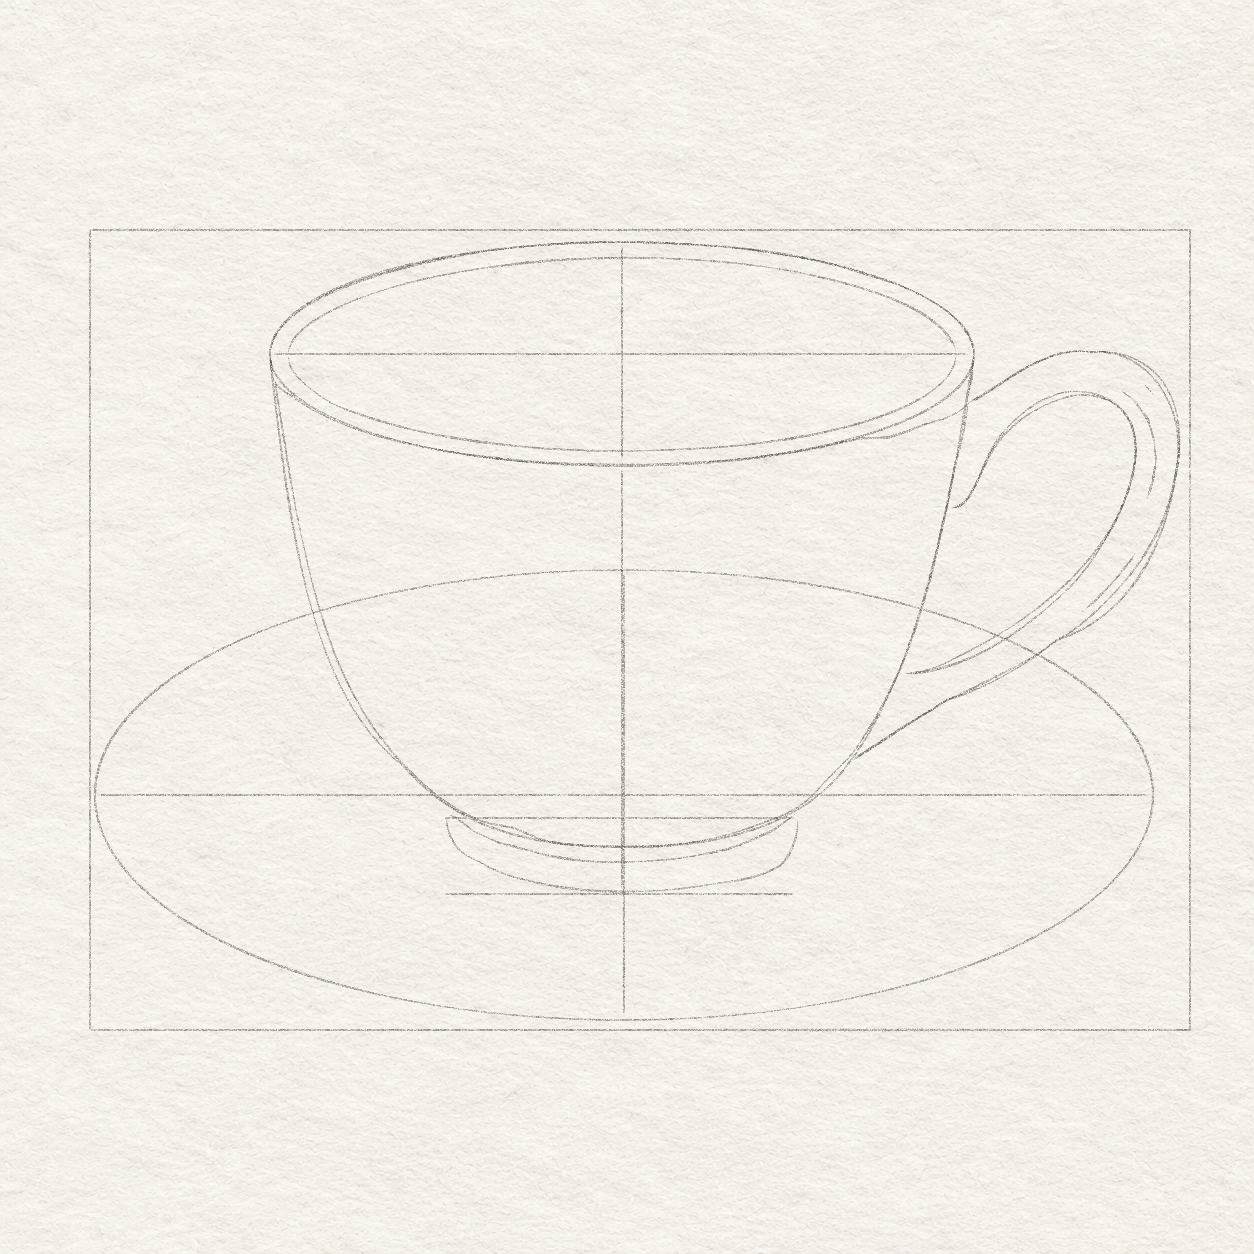
    1. Freehand the cup’s rounded sides around the light guide, tapering into a broad curved base. Do not trace the centre or foot-level lines.
    2. Below the bowl, use the earlier width marks for the foot's sides and the guide 13¼ cm below the box’s top for its lowest front. Centre the foot under the opening; the bowl hides its upper back.
    3. Freehand short curved sides down from the two ends of the upper foot guide. Join them with a broad rounded front that reaches the lower guide.
    4. Freehand the shallow foot-band curve from (7 cm across, 11¾ cm down), through a low middle near 10¾ cm across and 12⅔ cm down, to 14¼ cm across and 11¾ cm down. Use these positions to shape the curve by eye, as shown in Detail 9.1 — Complete foot band.
    5. This full band is a structural line, separate from the lowest front edge. Keep it complete before adding optional shading.
    Next step
  10. Selected outer and inner handle borders meet the cup at separate contacts; fine broken arcs follow the band and leave the opening clear.
    Drawing 10 — Draw the handle borders and joinsView larger
    Exact same-stage handle borders, fine broken band arcs and both attachment wedges.
    Detail 10.1 — Handle band and fine arcsEnlarged from this same drawing. The two handle borders enclose a clear opening. Fine broken curves follow the band with a gap between them. Stop both handle borders at the cup side.
    Pencil

    Draw the handle borders and joins

    Instructions for Drawing 10 — Draw the handle borders and joins
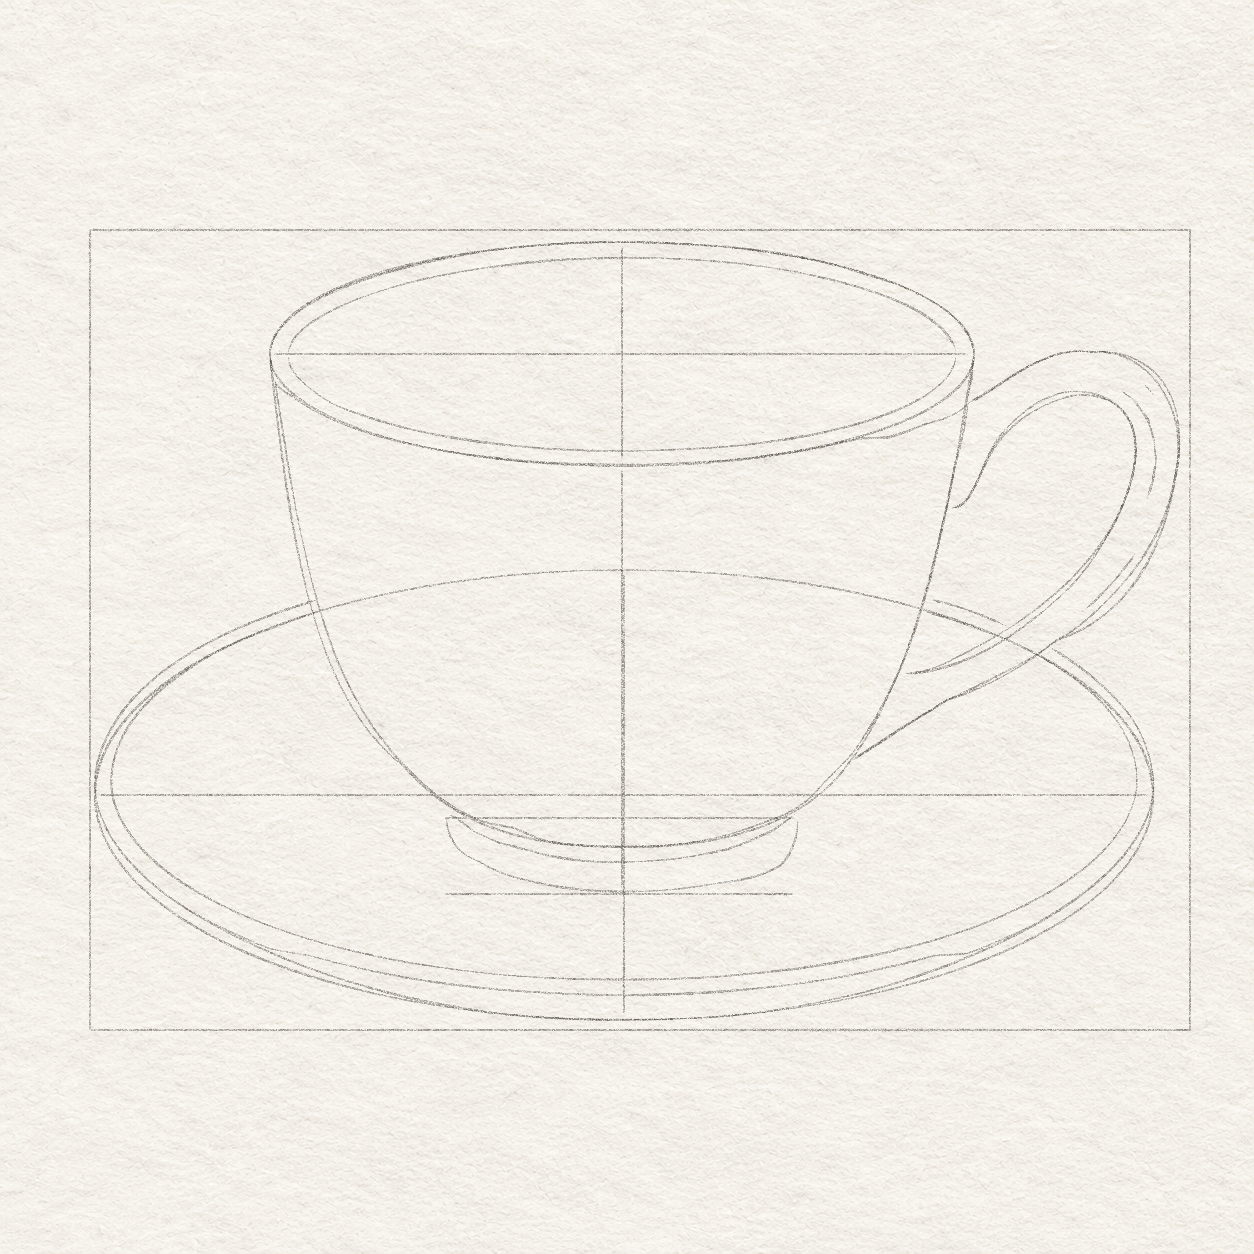
    1. Freehand the outer handle border and inner opening close to their light curves, refining one curve at a time.
    2. Keep the loop broad on the right and narrower at the lower cup attachment. Both borders stop at the cup side instead of crossing through it.
    3. Keep the inner upper join about 2 cm below the outer upper join. Leave the two narrow joins where the handle meets the cup and the large opening clear.
    4. Inside the right-hand band, freehand one fine broken curve along the upper-right turn and a shorter one below. Leave a blank break between them; do not close another loop. See Detail 10.1 — Handle band and fine arcs.
    5. Inside the handle band, freehand the very short fine curve beside the upper outer turn. Leave clear paper between it and the outer border.
    6. Leave the saucer curves behind the opening for the next step.
    Next step
  11. Visible saucer back arcs stop at the cup and handle; three separate front curves show its upper surface, rim and lower thickness.
    Drawing 11 — Draw only the visible saucer curvesView larger
    Pencil

    Draw only the visible saucer curves

    Instructions for Drawing 11 — Draw only the visible saucer curves
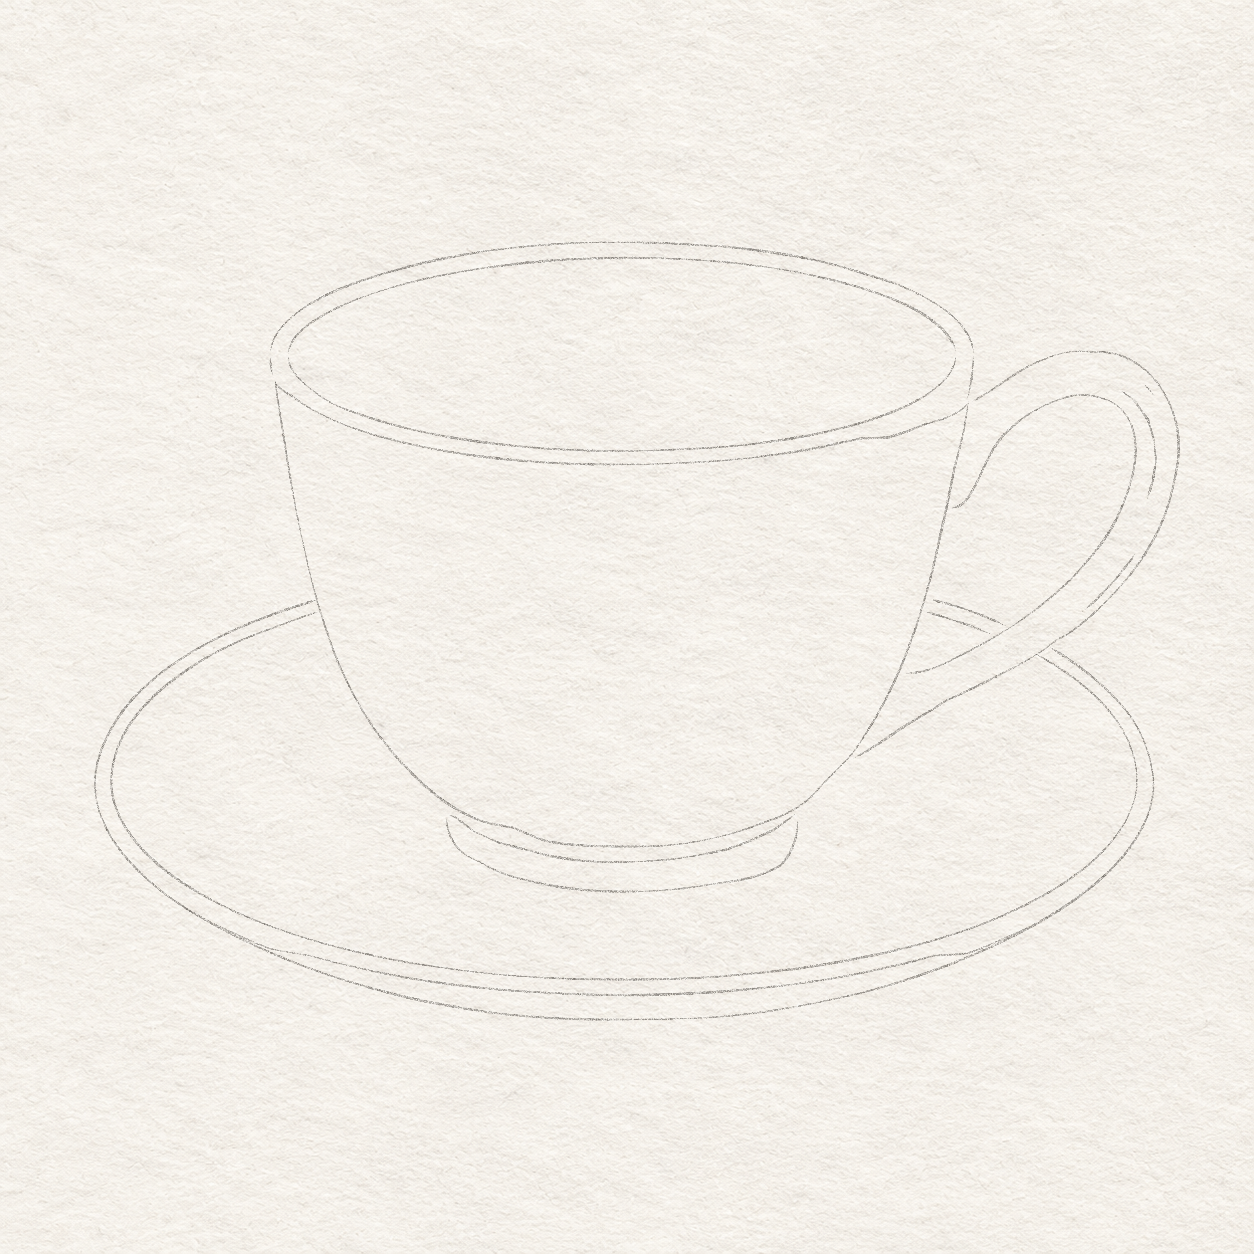
    1. The back of the saucer is visible left of the bowl and through the handle opening. Leave the portions behind the cup or handle untraced.
    2. Freehand two arcs in each visible section: place the outer arc along the large oval and the second about ⅓ cm nearer the saucer centre. Stop both arcs at the cup or handle edge.
    3. At the front, the oval’s lower half locates the lowest thickness edge. The other two front curves belong above it, inside the oval; locate their levels before drawing them.
    4. At the front centre, mark a level about ½ cm above the lowest edge for the middle rim, then another ⅓ cm higher for the upper surface edge.
    5. Freehand the three separate front curves through those levels, letting their gaps narrow towards the sides.
    6. Keep the lower edge inside the box. If a newly chosen back arc crosses a cup or handle edge, erase that mistaken part; leave the light oval and axes for the next step.
    Next step
  12. Chosen pencil cup, rim, handle, foot and saucer contours remain after the temporary box, crosses and guide ovals are erased.
    Drawing 12 — Lift the unused constructionView larger
    Pencil

    Lift the unused construction

    Instructions for Drawing 12 — Lift the unused construction
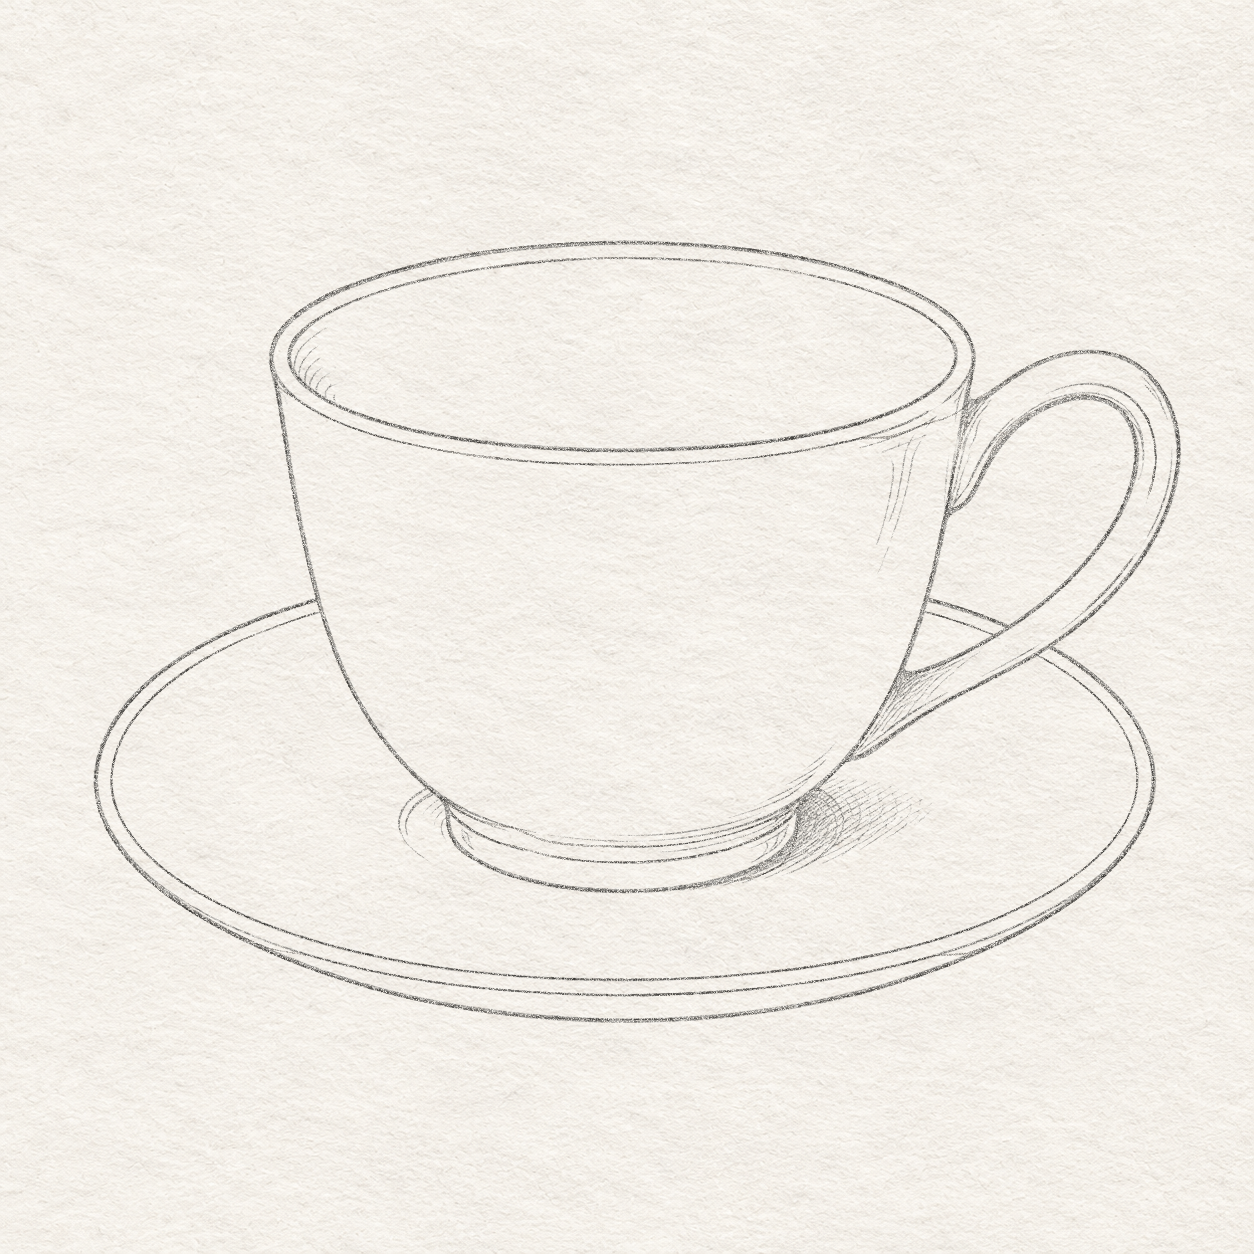
    1. Compare the chosen cup, rim, foot, handle and saucer with the reference before removing their guides.
    2. Gently erase the box, crosses, temporary ovals and foot-level marks. Keep every chosen outline.
    3. Use short eraser touches near narrow rim and handle gaps, rather than rubbing the whole drawing.
    4. Restore any wanted pencil edge you accidentally lift. No centre cross or hidden saucer oval should remain through the cup.
    Next step
  13. Short pencil curves and local shading are added inside the left rim, right cup wall, handle joins and around the foot; broad areas stay unshaded.
    Drawing 13 — Place the small pencil accentsView larger
    Exact same-stage short curved inner-rim pencil accents.
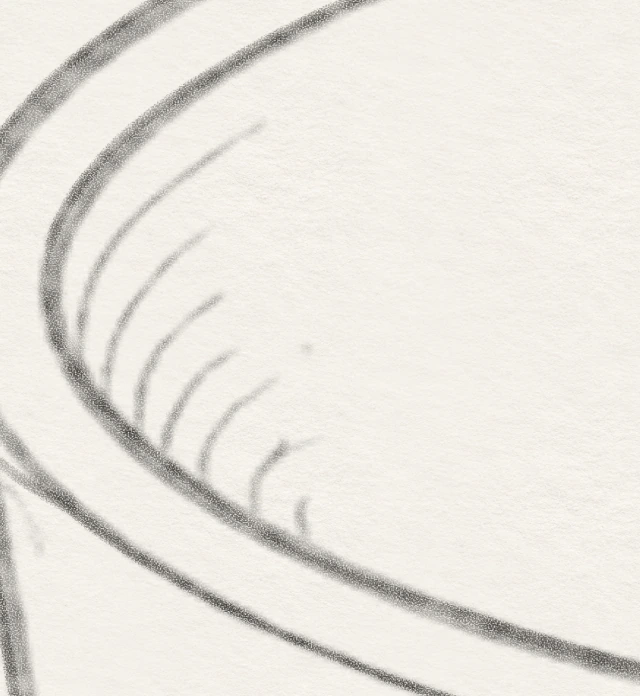
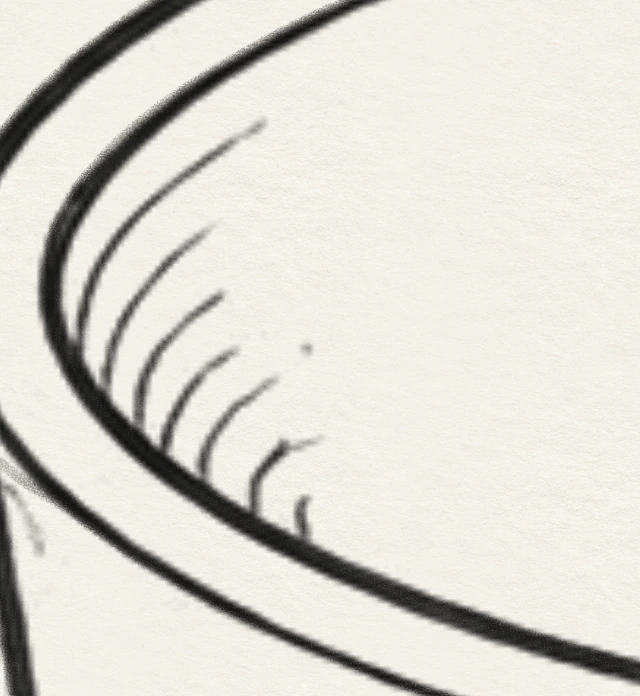
    Detail 13.1 — Inner-rim pencil curvesEnlarged from this same pencil stage. These short curved marks sit inside the left opening turn; keep the rim contours and open bowl distinct.
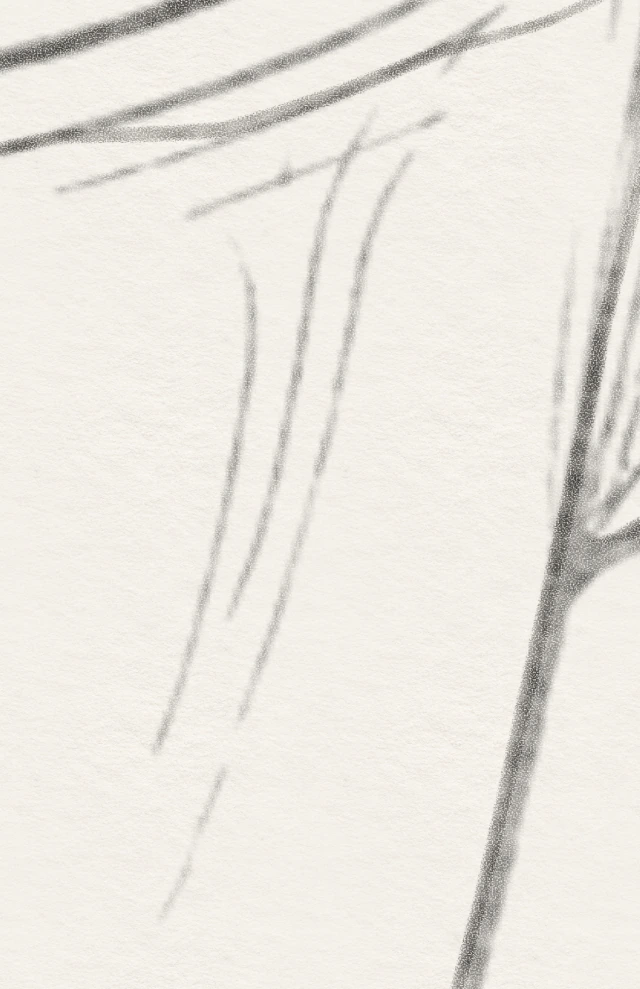
    Exact same-stage right-wall pencil form curves below the lip.
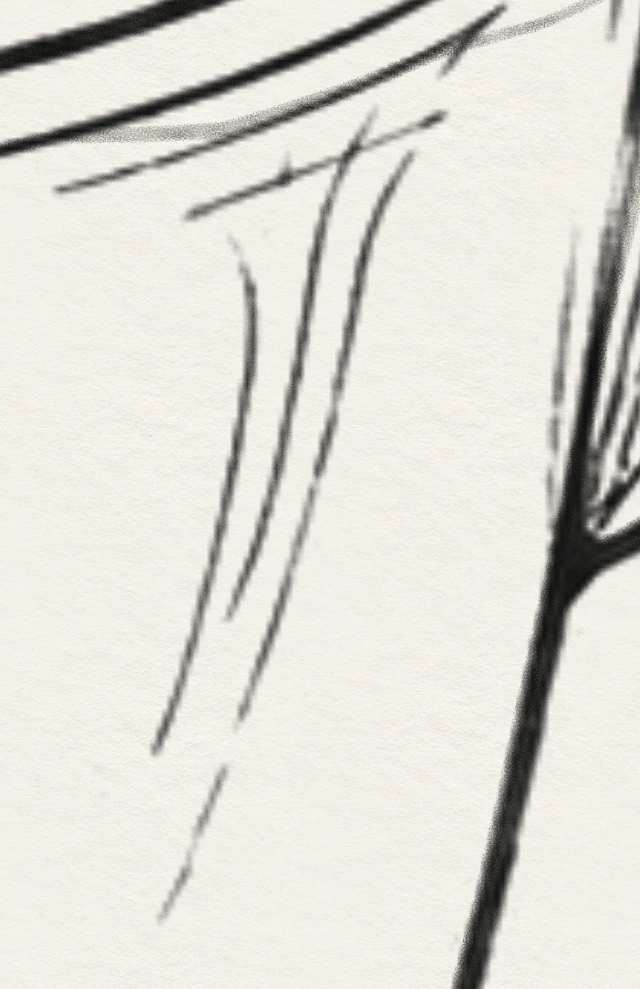
    Detail 13.2 — Right-wall form curvesEnlarged from this same pencil stage. The slim curves begin below the lip and bend down-left inside the wall, with broad blank paper toward the bowl center.
    Exact same-stage handle borders, fine broken band arcs and both attachment wedges.
    Detail 13.3 — Handle band and fine arcsEnlarged from this same drawing. The two handle borders enclose a clear opening. Fine broken curves follow the band with a gap between them. Stop both handle borders at the cup side.
    Exact same-stage foot band, lower attachment and local foot/contact pencil accents.
    Detail 13.4 — Foot band and local contact toneEnlarged from this same pencil stage. The full band is structural and retained; short form curves and a small shadow immediately right of the foot are separate tone choices.
    Pencil

    Place the small pencil accents

    Instructions for Drawing 13 — Place the small pencil accents
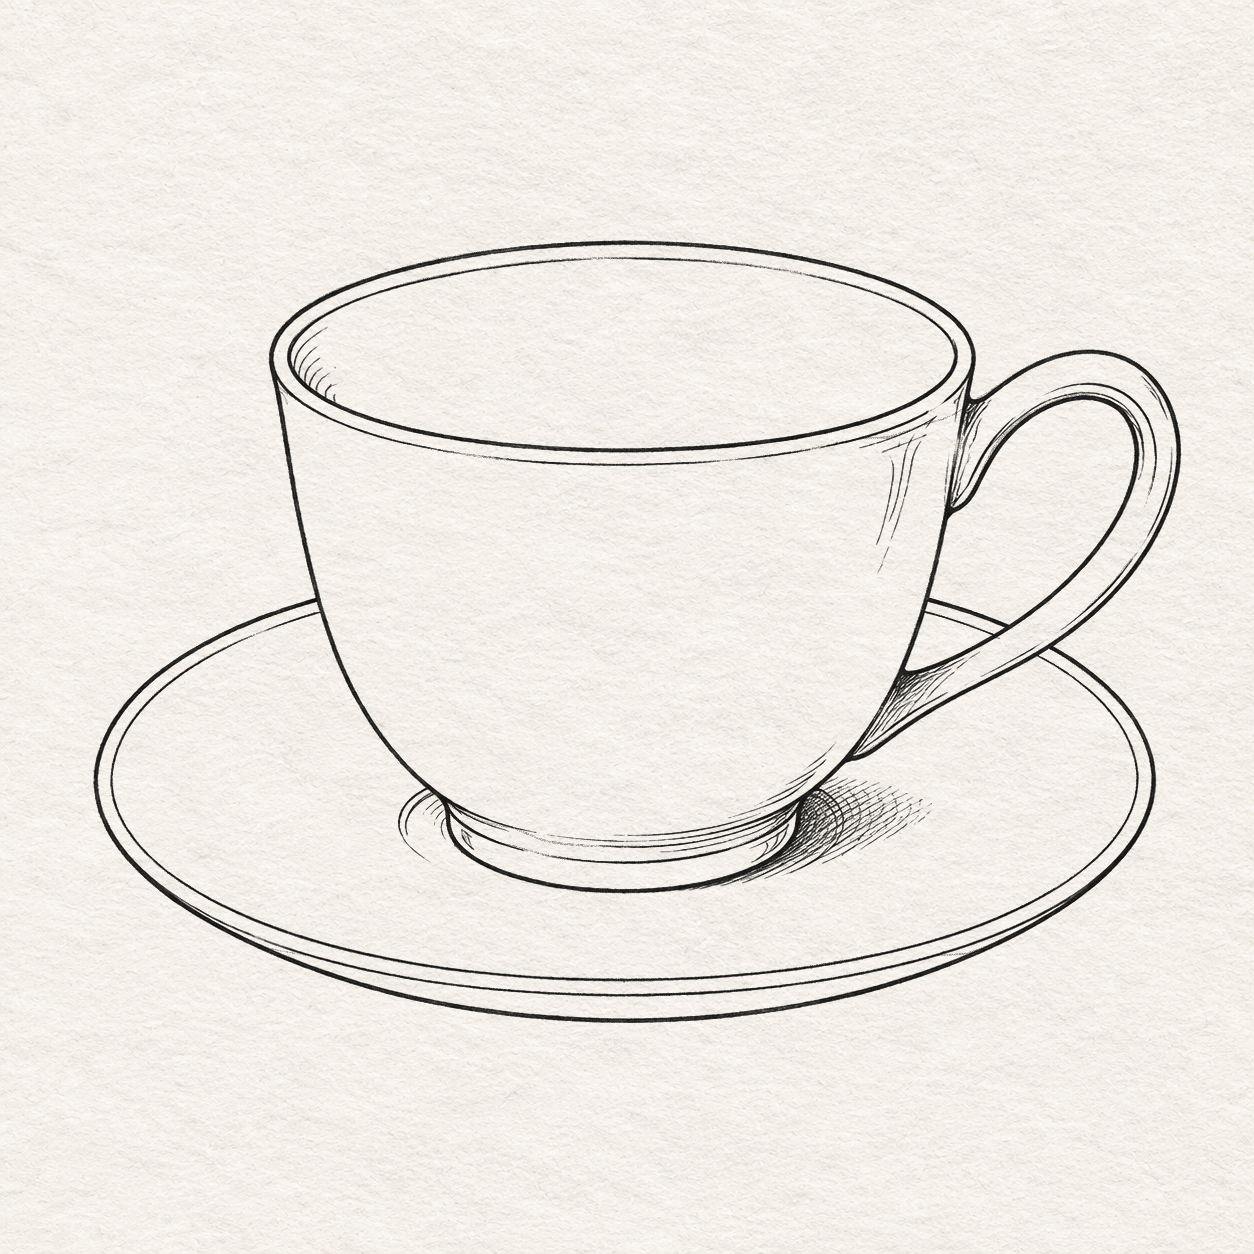
    1. Keep all chosen outlines in place. Strengthen a faint section lightly instead of moving it.
    2. Just inside the opening’s left turn, freehand a few short curves following the rim and ending in the open bowl. See Detail 13.1 — Inner-rim pencil curves.
    3. Below the front rim on the right, freehand a few slim curves about three rim-band widths inside the wall. Bend them down-left for roughly ¼ of the bowl’s height, as in Detail 13.2 — Right-wall form curves.
    4. Near the lower-right bowl, freehand a few shallow curves just above its base. Keep the broad centre blank.
    5. At each narrow join where the handle meets the cup, freehand short close strokes between the cup side and handle border. Keep the large handle opening empty; see Detail 13.3 — Handle band and fine arcs.
    6. Immediately left of the foot, freehand a few open curved contact marks outside its outline. Start beside the bowl-to-foot join and taper before the saucer’s front bands. See Detail 13.4 — Foot band and local contact tone.
    7. Inside the foot, freehand a few short curves following its rounded front. Keep the structural band distinct.
    8. Immediately right of the foot, build a small touching shadow no wider than half the foot. Use close strokes at contact, then shorter, farther-apart strokes outward.
    9. Keep the full structural foot band clear. Small stroke counts may vary; erase a misplaced or overlong accent before pen.
    Next step
  14. The complete cup and saucer contours, fine arcs and local shading are inked while the chosen pencil lines remain underneath.
    Drawing 14 — Trace the complete pencil selection in inkView larger
    Exact same-stage short curved inner-rim ink accents.
    Detail 14.1 — Inner-rim ink curvesEnlarged from this same ink stage. These short curved marks sit inside the left opening turn; keep the rim contours and open bowl distinct.
    Exact same-stage right-wall ink form curves below the lip.
    Detail 14.2 — Right-wall form curvesEnlarged from this same ink stage. The slim curves begin below the lip and bend down-left inside the wall, with broad blank paper toward the bowl center.
    Exact same-stage handle borders, fine broken band arcs and both attachment wedges.
    Detail 14.3 — Handle band and fine arcsEnlarged from this same drawing. The two handle borders enclose a clear opening. Fine broken curves follow the band with a gap between them. Stop both handle borders at the cup side.
    Exact same-stage foot band, lower attachment and local foot/contact ink accents.
    Detail 14.4 — Foot band and local contact toneEnlarged from this same ink stage. The full band is structural and retained; short form curves and a small shadow immediately right of the foot are separate tone choices.
    Fineliner

    Trace the complete pencil selection in ink
    Instructions for Drawing 14 — Trace the complete pencil selection in ink

    1. Test the fineliner on scrap paper, then trace the complete checked pencil drawing.
    2. Work around the rim curves and unequal side joins, cup sides and full foot band, then both handle borders and fine broken arcs.
    3. Trace the visible saucer surface, rim and lower thickness curves. Lift the pen at every hidden cup or handle overlap.
    4. Ink the already placed short curves, attachment wedges and foot-contact marks. Keep the planned gaps; introduce no new features during this pass.
    5. Keep the pencil underneath until the ink is dry. If a gap begins to close, stop darkening rather than widening every outline.
    Next step
  15. Finished fineliner cup and saucer after the remaining pencil is erased, with narrow rim bands, open handle and broad unshaded areas.
    Drawing 15 — Let the ink dry, then lift the pencilView larger
    Eraser

    Let the ink dry, then lift the pencil

    Instructions for Drawing 15 — Let the ink dry, then lift the pencil

    1. Make a similar dark pen patch on scrap paper. Wait until a gentle eraser test does not smear it.
    2. Then erase the remaining pencil outlines and small pencil marks with short soft touches. Keep every ink line in place.
    3. Brush crumbs away without scrubbing. If the scrap still smears, wait longer.
    4. Compare rim, foot band, handle opening and saucer bands before and after. Only pencil disappears; broad blank spaces and narrow ink gaps stay open.
    Back to the steps

If something looks off

My opening looks pointed

Recheck the four oval tips. Rehearse a continuous loop and round gradually through the side turns; replace only the pinched arc before choosing the rim paths.

The handle closes into a dark shape

Keep its inner route distinct from its outer border and stop the saucer behind it. Compare the empty opening before pen; hatching stays only at the attachment wedges.

The saucer cuts through the cup

Its full oval was only a construction envelope. Select and ink visible back segments, stopping at the bowl and handle, then remove the hidden guides.