FinelinerEasy

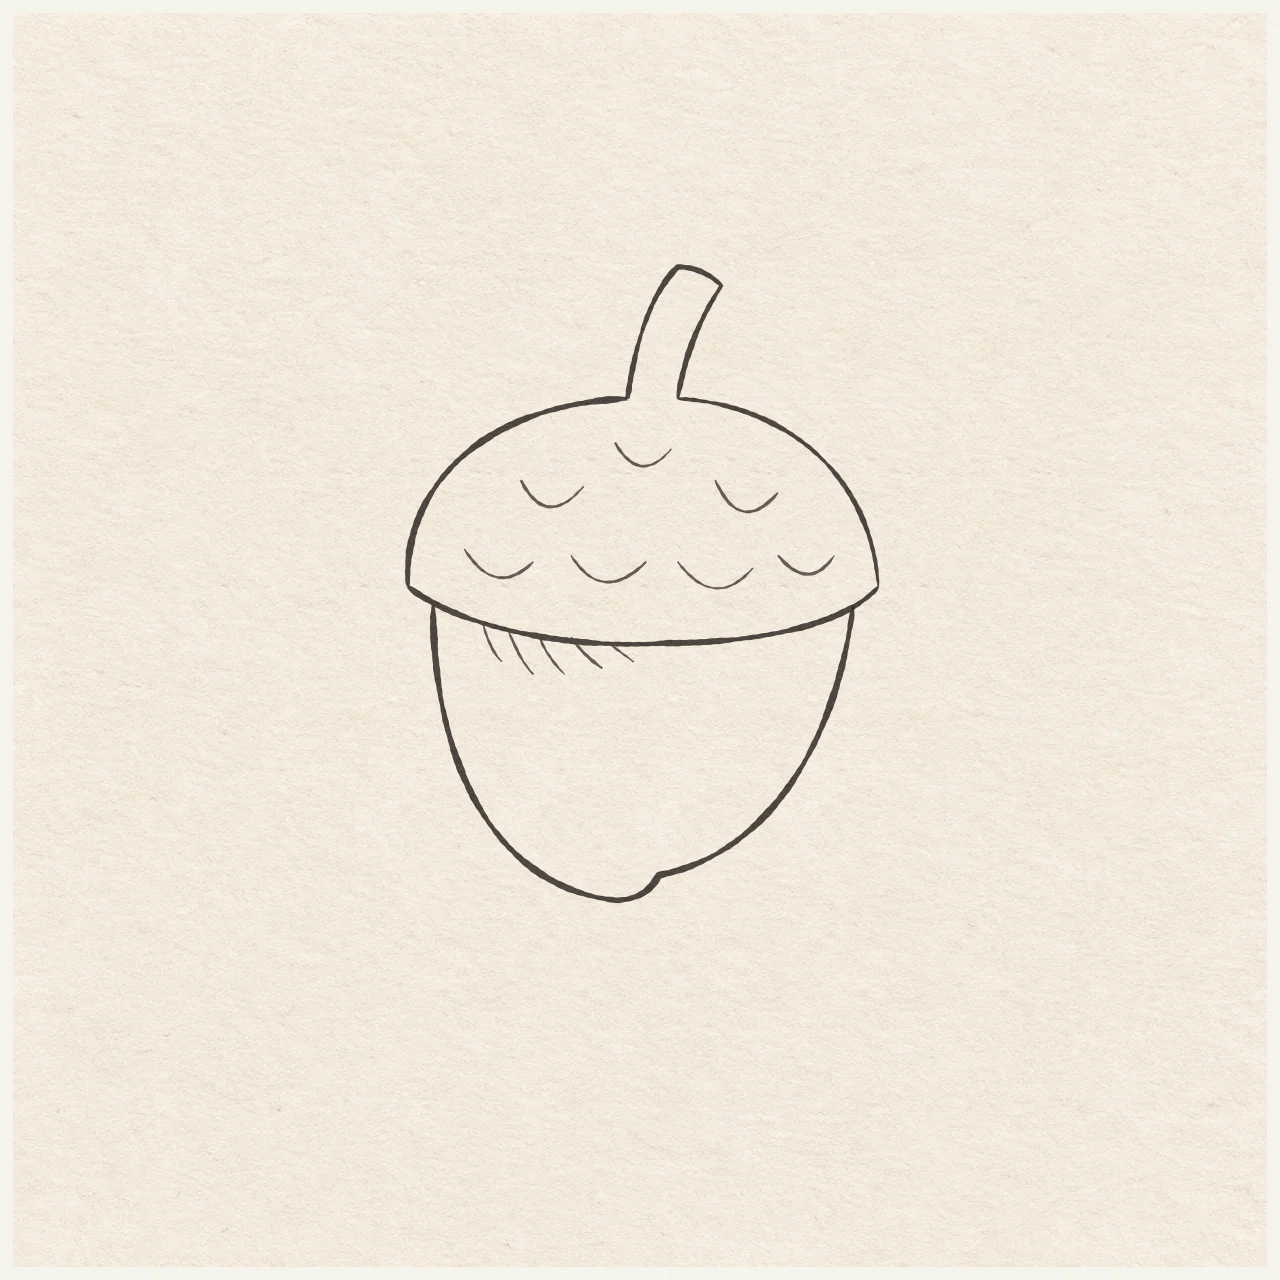
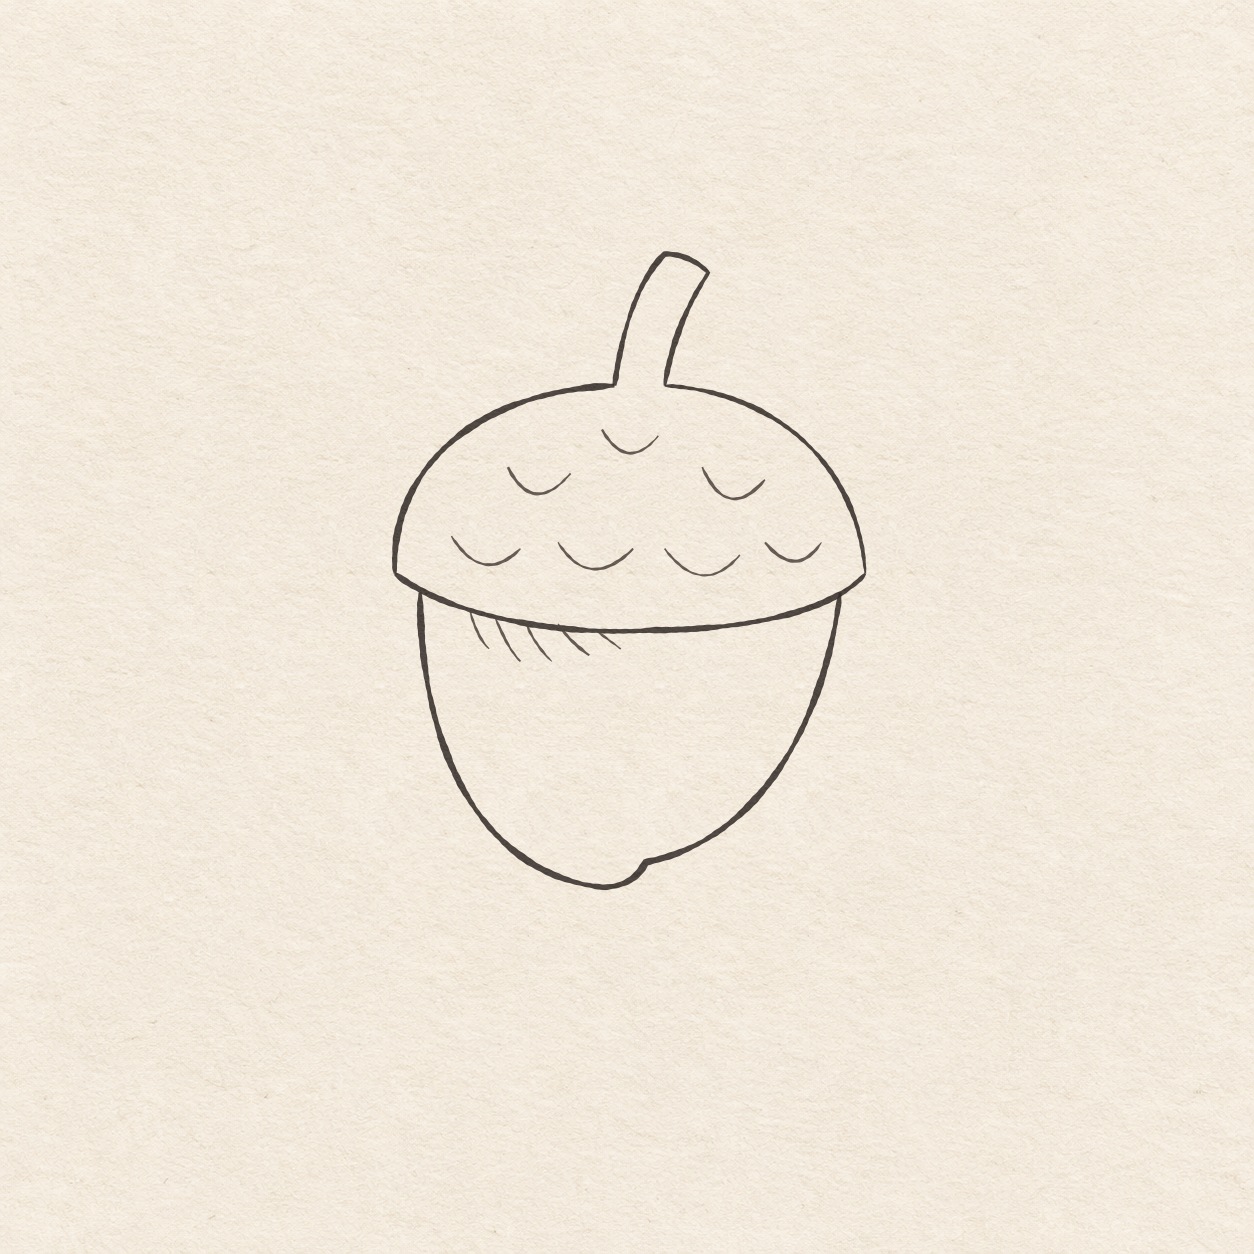
Tilted acorn
Use a ruler to place the cap and stem, then curve the acorn and finish it with a few fineliner marks.
Follow the drawing tutorial
Use a ruler to place the cap and stem, then curve the acorn and finish it with a few fineliner marks.
Start the 7-step tutorialA small thing to tryIn pencil, extend each stalk side to its own end of the cap. Leave the gap between those two contacts open before you ink.
Draw it, one step at a time
Draw a tilted acorn
Use a ruler to place the cap and stem, then curve the acorn and finish it with a few fineliner marks.
What you’ll need
- HB pencil
- Eraser
- Ruler
- Scrap of paper with a square corner
- Fine black pen
- Drawing paper
Before you start
This example is about 7.5 cm wide and 10 cm tall. Choose where it will sit. Leave room above and below the cap and a margin all around.
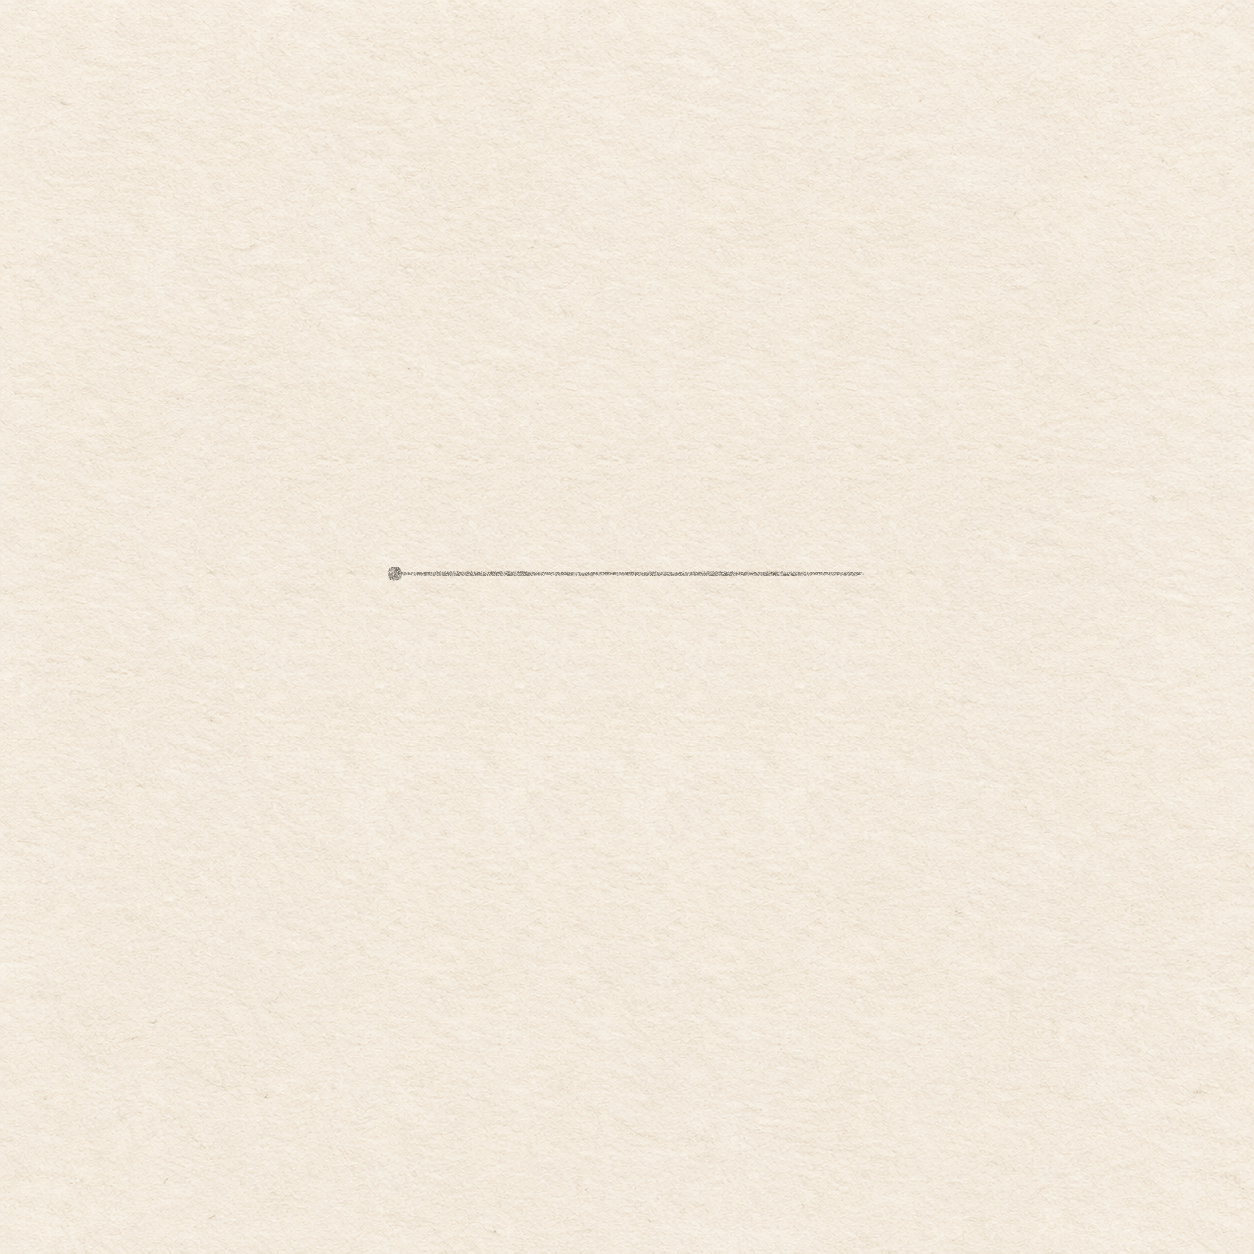
Drawing 1 — Place the acornView larger PencilPlace the acorn
Instructions for Drawing 1 — Place the acorn
- Choose the left corner of the cap. Make a faint dot with at least 5.5 cm of room above and below and 7.5 cm to the right, plus a paper margin. Move the dot now if you need more room for either end of the acorn.
- Rule a faint horizontal line 7.5 cm to the right from the dot. Its right end is the other cap corner. Use this faint line to measure the next dots. Keep it light enough to erase beside the pen lines.

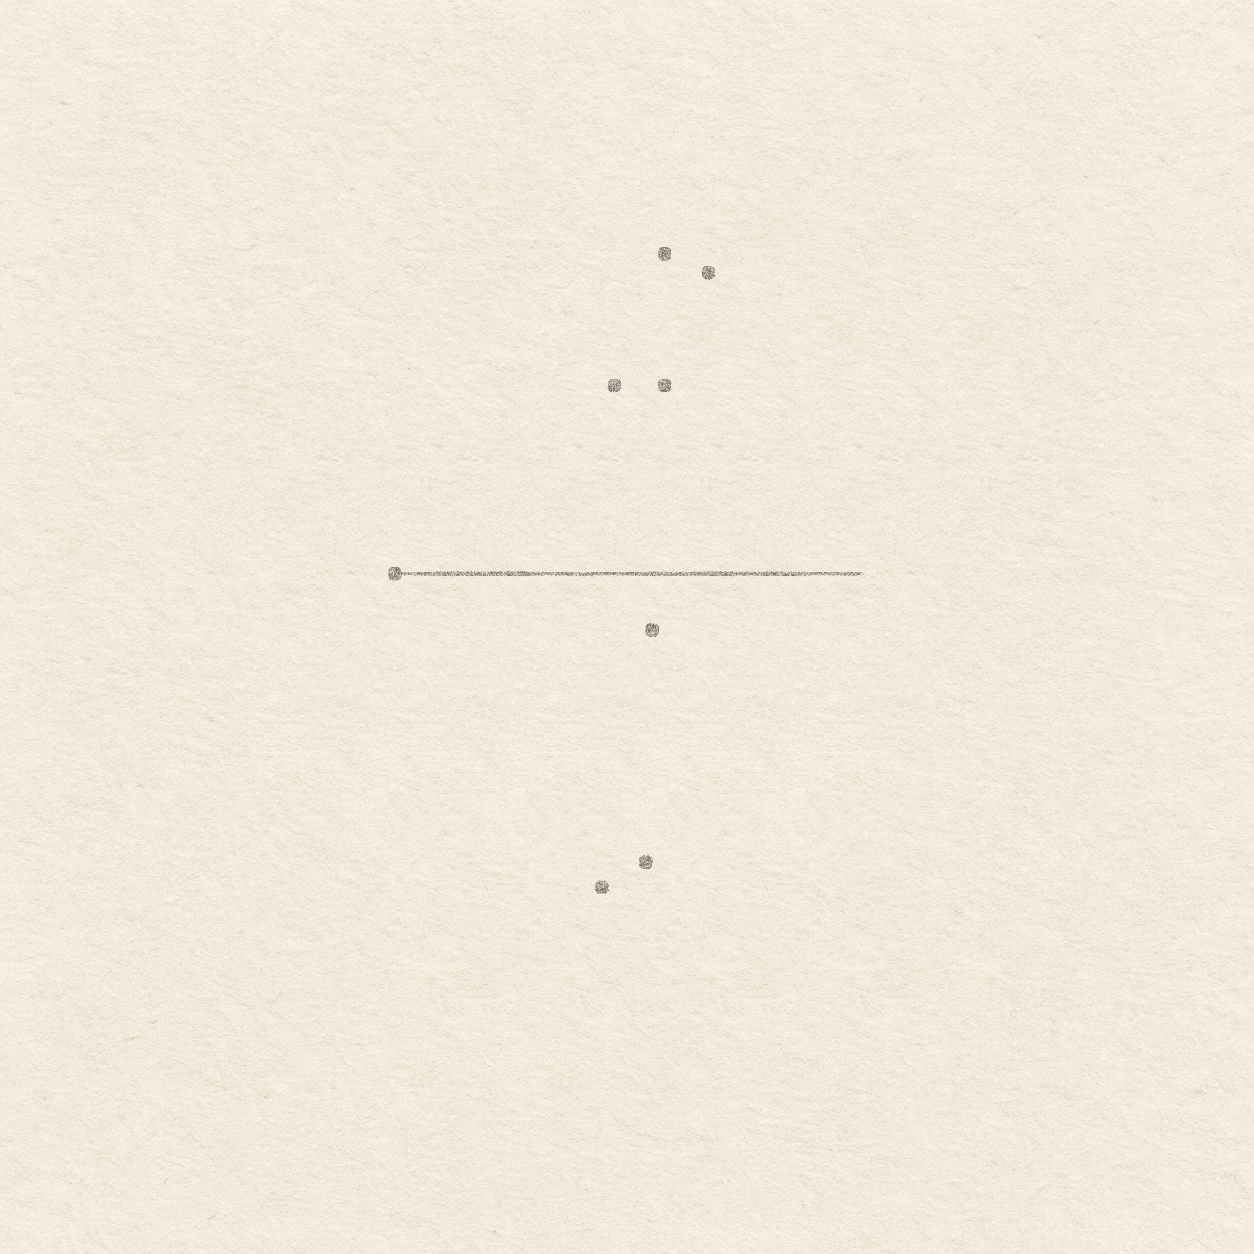
Drawing 2 — Mark the cap, stalk and nut stopsView larger PencilMark the cap, stalk and nut stops
Instructions for Drawing 2 — Mark the cap, stalk and nut stops
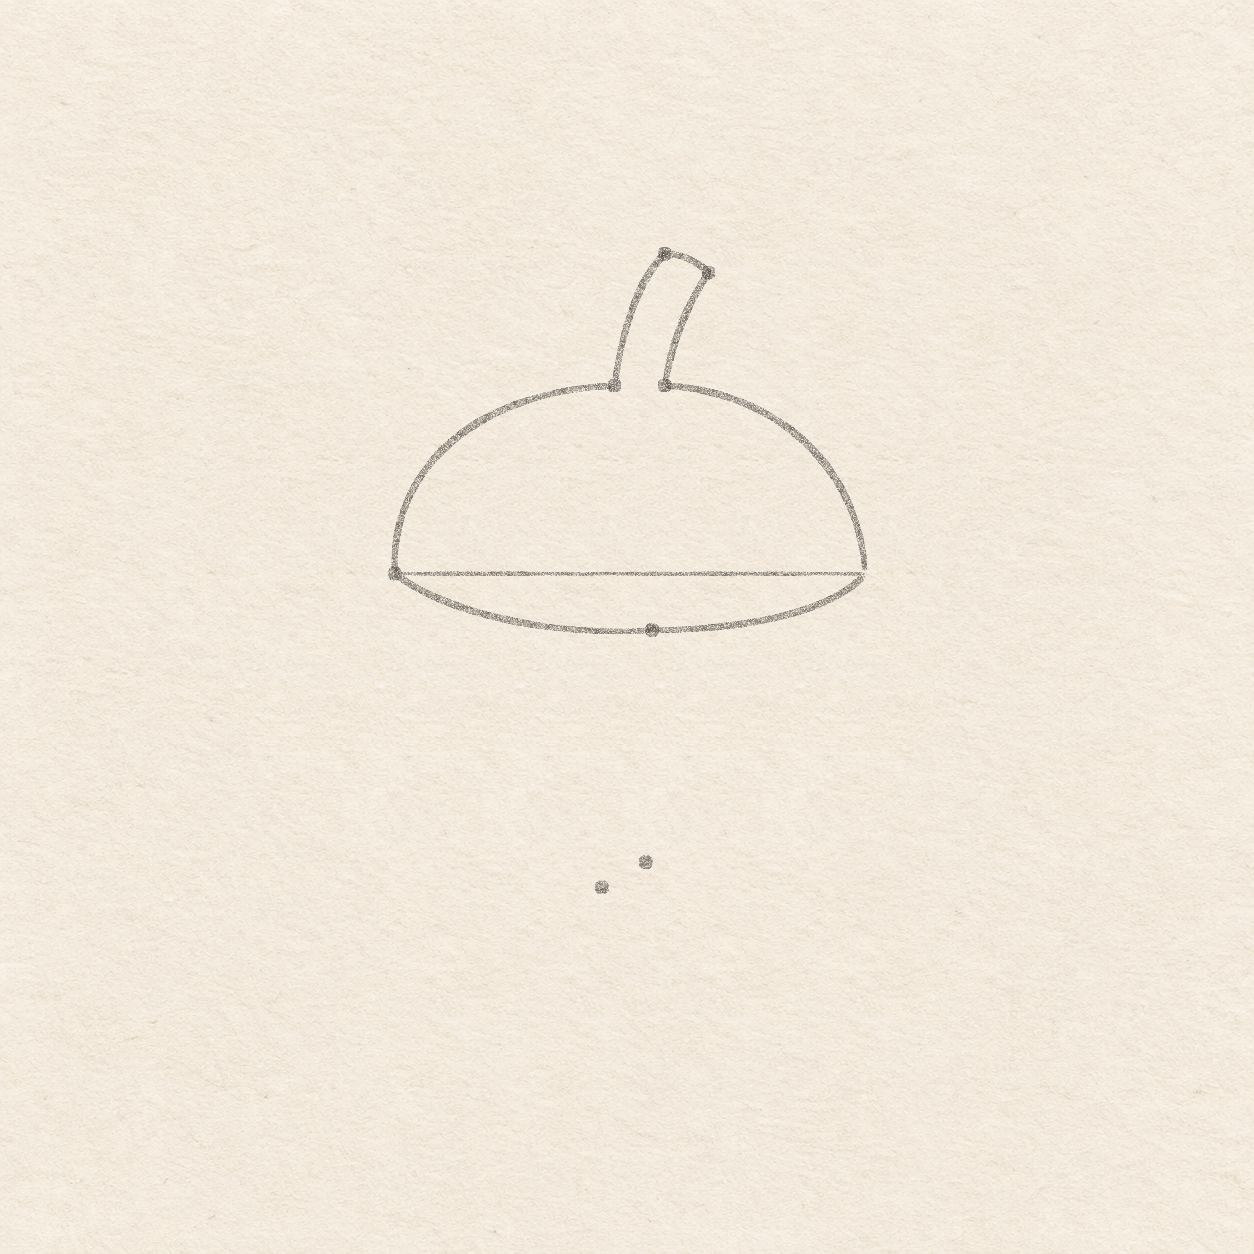
- Measure right from the left cap corner along the faint line. Hold the square edge of a scrap of paper against the line to measure straight up or down. At 4.1 cm right, mark a dot 9 mm down for the lowest part of the cap rim. At 3.5 cm and 4.3 cm right, mark two dots 3 cm up for the flat-height gap in the cap. From the right gap dot, mark the stalk’s high point 2.1 cm straight up. Put a second tip dot 7 mm right and 3 mm down from the first. At 3.3 cm right of the left cap corner, mark the nut’s bottom dot 5 cm down from the faint line. Mark the last dot 7 mm right and 4 mm above the nut bottom. The stalk high point sits directly above the right gap dot. The nut bottom sits a little left of the cap rim’s low dot.

Drawing 3 — Curve the cap and stalkView larger PencilCurve the cap and stalk
Instructions for Drawing 3 — Curve the cap and stalk
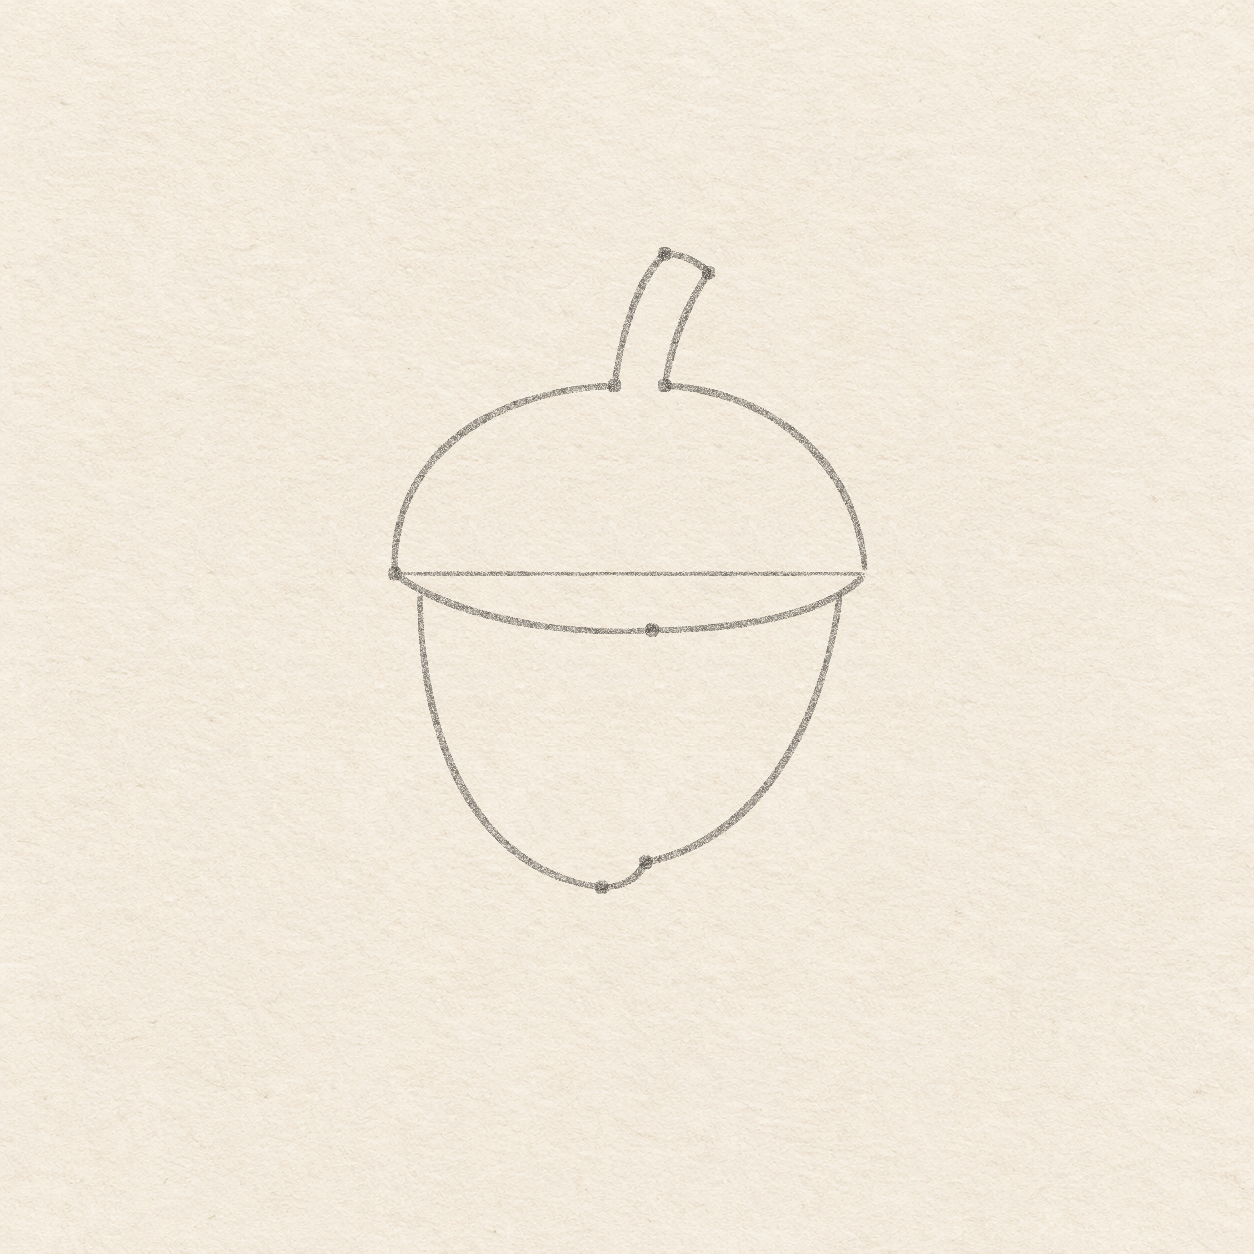
- From the left cap corner, bow a shallow freehand curve down and right through the dot 9 mm below the line. Bend it gently back up to the right cap corner. Keep the deepest part of the rim broad and nearly flat.
- Start at the left cap corner and freehand a rounded shoulder up and right to the left gap dot. Start separately at the right gap dot and round the other shoulder down and right to the right cap corner. Leave the short space between the two gap dots open.
- Start at the left gap dot. Curve the stalk side steeply up and right to its high dot. Freehand a short tip that bends right and slightly down to the second tip dot. Then curve back down and left to the right gap dot. Check that the two sides meet separate shoulder ends and that there is still room between them.

Drawing 4 — Draw the pointed nutView larger PencilDraw the pointed nut
Instructions for Drawing 4 — Draw the pointed nut
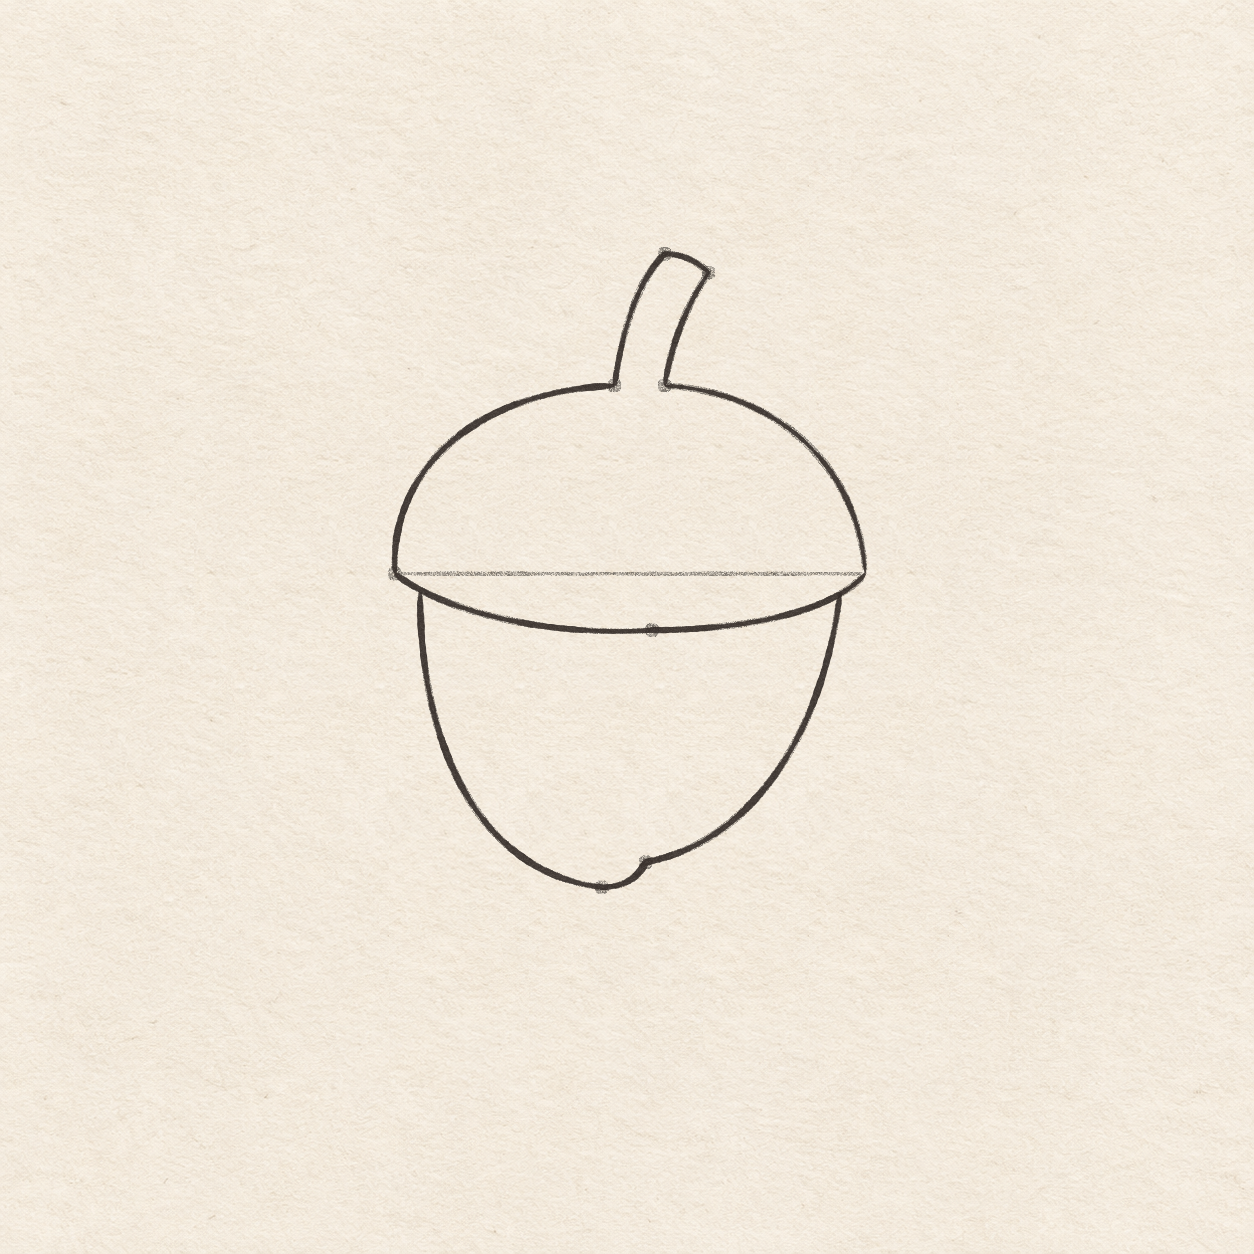
- Find a spot on the rim 4 mm to the right of its left end, and another 4 mm to the left of its right end. Start at the left spot and curve down freehand, keeping that side nearly straight at first. Round it in to the bottom dot. Make a small turn up and right to the dot just above it, then round the right side up to its spot on the rim. Keep a shallow point just right of the bottom dot. Both upper ends touch the curved cap rim.

Drawing 5 — Ink the acorn edgesView larger InkInk the acorn edges
Instructions for Drawing 5 — Ink the acorn edges
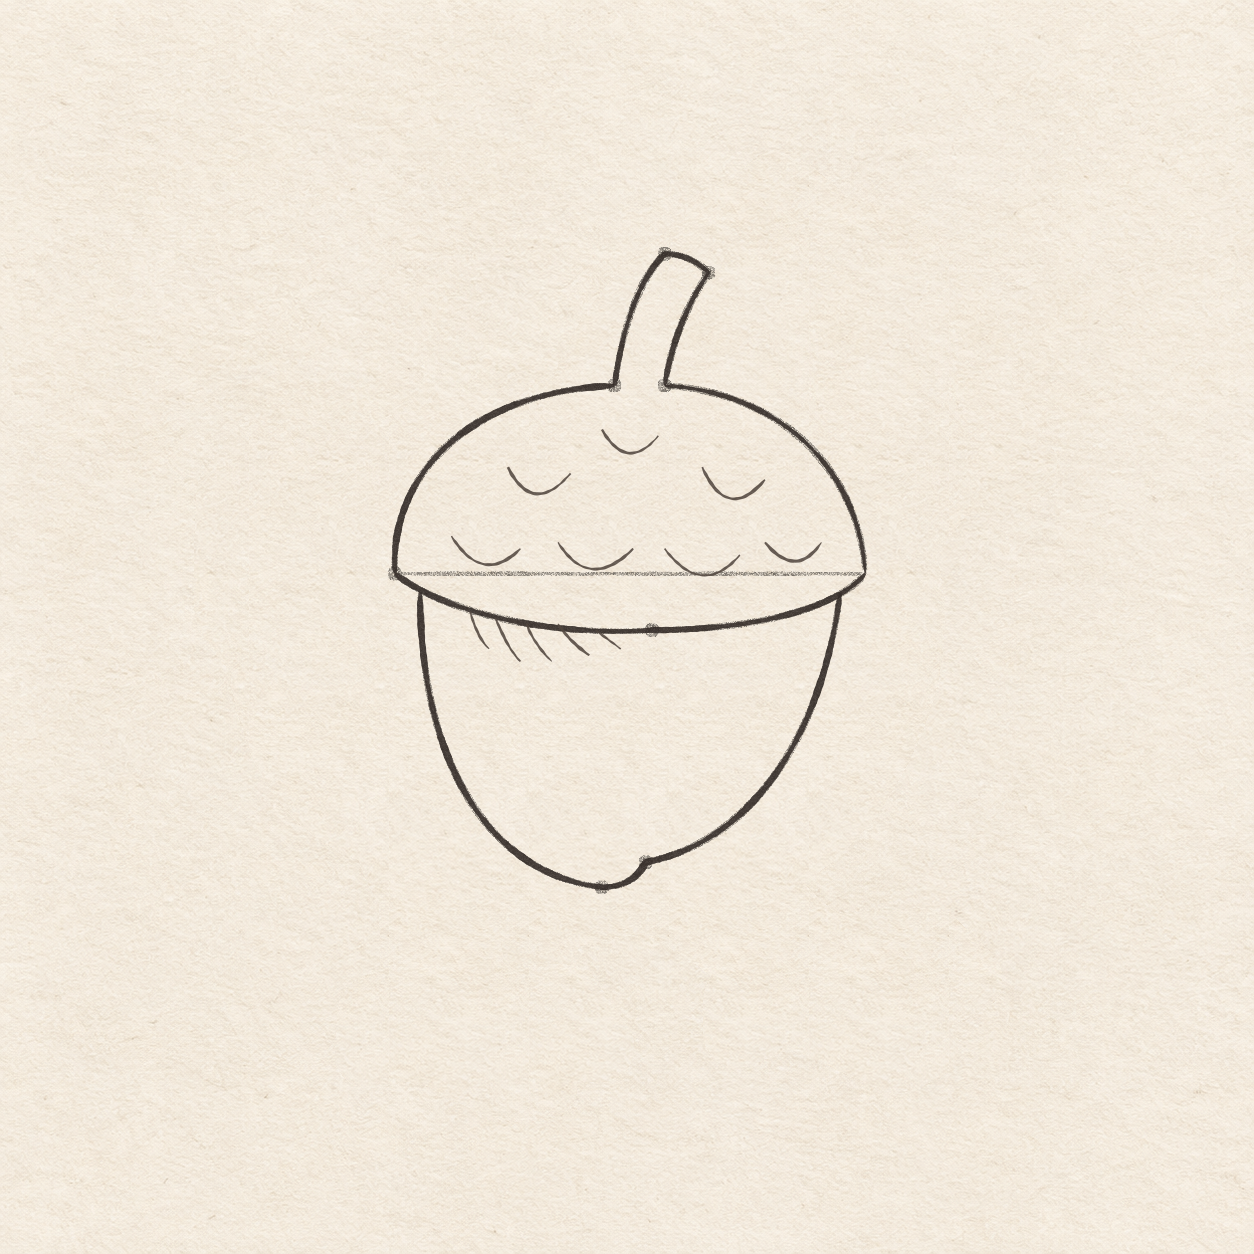
- Follow the curved lower cap rim in pen from the left cap corner to the right corner. Keep the faint straight measuring line in pencil.
- Follow the two rounded cap shoulders in pen. Stop at the edge of the stalk on each side. Lift the pen across the stalk opening so both shoulders stay separate.
- Follow the two stalk sides and the short bent tip in pen. Connect the two stalk sides to the shoulder ends on their own sides.
- Ink the nut outline from its left cap contact, around the bottom point and up to the right cap contact. Let each end touch the inked rim a little in from the cap corners.

Drawing 6 — Add cap scales and a small shadowView larger InkAdd cap scales and a small shadow
Instructions for Drawing 6 — Add cap scales and a small shadow
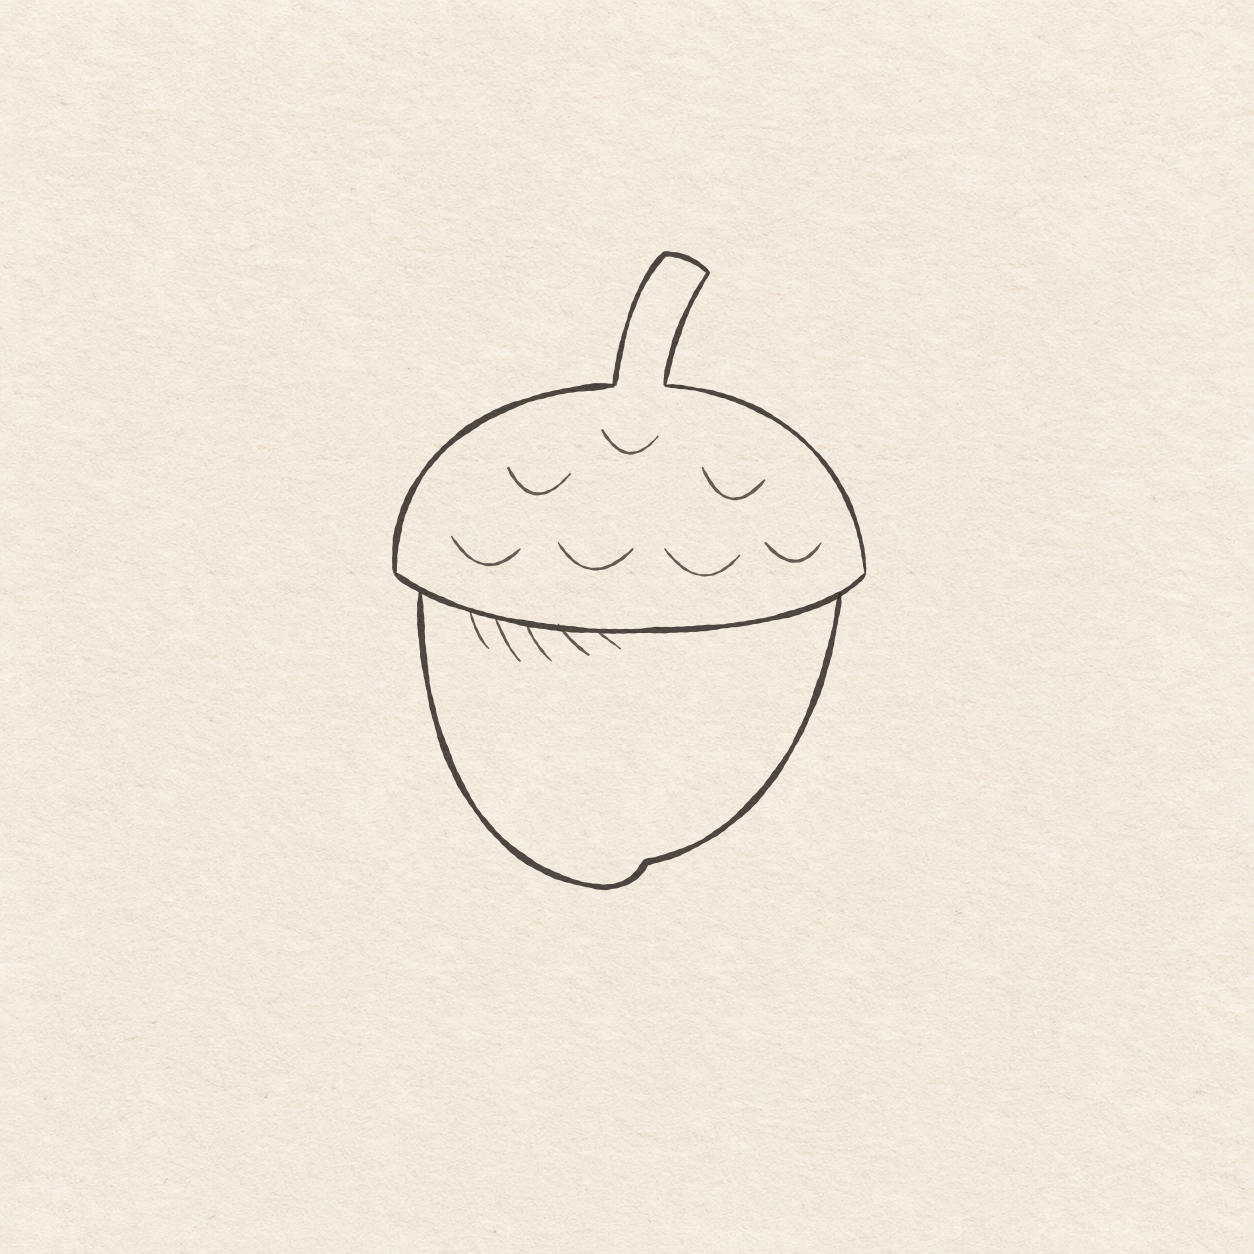
- Freehand three shallow U-shaped strokes in the upper half of the cap and four below. Bow each one down and then back up. Make the upper marks about 1 cm wide and leave a few millimetres between all the marks and the cap edges. Vary the width and height a little. Keep open paper between all seven marks.
- Just under the left half of the inked rim, add five short freehand shadow strokes. Start each one on the rim and slope it down and right for about 4 to 7 mm. Use light pressure at the tips and leave the rest of the nut open.

Drawing 7 — Erase the dry pencil guidesView larger CleanupErase the dry pencil guides
Instructions for Drawing 7 — Erase the dry pencil guides
- Fill a small patch on a scrap of the same paper with the same pen. Rub the patch gently with your eraser. If it smears, wait and test again. Once the patch stops smearing, erase the straight measuring line, dots and faint pencil outlines beside the dry ink.
If something looks off
If the stalk looks like it floats above the cap
In pencil, extend each stalk side to its own end of the cap. Leave the gap between those two contacts open before you ink.