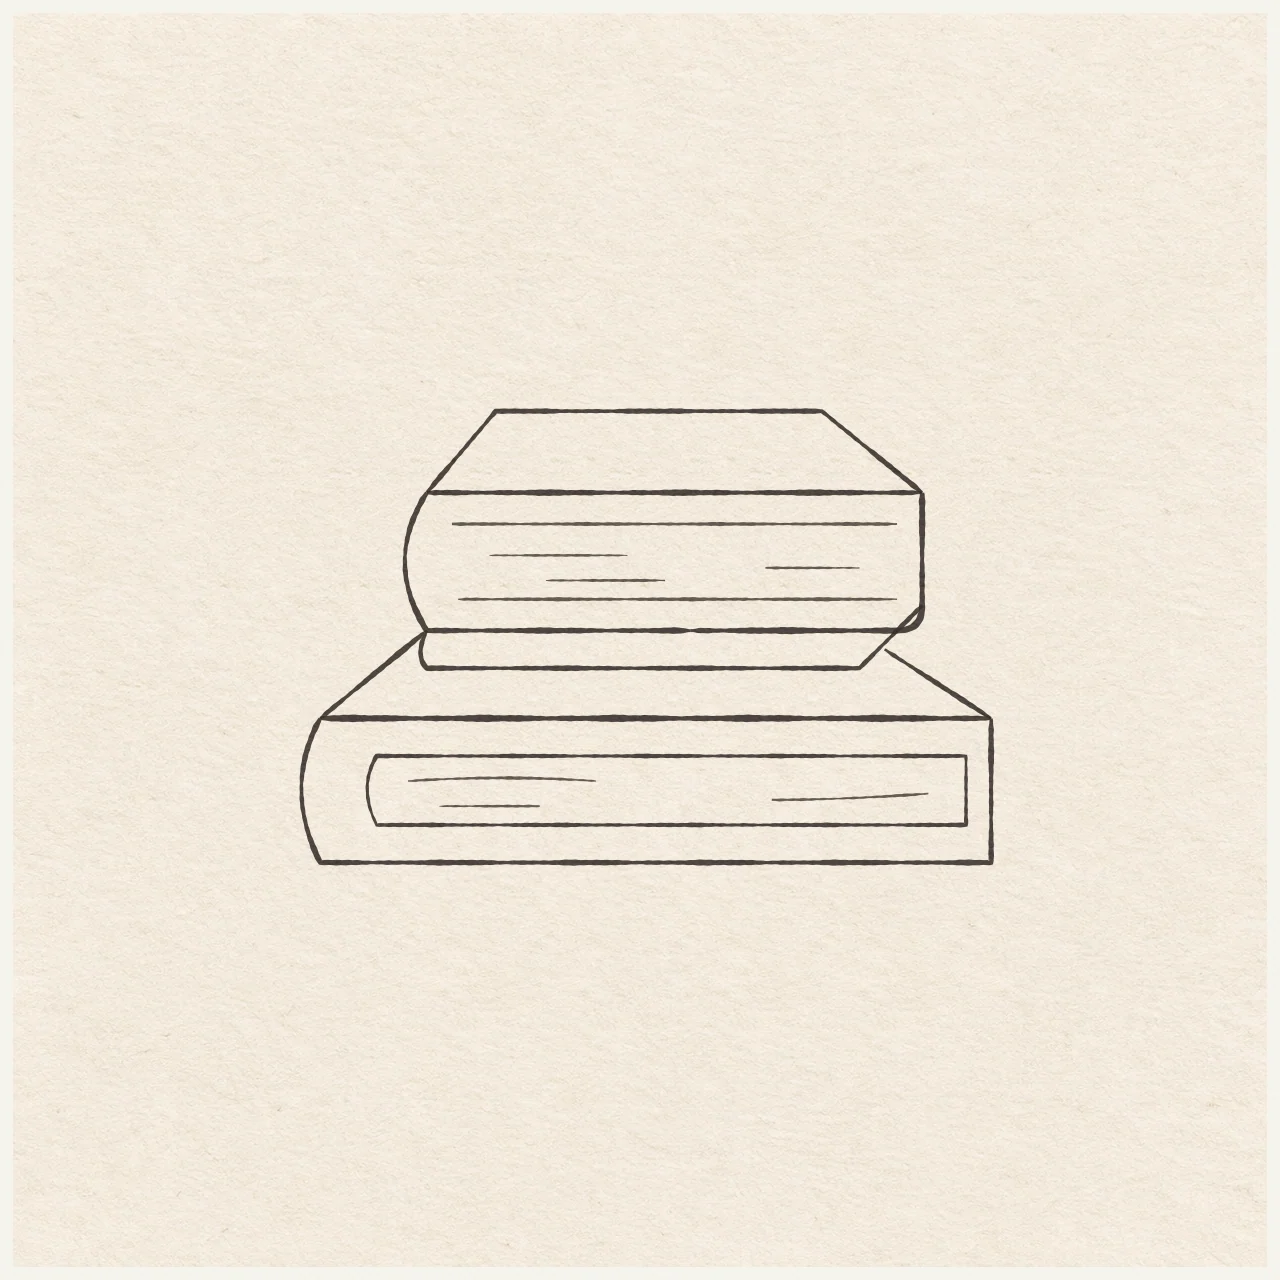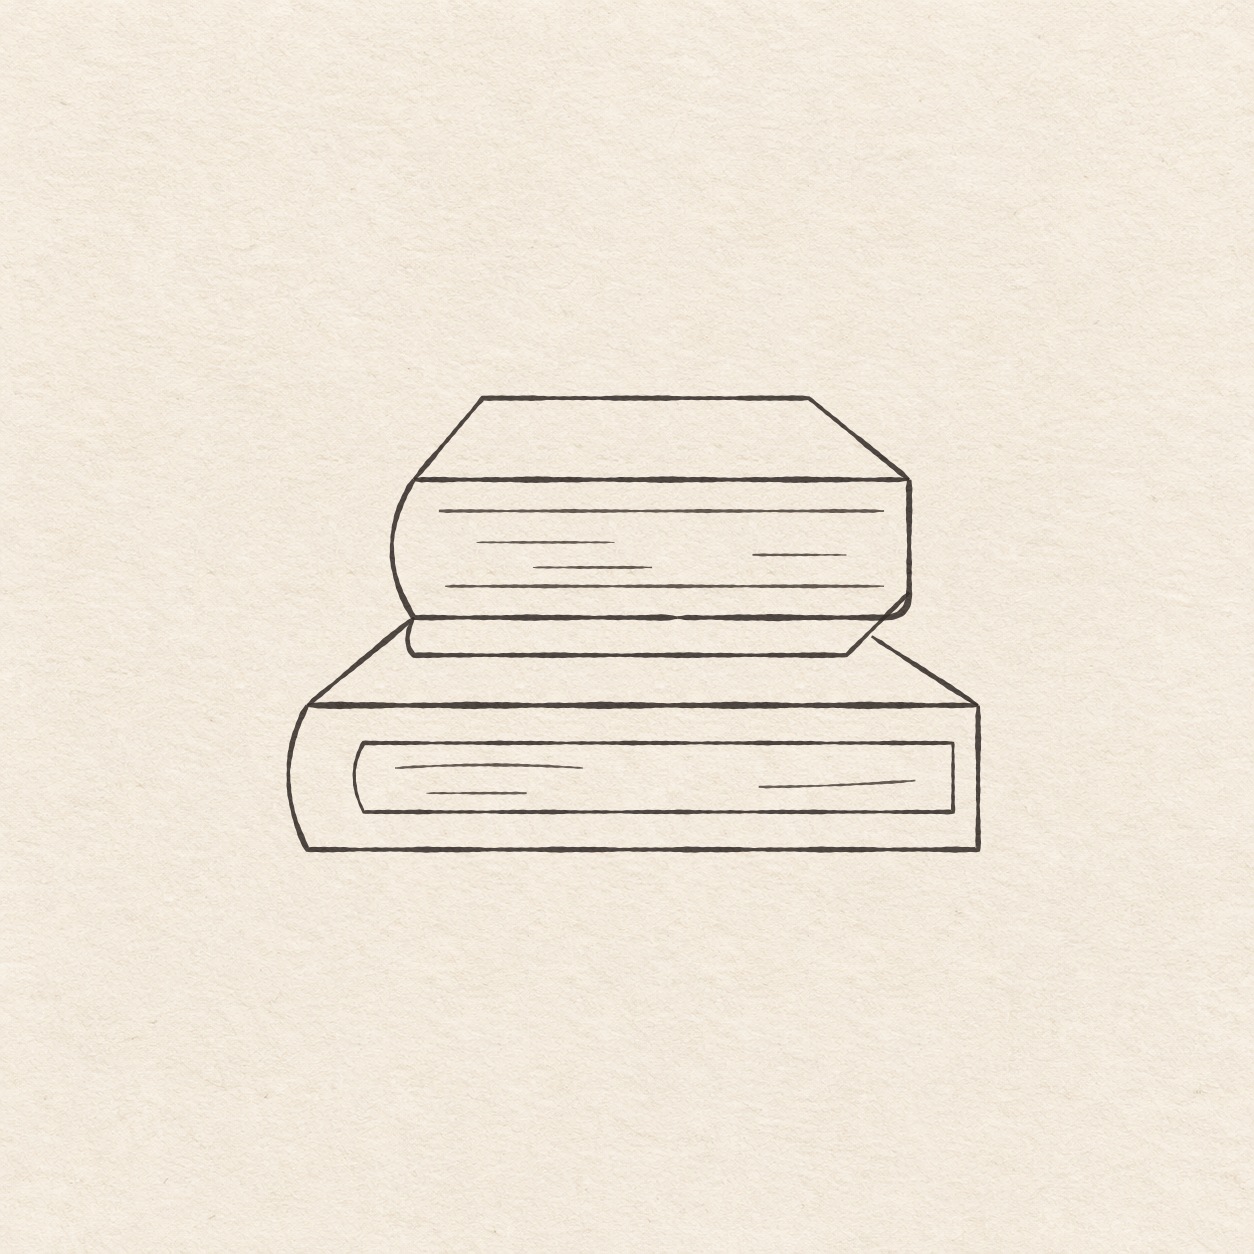
Fineliner drawing of two stacked books, with a narrow book above a wider one and sparse short page lines.
Drawing referenceAbout reference use

Two stacked books

Set out two hardbacks with curved spines, then add thin covers and page edges in pen.

Everyday objectsEasyFinelinerReference practice: about 26 min
Save reference

Follow the drawing tutorial

Set out two hardbacks with curved spines, then add thin covers and page edges in pen.

Start the 8-step tutorial

A small thing to tryIn pencil, join the left sloping line to the upper book. Stop the right sloping line just short of the upper book’s edge.

Draw it, one step at a time

Draw two stacked books

Set out two hardbacks with curved spines, then add thin covers and page edges in pen.

8 illustrated steps Full tutorial: about 26 minutes, at your pace

What you’ll need

  • HB pencil
  • Eraser
  • Ruler
  • Scrap of paper with a square corner
  • Fine black pen
  • Drawing paper

Before you start

This example is about 11 cm wide and 7.2 cm tall. Choose where to put the stack on your page. Start with the front edge of the lower book.
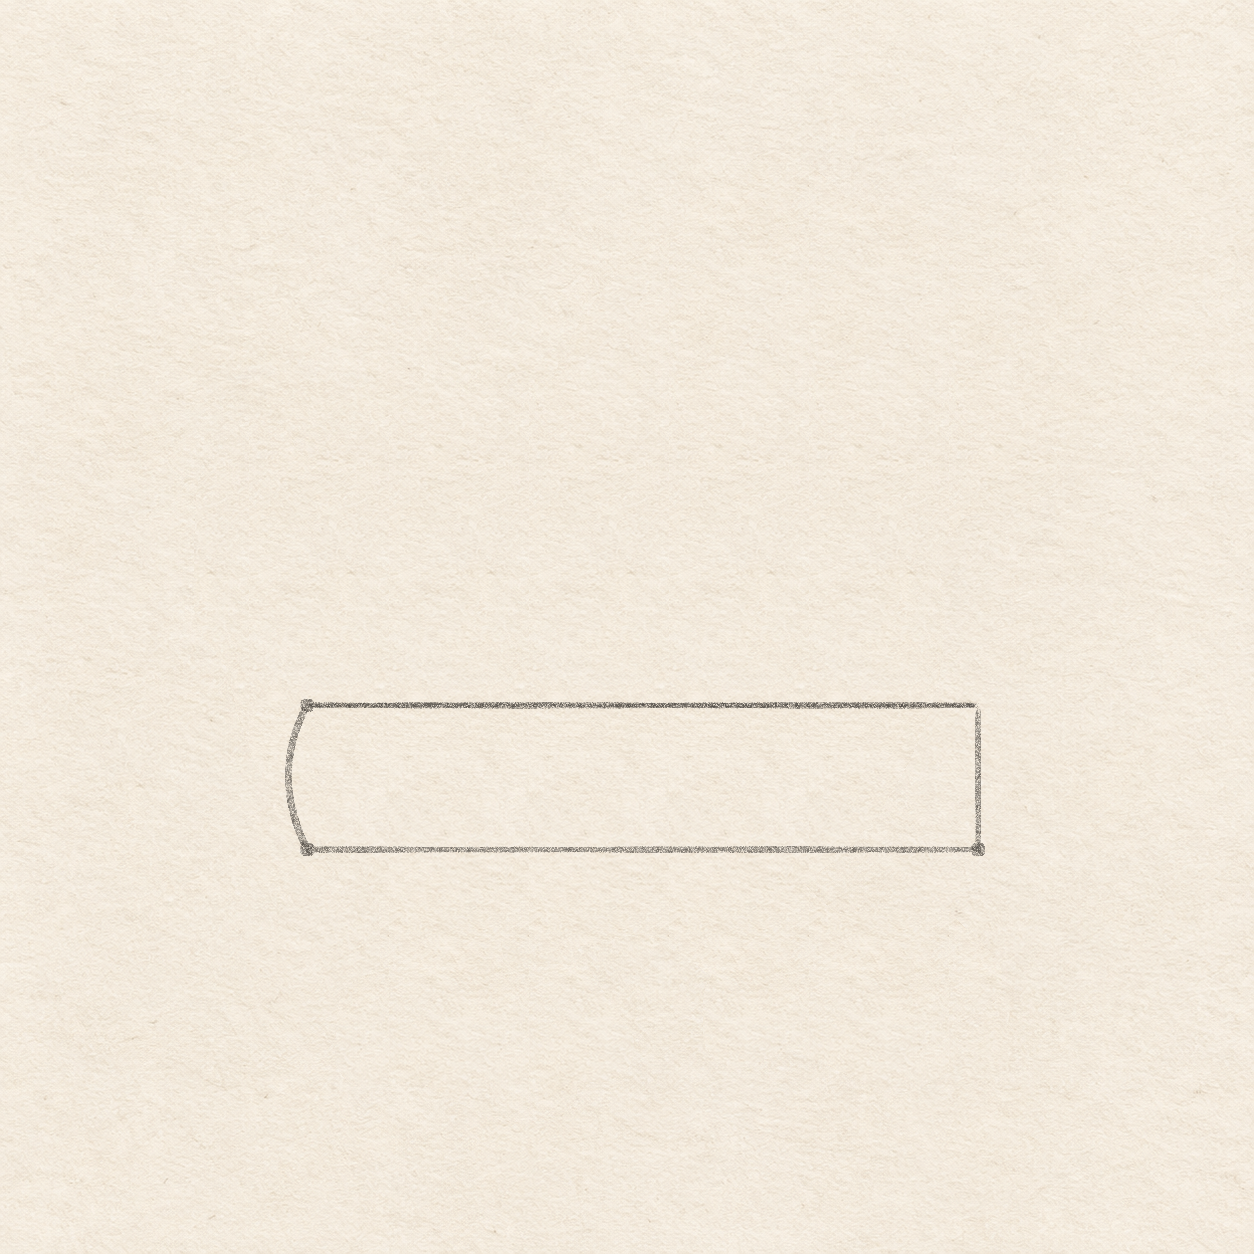
  1. The pencil face of a wide hardback with a bowed left spine.
    Drawing 1 — Draw the front of the lower bookView larger
    Pencil

    Draw the front of the lower book

    Instructions for Drawing 1 — Draw the front of the lower book
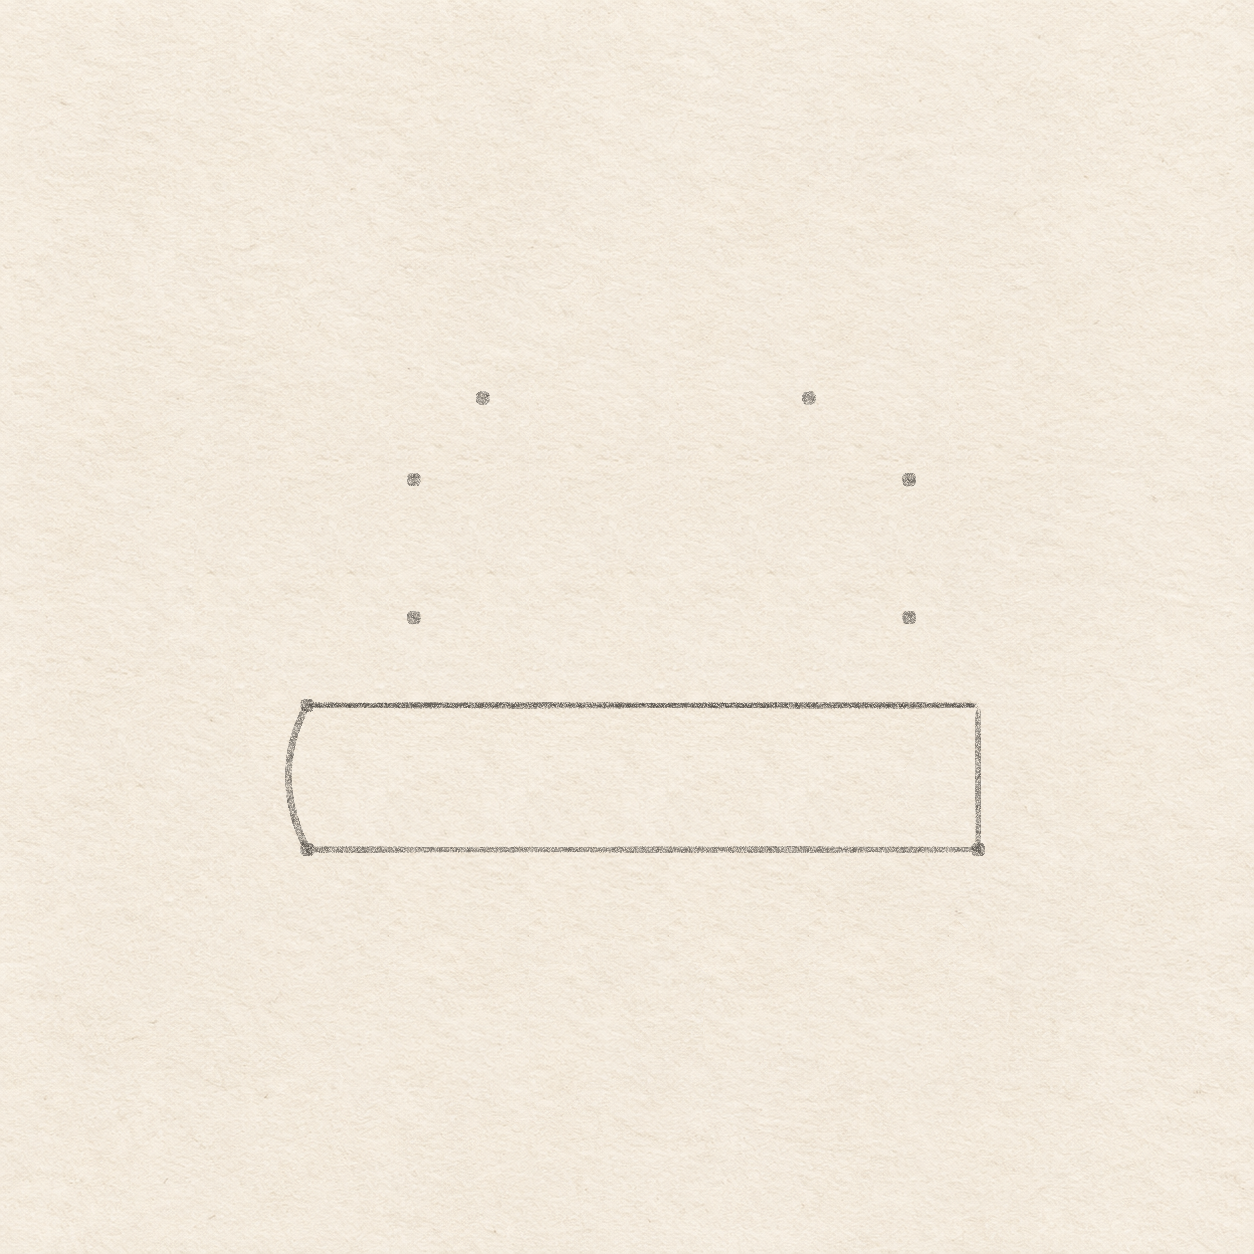
    1. Choose a spot for the left end of the lower book’s front edge. Make a light dot. Leave about at least 5.2 cm above it, 2.5 cm below it and 11 cm to the right, plus a paper margin. Allow at least 5 mm to the left for the rounded spine.
    2. Rule a level line 10.7 cm to the right from the dot. This is the lower book’s top front edge and the line you will measure from. Keep it faint. You can darken it slightly when you draw the lower face.
    3. Line up one straight edge of a square paper corner with the front edge. From each end, mark a dot 2.3 cm straight down. Hold your ruler across the two lower dots to check they are level.
    4. From the left end of the front edge, bow a shallow line freehand left by about 4 mm and curve it back to the left lower dot. Rule across to the right lower dot and straight up to the right end above it. Go over the original top line lightly to match the other sides. The left edge bows out a little. Keep the three ruled edges straight.
    Next step
  2. Six light pencil dots above the lower book mark the next front face and its top cover.
    Drawing 2 — Set the upper book’s cornersView larger
    Pencil

    Set the upper book’s corners

    Instructions for Drawing 2 — Set the upper book’s corners
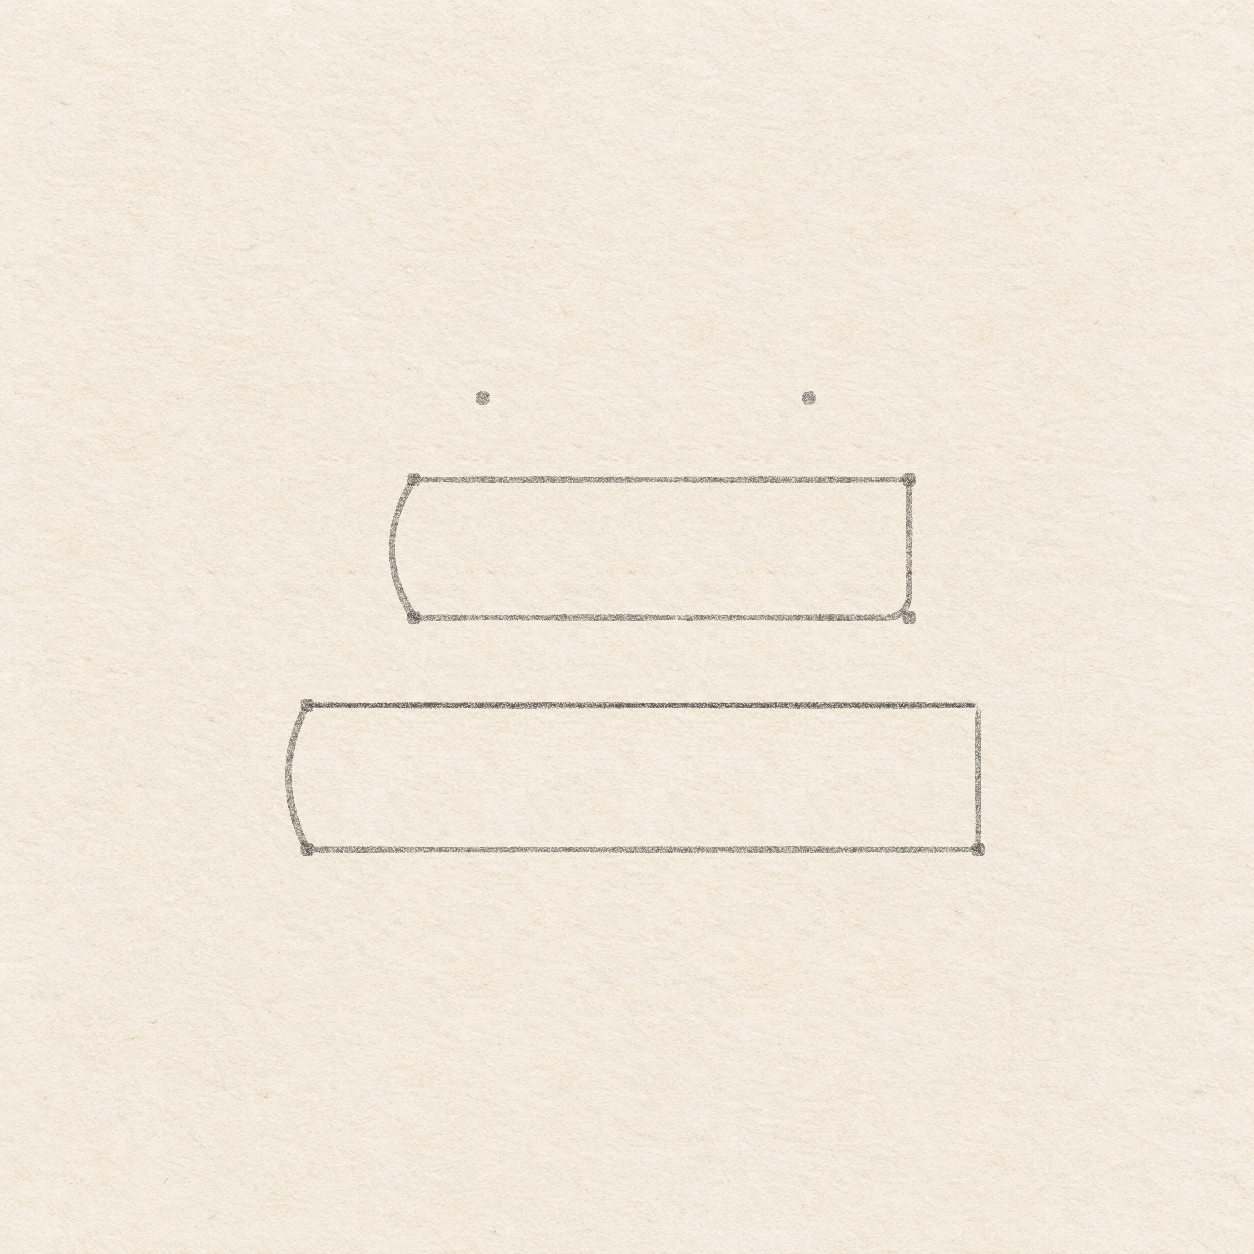
    1. Measure right along the lower book’s top front edge from its left end. Use the square scrap to measure up. At 1.7 cm and 9.6 cm from the left, mark the upper book’s top front dots 3.6 cm up and its lower front dots 1.4 cm up. Mark two more dots 4.9 cm up, at 2.8 cm and 8 cm from the left. The highest two dots are closer together than the top front pair.
    Next step
  3. A shorter hardback face with a bent left spine and rounded lower-right corner.
    Drawing 3 — Draw the front of the upper bookView larger
    Pencil

    Draw the front of the upper book

    Instructions for Drawing 3 — Draw the front of the upper book
    1. Rule between the upper book’s two top front dots. From the left top dot, bow the spine a few millimetres left freehand and bring it back to the left lower dot. Rule right from that lower dot, stopping 4 mm short of the right lower dot. Start again at the right top dot and rule down to about 4 mm above the right lower dot. Round left to meet the lower edge where it stops. Leave the centre of the front face open for the page lines.
    Next step
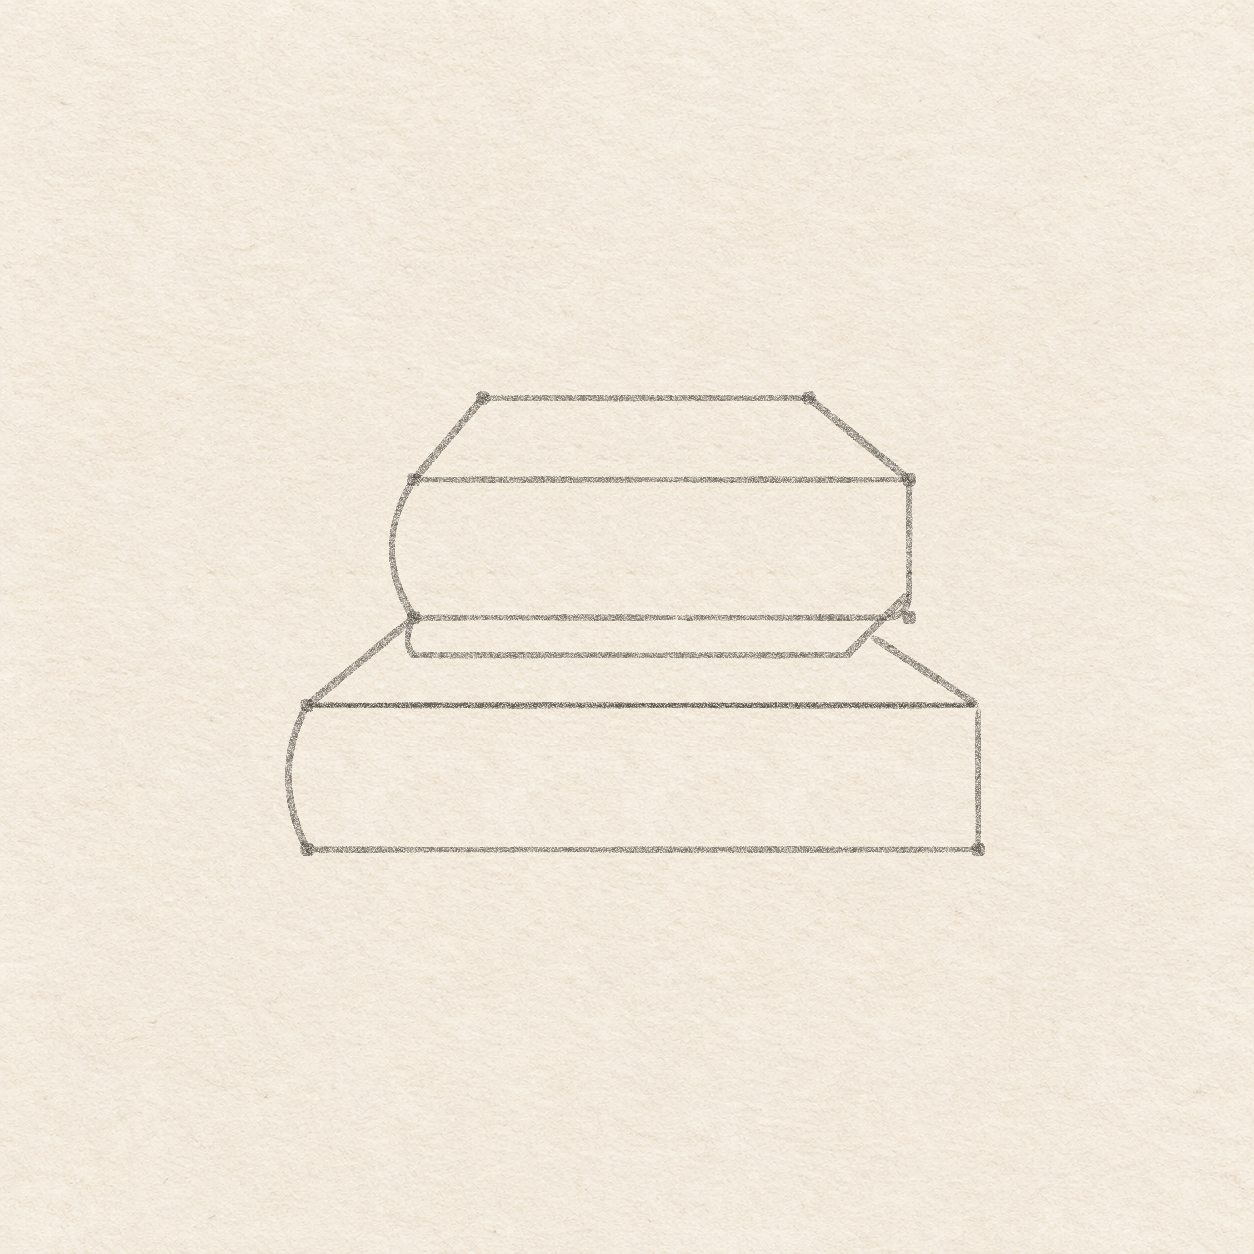
  4. Exposed pencil cover edges show how the smaller book rests on the lower one.
    Drawing 4 — Connect the upper cover and the stackView larger
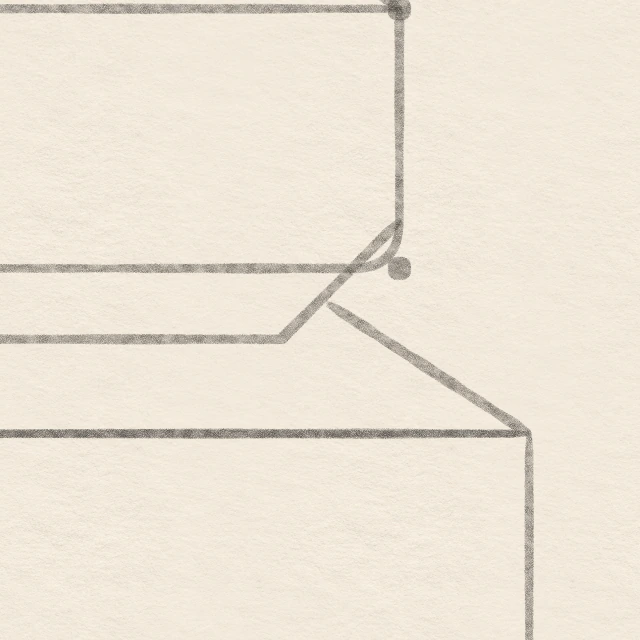
    Close pencil view of the book covers with a thin paper gap at the right-hand join.
    Detail 4.1 — Where the right cover edges almost meetThe short line from the lower book rises toward the upper book and stops just before its sloping bottom cover edge.
    Pencil

    Connect the upper cover and the stack

    Instructions for Drawing 4 — Connect the upper cover and the stack
    1. From the upper book’s top-right front corner, rule up and left to the highest right dot. Rule across to the highest left dot and down-left to the top-left front corner. On the right front side, start where it begins to turn into the bottom. Rule to a point 1 cm down and 1 cm left of where the side first turns. Rule left from that new end to a point directly below the lower-left front corner. Curve back up into the lower-left front corner. From the left end of the lower book’s front edge, rule in and up to the upper book’s lower-left front corner. From the right end of the lower book’s front edge, aim in and up toward the upper book’s short sloping edge, about 2 to 3 mm below the upper book’s front bottom edge. Stop 1 mm short of the sloping edge.
    Next step
  5. Inset pencil edges leave open paper blocks inside the two covers.
    Drawing 5 — Place the page edgesView larger
    Pencil

    Place the page edges

    Instructions for Drawing 5 — Place the page edges
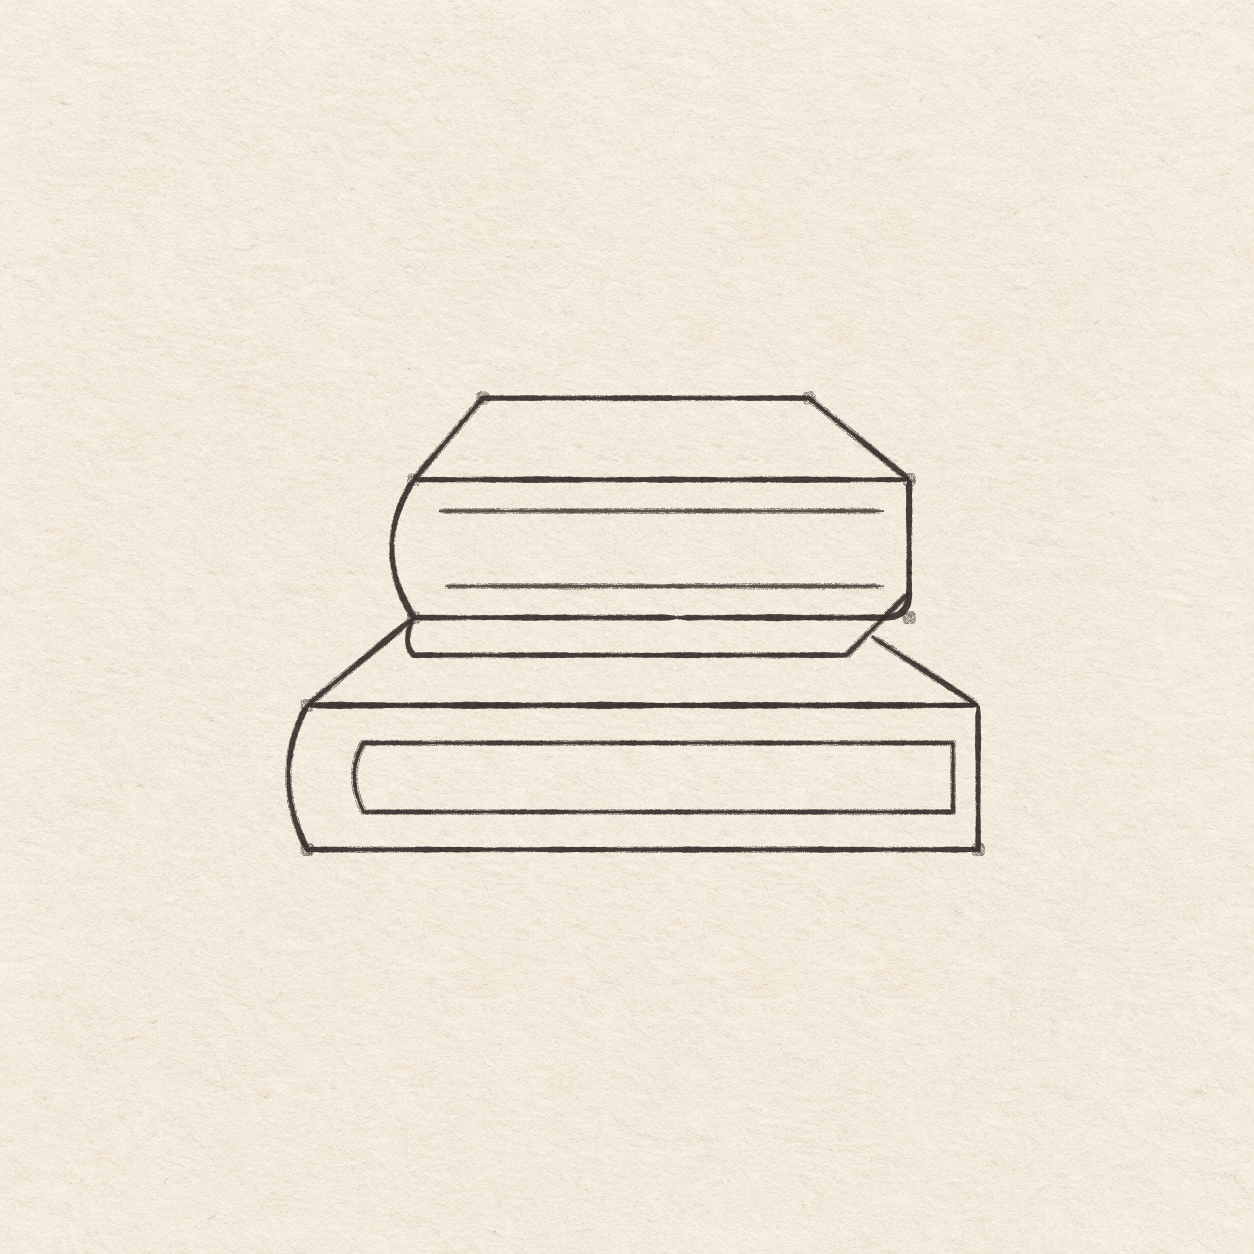
    1. Inside the lower book’s front face, rule two lines about 9.4 cm long. Start each about 9 mm in from the left front corner. Put one 6 mm below the top and the other 6 mm above the bottom. Join the right ends straight down. Bow the left ends together freehand, just a few millimetres left. In the upper face, rule one line about 5 mm below the top edge and one about 5 mm above the bottom. Stop both just inside the sides. Leave the inset lines separated from the cover edges by a thin strip of paper.
    Next step
  6. The two covers and inset page edges are inked over the light graphite.
    Drawing 6 — Ink the covers and page edgesView larger
    Ink

    Ink the covers and page edges

    Instructions for Drawing 6 — Ink the covers and page edges
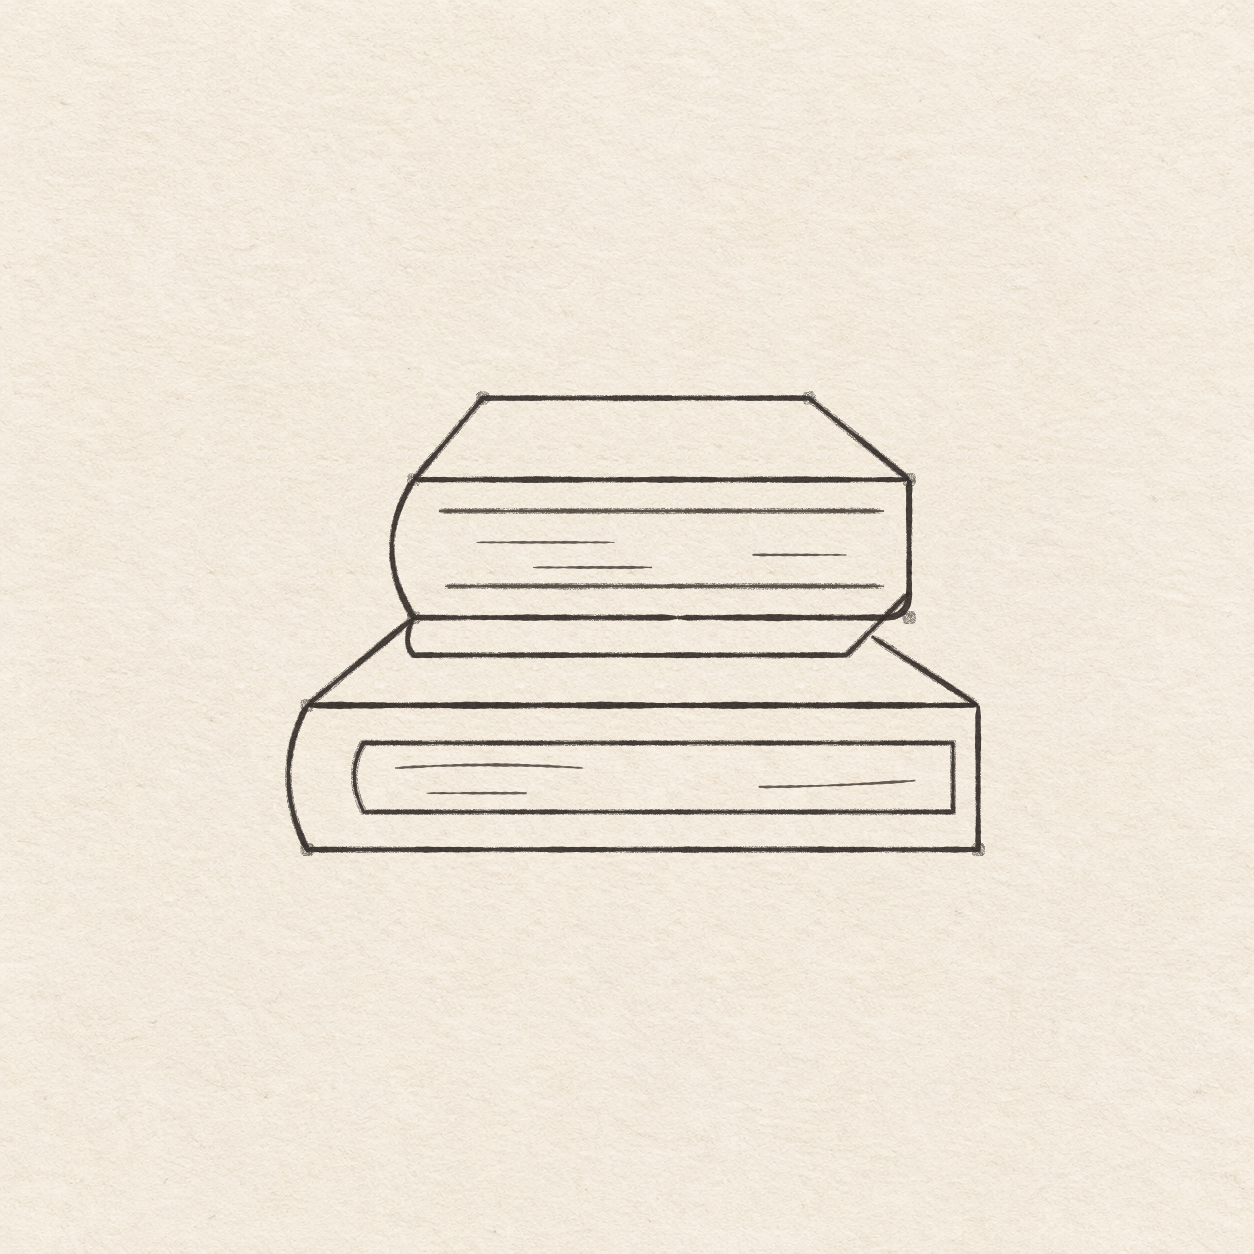
    1. Trace the lower book’s front edges in pen, including the bowed spine and the line across the top. Check that the front edges meet at all four corners.
    2. Trace the upper book’s front edges in pen, including its rounded lower-right corner. Keep the rounded corner small so the taller side looks straight.
    3. Trace the sloping and level cover edges in pen along the selected pencil lines. Keep the small pencil gap at the right meeting point.
    4. Trace the inset page edges in pen with a light touch. Keep the slim gaps between the page edges and the covers.
    Next step
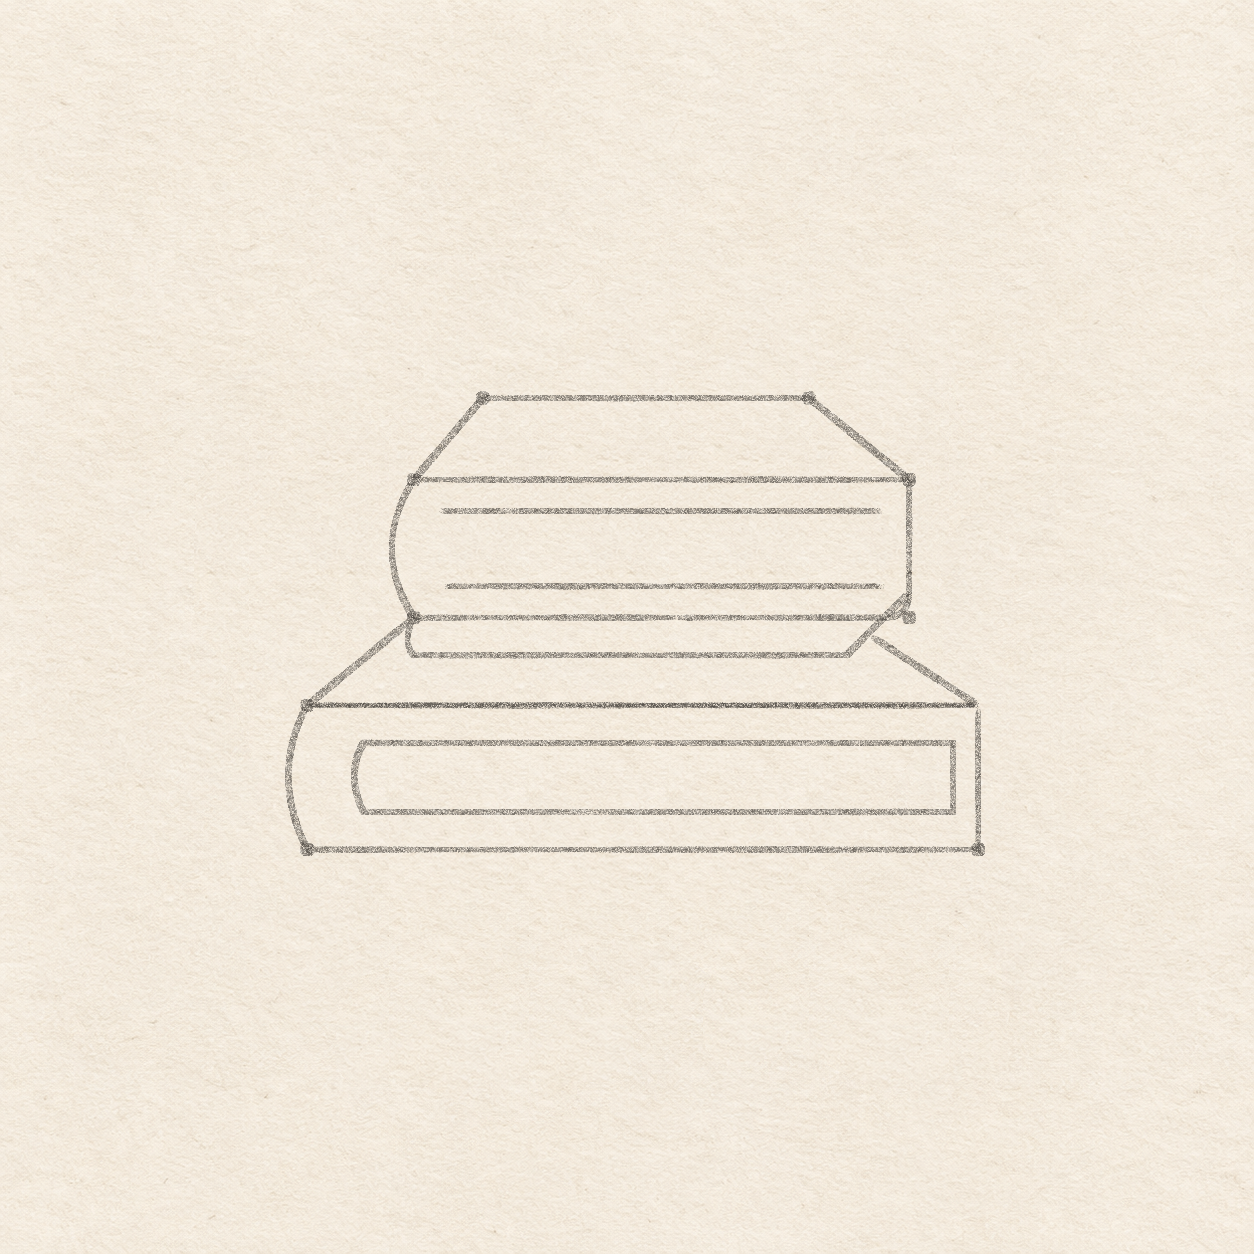
  7. A few light, interrupted strokes suggest the pages in both books.
    Drawing 7 — Suggest the pagesView larger
    Ink

    Suggest the pages

    Instructions for Drawing 7 — Suggest the pages
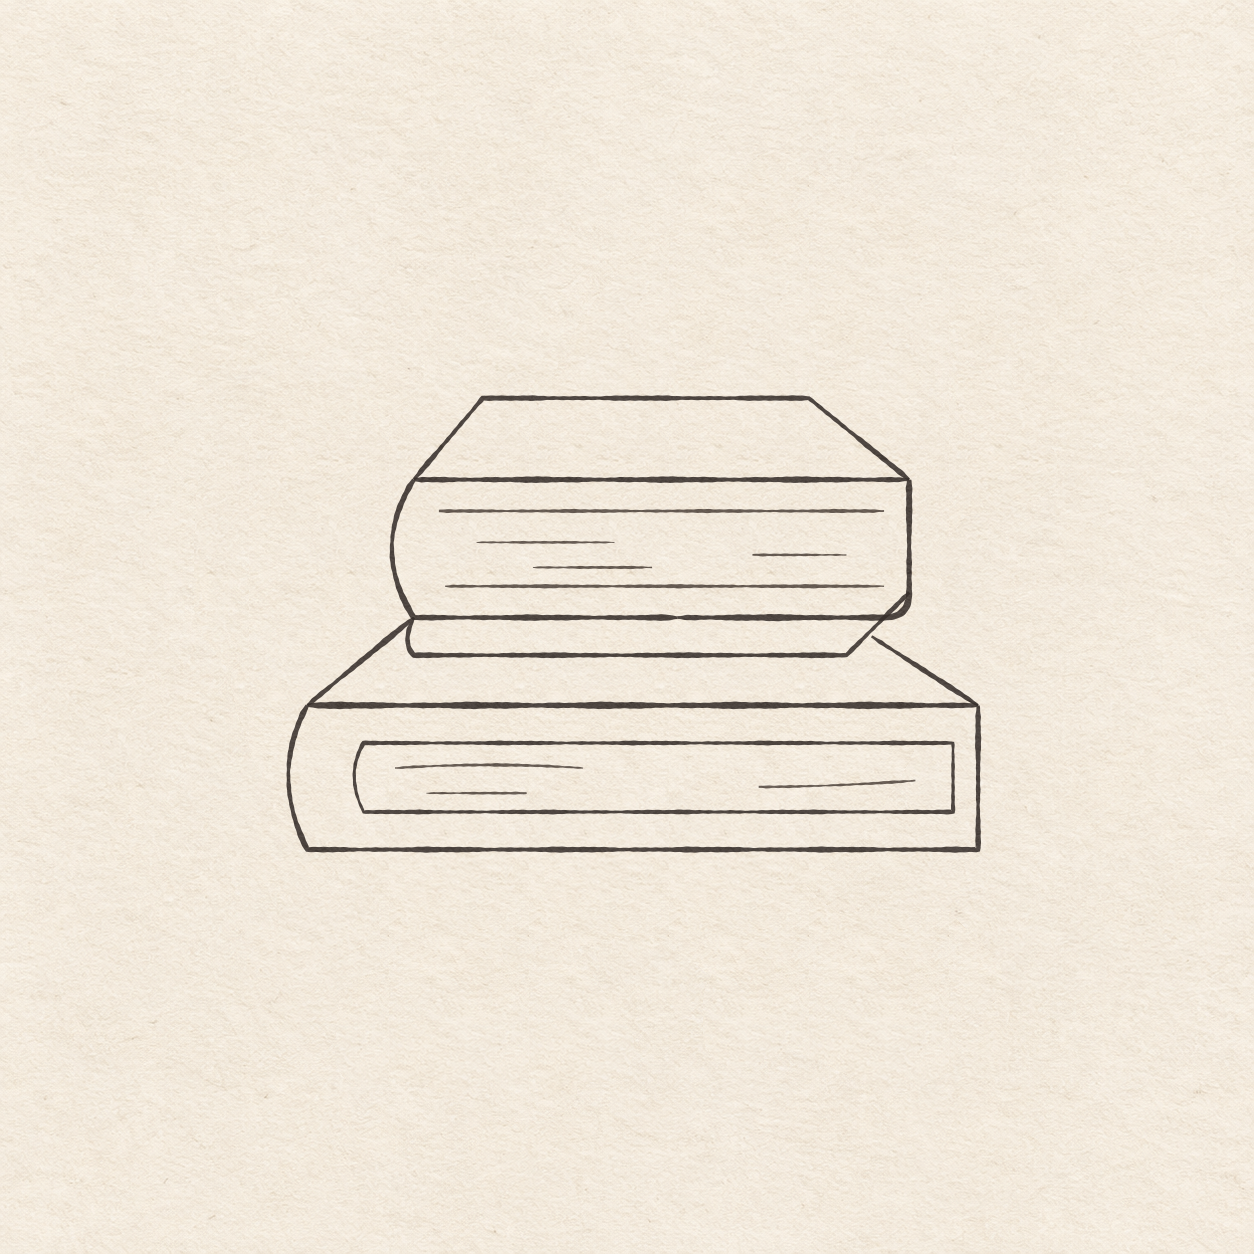
    1. Freehand three short, nearly level strokes inside each book’s page area. Start some near the left and some nearer the right. Stop before the sides. Vary the lengths and leave most of the space empty.
    Next step
  8. The finished fineliner hardbacks have simple cover edges and sparse marks for the pages.
    Drawing 8 — Erase the dry pencil guidesView larger
    Cleanup

    Erase the dry pencil guides

    Instructions for Drawing 8 — Erase the dry pencil guides

    1. Fill a small patch on a scrap of the same paper with the same pen. Rub the patch gently with your eraser. If it smears, wait and test again. Once the patch stops smearing, erase the light corner dots and pencil outlines beside the dry ink.
    Back to the steps

If something looks off

If the top book looks like it floats

In pencil, join the left sloping line to the upper book. Stop the right sloping line just short of the upper book’s edge.