FinelinerEasy

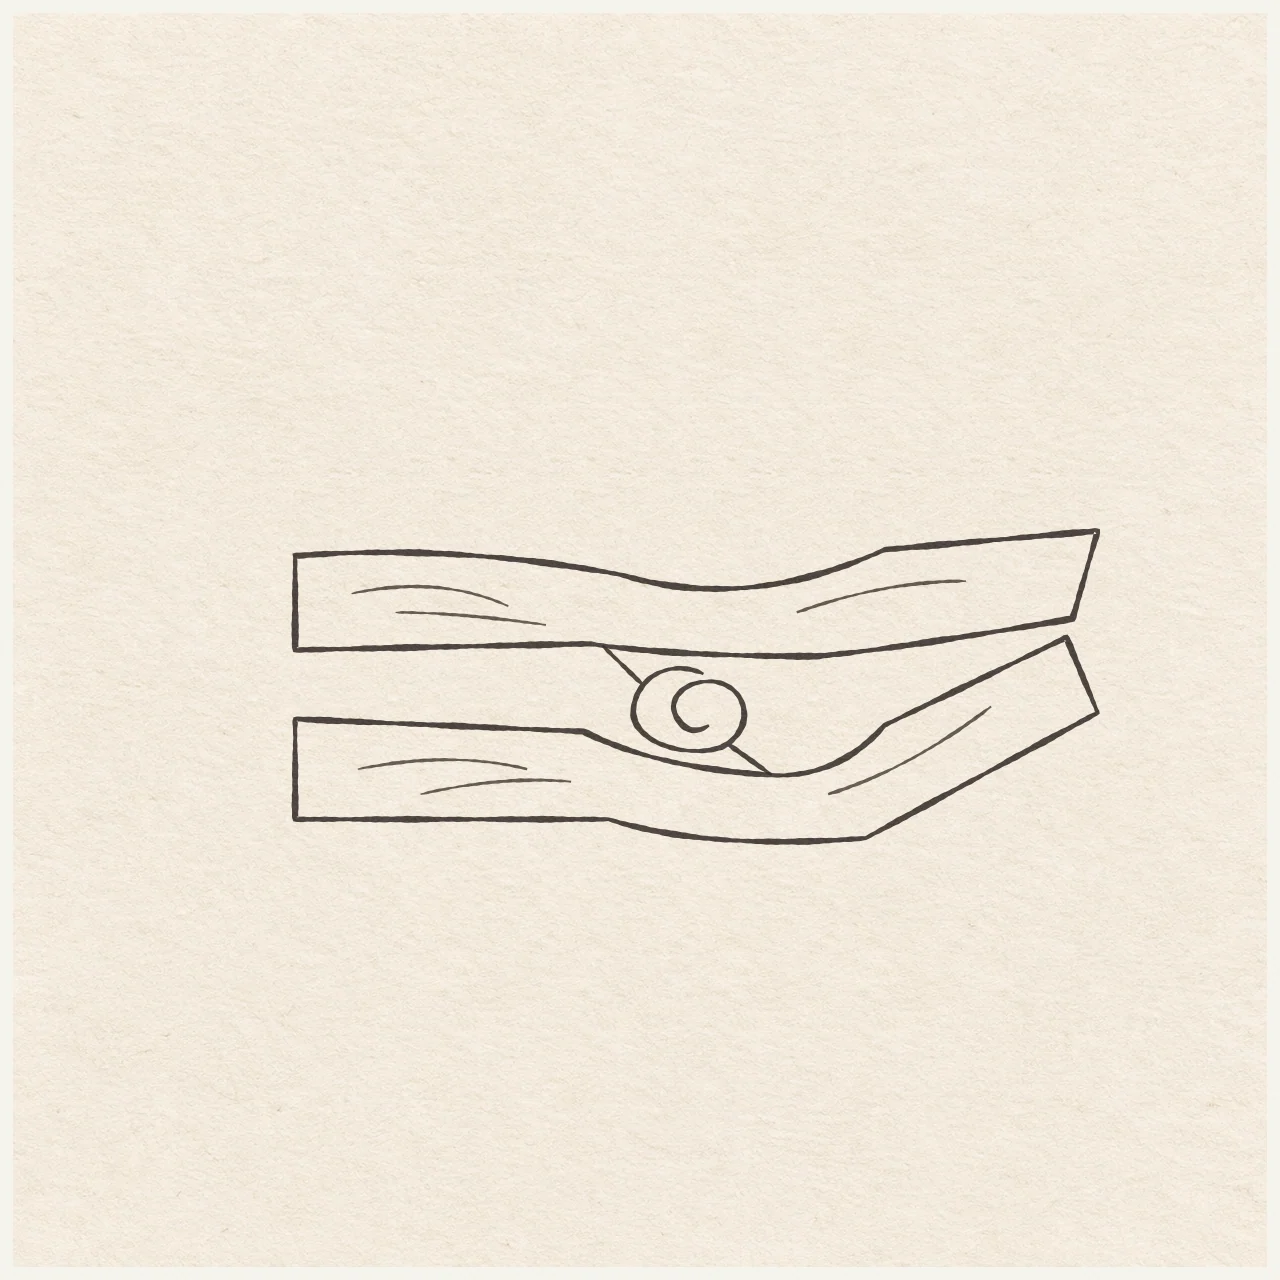
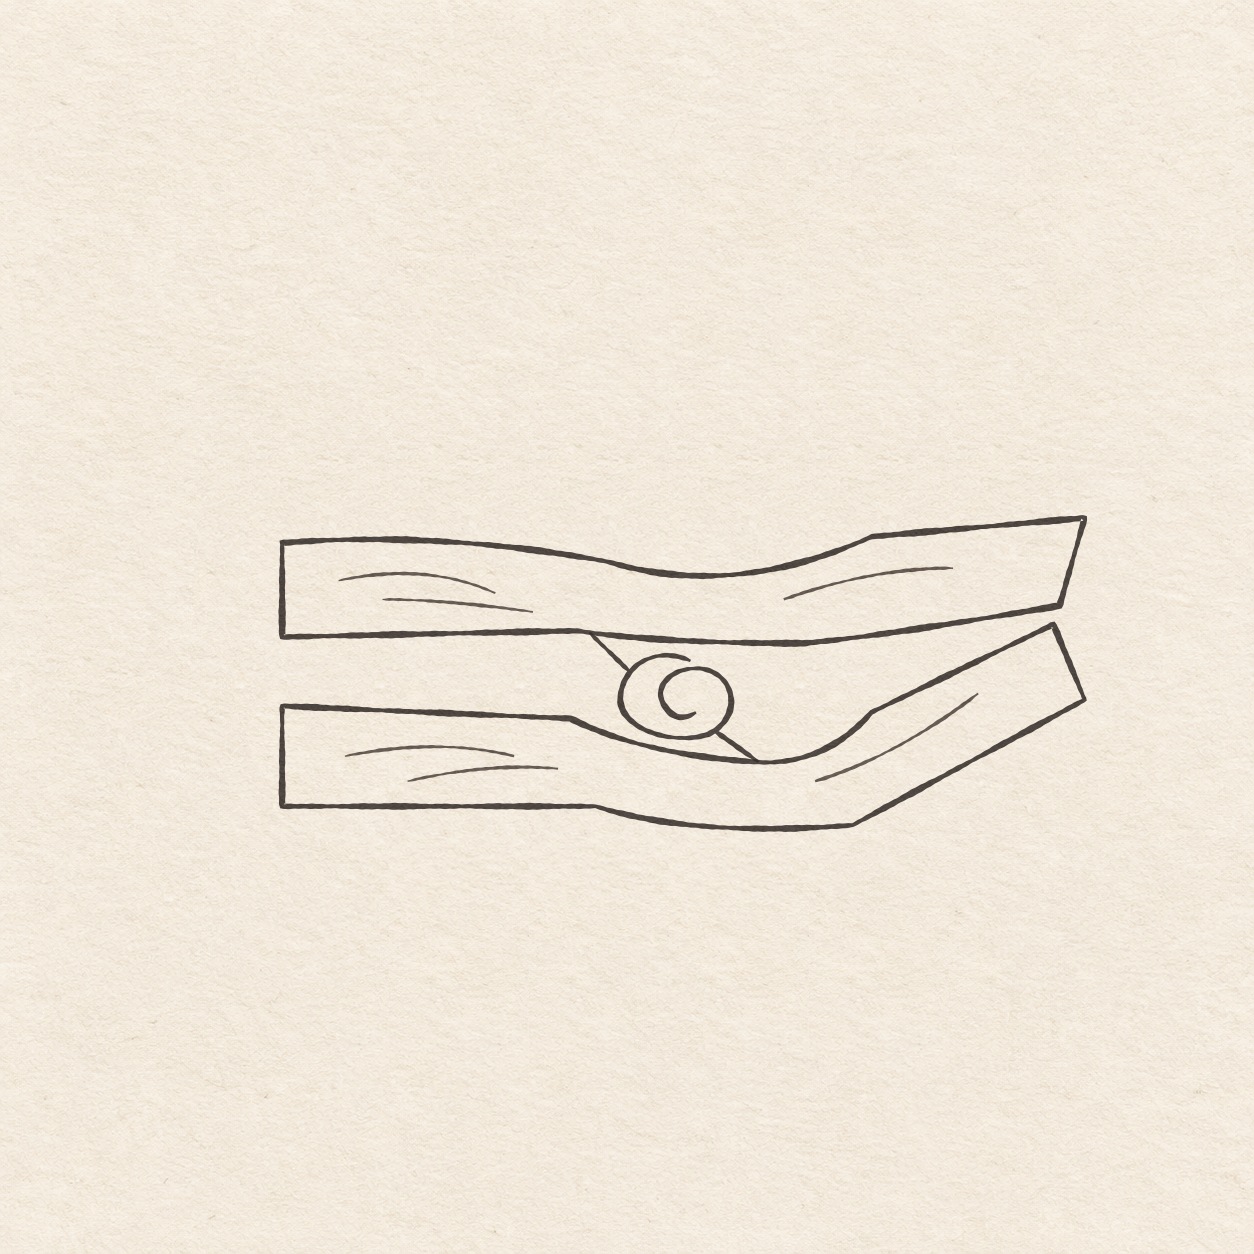
Wooden clothespin
Plot both wooden halves, leave an open jaw, and fit the little wire coil before inking a clothespin.
Follow the drawing tutorial
Plot both wooden halves, leave an open jaw, and fit the little wire coil before inking a clothespin.
Start the 8-step tutorialA small thing to tryKeep paper between the main coil and the lower wood. Let only the two short arms touch the wood.
Draw it, one step at a time
Draw a wooden clothespin
Plot both wooden halves, leave an open jaw, and fit the little wire coil before inking a clothespin.
What you’ll need
- HB pencil
- Eraser
- Ruler
- Spare sheet with a square corner
- Fine black pen
- Drawing paper
Before you start
Choose where the clothespin will sit. It is about 13 cm wide and 5 cm tall. Leave a small blank margin around that area.
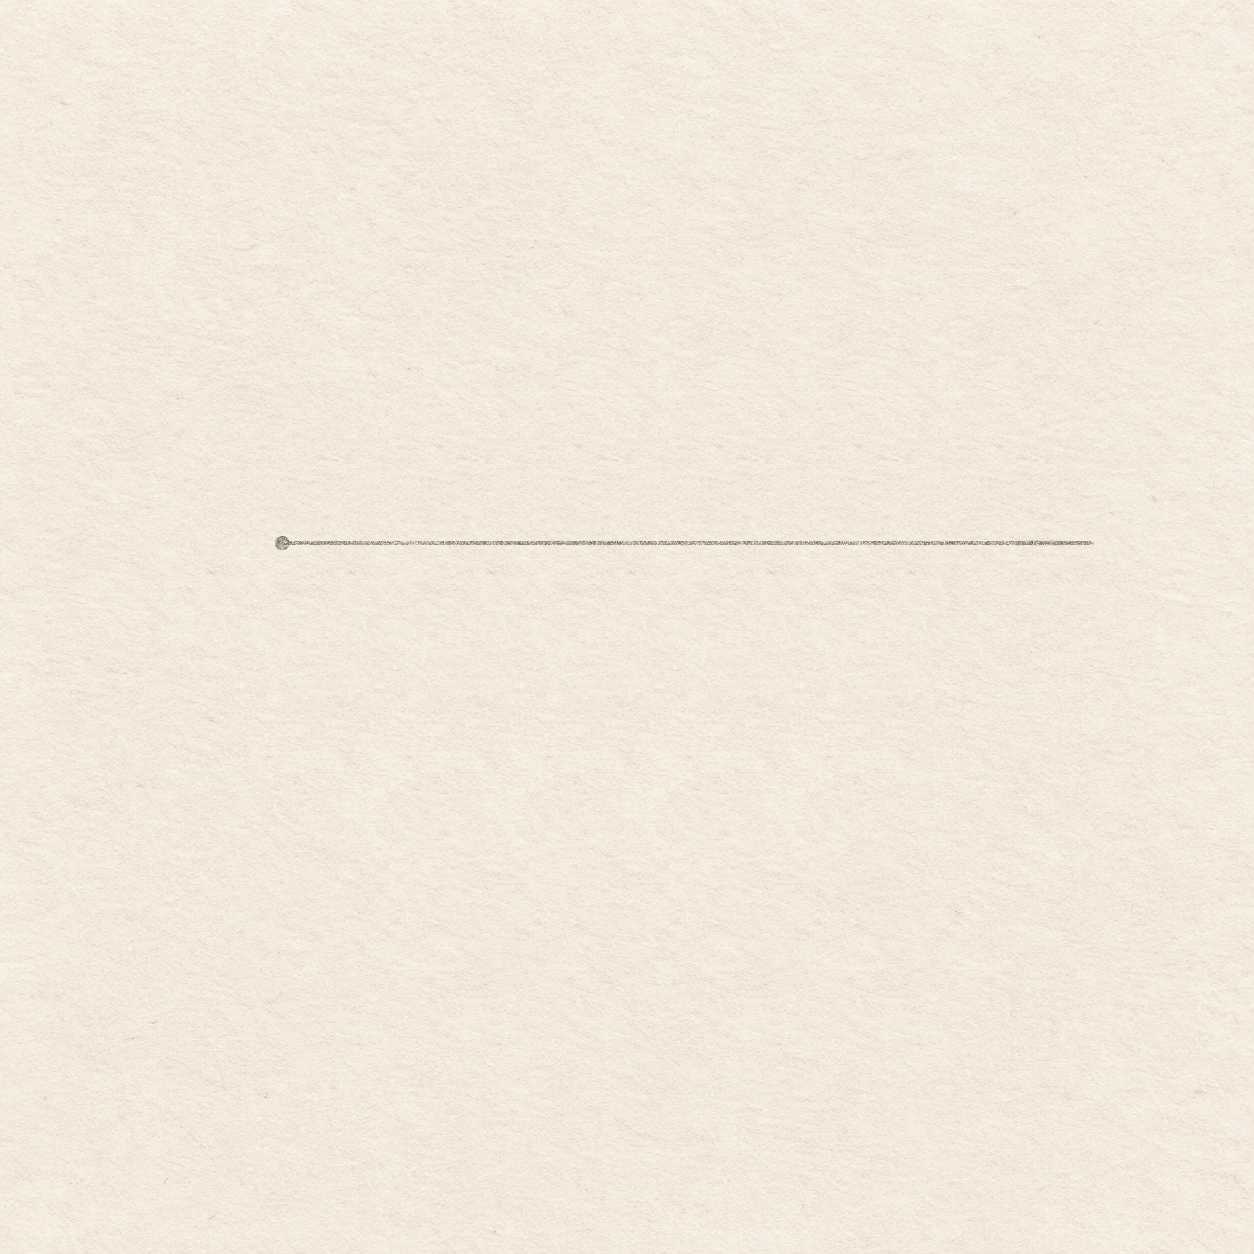
Drawing 1 — Place the upper left cornerView larger PencilPlace the upper left corner
Instructions for Drawing 1 — Place the upper left corner
- Choose the upper-left corner of the top piece and make a tiny dot. Leave at least 13 cm to its right, 5 cm below it and 1 cm above it. Move the dot if the drawing would run off the paper.
- Rule a light 13 cm horizontal line right from your dot. Hold one edge of a spare sheet along this line. Slide its square corner along the line and measure straight up or down along the other edge. Keep this guide lighter than the edges you will draw.

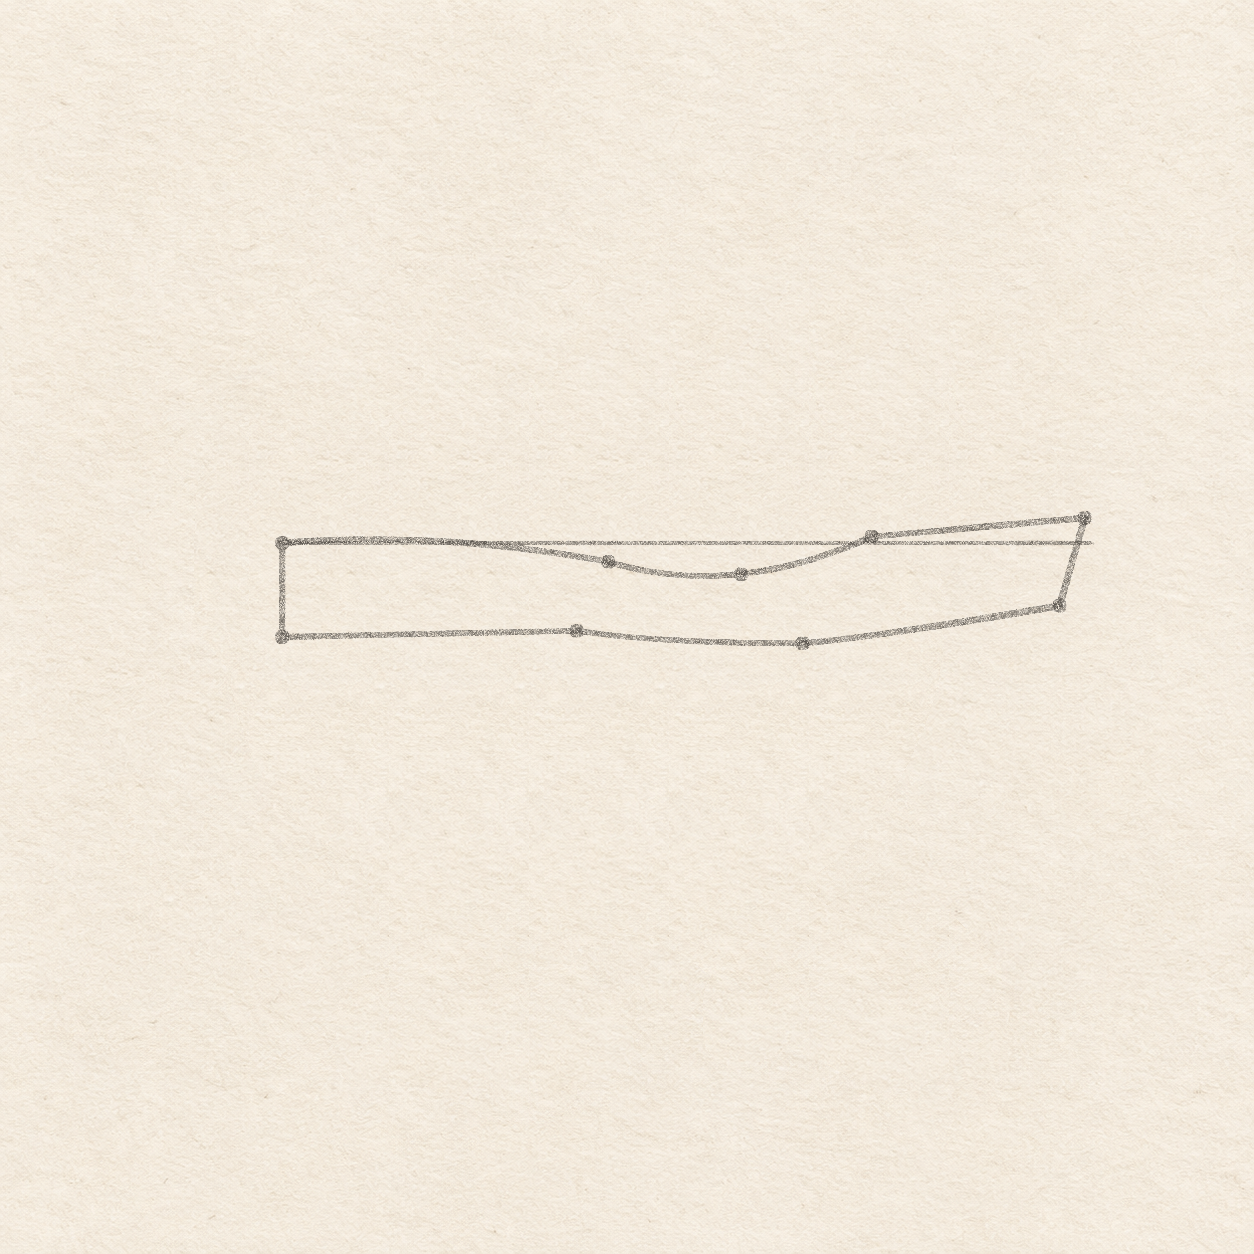
Drawing 2 — Draw the upper wooden pieceView larger PencilDraw the upper wooden piece
Instructions for Drawing 2 — Draw the upper wooden piece
- Measure right from the starting dot along the faint line and use the square corner at each distance. Place the upper bend 5.2 cm right and 3 mm down, its shallow low point 7.3 cm right and 5 mm down, and the rising shoulder 9.4 cm right and 1 mm up. Set the top of the jaw 12.8 cm right and 4 mm up. Set its lower corner 12.4 cm right and 1 cm down. Along the lower return, mark 8.3 cm right and 1.6 cm down, then 4.7 cm right and 1.4 cm down. Put the lower-left dot directly under the original dot by 1.5 cm. Check that the short jaw face tilts down-left and that the two left corners line up.
- From the first dot, sweep freehand right through both shallow bend dots and up to the shoulder. Draw the short upward slope to the top of the jaw and the face down-left to the other jaw dot. Sweep back left through the two lower return dots to the lower-left dot. Close the piece with the straight edge up to your starting dot. Keep the central dip shallow and the left end upright.

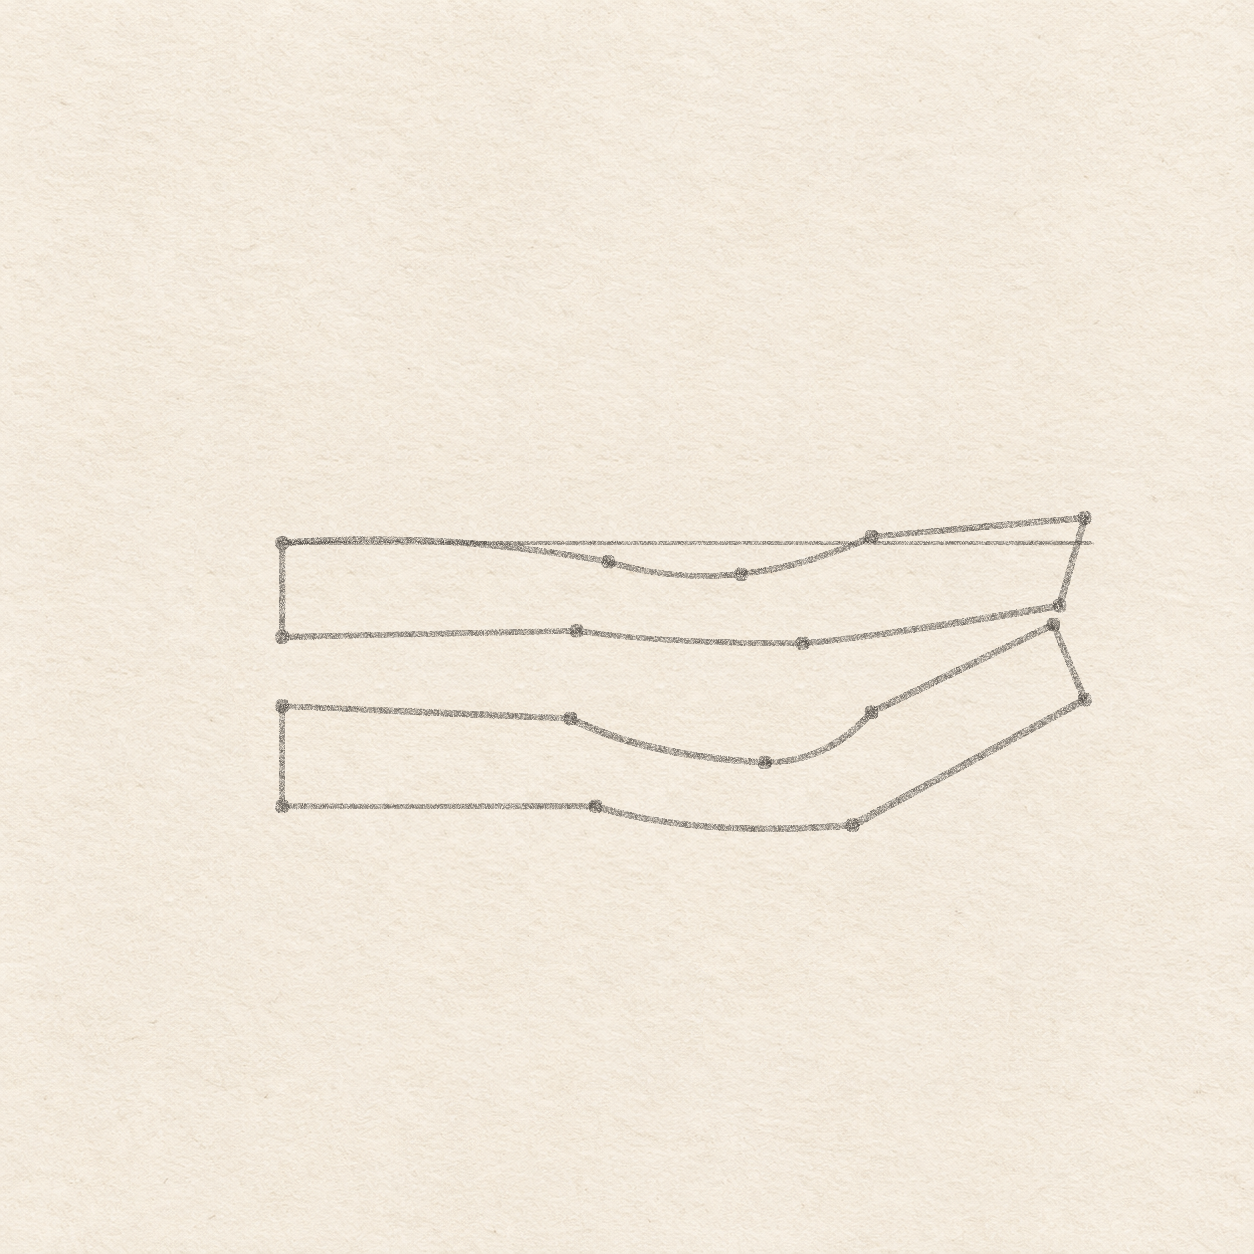
Drawing 3 — Draw and close the lower wooden pieceView larger 
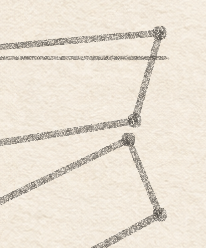
Detail 3.1 — The small gap at the jawsThe two short tips at the right stop slightly apart. The opening is much wider near the spring. PencilDraw and close the lower wooden piece
Instructions for Drawing 3 — Draw and close the lower wooden piece
- On the starting vertical, put a dot 2.6 cm below the first corner. From the same measuring origin put the next upper-edge dots 4.6 cm right and 2.8 cm down, 7.7 cm right and 3.5 cm down, and 9.4 cm right and 2.7 cm down. Place the inner jaw tip about 1 mm left and 3 mm below the lower corner of the upper jaw. The outer jaw dot is 12.8 cm right and 2.5 cm down. Set the bottom shoulder 9.1 cm right and 4.5 cm down, then the start of the straight bottom edge 5 cm right and 4.2 cm down. Put the last dot at that same level on the starting vertical. Leave about 3 mm of paper at the right tips and a wide opening around the middle.
- From the new left dot, draw to the next dot with a slight down-right slope. Curve freehand down through the low middle dot and bend up through the shoulder to the inner jaw tip. Draw the short jaw face down-right, then the long straight slope down-left to the bottom shoulder. Curve left from that shoulder to the first dot of the straight bottom edge. Rule left to the last dot and close the far-left side straight up. The lower half has its own bottom and left edges. Both shapes stay separate at the jaw.

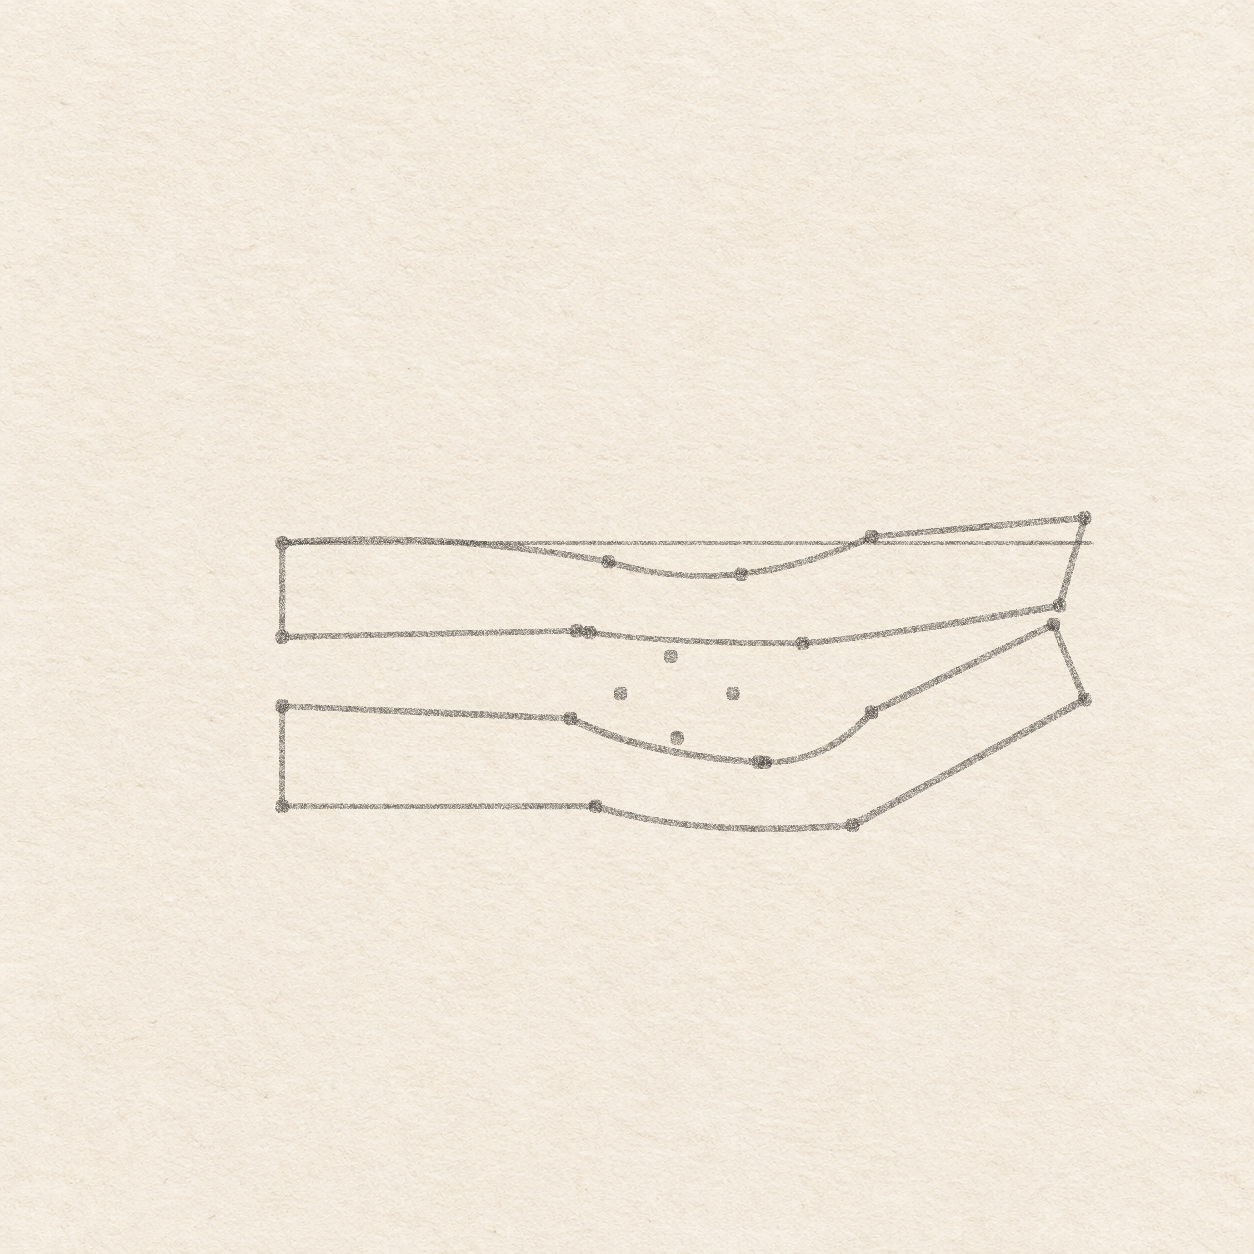
Drawing 4 — Place the spring’s contacts and boundsView larger PencilPlace the spring’s contacts and bounds
Instructions for Drawing 4 — Place the spring’s contacts and bounds
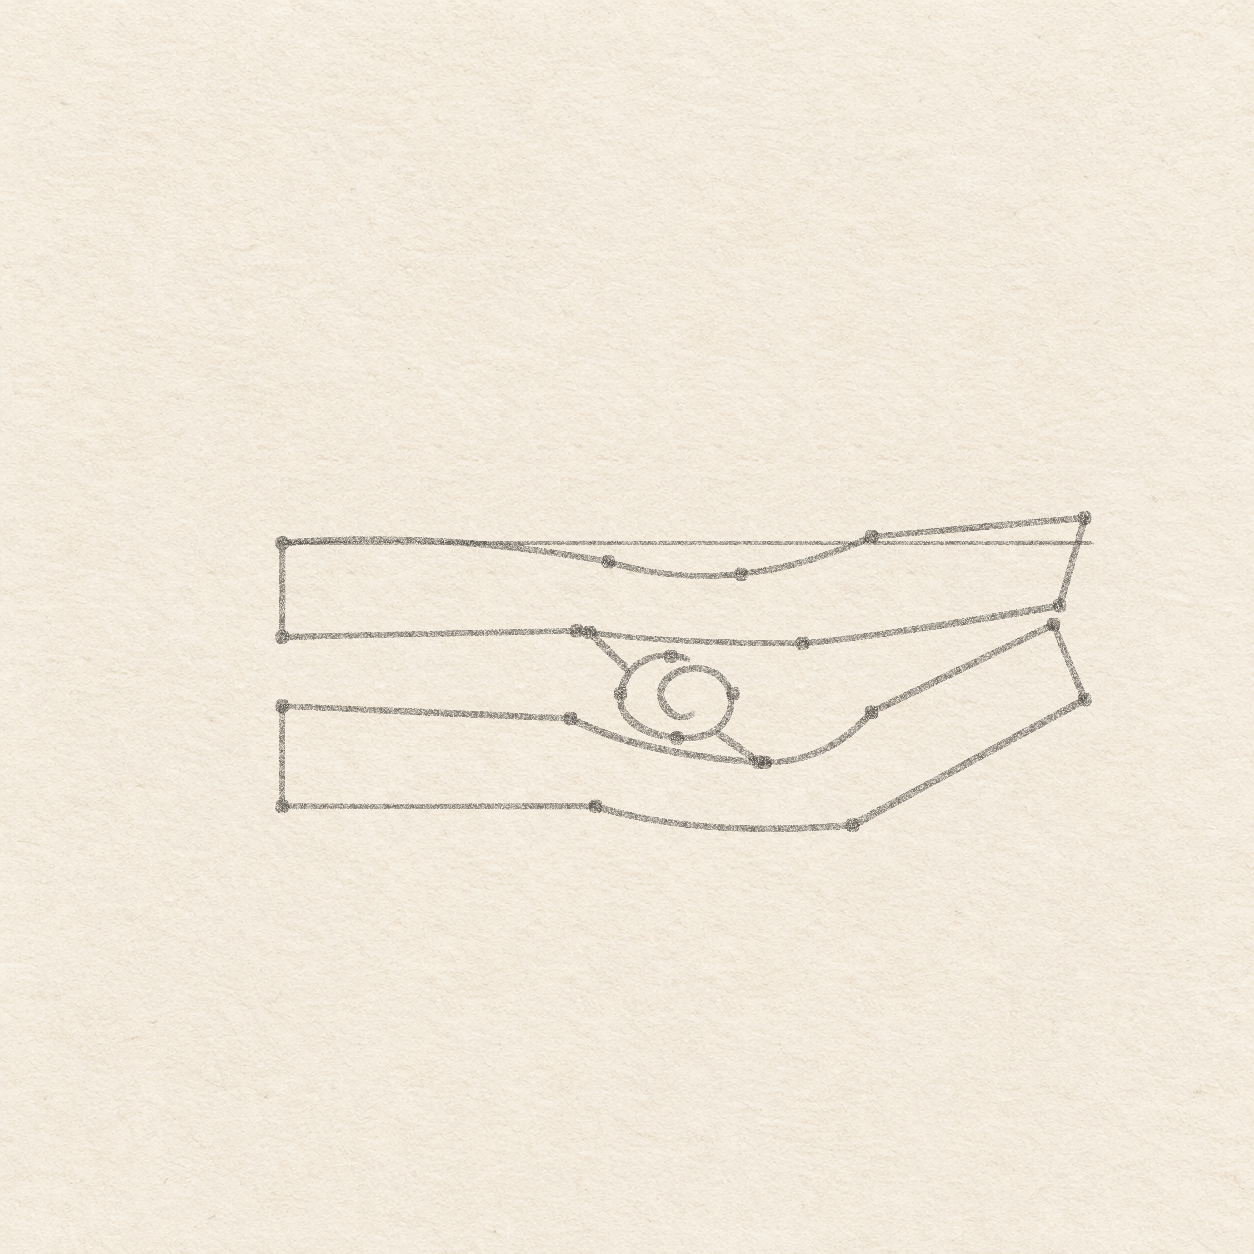
- On the measuring line, find the places 4.9 cm and 7.6 cm right of the first dot. Set the square corner at each measurement before following its upright edge down. At the first place put a tiny dot on the lower edge of the top piece. At the second, put a tiny dot on the upper edge of the bottom piece. Check that each dot touches its own existing wood line.
- Set the square corner on the measuring line at each sideways position before measuring down. Place the coil’s left limit 5.4 cm right of the first dot and 2.4 cm down. Put its top limit 6.2 cm right and 1.8 cm down. Put the right limit 7.2 cm right and 2.4 cm down. Set the bottom limit about 6.3 cm right and 3.1 cm down. Leave at least 1 mm of open paper between this low dot and the wooden edge below. The left and right dots are nearly level. Lift and move the lower dot up if it sits too close to the wood.

Drawing 5 — Wind the coil and join the two armsView larger 
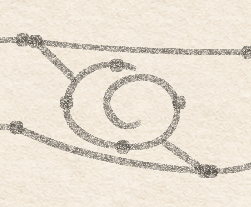
Detail 5.1 — The coil, paper gap and two wire stopsThe left wire meets the inner edge of the upper half. The right wire meets the lower curve. Paper separates the coil itself from the wood. PencilWind the coil and join the two arms
Instructions for Drawing 5 — Wind the coil and join the two arms
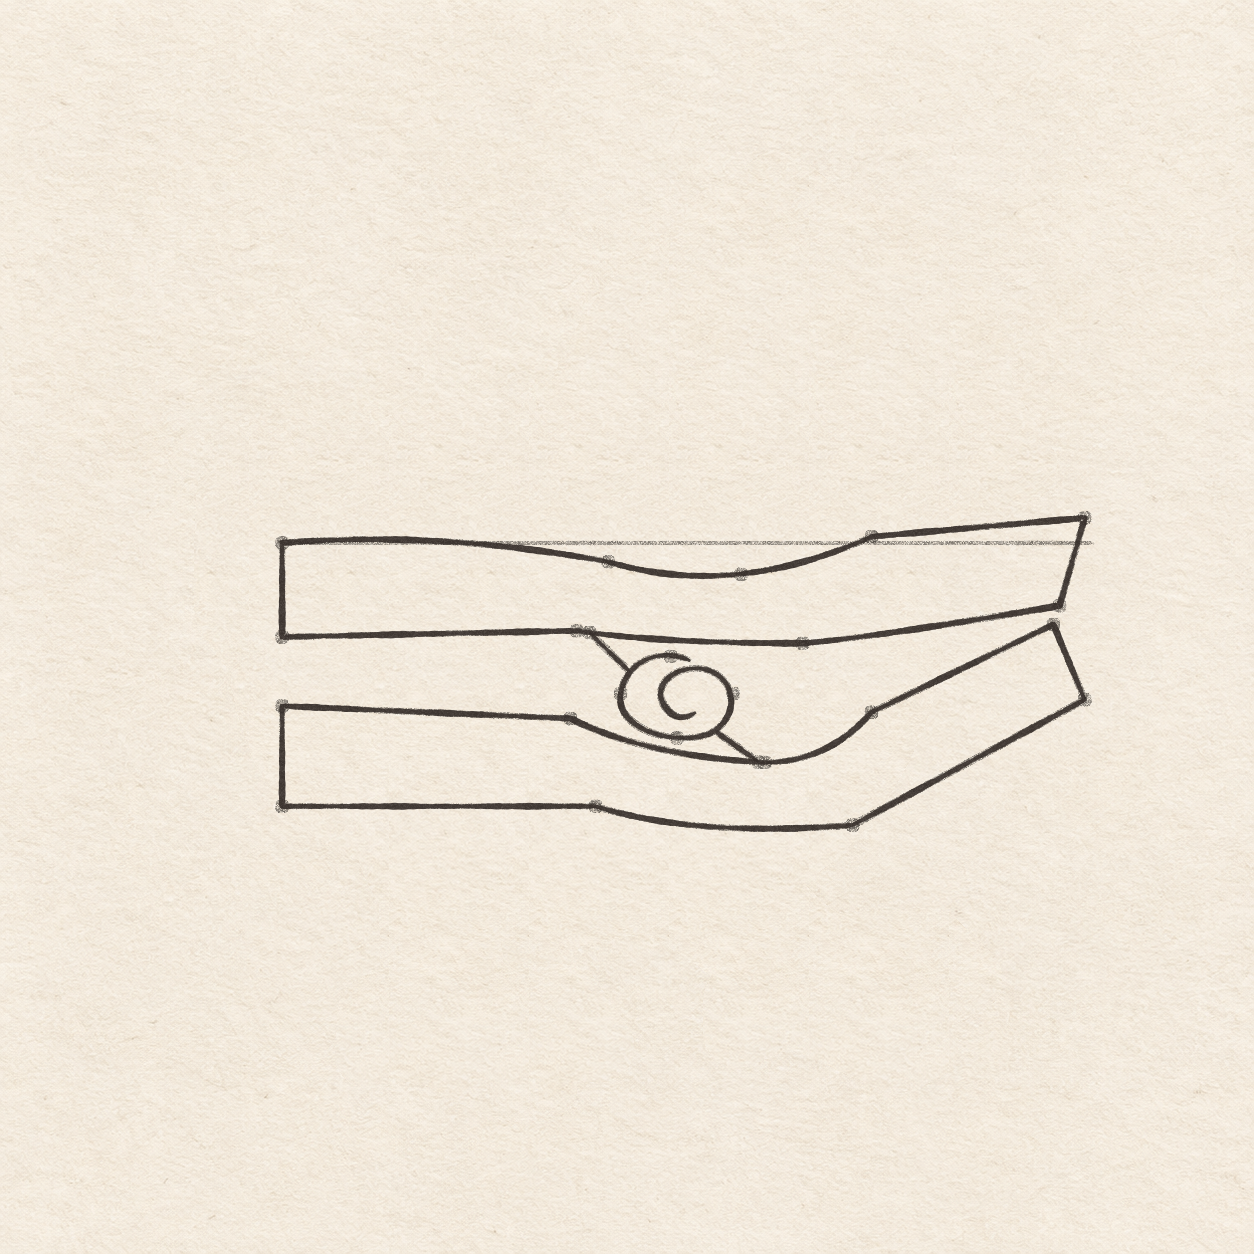
- Begin just to the right of the top dot. Curve freehand left through that dot, down around the left dot, and through the bottom dot. Leave the thin paper strip below the wire. Turn up and around the right dot. As the line comes back left near the top, keep it just below its start with a sliver of paper between them. Bend inward and down, then curl a short tip to the right, leaving its end free. Leave the middle of the curl and the strip over the lower wooden edge clear.
- Draw a short straight line down-right from the upper wood dot to the upper-left side of the coil. From the lower-right side of the coil, draw another short line down-right to the lower wood dot. Stop on those lines without crossing them. Check that only the two straight arms meet the wood.

Drawing 6 — Ink the wood and springView larger FinelinerInk the wood and spring
Instructions for Drawing 6 — Ink the wood and spring
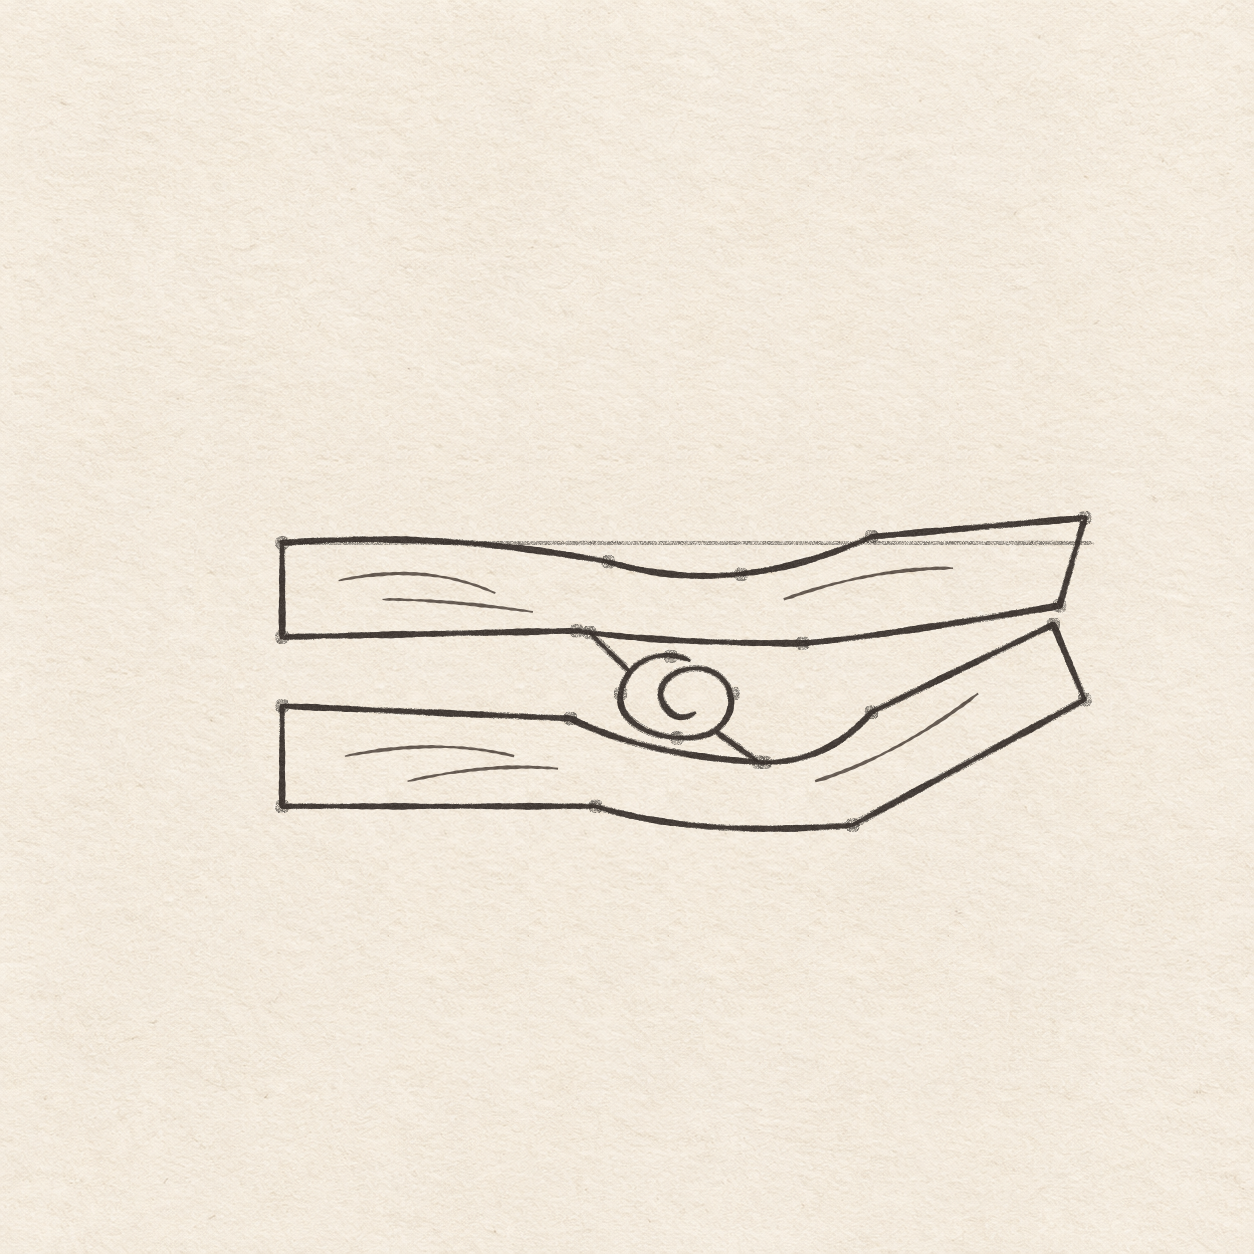
- Trace the upper wooden piece in fine black pen. Close it at the left corner. Keep its jaw face and the shallow upper bend visible.
- Trace the entire lower piece, including its sloping bottom return and straight left edge. Keep a narrow strip of paper between the two jaw tips.
- Trace the open coil and both short wires. End each wire when it touches its wooden edge. Keep the thin paper strip between the curve of the coil and the lower wood.

Drawing 7 — Add six short woodgrain linesView larger FinelinerAdd six short woodgrain lines
Instructions for Drawing 7 — Add six short woodgrain lines
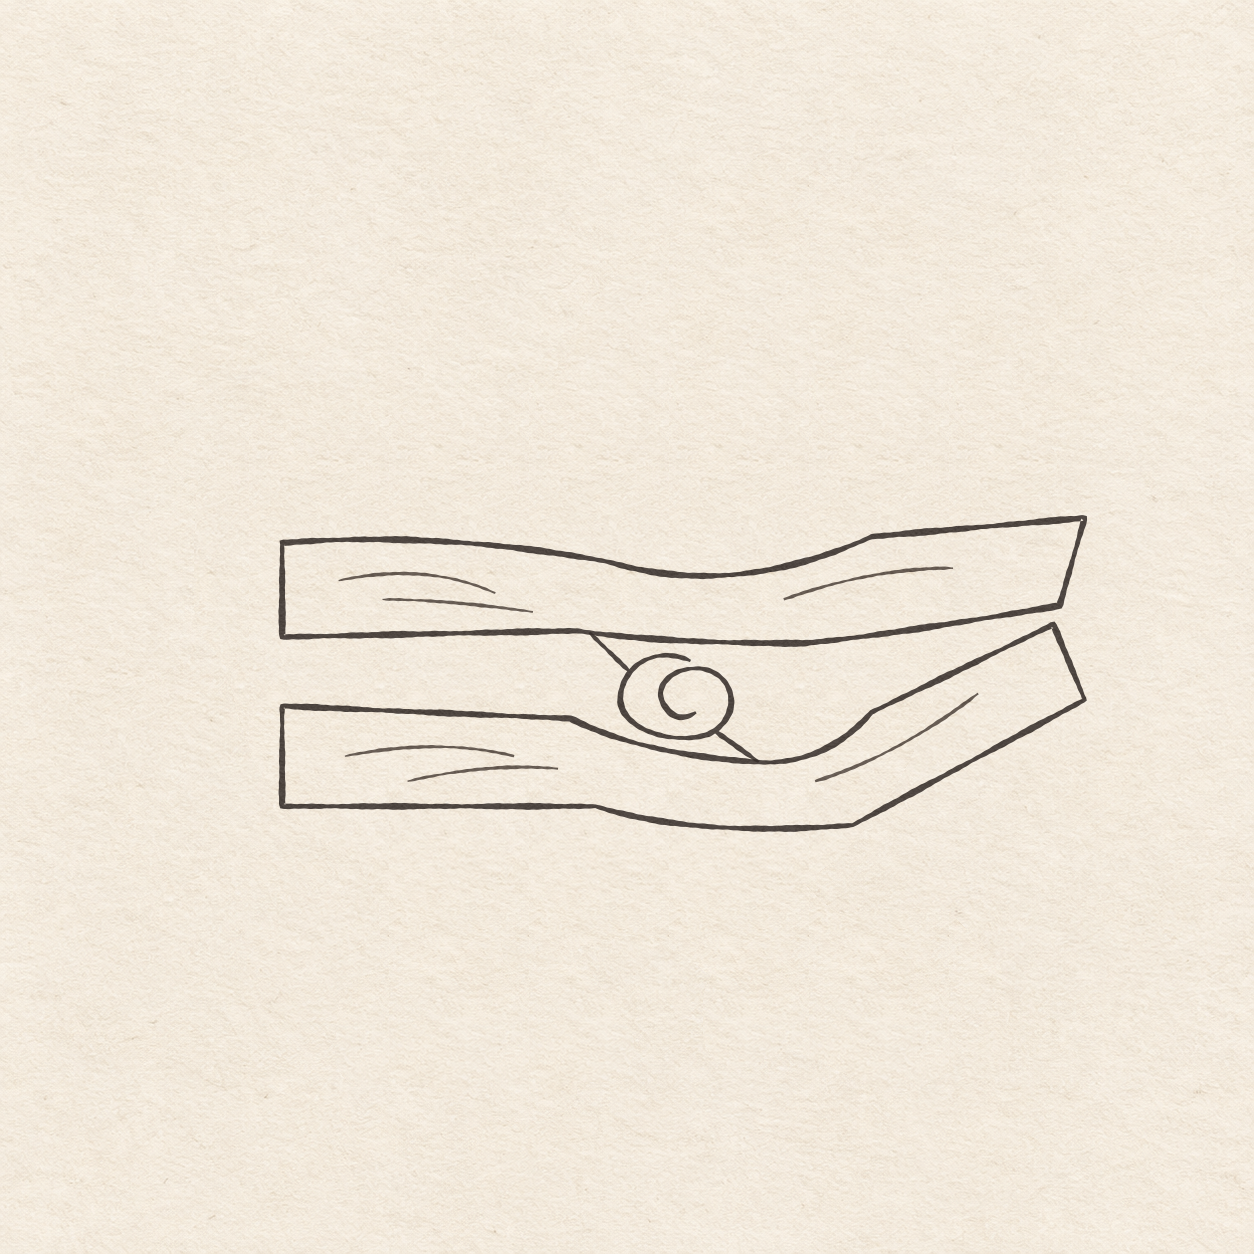
- Inside the upper half, add two low, shallow curves from near the left end toward the middle, with bare paper between them. Add a third curve in the right half that lifts toward the shoulder. Use a lighter touch and stop before the jaw. Keep all three curves inside the wood and leave the spring opening clear.
- Inside the lower half, add two almost level curves in the broad left area. Make the lower one rise slightly to the right. On the right, add a third curve that follows the upward slope of the wood, starting just beyond the spring before ending short of the jaw. Leave the outer edges, the wire and the jaw gap clear.

Drawing 8 — Erase the dry pencil guidesView larger CleanupErase the dry pencil guides
Instructions for Drawing 8 — Erase the dry pencil guides
- Fill a small patch on a scrap of the same paper with the same pen. Rub the patch gently with your eraser. If it smears, wait and test again. Once the patch stops smearing, erase the measuring line, placement dots and remaining pencil beside the dry ink.
If something looks off
If the spring touches the wood
In pencil, keep only the two short wire arms attached to the wood. Lift the lowest section of the coil and bring it a little higher if its outline meets the lower edge.